 Contributor post by Brittany
With all the beautiful colors of Spring, who can choose just one?? When you need just a simple basic bow instead of an over the top creation, you never have to limit yourself to only ONE color again! Today I am going to show you a super simple way to incorporate 4 colors into one simple yet stunning bow! So gather up your supplies and lets get started!
Contributor post by Brittany
With all the beautiful colors of Spring, who can choose just one?? When you need just a simple basic bow instead of an over the top creation, you never have to limit yourself to only ONE color again! Today I am going to show you a super simple way to incorporate 4 colors into one simple yet stunning bow! So gather up your supplies and lets get started!
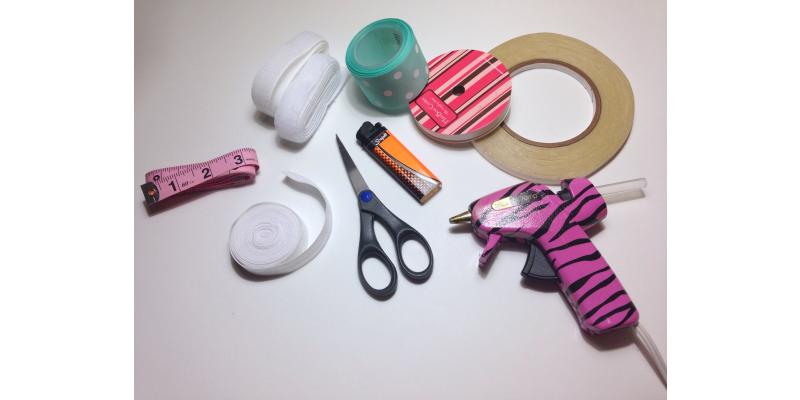
Pictured above are the supplies I used. They can all be found right here at HBC! They are as follows:
•1.5" Passion Fruit grosgrain ribbon
•1.5" Lavender grosgrain ribbon
•1.5" Ocean Blue grosgrain ribbon
•7/8" Ocean Blue grosgrain ribbon
Any color combination you like can be used to create the perfect look for your little sunshine! HBC has a gorgeous selection of eye catching colors, so you're sure to find whatever your heart desires! Other supplies needed are scissors, a lighter or wood burning tool, wire (or whatever you choose to secure the center of your ribbon), a ruler or tape measure, and hot glue gun.
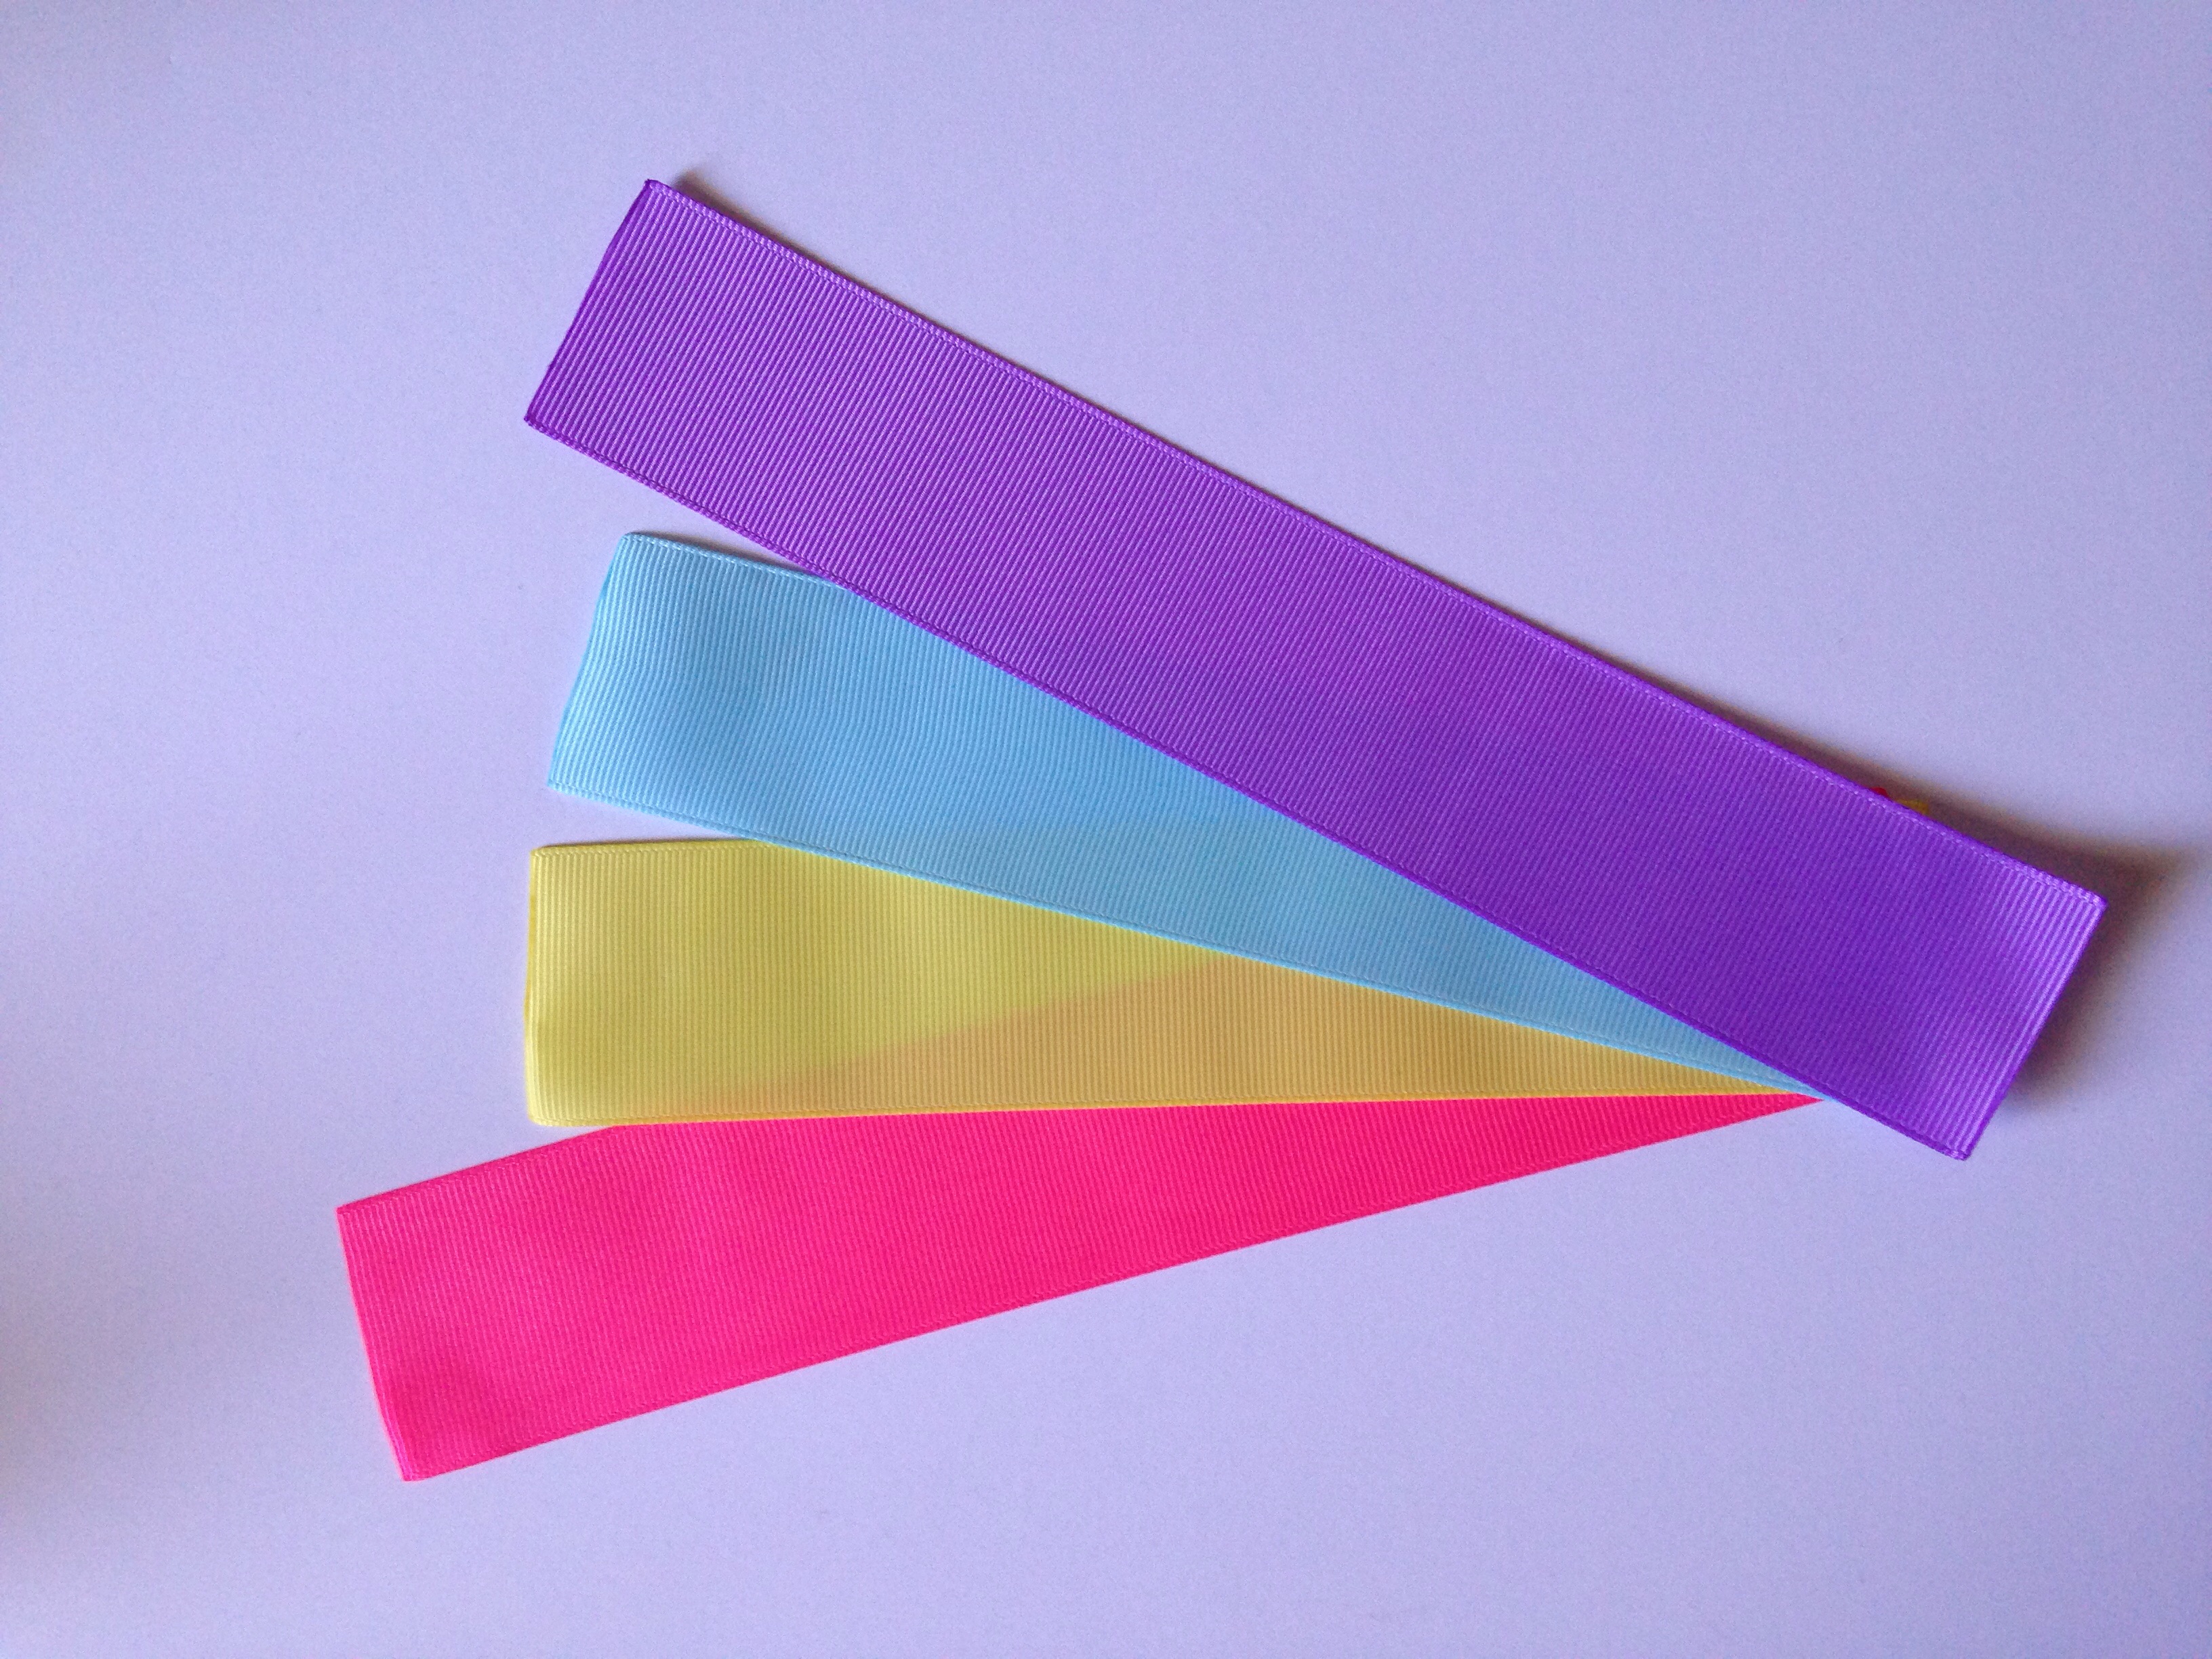
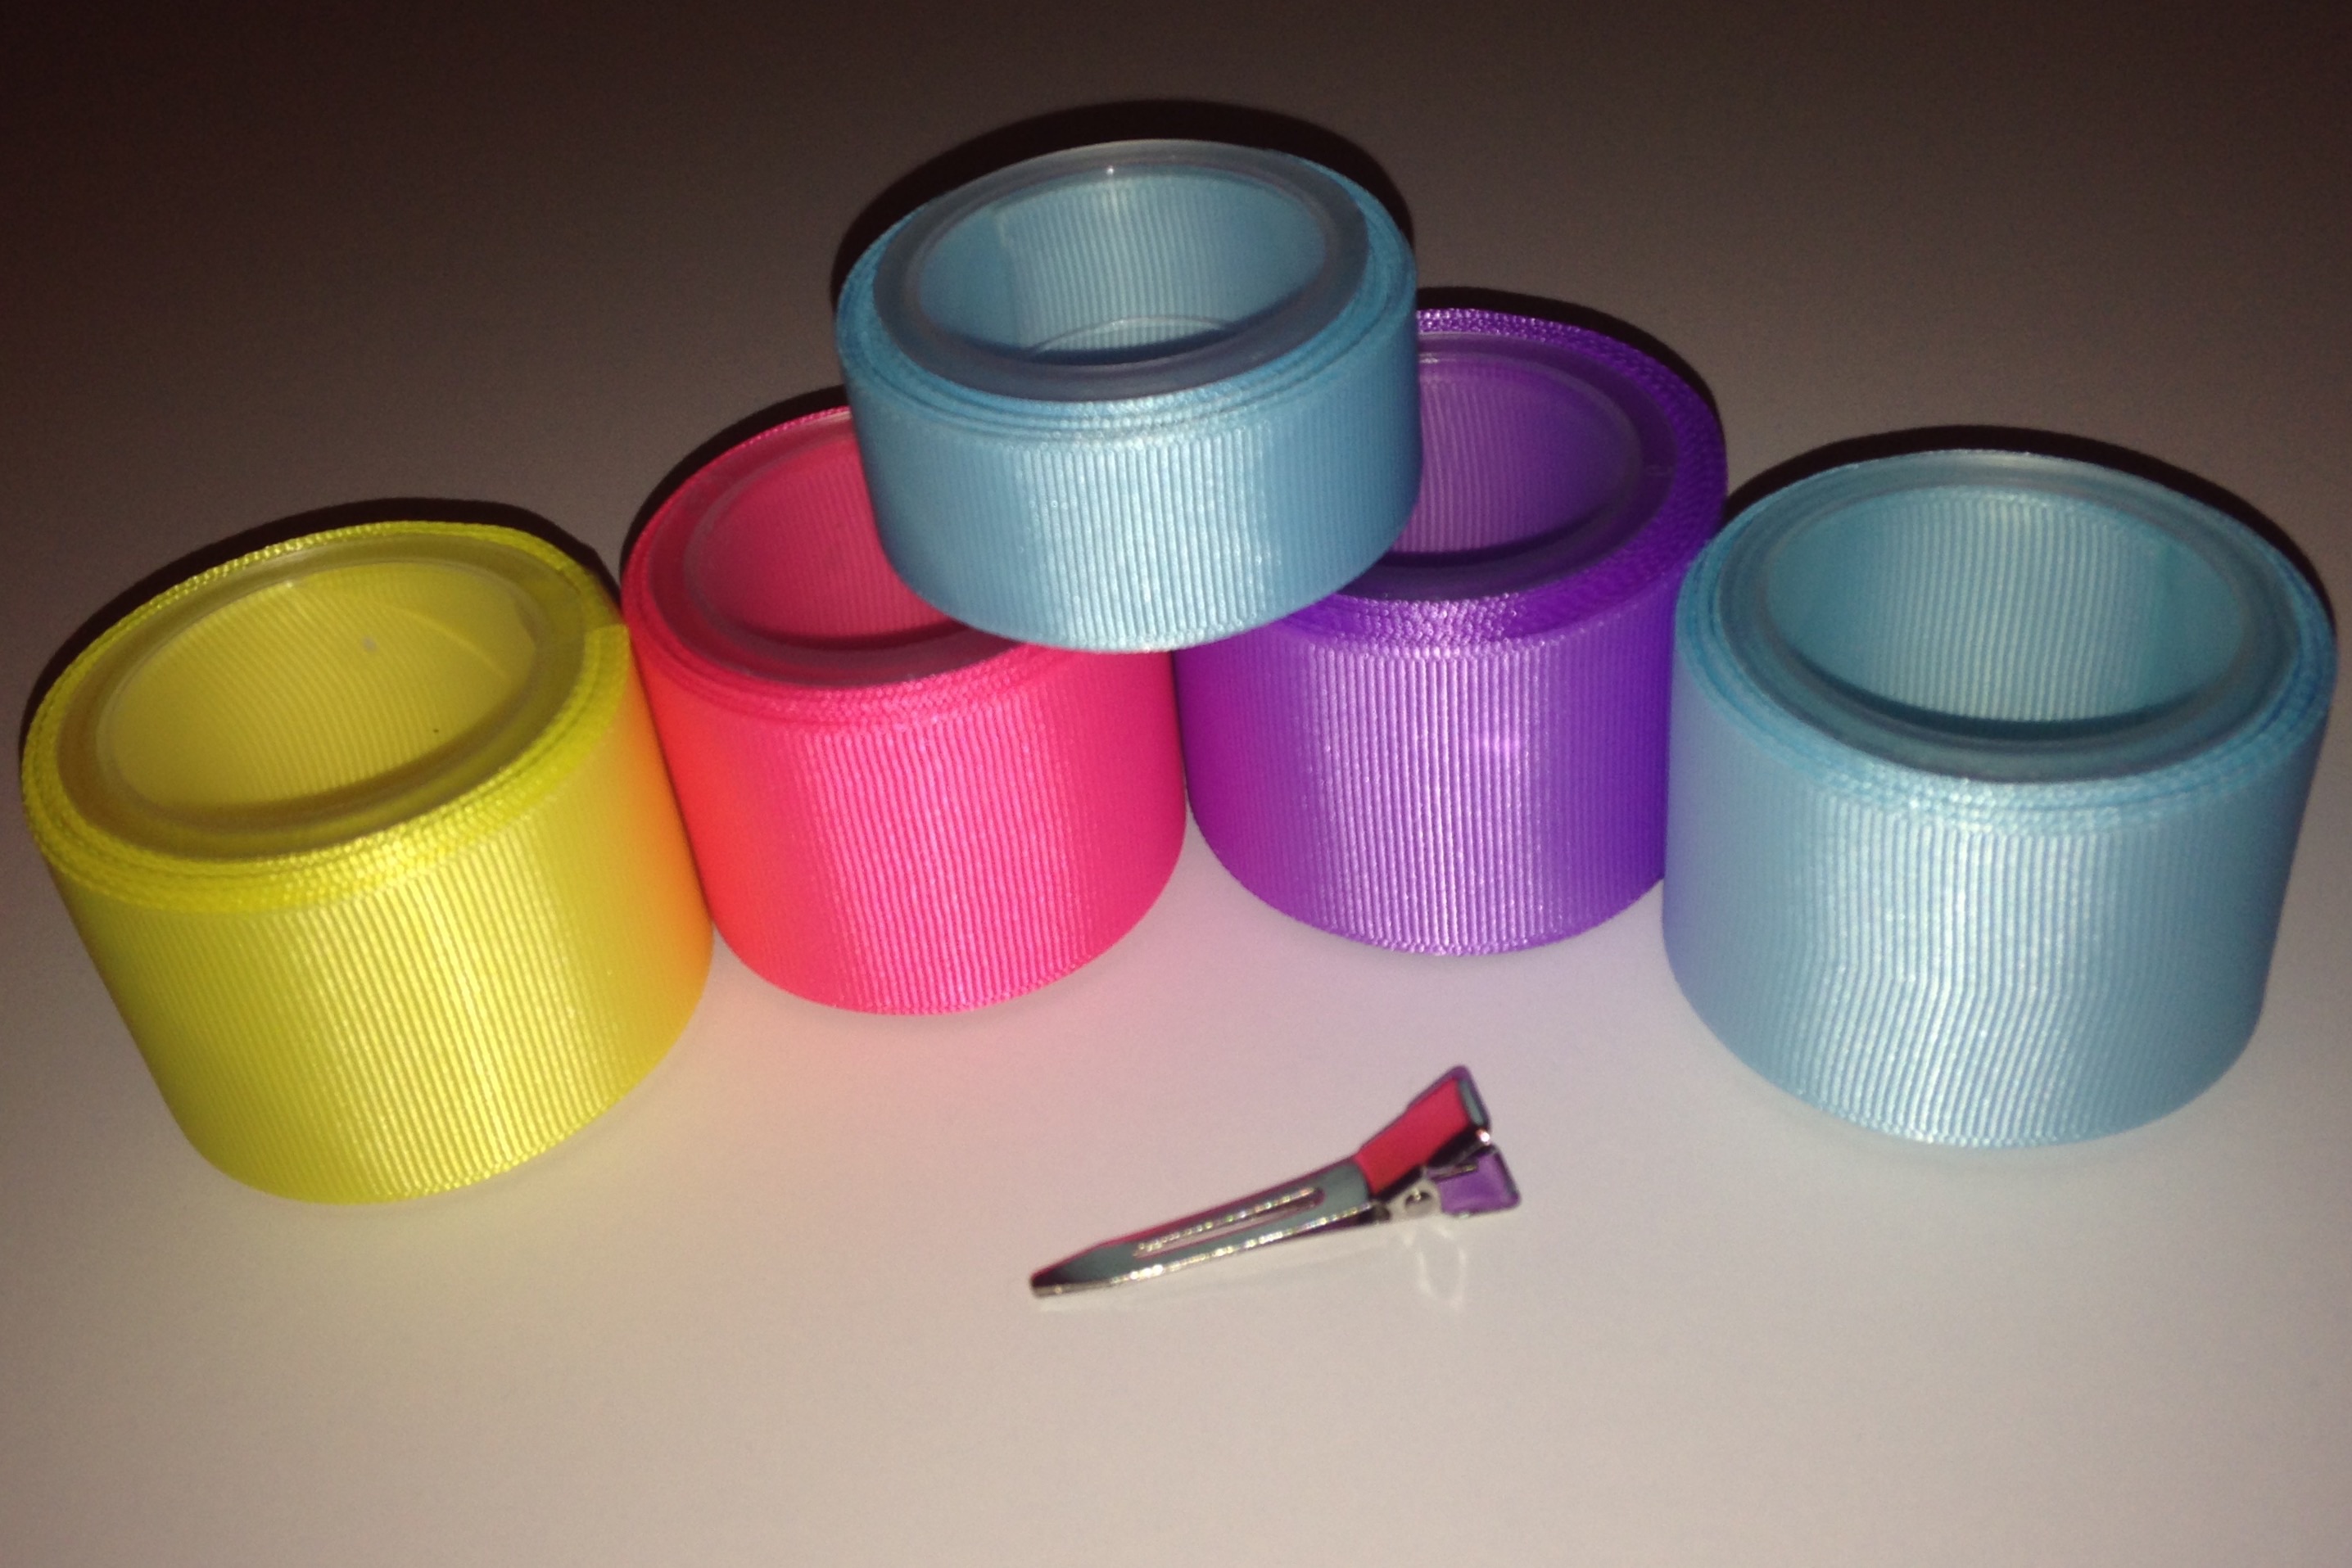
After carefully selecting the perfect colors, it's time to measure and cut your strips of ribbon. My finished bow measures a little over 5". You may want to adjust your measurements to make a smaller or larger bow. Normally to create this size bow I would use 30" of ribbon, but for this specific folding method I am using today I have added an additional 2" (one inch for each of the 2 ends). So my measurements are as follows: 8.5" of Lavender, 7.5" of Ocean Blue, 7.5" of Lemon and 8.5" of Passion Fruit. Cut your ribbon to the appropriate lengths and don't forget to heat seal all ends!

Start connecting your ribbon strips to create one solid piece of ribbon. To do this add a very thin strip of hot glue down the edge of one ribbon and carefully place another piece of ribbon on top. Do not use too much glue! This will not only be messy but will make the center hard to fold later.
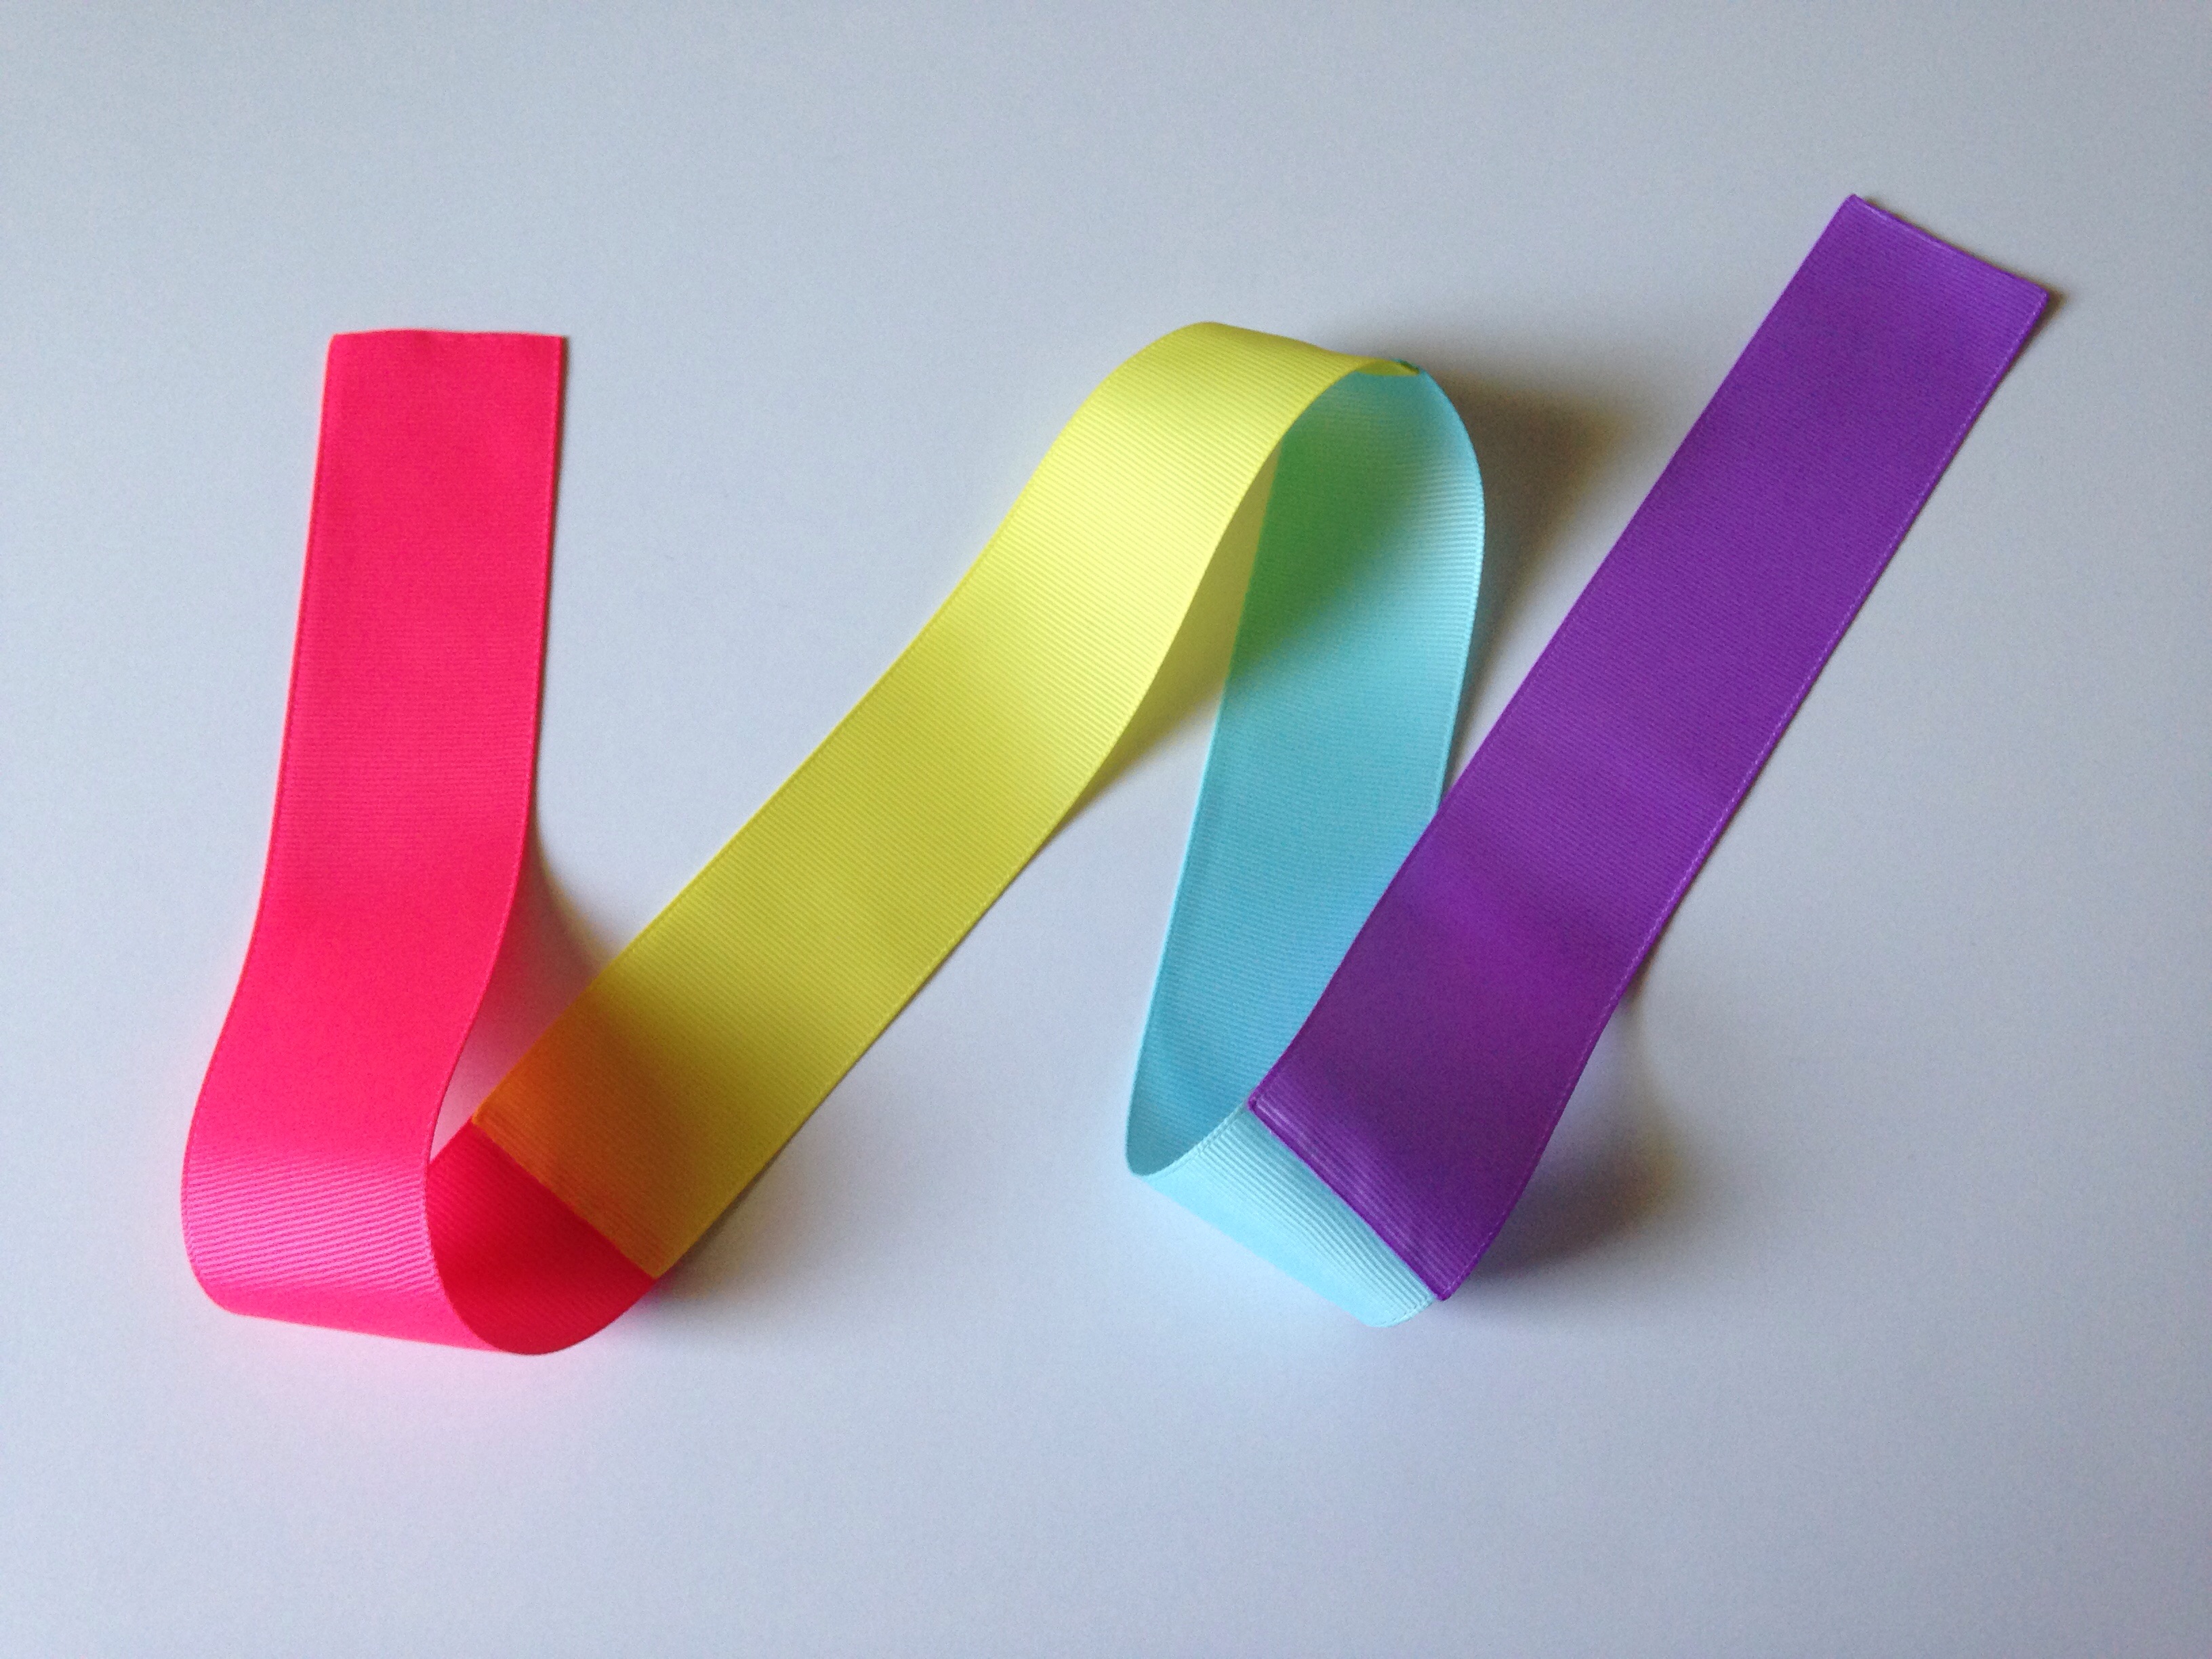
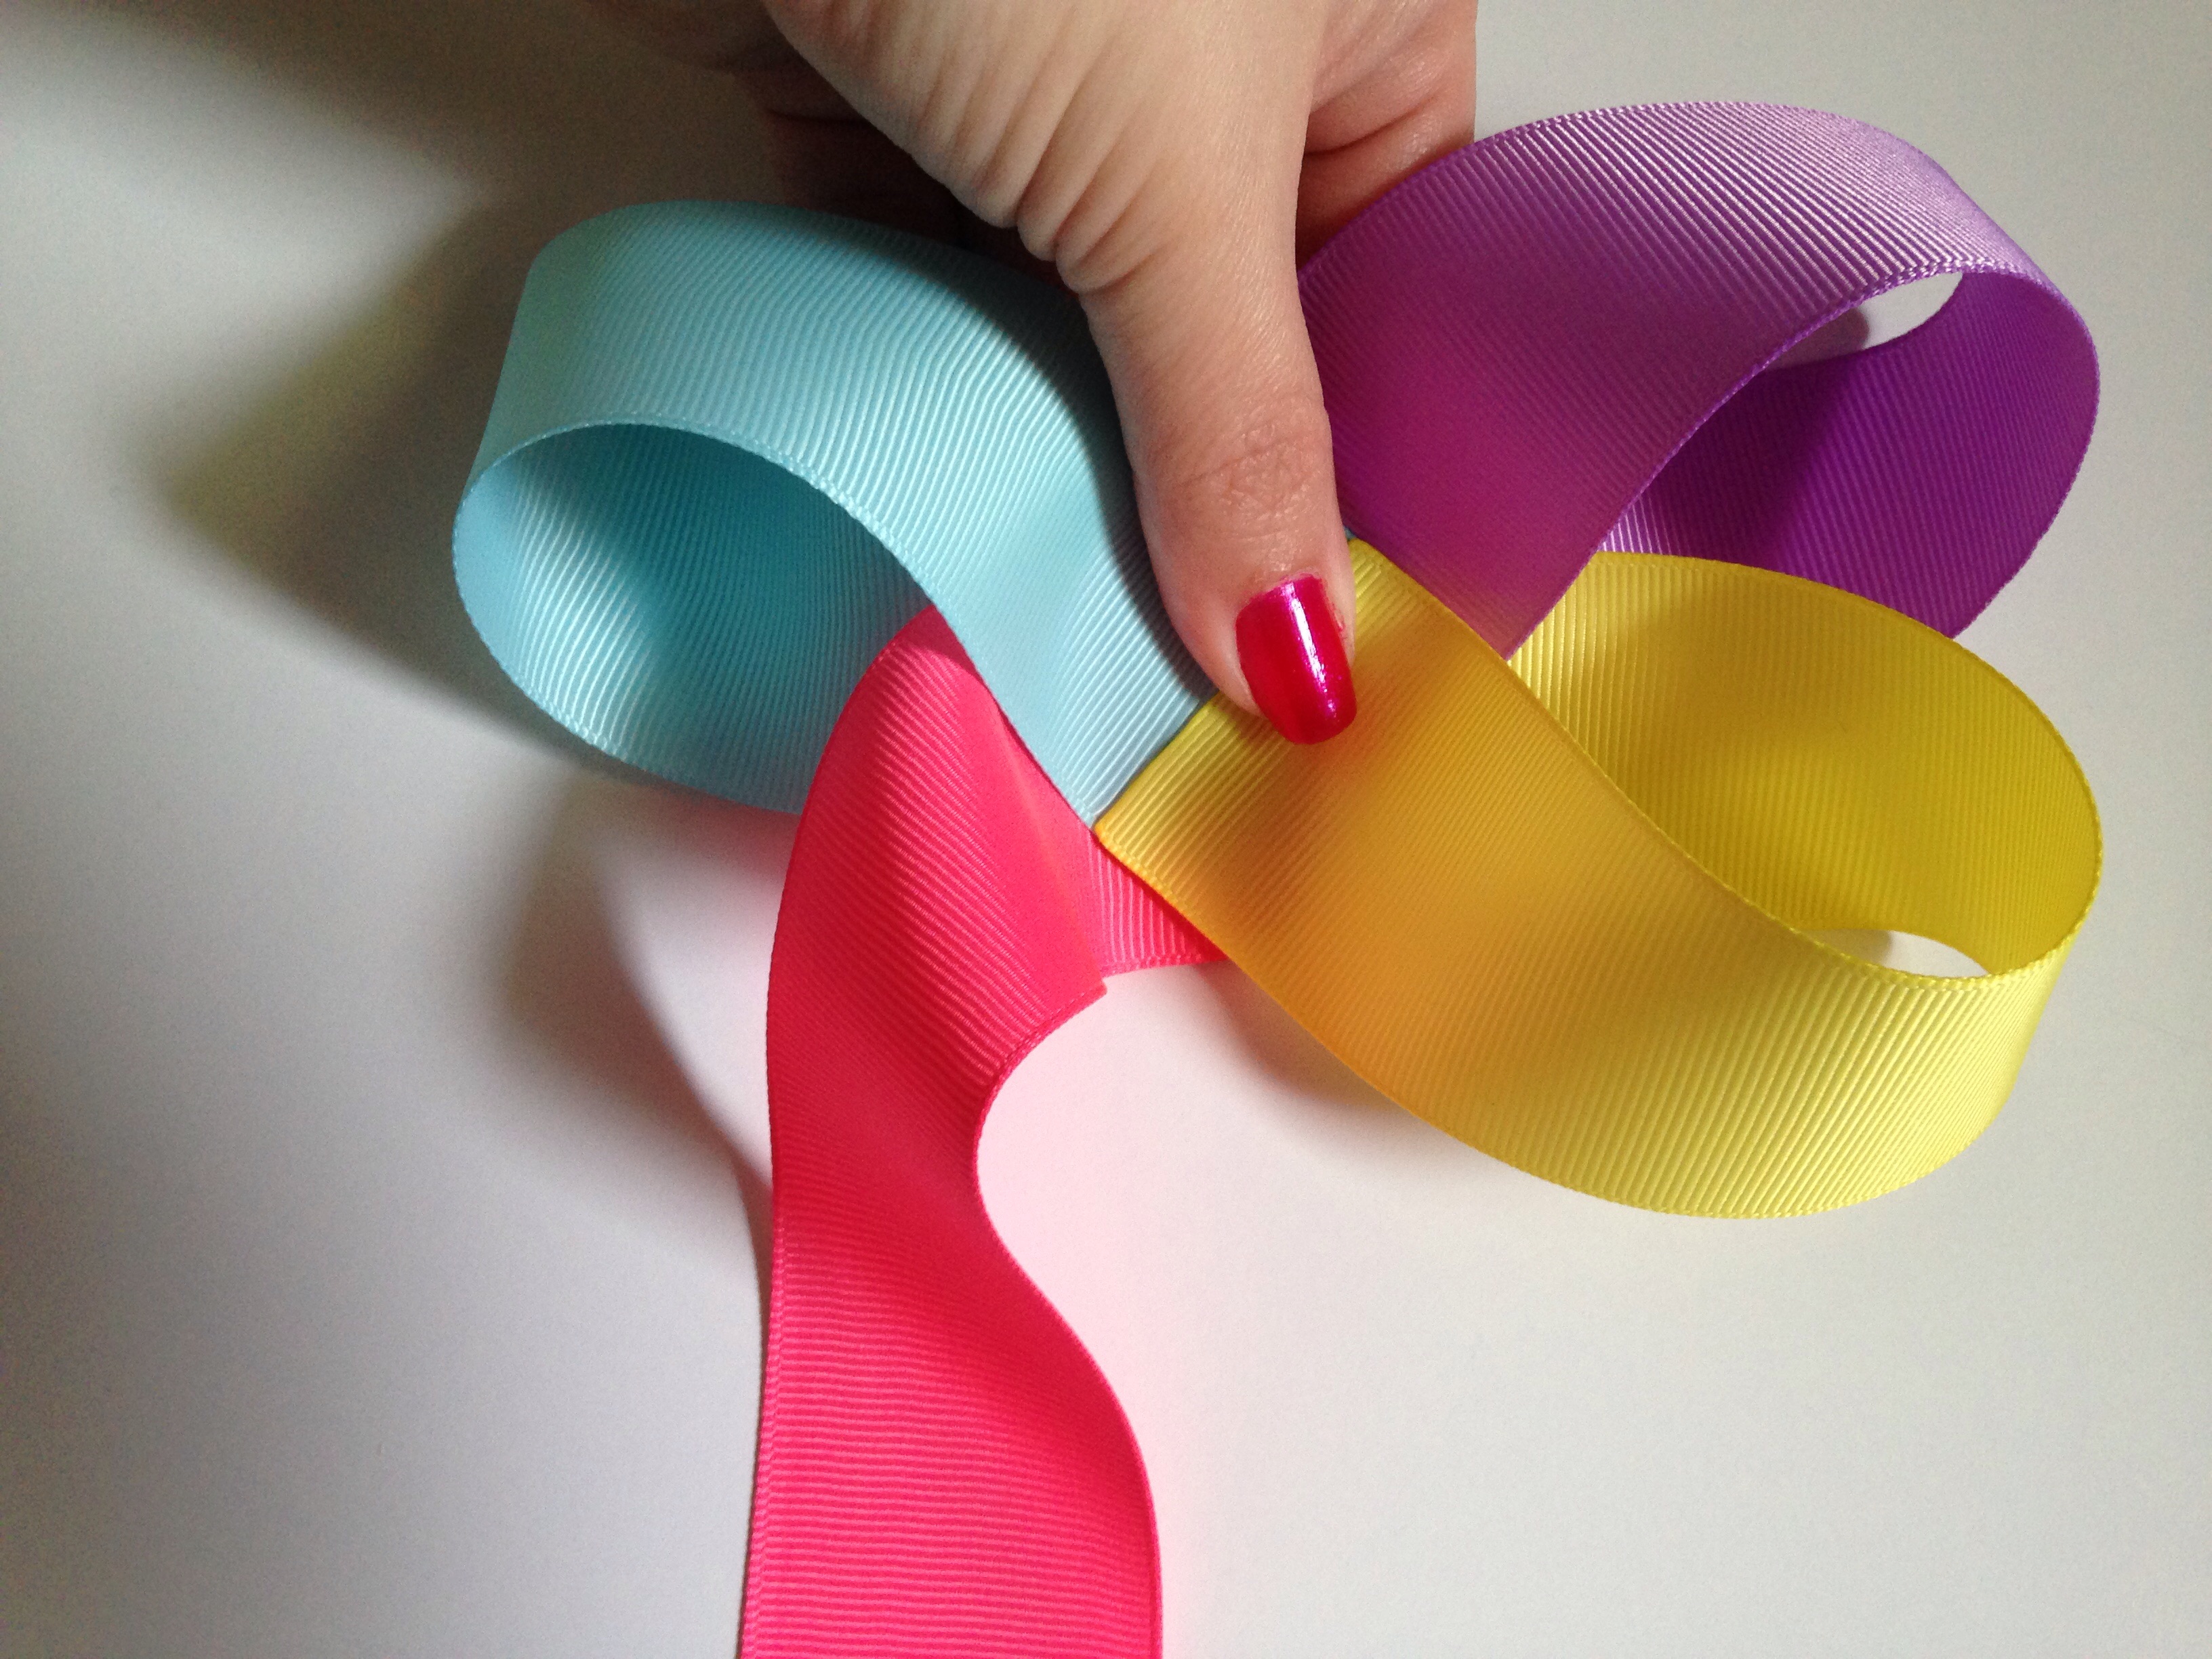
After connecting all 4 pieces you will now have one continuous piece of ribbon as shown above.
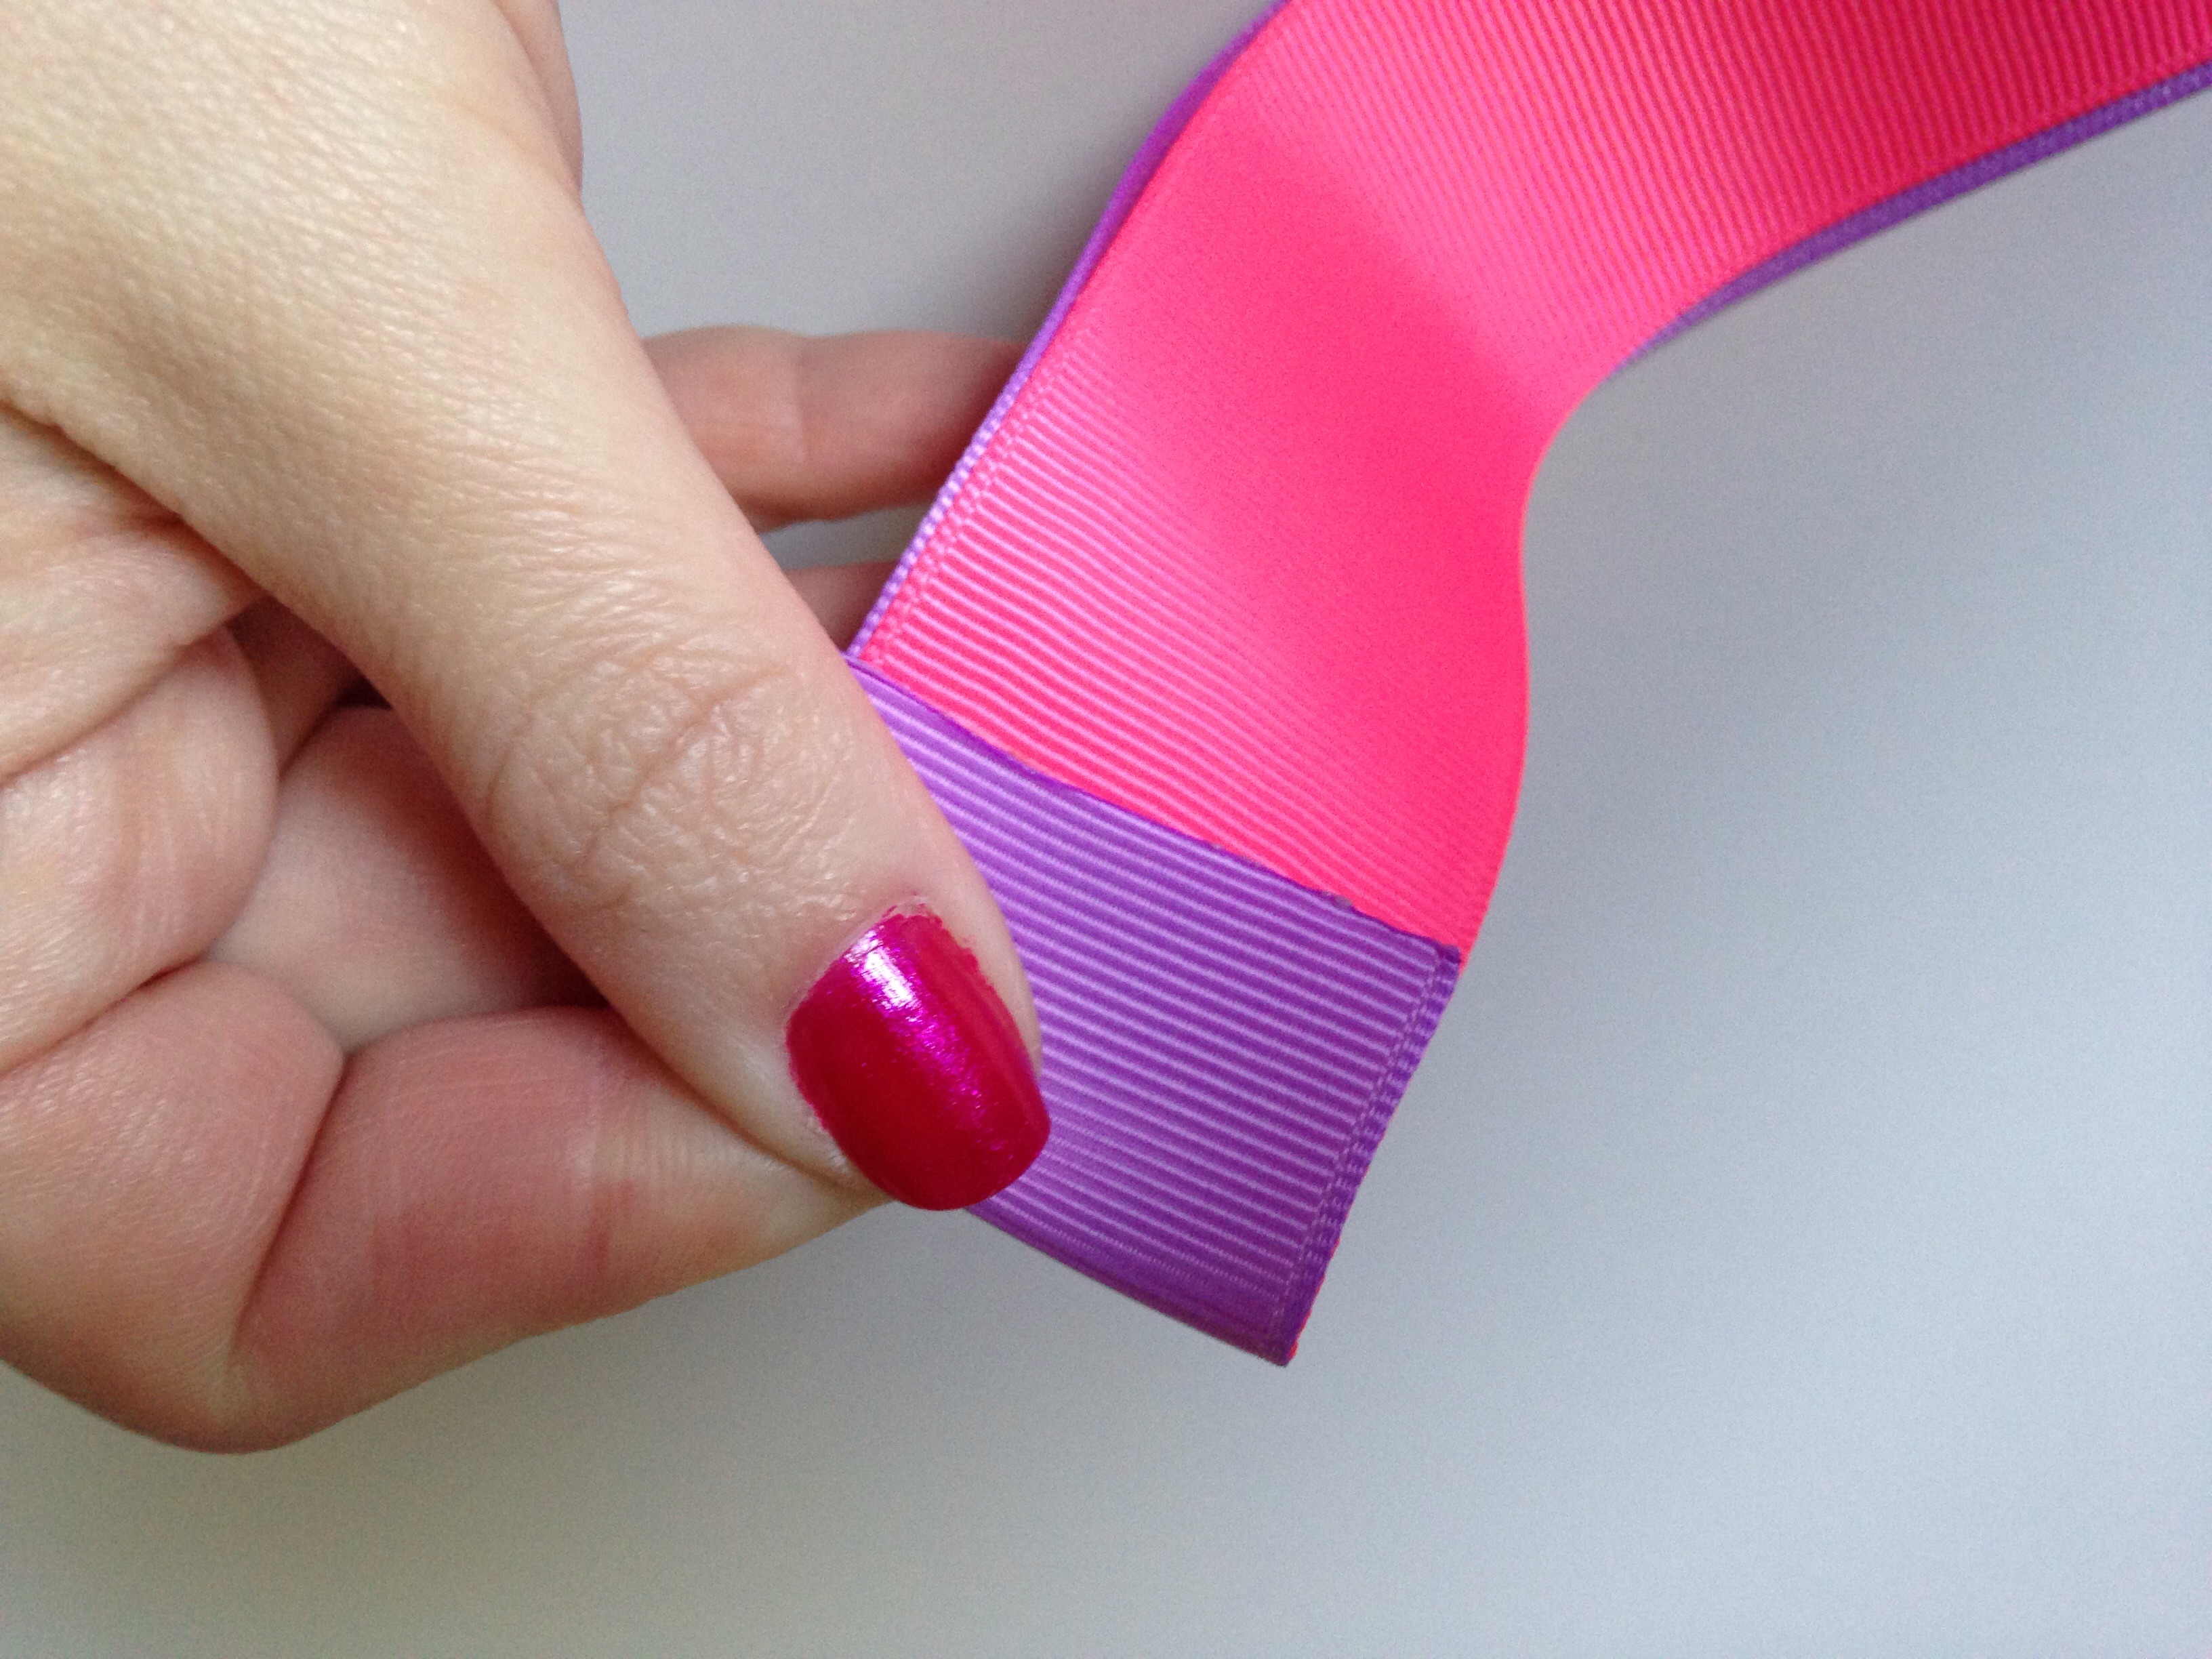
One of the simplest ways to create a boutique bow is using this super easy folding method. Lucky for us we can use the seams of the connected ribbon as our guides instead of making multiple creases. Only 2 creases must be made at the ends of the ribbon length and then we are ready for these beautiful colors to transform into a sweet little bow! With your 2 longest pieces of ribbon on each end, fold down approx 1" and be sure to make a hard crease.
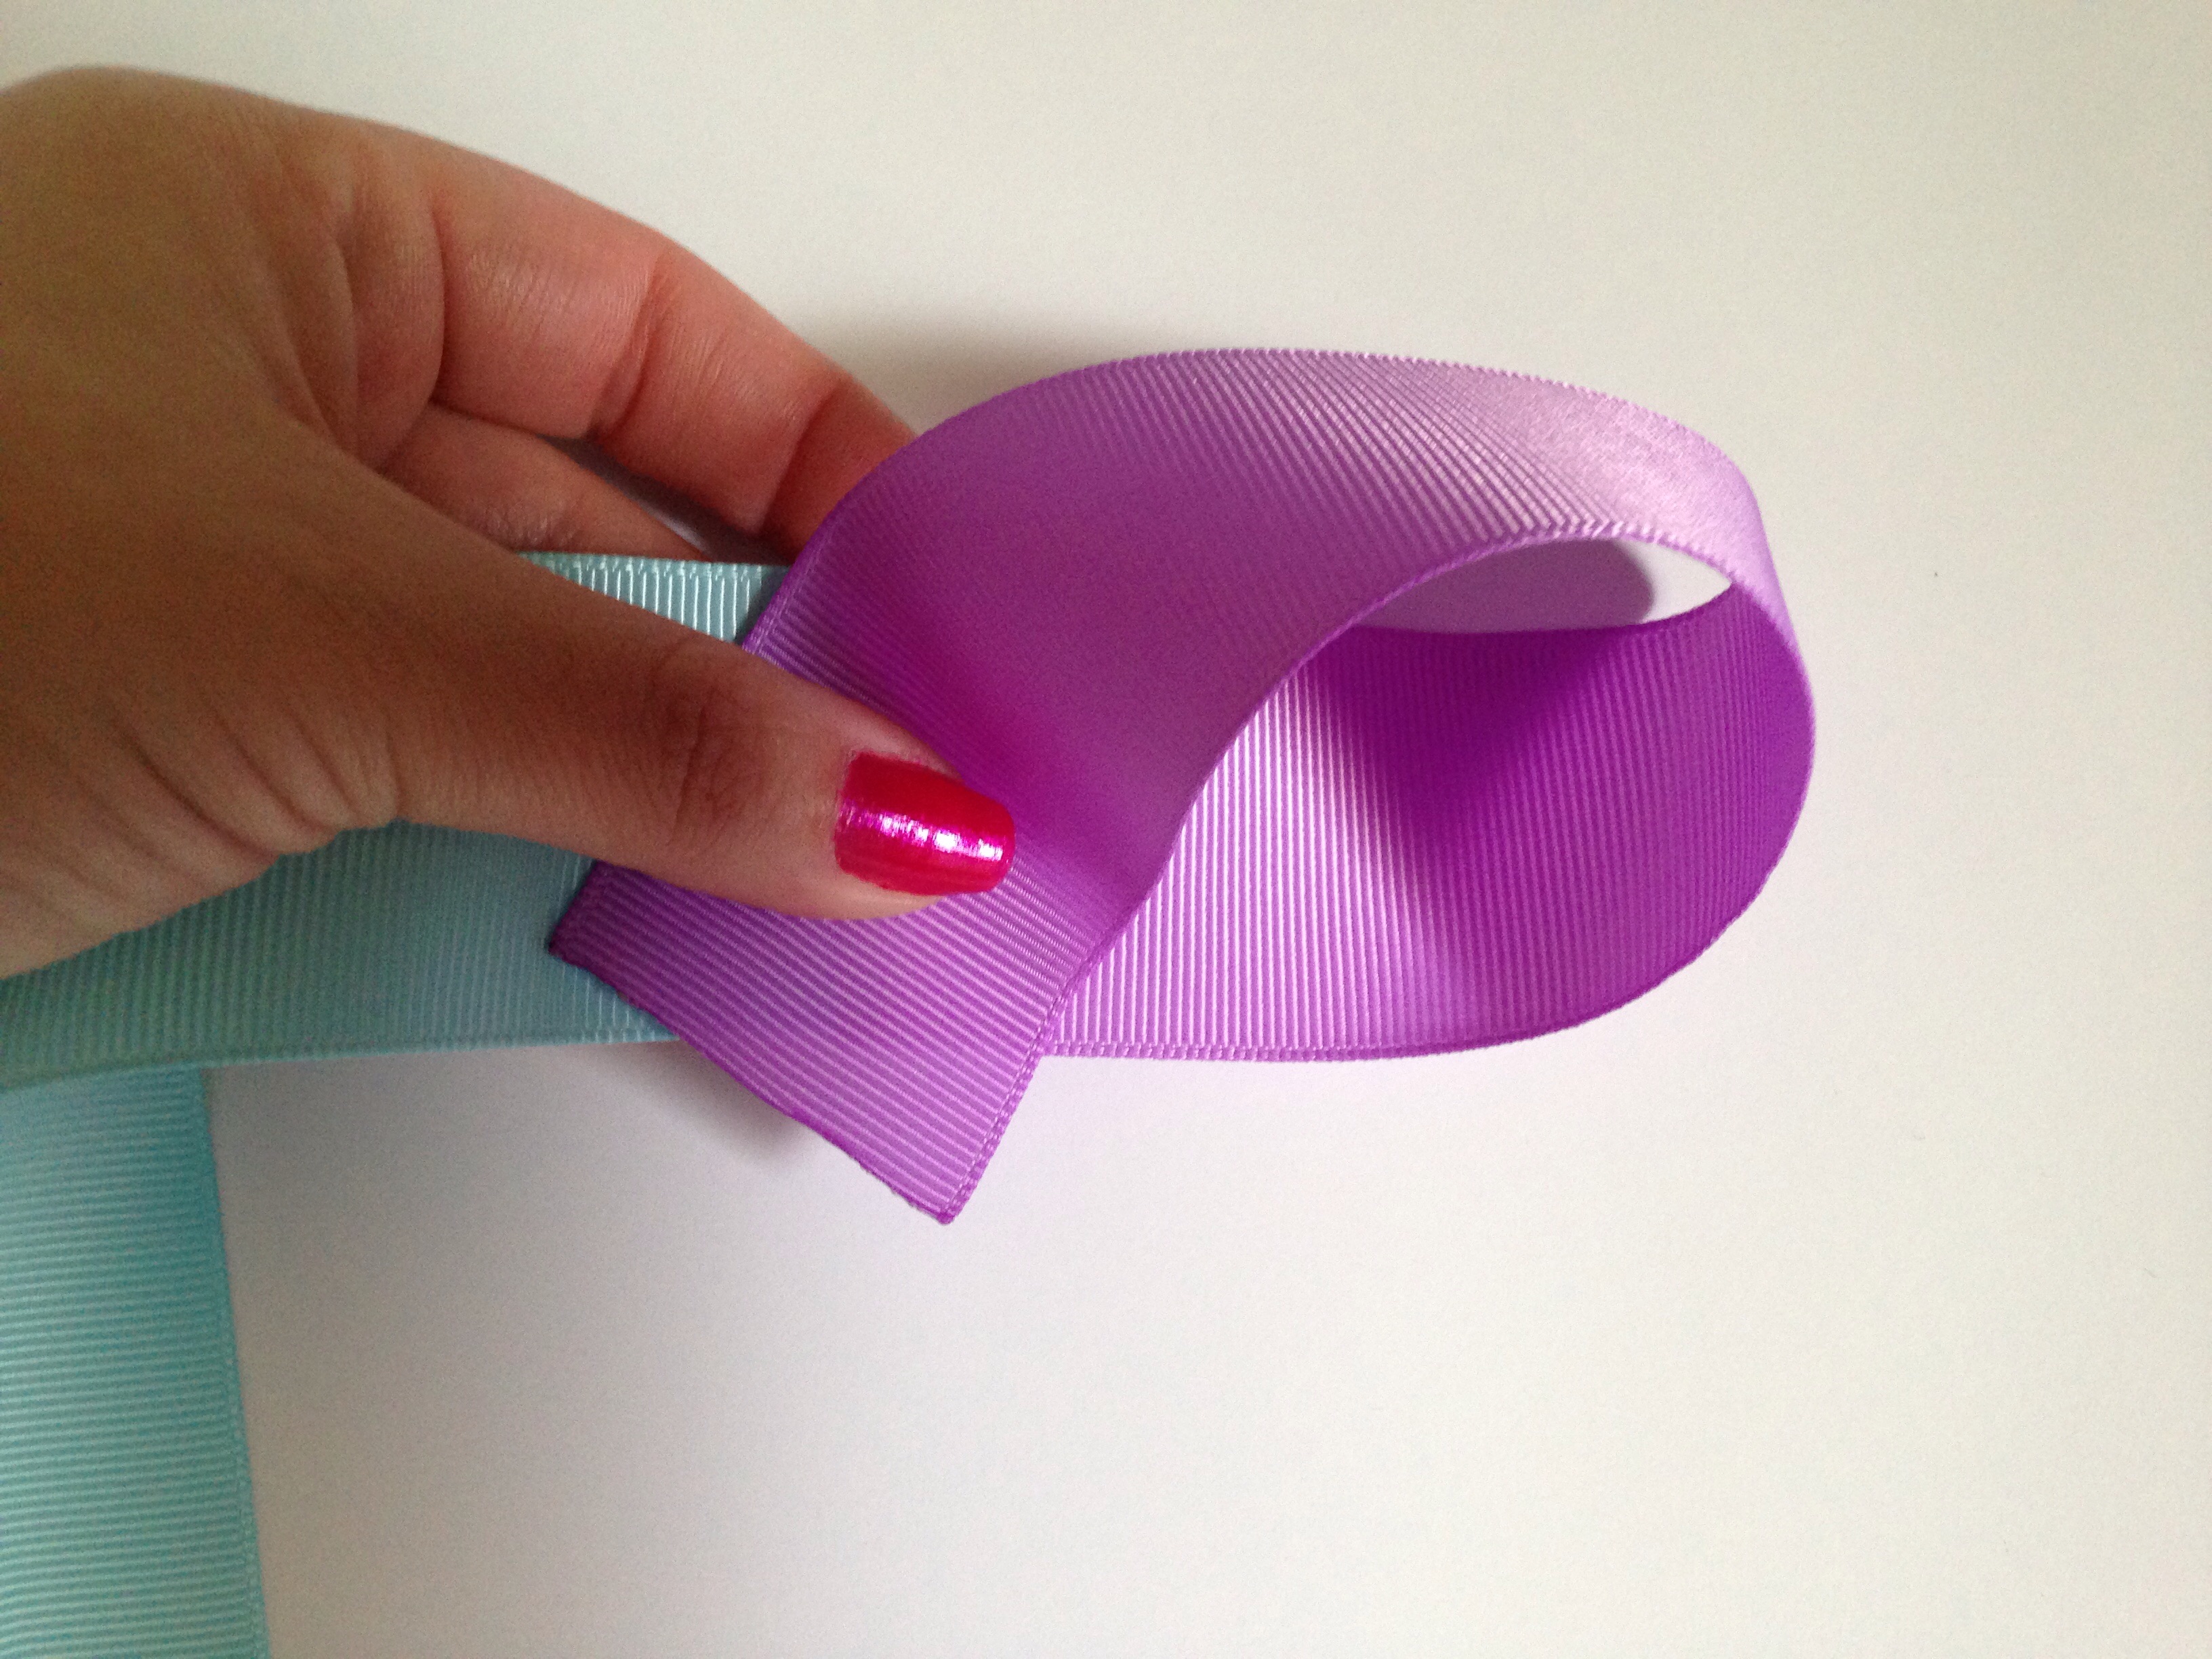
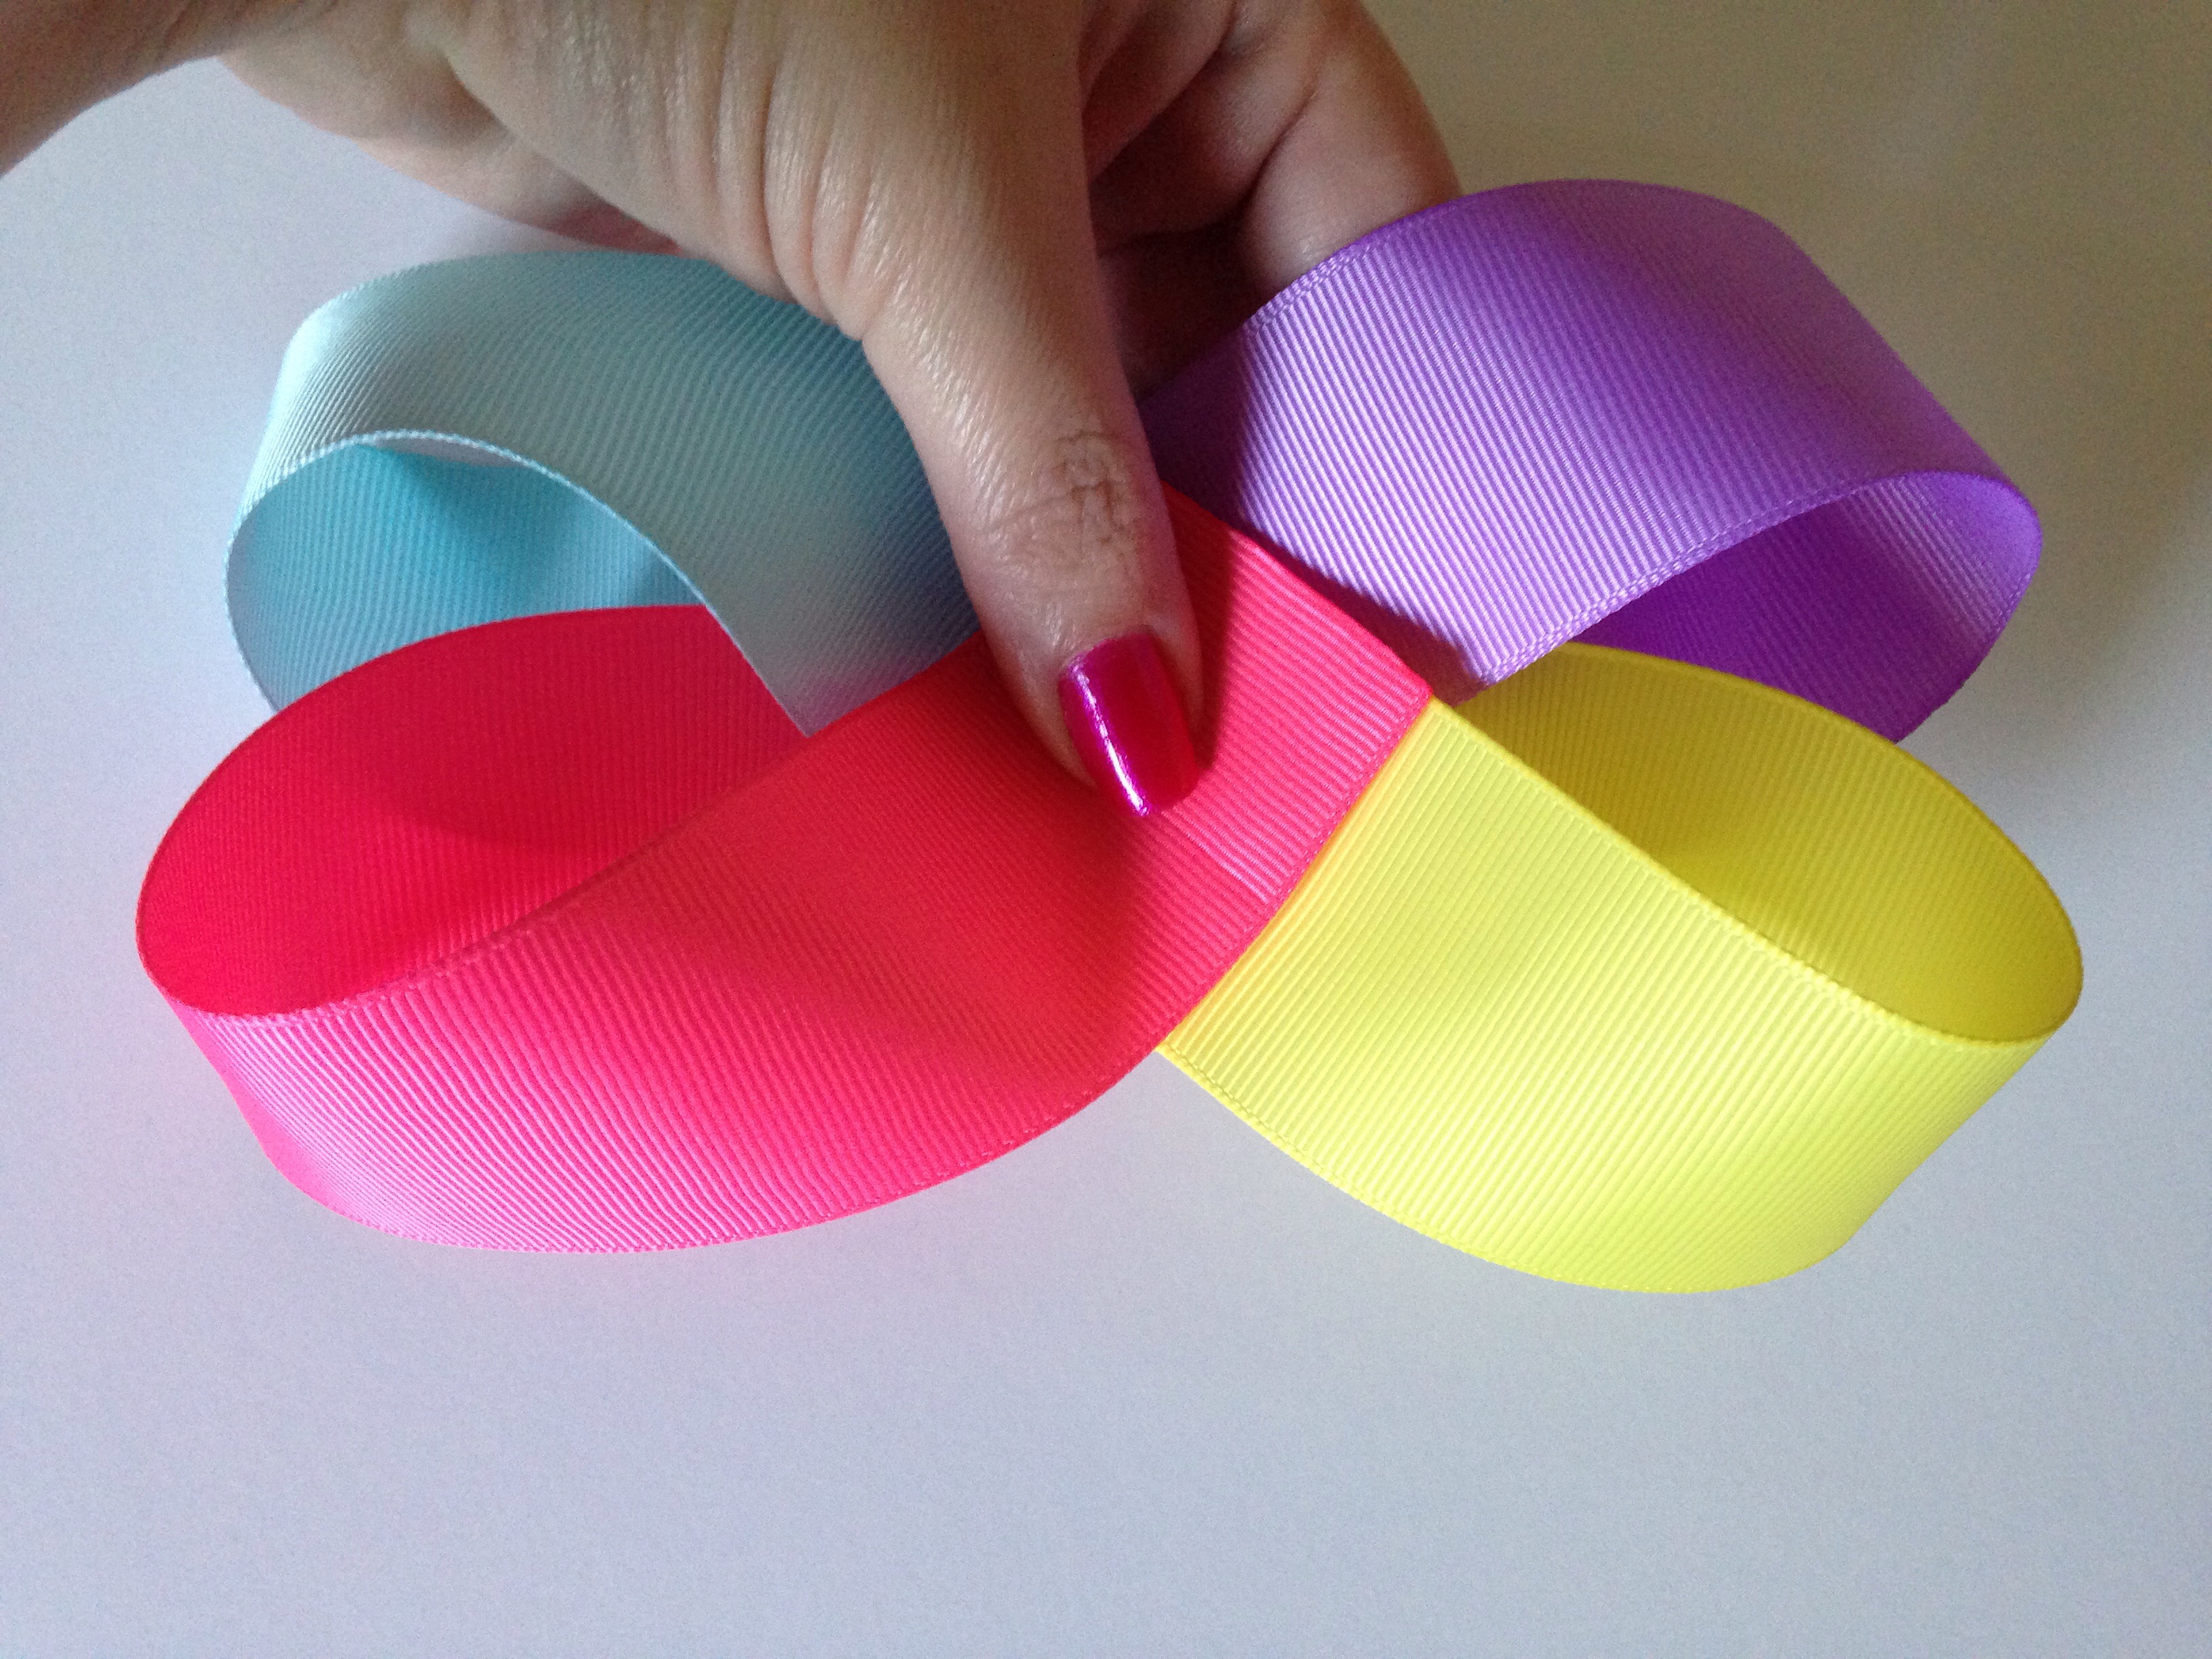
Starting with either end locate the center of your crease and your first ribbon seam. Place your crease directly on top of the seam forming an "X" to create your first loop. The position you choose to lay each ribbon down determines how curvy your loops will be. Using the simple "X" pattern gives the loops of your bow a wonderful shape without making them too loopy. If you prefer a straighter and more flat looking loop you simply would lay your pieces down to create a more slender "X". If you prefer your loops to have an extremely dramatic loop you would simply place them closer to a "t" pattern. Play around with your loops until you find your perfect loop preference.
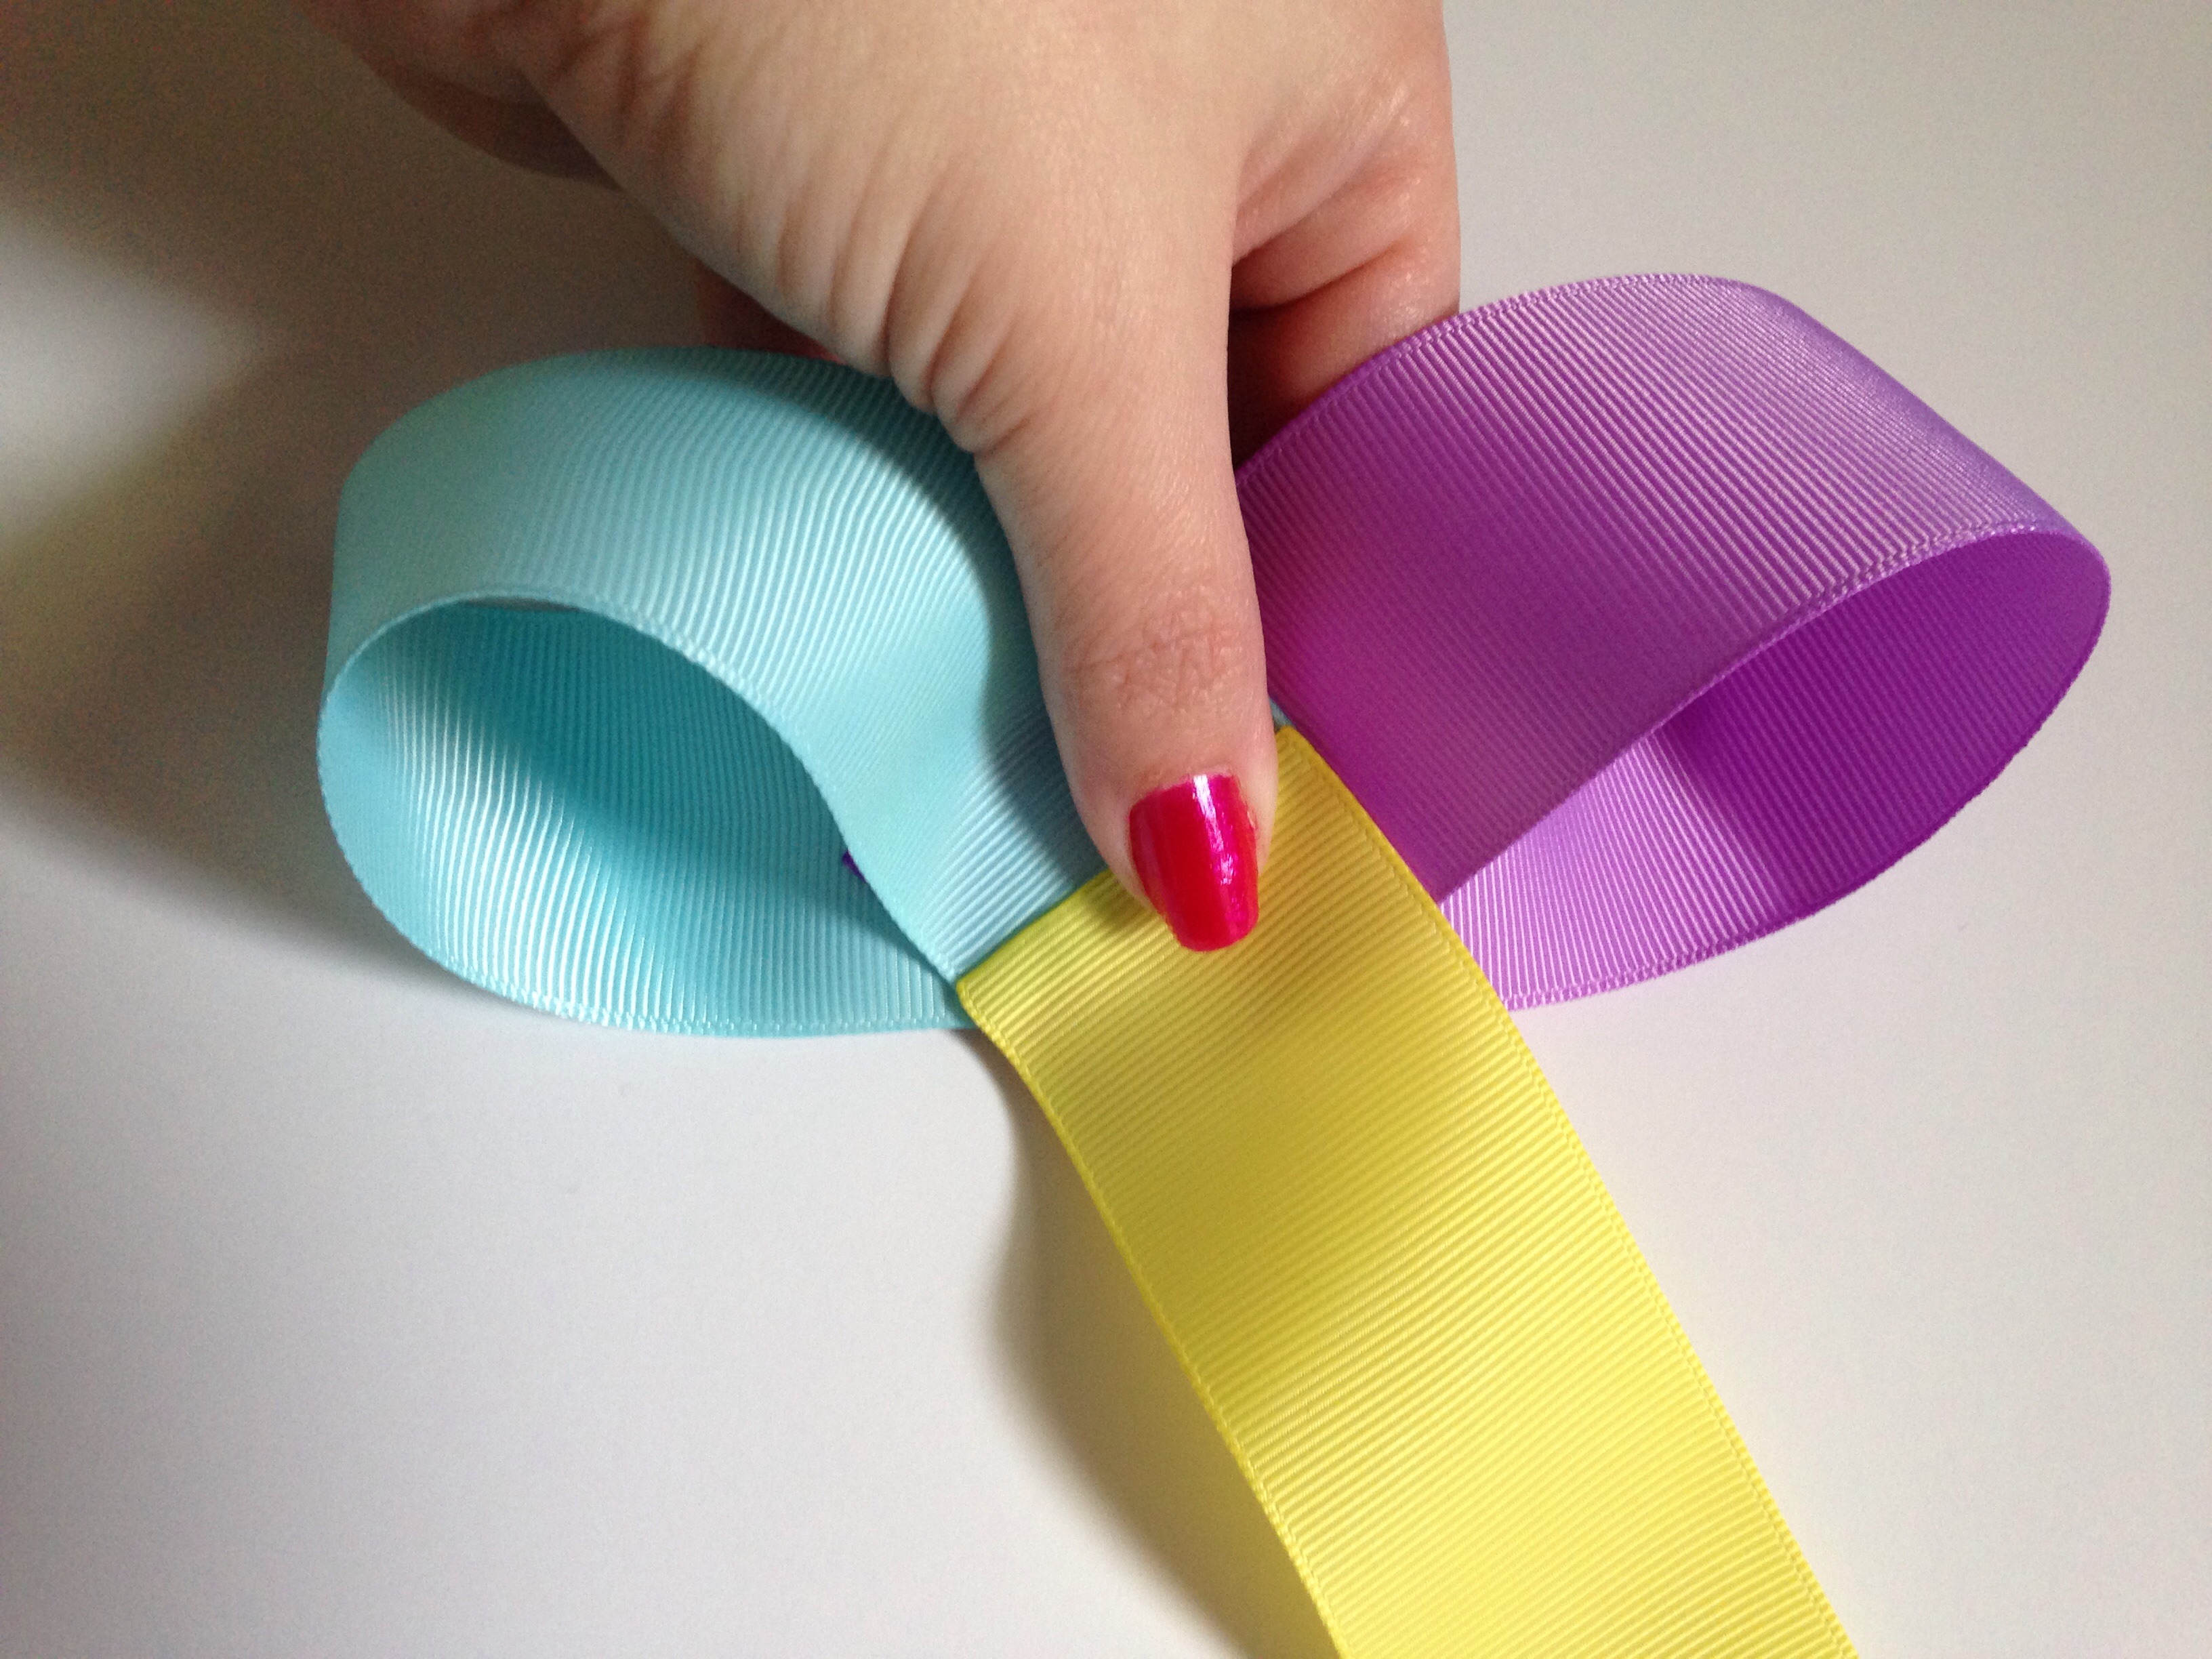
Take your next seam and once again make an "X" over the crease to form your second loop.
As you create your third loop, take your last seam and line it up with the seam in the back. Tuck your ribbon between the 2nd & 3rd layer.
Take your last section of ribbon and bring the crease to the center of your bow. Line up the end of your ribbon so it will be running parallel to the ribbon directly across from it to create a nice uniformed look.
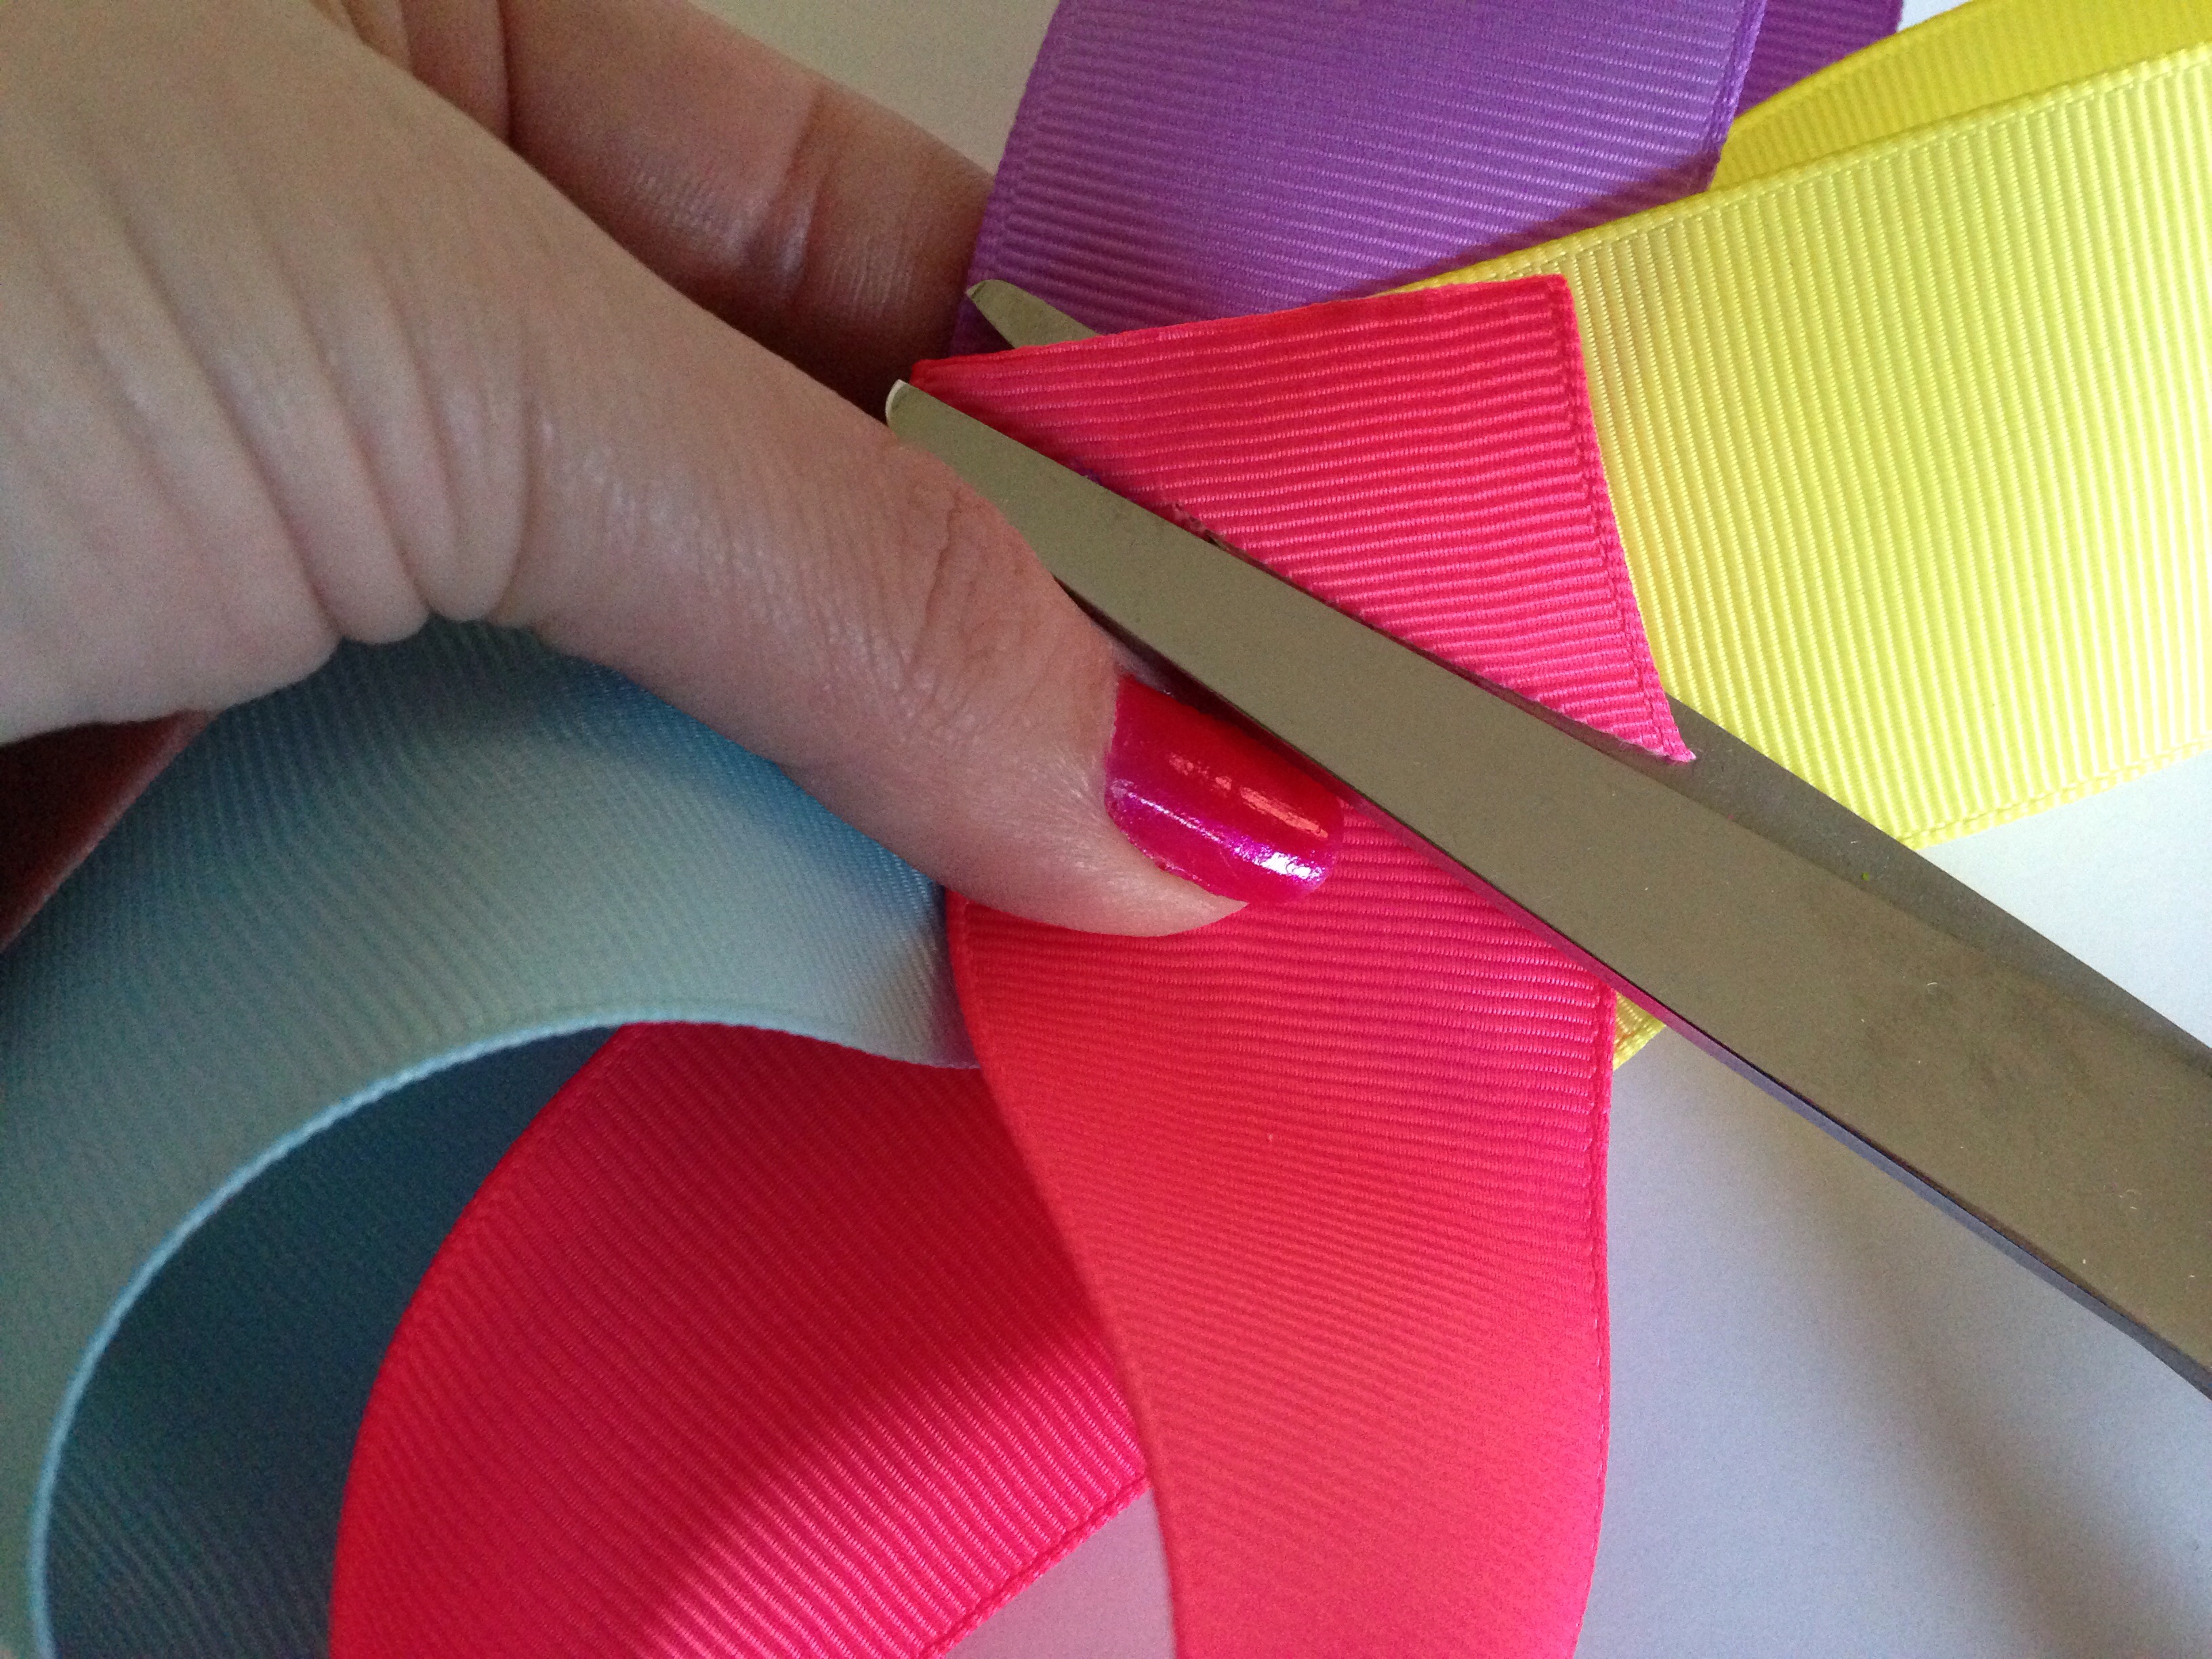
I like to to trim the corner of the ribbon off that overlaps the other side so I will have 4 perfect loops, all with only one color showing. It makes the appearance of the bow much more attractive. Don't forget to heat seal your end after trimming!
Now that you have all 4 loops in place check to make sure they are all even and adjust if necessary. I prefer the look of my bow with the last loops formed being the top and the first 2 loops created being the bottom, so if you are wanting your colors in a specific order be aware that the last colors formed will actually be the top of your bow. This is just my preference of how I like the overall look of my bow, and the only difference you should see is which loops are tucked in front or behind the other in your connecting loops.
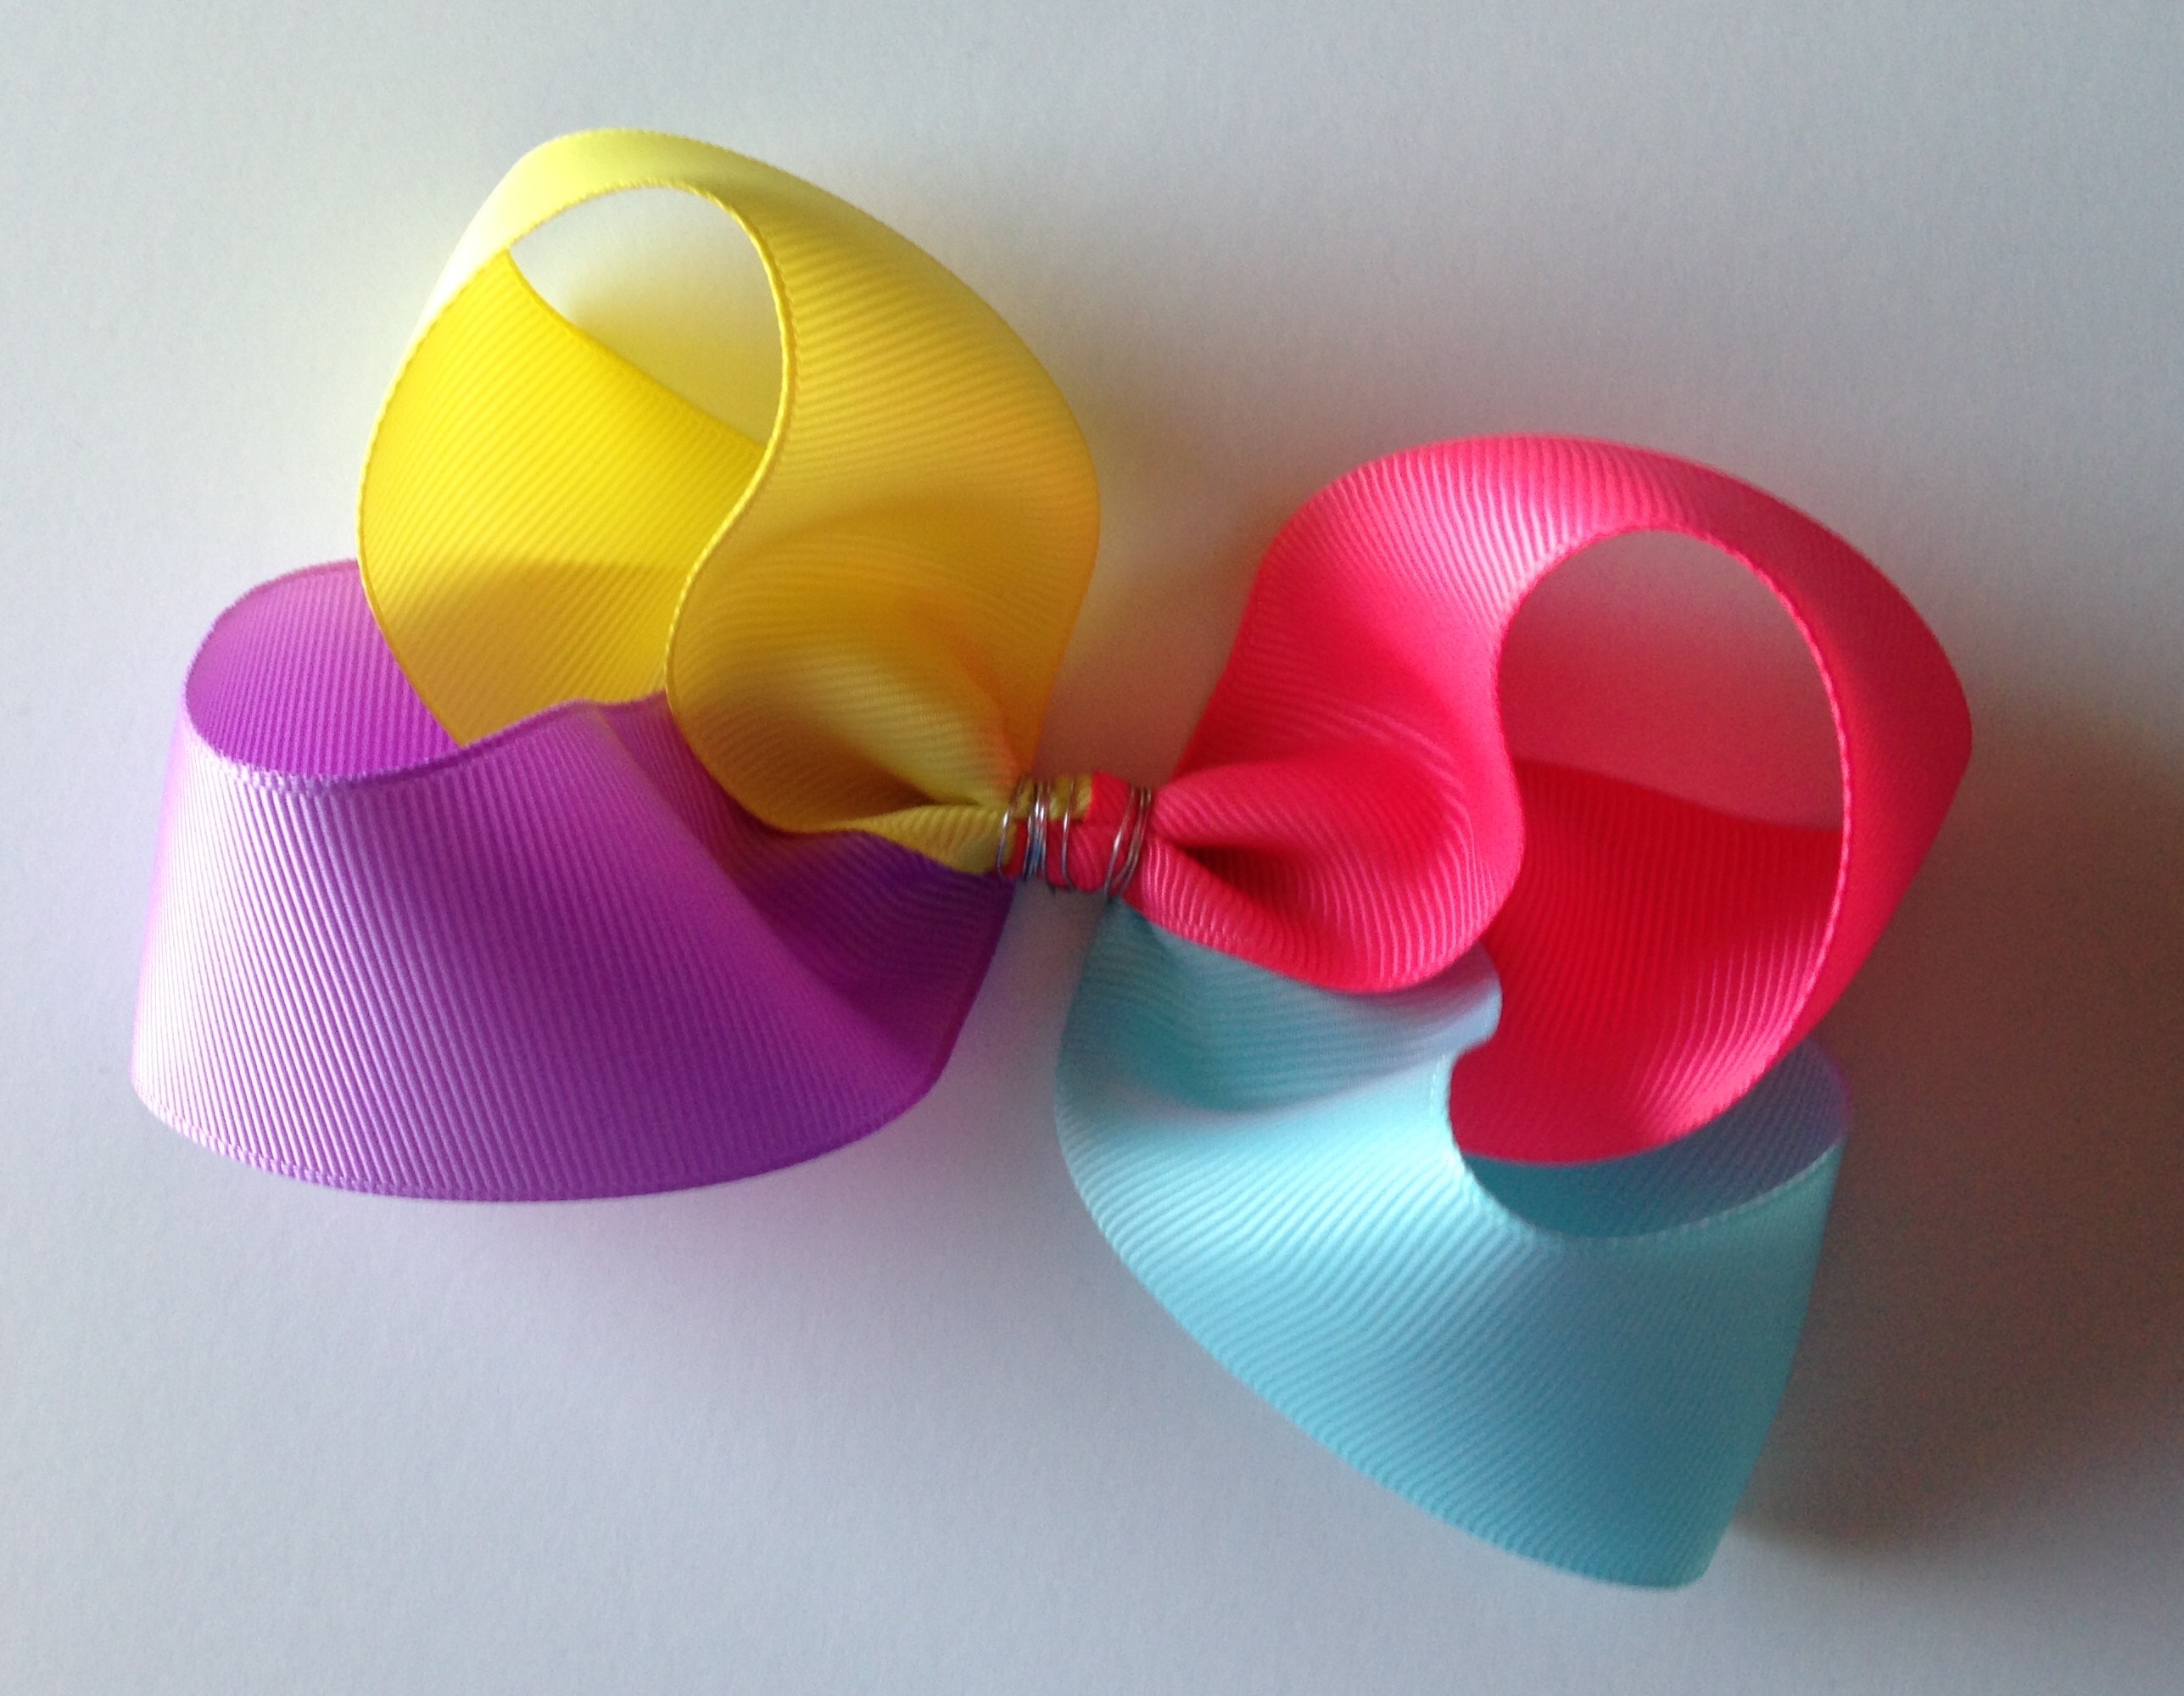
Make a normal accordion fold down the center of your bow and wrap with wire or whatever your preference may be. To cover my center I chose 7/8" Ocean Blue to make a traditional knot. You may choose any of your coordinating colors for your center or even choose a completely different color! If you prefer to finish your look with a completely smooth center, any color of 3/8" ribbon can be chosen instead of making a knot with 7/8" ribbon. Don't forget to add your alligator clip to the back when you secure your center with your choice of ribbon. Any size alligator clip works with this bow, but I normally use a 1.75" clip.
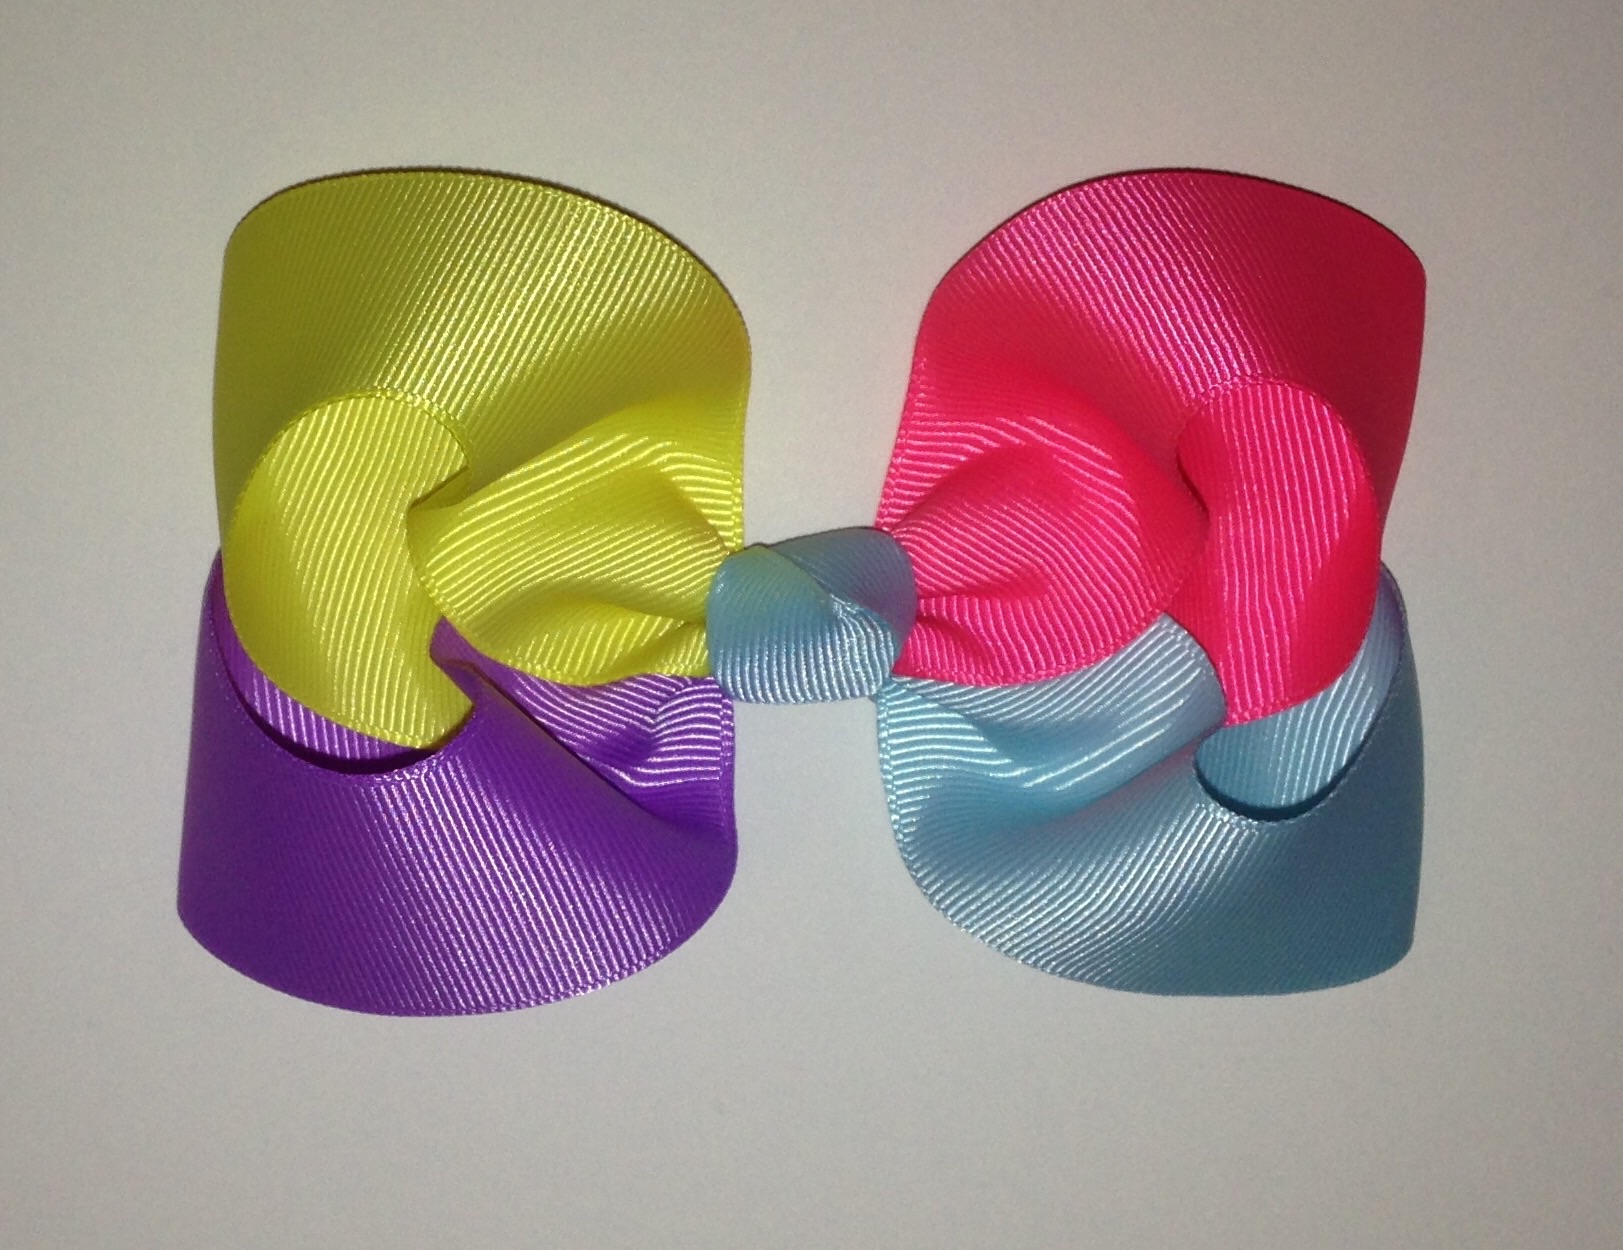
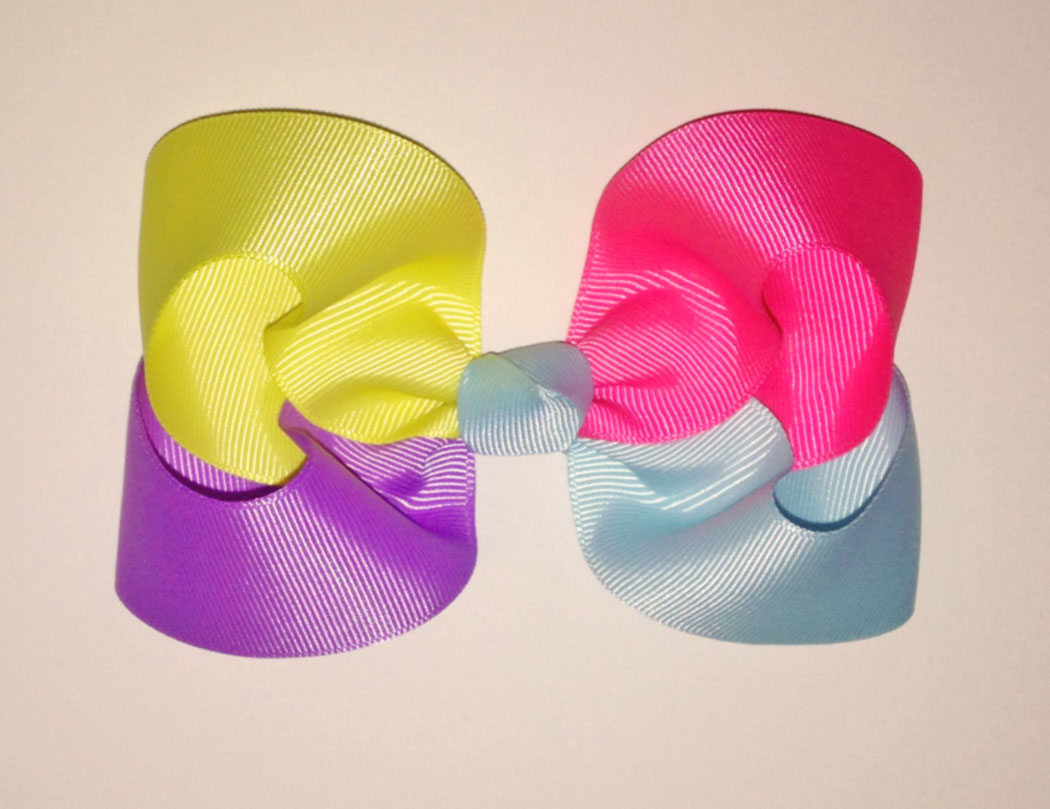
TA-DA!! Now we have created a gorgeous mix of Spring colors in one super cute traditional bow that a girl of any age will love to show off! I hope you have enjoyed this tutorial and find your future bow making very colorful & exciting! You never have to decide on only ONE color ever again!!
Visit the rest of our blog for more Crafting Tutorials and DIY Instructions!
Loading...

