 by Kristi
We all just LOVE the bobby pins as they can be decorated in so many ways and are also great for ladies as well!
The korker hair-bows are geared more towards the little ones, but the rhinestone "bling" bobby pins can be seen worn around HairBow Center nearly every day by at least one of us.
Supplies needed:
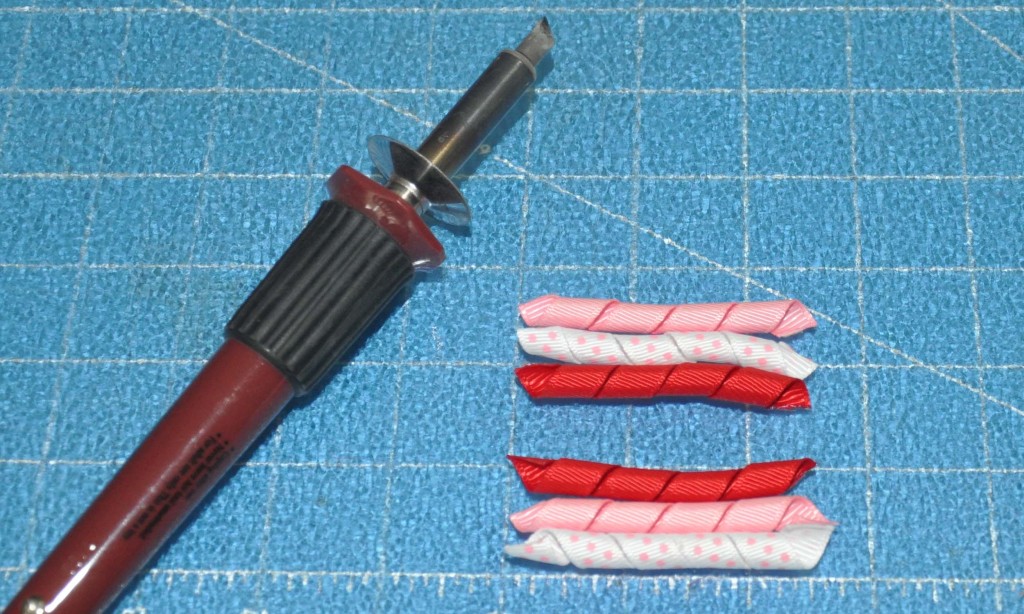
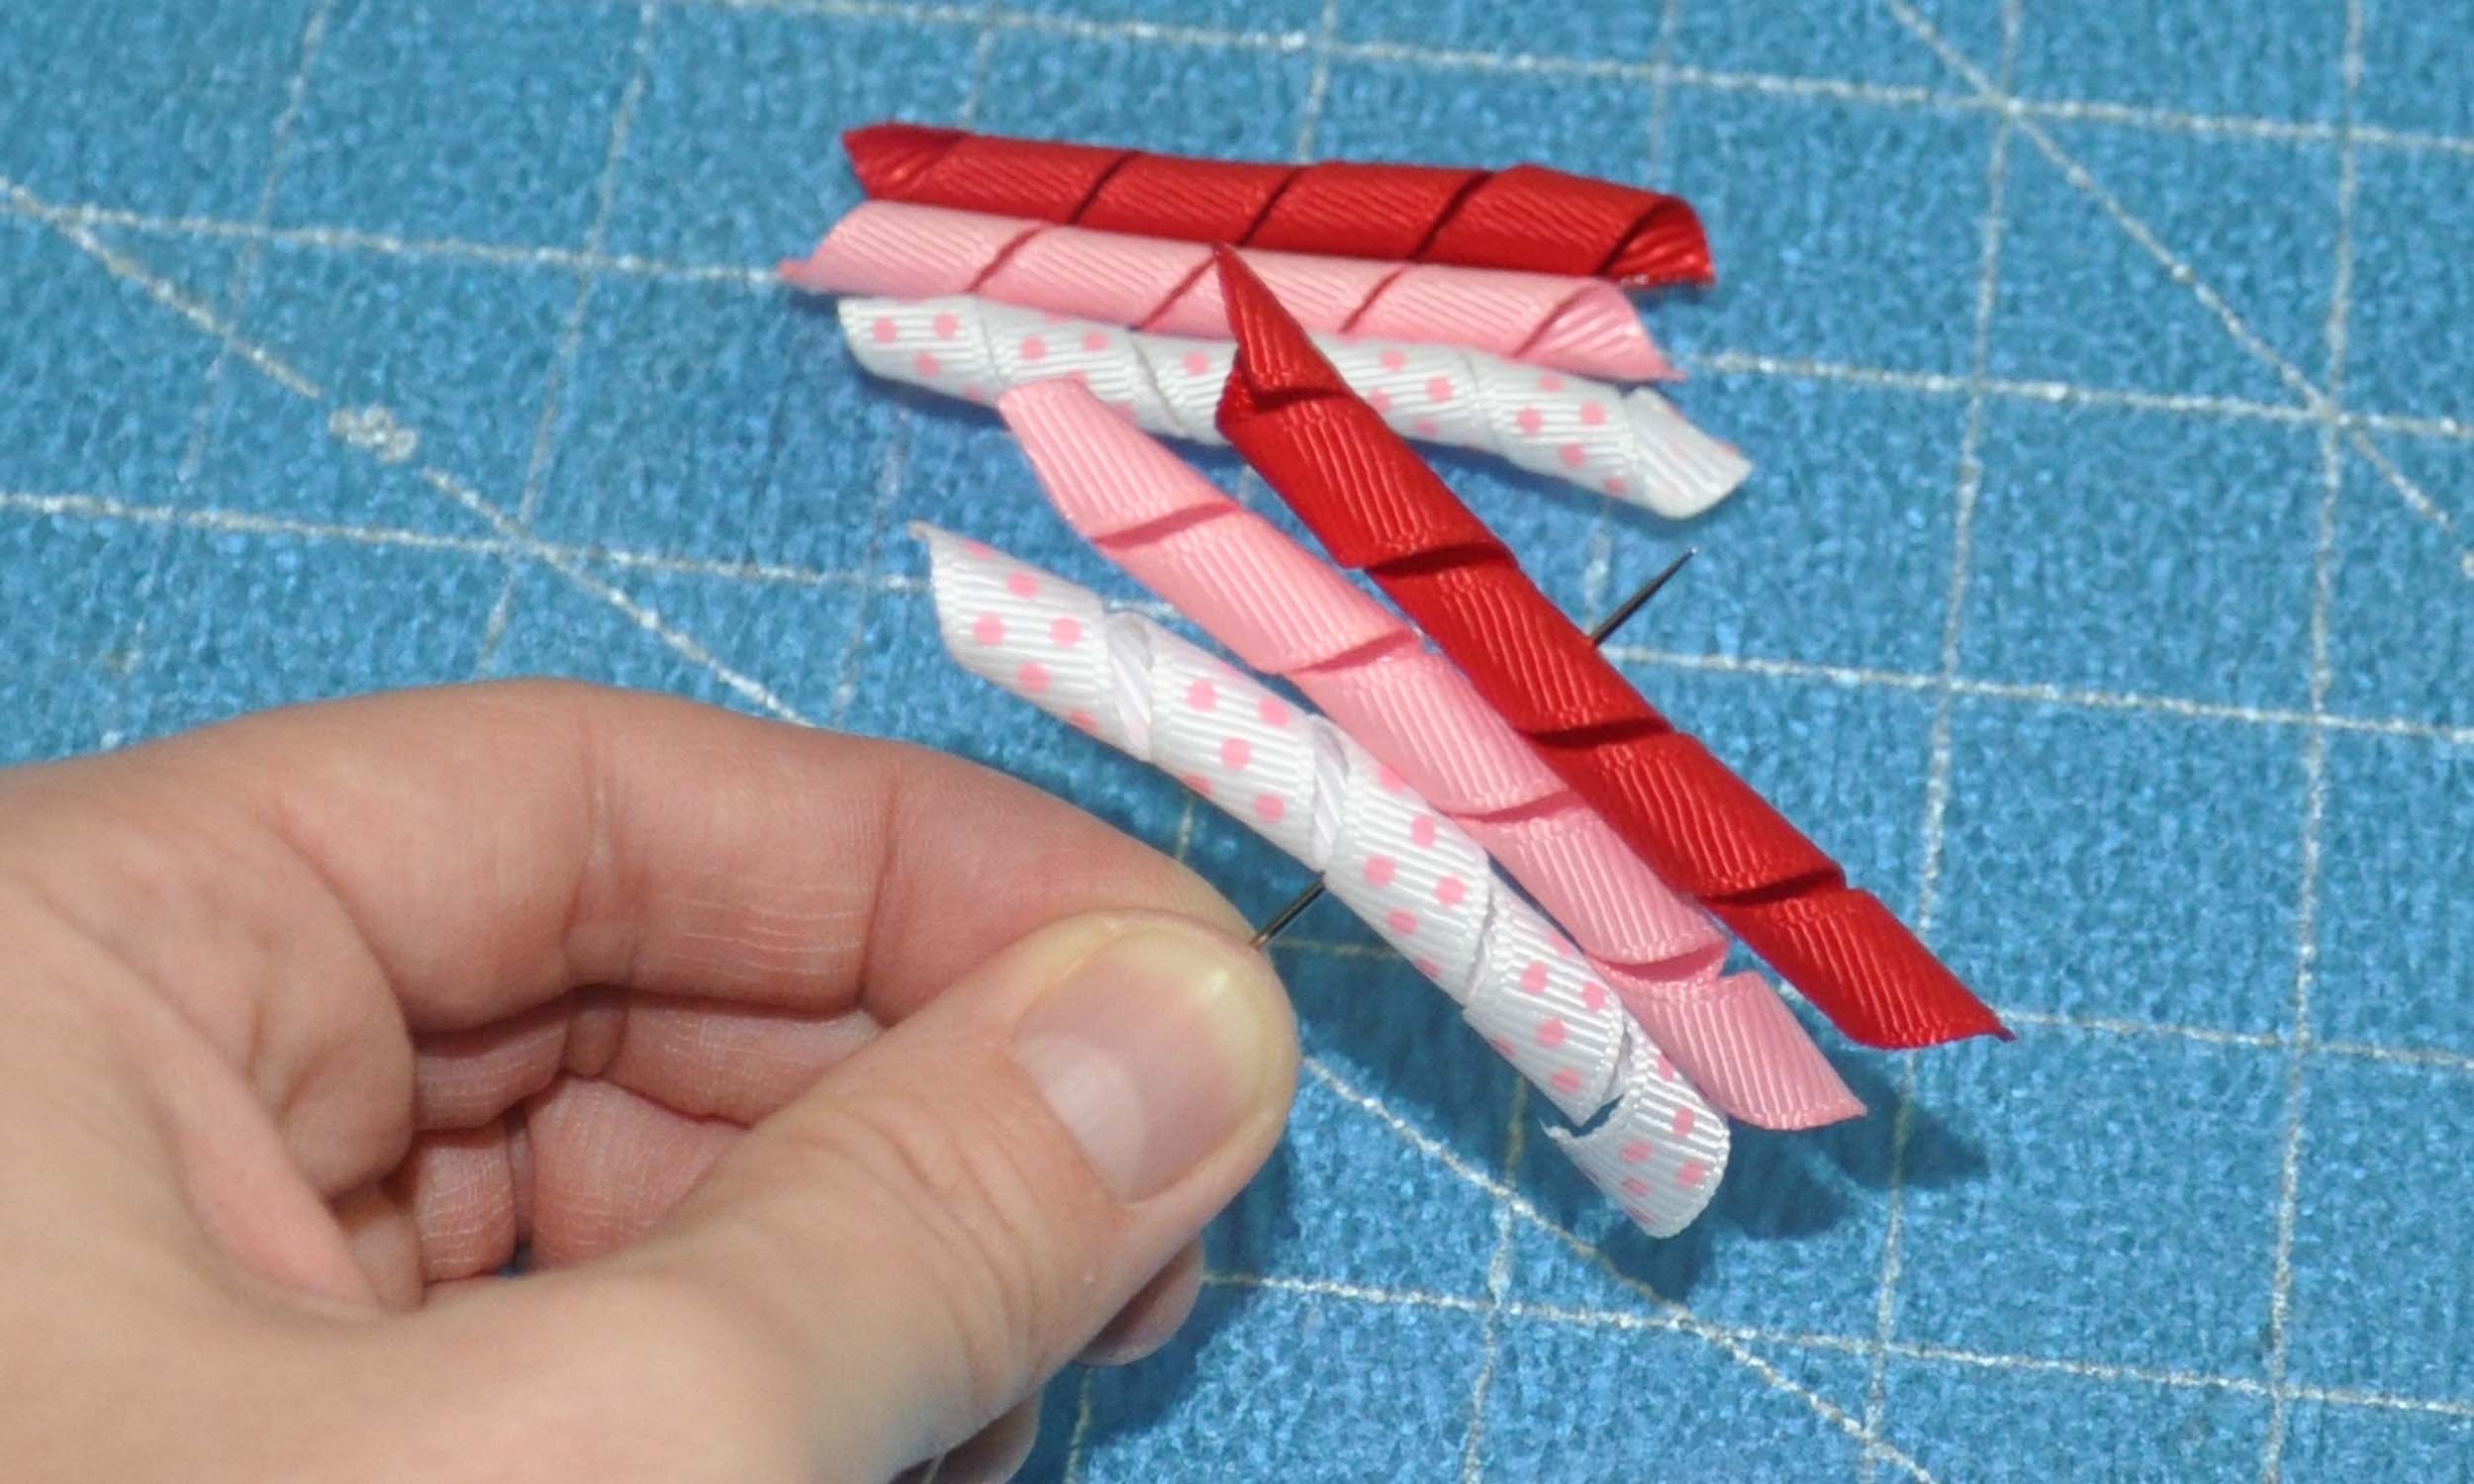
 I cut the ribbons in 2.5" lengths and used a hot-knife to cut them as that also seals the ribbons at the same time. Always make a straight perpendicular cut across the grosgrain ribbon. If not using a hot-knife, you will need to heat-seal the ribbon ends.
 Stick the ribbons on a threaded needle in the correct order.
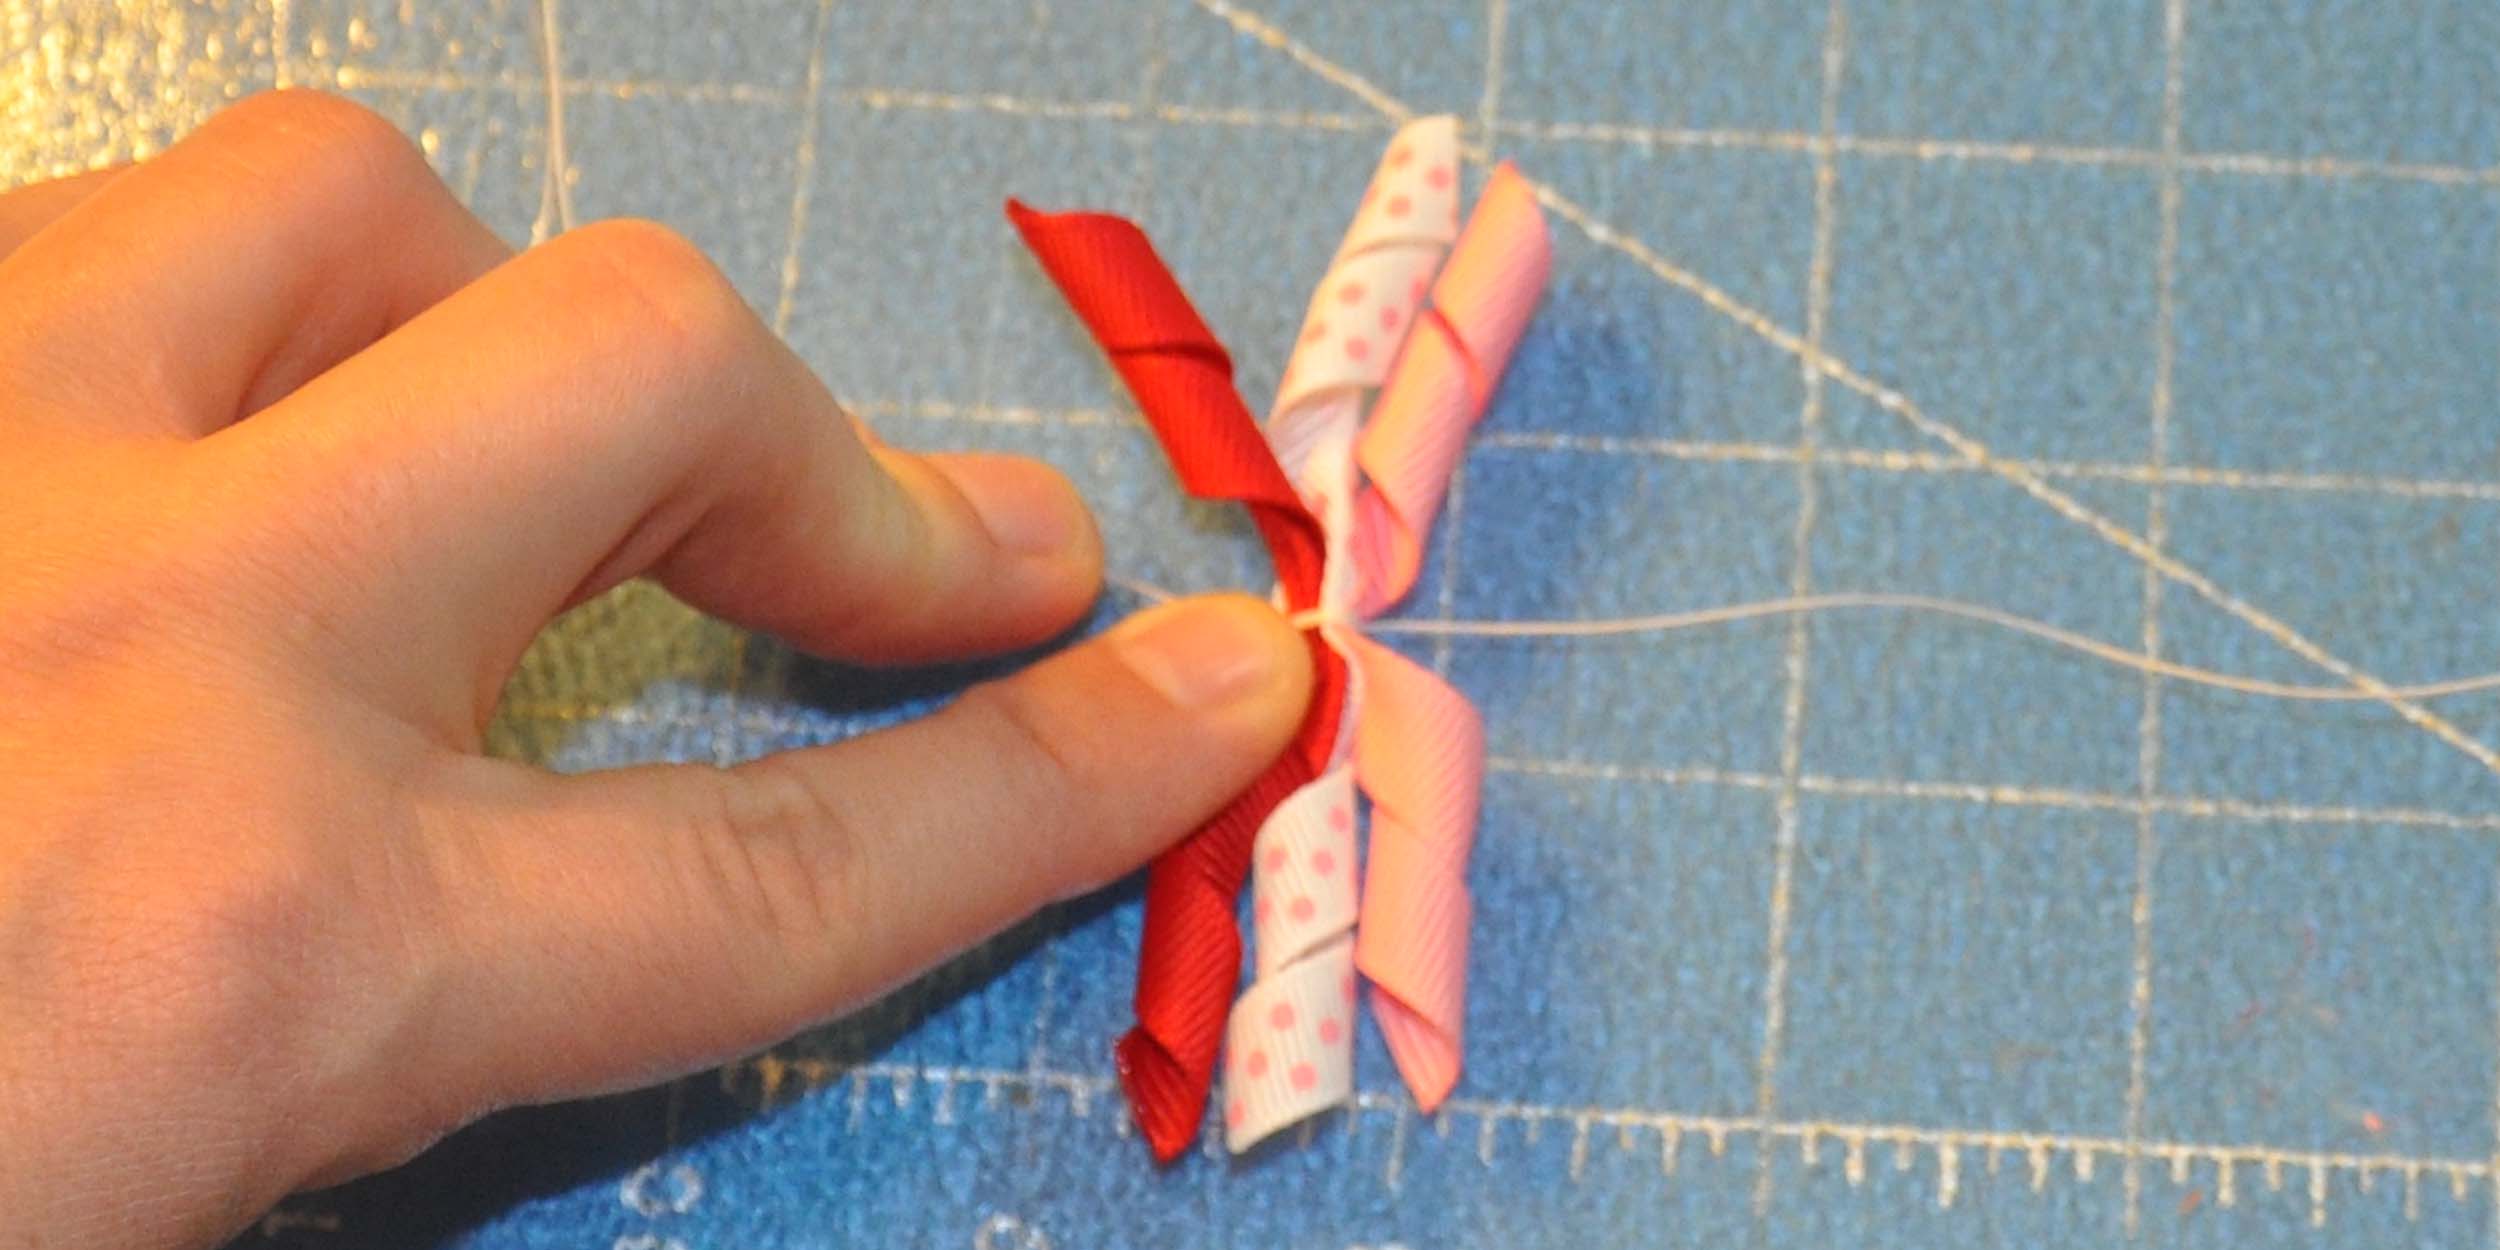
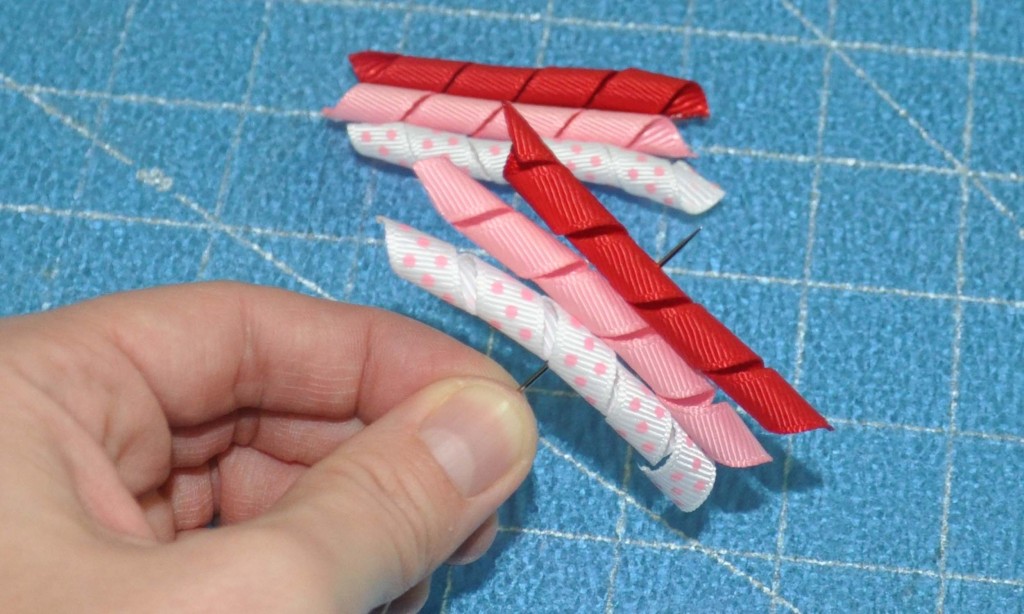 Keep the korker ribbons perfectly lined up and pull the needle through. Lay the ribbons down flat on a surface and pinch near the center so that the ribbons stay in place and do not turn as you tightly wind the thread around the center. Remove the needle from the end of the thread and you can then tie the thread ends together in a knot to finish it off.
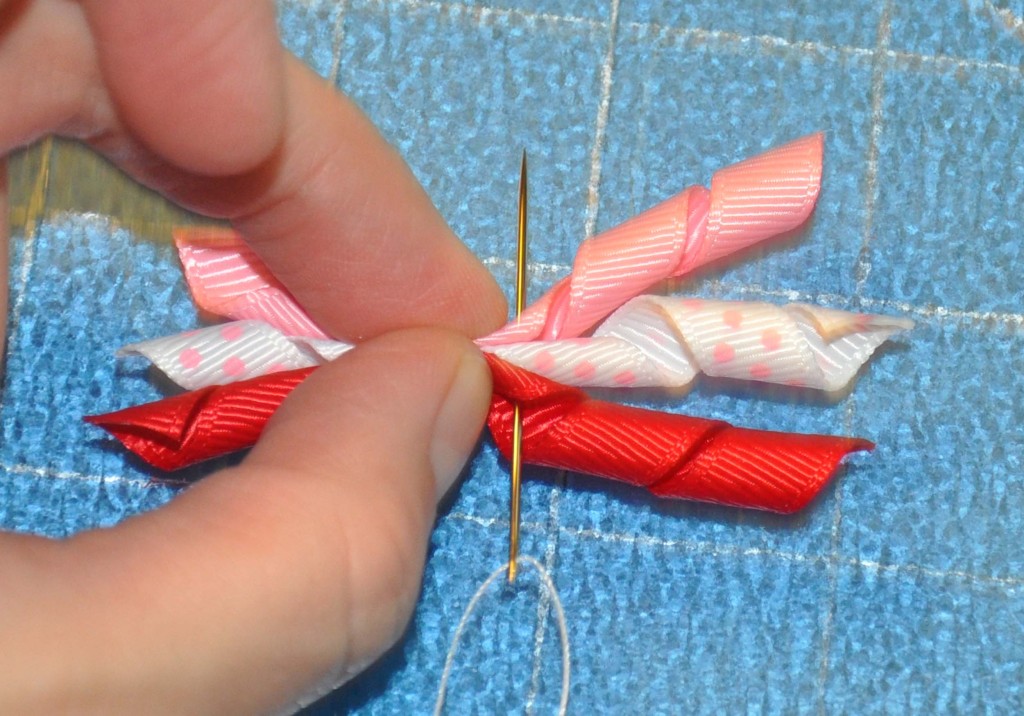 The pieces should be lined up in a row and not going every which way.
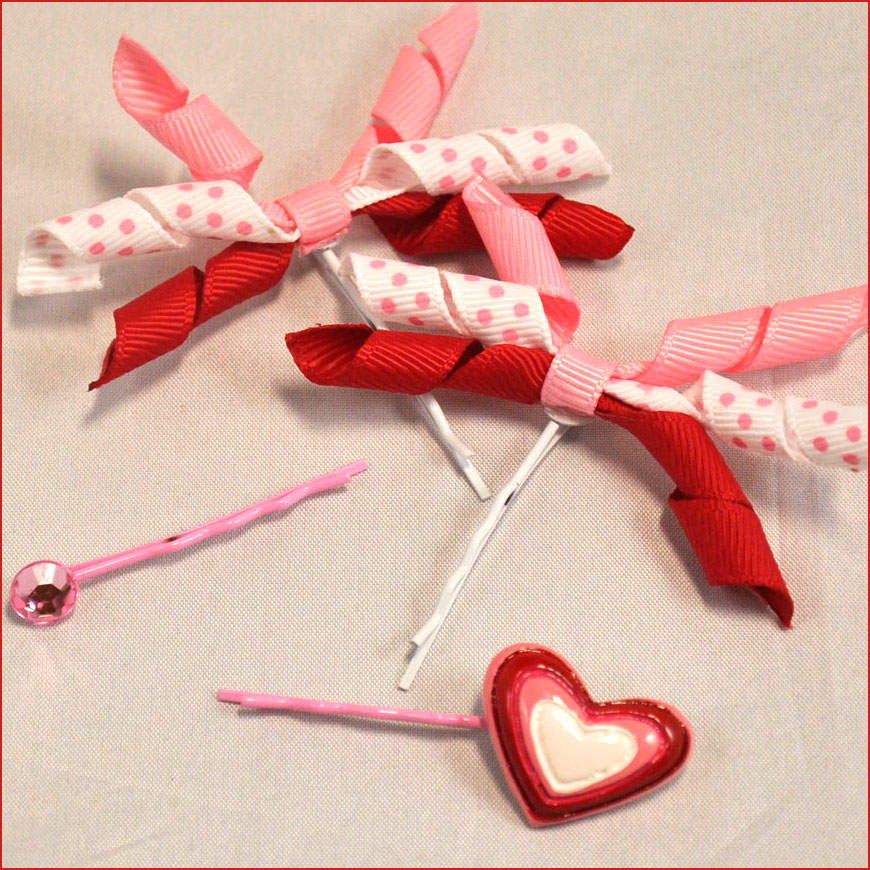
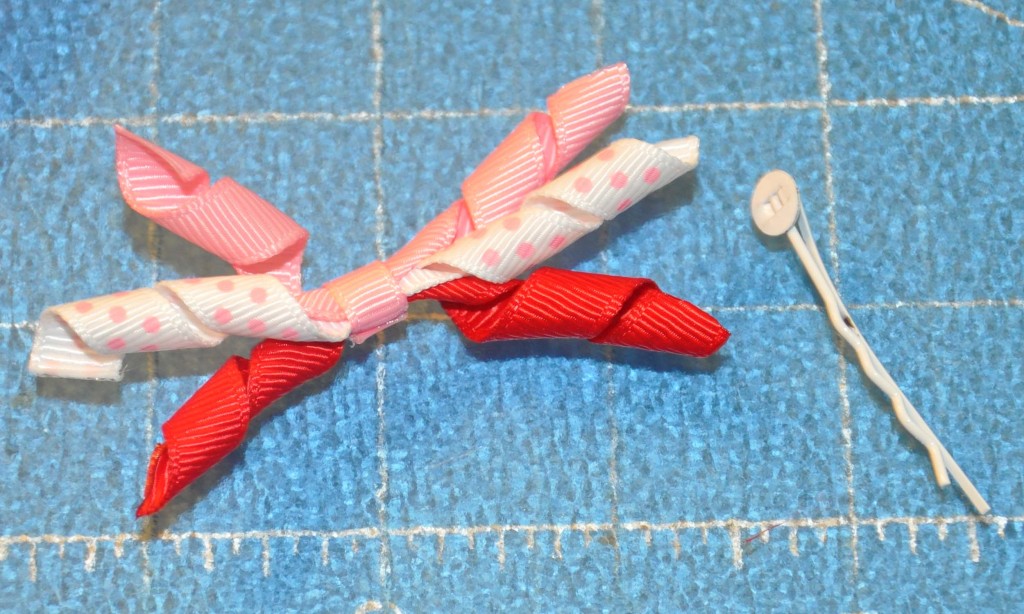
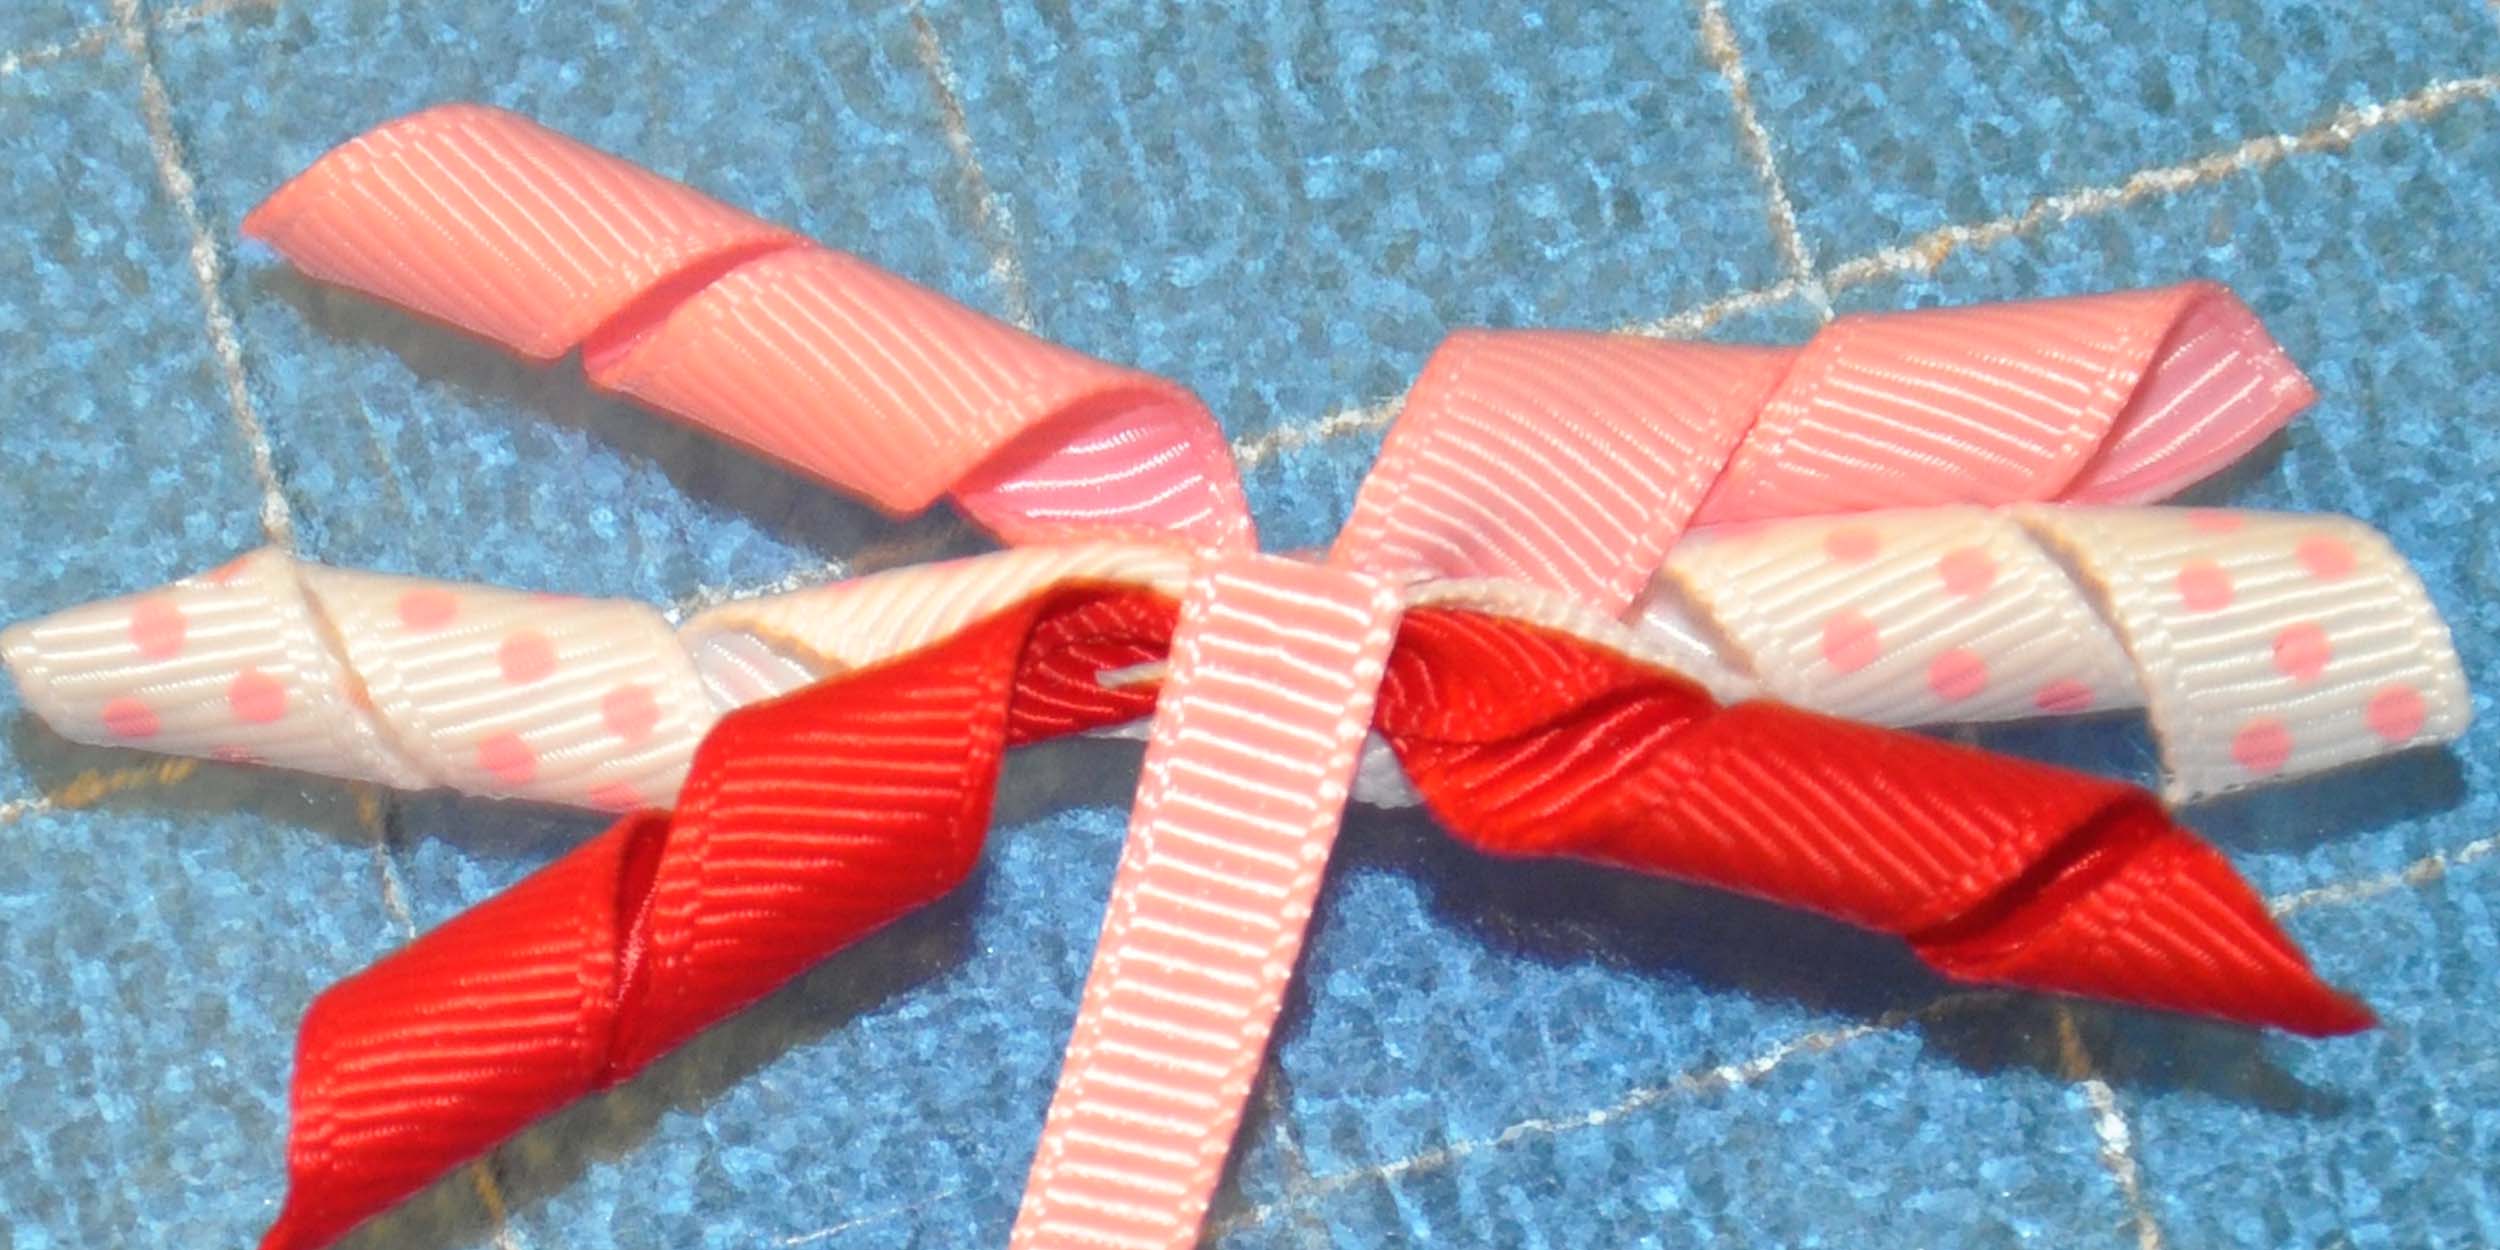
 Choose your ribbon center. I used a 1/4" pink ribbon. Glue one end of the ribbon to the back of the bow. Wrap around snugly, cut ribbon, seal ribbon end, and glue other end of the center to the back of the bow.
 Hot-glue or use your favorite adhesive to attach to the bobby pins.
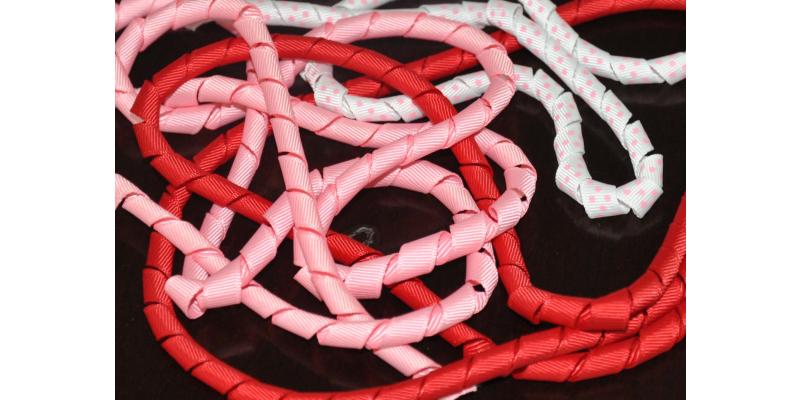
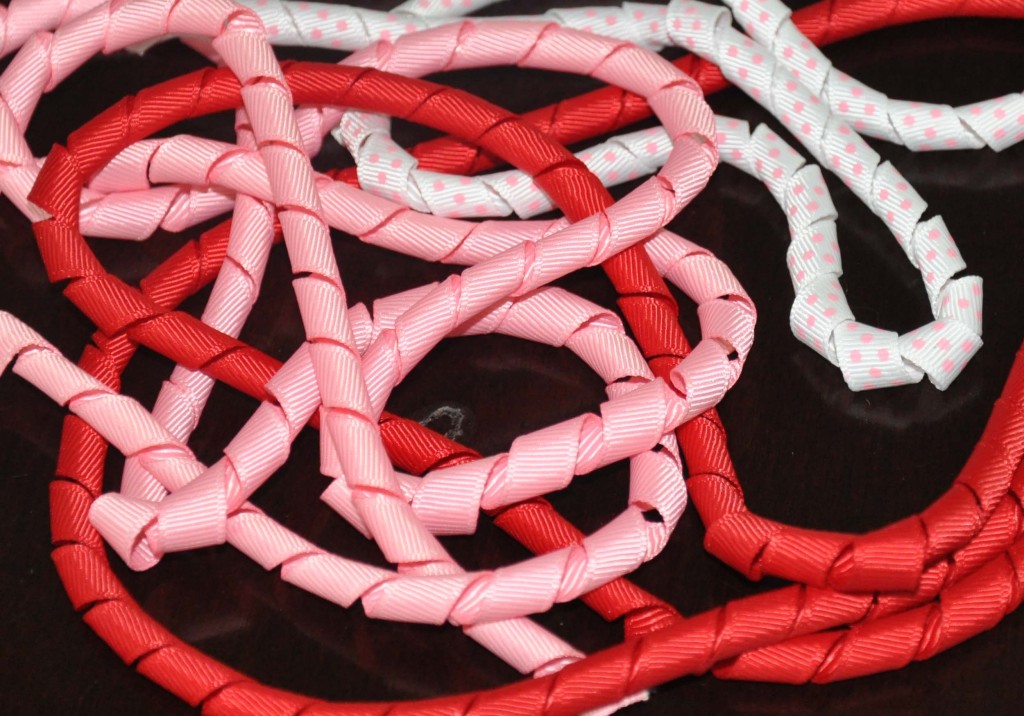
- Korker Grosgrain Ribbon pieces
- Bobby pins with pad
- Adhesive of your choice
 I cut the ribbons in 2.5" lengths and used a hot-knife to cut them as that also seals the ribbons at the same time. Always make a straight perpendicular cut across the grosgrain ribbon. If not using a hot-knife, you will need to heat-seal the ribbon ends.
 Stick the ribbons on a threaded needle in the correct order.
 Keep the korker ribbons perfectly lined up and pull the needle through. Lay the ribbons down flat on a surface and pinch near the center so that the ribbons stay in place and do not turn as you tightly wind the thread around the center. Remove the needle from the end of the thread and you can then tie the thread ends together in a knot to finish it off.
The pieces should be lined up in a row and not going every which way.
Keep the korker ribbons perfectly lined up and pull the needle through. Lay the ribbons down flat on a surface and pinch near the center so that the ribbons stay in place and do not turn as you tightly wind the thread around the center. Remove the needle from the end of the thread and you can then tie the thread ends together in a knot to finish it off.
The pieces should be lined up in a row and not going every which way.
 Choose your ribbon center. I used a 1/4" pink ribbon. Glue one end of the ribbon to the back of the bow. Wrap around snugly, cut ribbon, seal ribbon end, and glue other end of the center to the back of the bow.
 Hot-glue or use your favorite adhesive to attach to the bobby pins.

Congratulations, you are finished!
Visit the rest of our blog for more Crafting Tutorials and DIY Instructions!
Loading...

