 Contributor post by Danielle at Korker Krazy
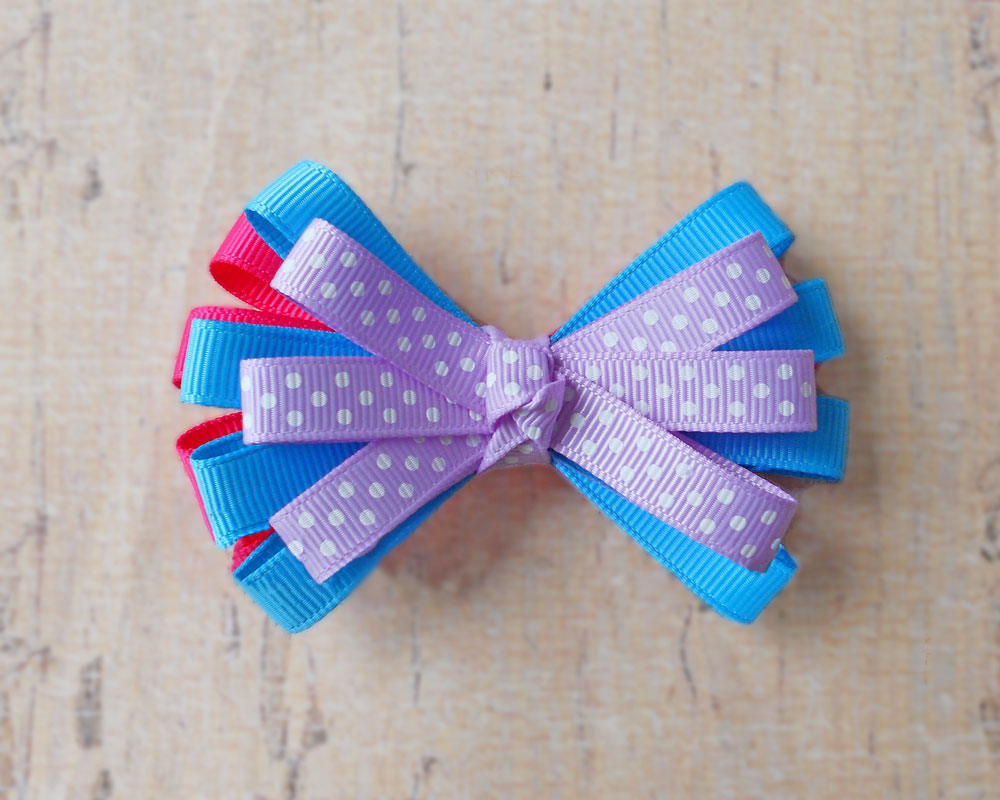
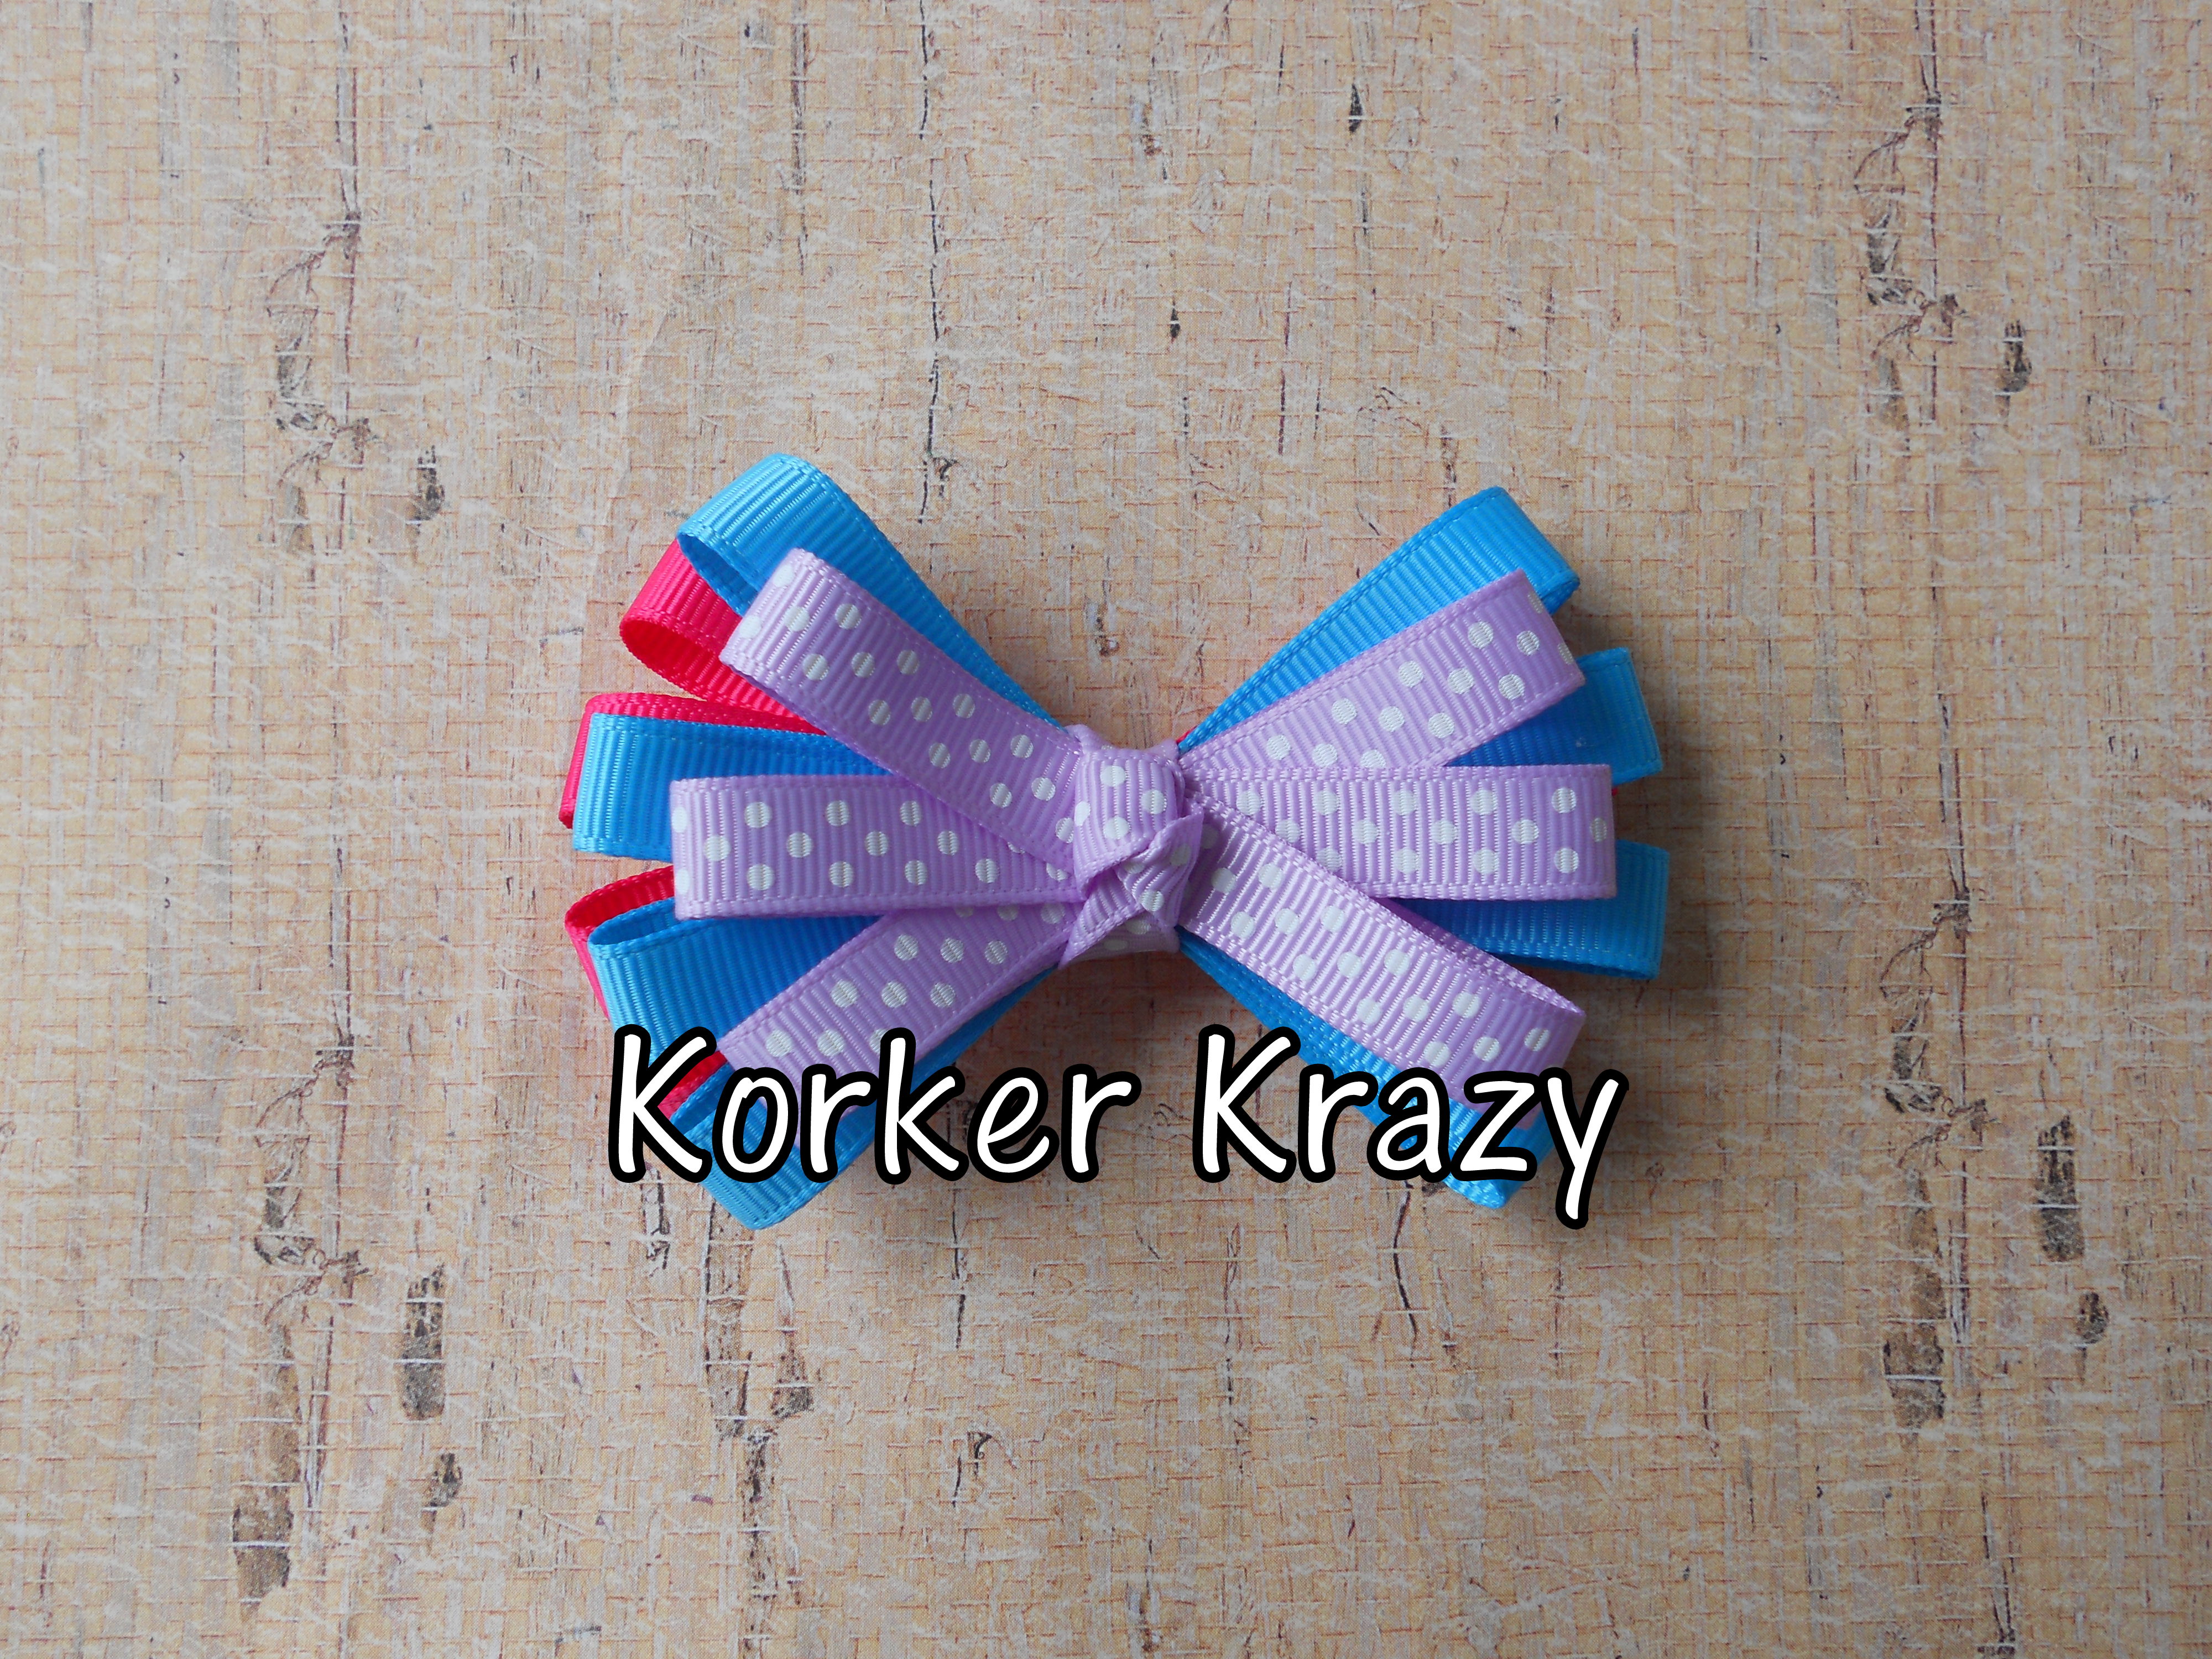
Hi! Danielle here again! Today I'm going to show you how to make a layered loopy bow! The possibilities are endless with this bow!
Supplies Needed: 3/8" Grosgrain Ribbon I am using 340 Turquoise, 175 Shocking Pink and 430 Light Orchid Swiss Dots Needle & Thread Hot Glue Gun & Glue Scissors Lighter Alligator Clip
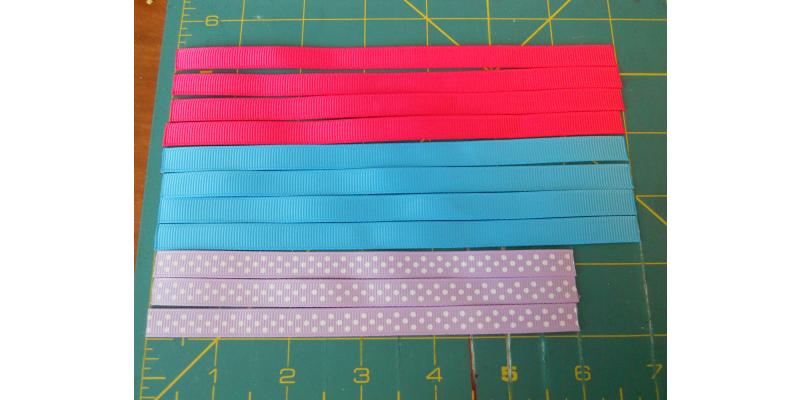
Step 1: Cut your 3/8" ribbon. Cut three 6" strips for your top layer (I am using the swiss dots for this layer). Next, cut four 7" strips for your second layer (I am using Turquoise). Finally, cut four 7" strips for your third layer (I am using Shocking Pink).
Don't forget to heat seal your ends with your lighter! If you want to save time on this step I suggest investing in a wood burner tool. I use a wood burner to cut all of my ribbon. It cuts the ribbon and heat seals it all in one step!
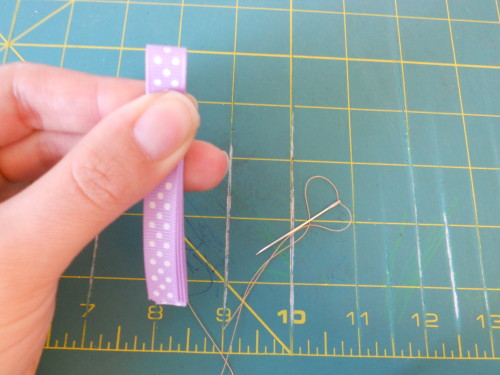
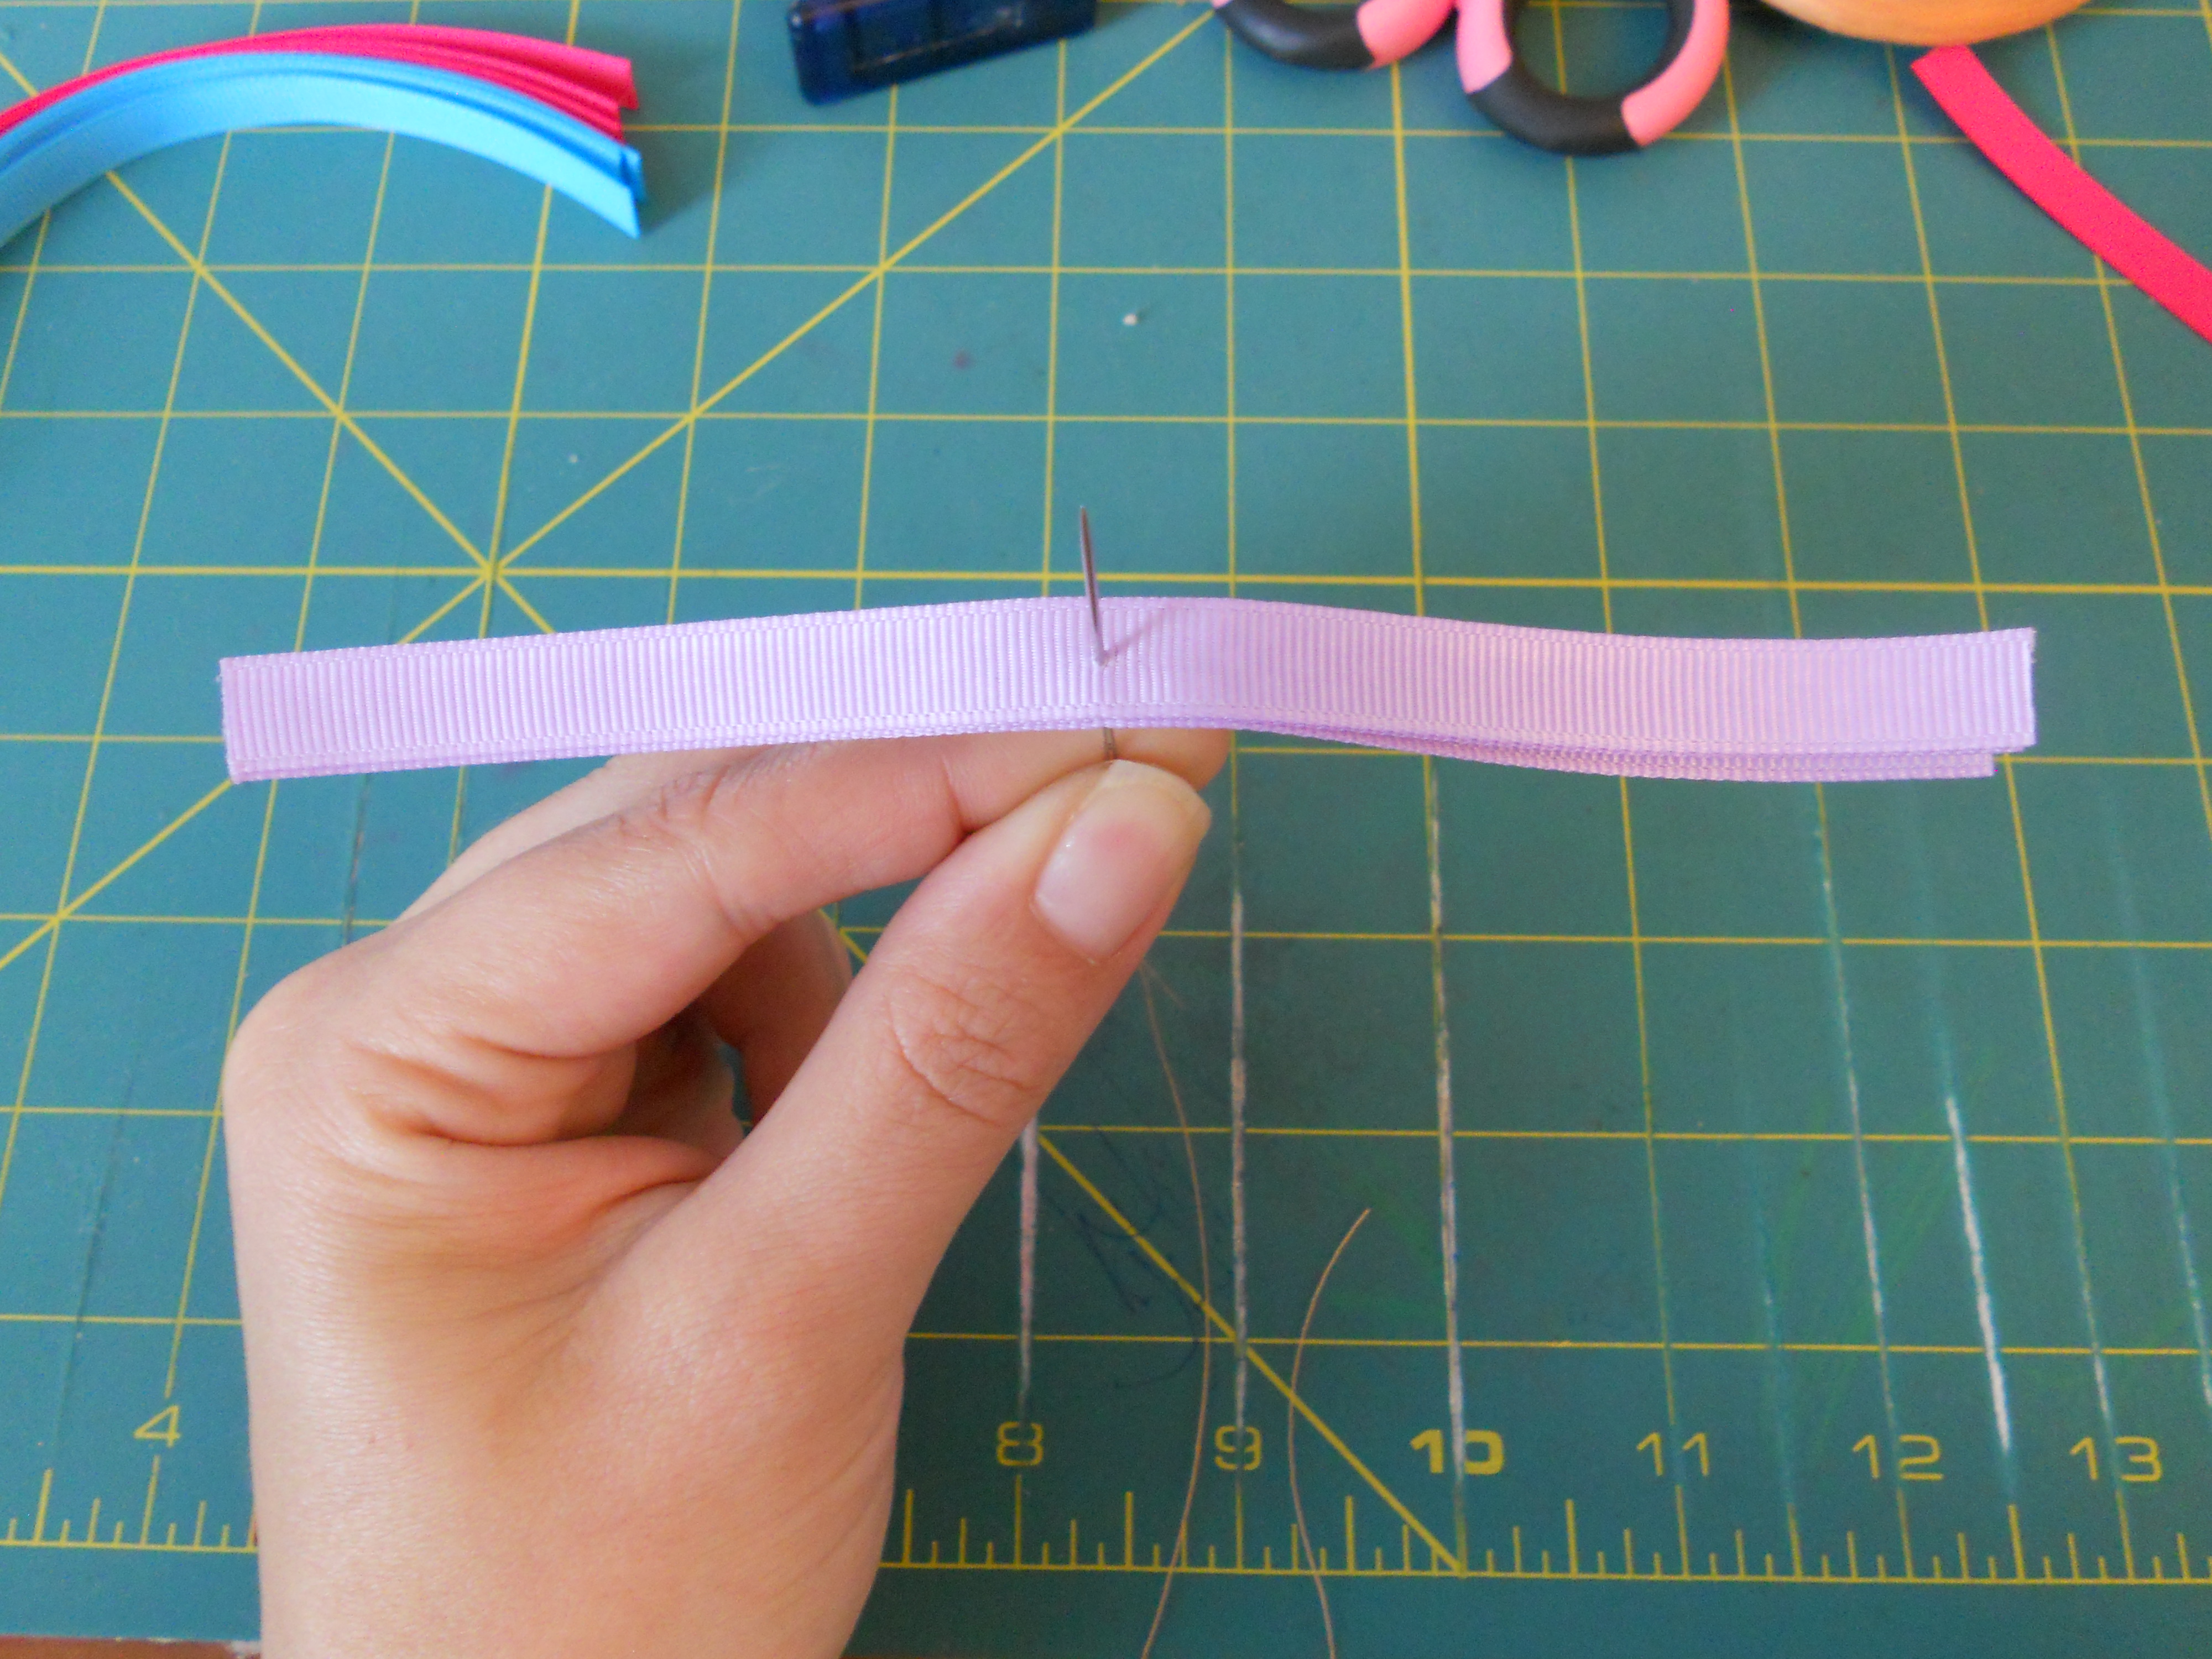
Step 2: Form your first loopy Bow. I'm going to start with the top layer. Align your three 6" pieces of ribbon and insert the needle in the middle. Do not pull the needle all the way through. If your top layer loopy bow is printed make sure the print is facing down at this step.
Step 3: Spread your ribbons out but keep them on the side they started on. Starting with the ribbon on the bottom left - Fold it onto the needle to form a loop. Form a loop with the other two ribbons on the left side.

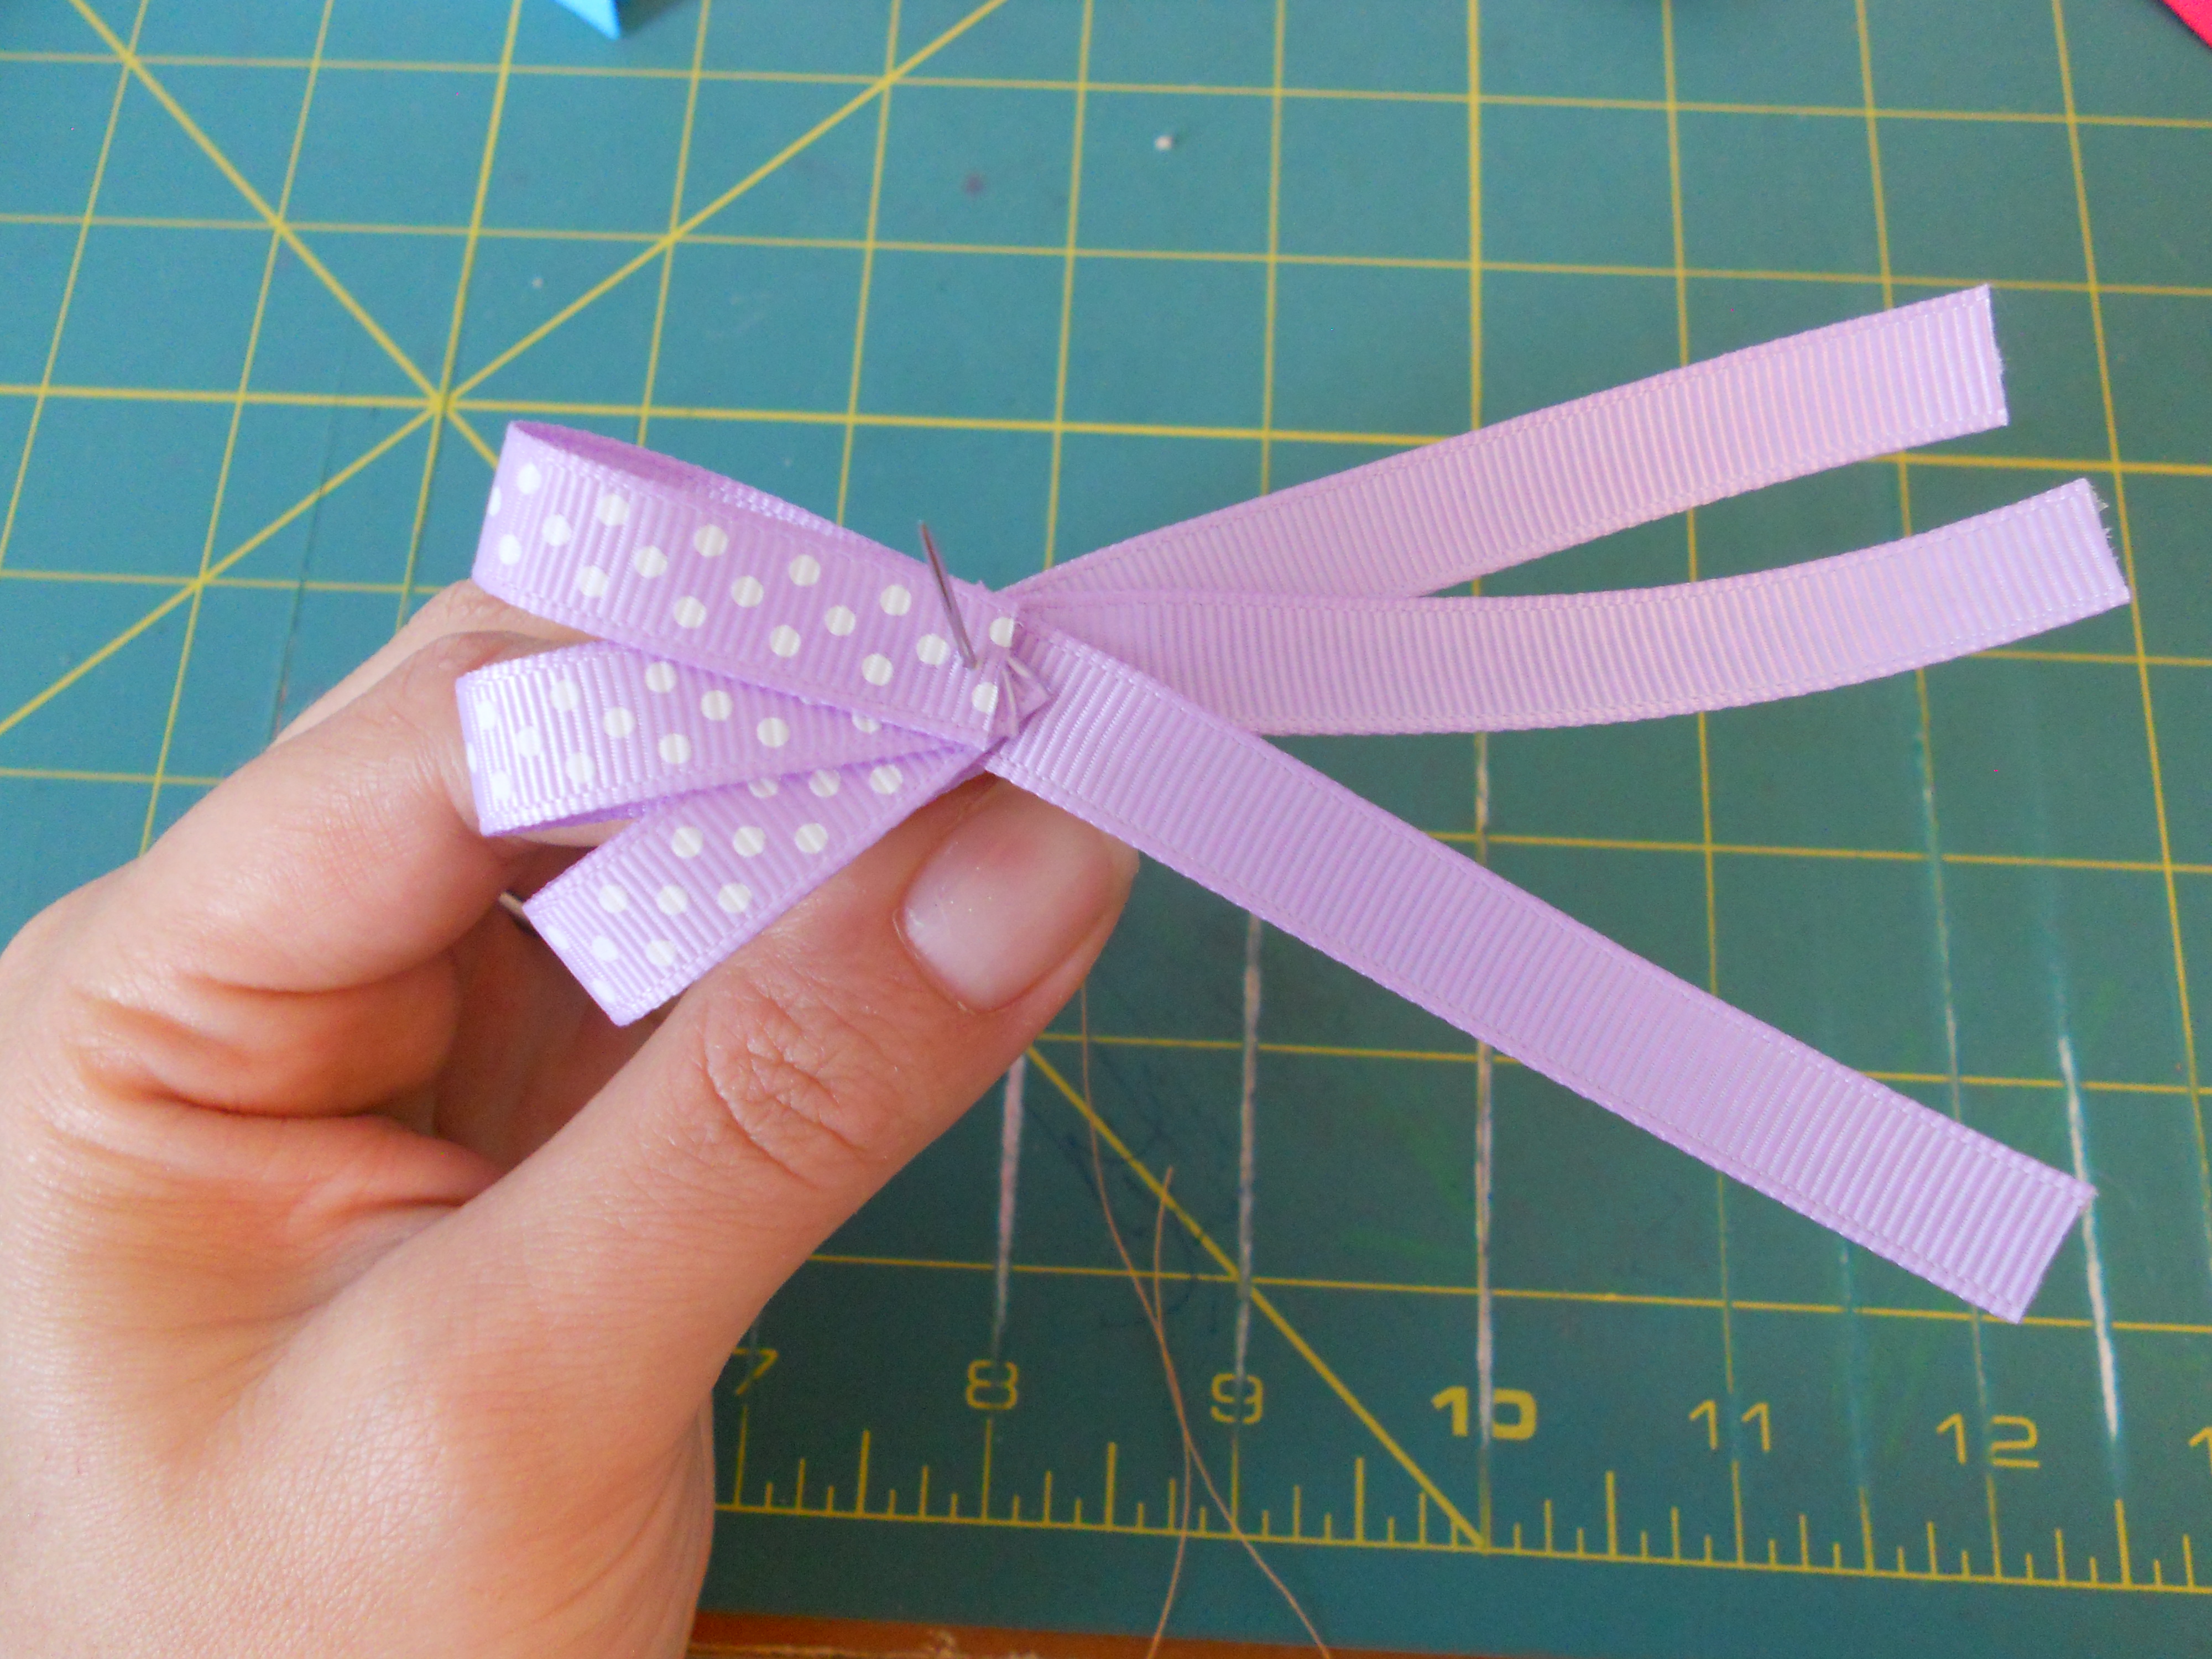
Step 4: Form your three loops on the right side.

Step 5: Thread your needle through the center of the bow a few times and wrap the thread around the center, tie your thread.

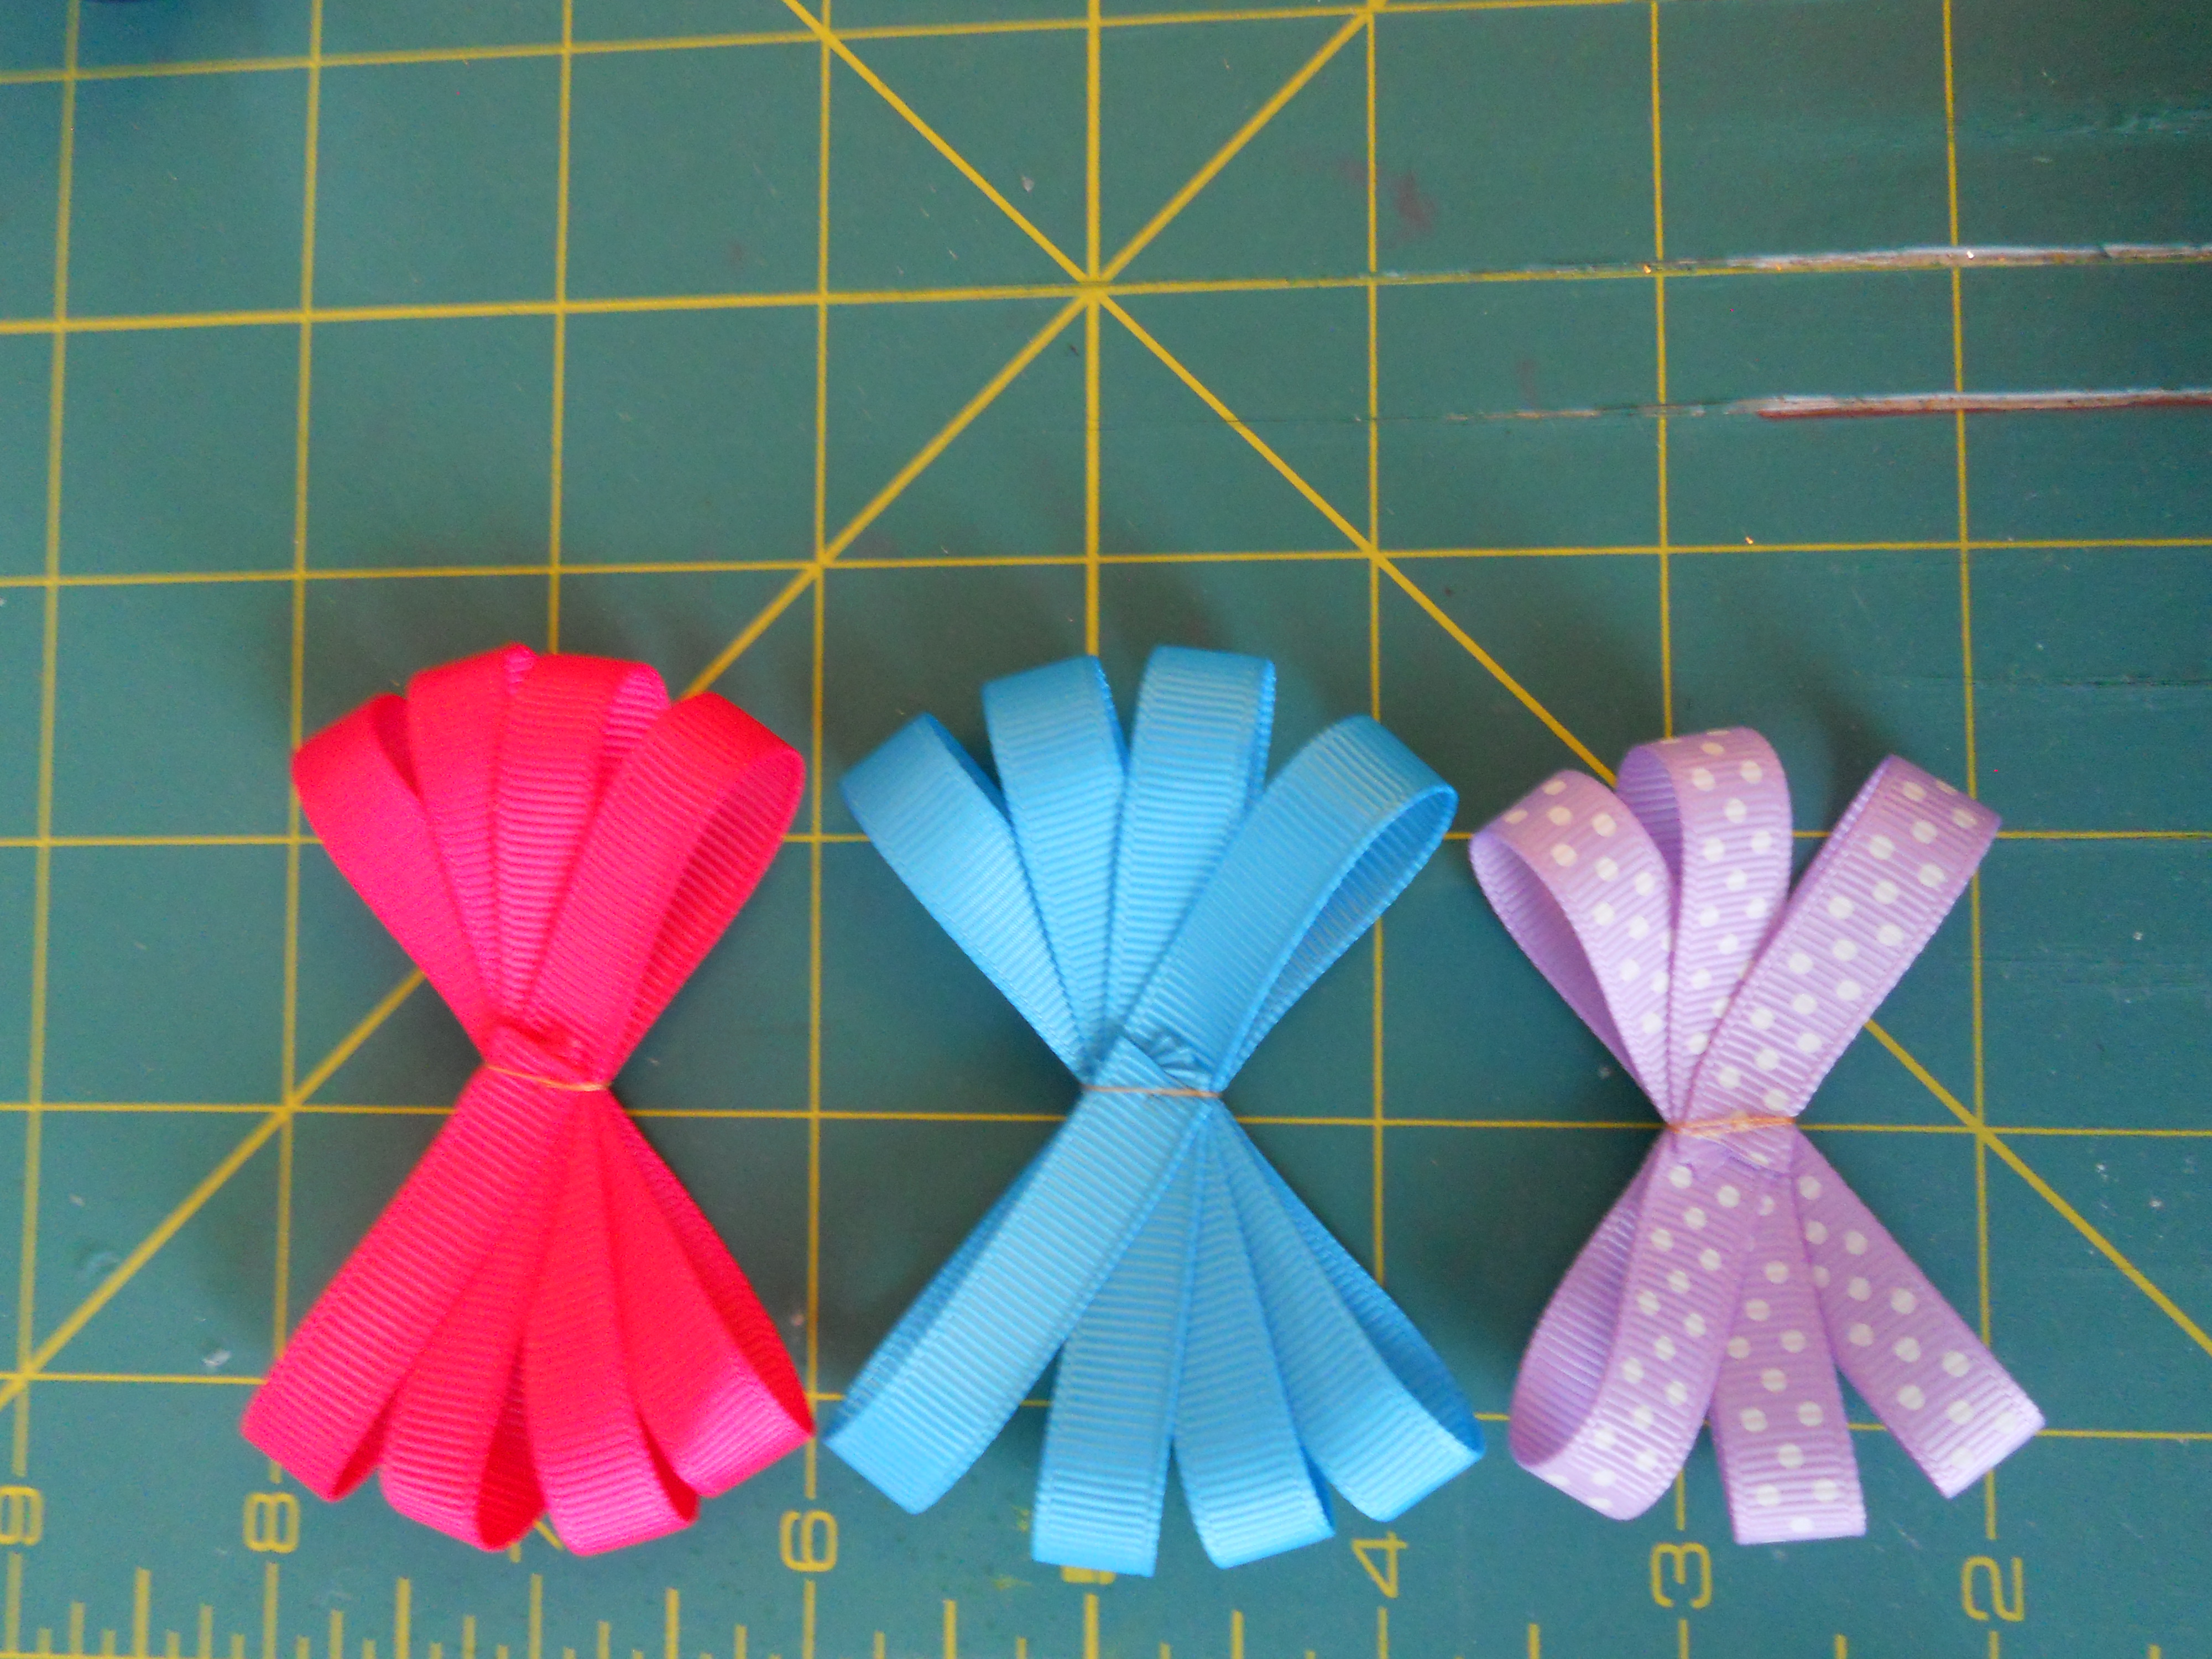
Step 6: Repeat steps 2-5 with your next two loopy bows. These are made the exact same way except there will be 4 loops on each side.
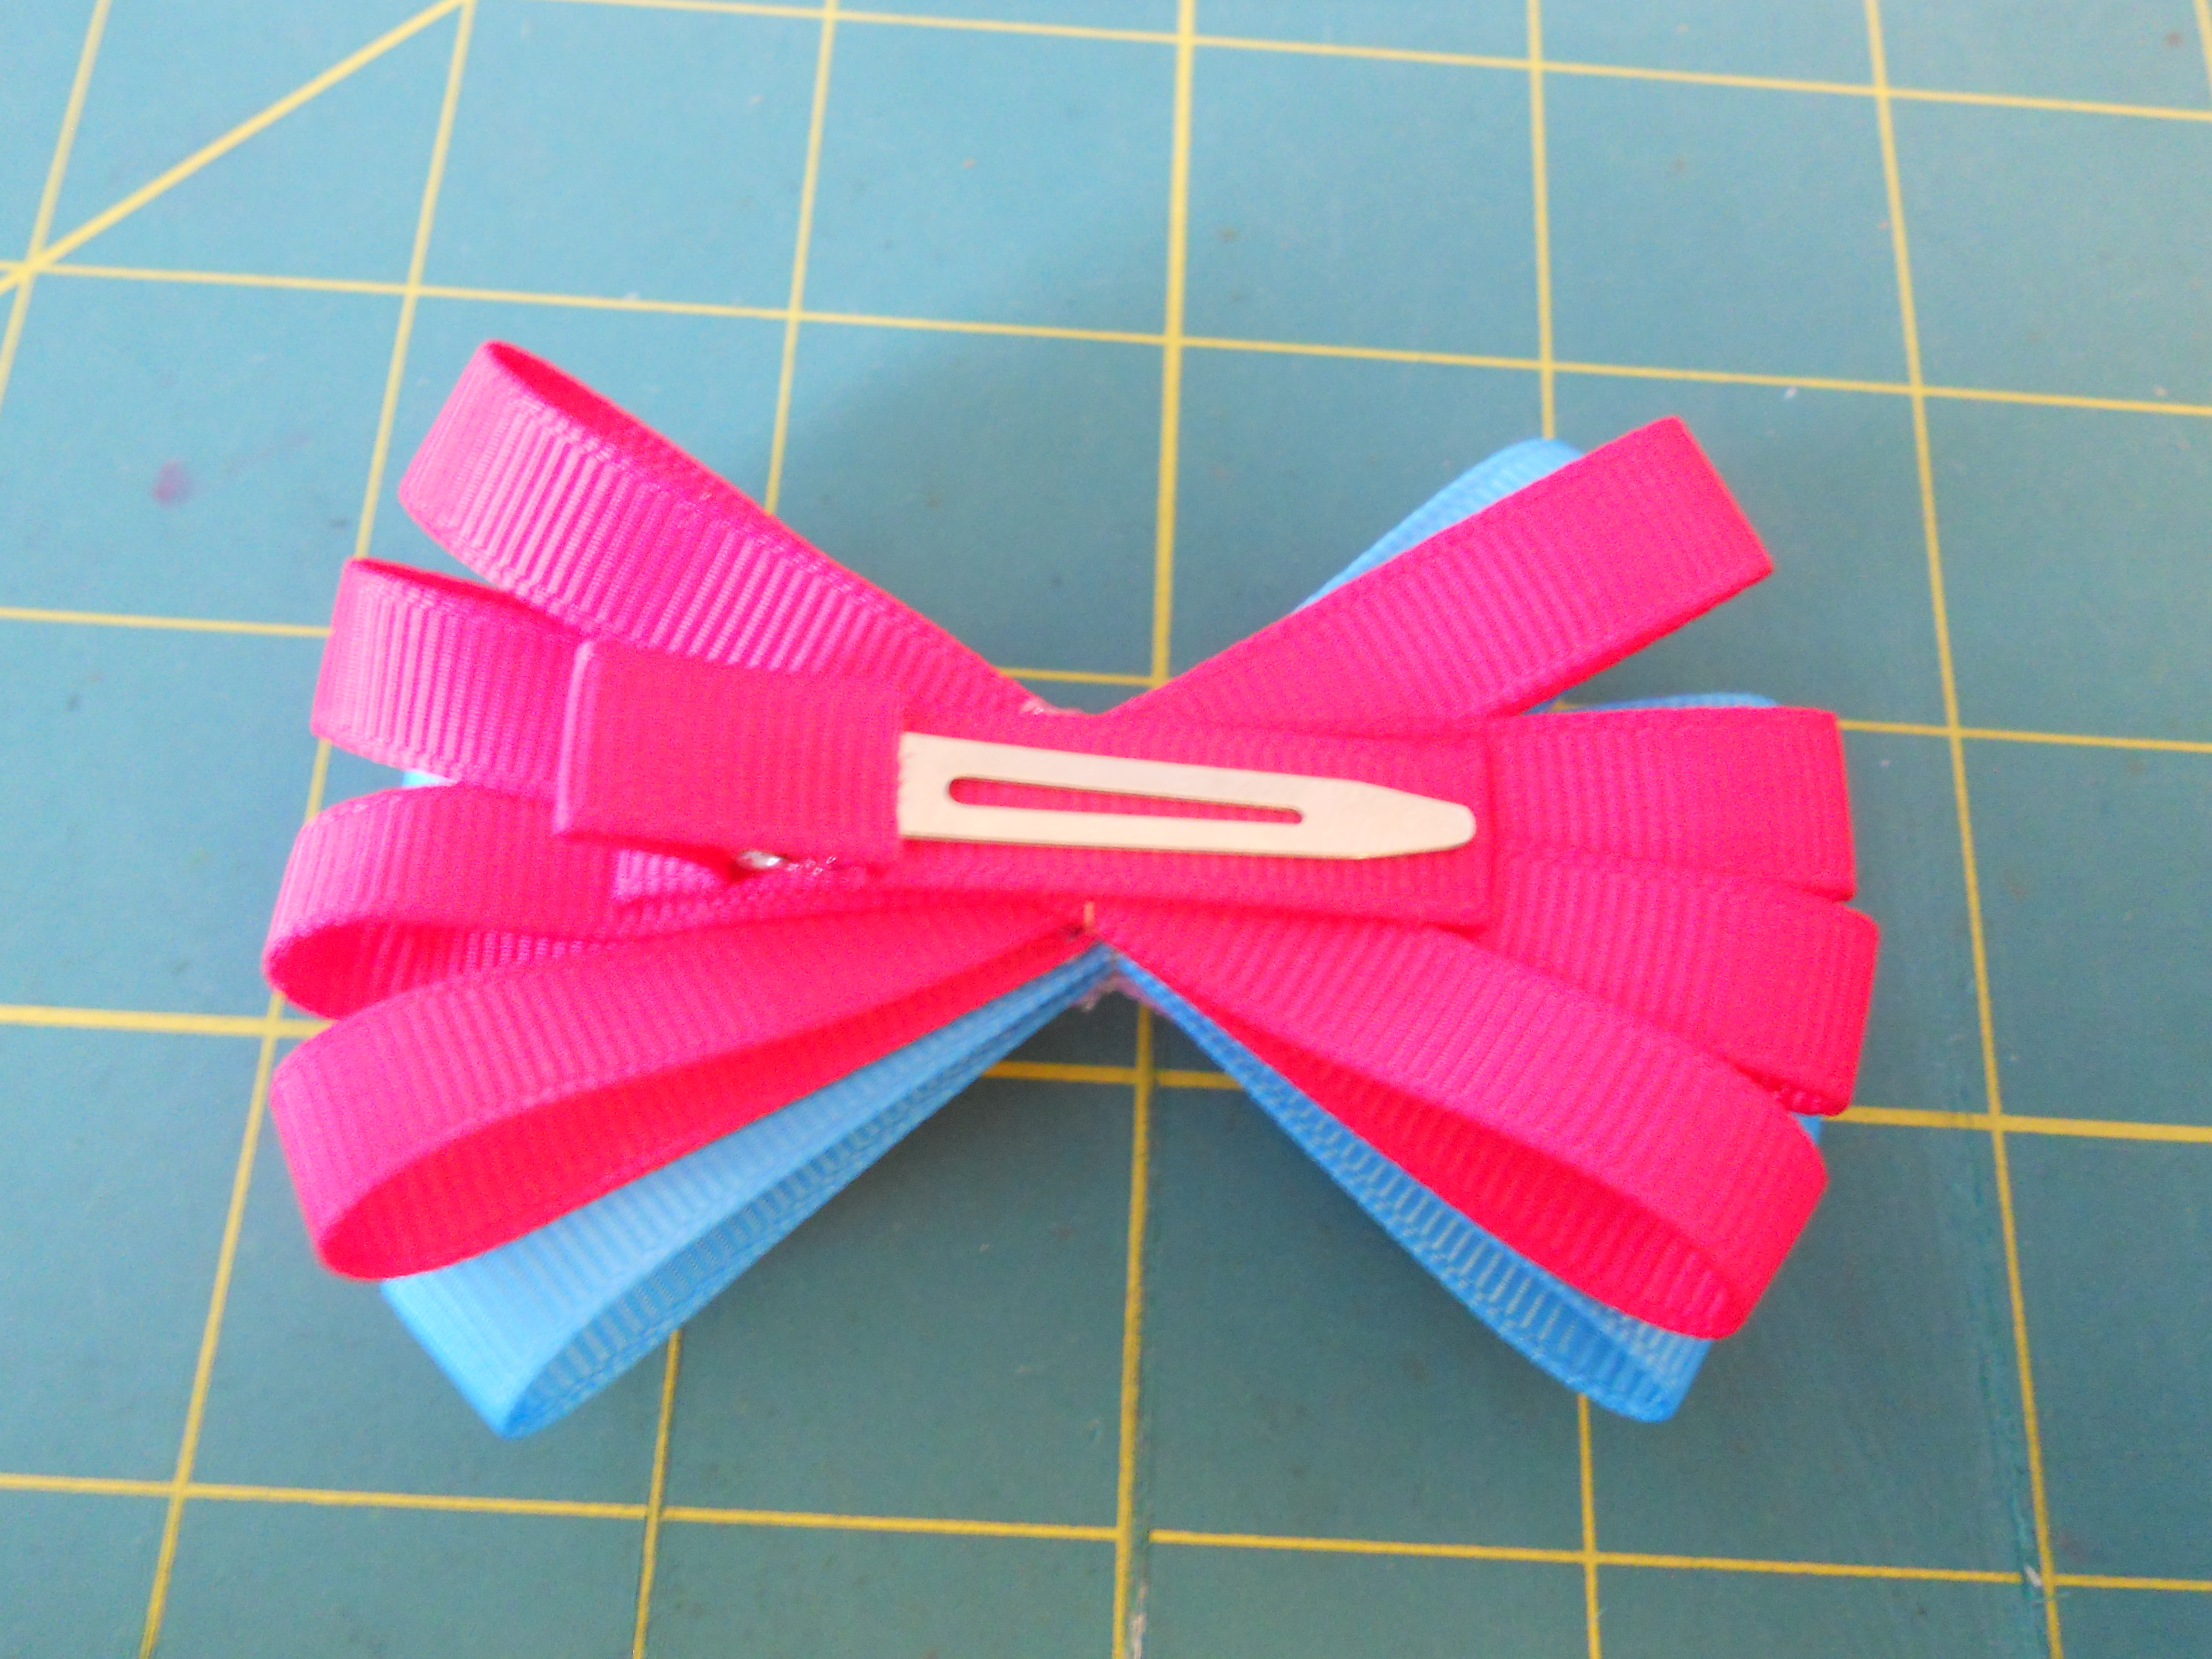
Step 7: Using your hot glue gun glue all three layers together. You can glue them in whichever order you prefer. Only use a small dab of glue in the center of each bow.

Step 8: Line your alligator clip with matching 3/8" ribbon. Here is another tutorial I made showing you how to line alligator clips. Glue your lined alligator clip onto the back of the bow.
Step 9: Using a matching piece of 3/8" ribbon form a knot and glue the knot to the center of the bow. Wrap each end around the back of the bow and hot glue them down. Don't forget to heat seal your ends!
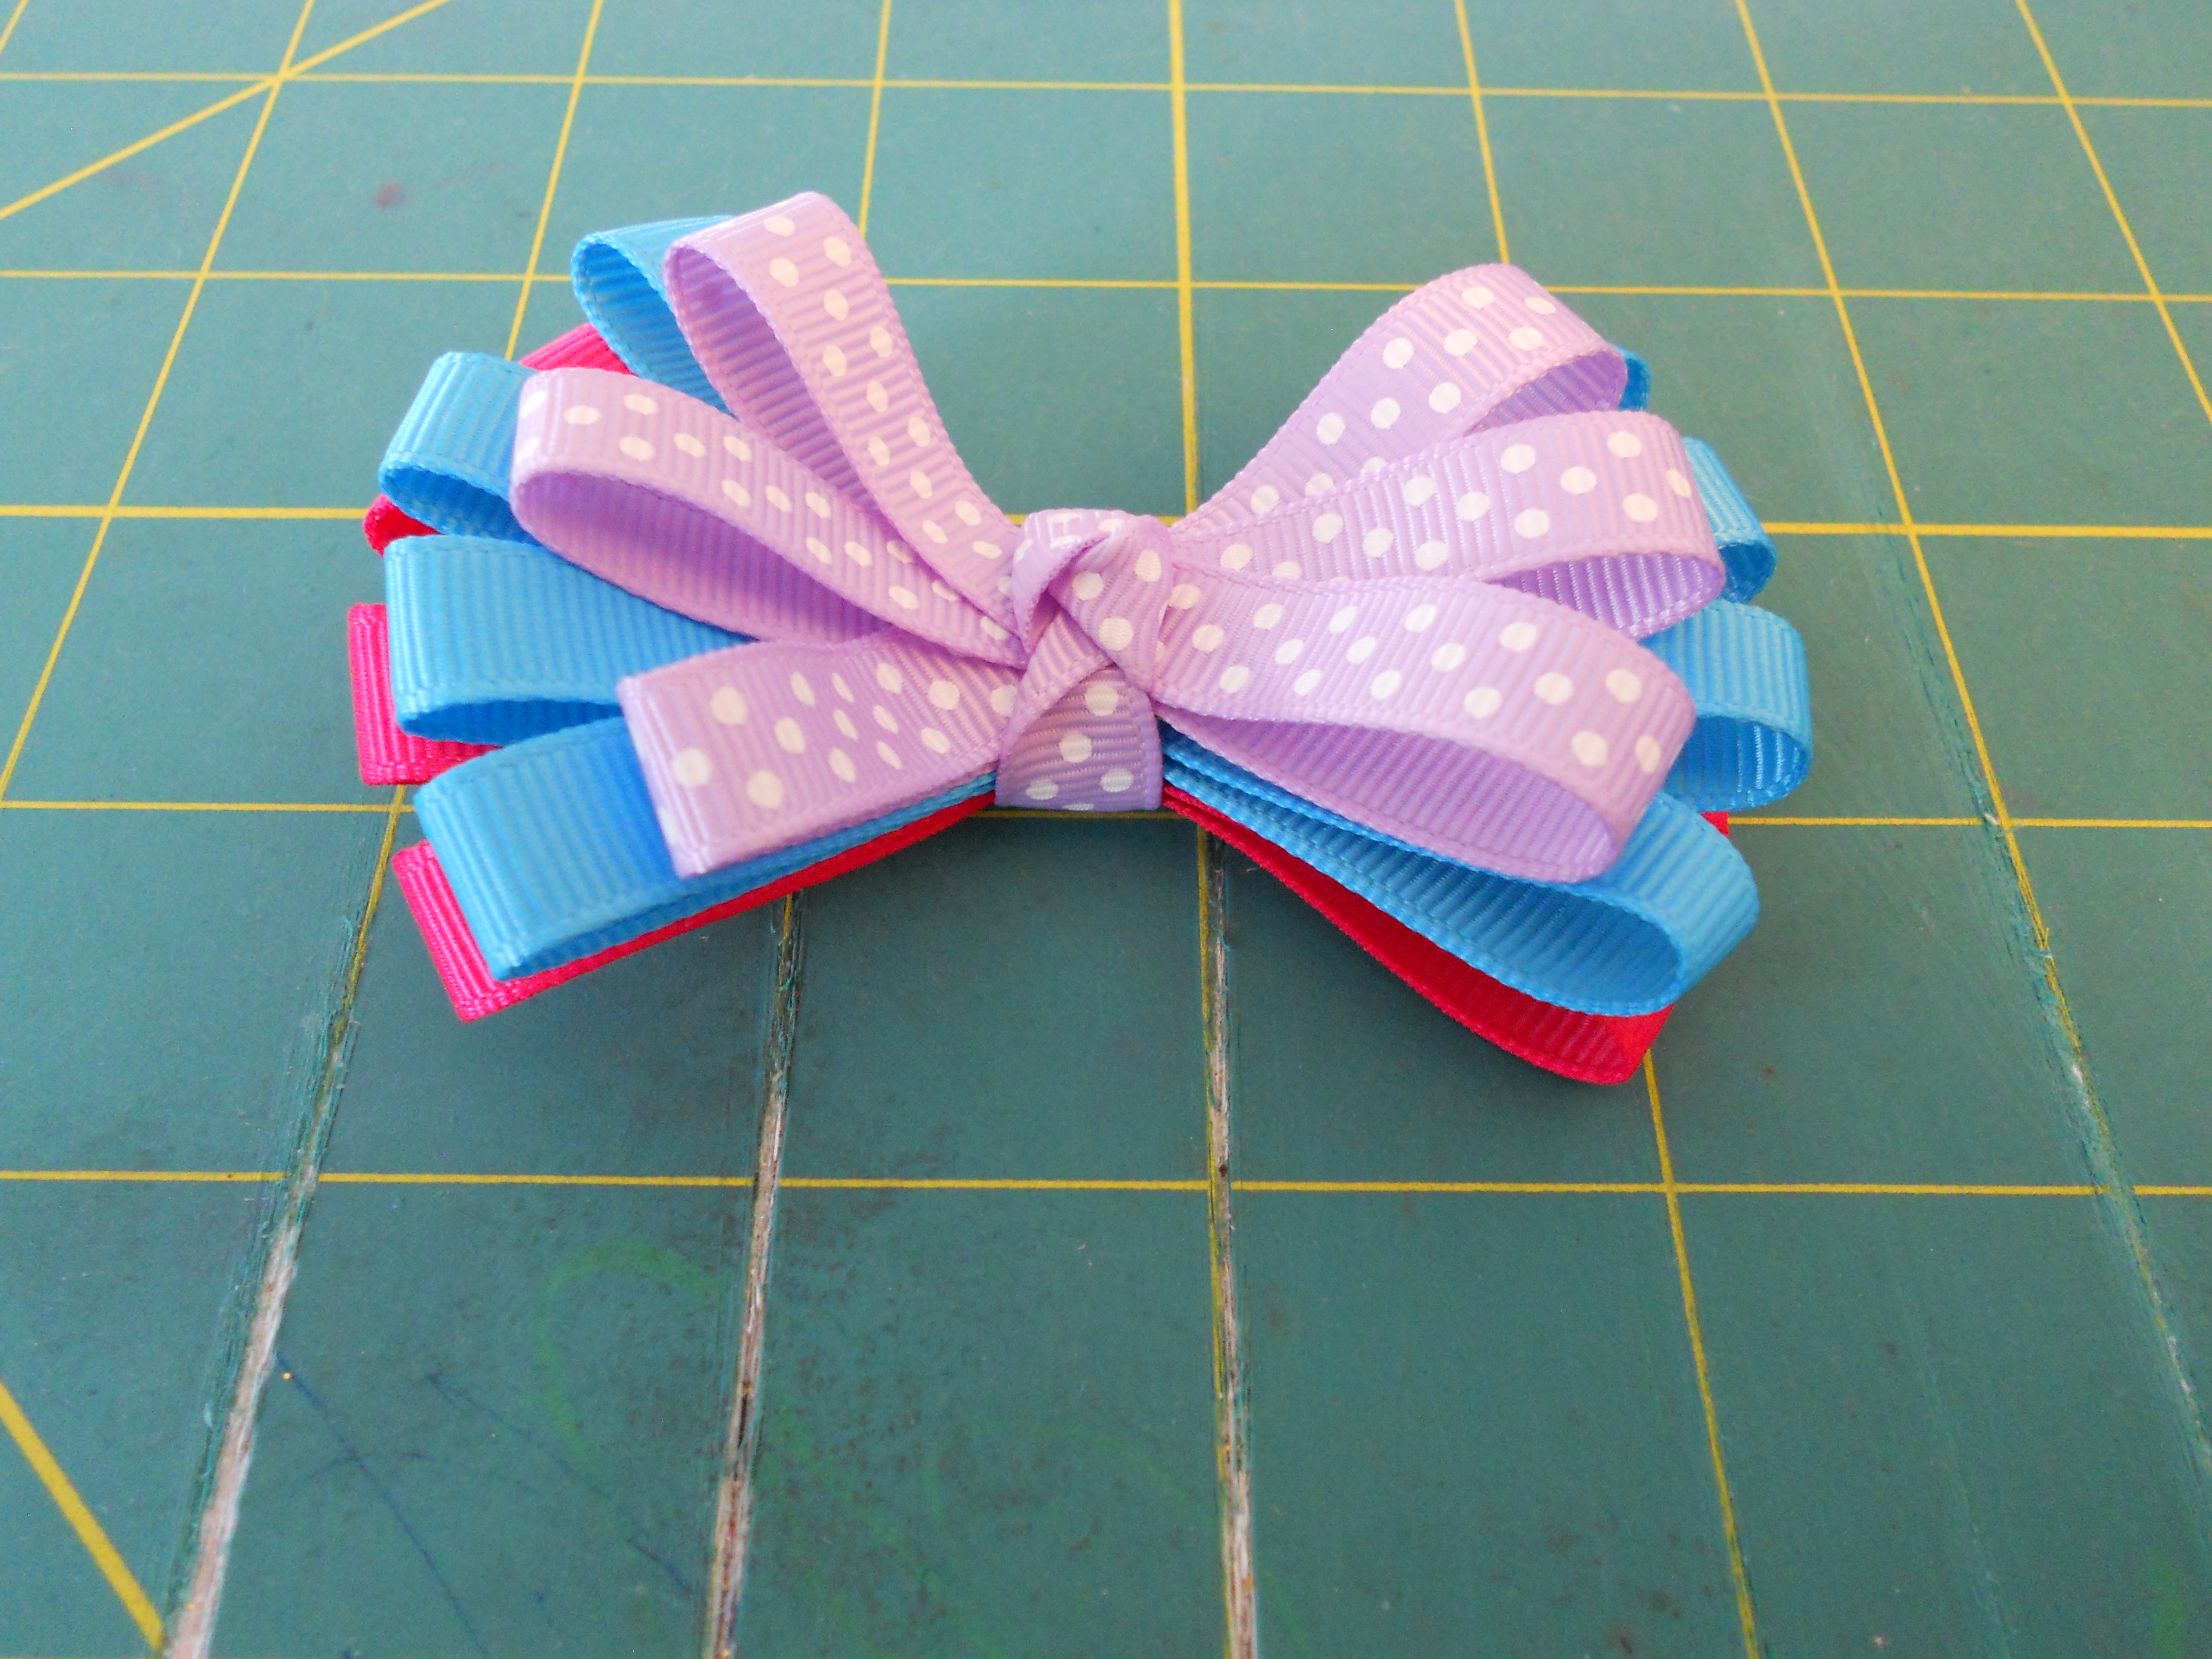
You're all finished! I love layering these together to make different color schemes. Another way to finish these is with a flat center. Instead of knotting the center you can glue it down flat. Then you can easily attach a bottle cap or rhinestone center to the top.
Visit the rest of our blog for more Crafting Tutorials and DIY Instructions!
Loading...

