We are SO excited about our newest ribbon arrival - Burlap! I always like to create something with a new product to get a hands-on feel for how it is to work with, so I decided to make a hair-bow to give the burlap ribbon a whirl...
I want to start by commenting on the ribbon itself since it is completely different than your standard fare of hair-bow ribbons. This is a stiffer and thicker ribbon, which means that it holds it's shape very well, but also is harder to crease and get a well-defined accordian-like center. So, the better uses are for simple bow styles not requiring a lot of layers and creases. The natural earthiness of this ribbon has wide appeal and opens it up to all kinds of different applications outside of hair-bows as well, such as the popular door wreaths and packaging (the holidays are just around the corner).
Materials List:

We'll start by making the top bow first. Take the 8" burlap piece and create a loop with a little overlap.

Push the center down on top of the overlapped area.

To make the center crease, keep your thumbs in the same position and fold the ribbon sides together towards you and then flip the edges back down.

Pull a needle and thread through the center, wrap snugly several times, and finish off in back. As burlap has an open weave, a knot in the end of your string may pull right through, so I doubled my thread over and tied off the end to make a loop that I then "caught" when I came back around with the needle the first time wrapping around.

To make the bottom layer, start out by folding the 5 inch piece of ribbon in half (length-wise). Cut off the corner starting on the folded side to create your v-cuts. Repeat this on both ends.

Taking the same ribbon piece, gather the center together by first folding the ribbon in half towards you and then folding the outside edges back down again the same way used in creating the top bow. Finish off with needle and thread.

Add a bead of glue to the center of the bottom layer and press the top bow down firmly to secure the two layers together.

Grab your alligator clip and dab some hot glue on the top prong. Make sure that you pinch the clip OPEN before adding glue and also keep it open while sticking it to the back of the bow. Keep the clip open for around 20 seconds to make sure the top and bottom prongs do not get glued shut.

We'll wrap the bow center now as it would be hard to do after the flowers are attached. Glue one end of a piece of the 3/8" ribbon to the back of the clip and wrap around the bow center and glue again. Trim any excess ribbon.

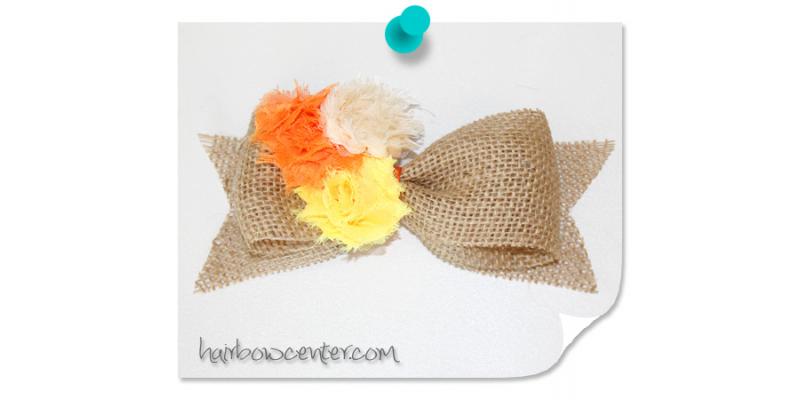
Take the 3 shabby flowers and arrange them in a grouping. To make it easier to keep them together in the exact way you want them once attached to the bow, you will first glue the overlapping edges of the flowers together so that it holds together on it's own.

Add some hot glue to the back of the shabby flower grouping and attach to the bow in the desired position to complete your hair-bow.

Finished!
Christmas variation

coral pink/aqua variation

...and I couldn't resist a "piggy pair" created using the same method to create the bows as described above using a narrower 1.4" width ribbon and wrapped with a 1/4" pink grosgrain ribbon center

Visit the rest of our blog for more Crafting Tutorials and DIY Instructions!