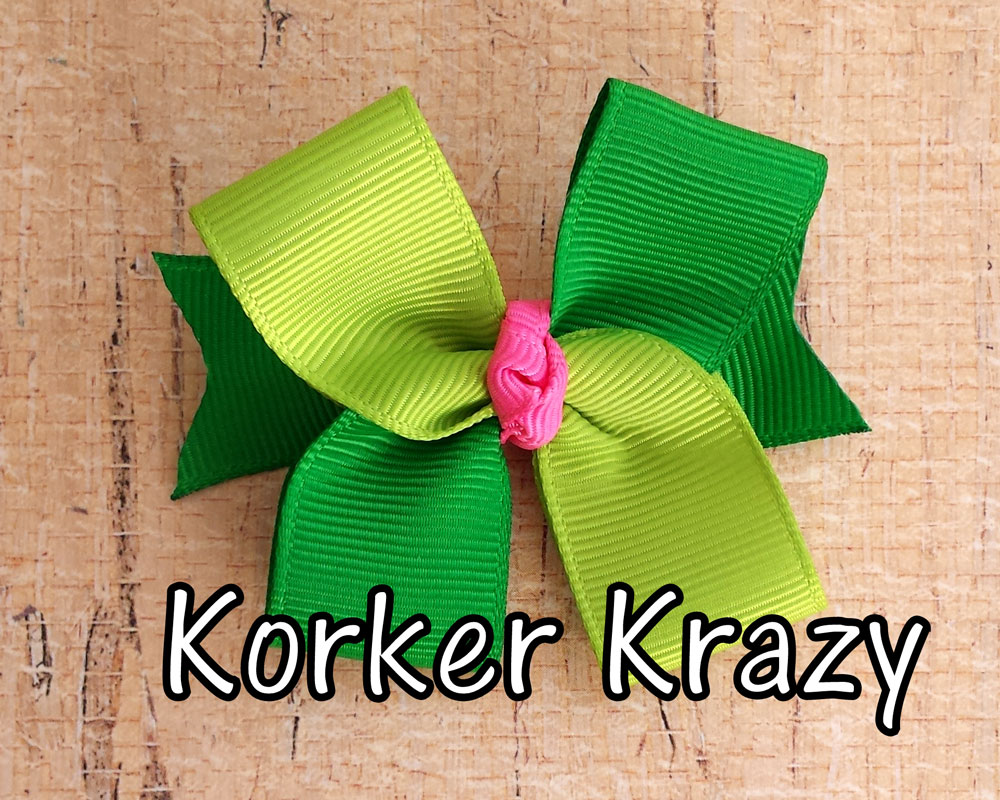
Danielle here again from Korker Krazy. Today I'm going to show you how to make a simple "x" bow! These little bows are adorable and a quick bow to match an outfit! I also love these because they are a great use for extra ribbon scraps I have.
Supplies needed for this tutorial: 3/8" Grosgrain Ribbon I'm using Hot Pink 7/8" Grosgrain Ribbon I'm using Apple Green and Emerald 1 3/4" Alligator Clip Upholstery Thread Hot Glue Gun and Glue
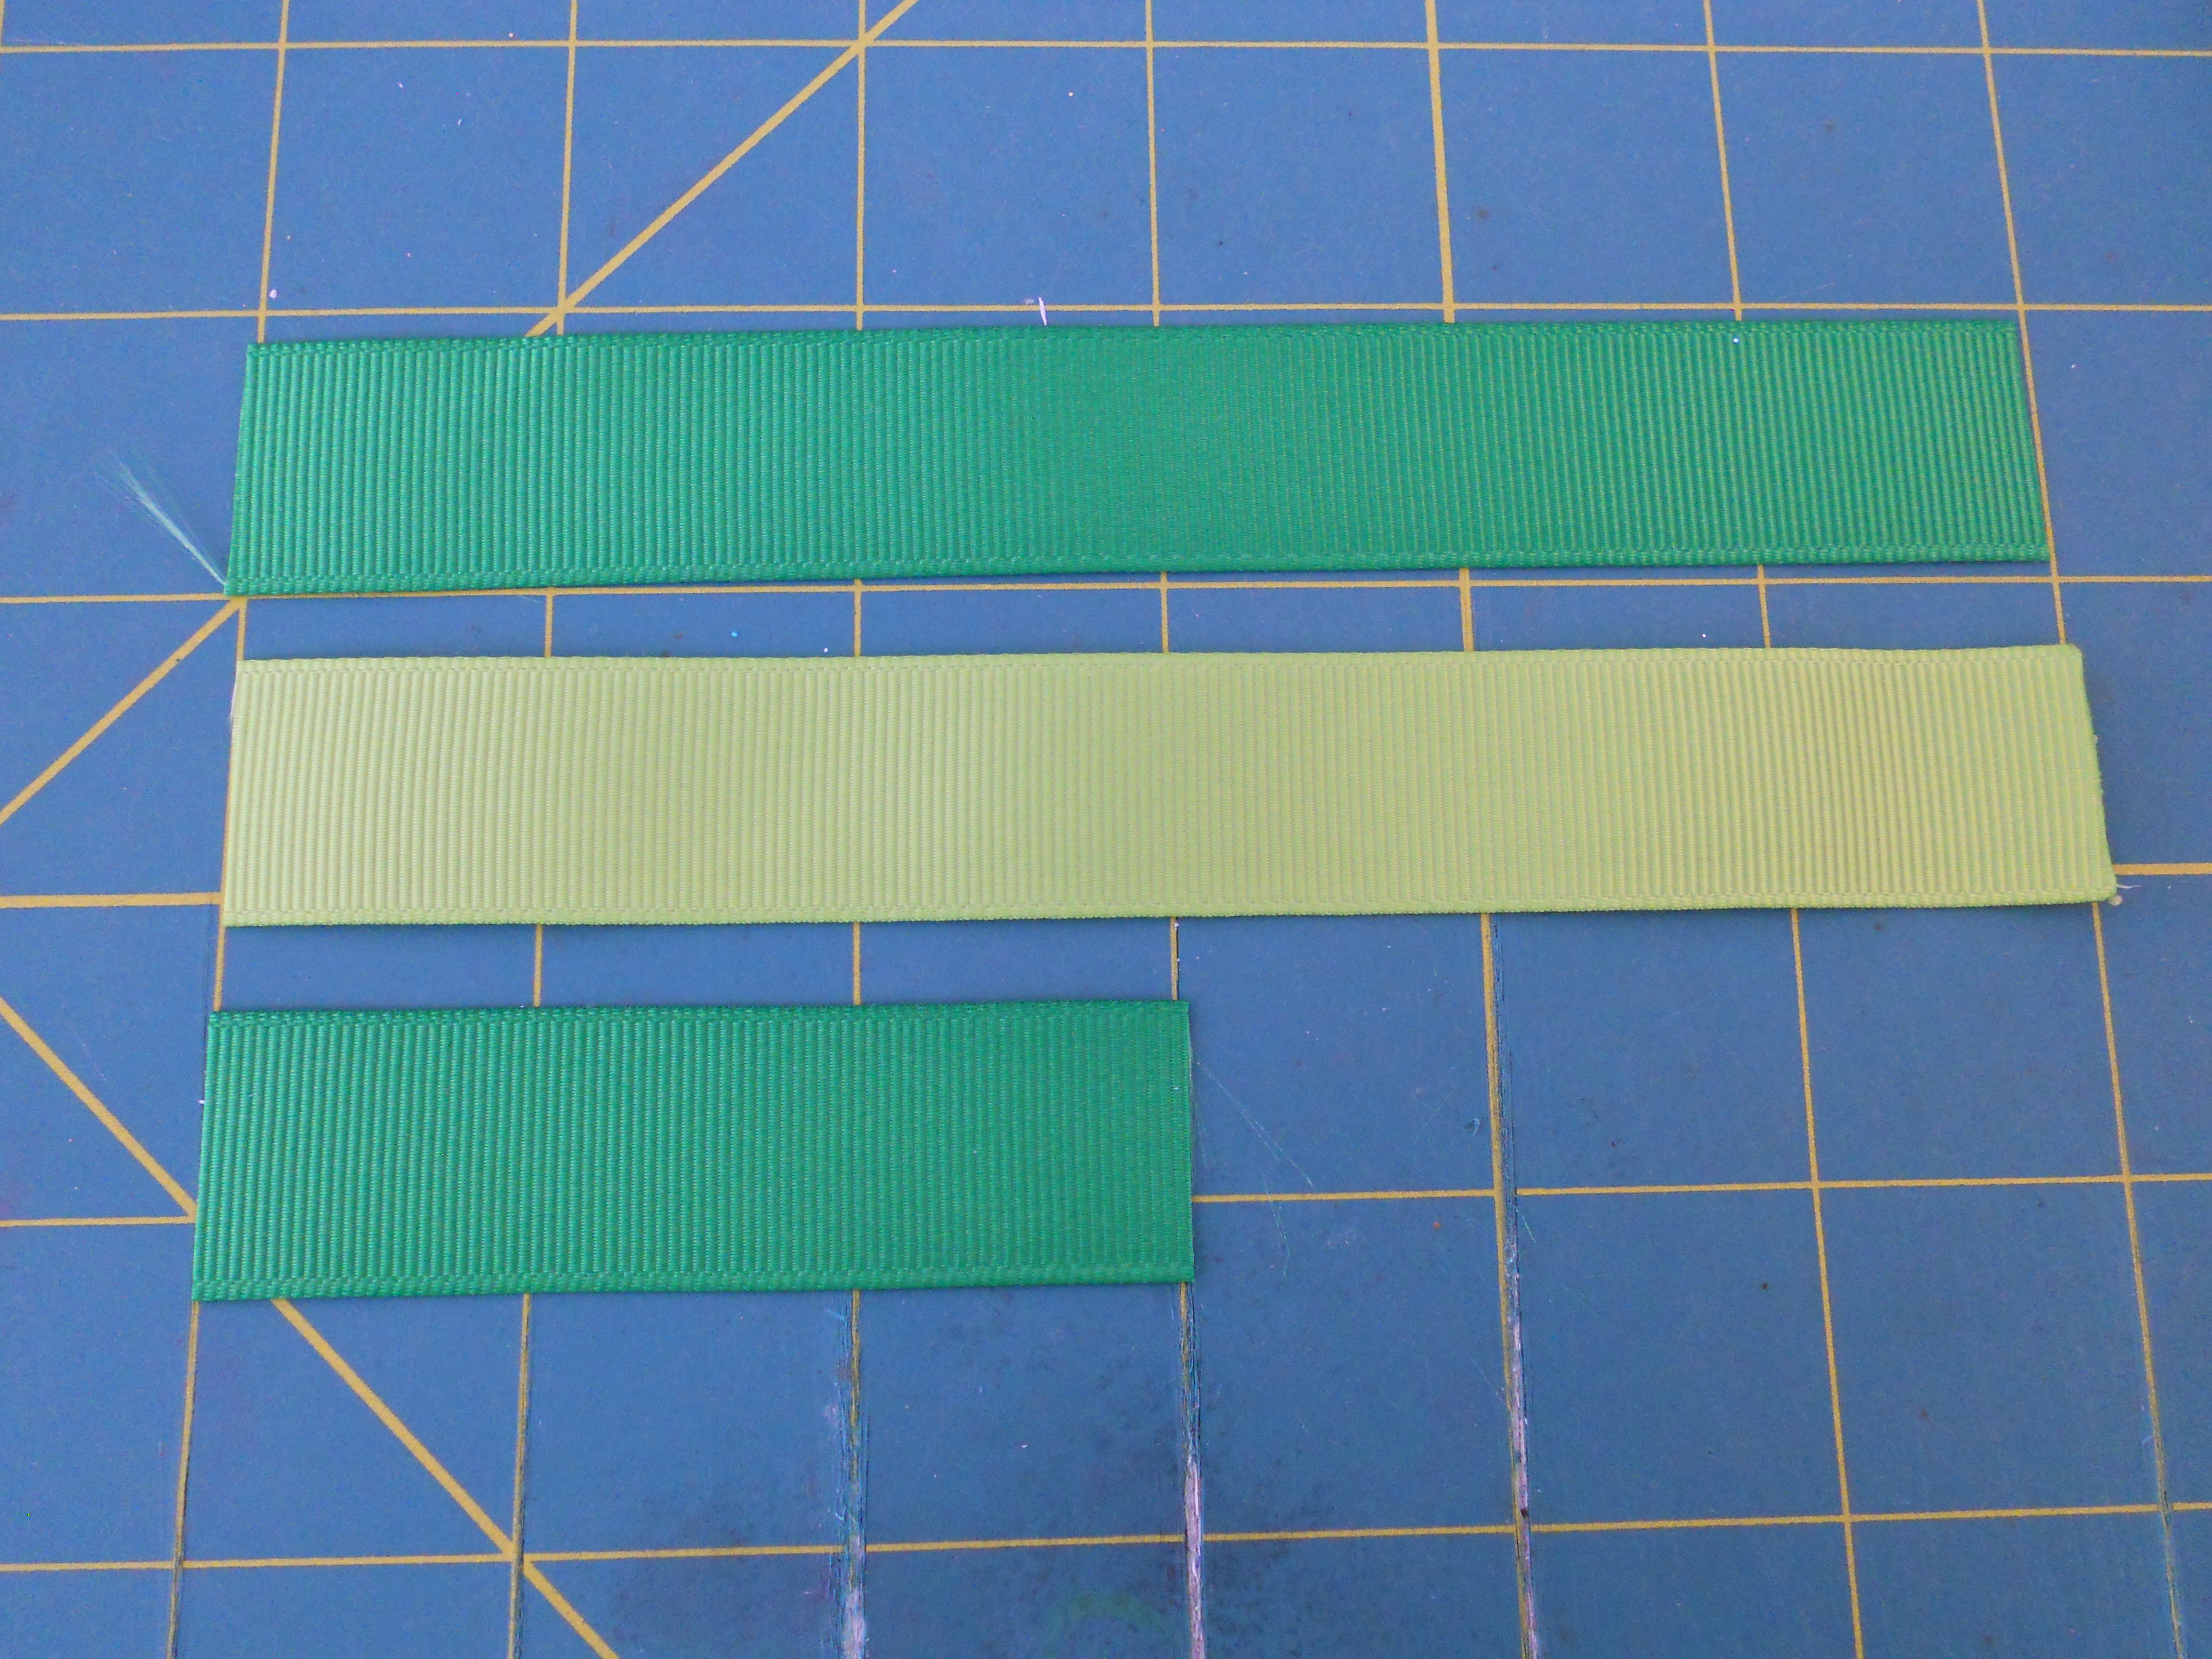
Step 1: Cut your 7/8" ribbon into two 6" pieces and one 3" piece and heat seal the ends.
Step 2: Fold your 7/8" ribbons in half and hold them to crease the center.

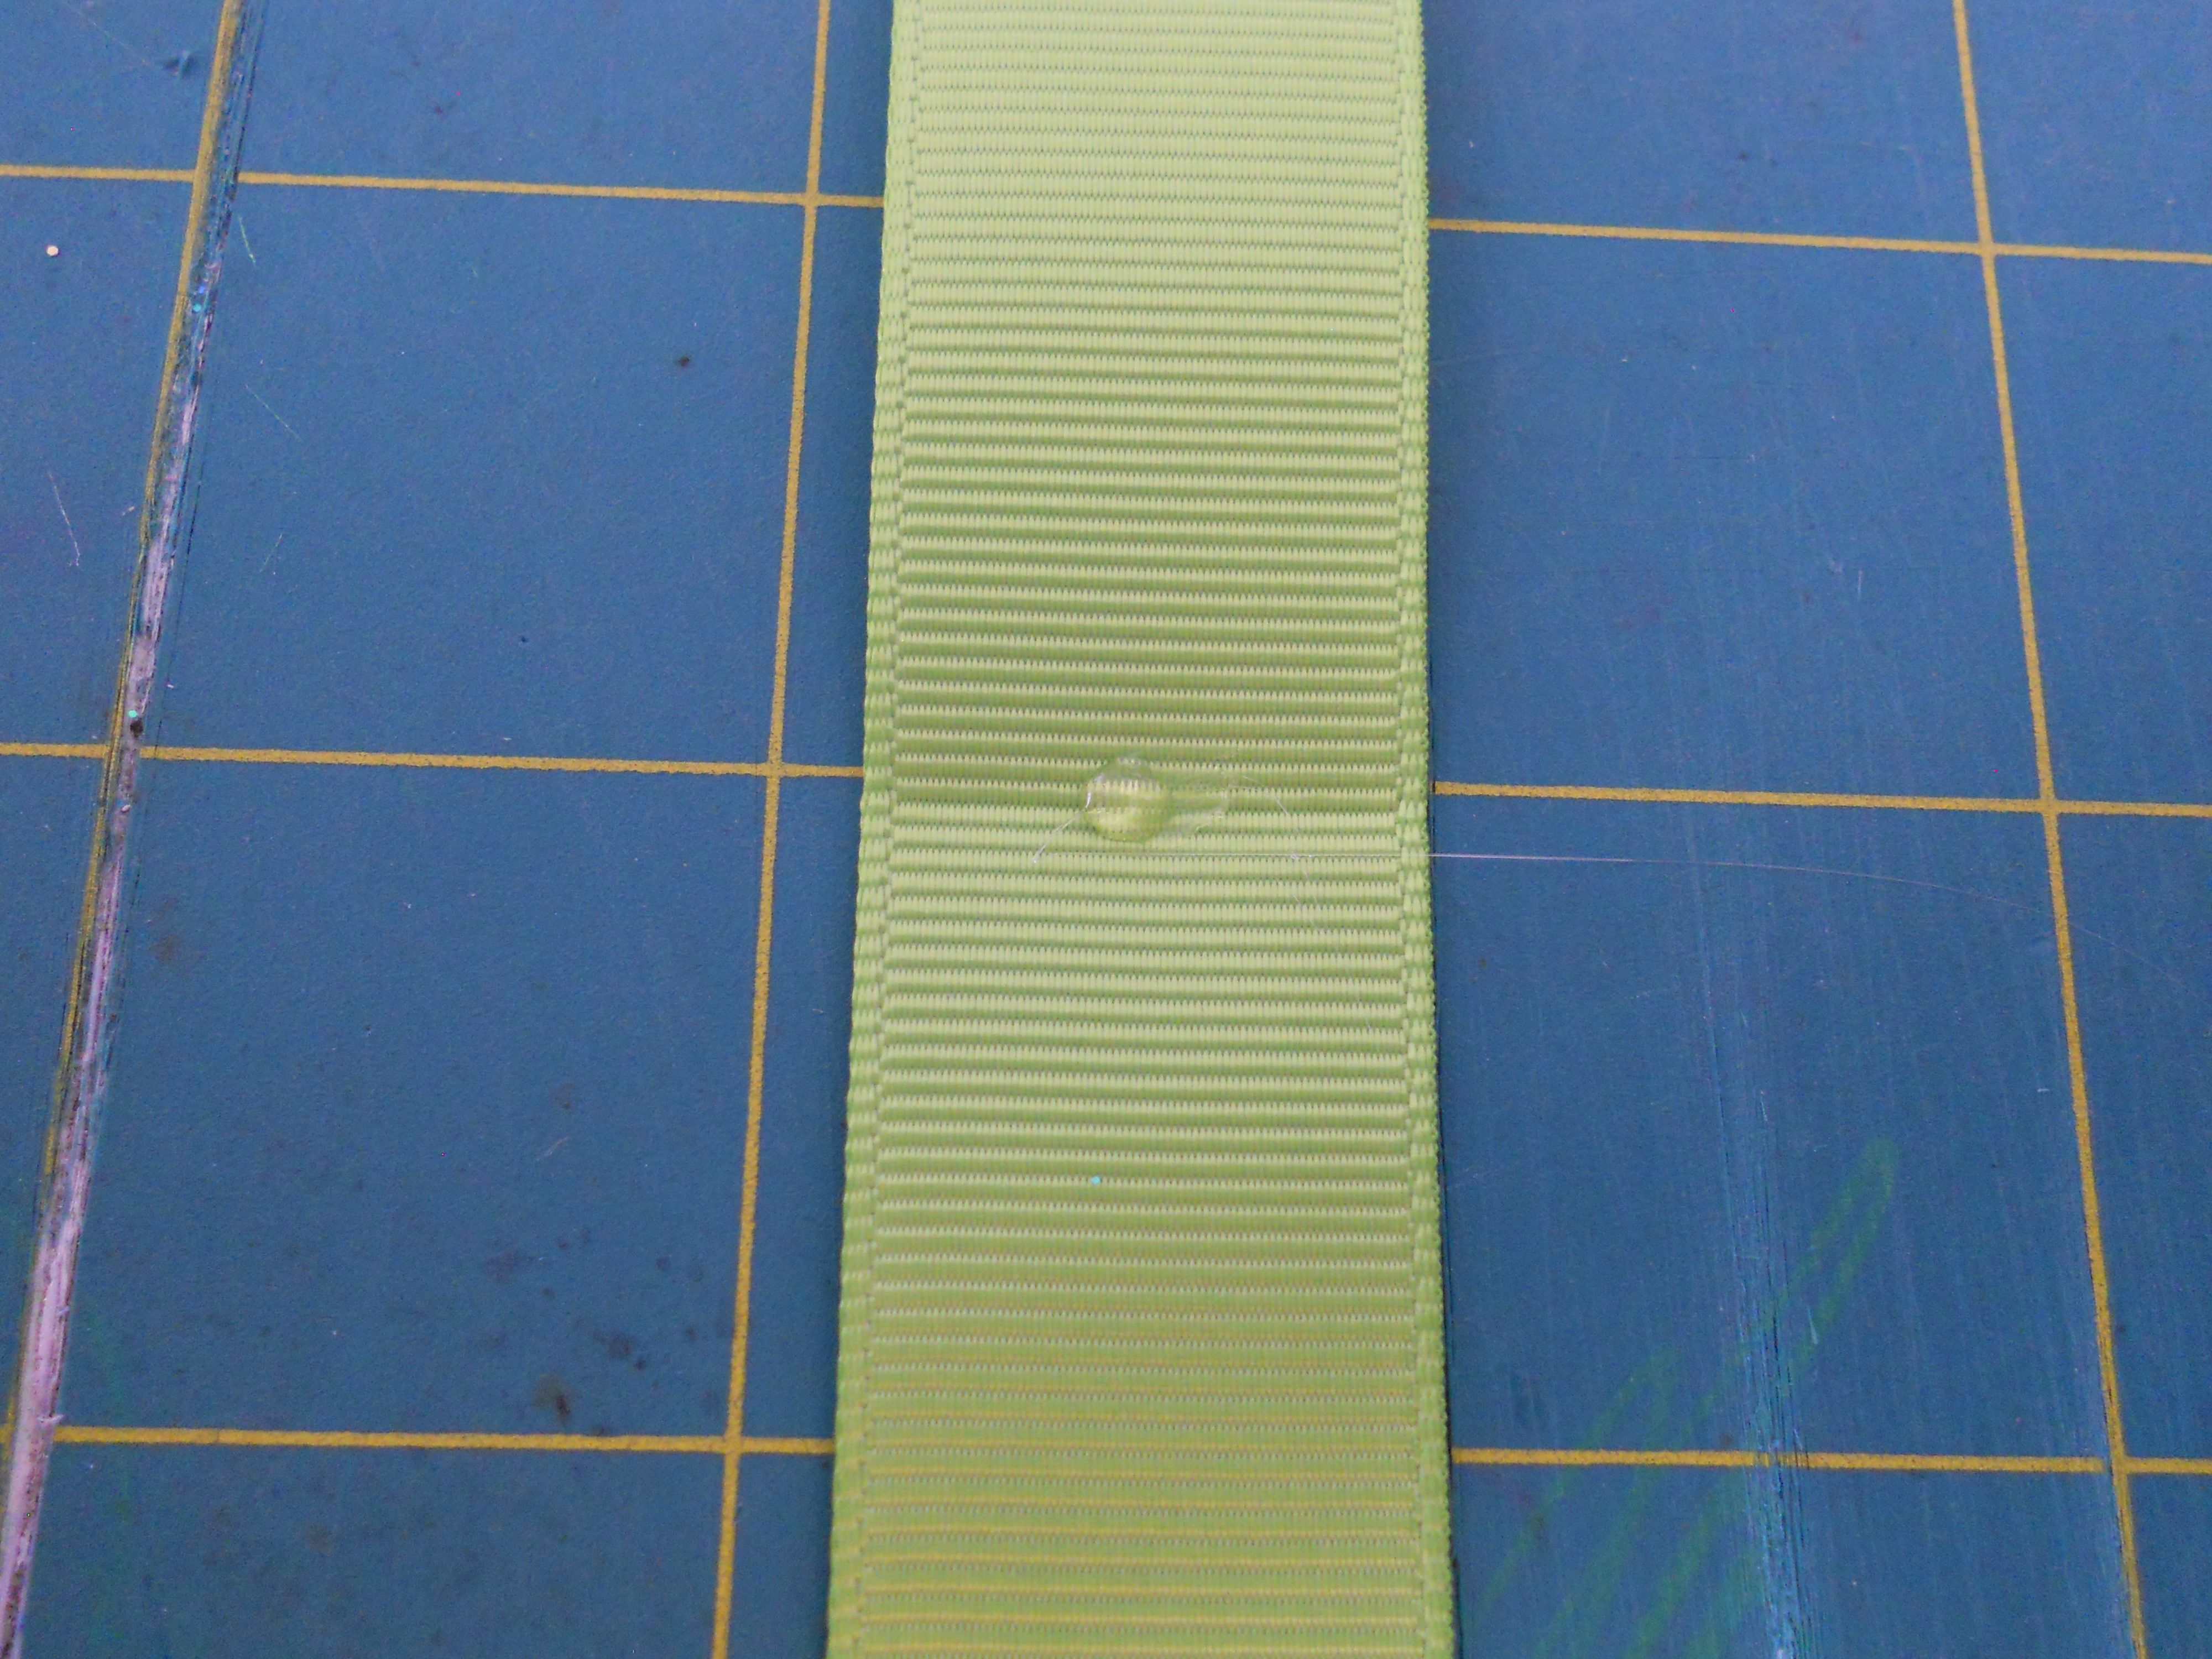
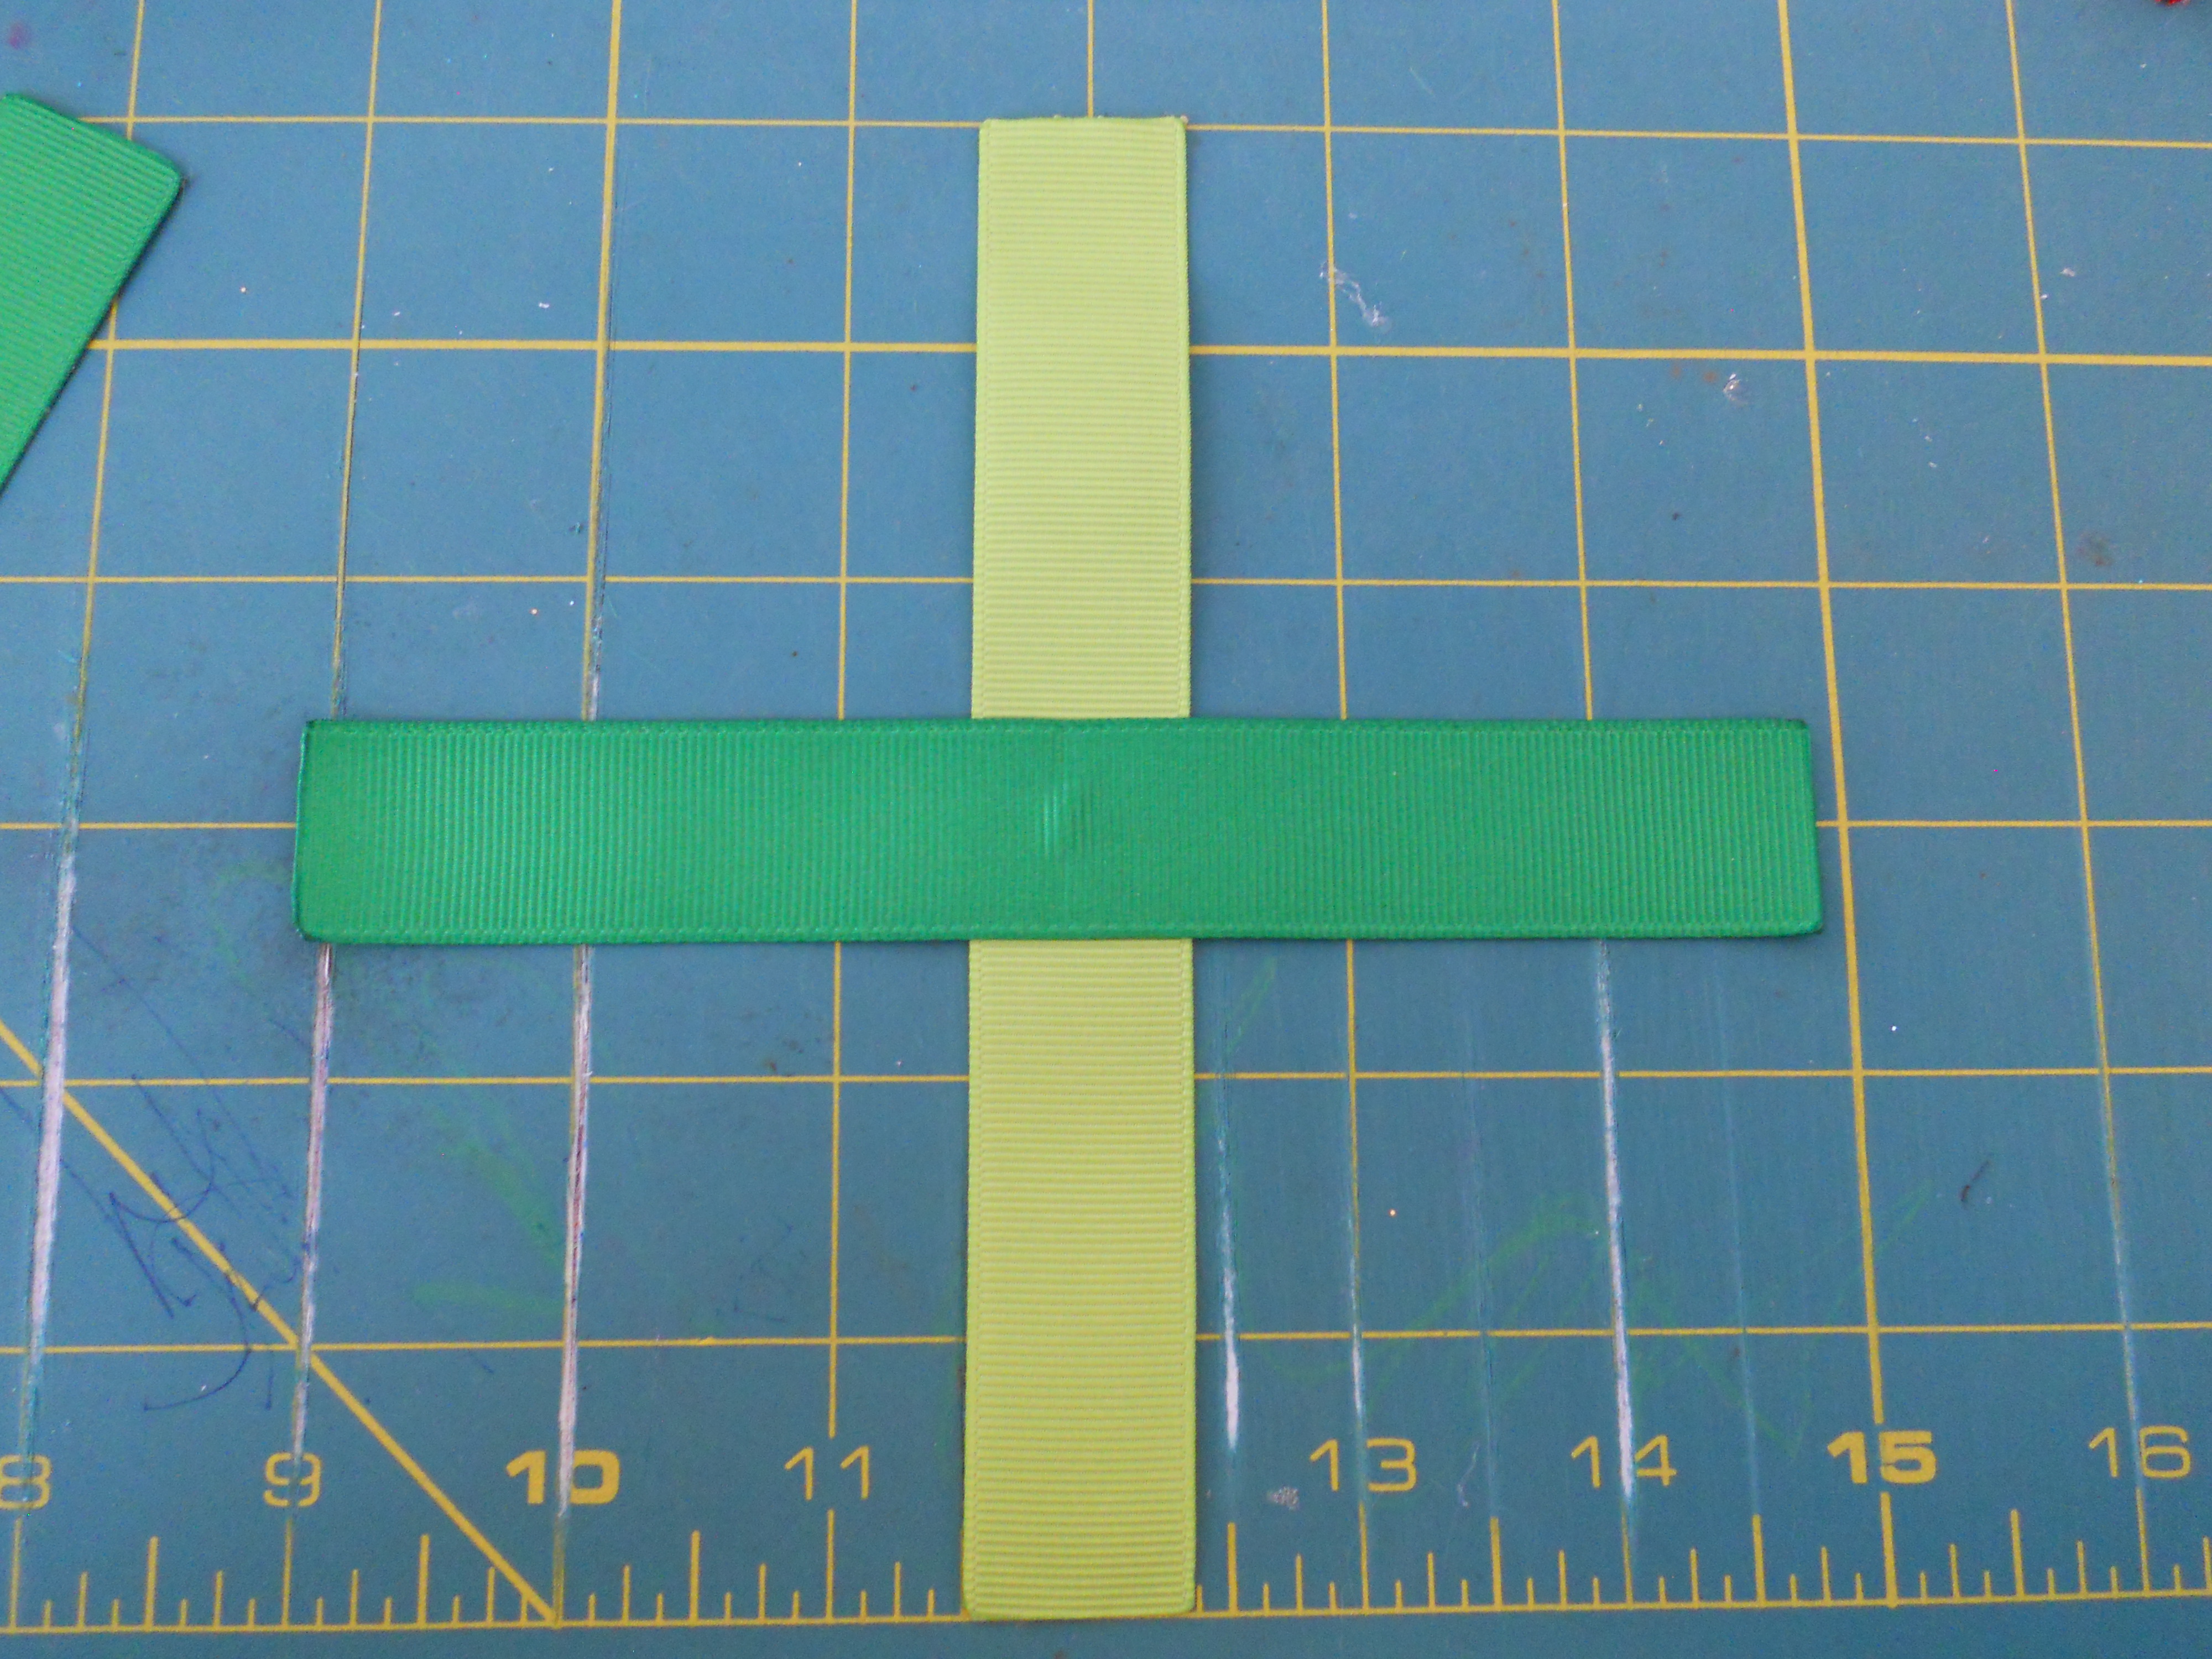
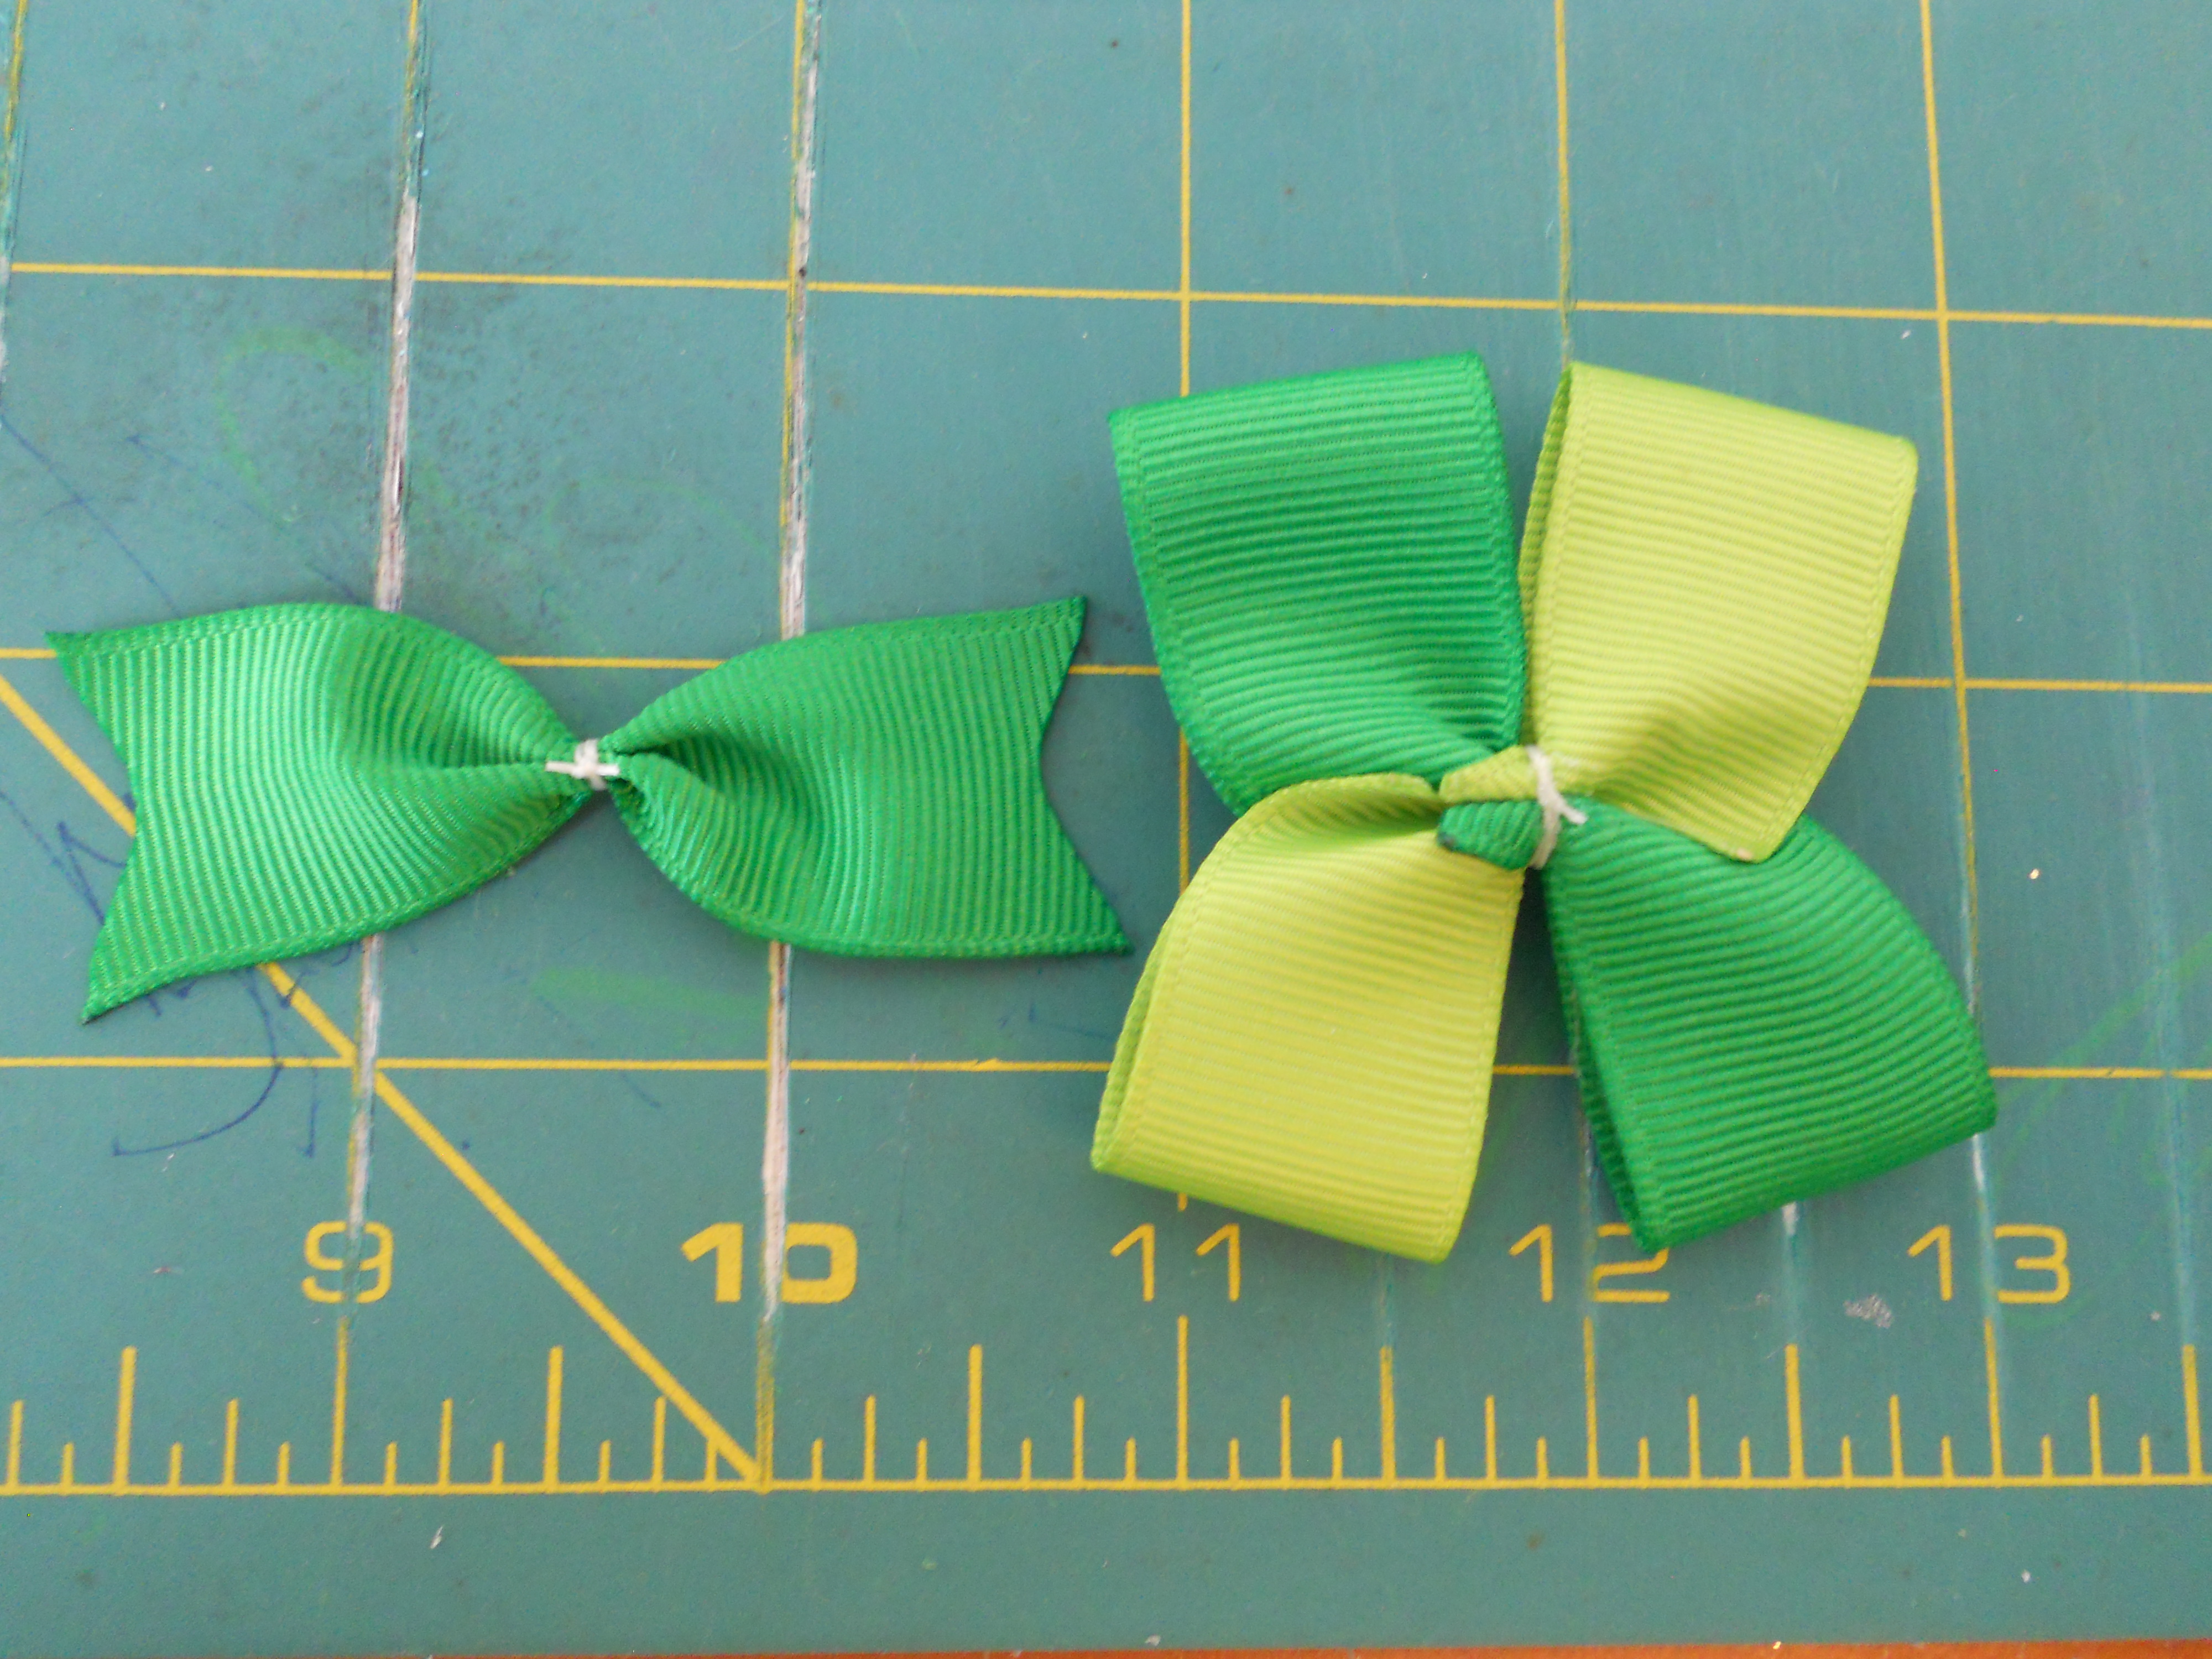
Step 3: Put a dot of glue in the center of one piece of ribbon and place the center of the other on top of it. Your ribbons should now be in the shape of an x.
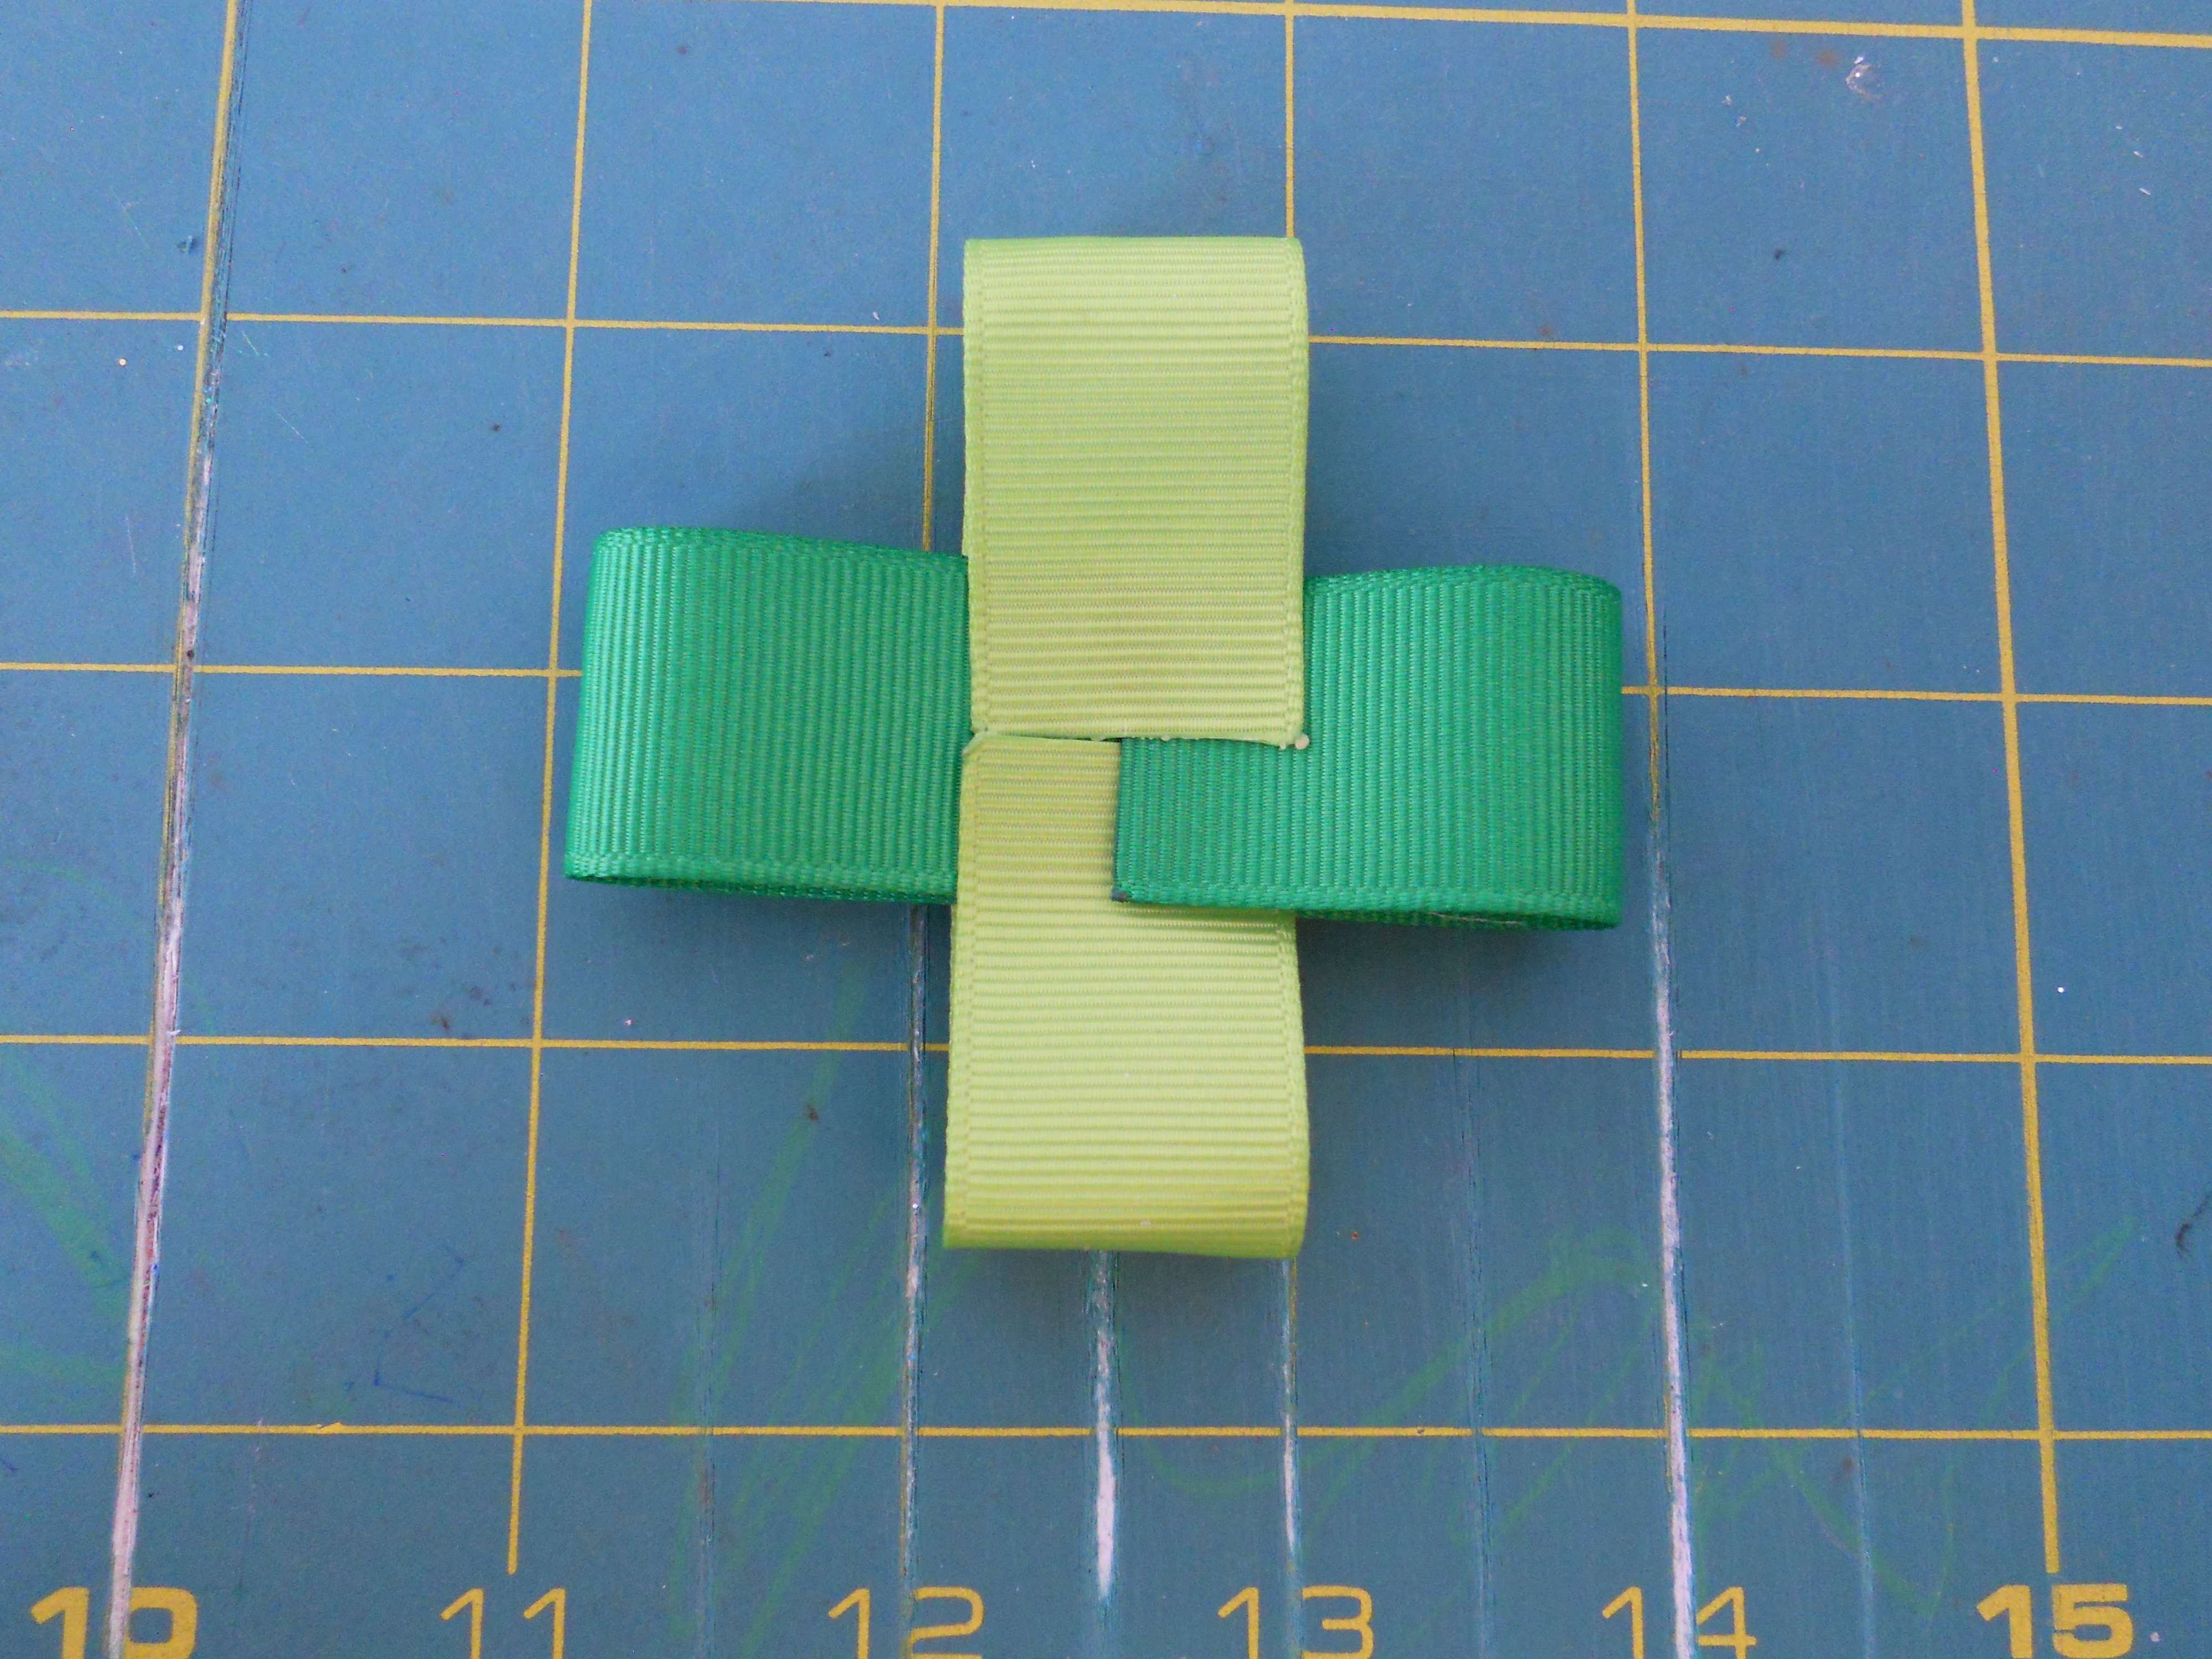
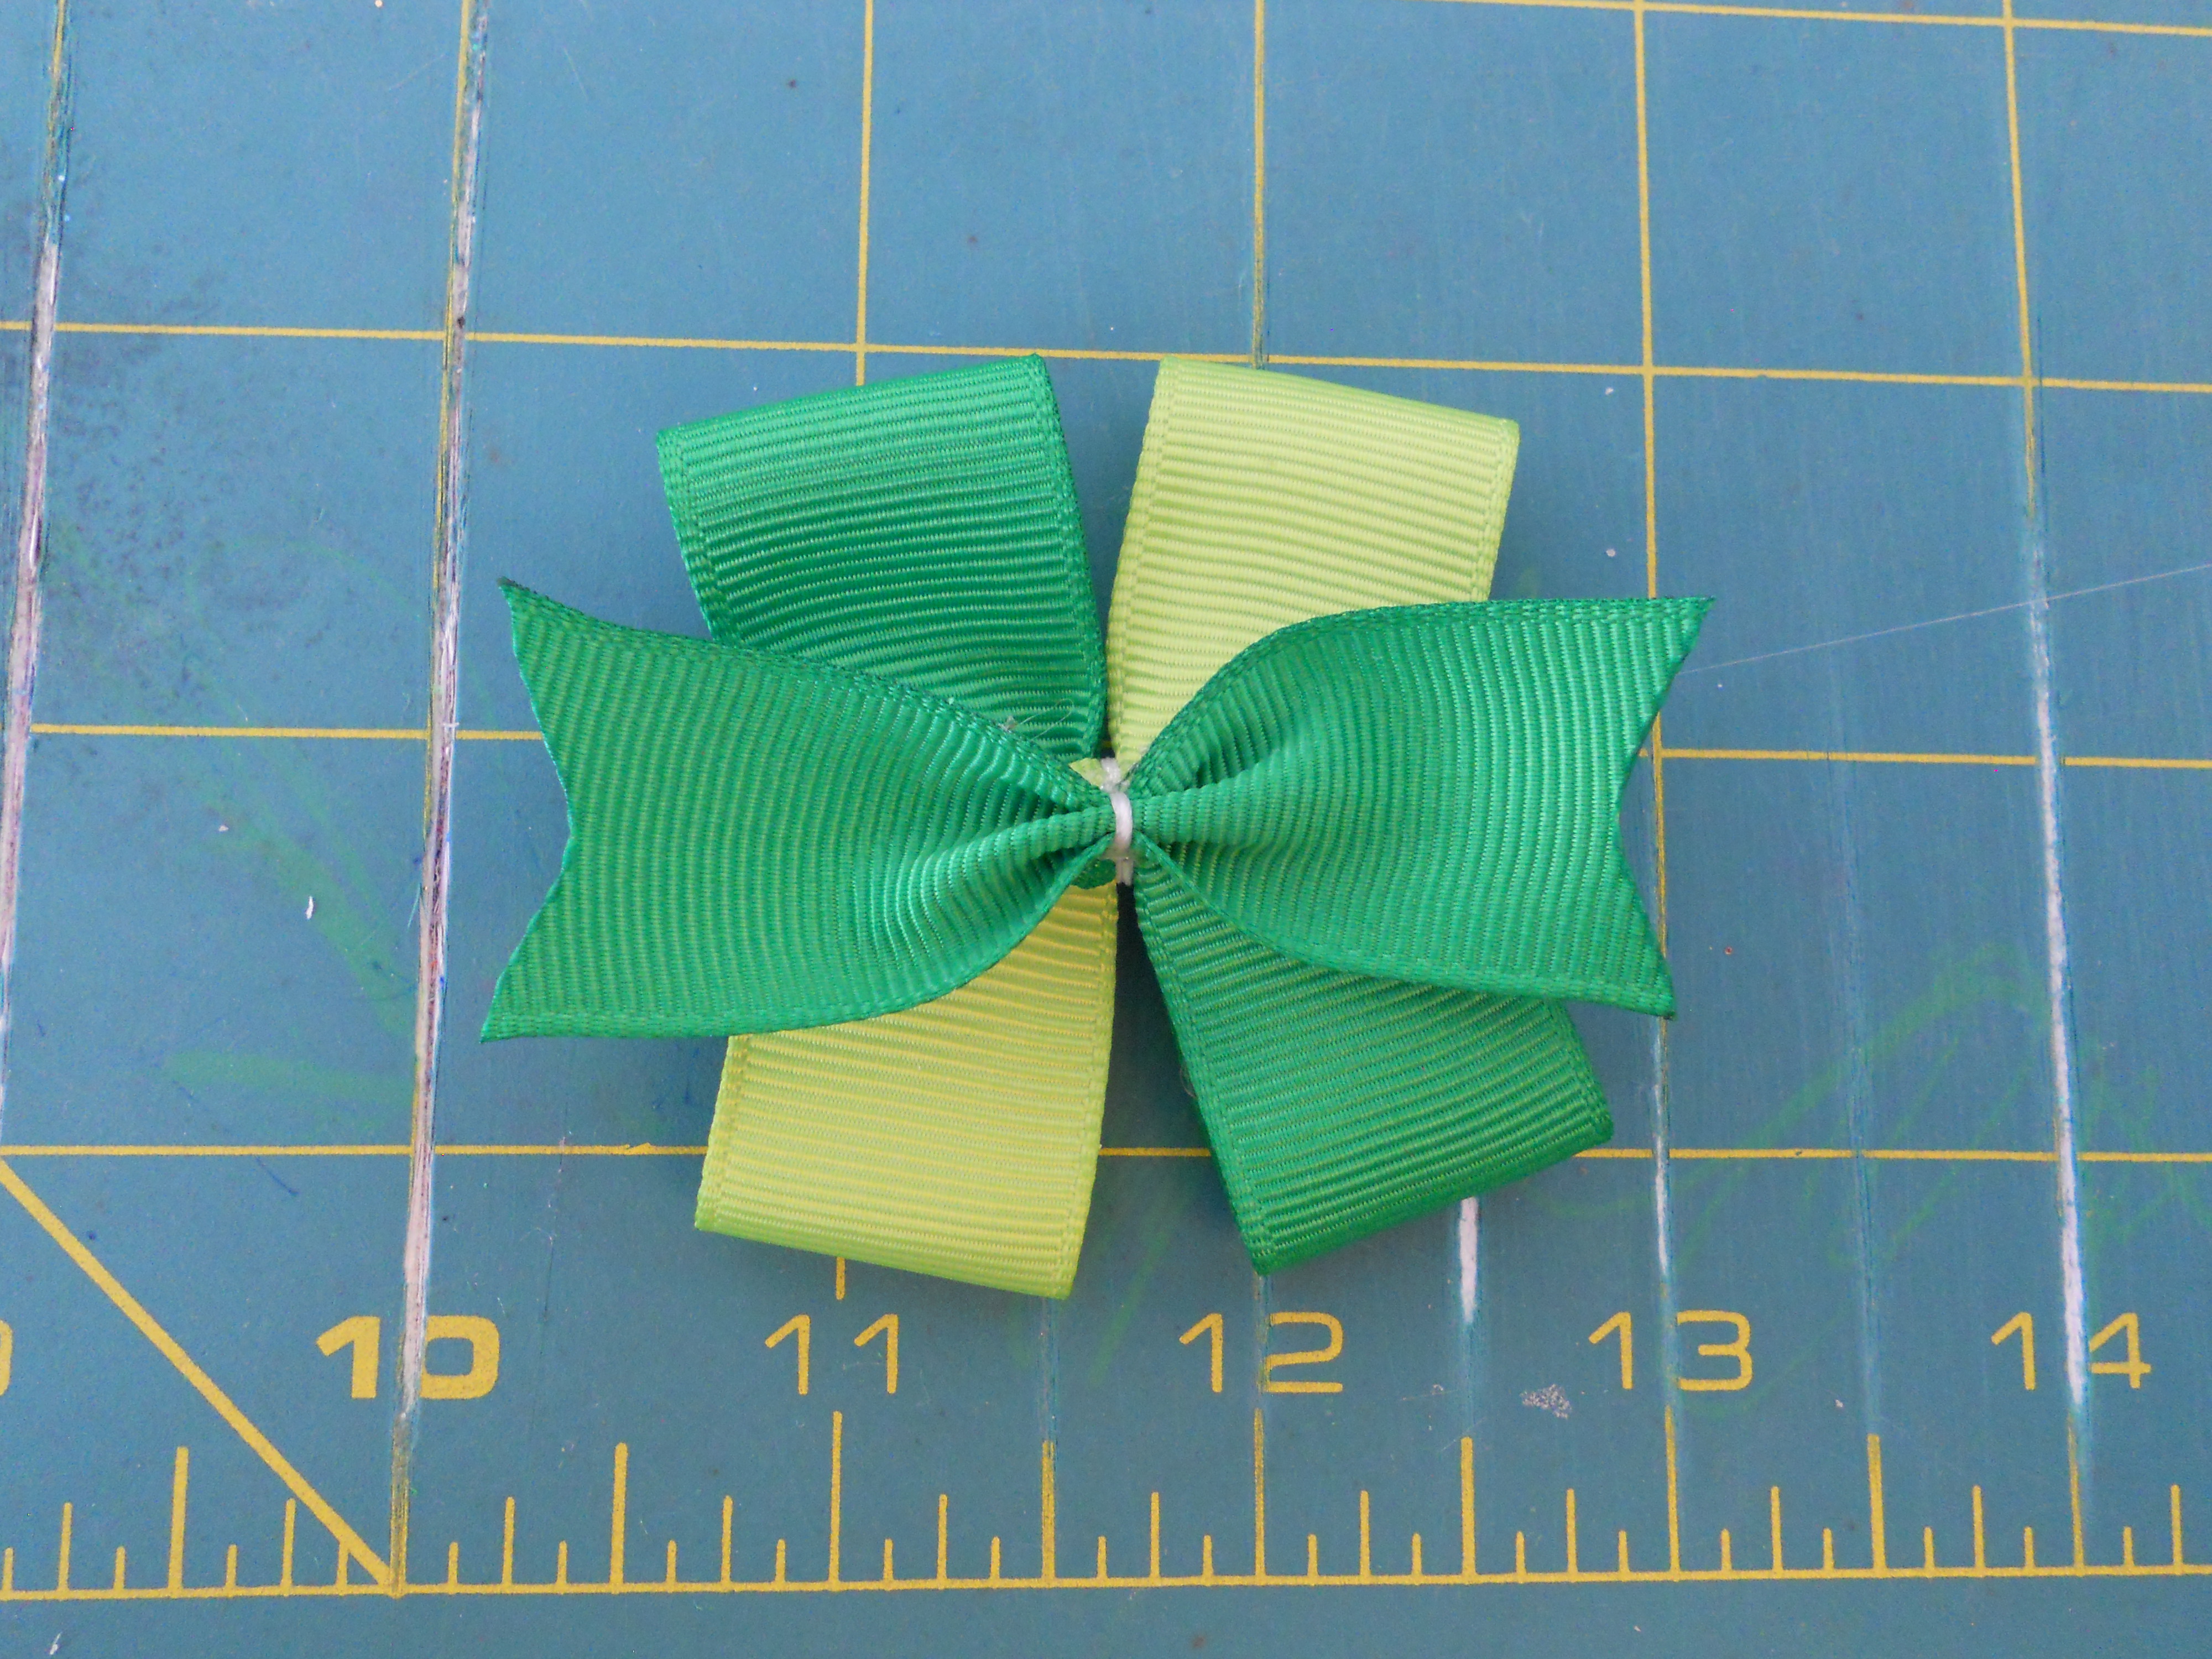
Step 4: Put a line of glue down the center of the top ribbon. Step 5: Fold all of your ribbon ends into the center pressing them down onto the line of glue.
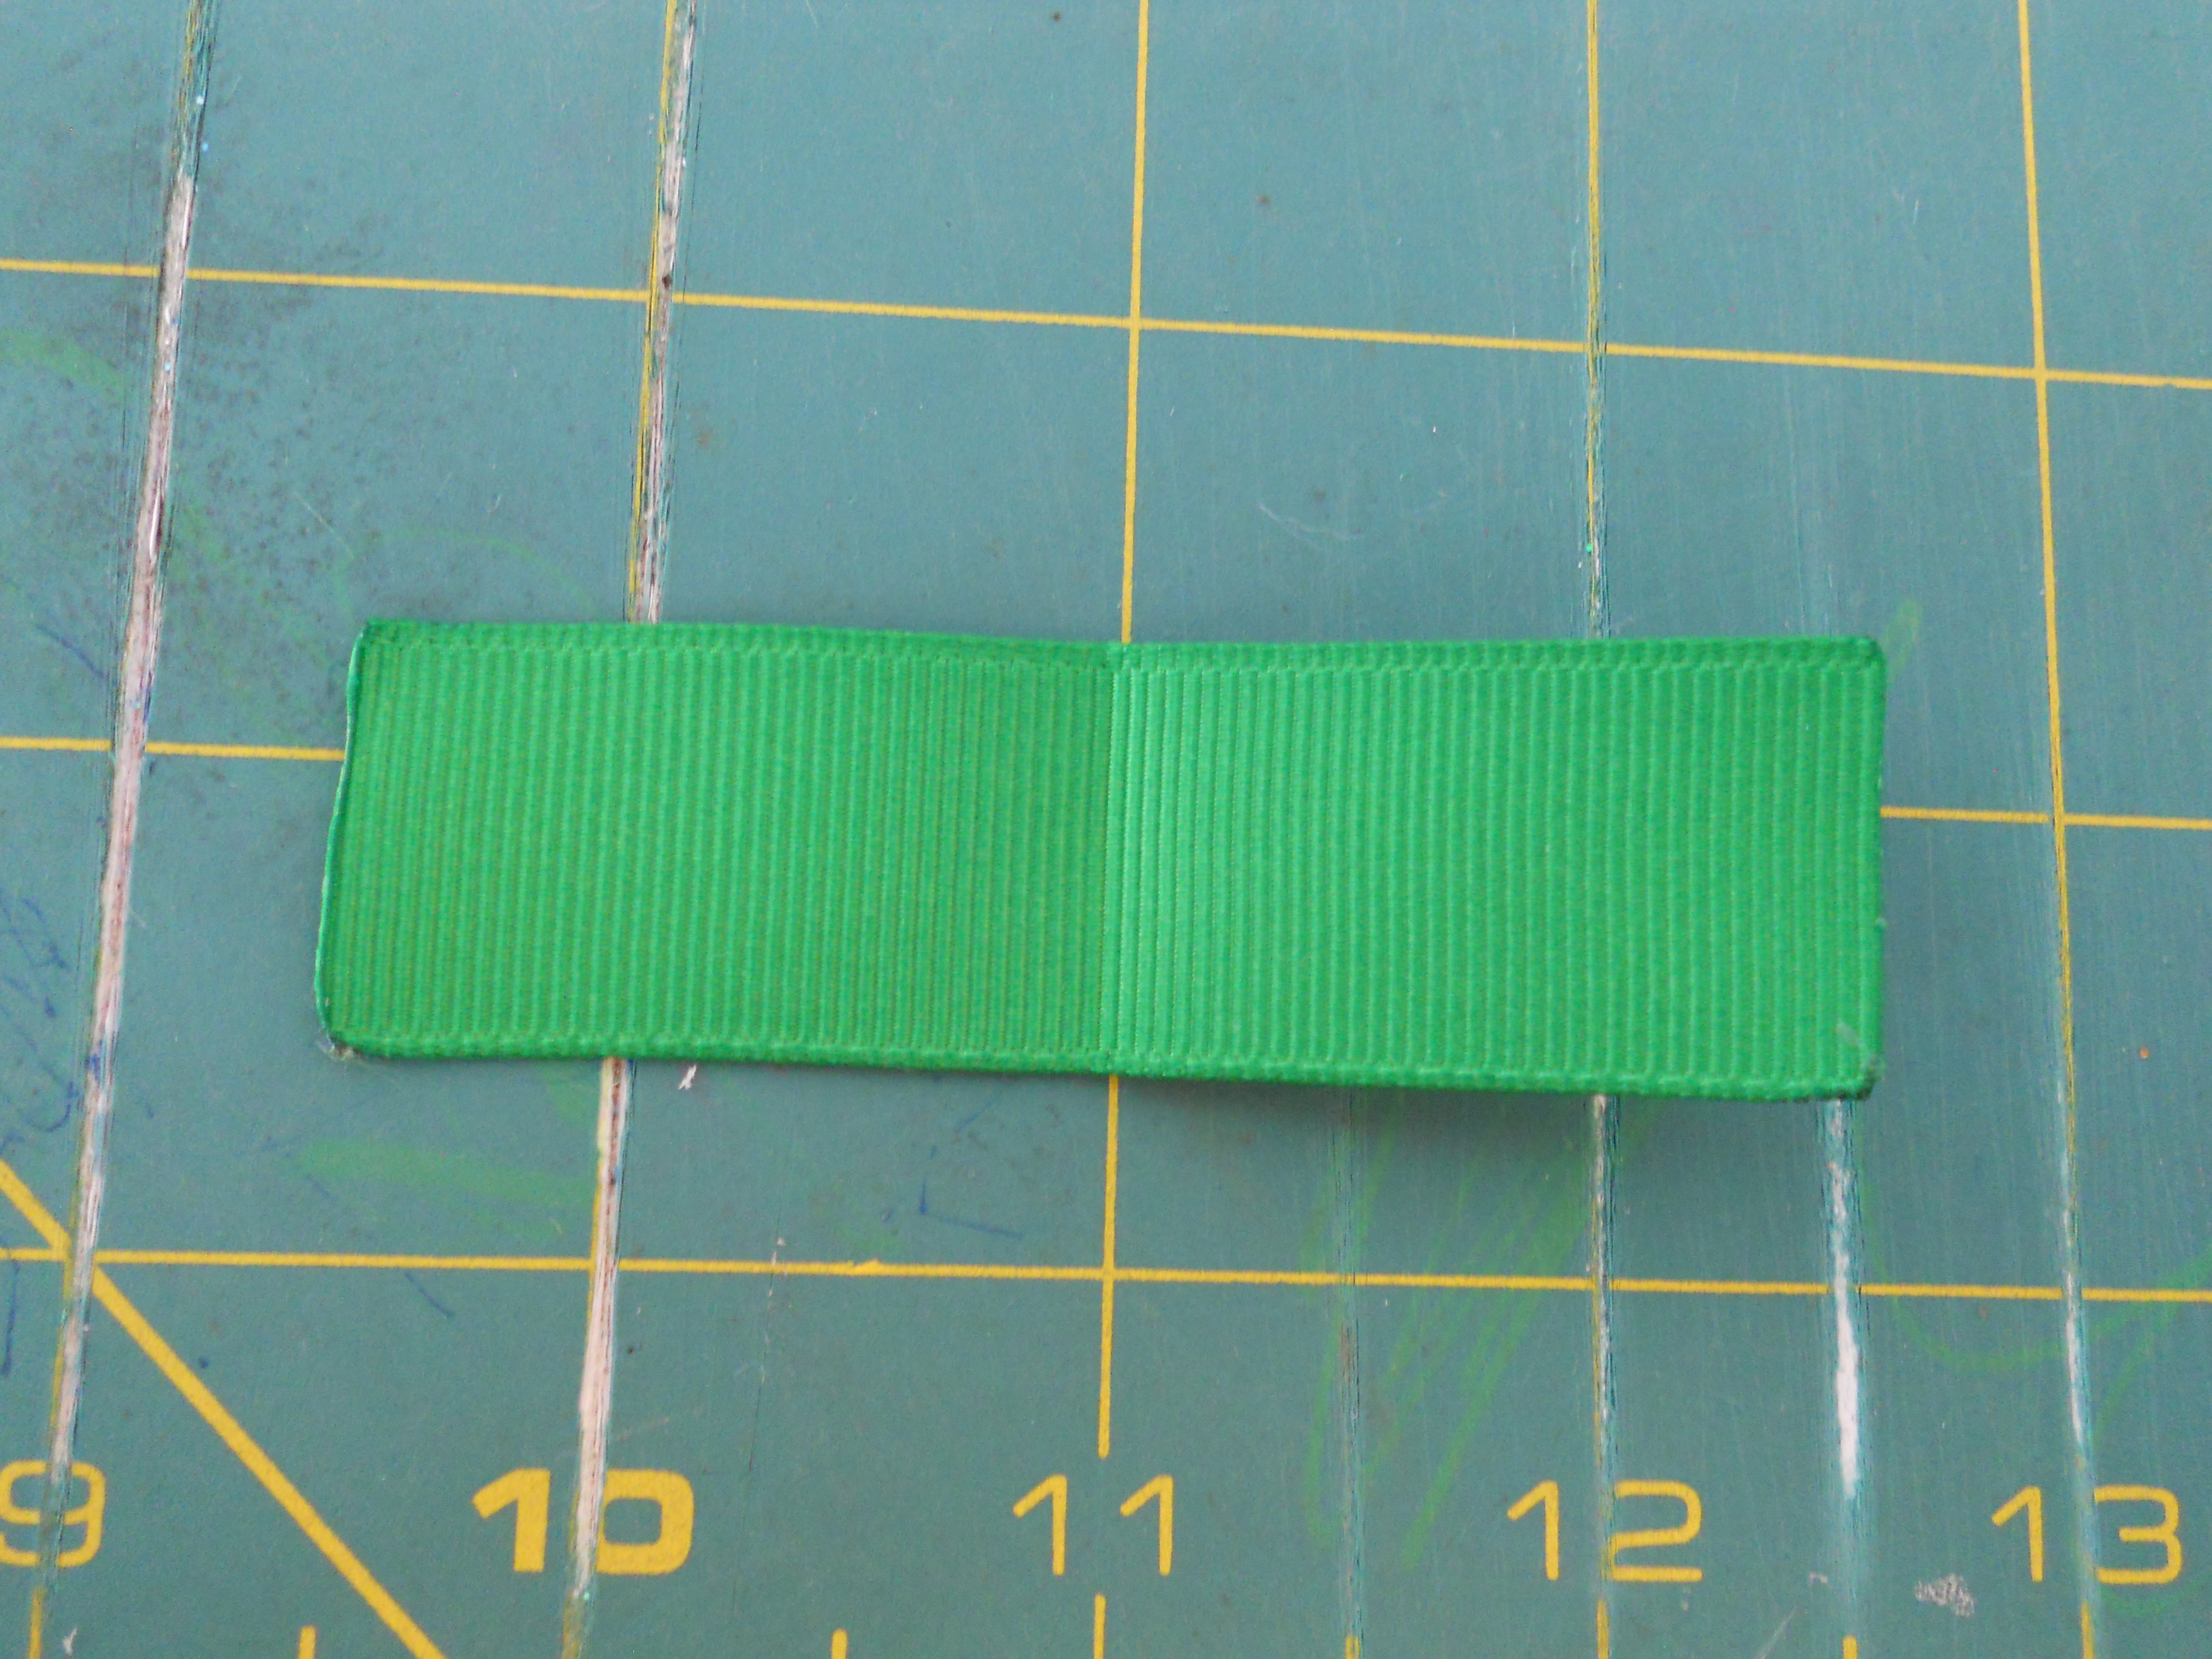
Step 6: Make a two fold crease from the center of your bow and wrap with your upholstery thread. Wrap the bow a few times and tie off the thread. Cut the excess thread and put a small dot of glue on the knot.

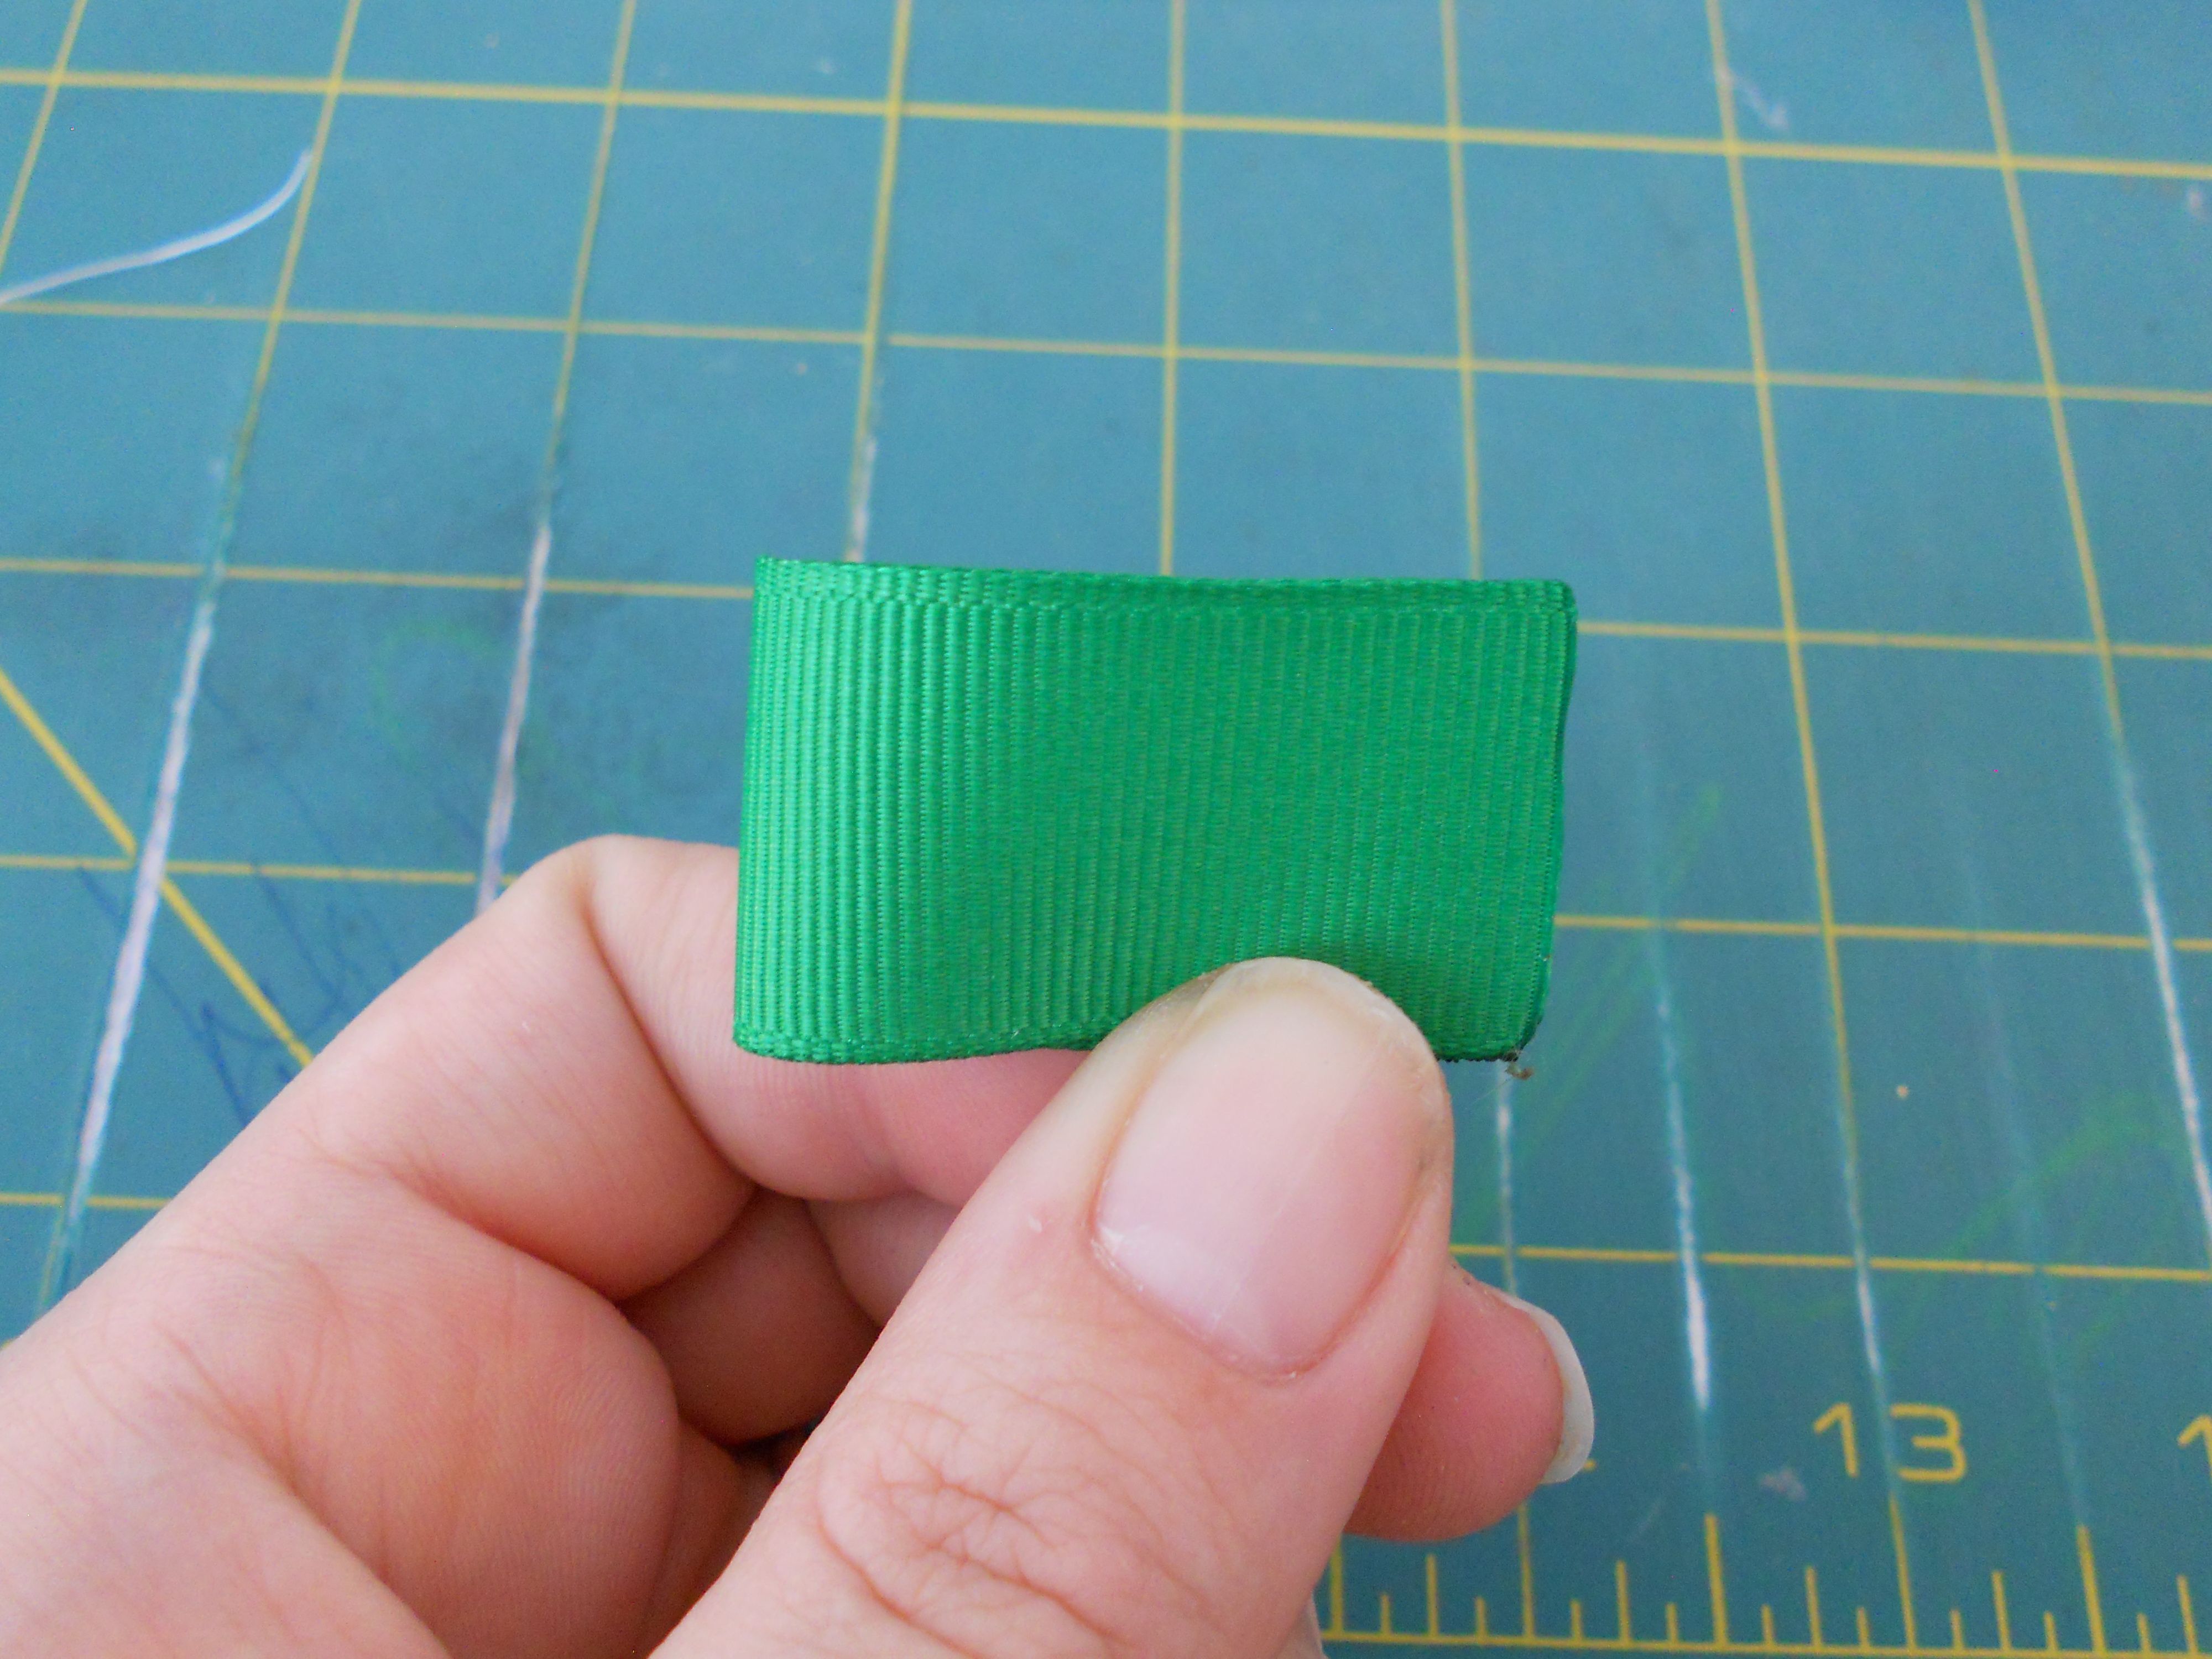
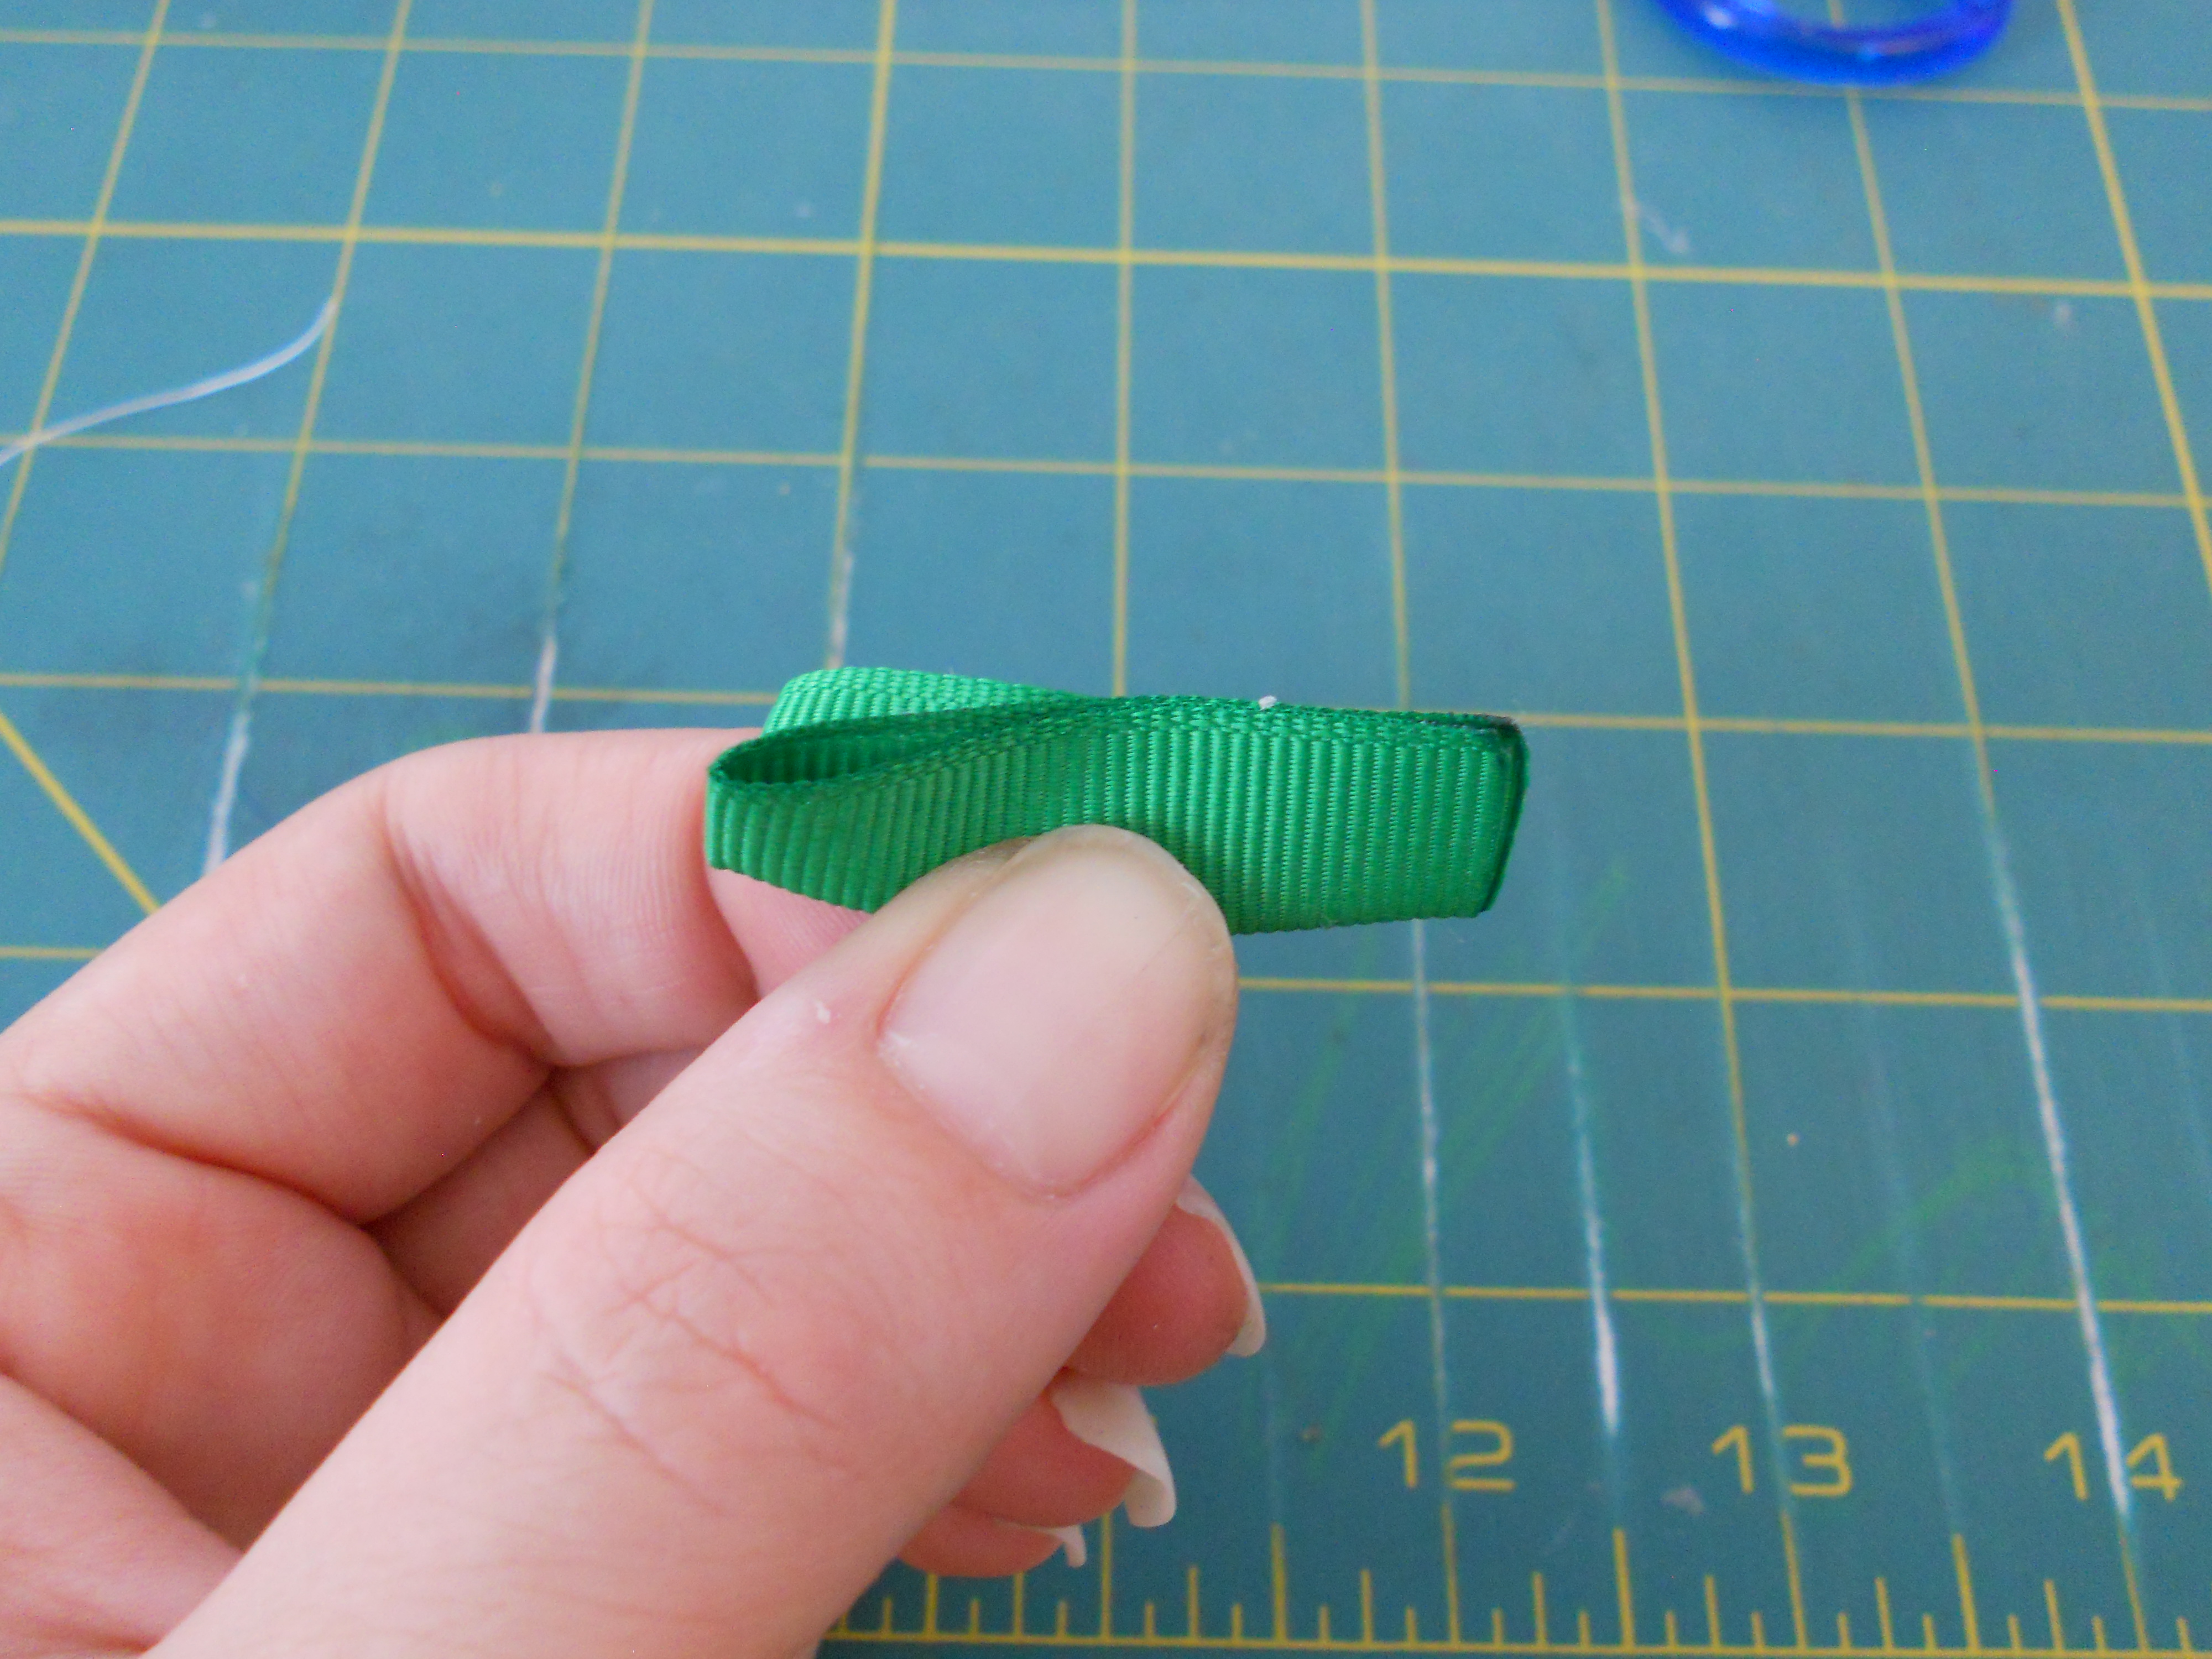
Step 7: Fold your 3" strip of 7/8" in half and hold to crease the ribbon.
Step 8: Fold your ribbon in half from left to right with the open ends on the right side. Step 9: Fold your ribbon in half from bottom to top with the open ends still on the right side.
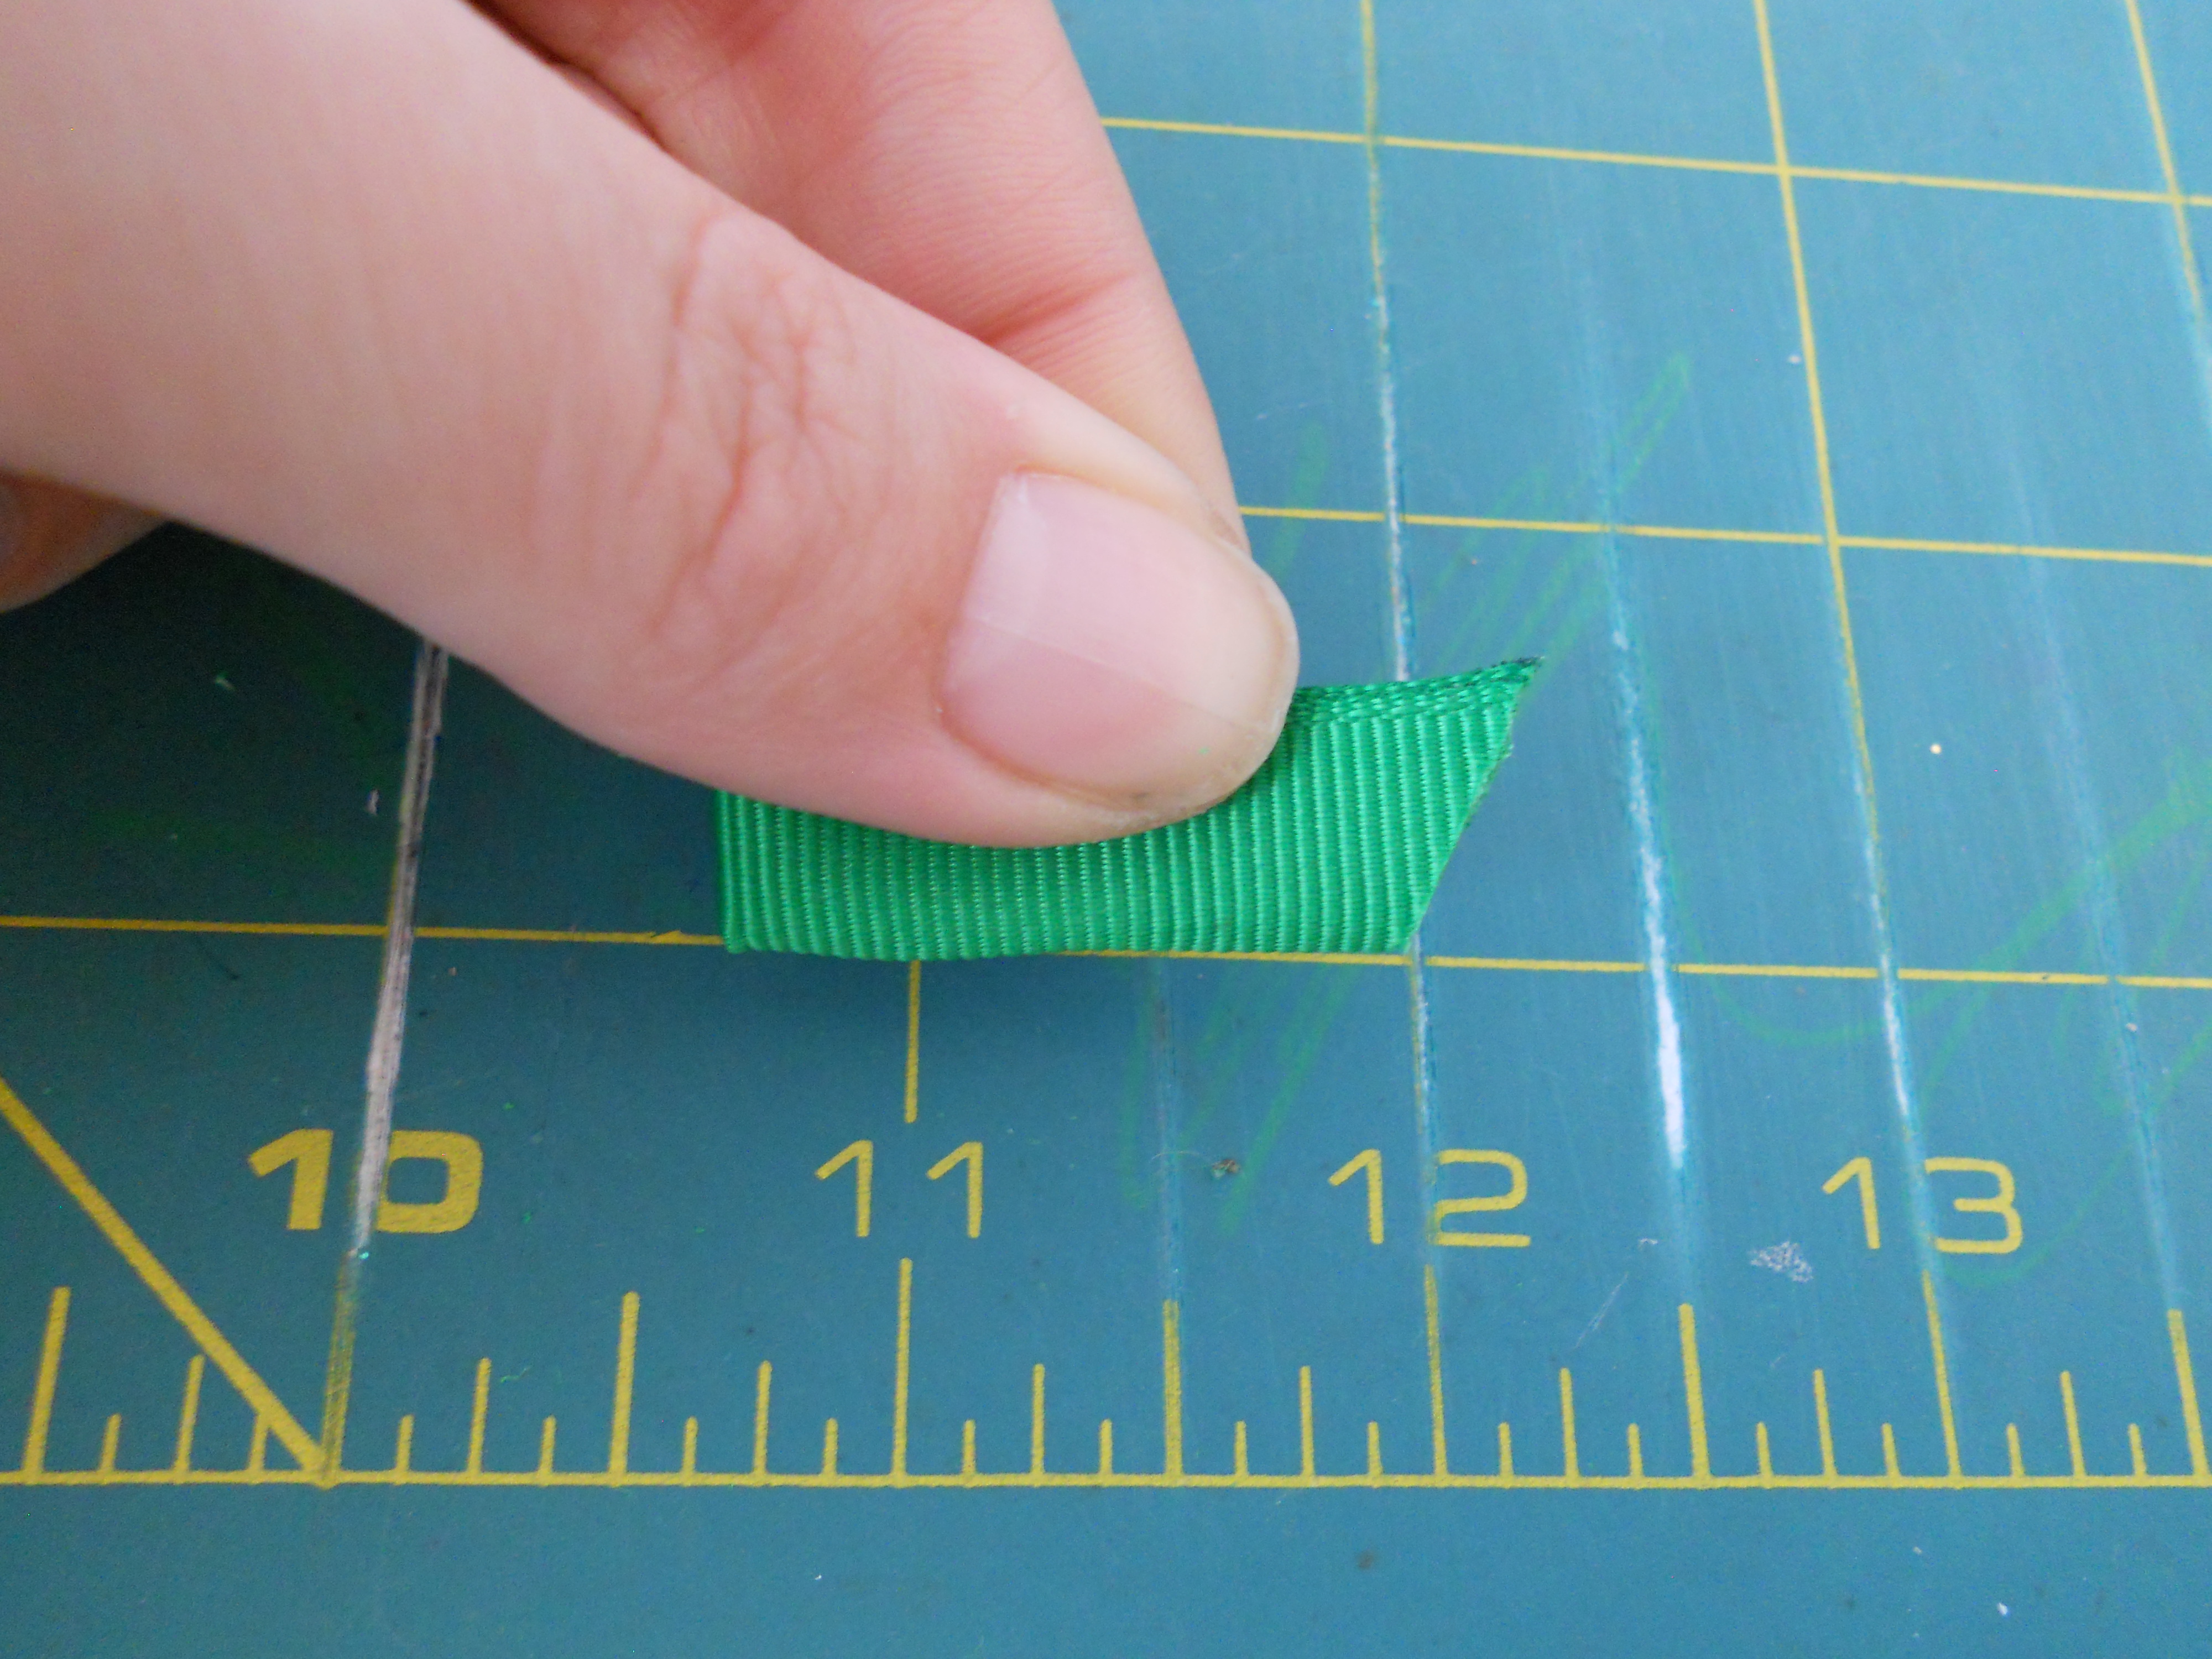
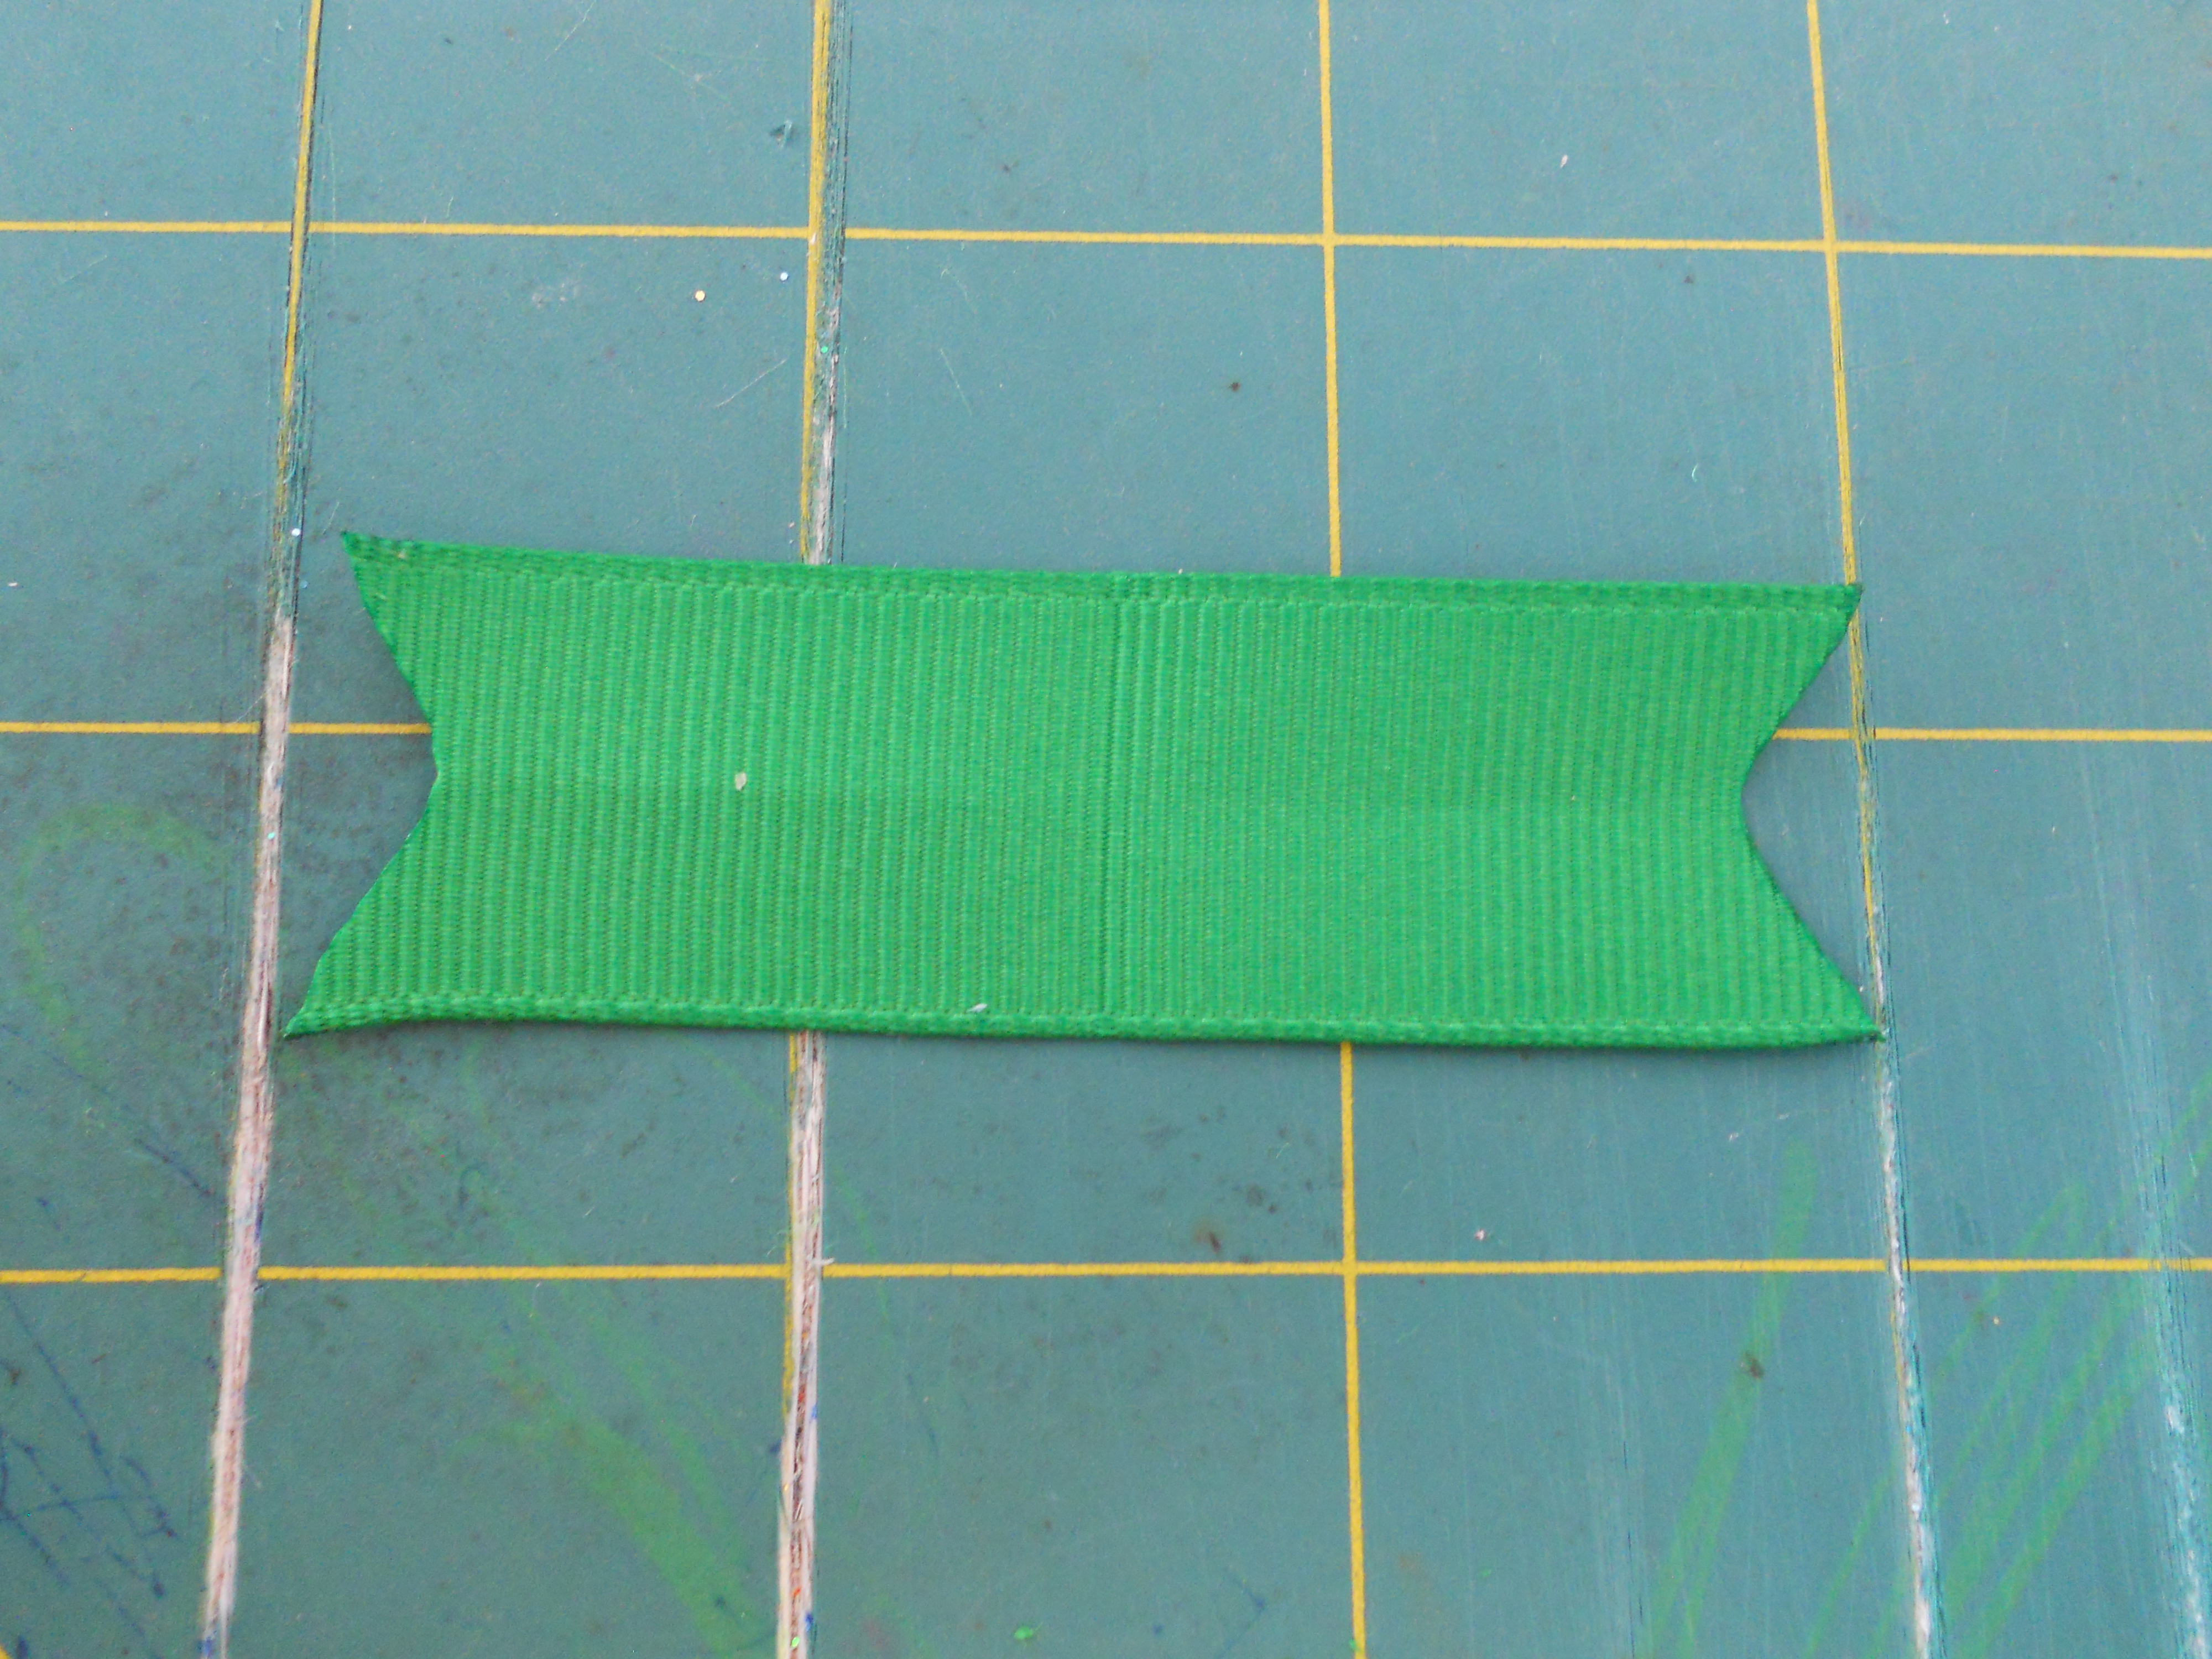
Step 10: Make an angled cut from the bottom of the ribbon up to the top right side. Heat seal those ends again!
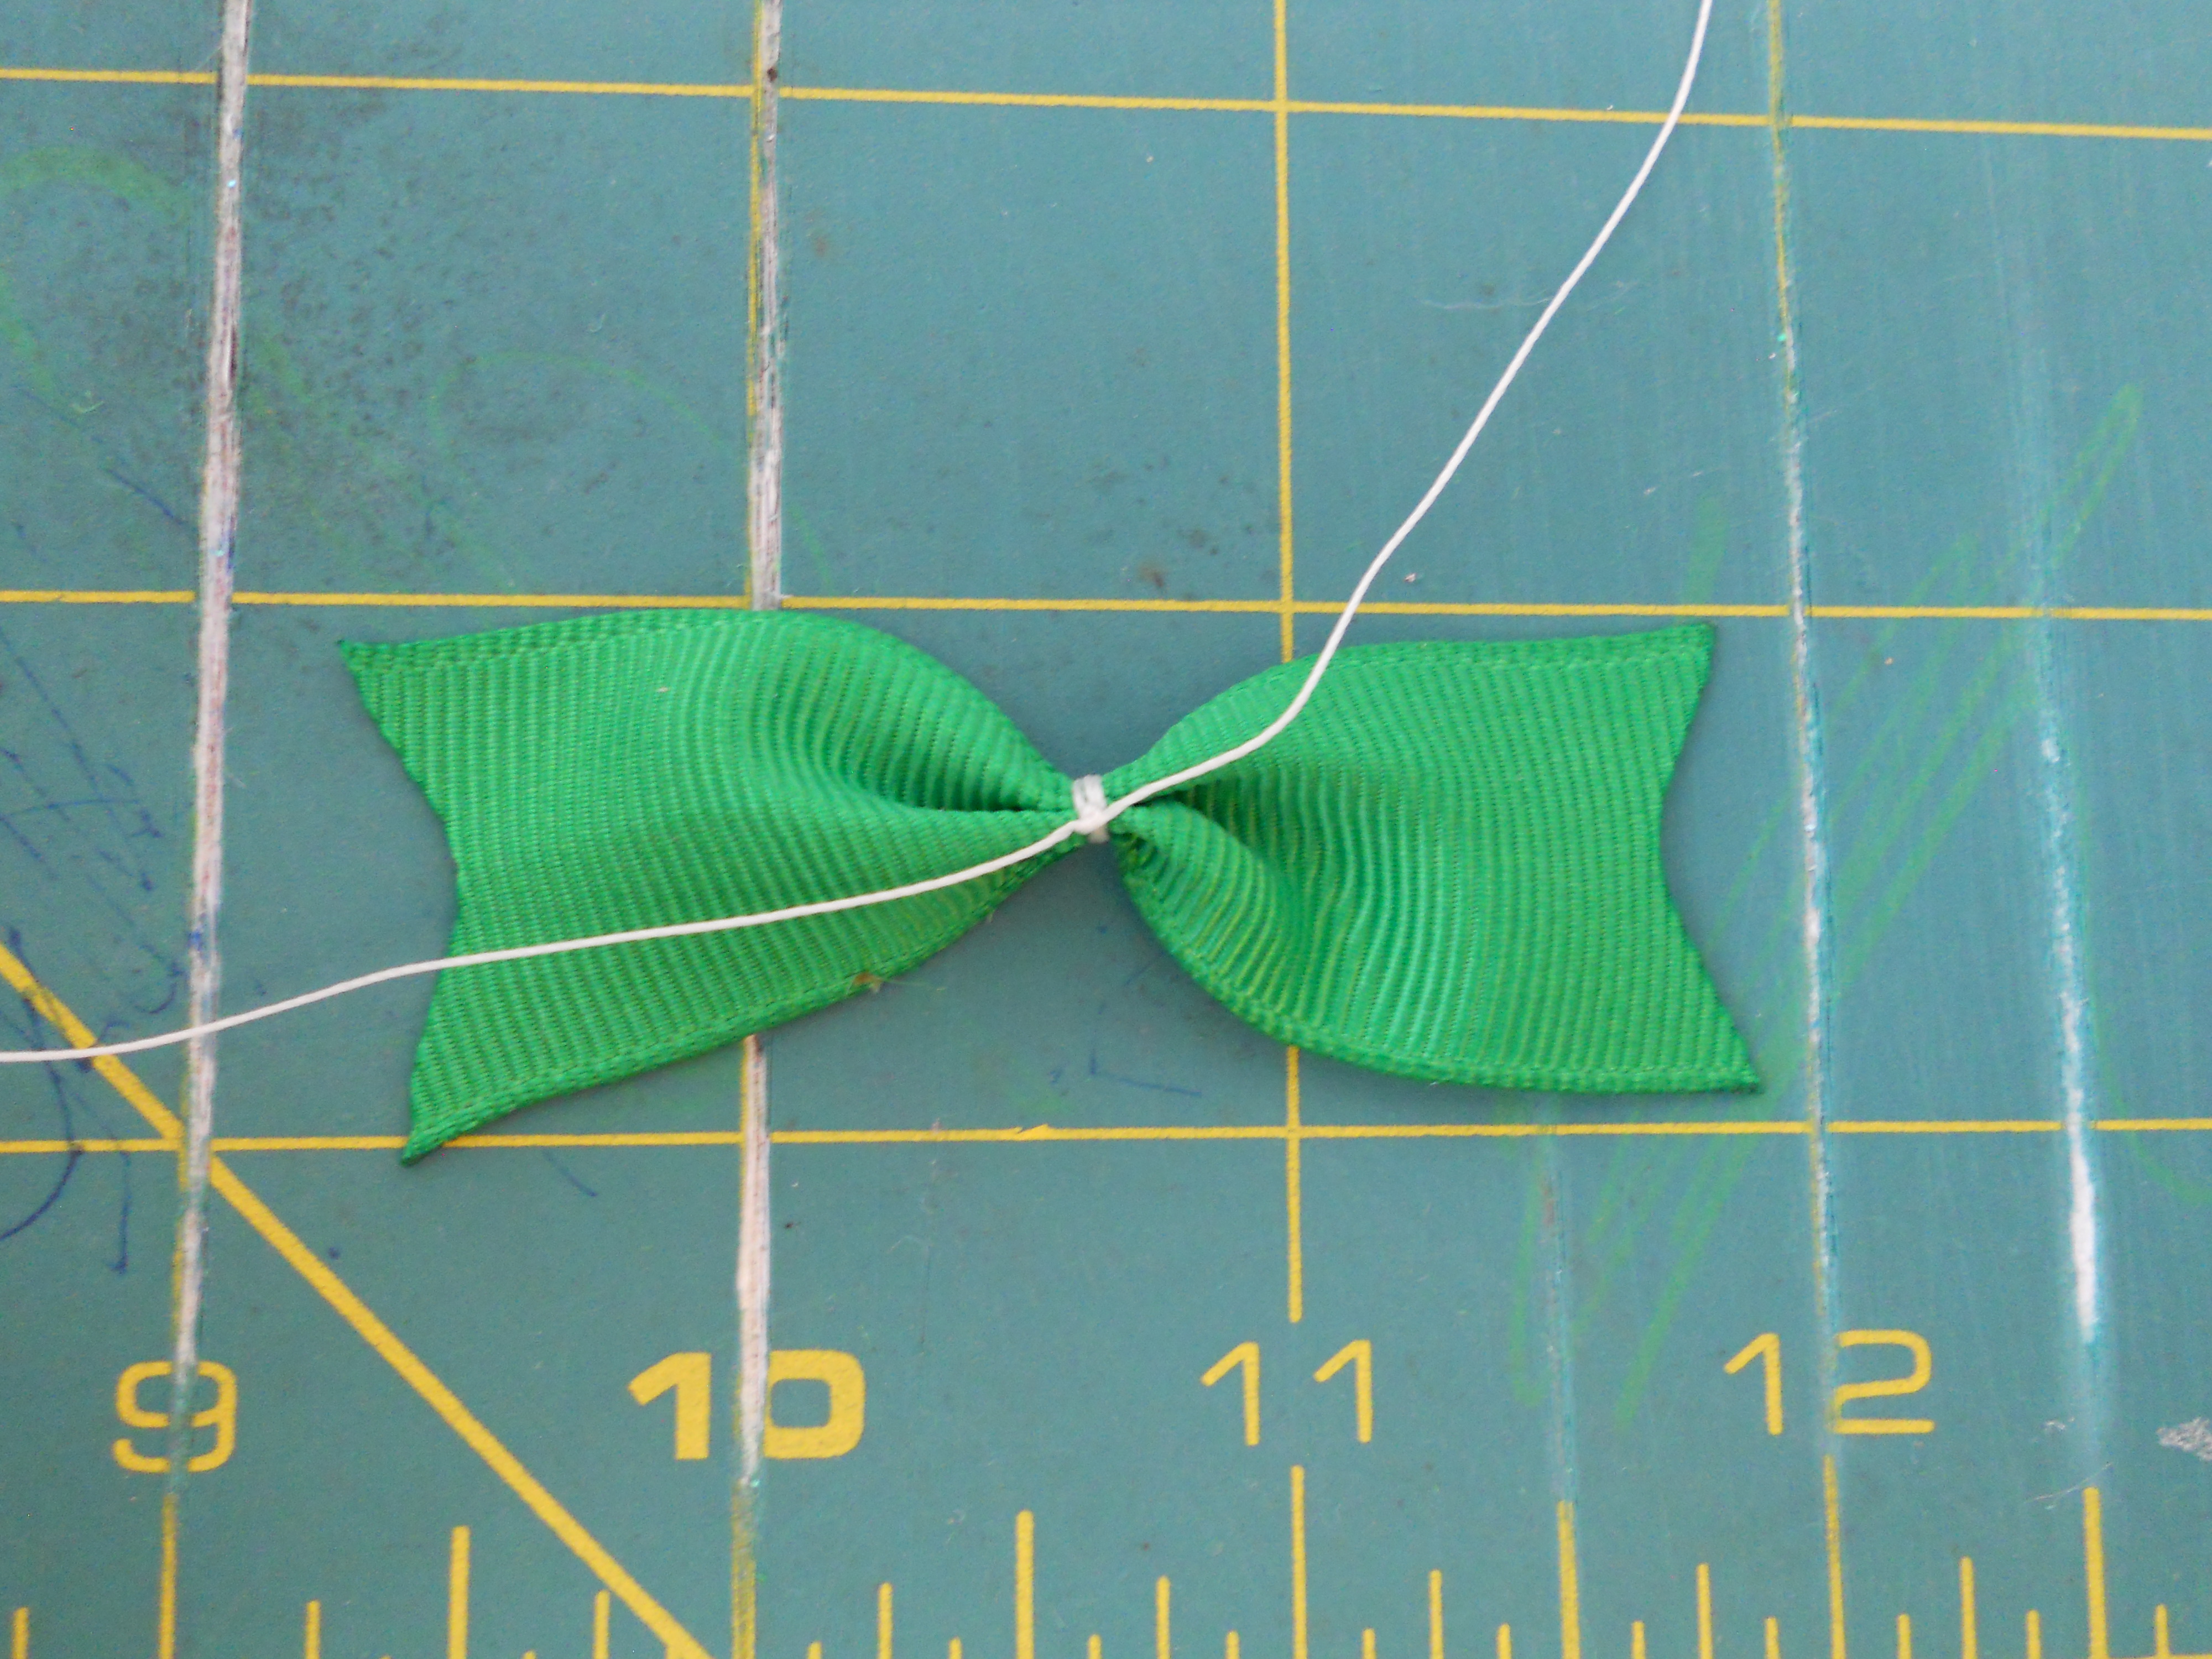
Step 11: Find the center of the ribbon and make a two fold crease. Then, wrap with your upholstery thread. Wrap the ribbon a few times and tie off the thread. Cut the excess thread and put a small dot of glue on the knot.
Step 12: Glue your 3" piece to the back of the bow. The back of the bow is the side where you see the ribbon ends folded together.
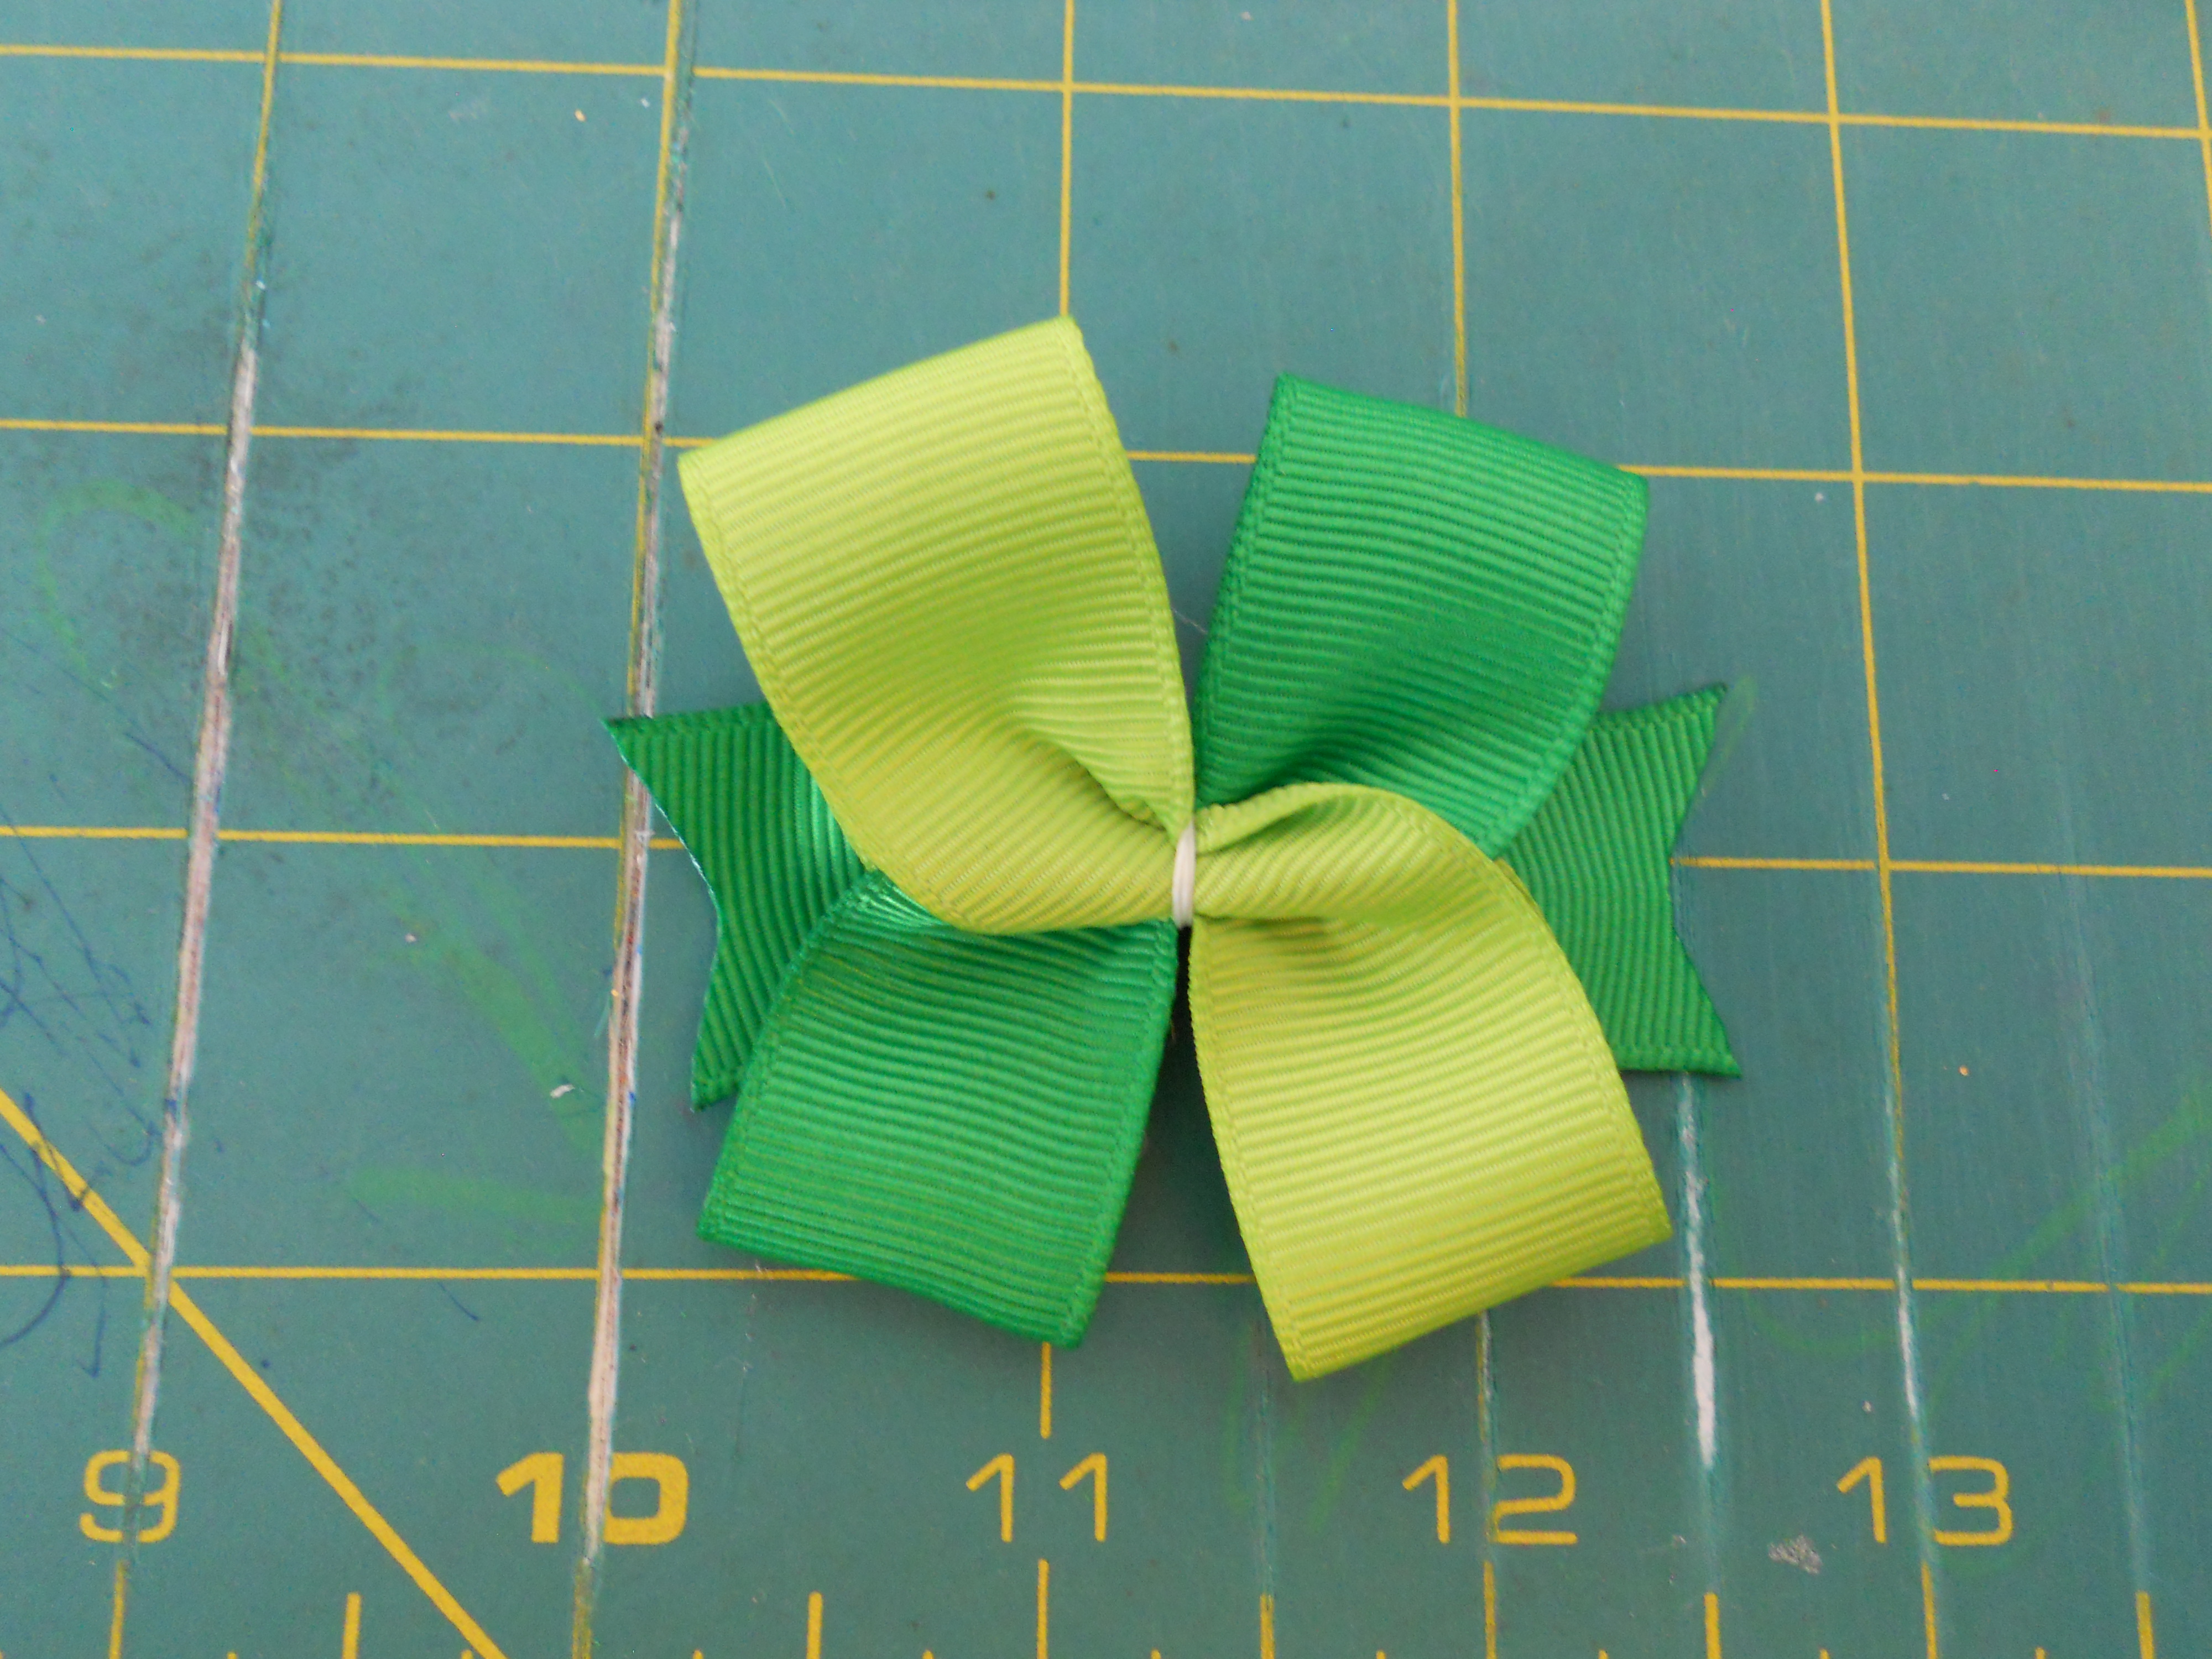
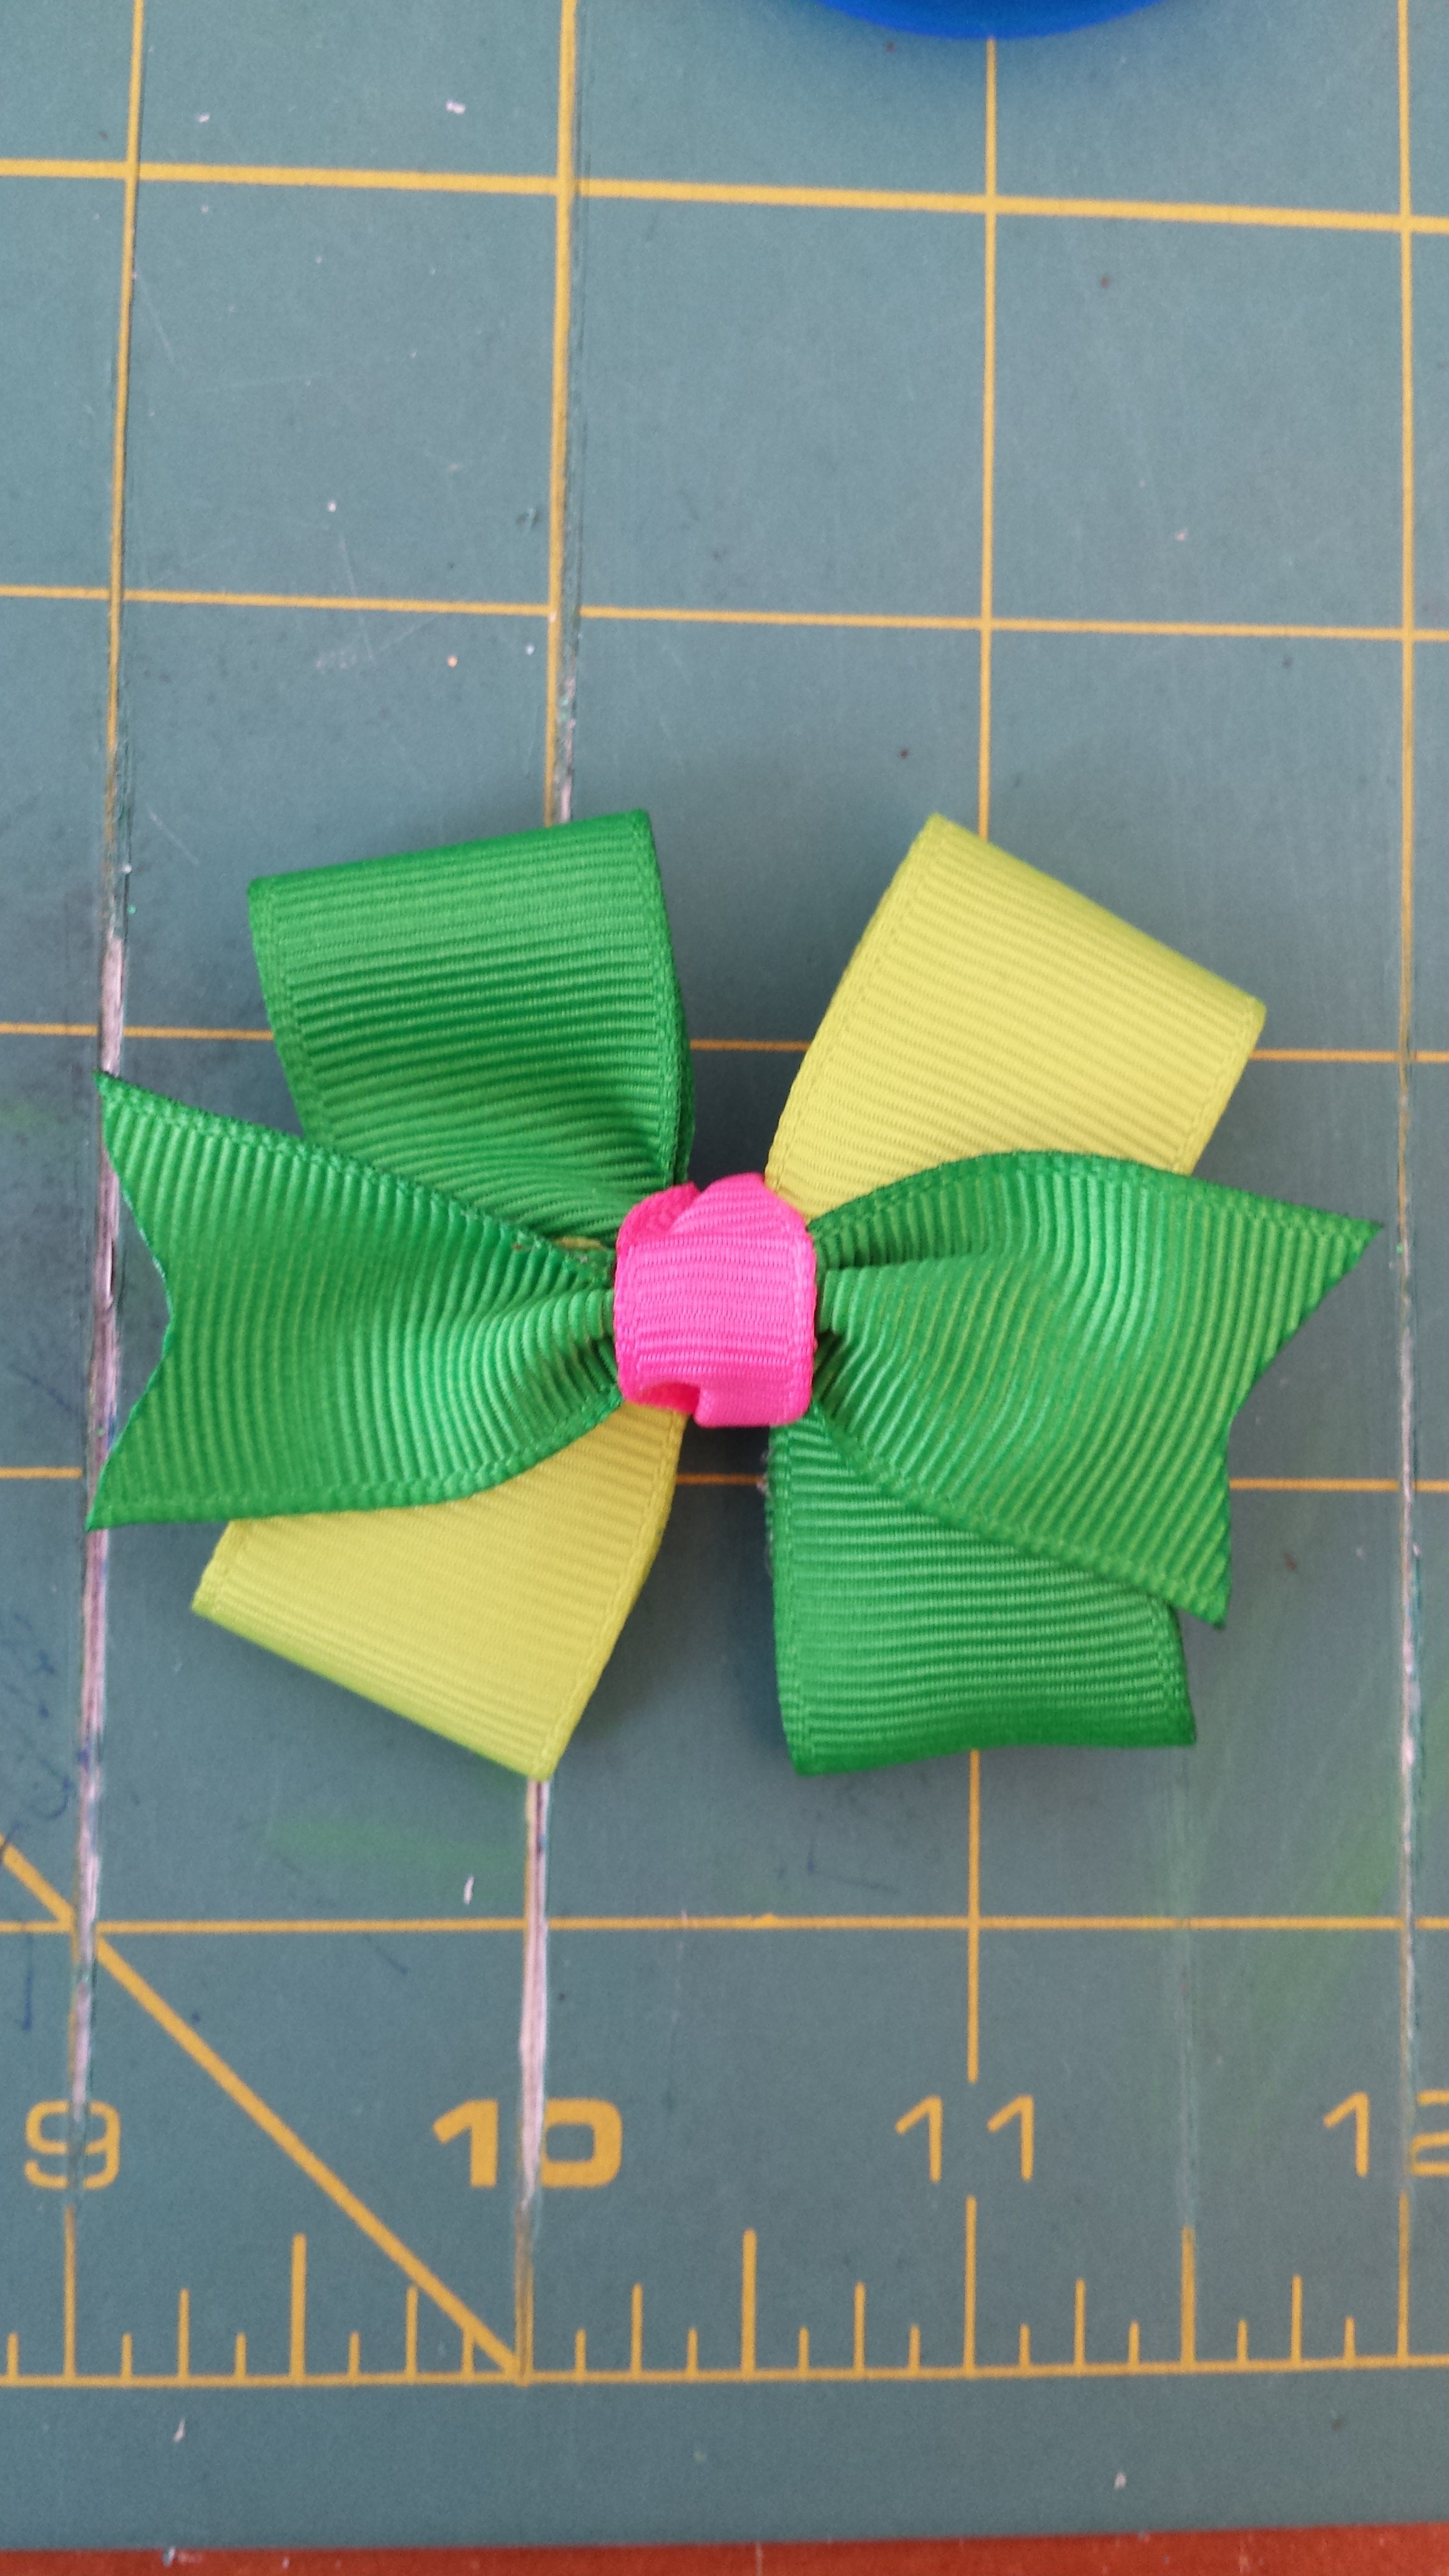
Step 13: Flip your bow over to the front! If you notice your loops are uneven pull on them gently to even them up.
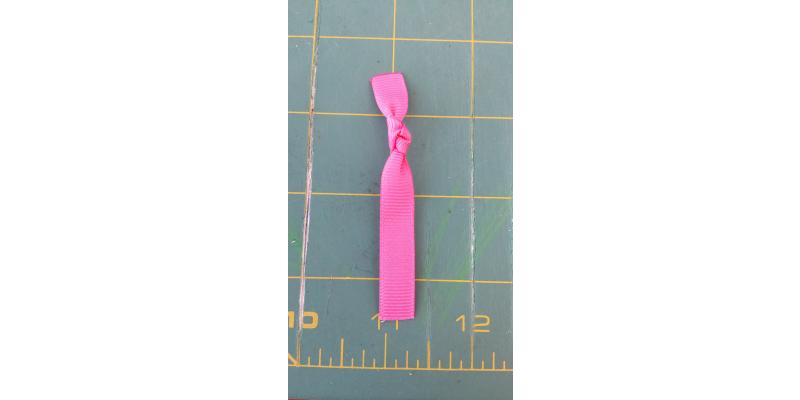
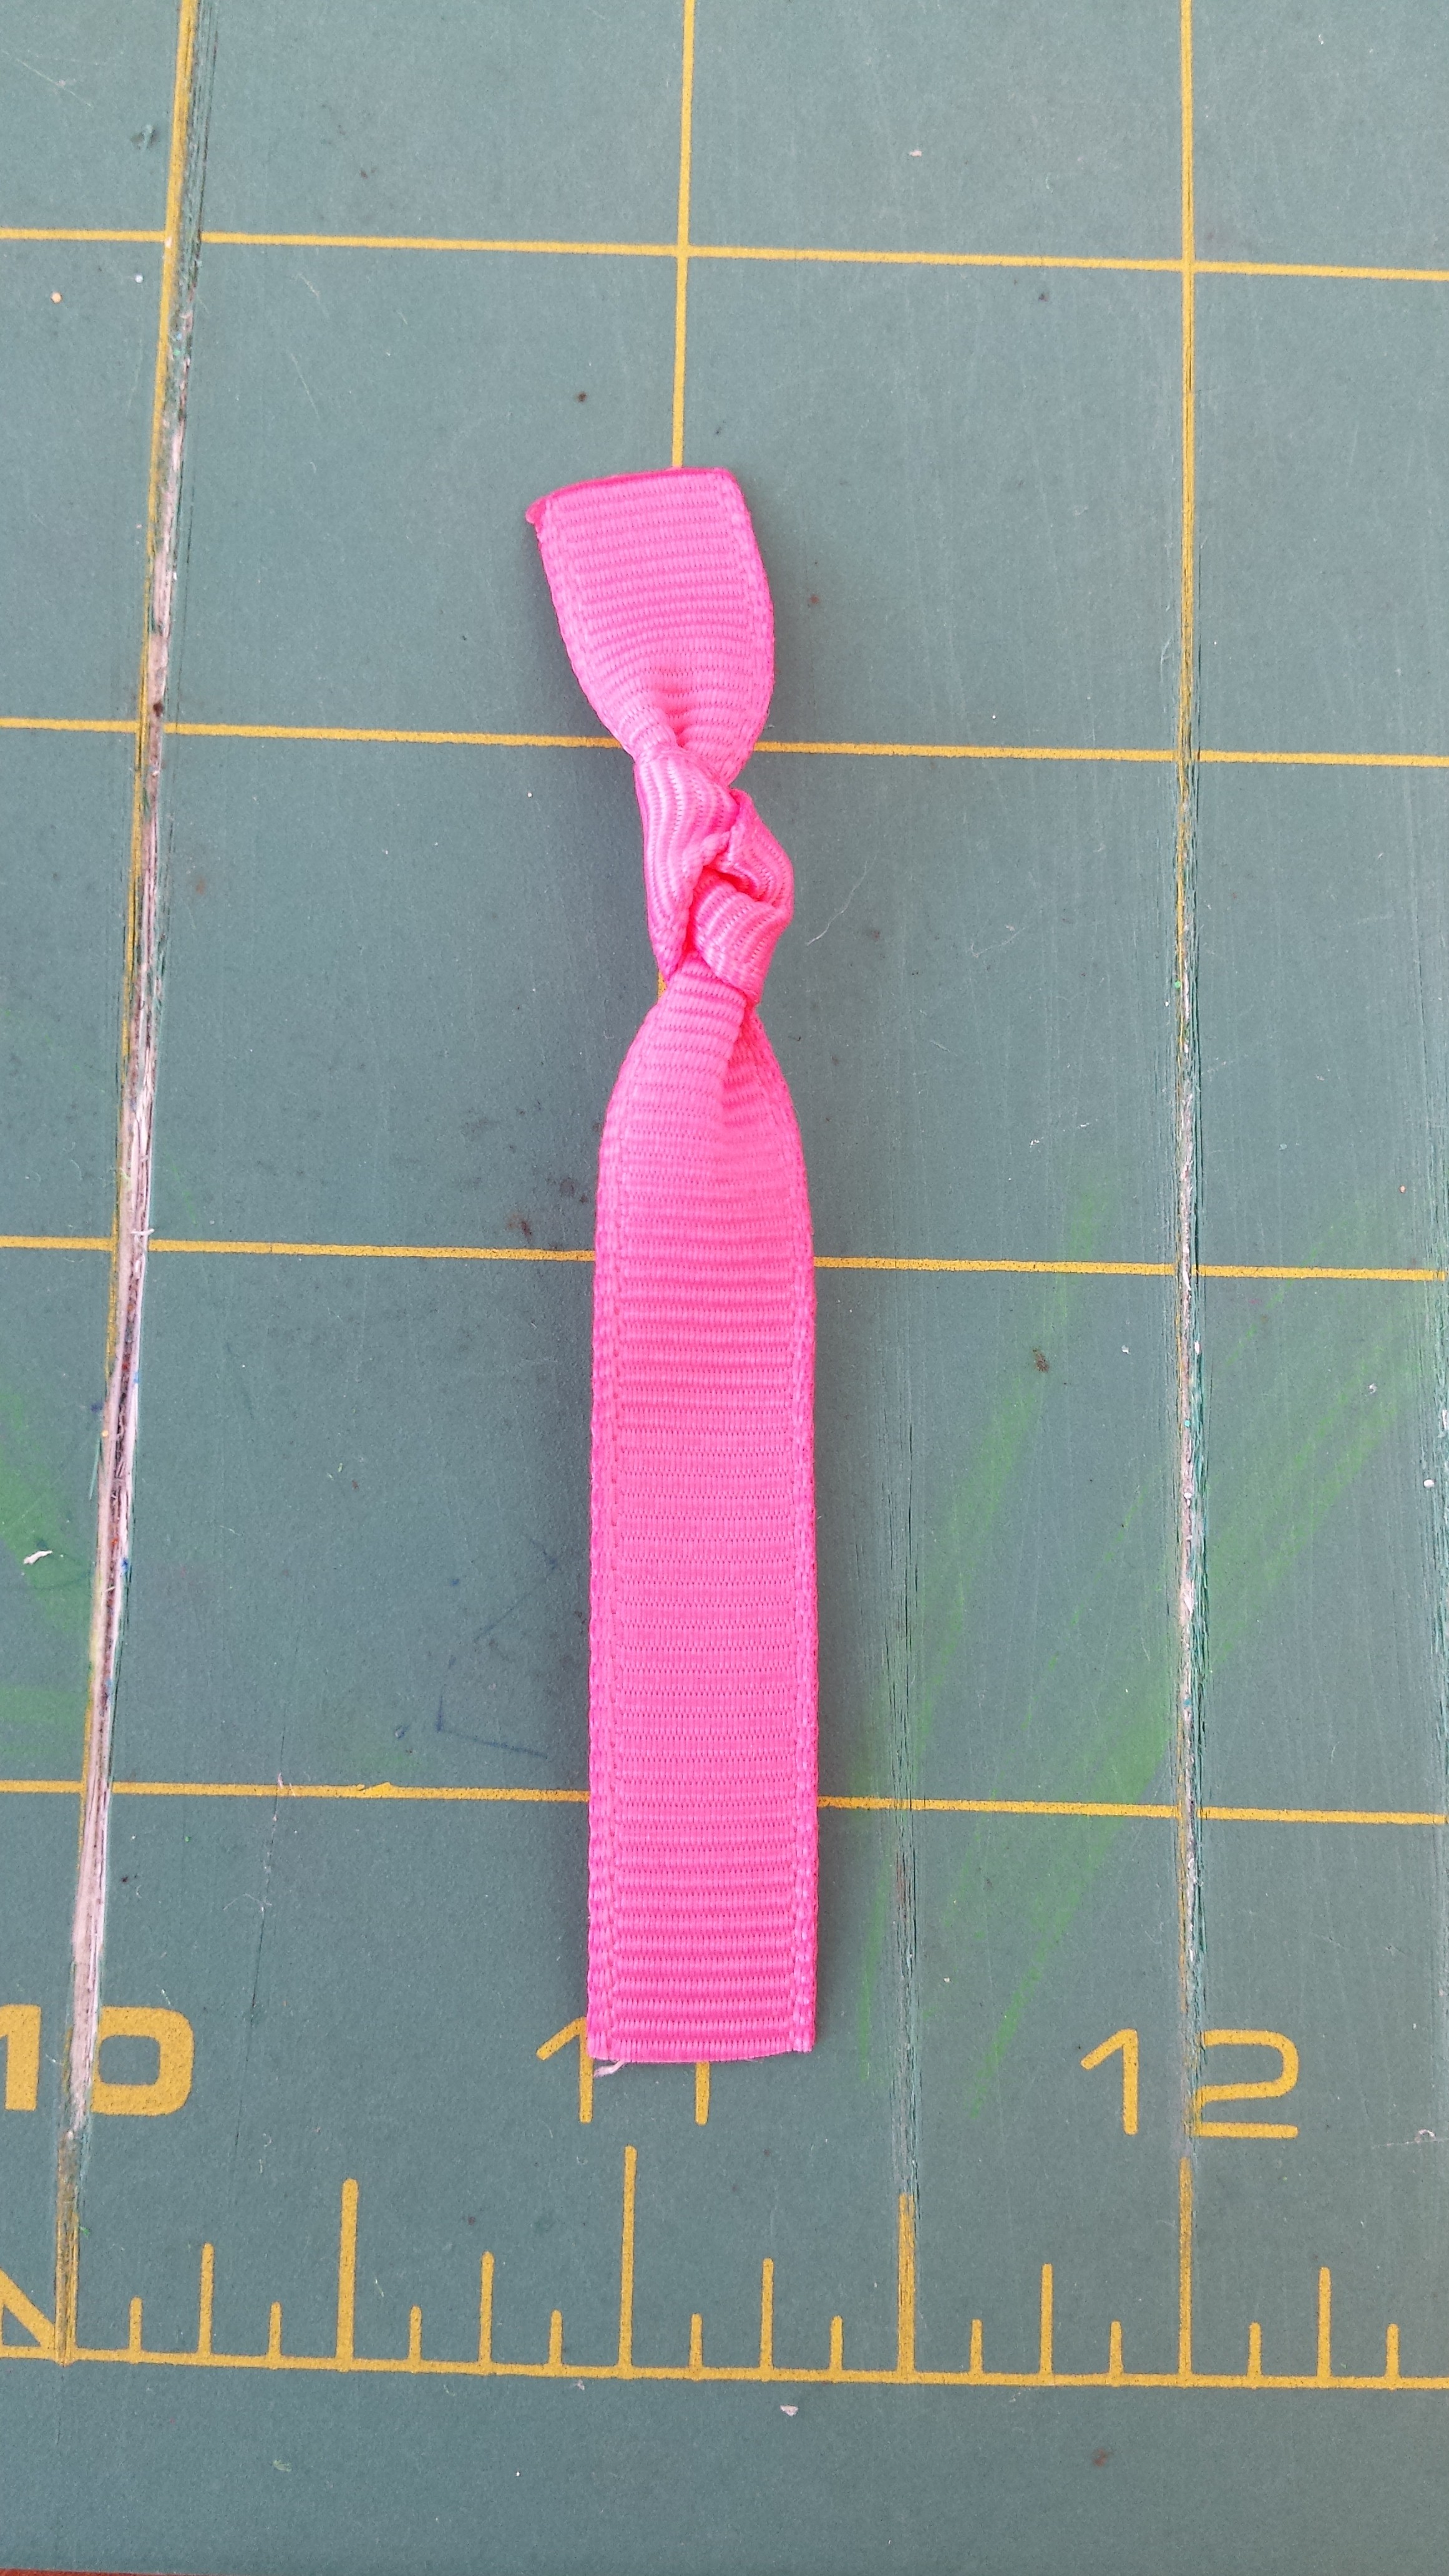
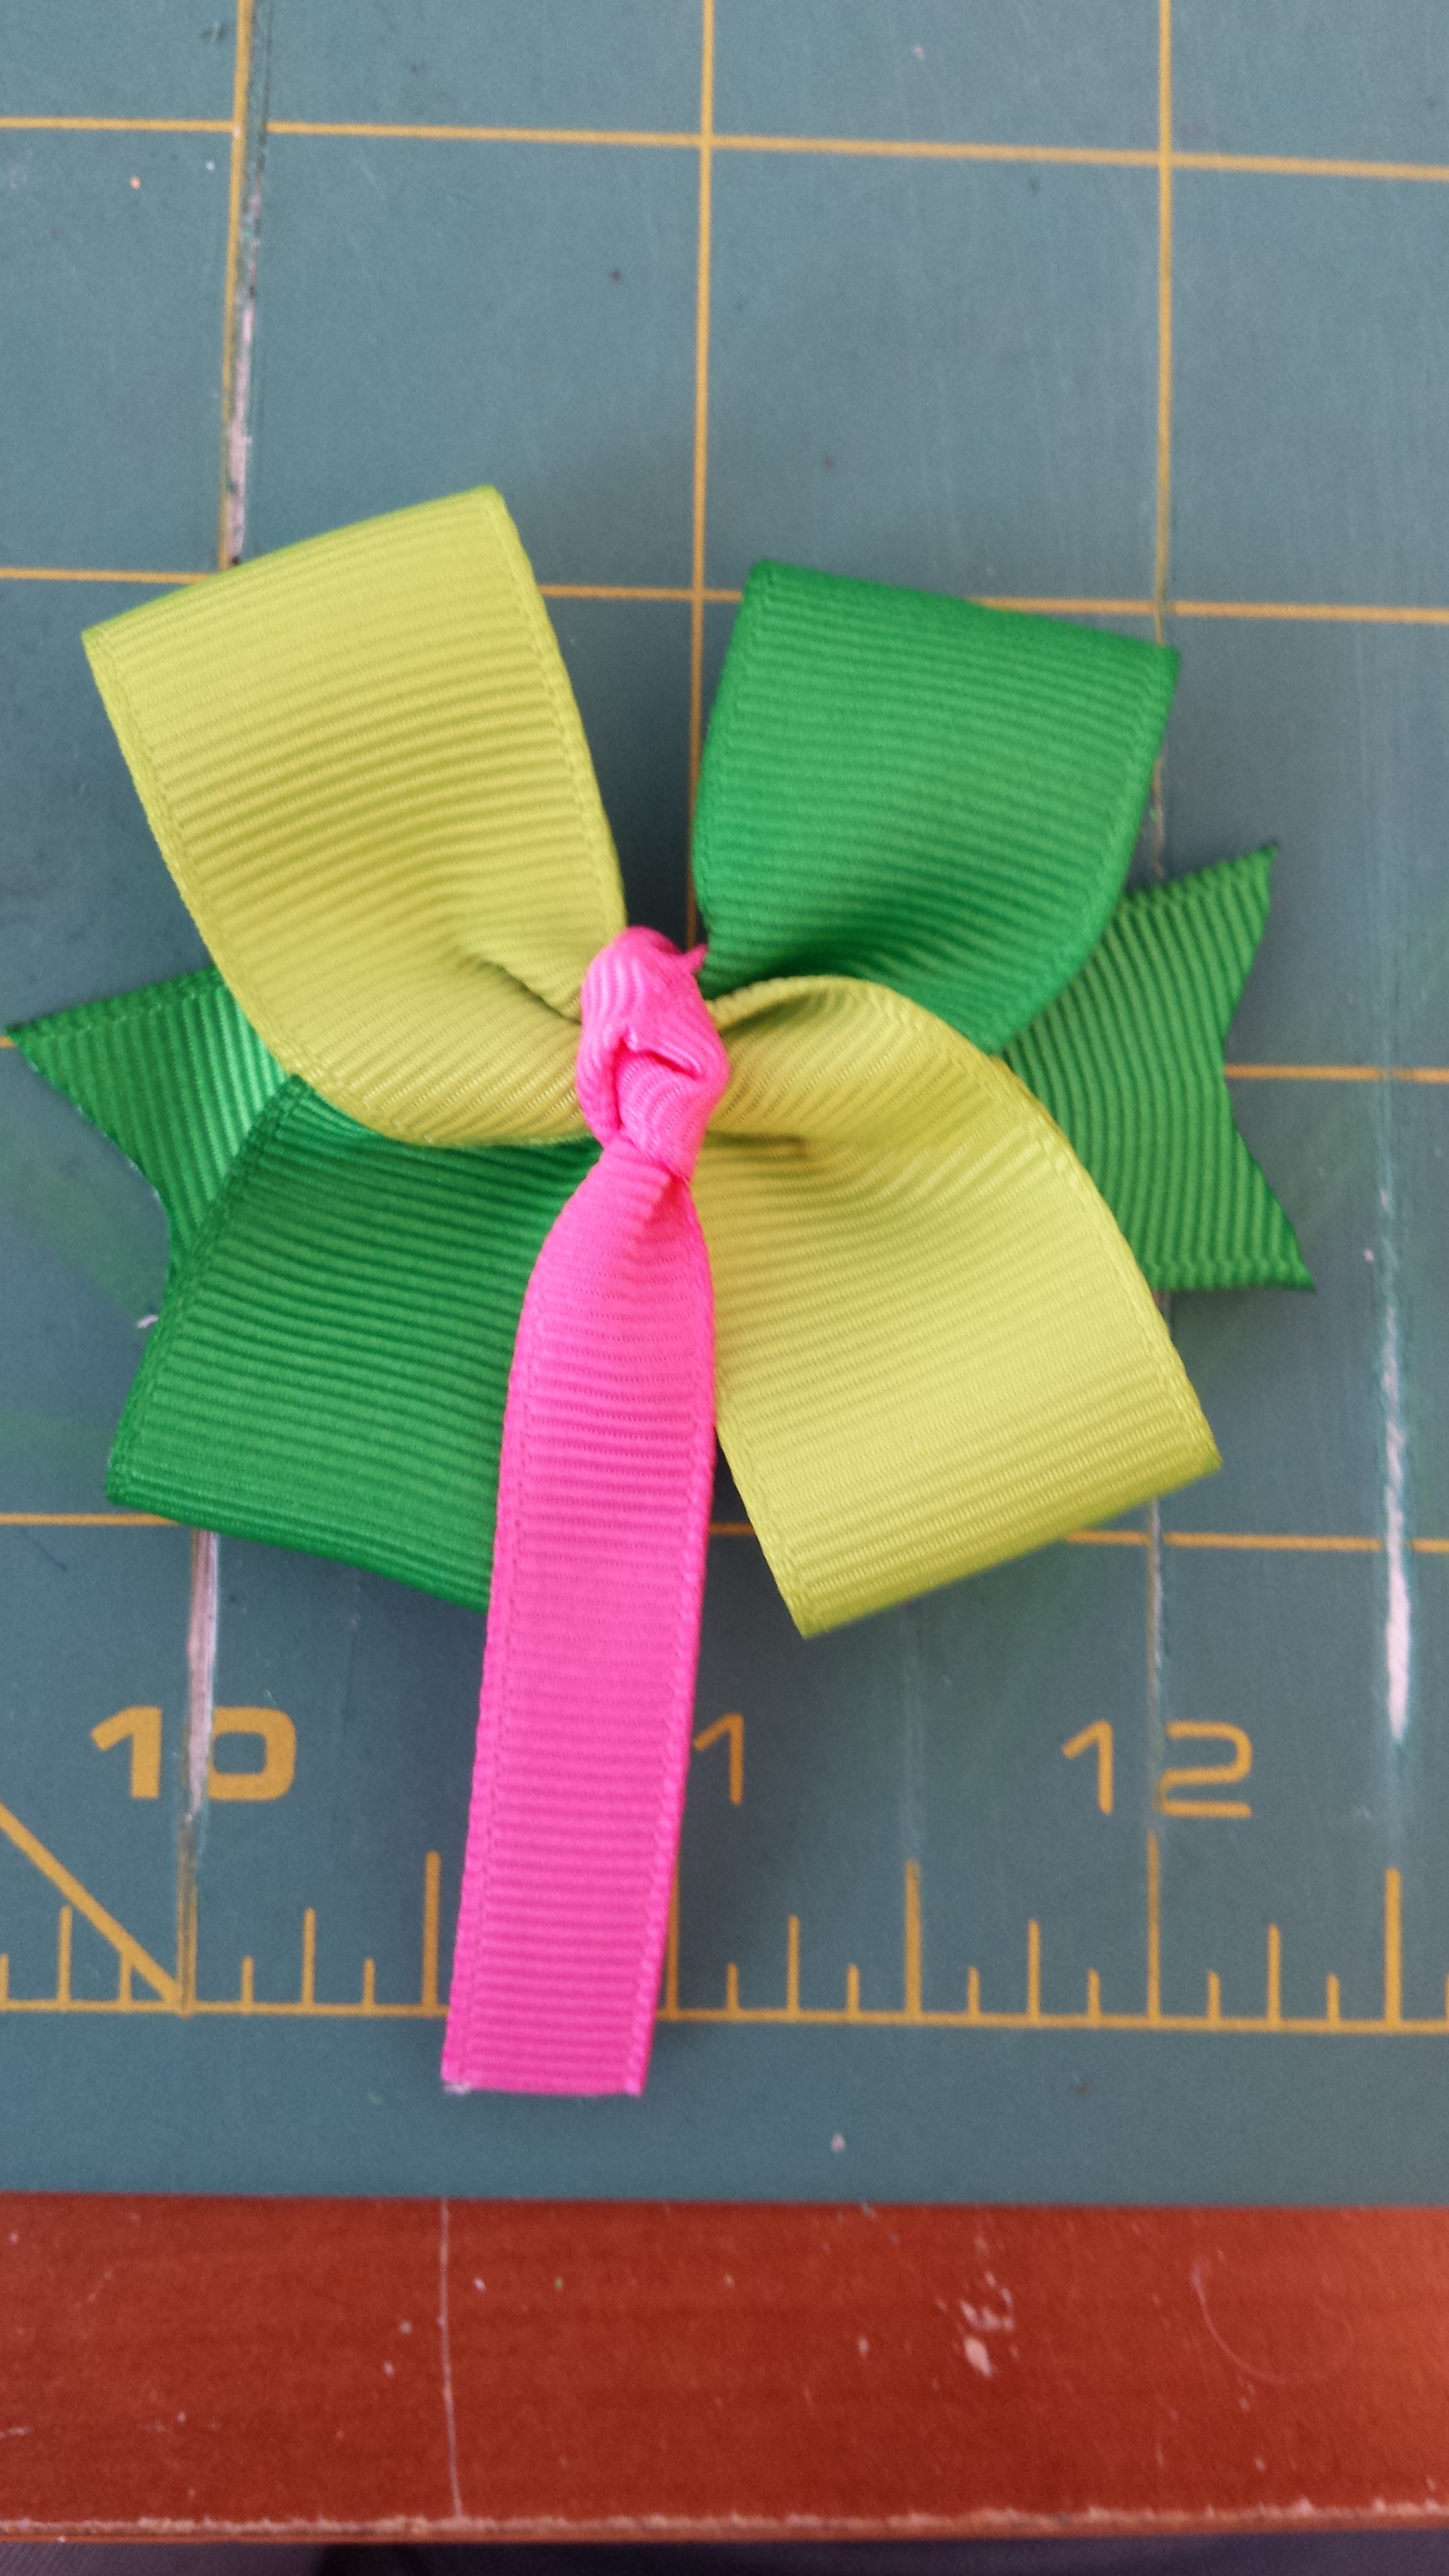
Step 12: Heat seal the ends of your 3/8" ribbon and tie a knot. Leave about an inch above the knot.
Step 13: Glue the knot down to the center of your bow. Step 14: Fold the short piece above the knot around the back of your bow and glue it down. Step 15: Fold the other side of the 3/8" ribbon around the back of the bow and trim it. Then, glue it down on top of the other side of the ribbon.

And you're finished!! These are ADORABLE! The color combinations are endless for these! I'd love to see what you come up with in the comments below!

Visit the rest of our blog for more Crafting Tutorials and DIY Instructions!
Loading...

