contributor post by Brittany
What is cuter than a precious baby girl's 10 little toes?.... those tiny tootsies showcased in a pair of barefoot baby sandals! With Spring right around the corner, today I wanted to share one of the most adorable trends I've ever laid my eyes on! Barefoot baby sandals are a super cute way of showing off those sweet little feet and can be made perfectly to match an unlimited amount of outfits & styles! So whether you have a baby shower to attend and are in need of that extra special gift, or have your own bundle of joy with precious itty bitty toes to show off this Spring, these adorable sandals are sure to tickle anyone's fancy! So lets get started! Shown above are the supplies I used. All items can be found right here at HBC!
• 2.25" chiffon poof hair flower in turquoise (x2)
• Large pearl w/rhinestones embellishment (x2)
• 1/8" skinny elastic ribbon in turquoise
• 1" circle felt pads (x2)
Any variation of these items can be used to create your own style! I also love the look of 2" rounded folded chiffon hair flowers and 3/8" frosted elastic ribbon! There are so many different options to create the perfect sandals! You will also need a ruler or measuring tape, scissors, and a hot glue gun.
If the sweet baby who will be the lucky owner of your creation is available to measure their feet, this is the best way to ensure you are using the appropriate length of elastic to fit baby's foot. You would need to measure in a figure 8 around the ankle and middle of baby's foot with the middle of the 8 being on top of her foot. If you are making these as a surprise gift or cannot get the measurement of the baby's foot, most sandals are made using between 9-12" of elastic per sandal, depending on the age of the child. These sandals are perfect for babies from newborn up to walking age!
Shown above are the supplies I used. All items can be found right here at HBC!
• 2.25" chiffon poof hair flower in turquoise (x2)
• Large pearl w/rhinestones embellishment (x2)
• 1/8" skinny elastic ribbon in turquoise
• 1" circle felt pads (x2)
Any variation of these items can be used to create your own style! I also love the look of 2" rounded folded chiffon hair flowers and 3/8" frosted elastic ribbon! There are so many different options to create the perfect sandals! You will also need a ruler or measuring tape, scissors, and a hot glue gun.
If the sweet baby who will be the lucky owner of your creation is available to measure their feet, this is the best way to ensure you are using the appropriate length of elastic to fit baby's foot. You would need to measure in a figure 8 around the ankle and middle of baby's foot with the middle of the 8 being on top of her foot. If you are making these as a surprise gift or cannot get the measurement of the baby's foot, most sandals are made using between 9-12" of elastic per sandal, depending on the age of the child. These sandals are perfect for babies from newborn up to walking age!
 For my pair of sandals I am using 12" of elastic for each sandal. Find the center of your elastic ribbon and bring one end to your center to form your first loop of your figure 8.
 Then bring the other end to the center to form your second loop.
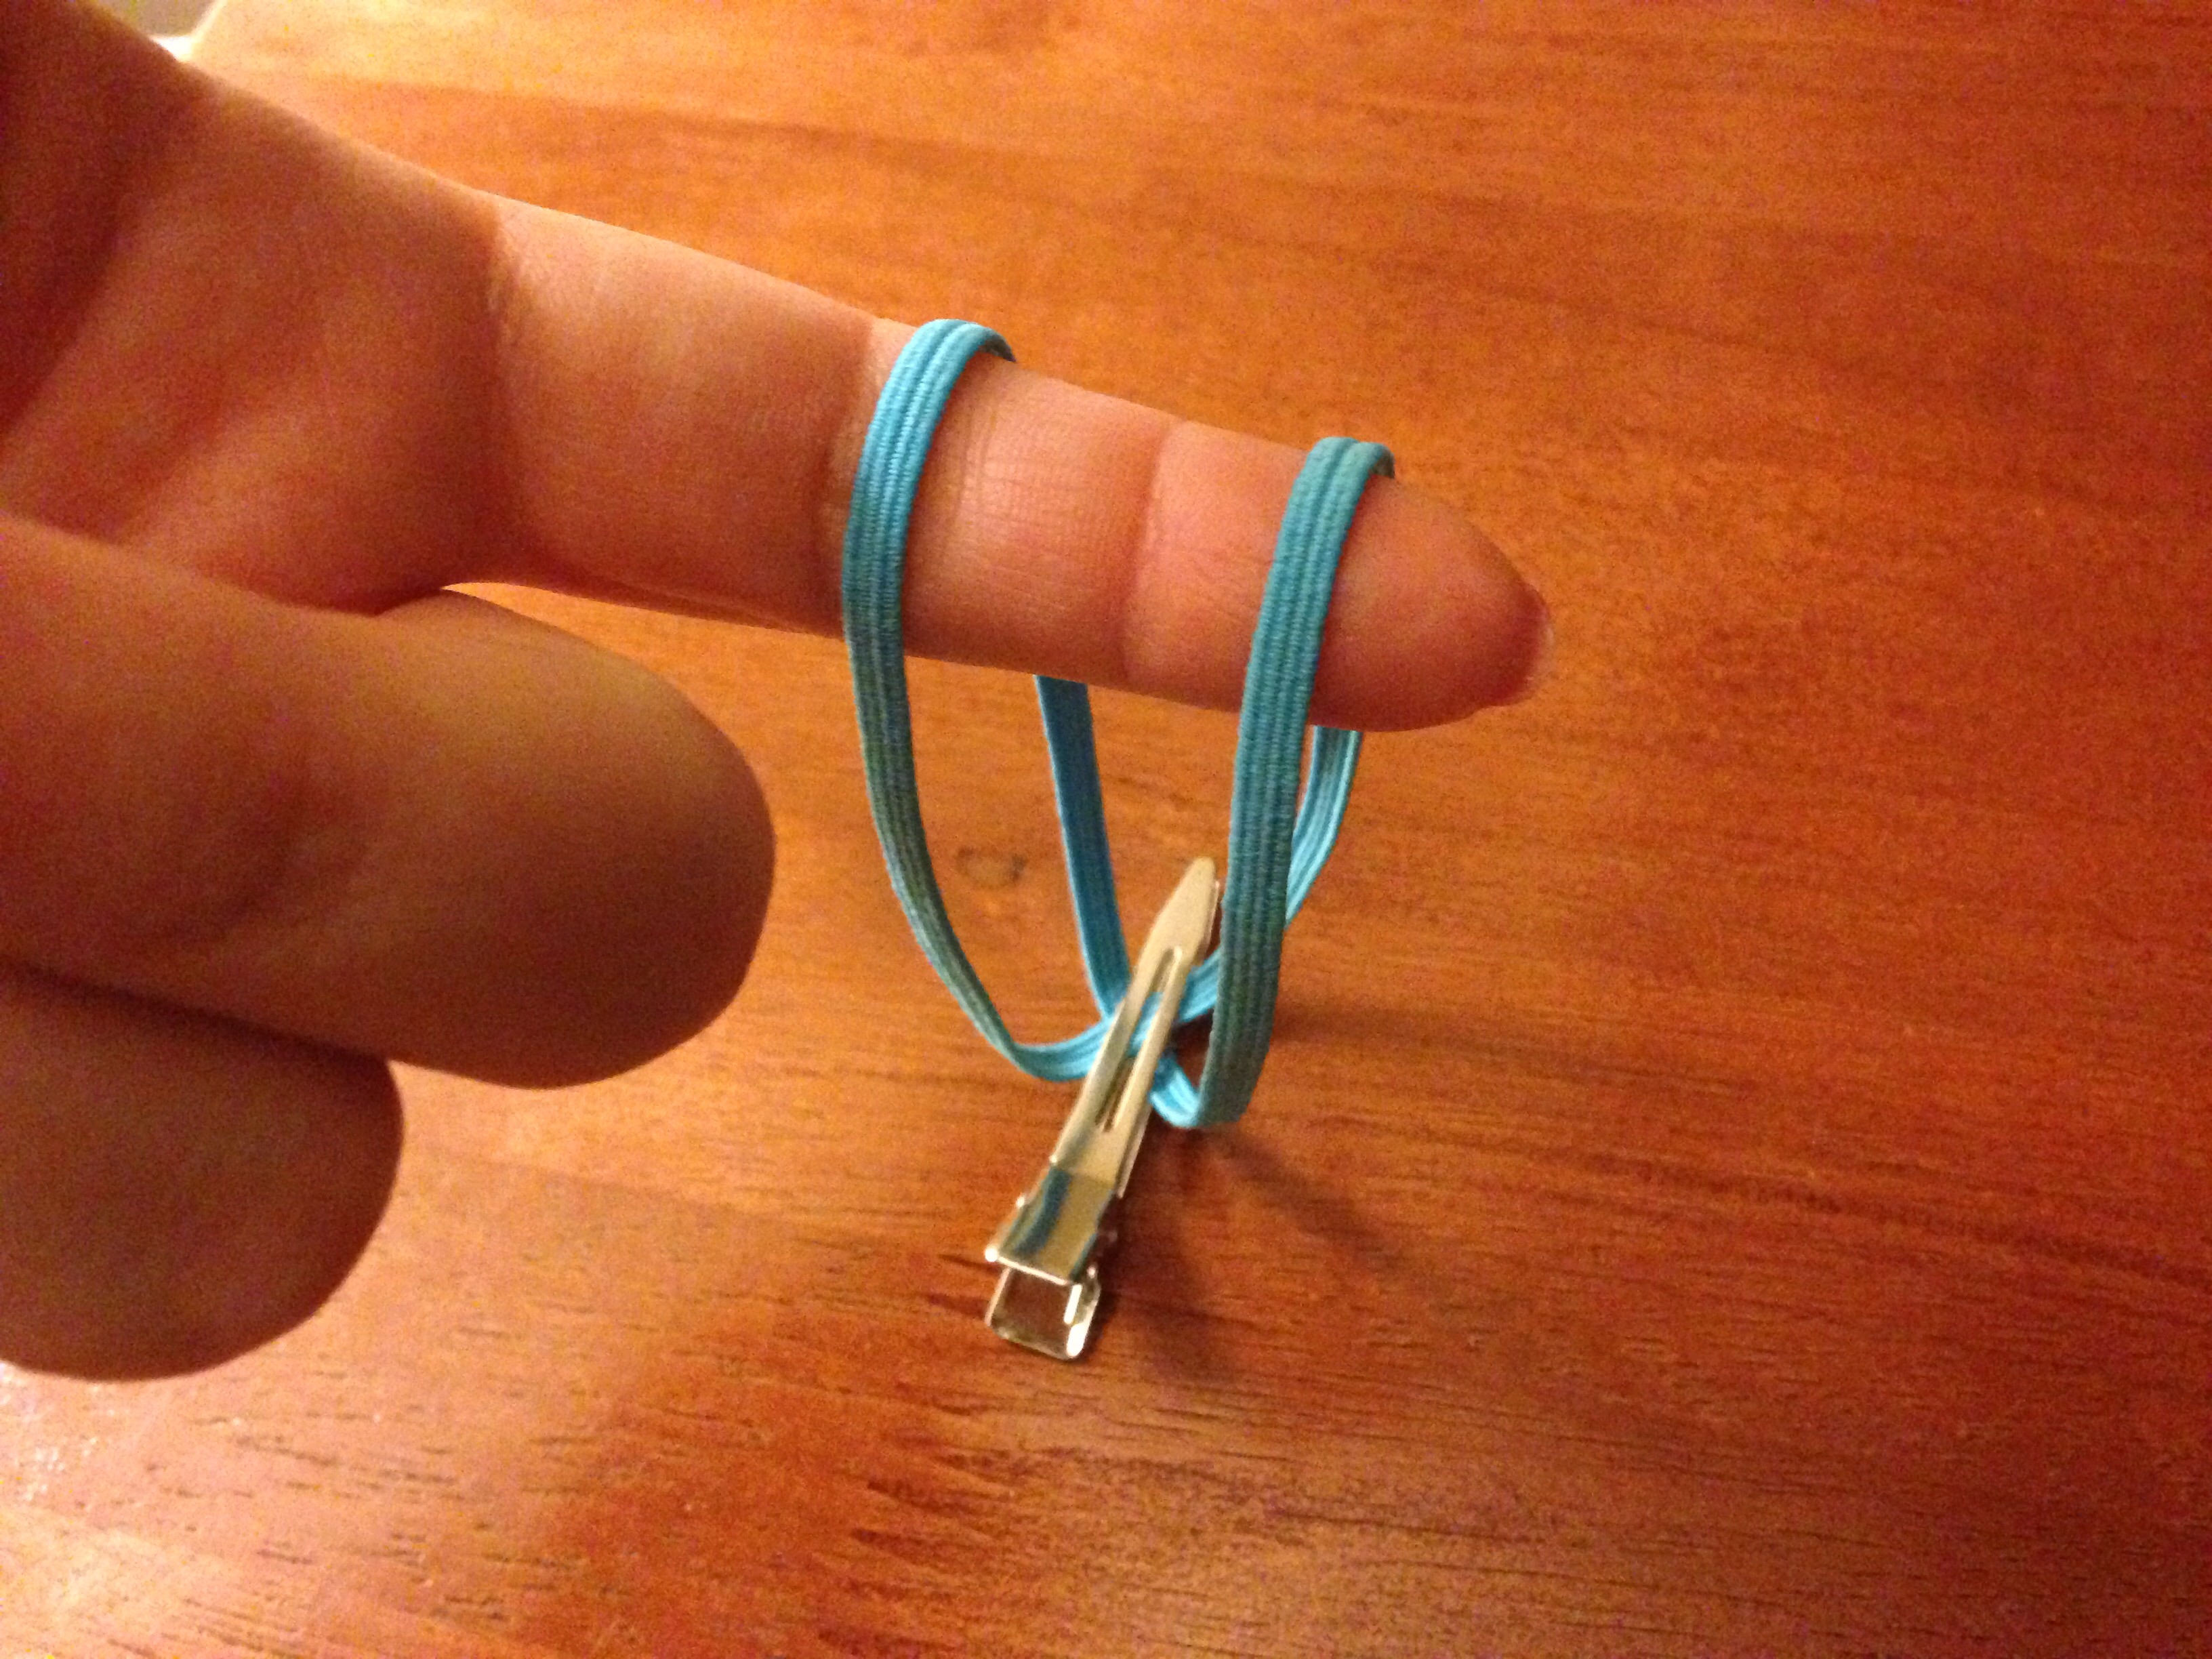 You may want to secure this with a clip to free your hands as you form your second loop. Before gluing your ends down don't forget to check for equal sized loops! This is easily done by sticking your finger through both loops and pulling to the top. Adjust to equal length if necessary.
 Next you will glue your elastic ribbon into place. Be very careful after removing your clip, as very small ribbon can easily slide out of place.
 I like to glue on the backside of the loops, which will actually be the top of the sandal and be covered by your chosen flower embellishment. This makes a flatter center to rest on top of baby's precious feet.
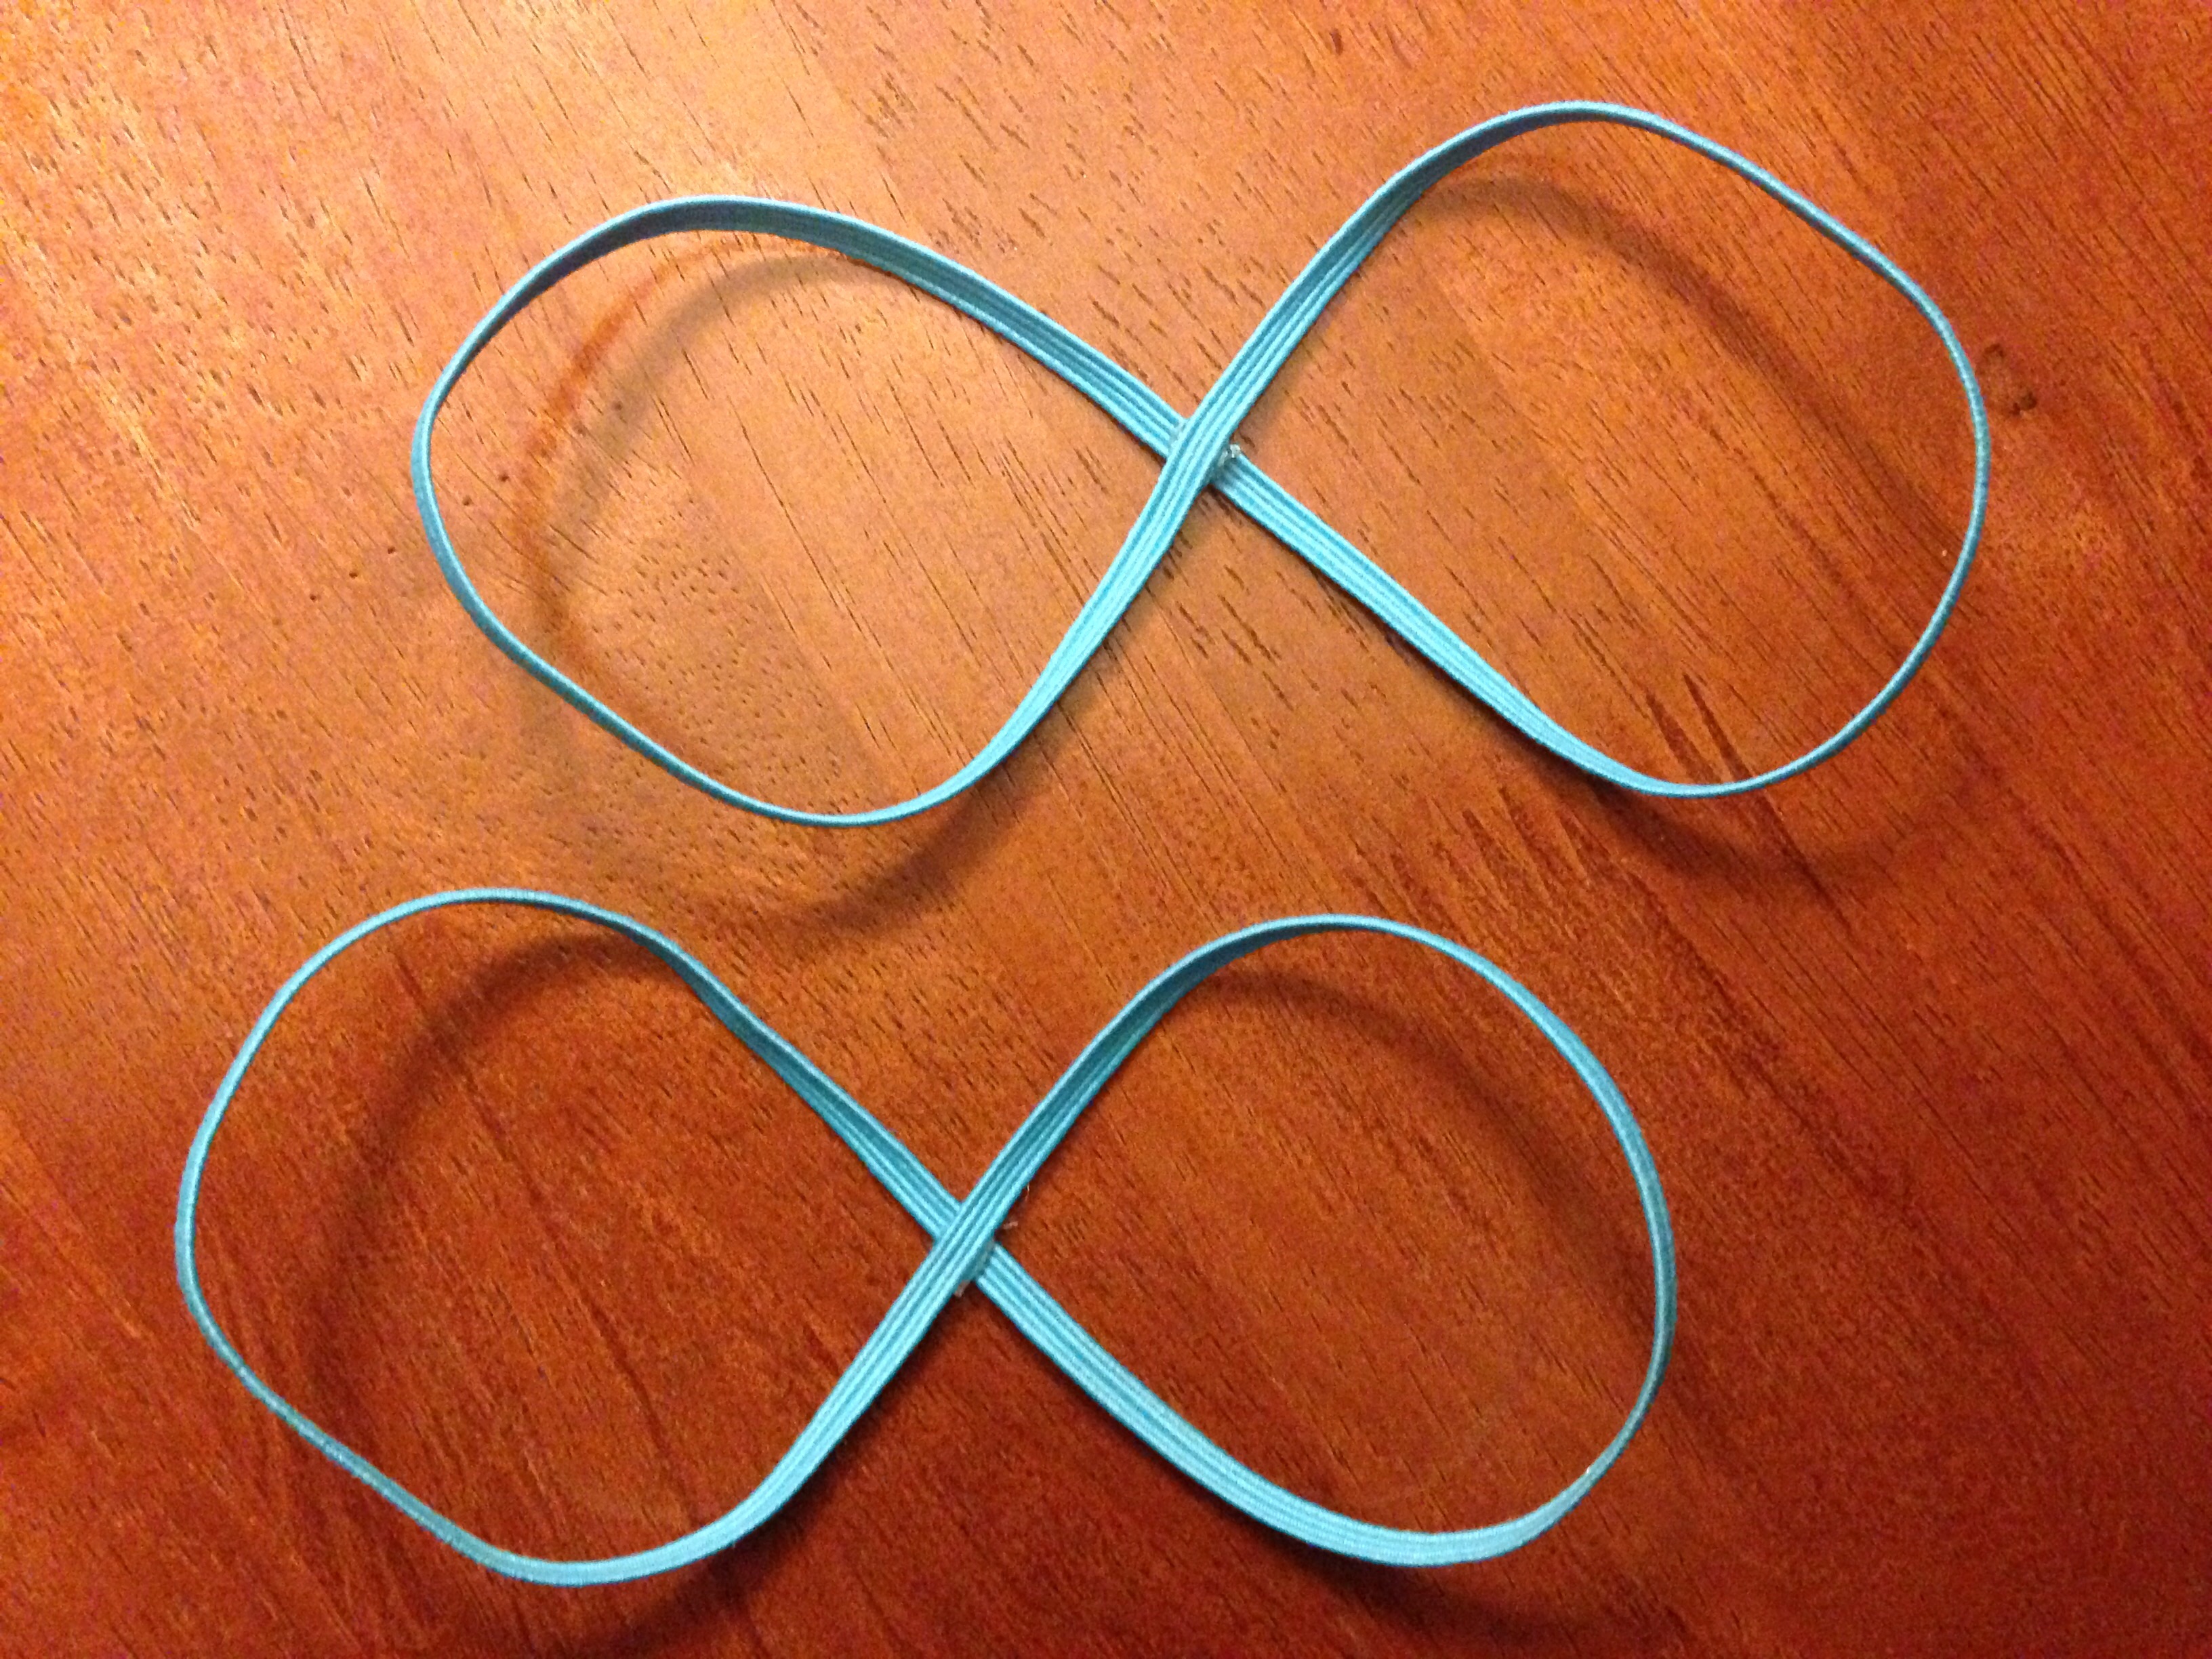
Repeat steps to create your second figure 8 to make a set.
I like to glue on the backside of the loops, which will actually be the top of the sandal and be covered by your chosen flower embellishment. This makes a flatter center to rest on top of baby's precious feet.
Repeat steps to create your second figure 8 to make a set.
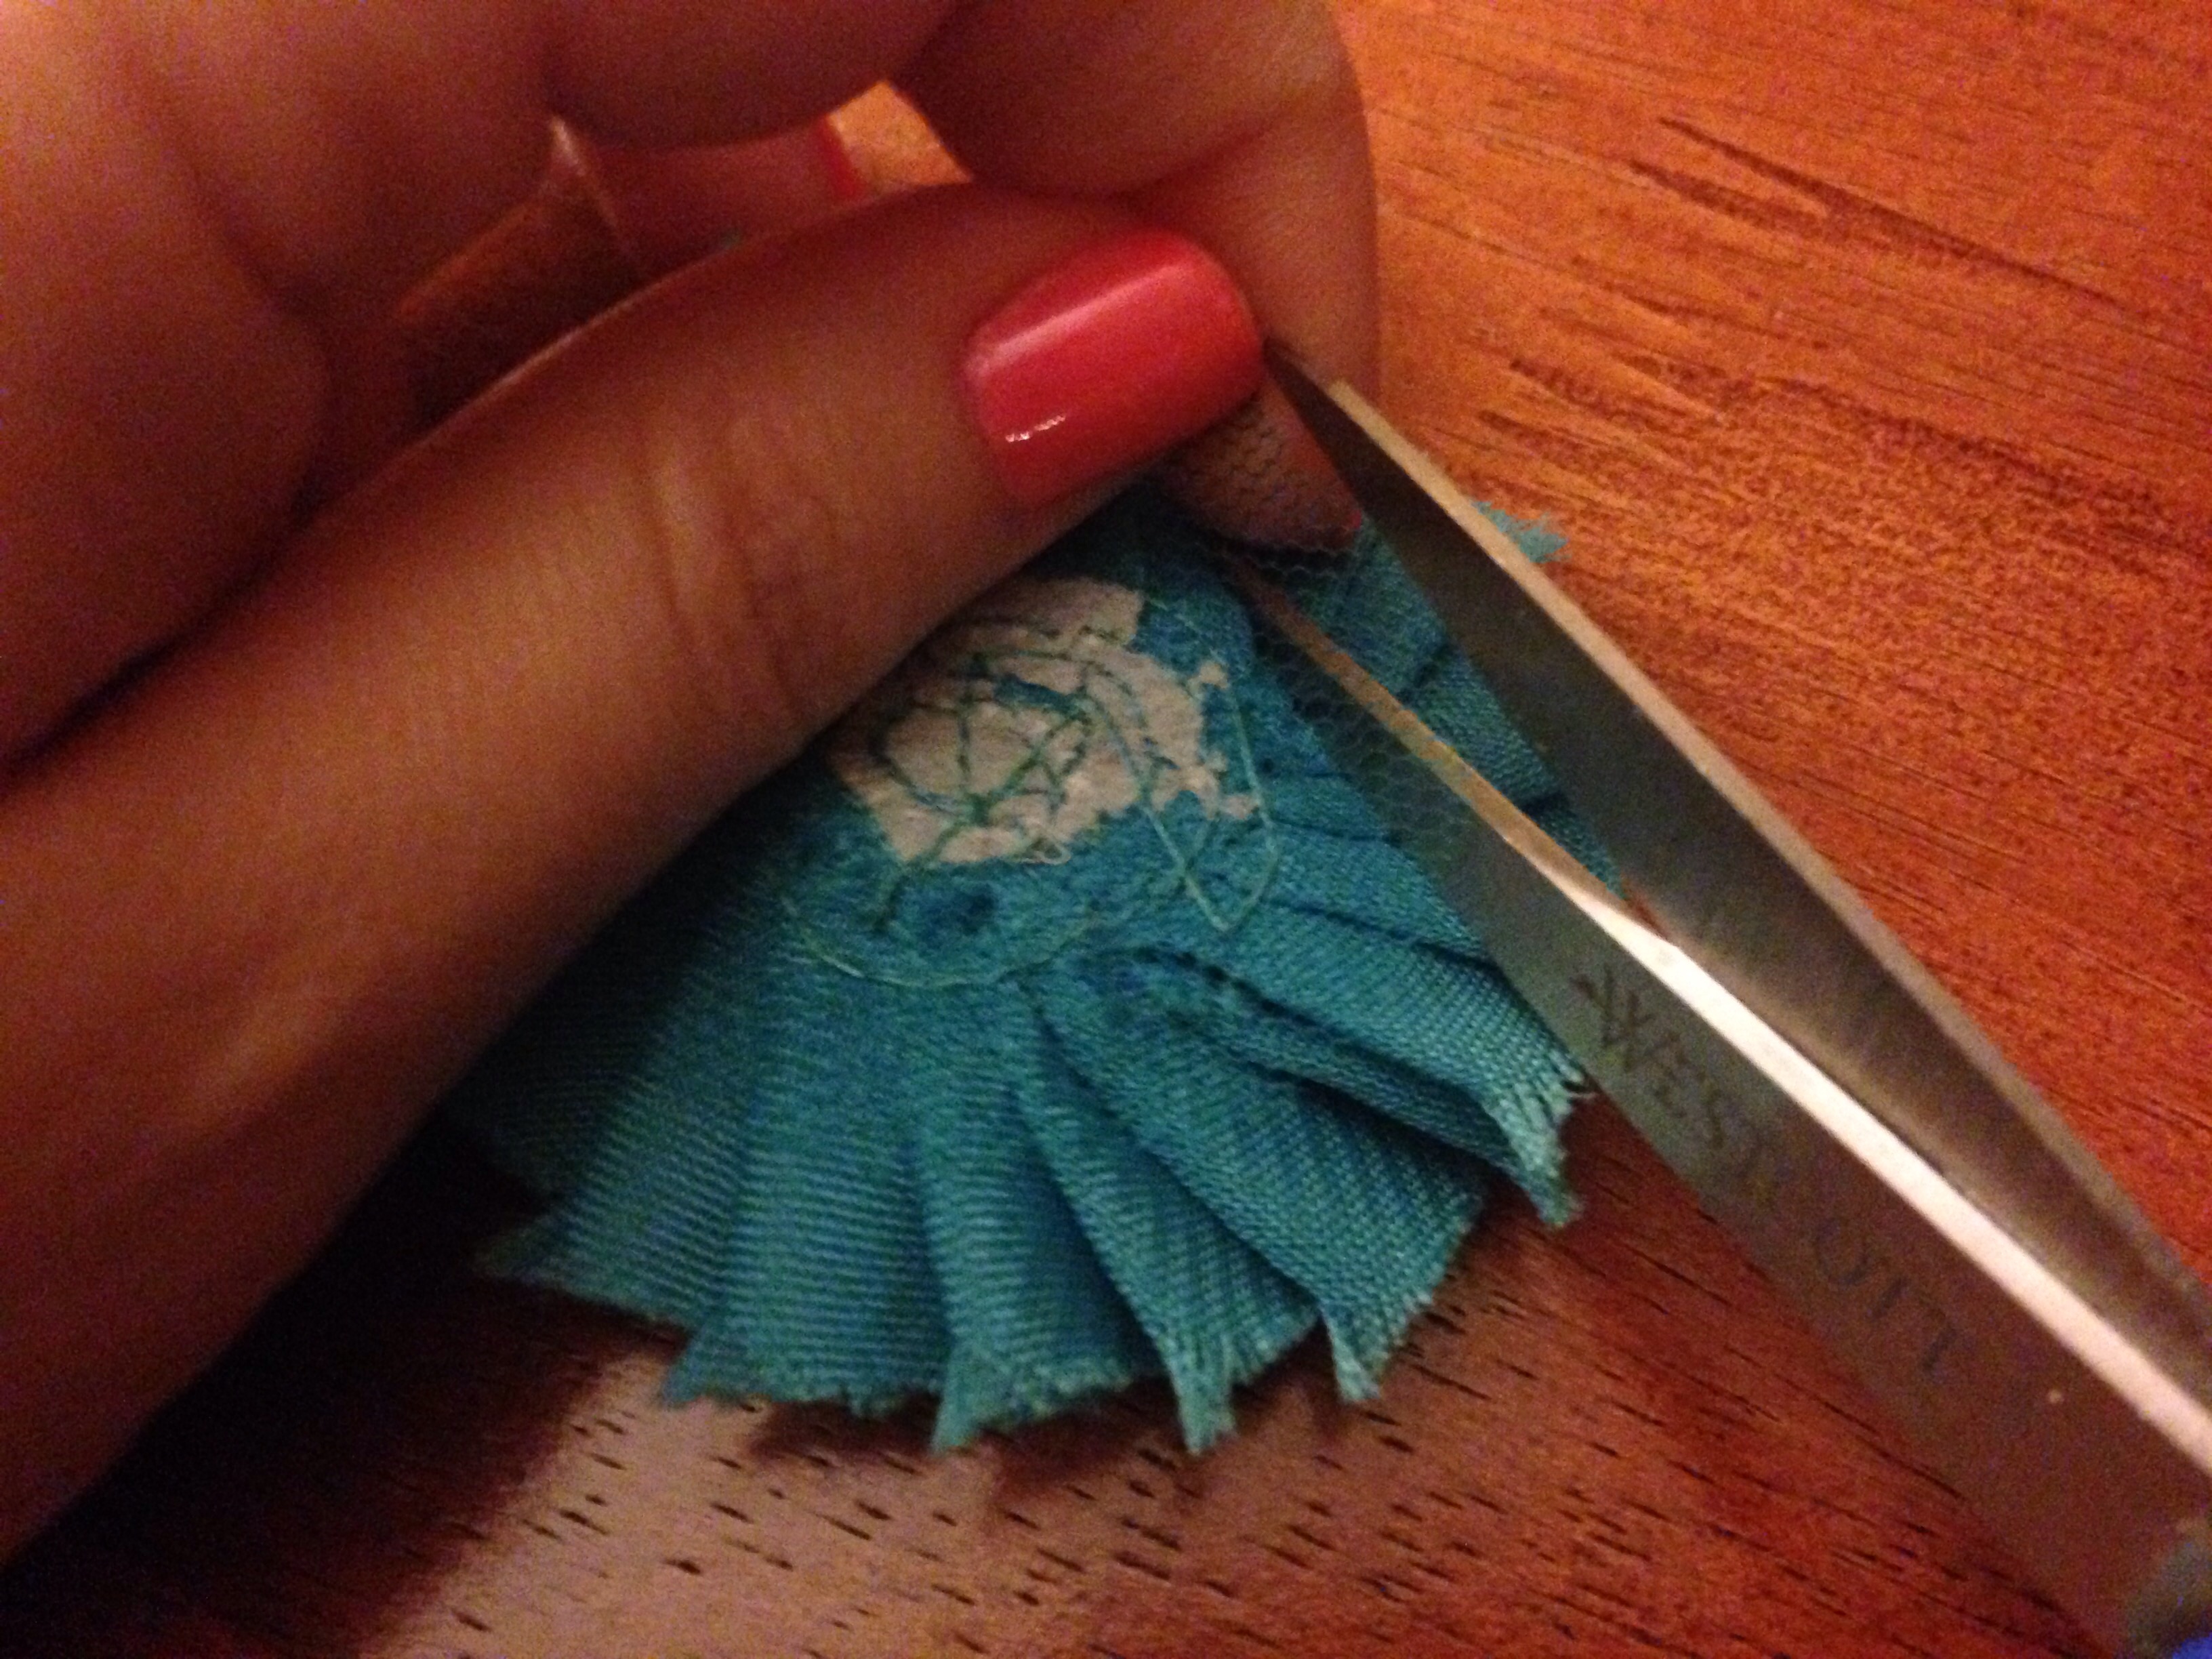 Some flowers may have a mesh backing on them. Carefully trim the edges down with your scissors.
 Next you will need to glue your embellishments to the center of your flowers. For maximum hold I suggest using E6000 or QuickHold. If your chosen embellishment is light or very small, hot glue will hold Just fine.
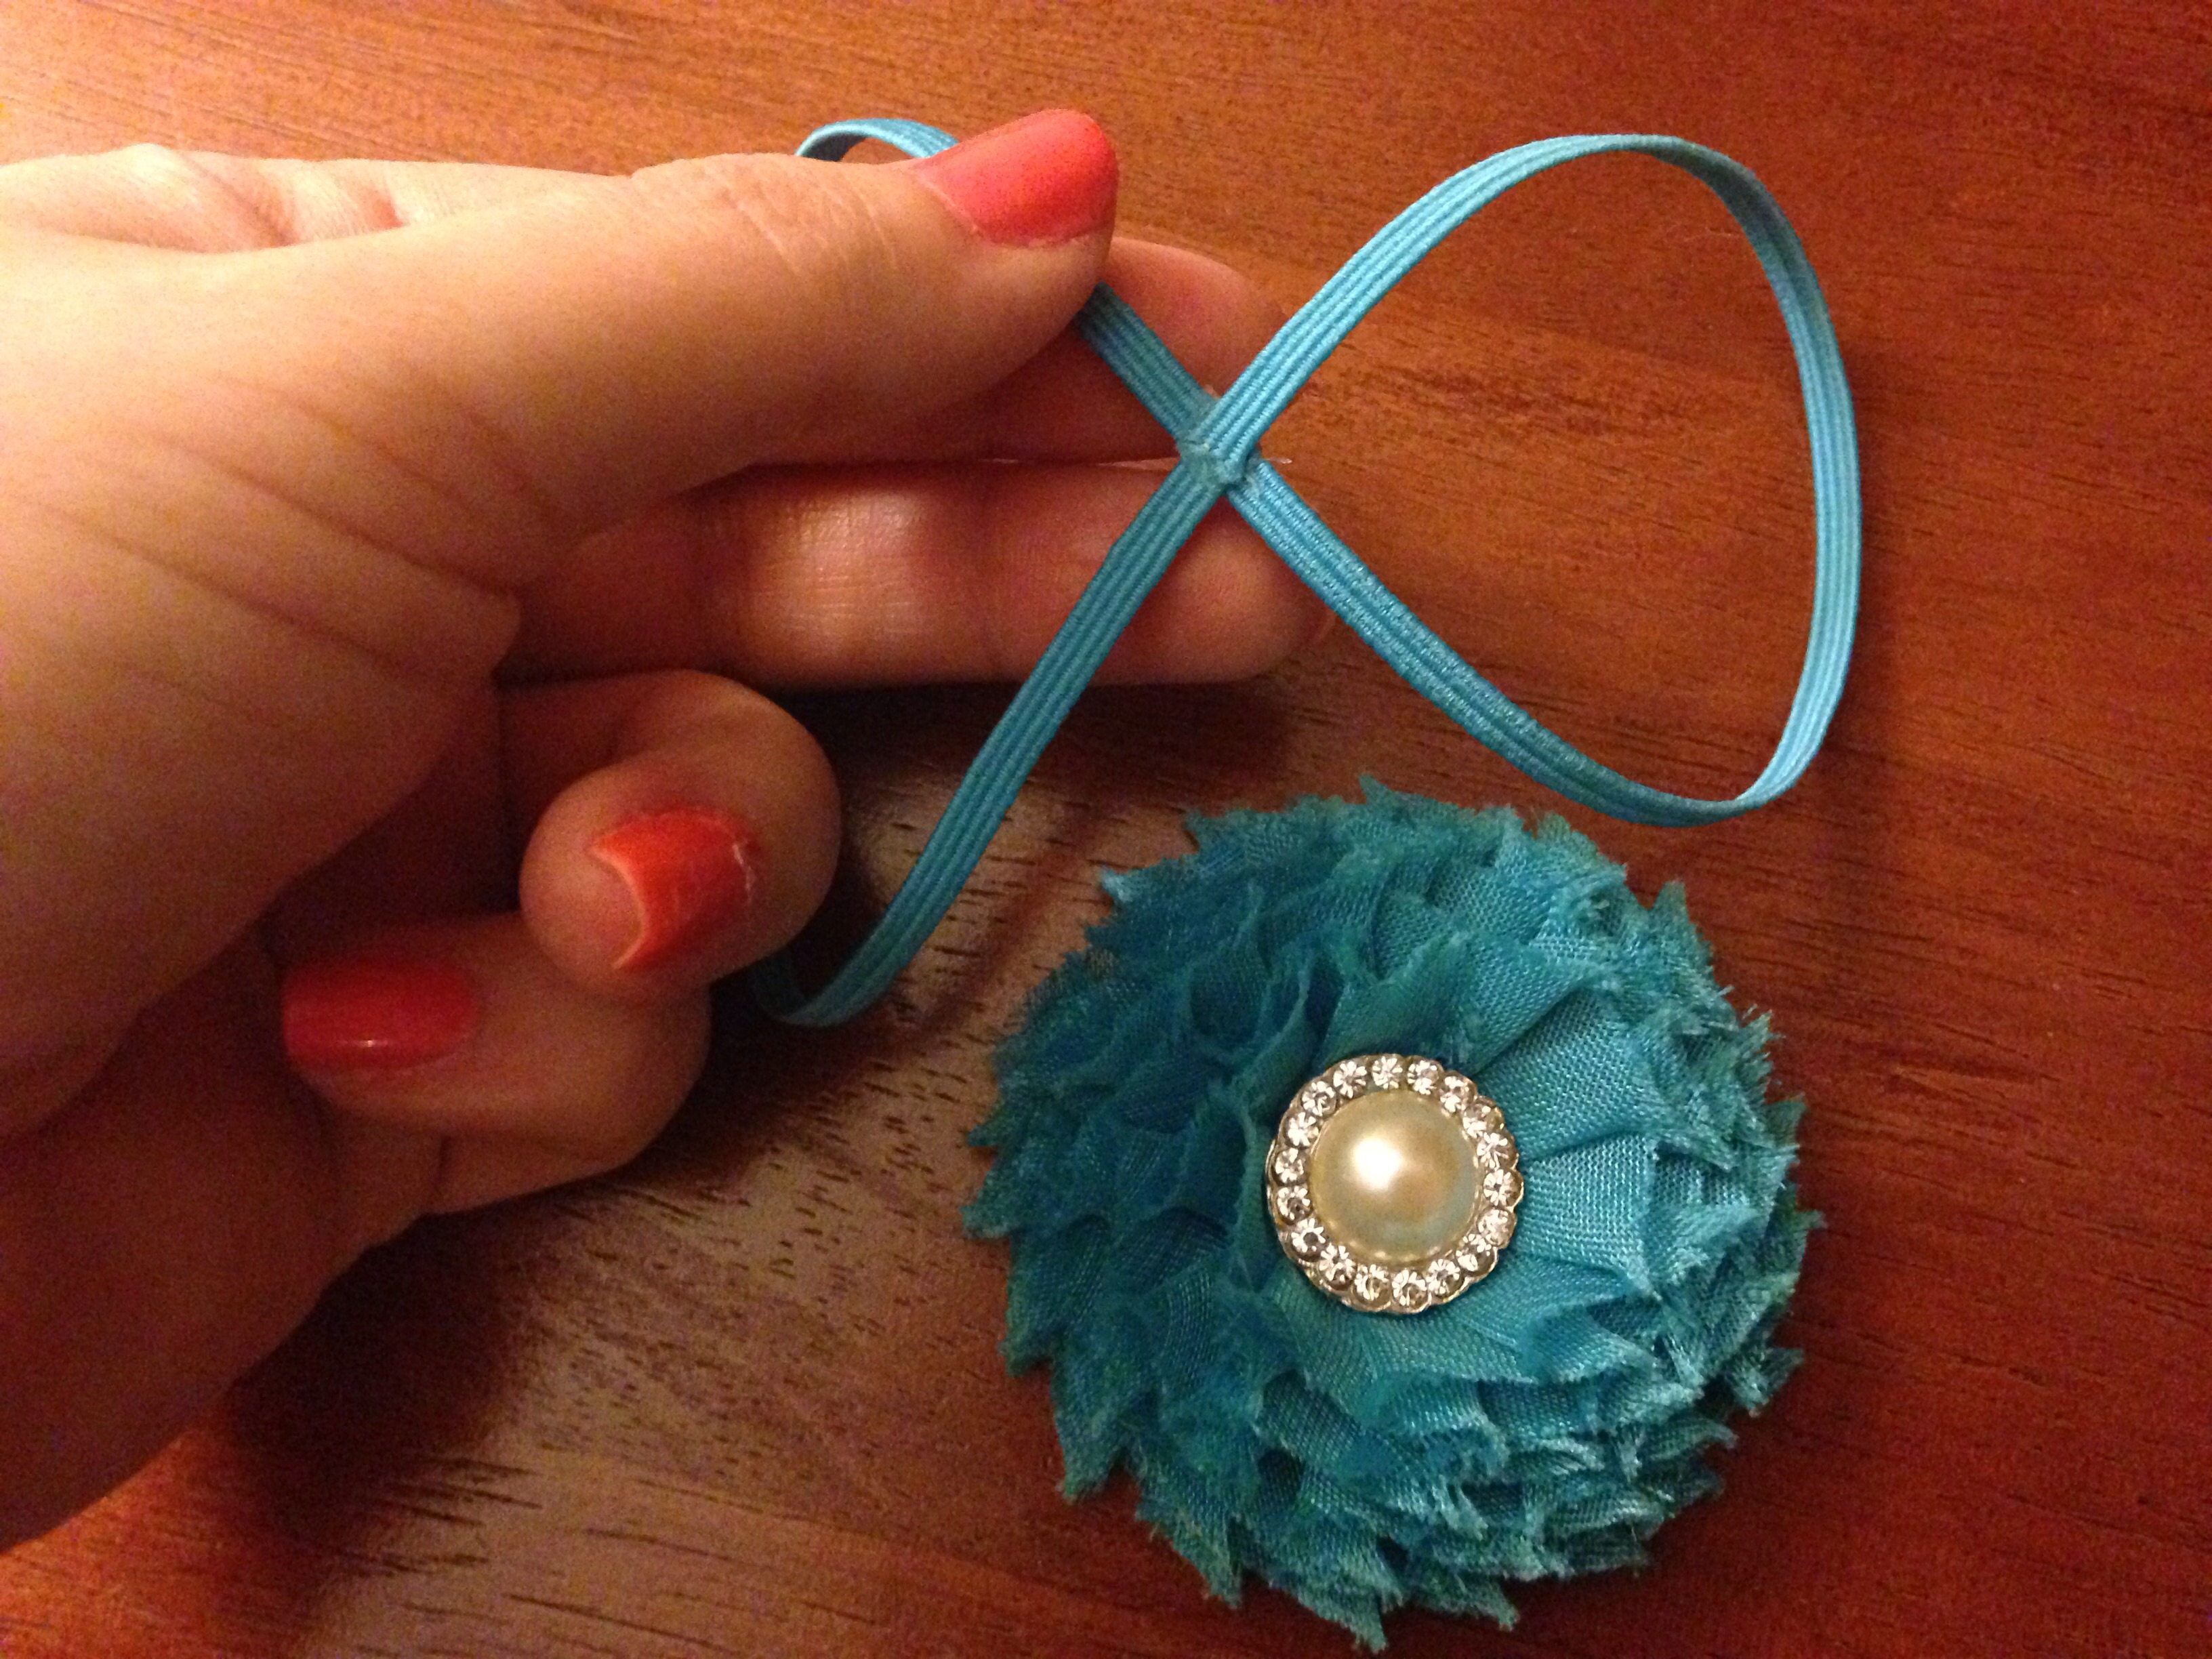 After your flowers are prepped and embellished as desired they are now ready to be attached to your elastic!
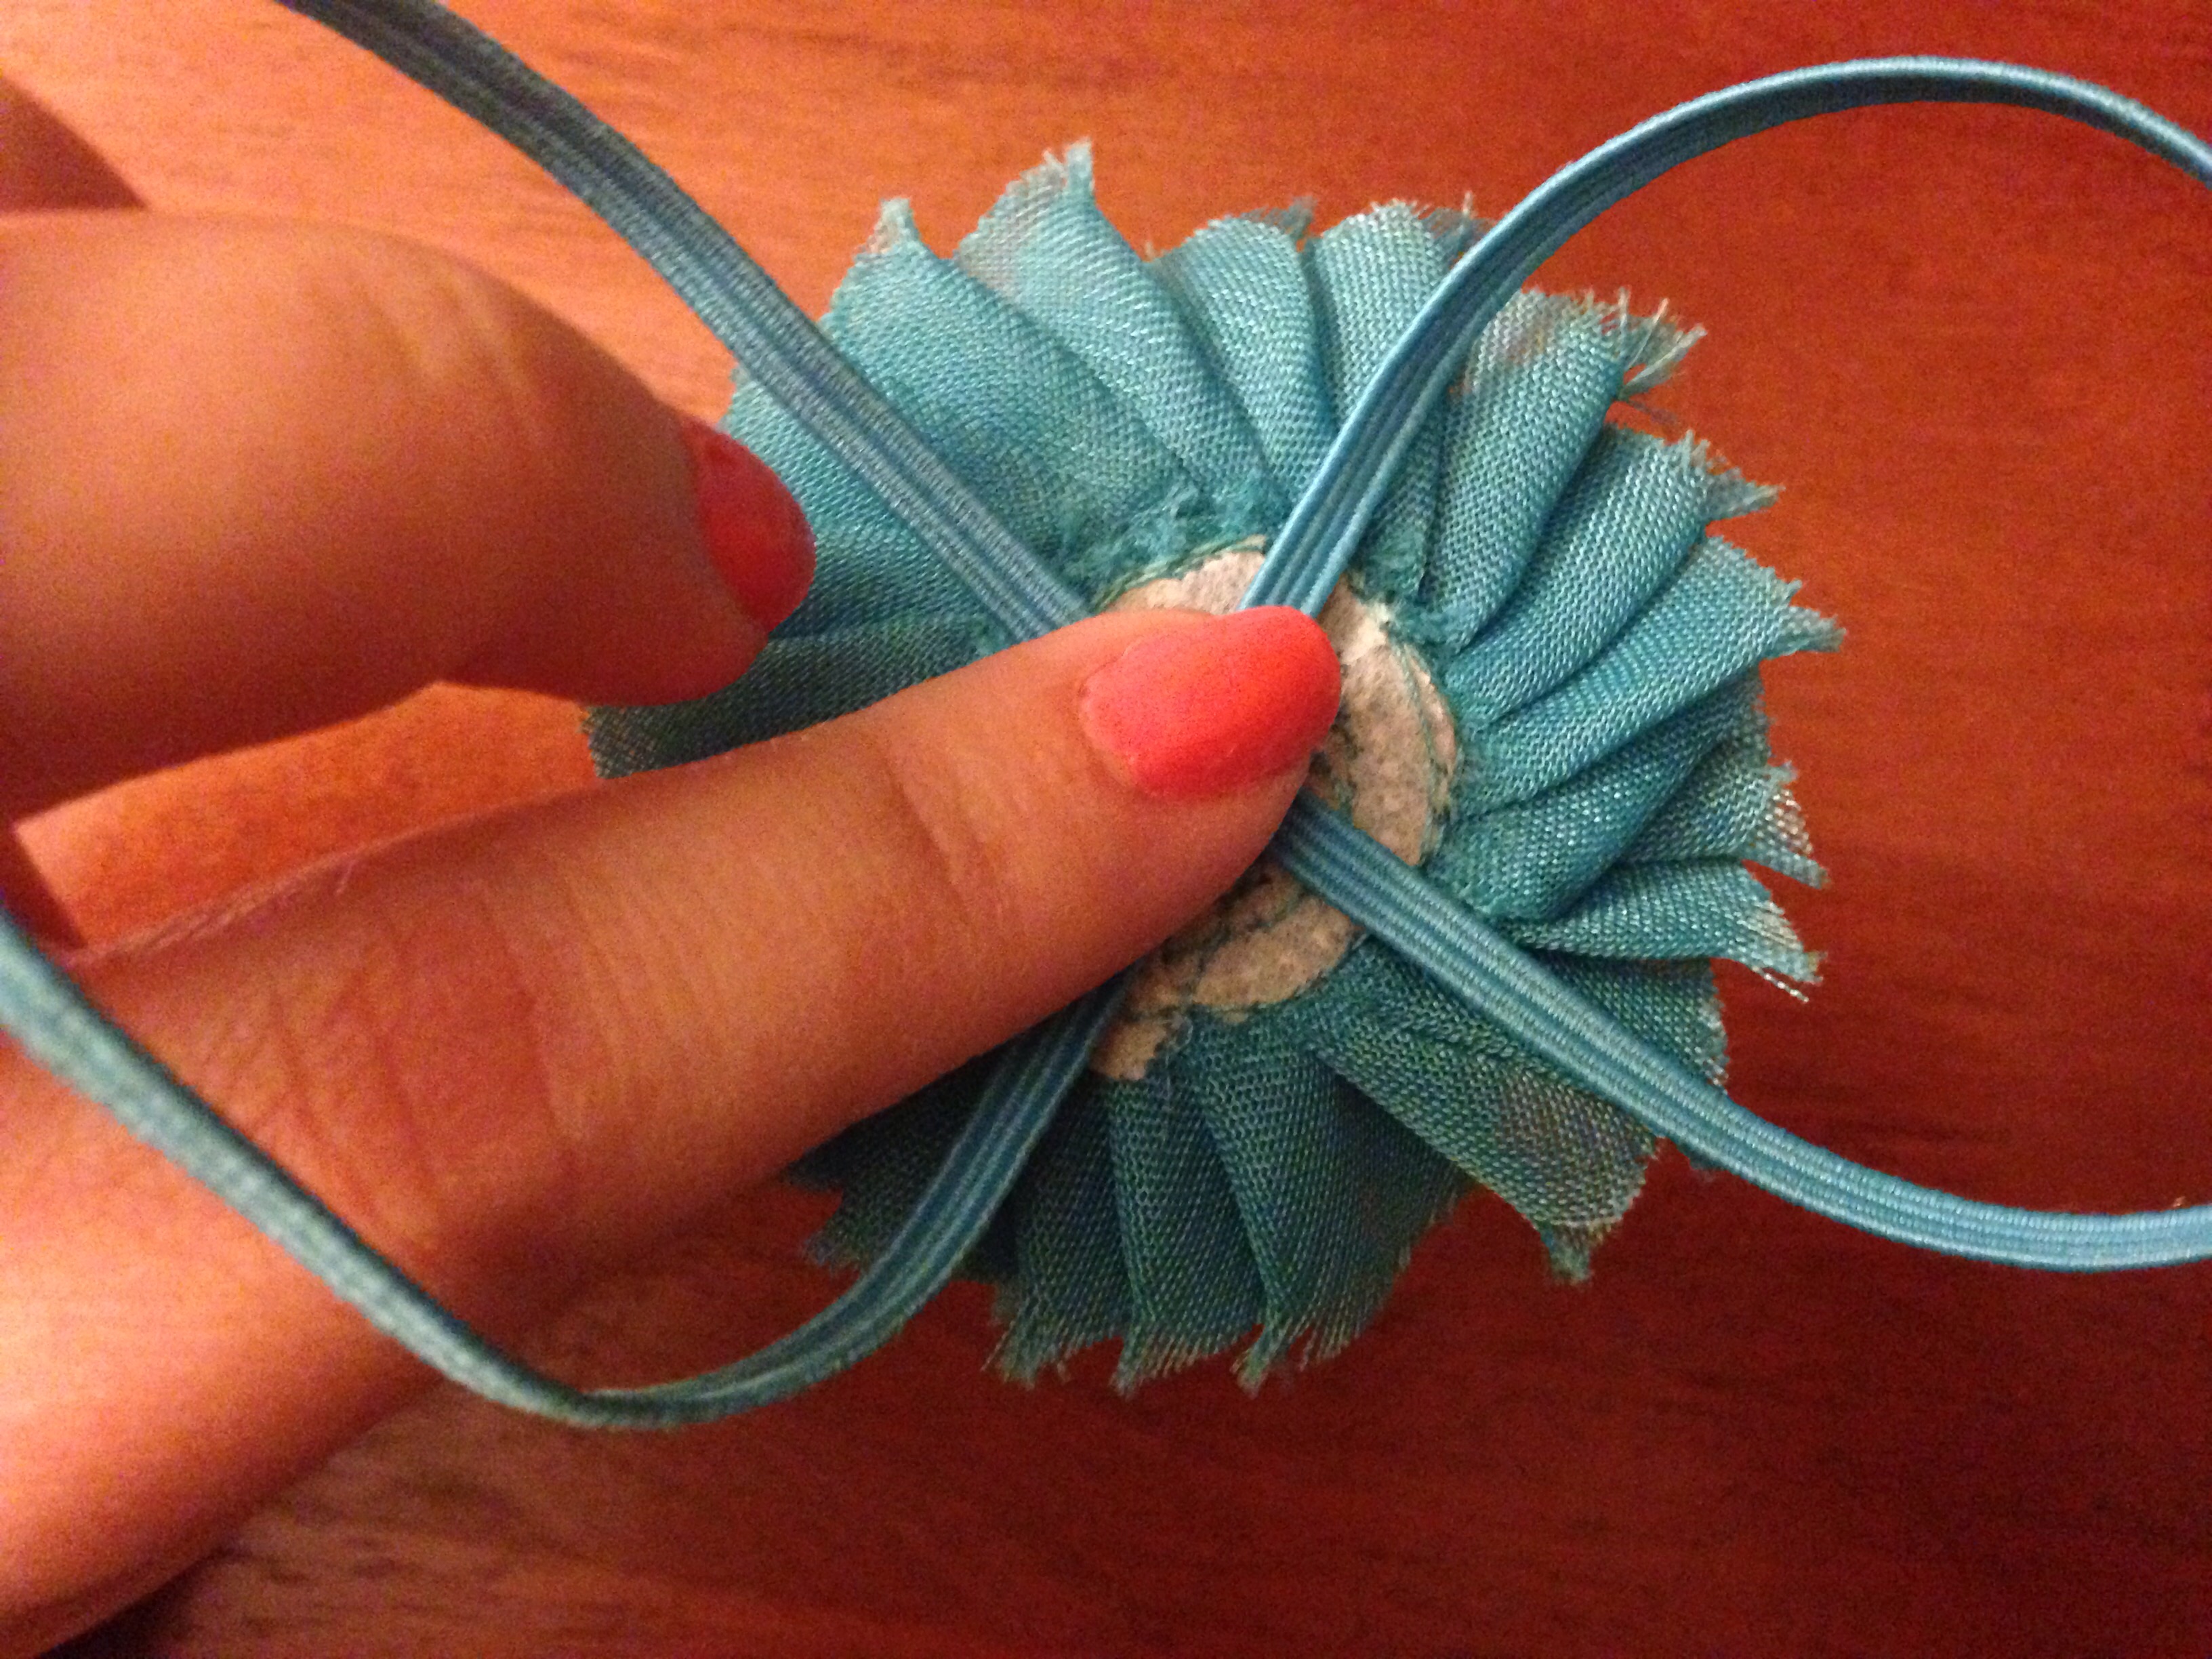 Glue the center of your elastic to the back center of your flower.
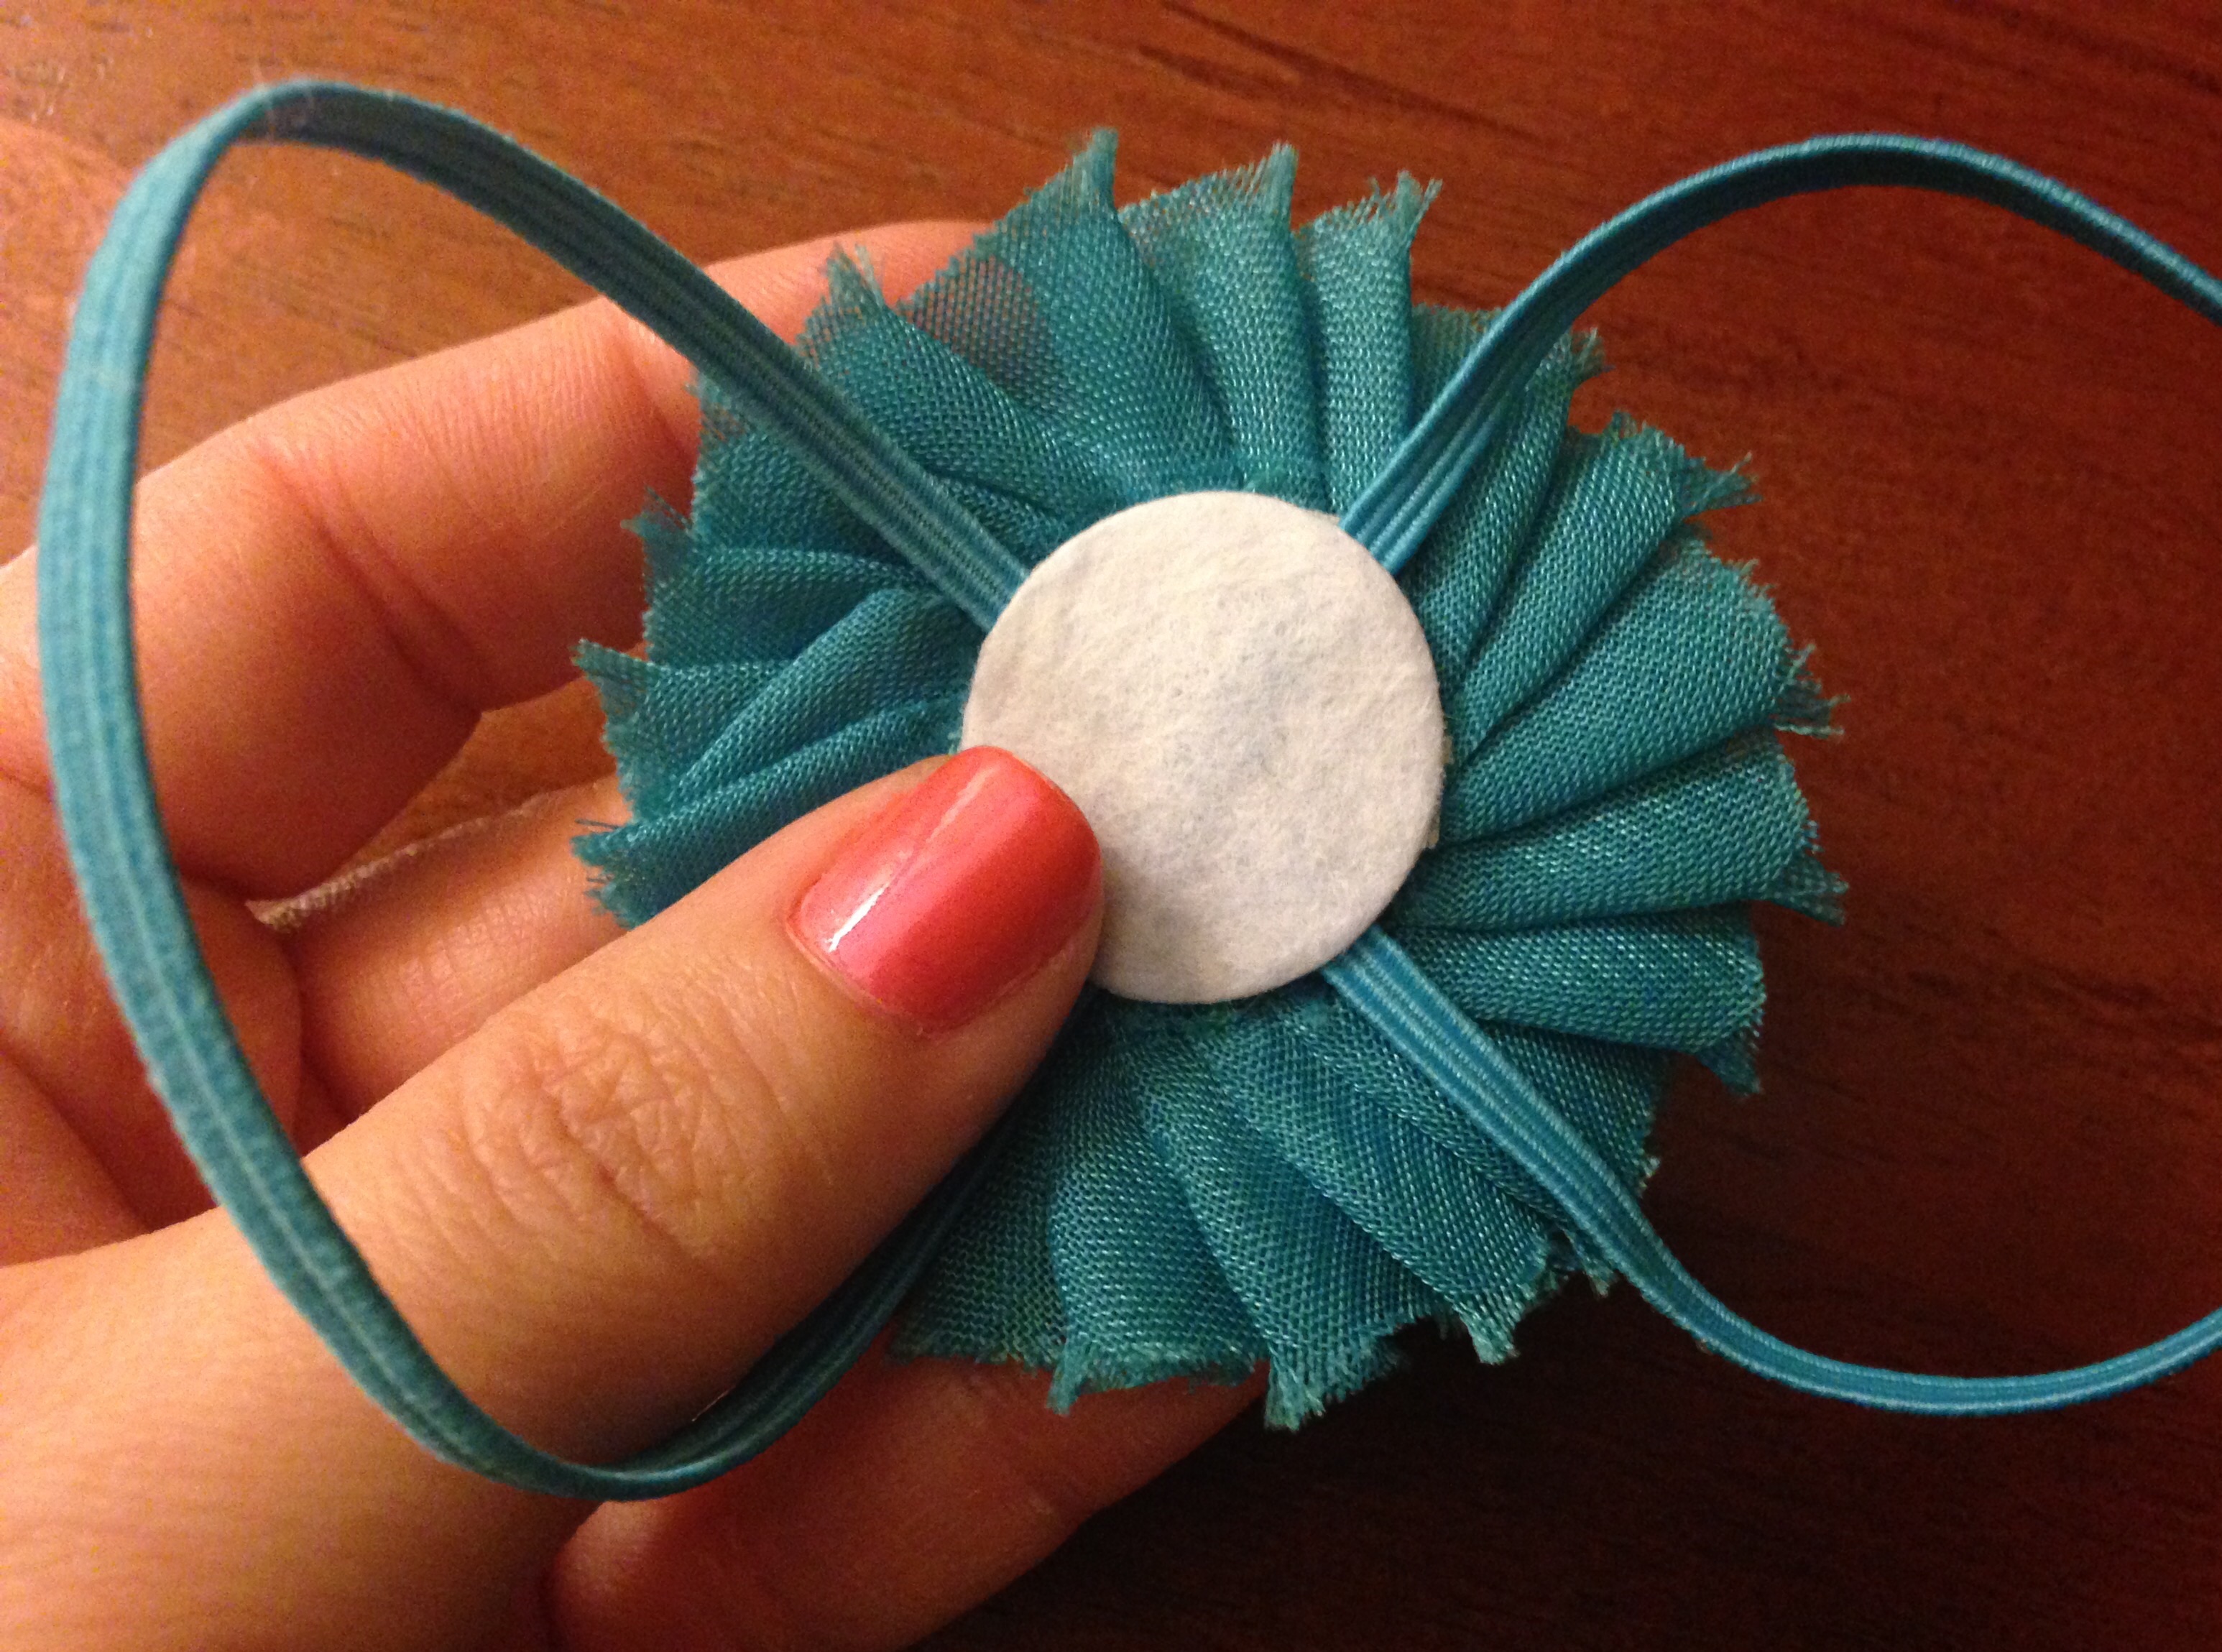 Use 1" circle felt pads to cover the centers where the elastic is attached. Make sure to use plenty of glue so the edges do not come up, but not too much as the glue could squish out and be visible. The felt pad not only allows a more secure hold, but makes a soft and smooth surface against delicate baby feet.
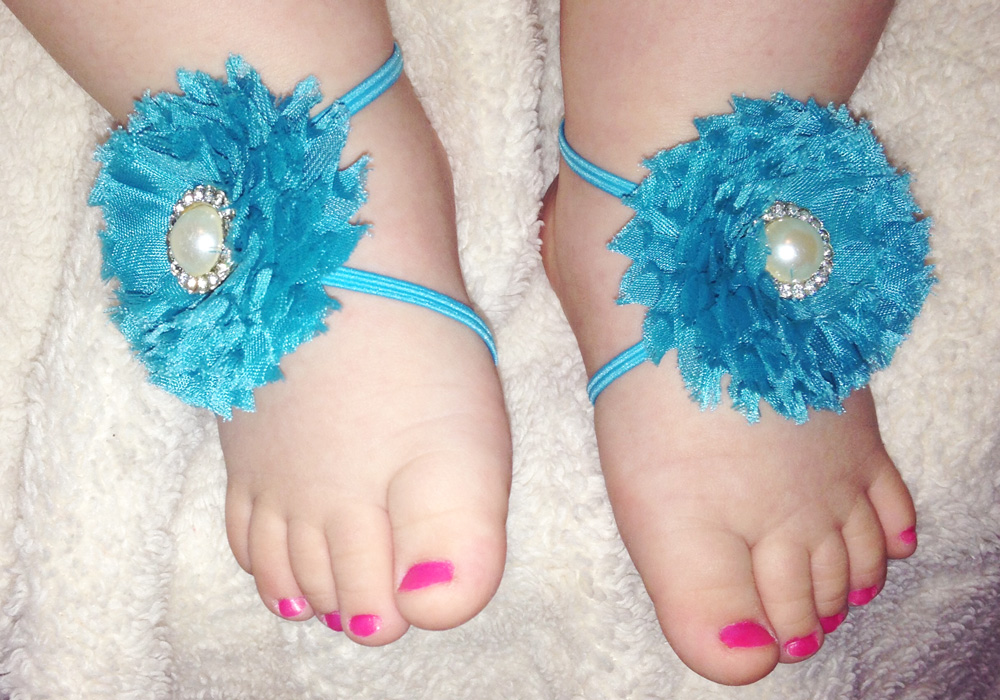
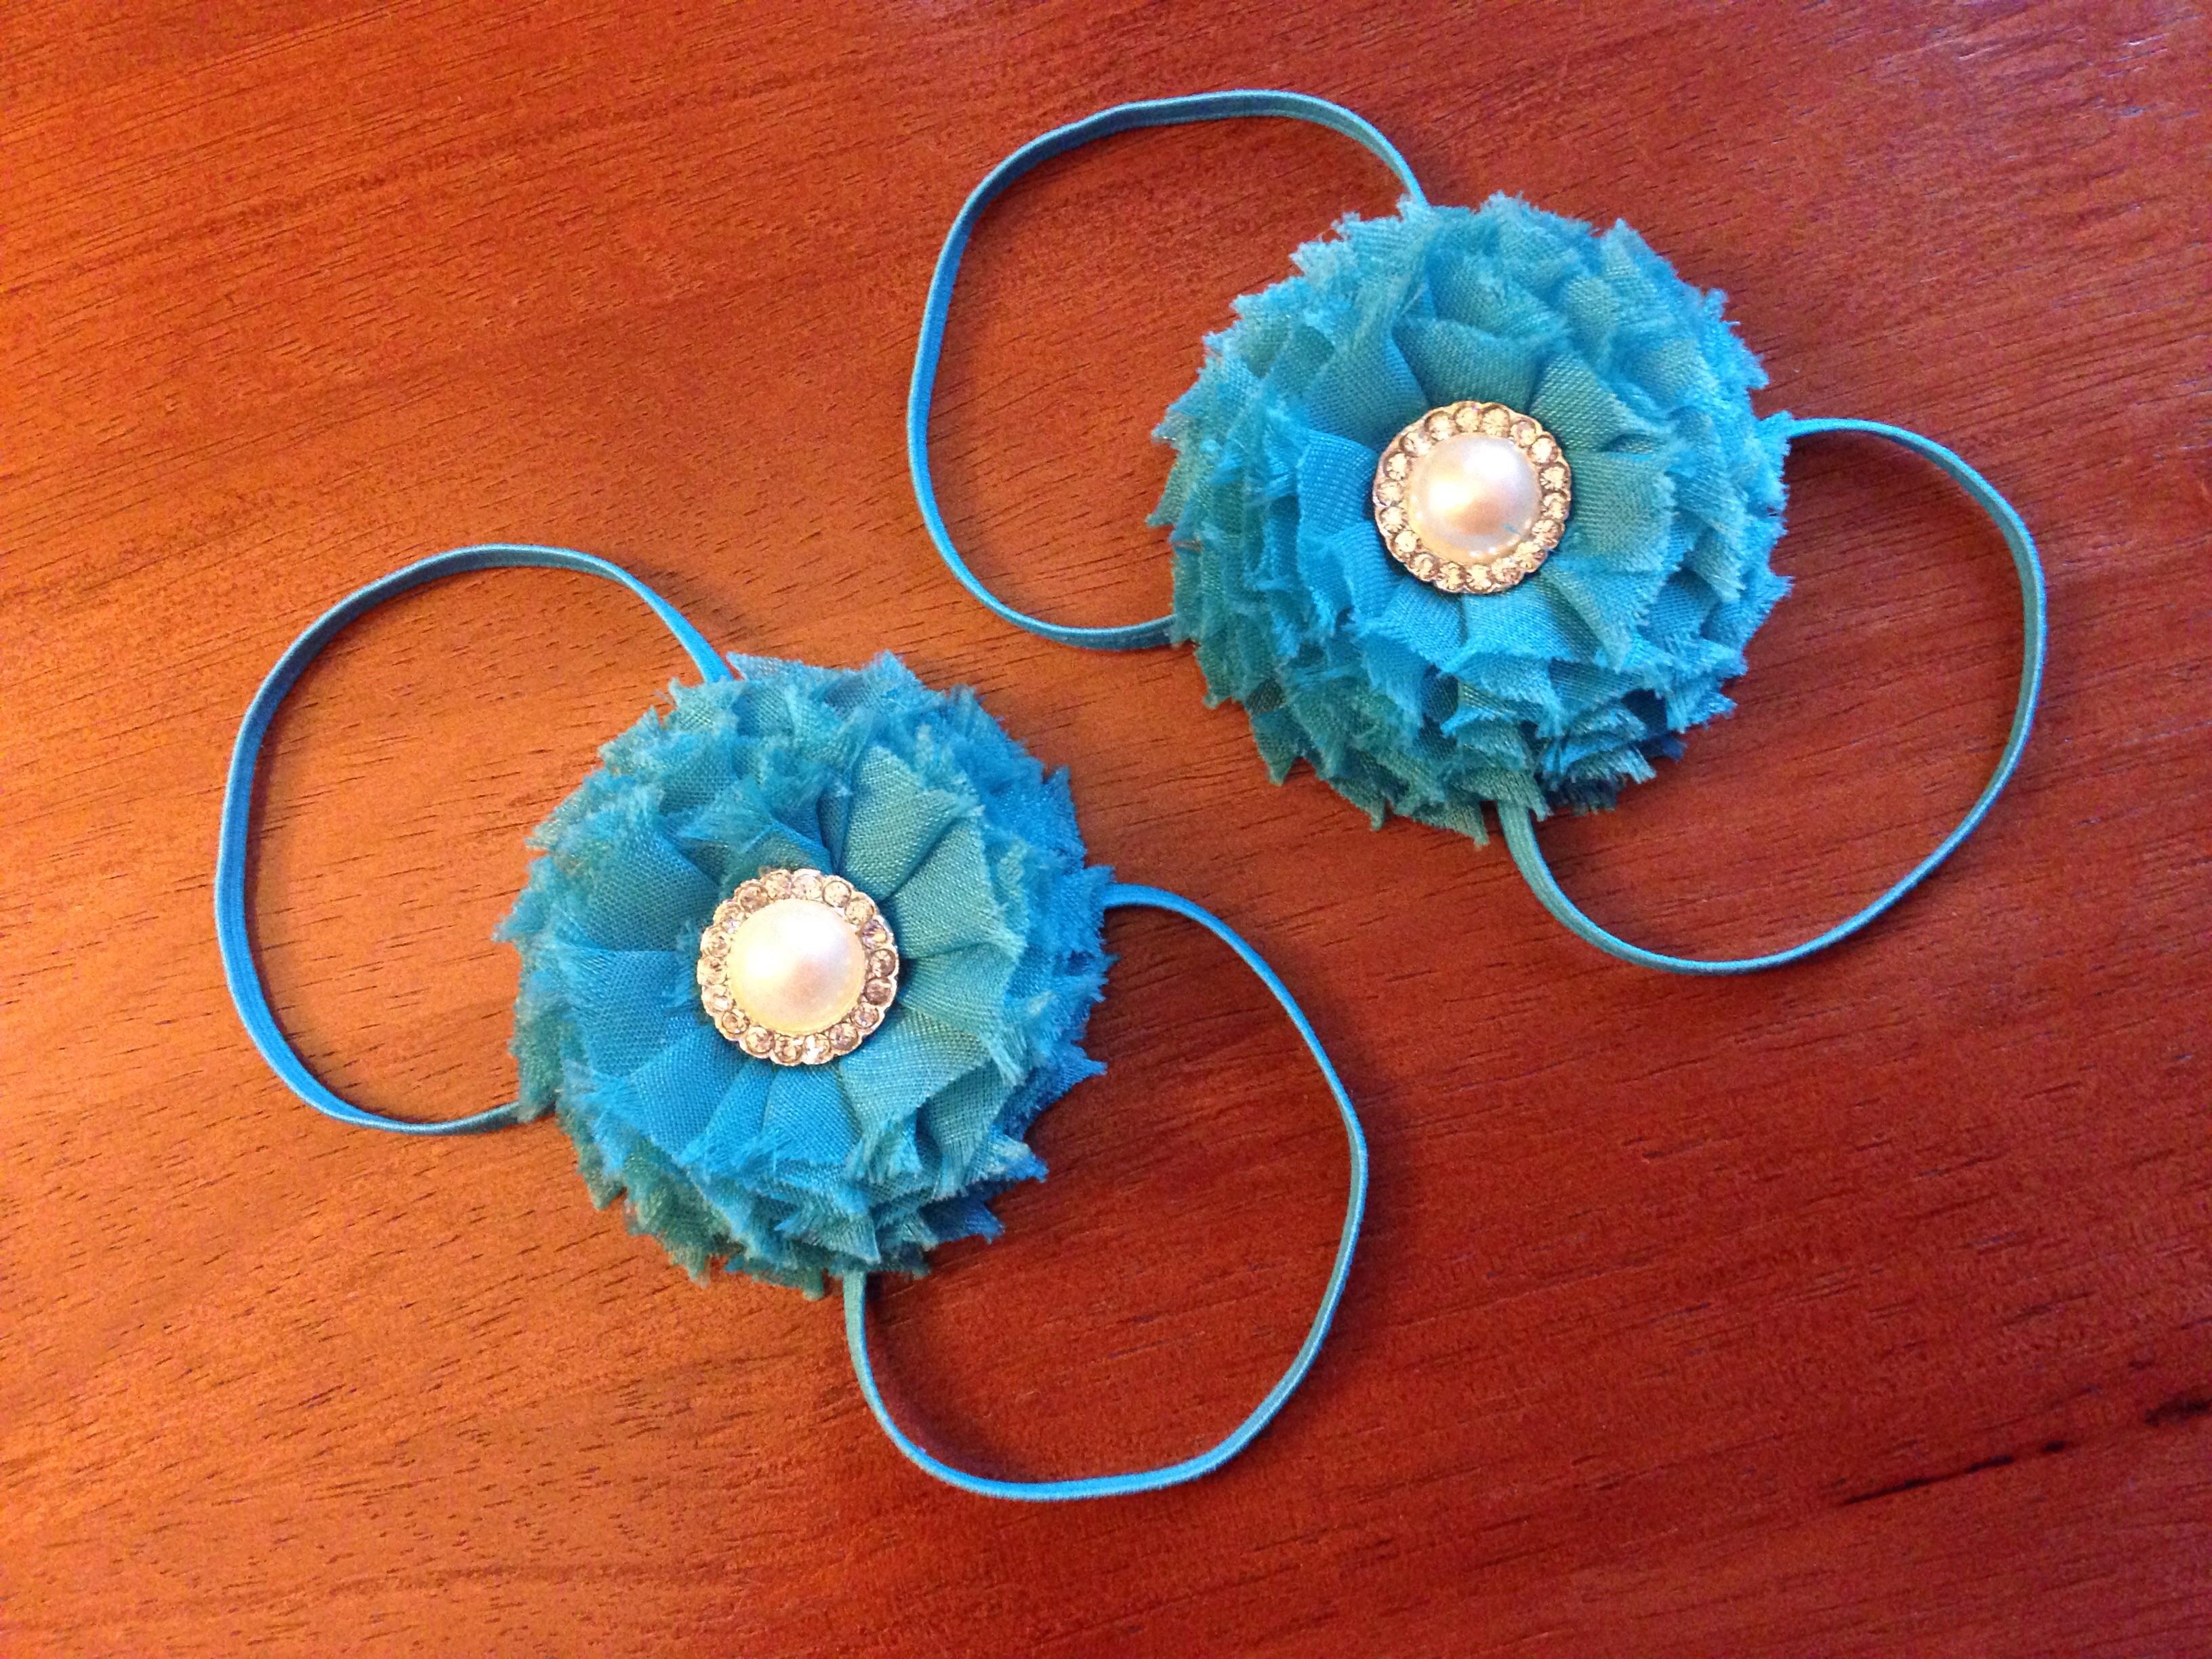 Your oh-so-adorable barefoot baby sandals are finished!! Now you can slip them on your sweet baby's feet for the perfect compliment to those kissable little toes! If you want to go a step farther in cuteness, you can make a matching headband with the exact same materials! So sweet and girly and sure to get tons of compliments! Enjoy!
Visit the rest of our blog for more Crafting Tutorials and DIY Instructions!
Loading...

