Contributor post by Danielle and Brittany
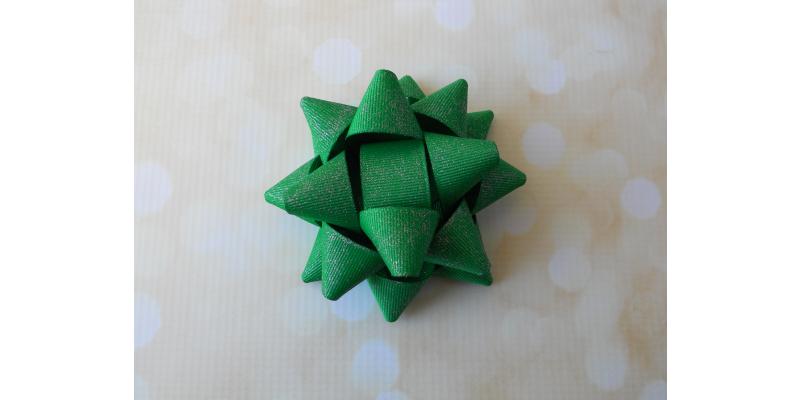
I'm sure all of you Mommies out there agree that your child is truly the "best gift ever!" Every gift should be dressed up with a gorgeous, festive bow and this one is just perfect for the Christmas season! So today we will be making a beautiful traditional gift bow that can be worn clipped into your daughter's hair, to dress up an adorable kufi hat, or even as the centerpiece of another hair bow! There are so many fun things to do with this sweet holiday bow! So let's get started!
*Editor's note - Three of our blog contributors submitted this same adorable ribbon bow project, which means that you absolutely have to make it, right?! Danielle and Brittany share how to make this bow using hot glue as the fastener and Cassie shows how to make the same bow with a simple sewing technique. Be sure to check out Cassie's method as well here!
Supplies Needed:
7/8" Grosgrain Ribbon in Emerald or chosen color
Hot Glue Gun and Glue
Scissors or Wood Burning Tool
Glitter Spray (Optional)
Flat Alligator Clip (if making into a hair-clip)
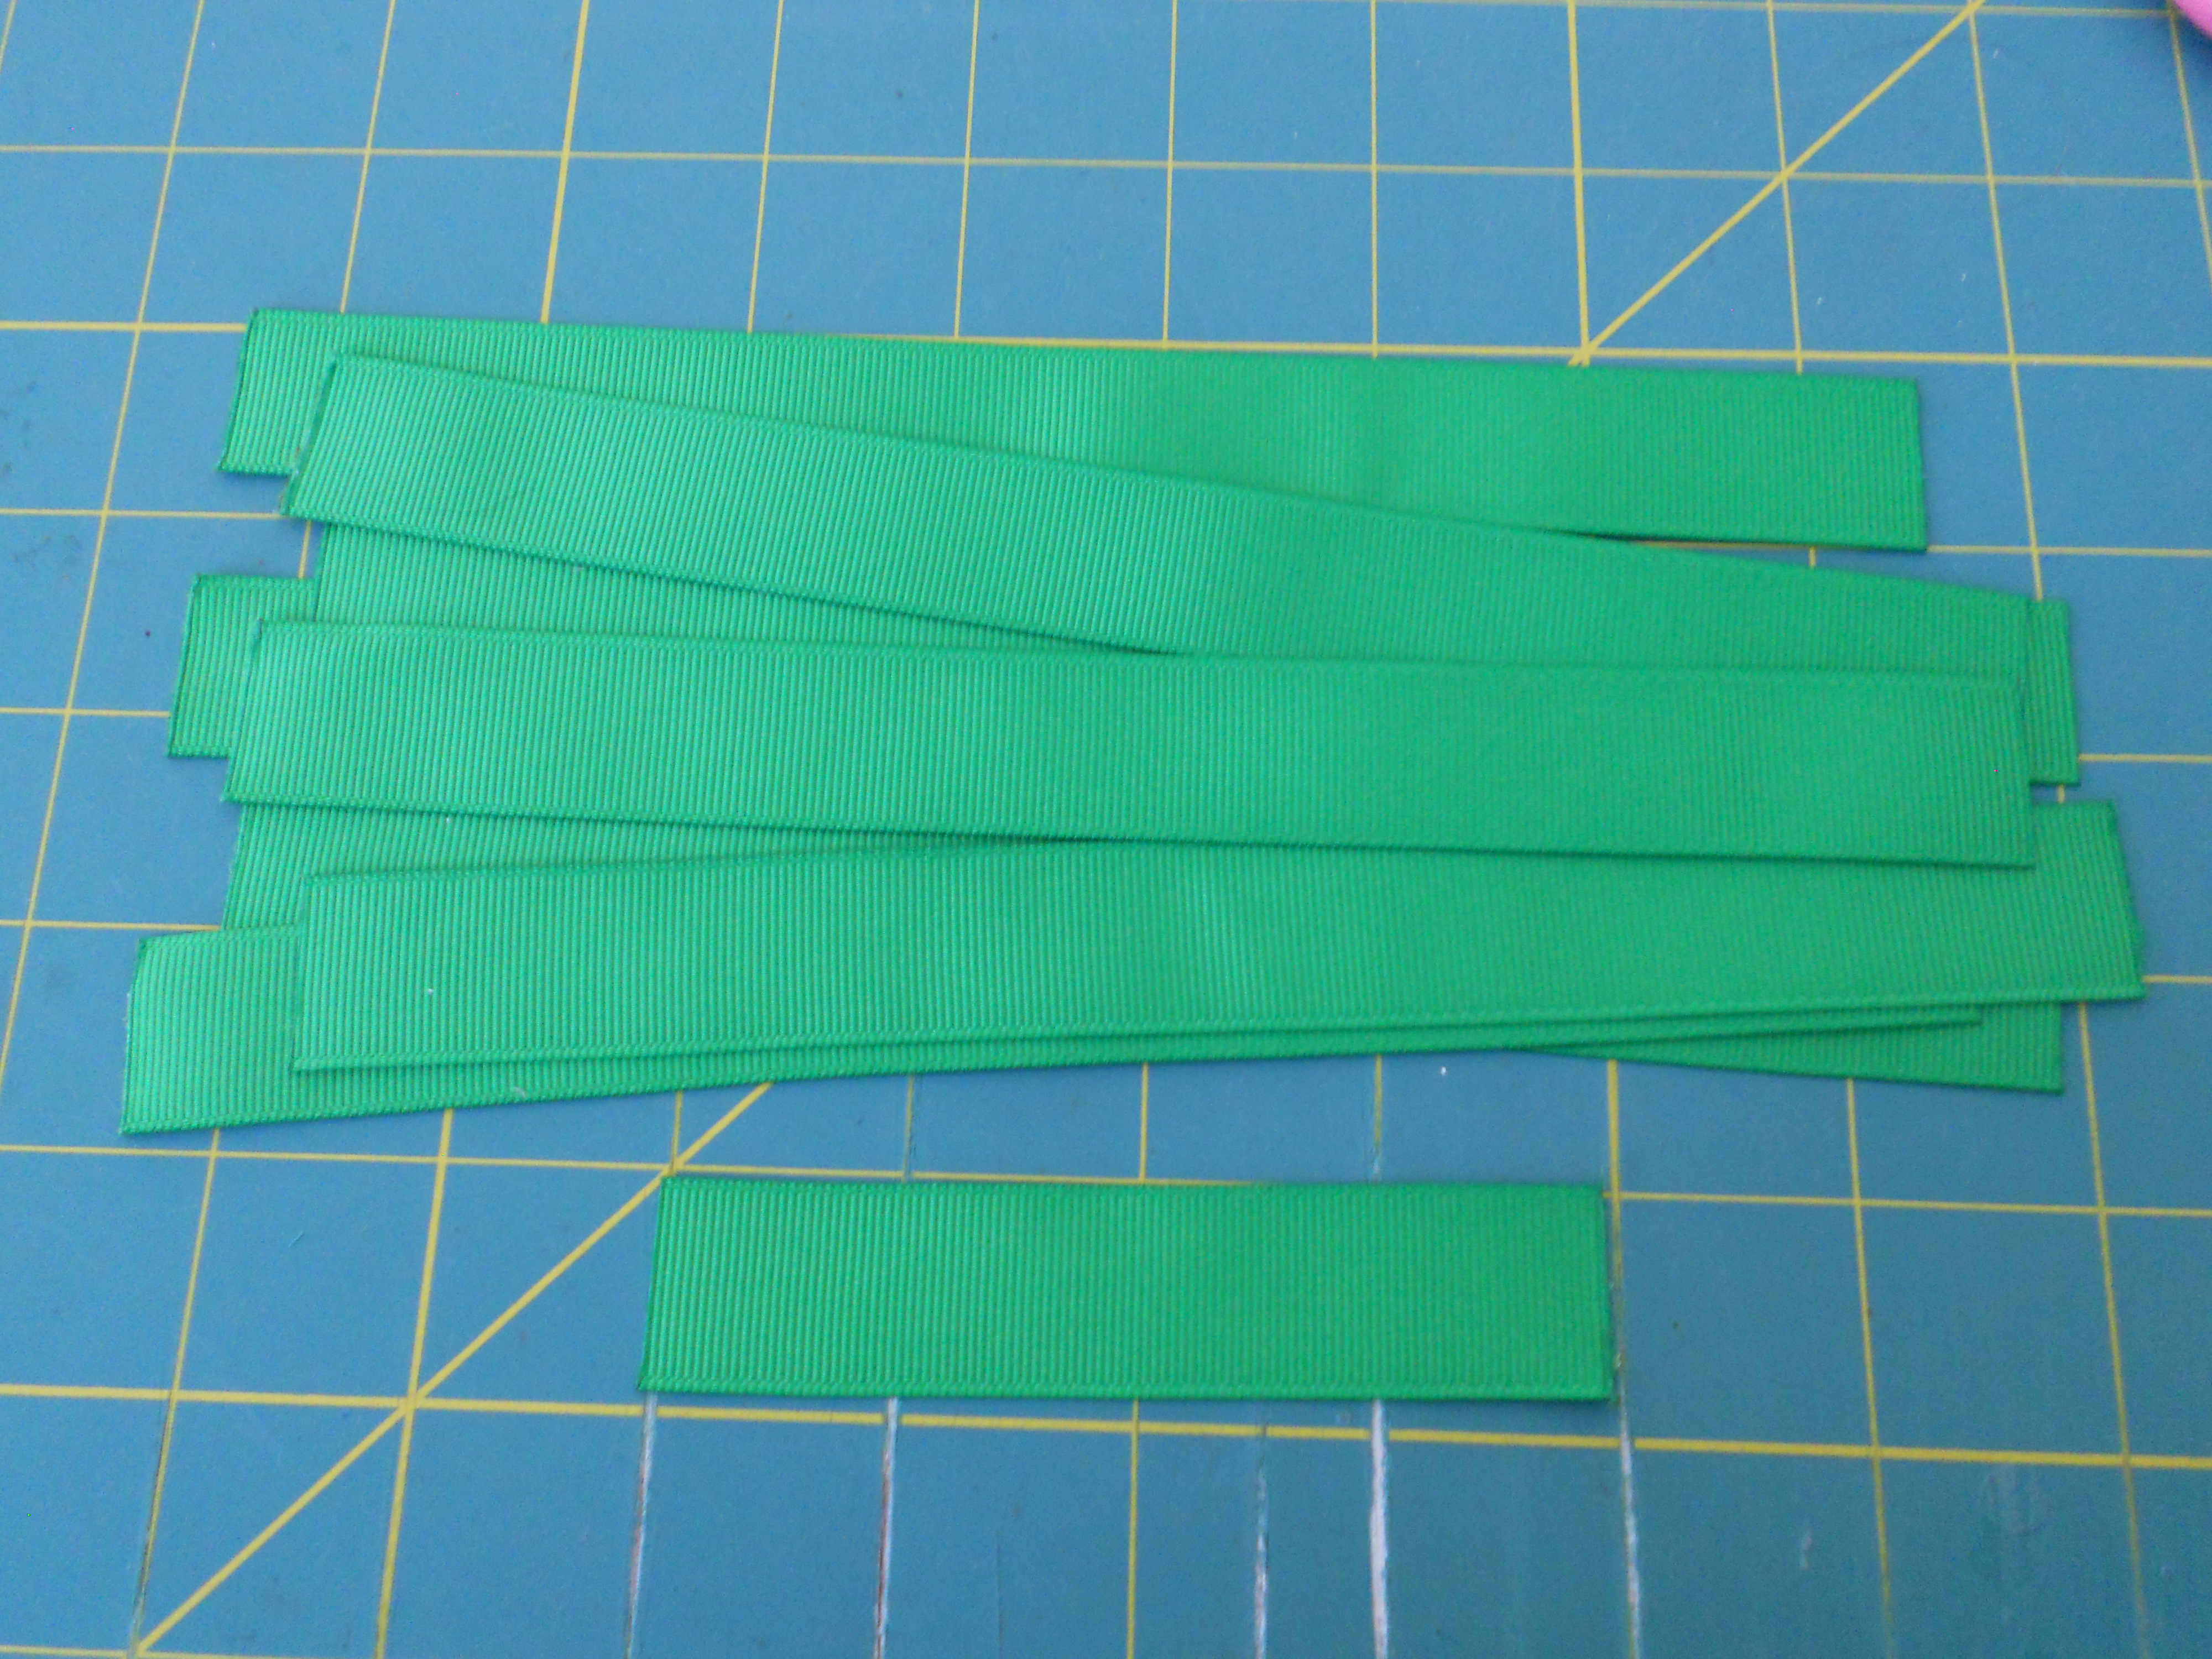
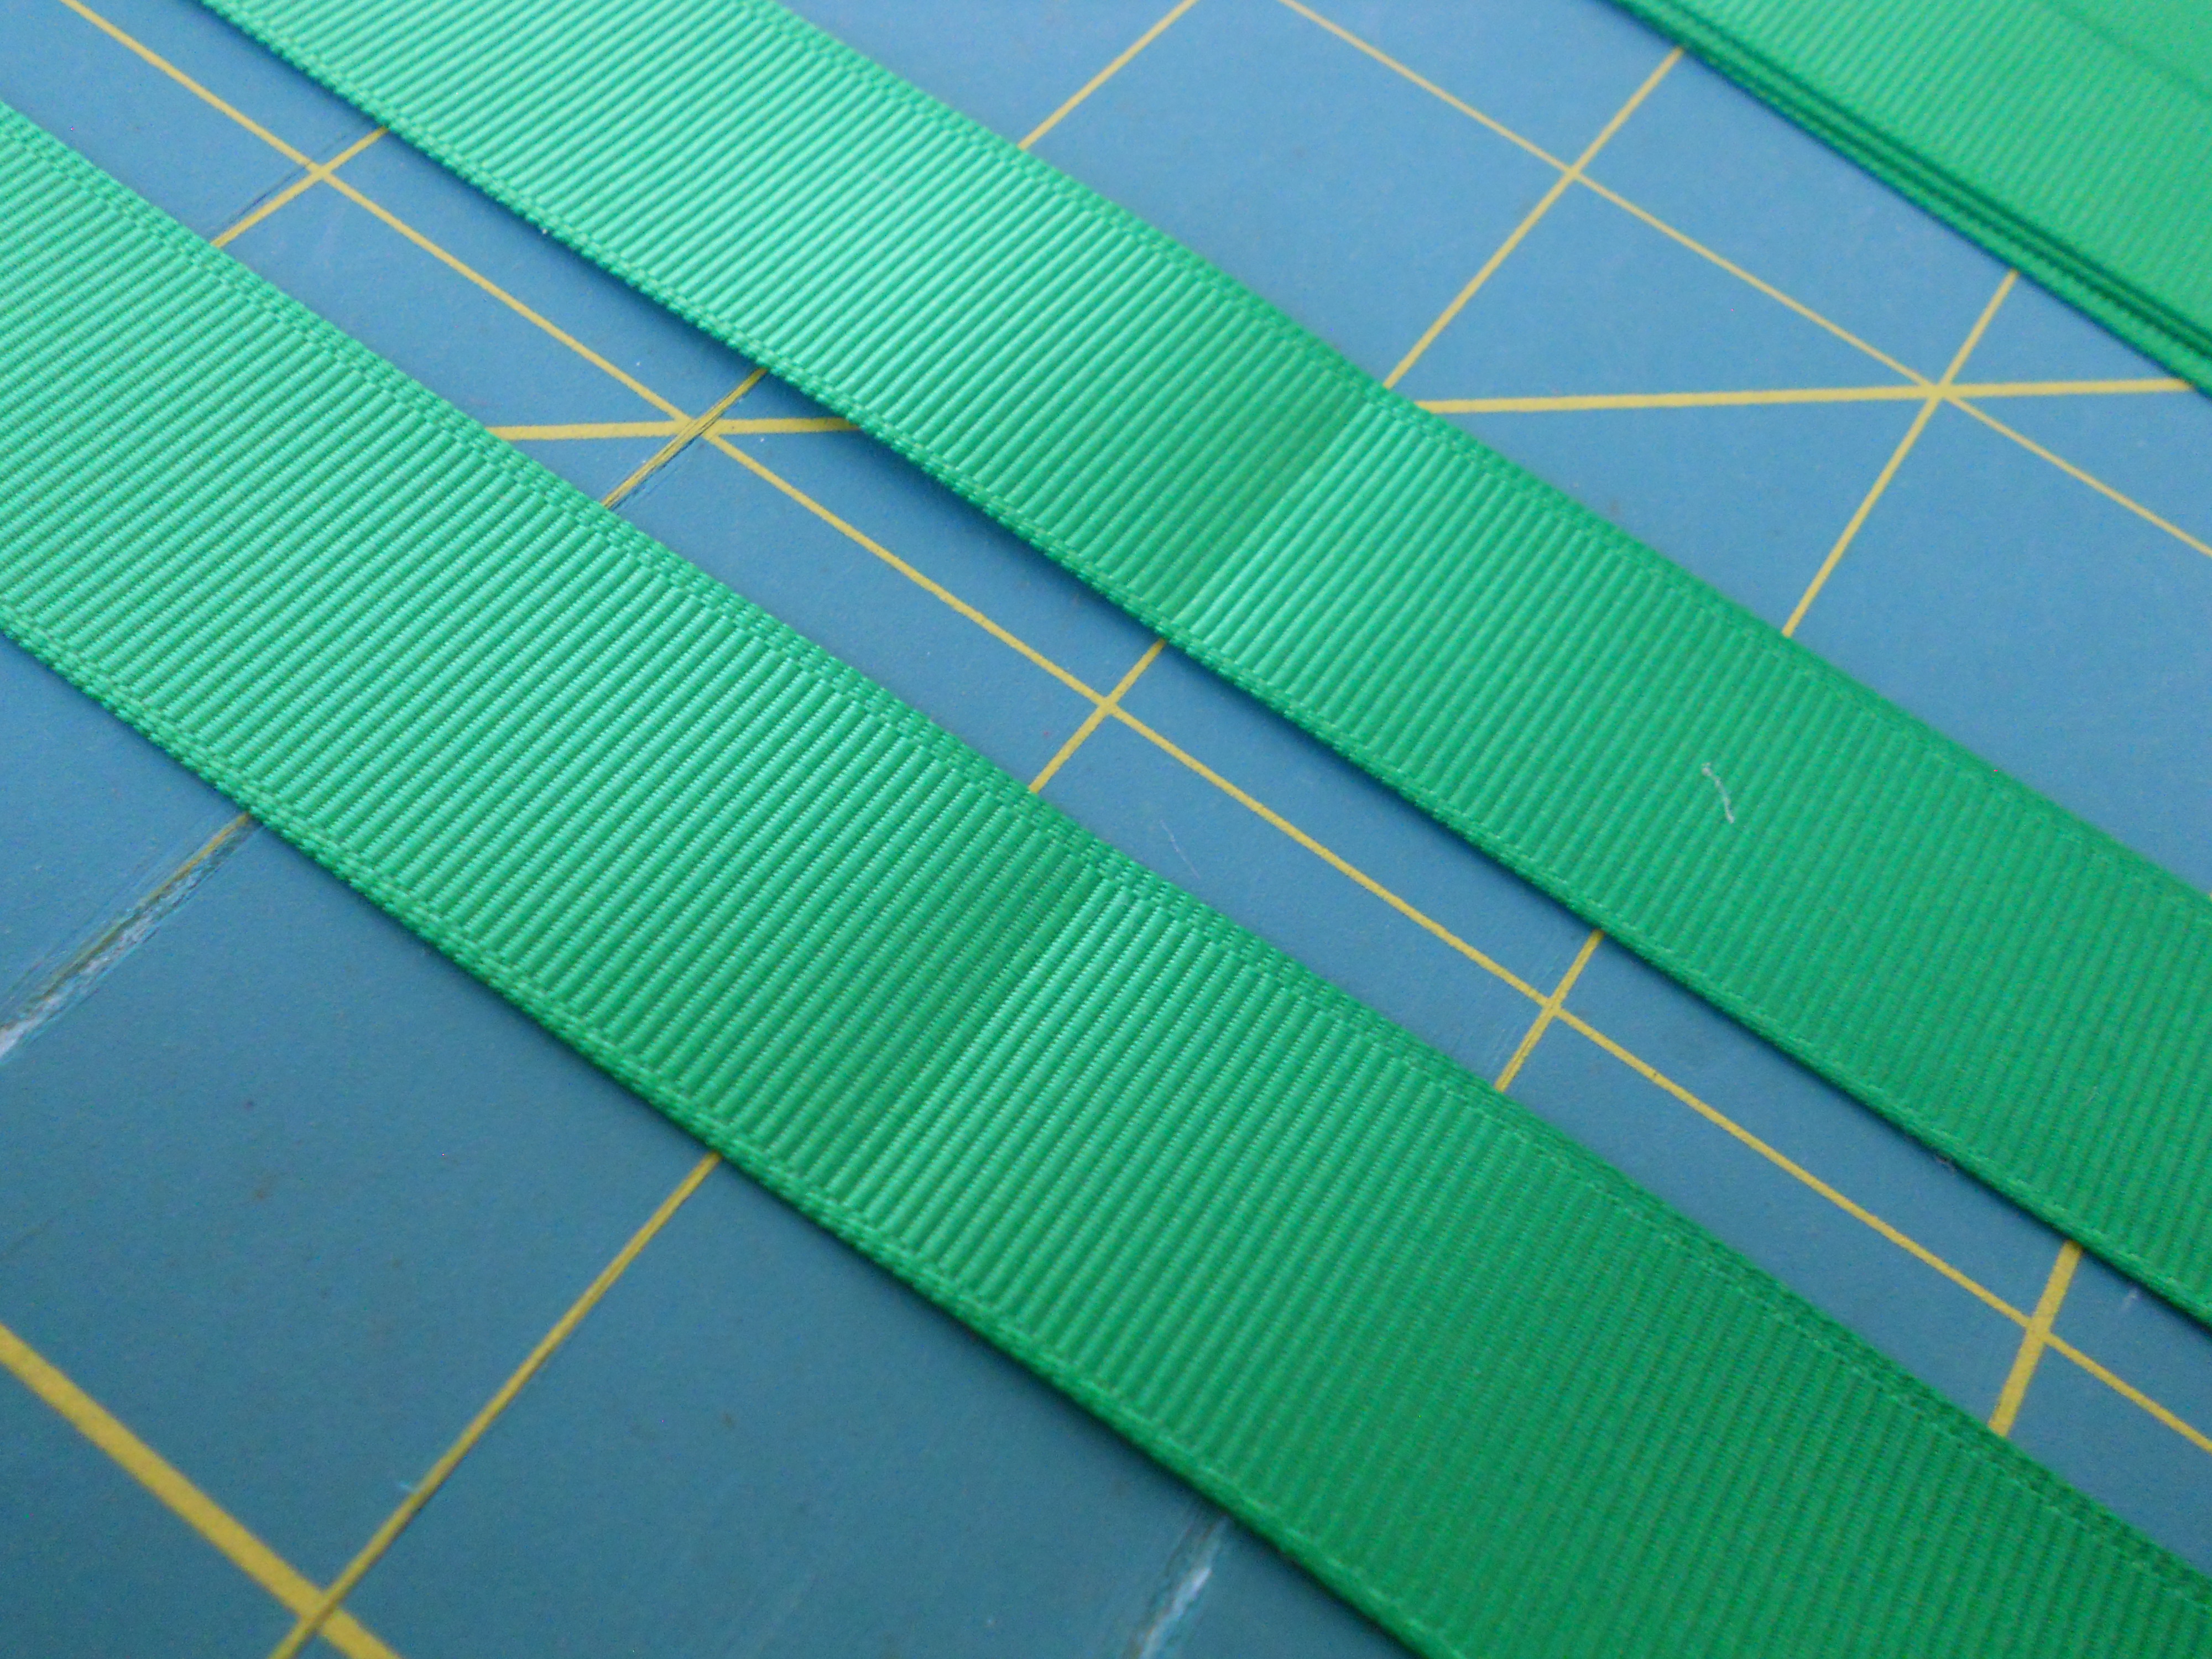
Step 1: Cut (8) 8" strips and (1) 4" strip of your grosgrain ribbon. Heat seal all ribbon ends. I prefer to use a wood burning tool as it cuts and heat seals the ribbon in one step. (Brittany chose to cut 4 of her strips a little bit shorter than the other 4 pieces so that the top layer of the bow was a little smaller than the bottom layer).
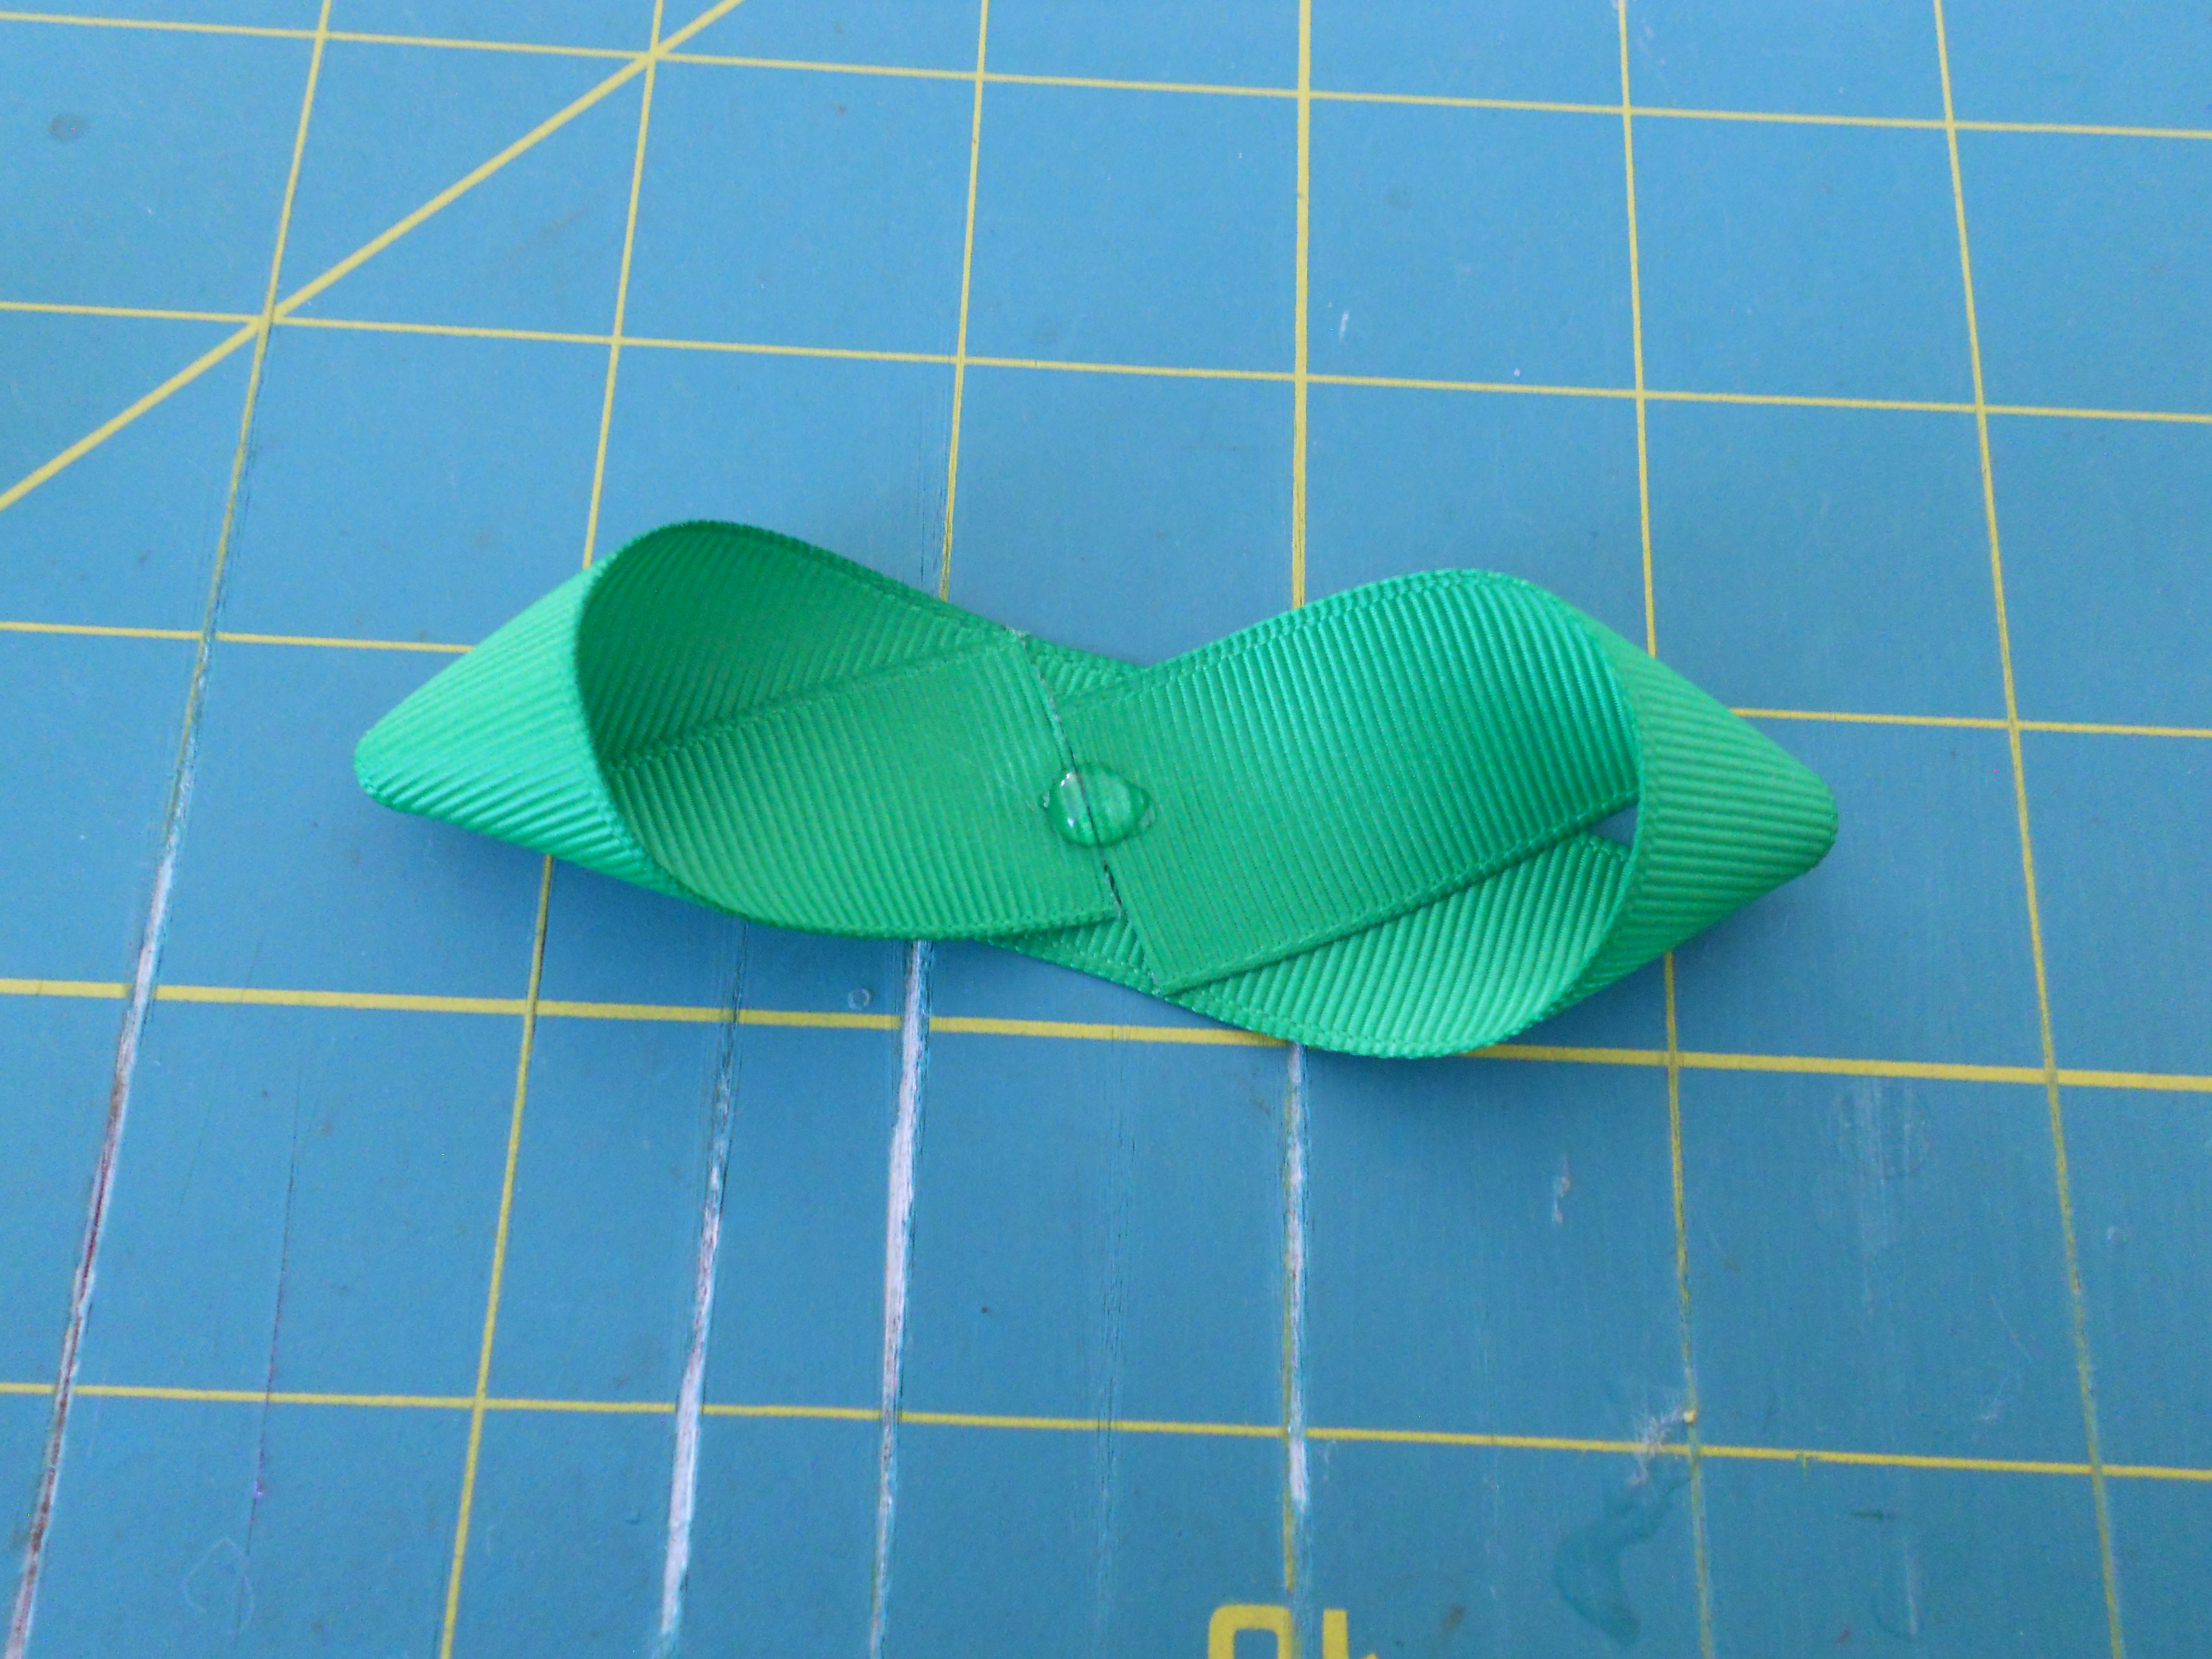
Step 2: Fold each 8" ribbon strip in half and crease the center.
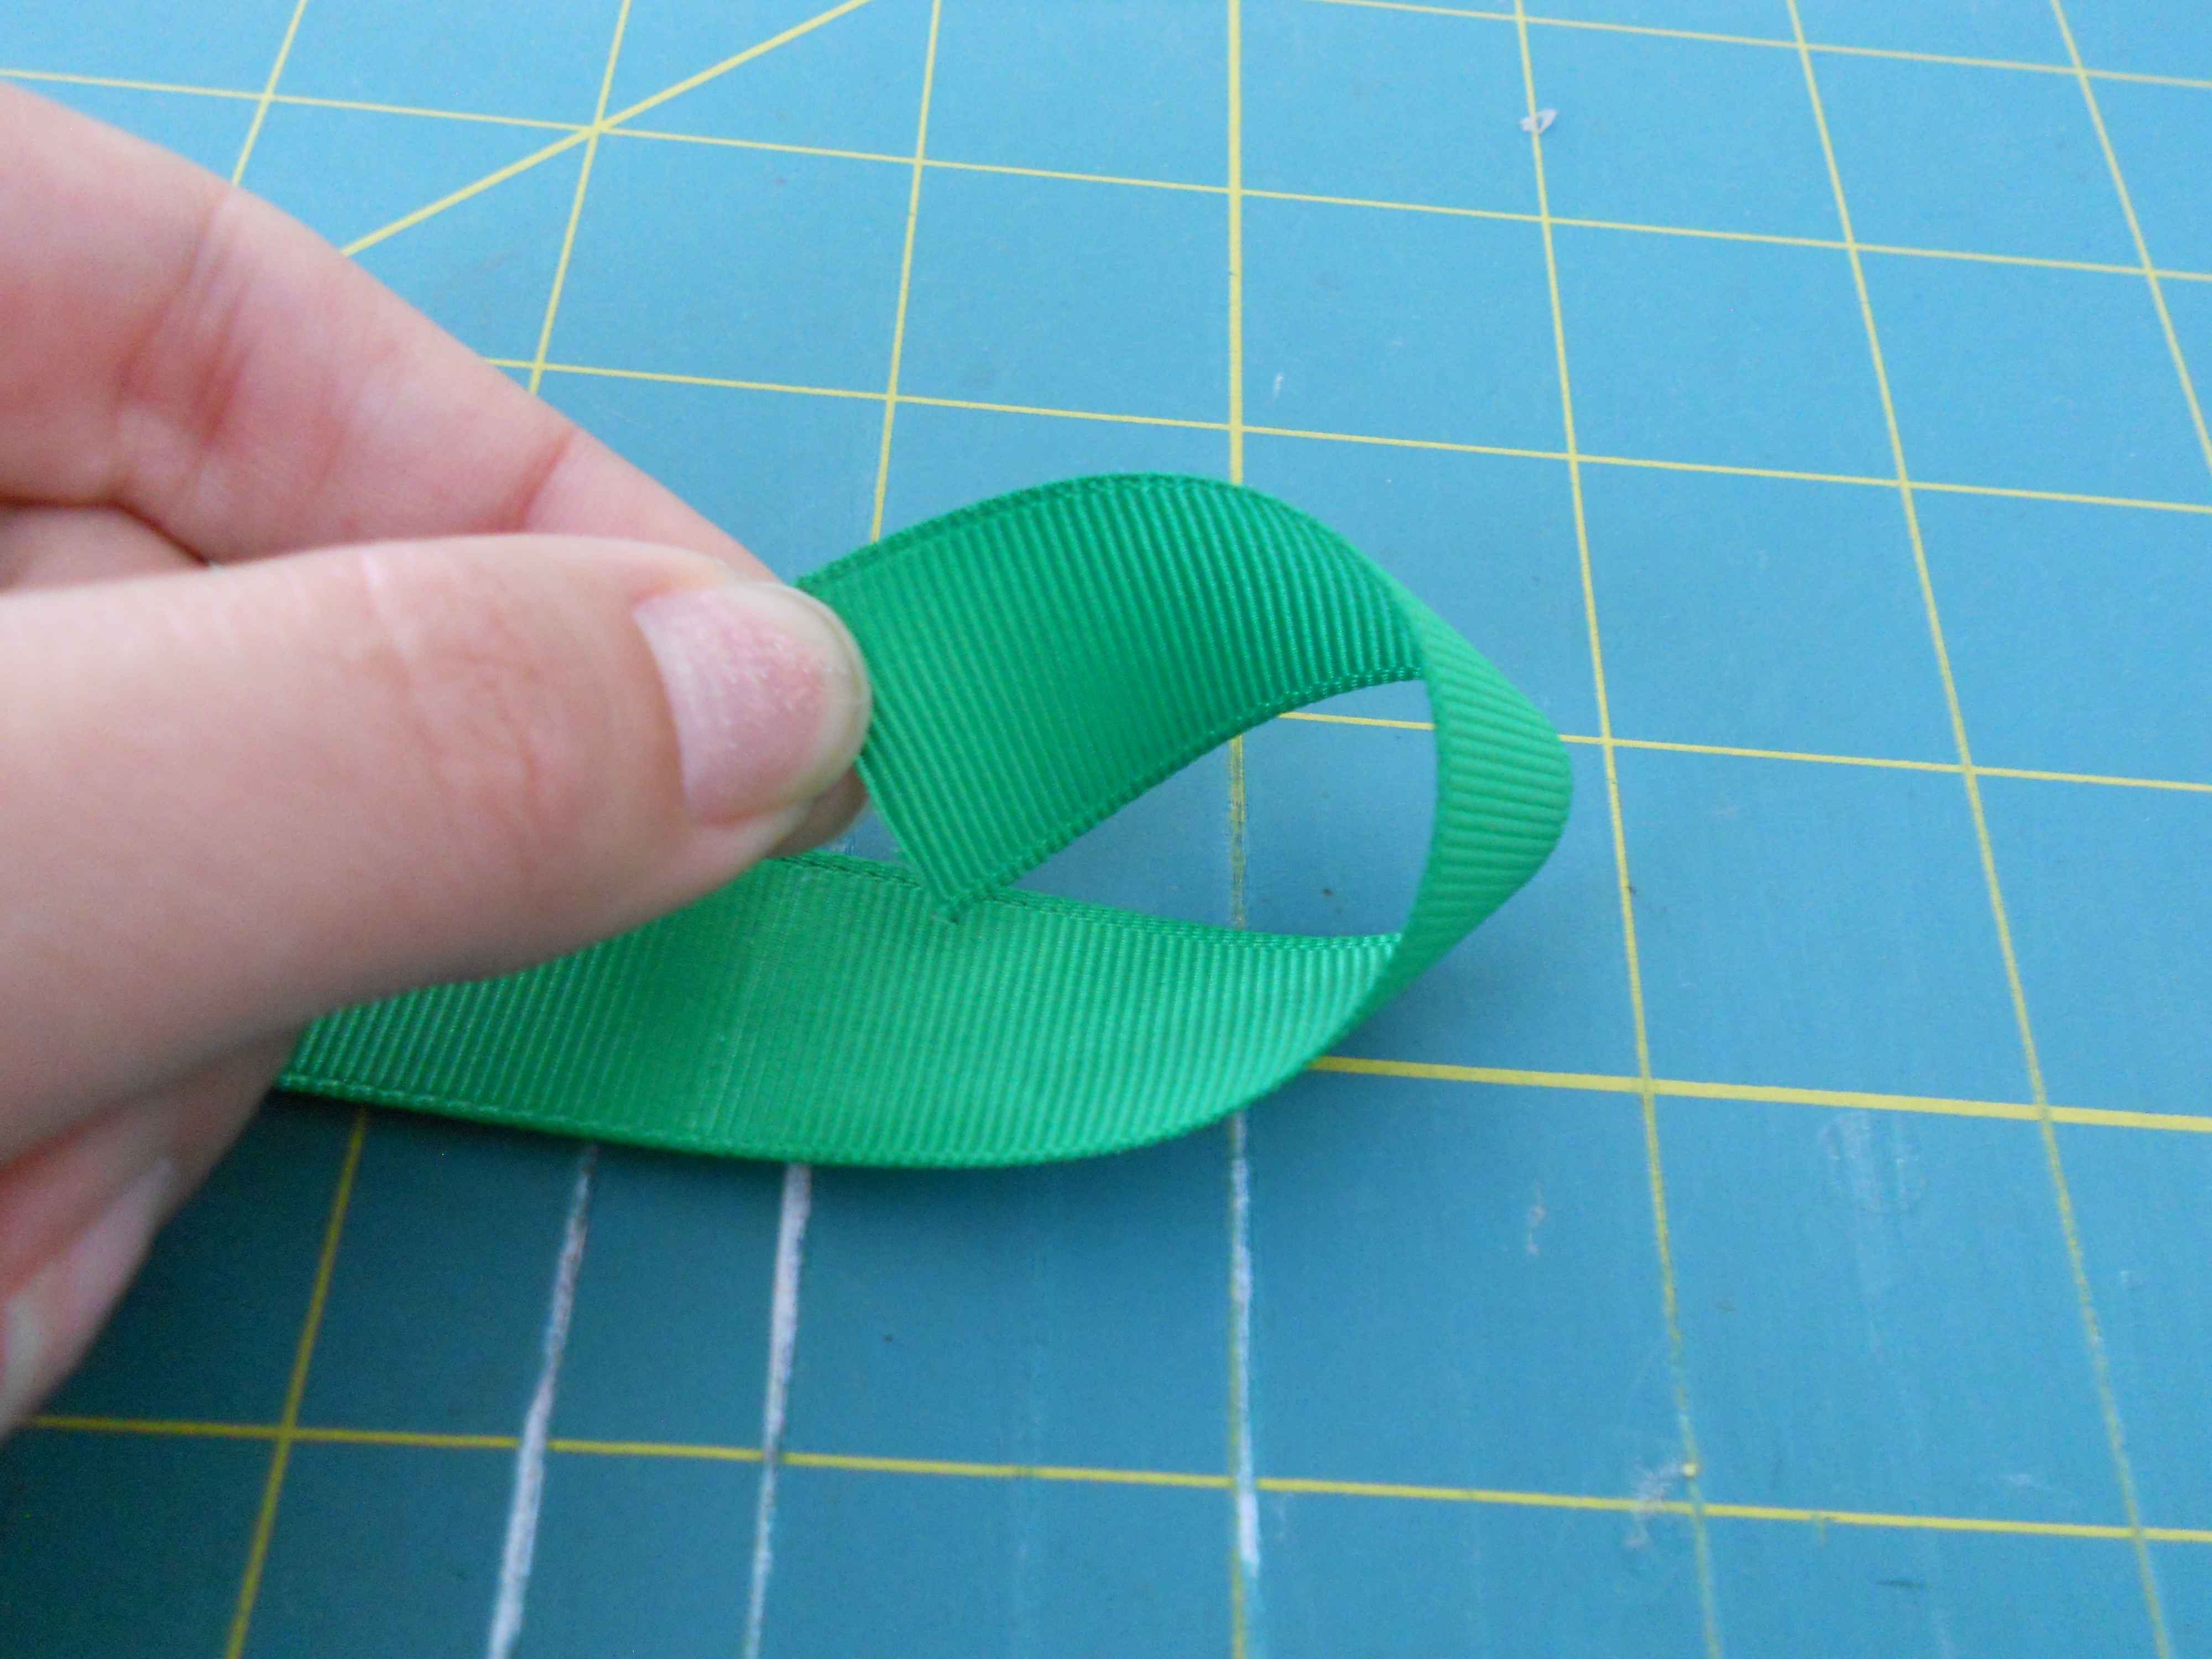
Step 3: Loop the right side of your ribbon up and around to the creased center. Put a small dot of hot glue and press the end down.
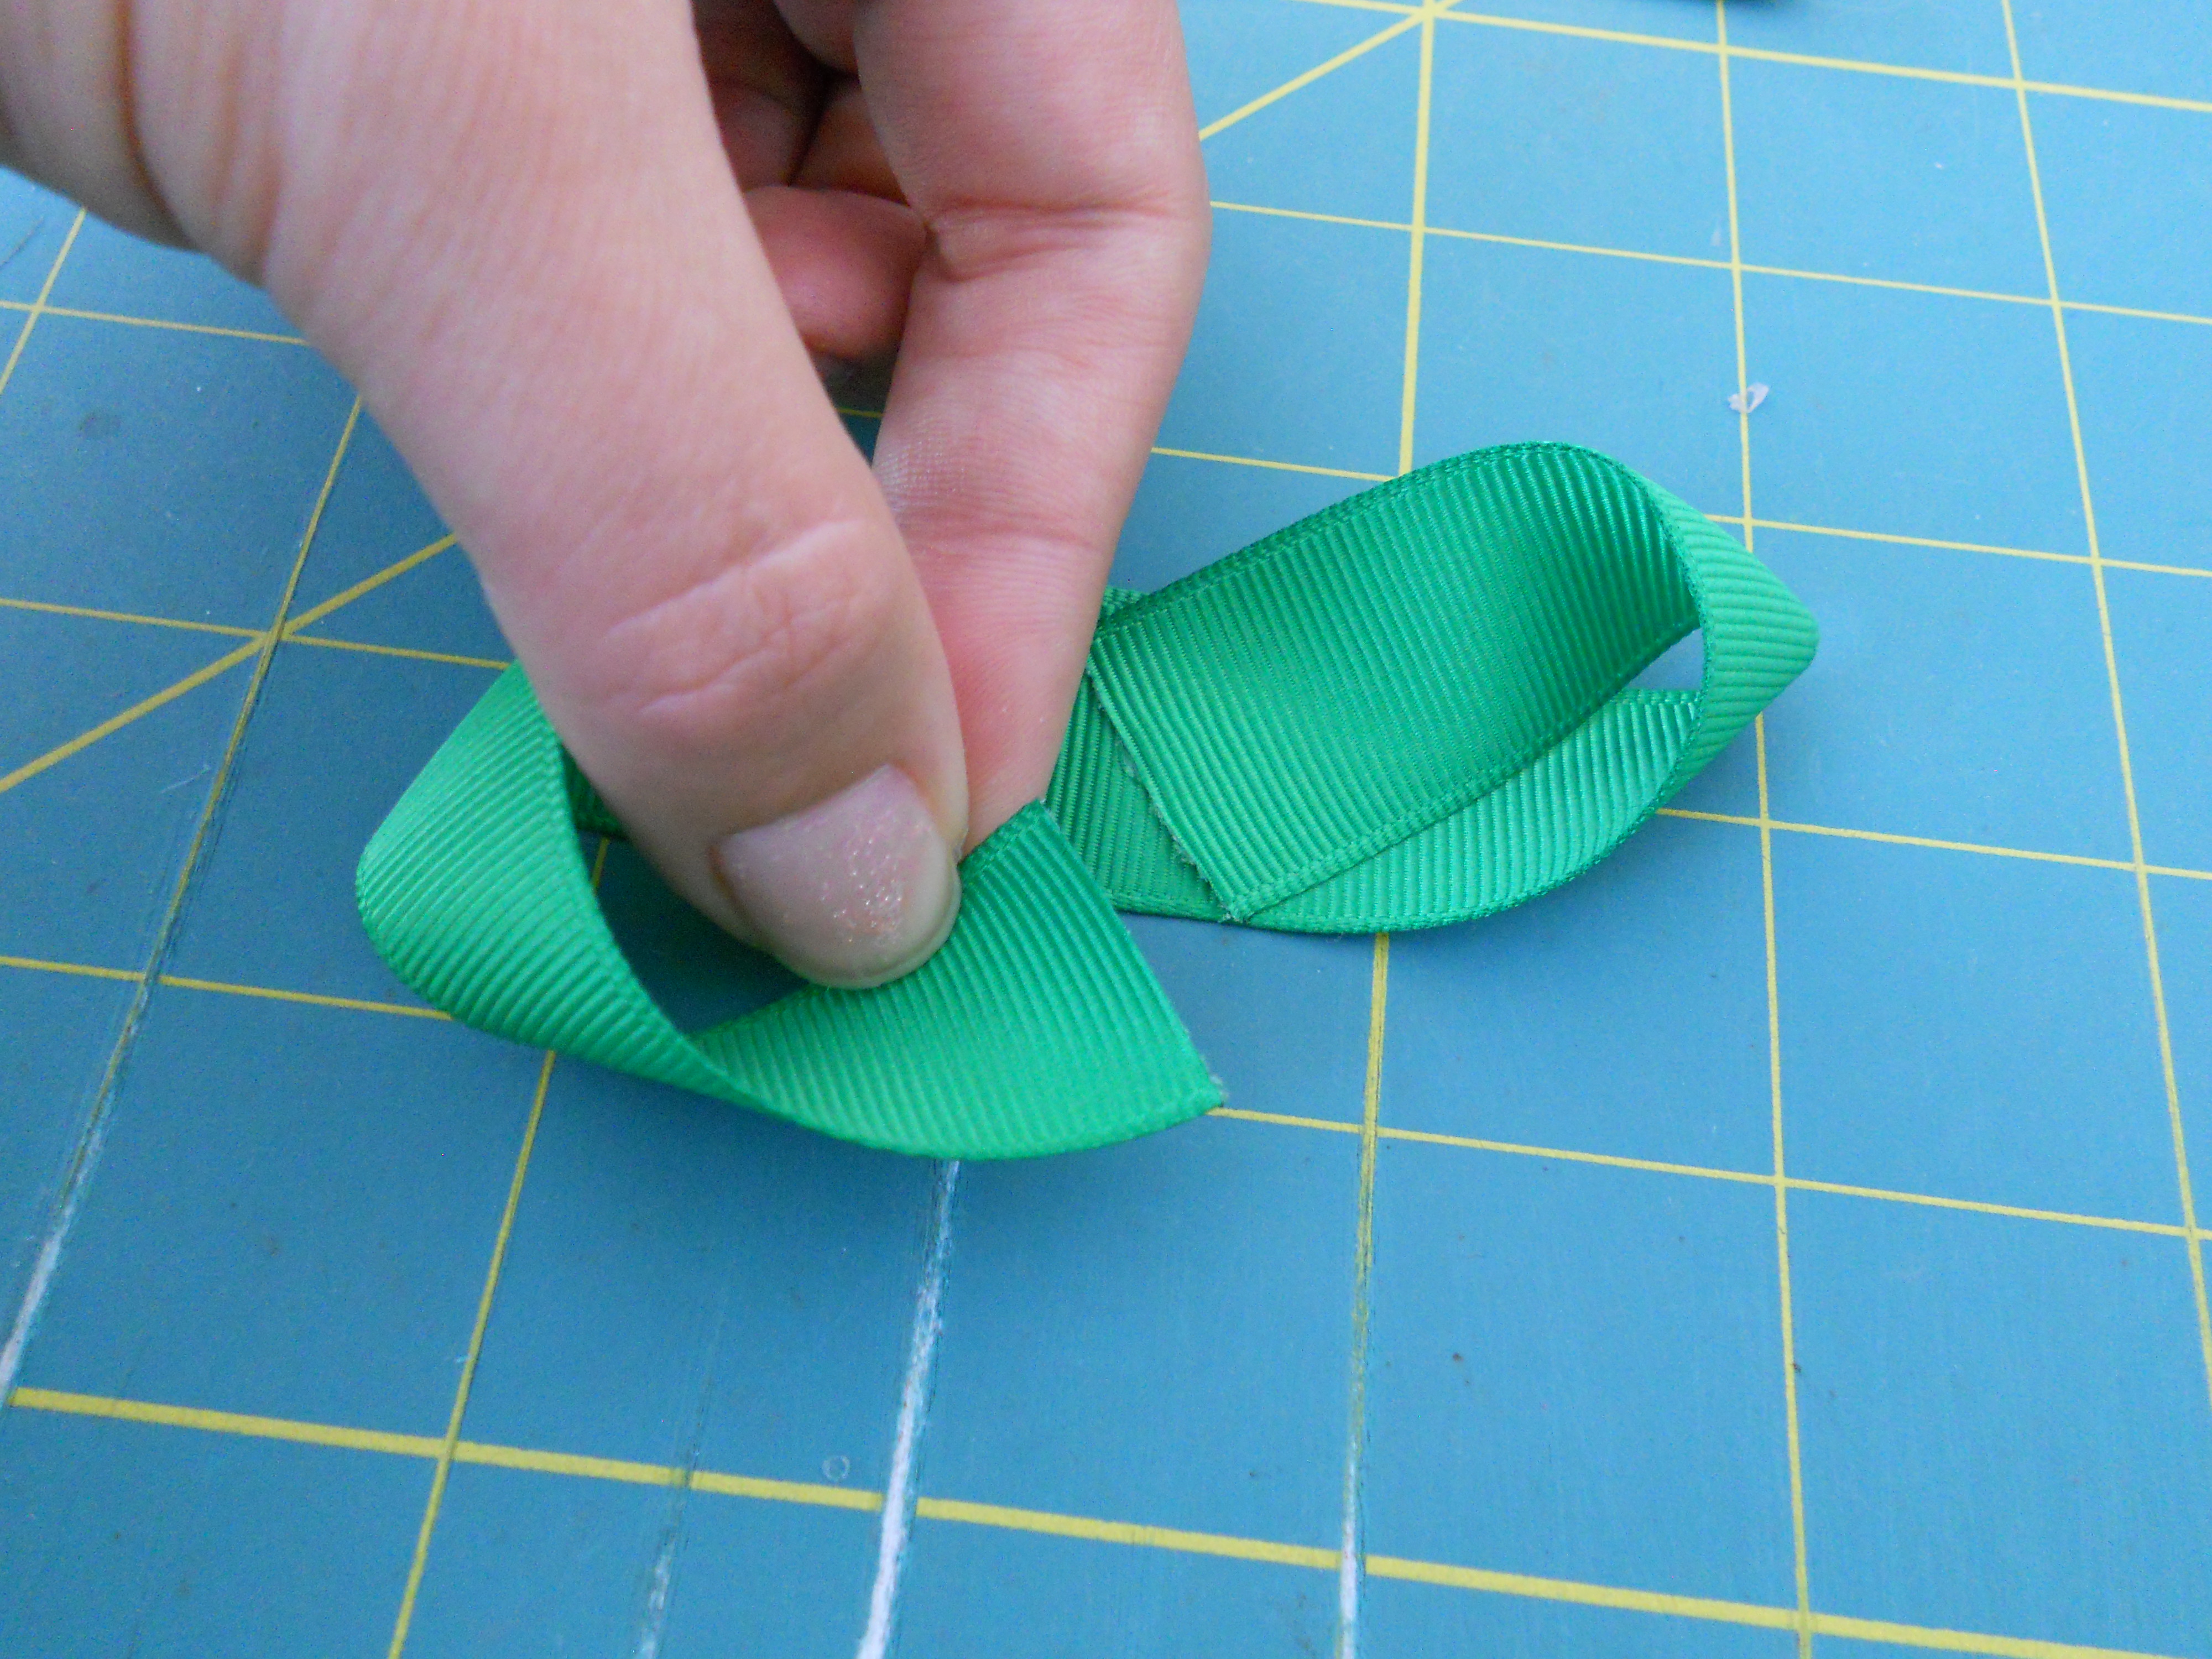
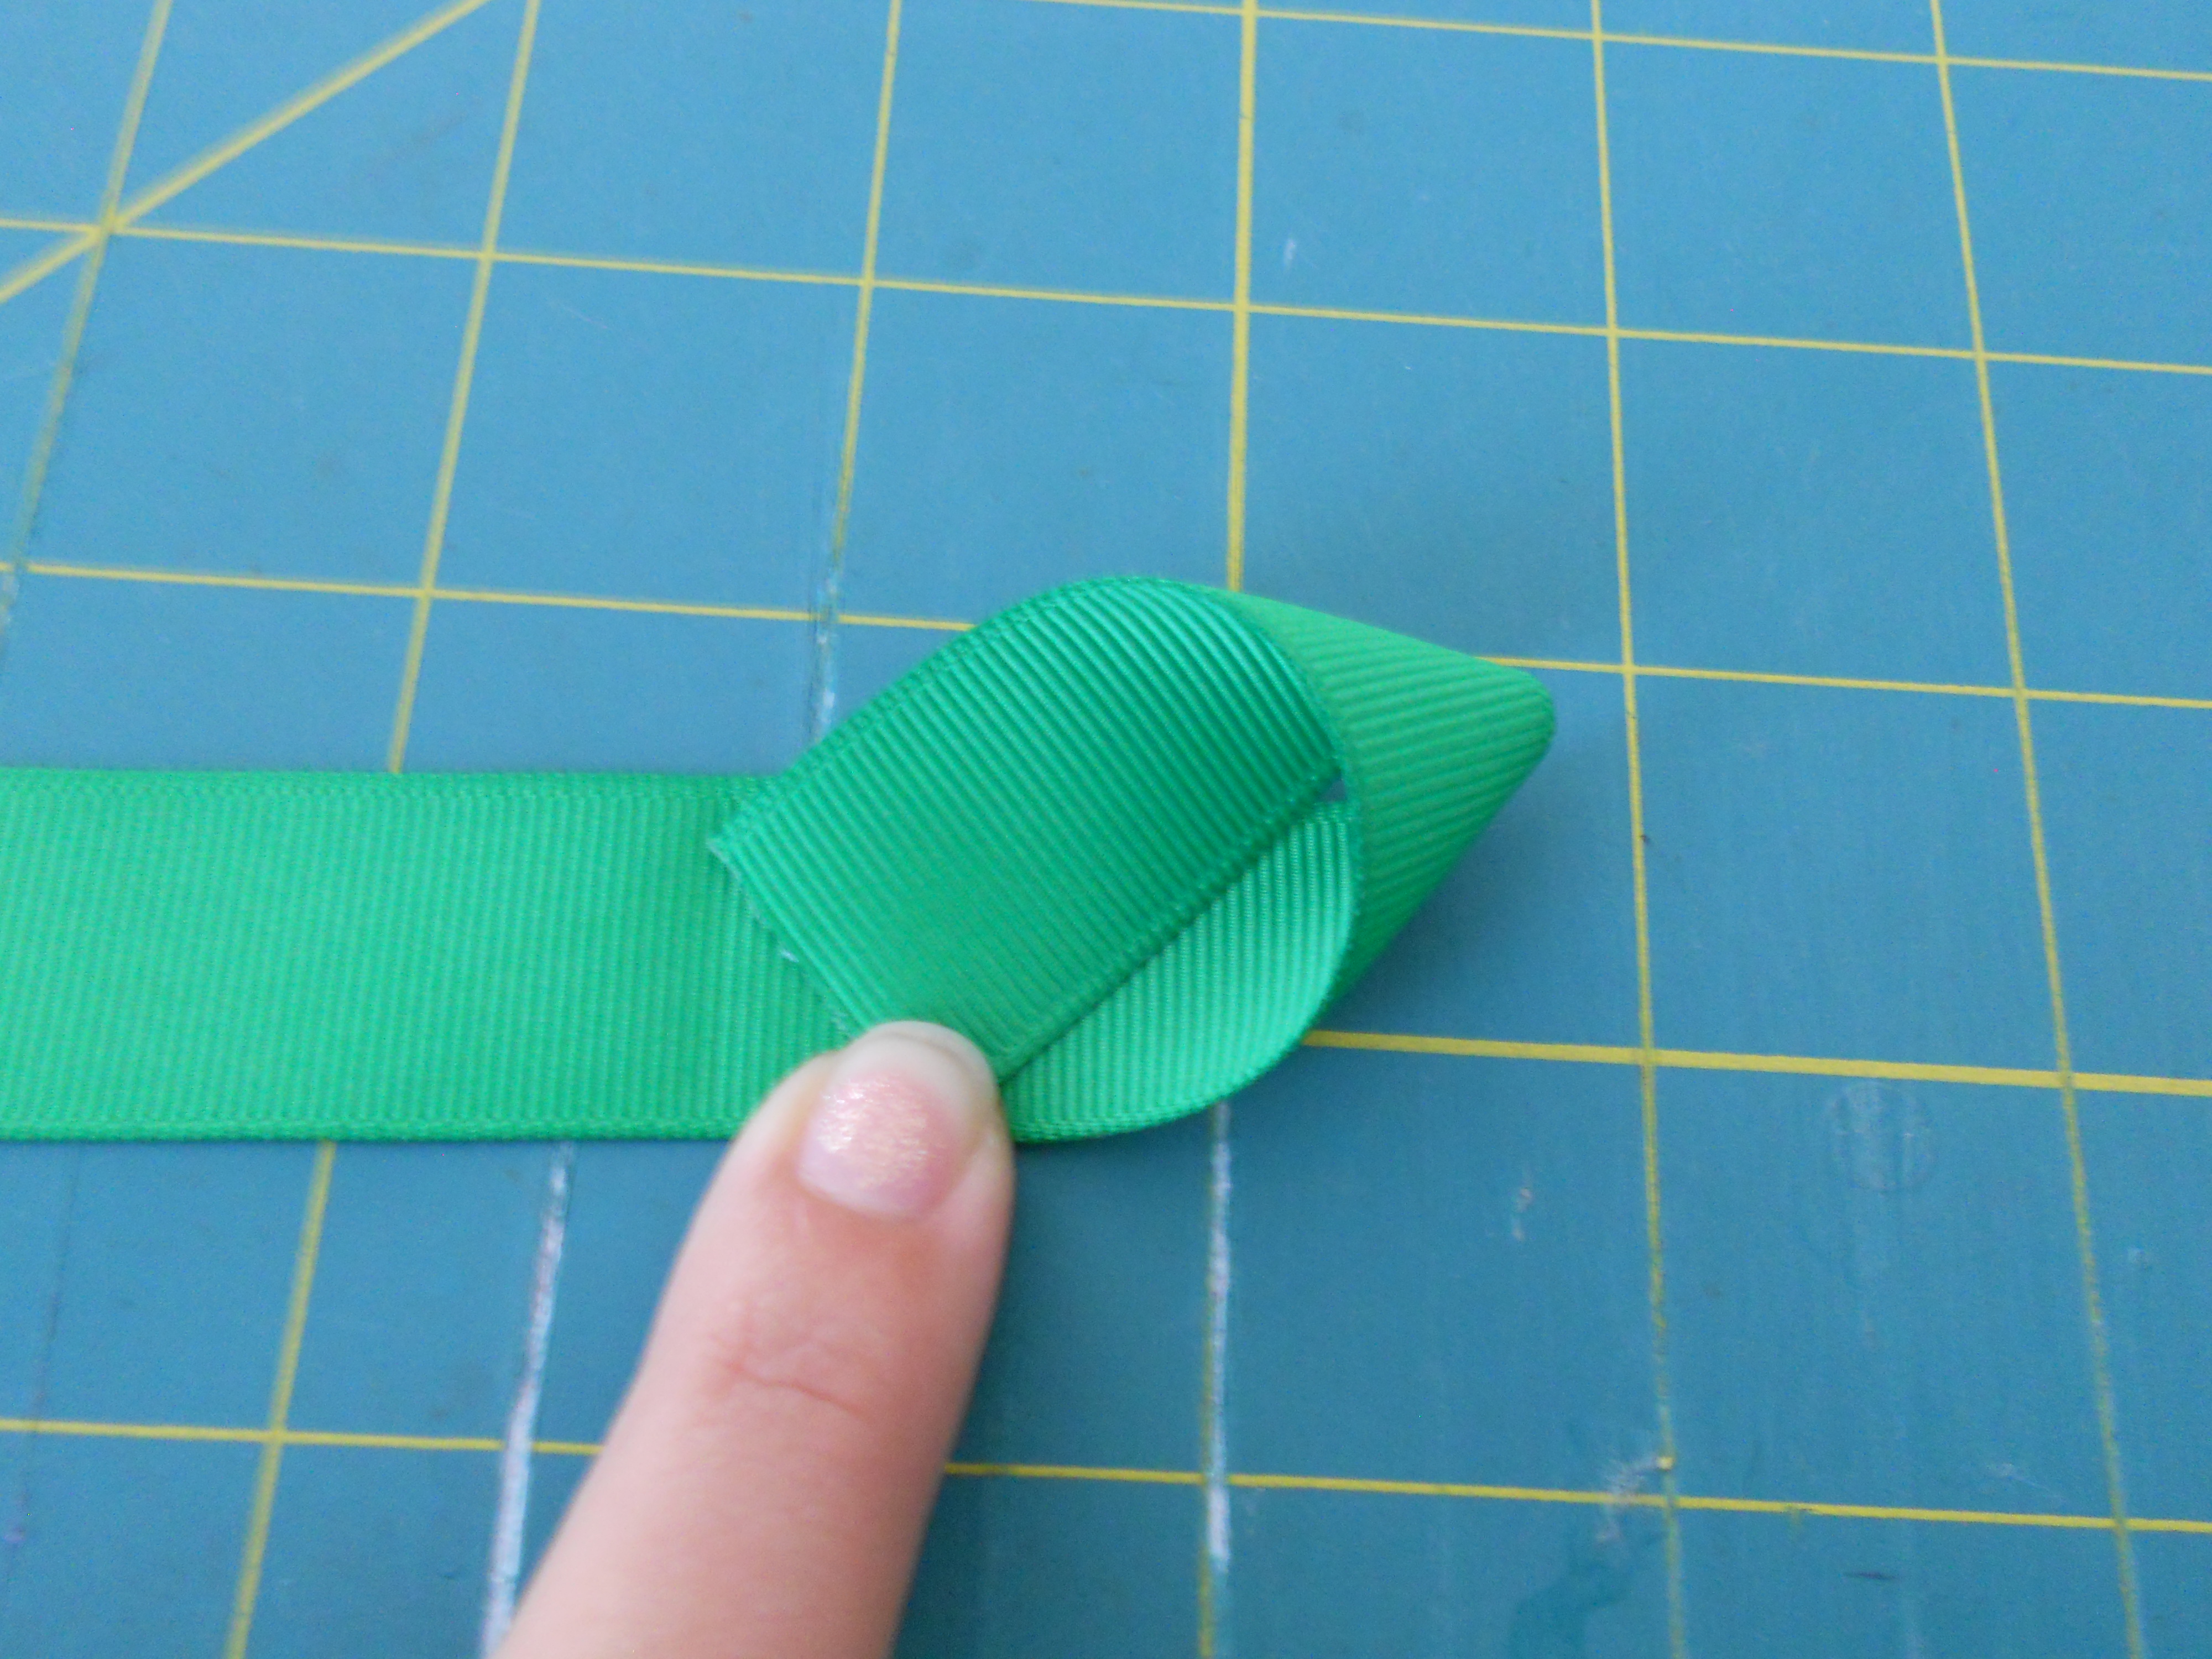
Step 4: Loop the left side of your ribbon down and around to the creased center. Put a small dot of hot glue and press the end down.

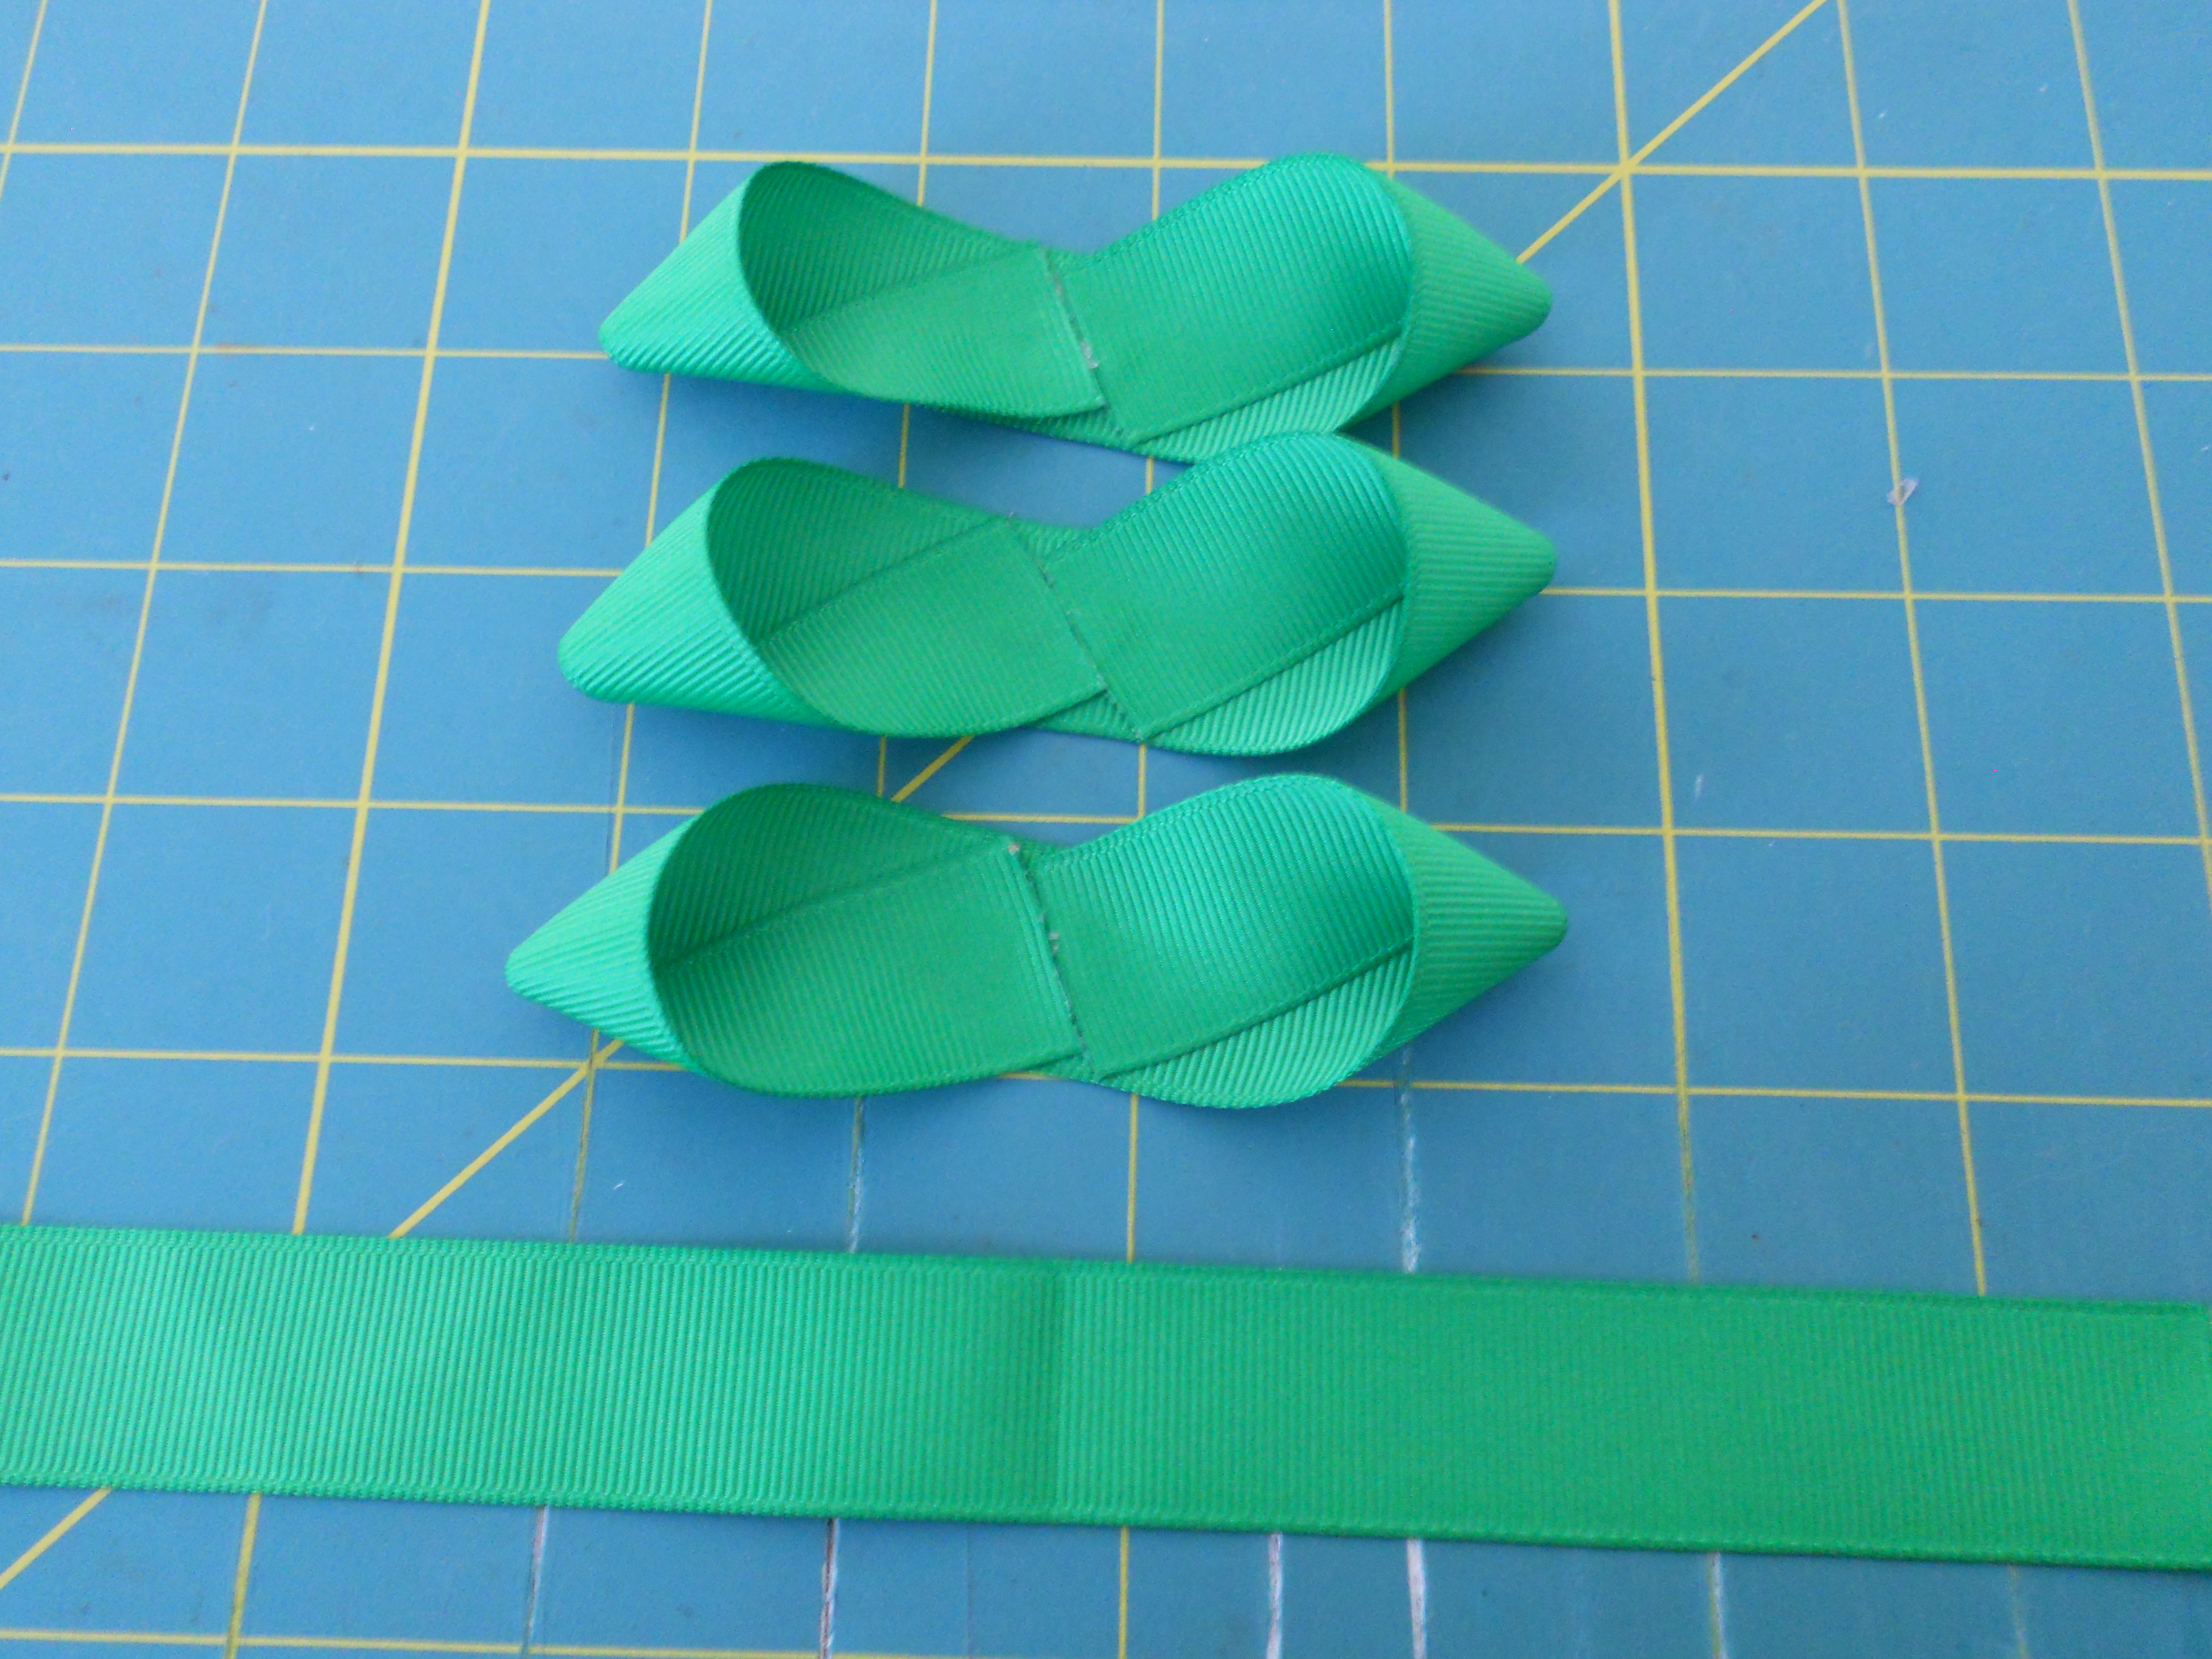
Step 5: Repeat the same steps as above with each of your 8" ribbon pieces.
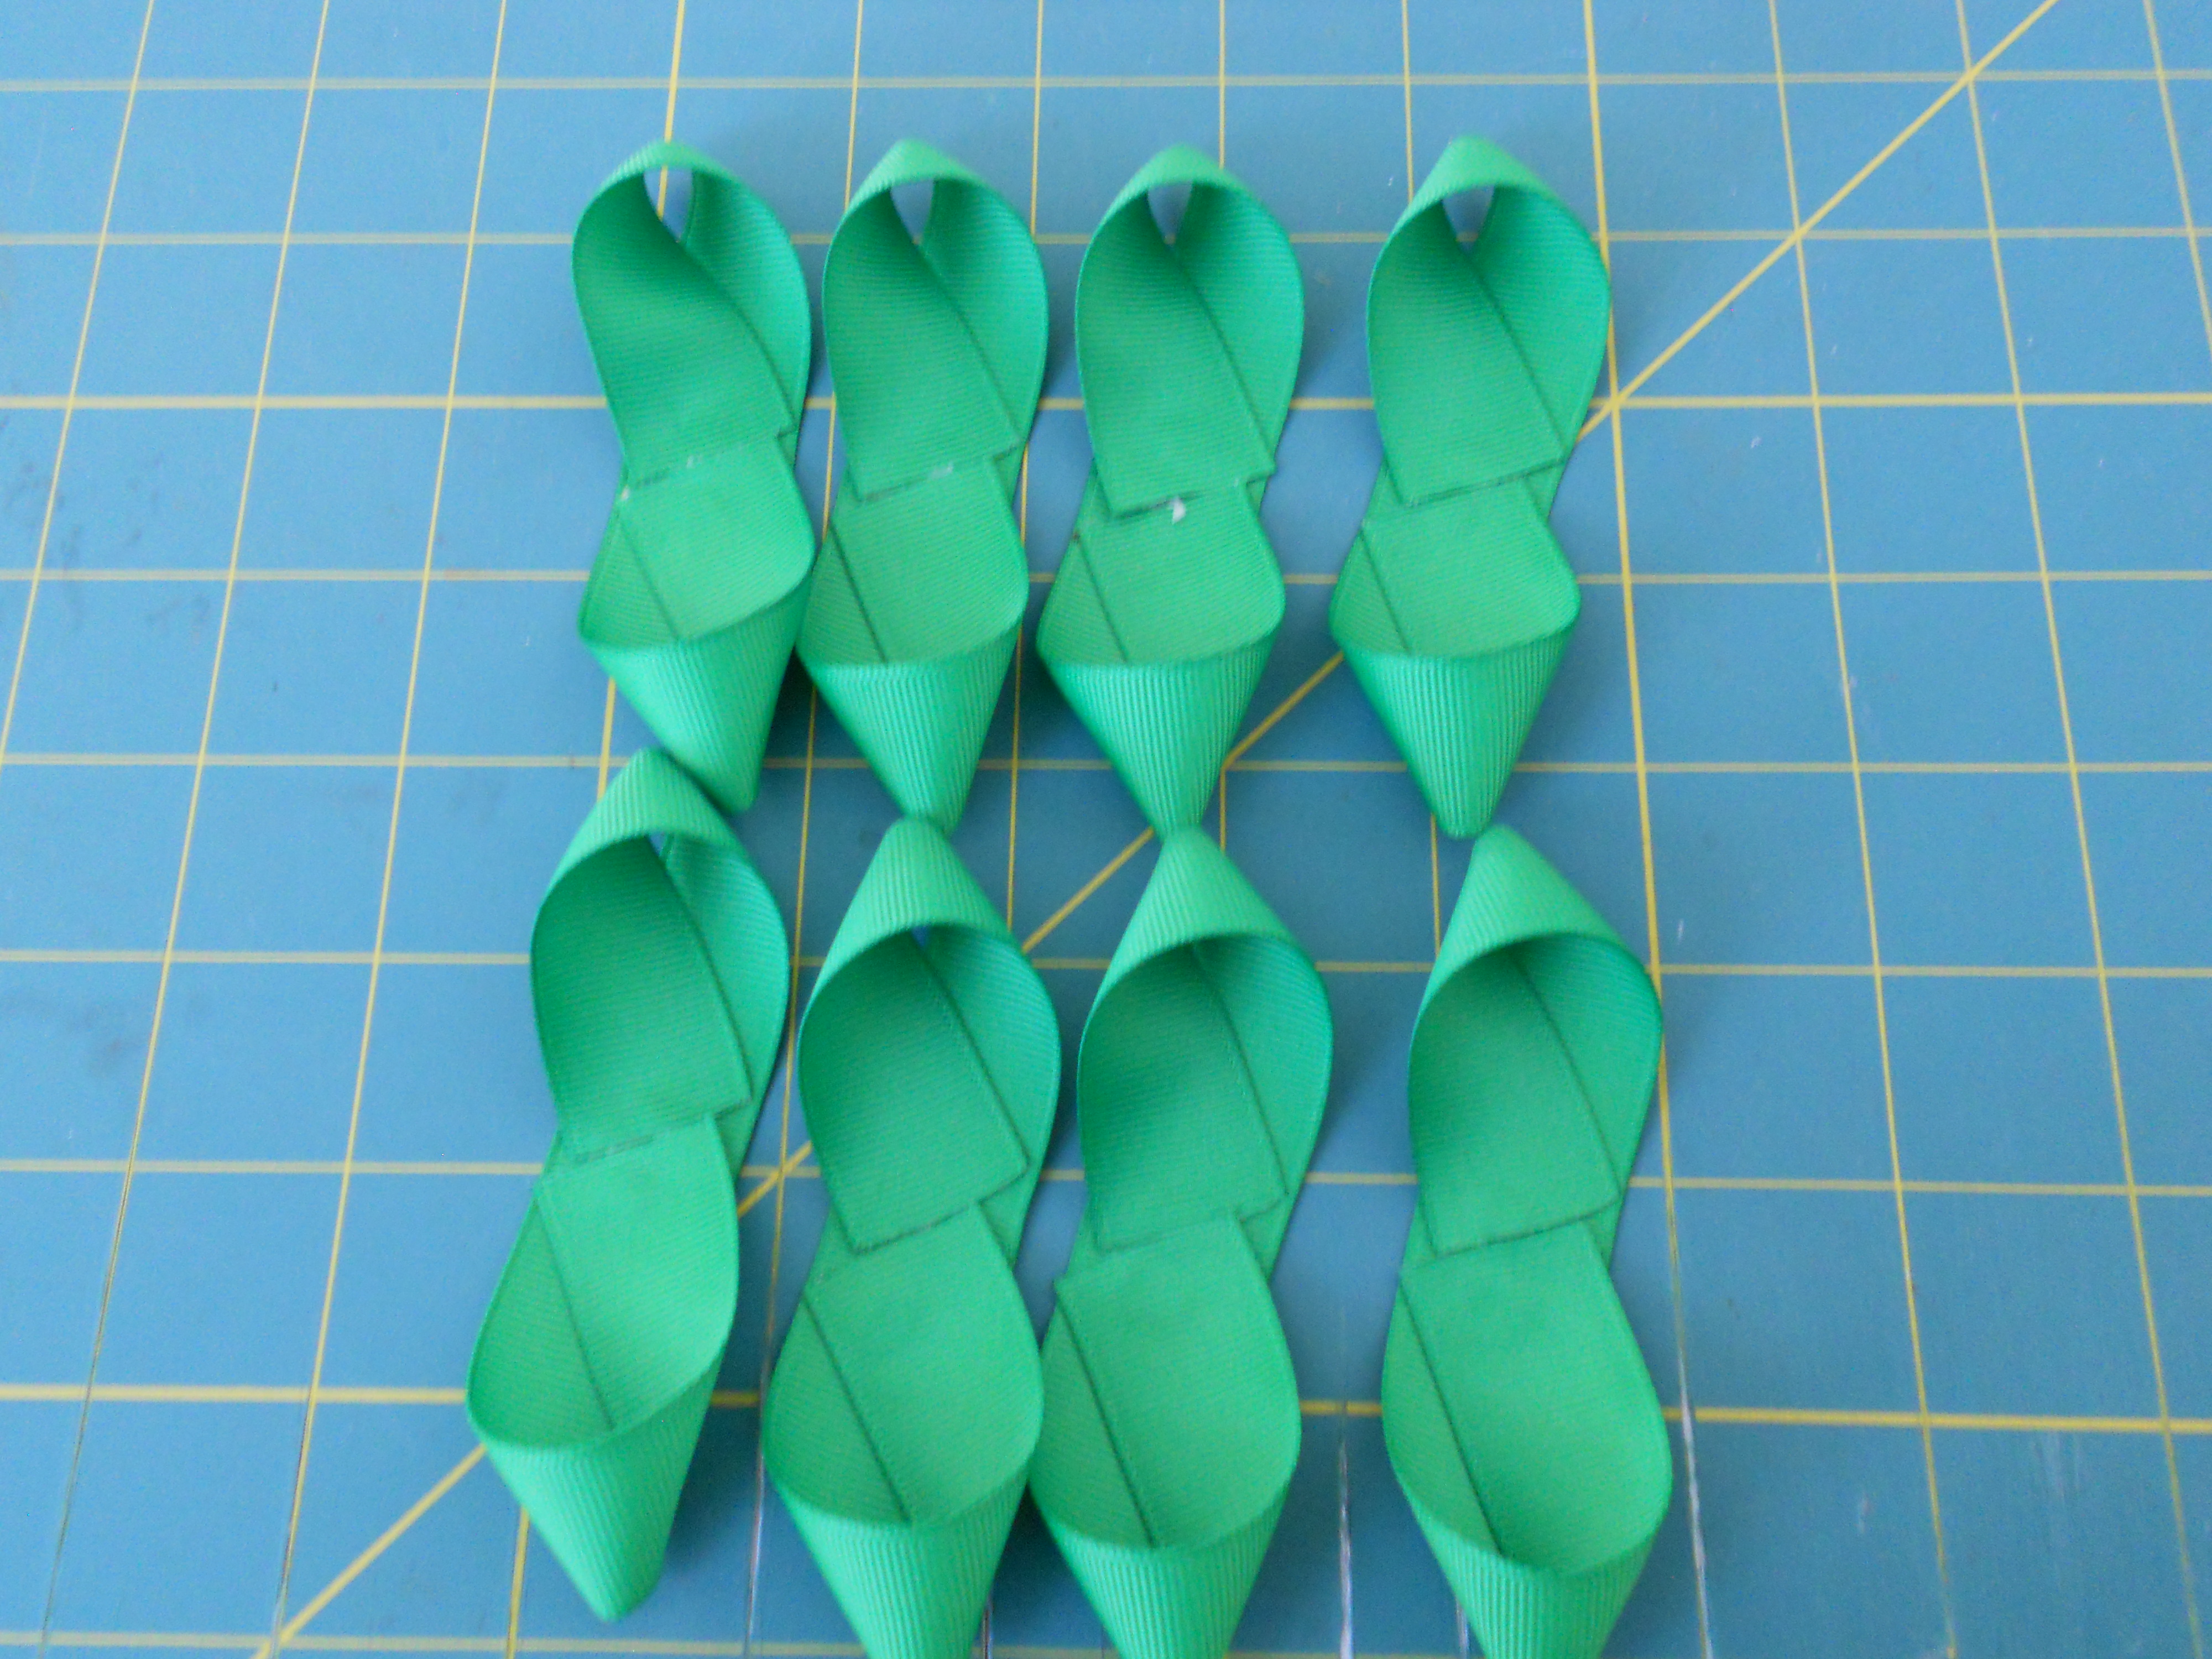
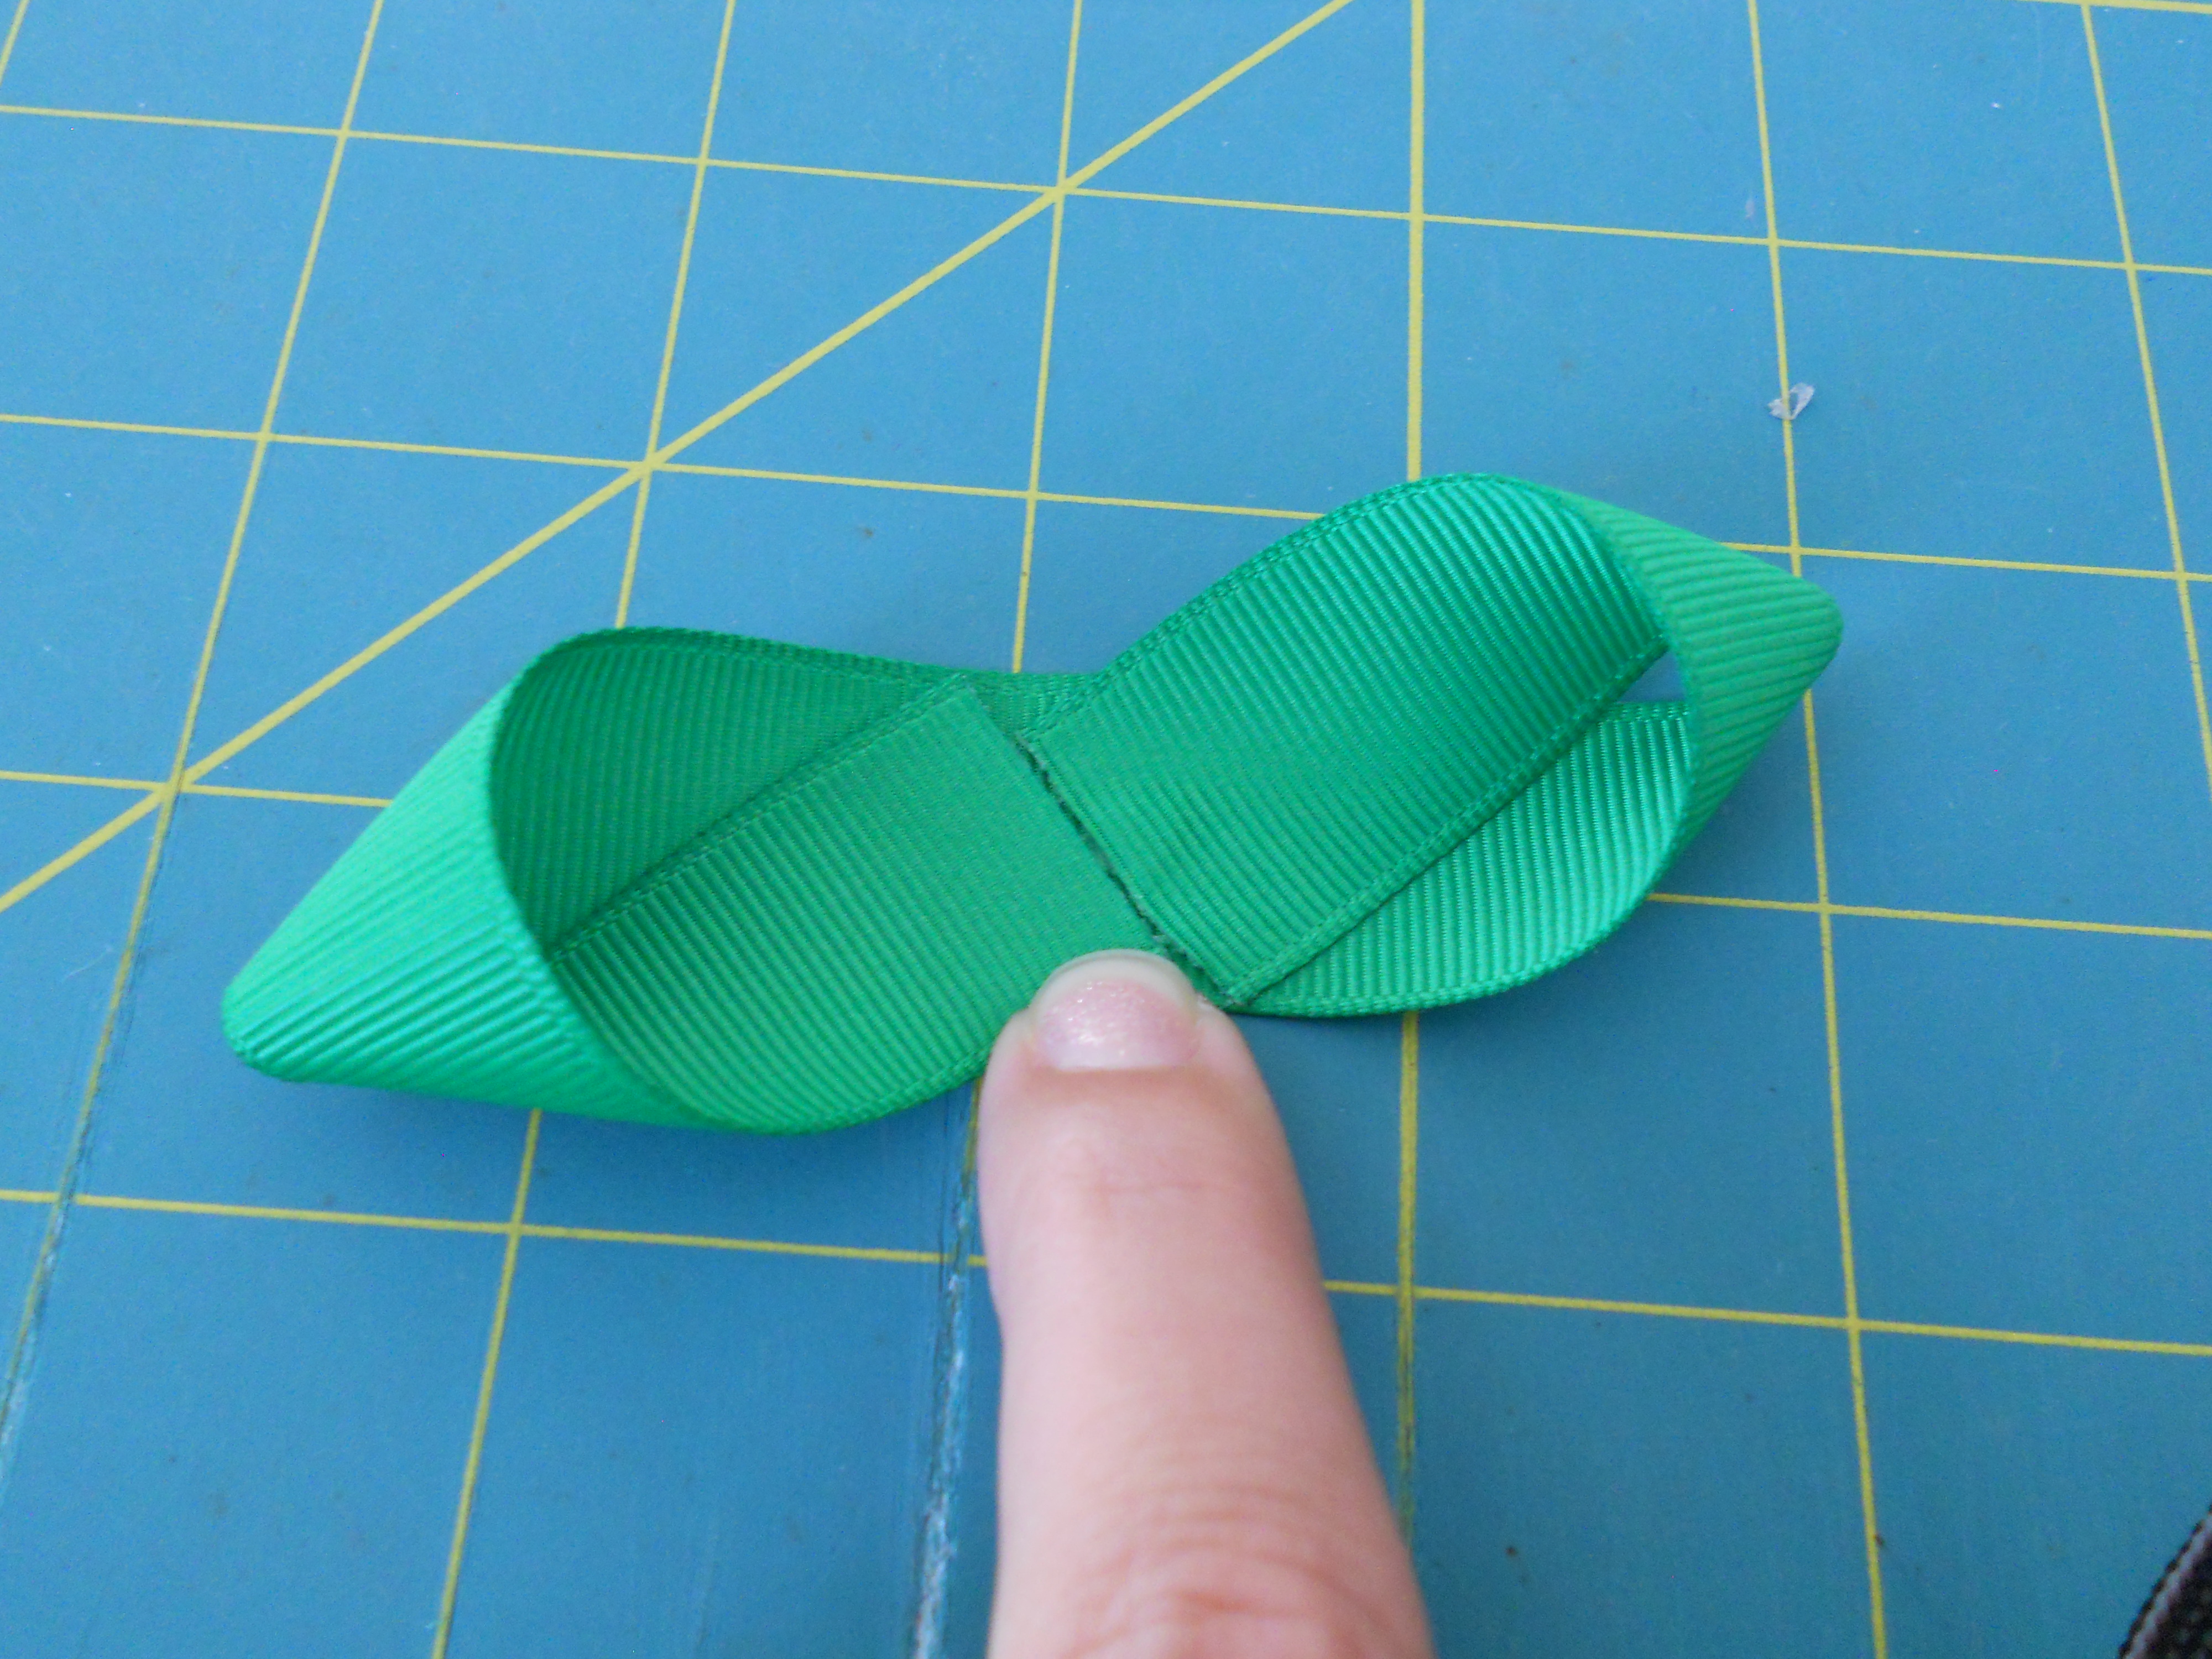
Your eight ribbons should look like this when finished.
Step 6: Place a small dot of glue in the center of your first set of loops.

Step 7: Place another set of loops on the glue dot. Make sure you have the centers lined up.
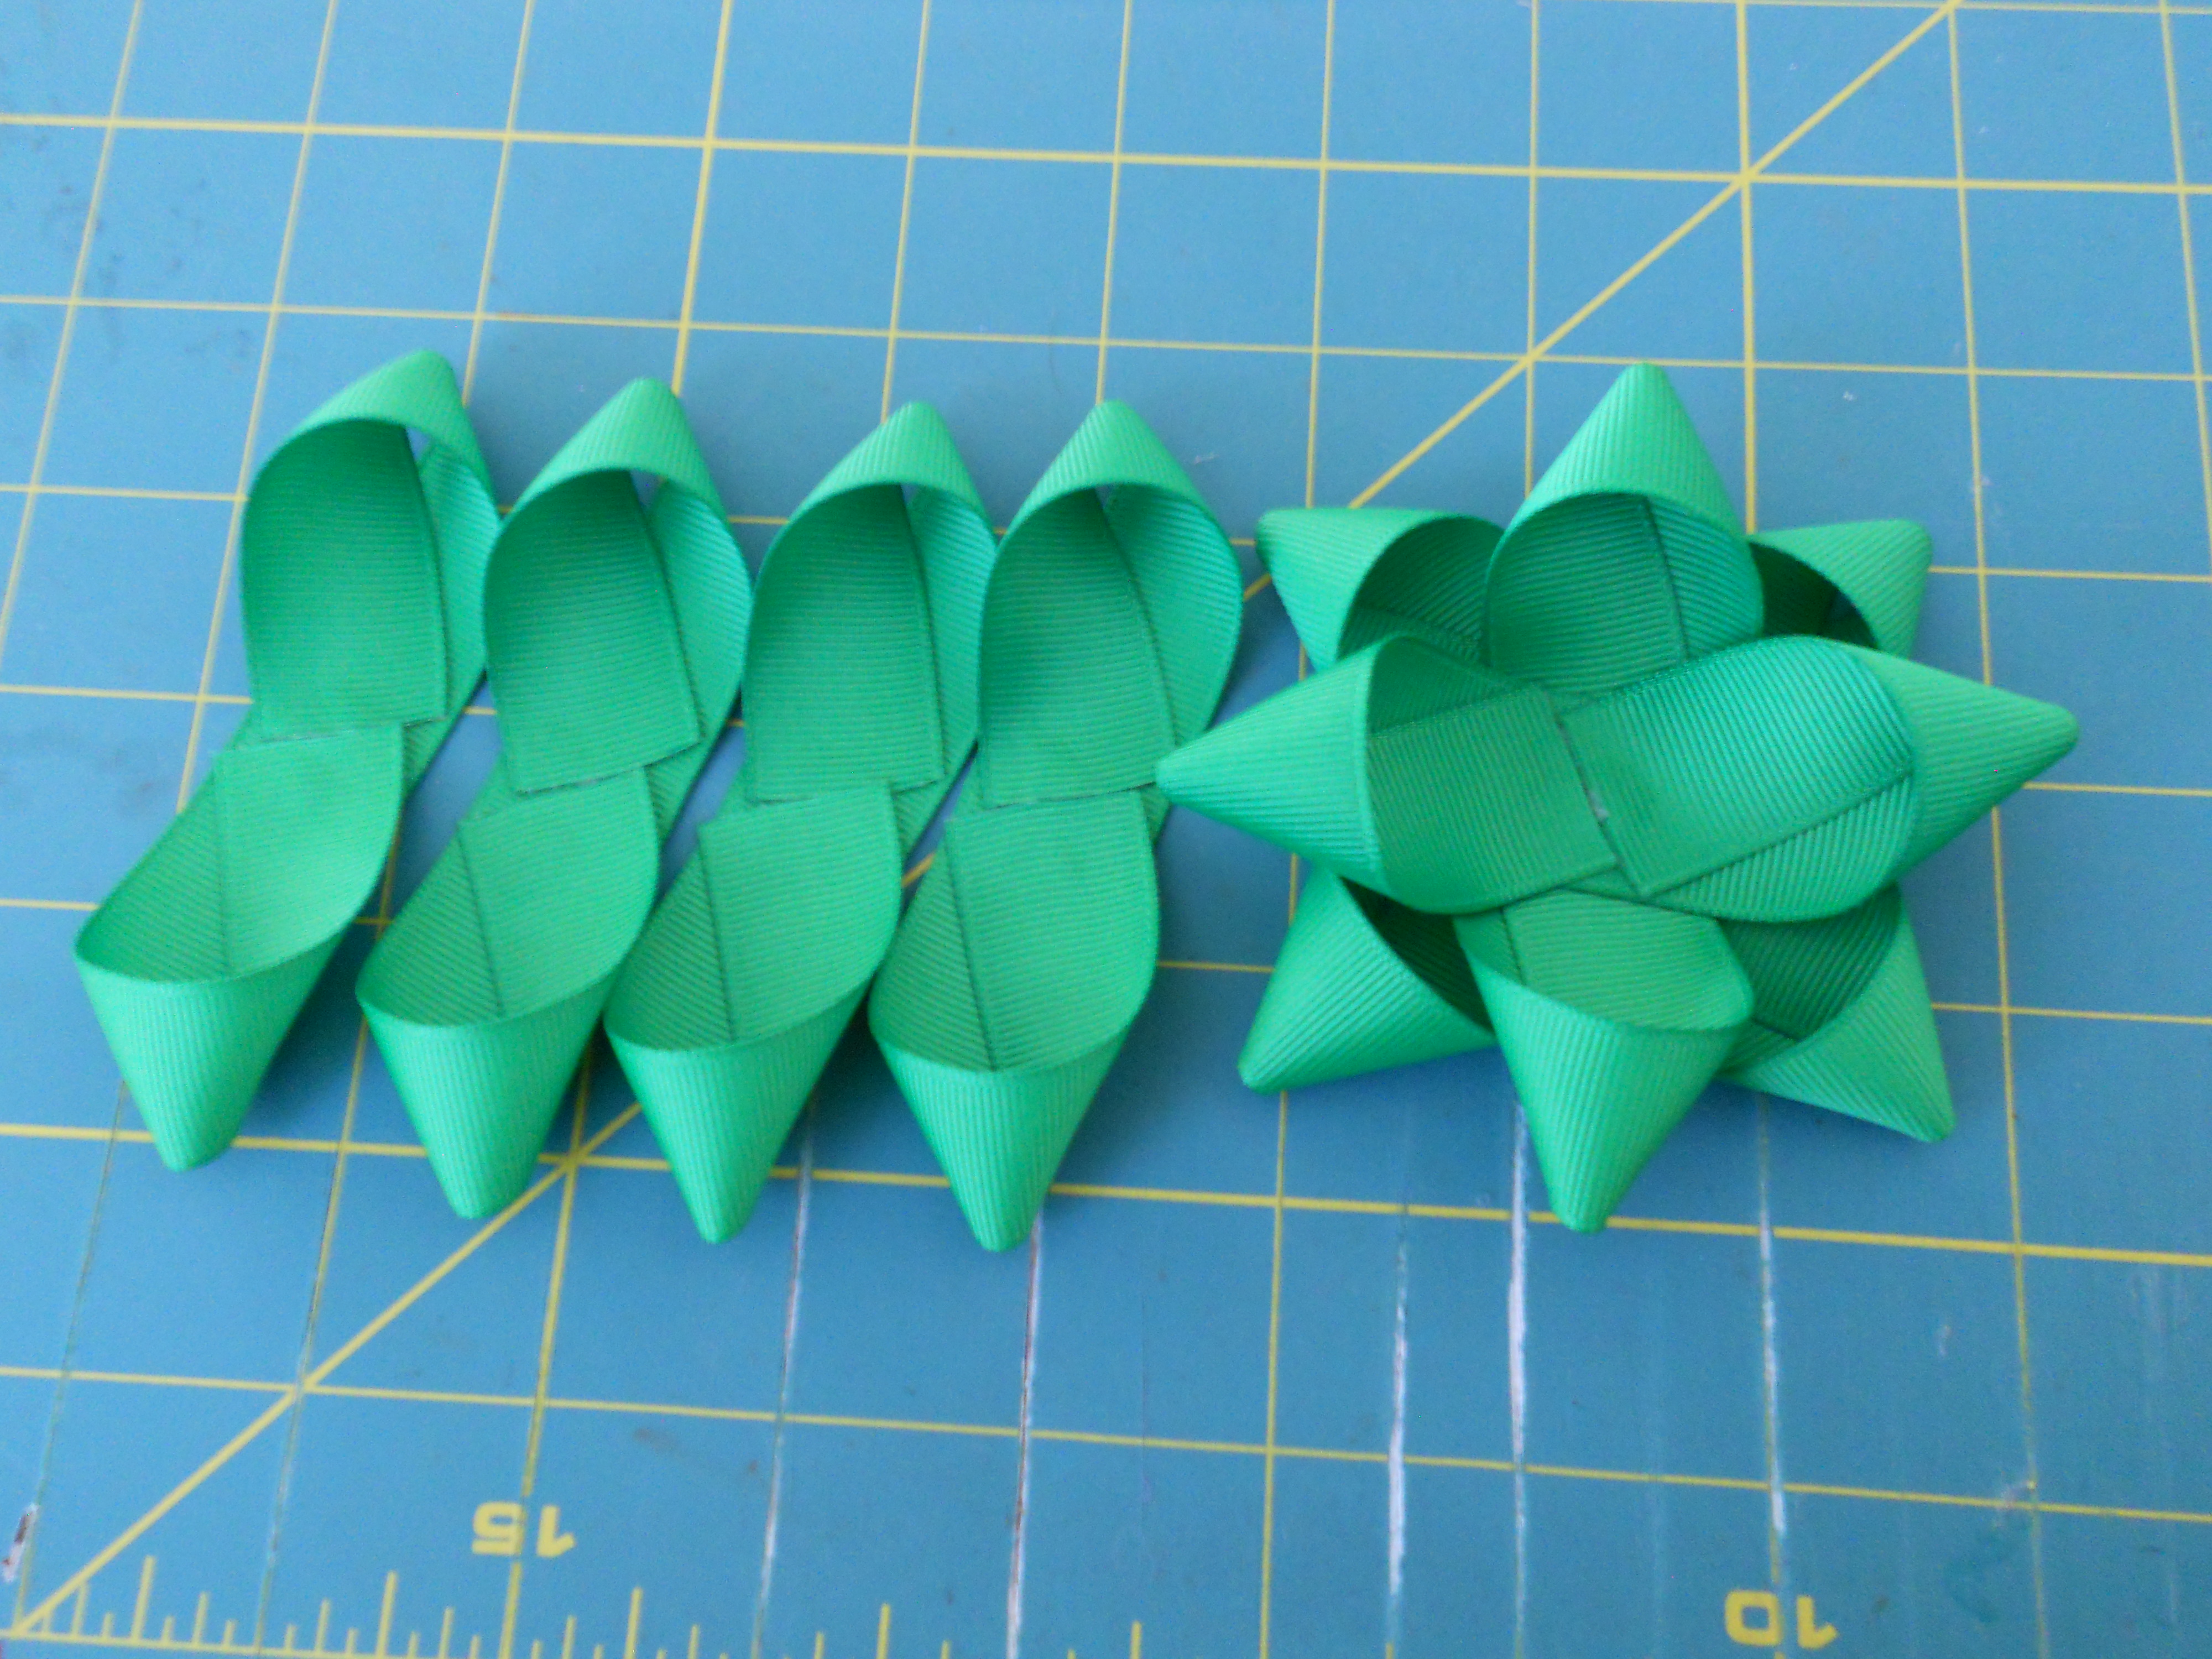
Step 8: Continue gluing each set of loops onto the center of the bow. You want your loops staggered, do not glue the loops right above another set of loops.
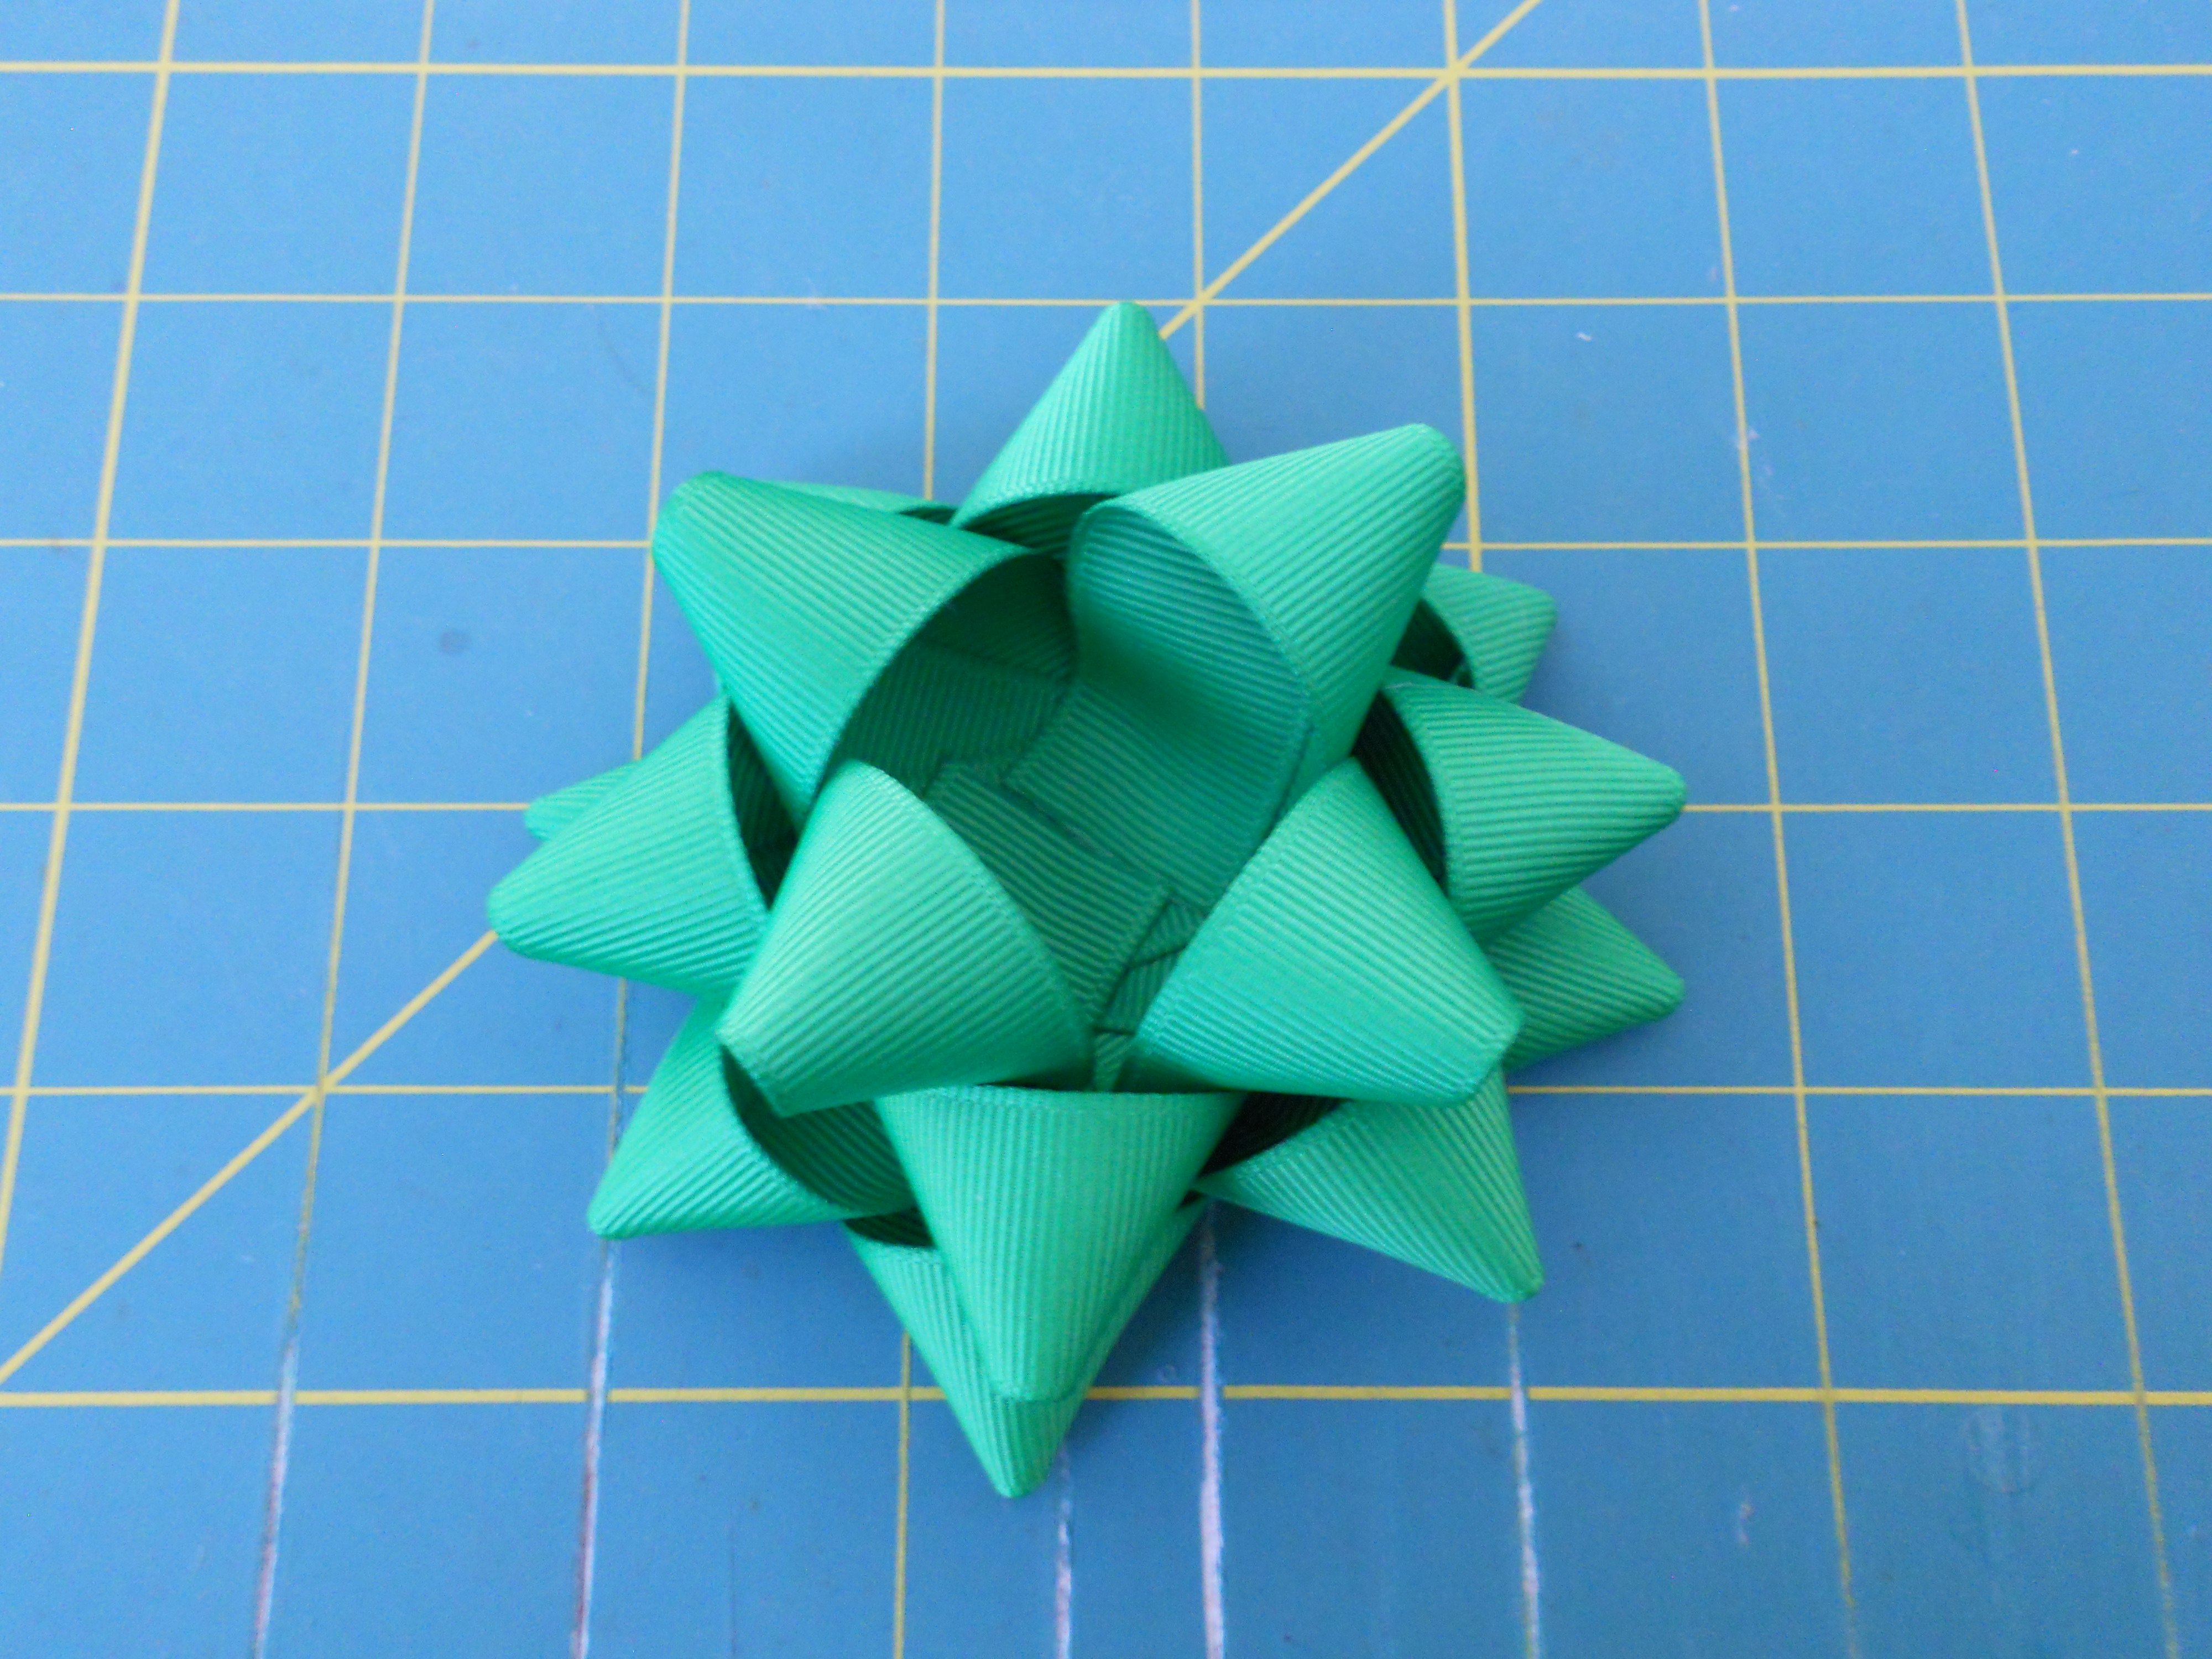
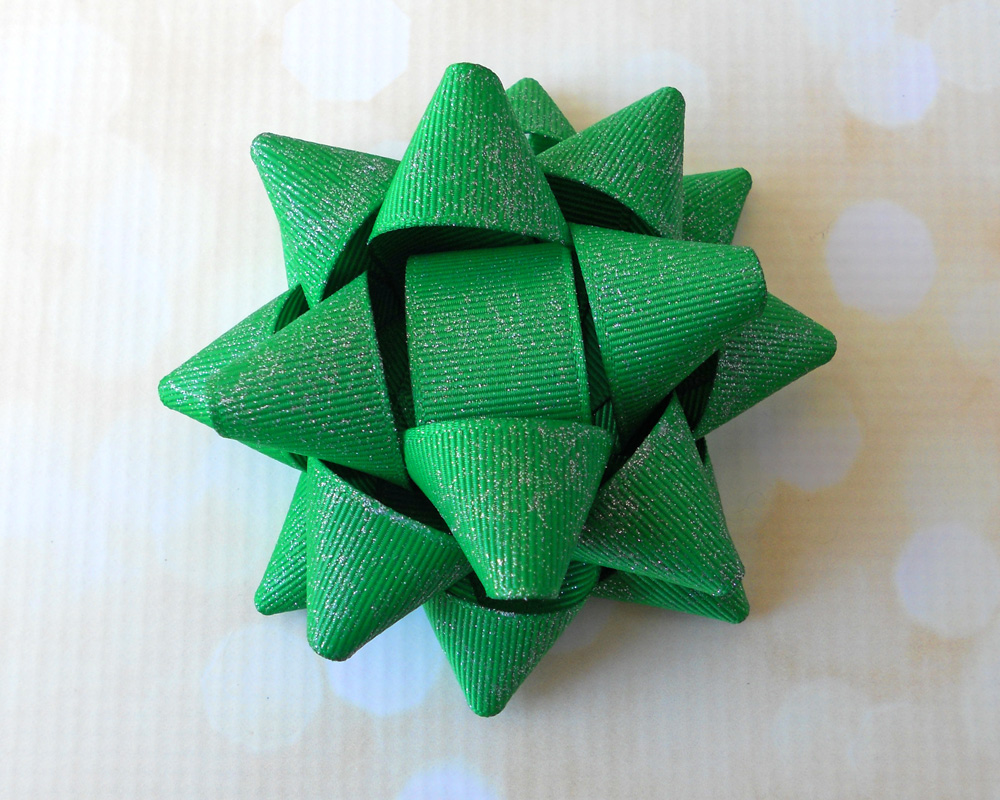
This is what your bow will look like after all 8 loops have been glued together.
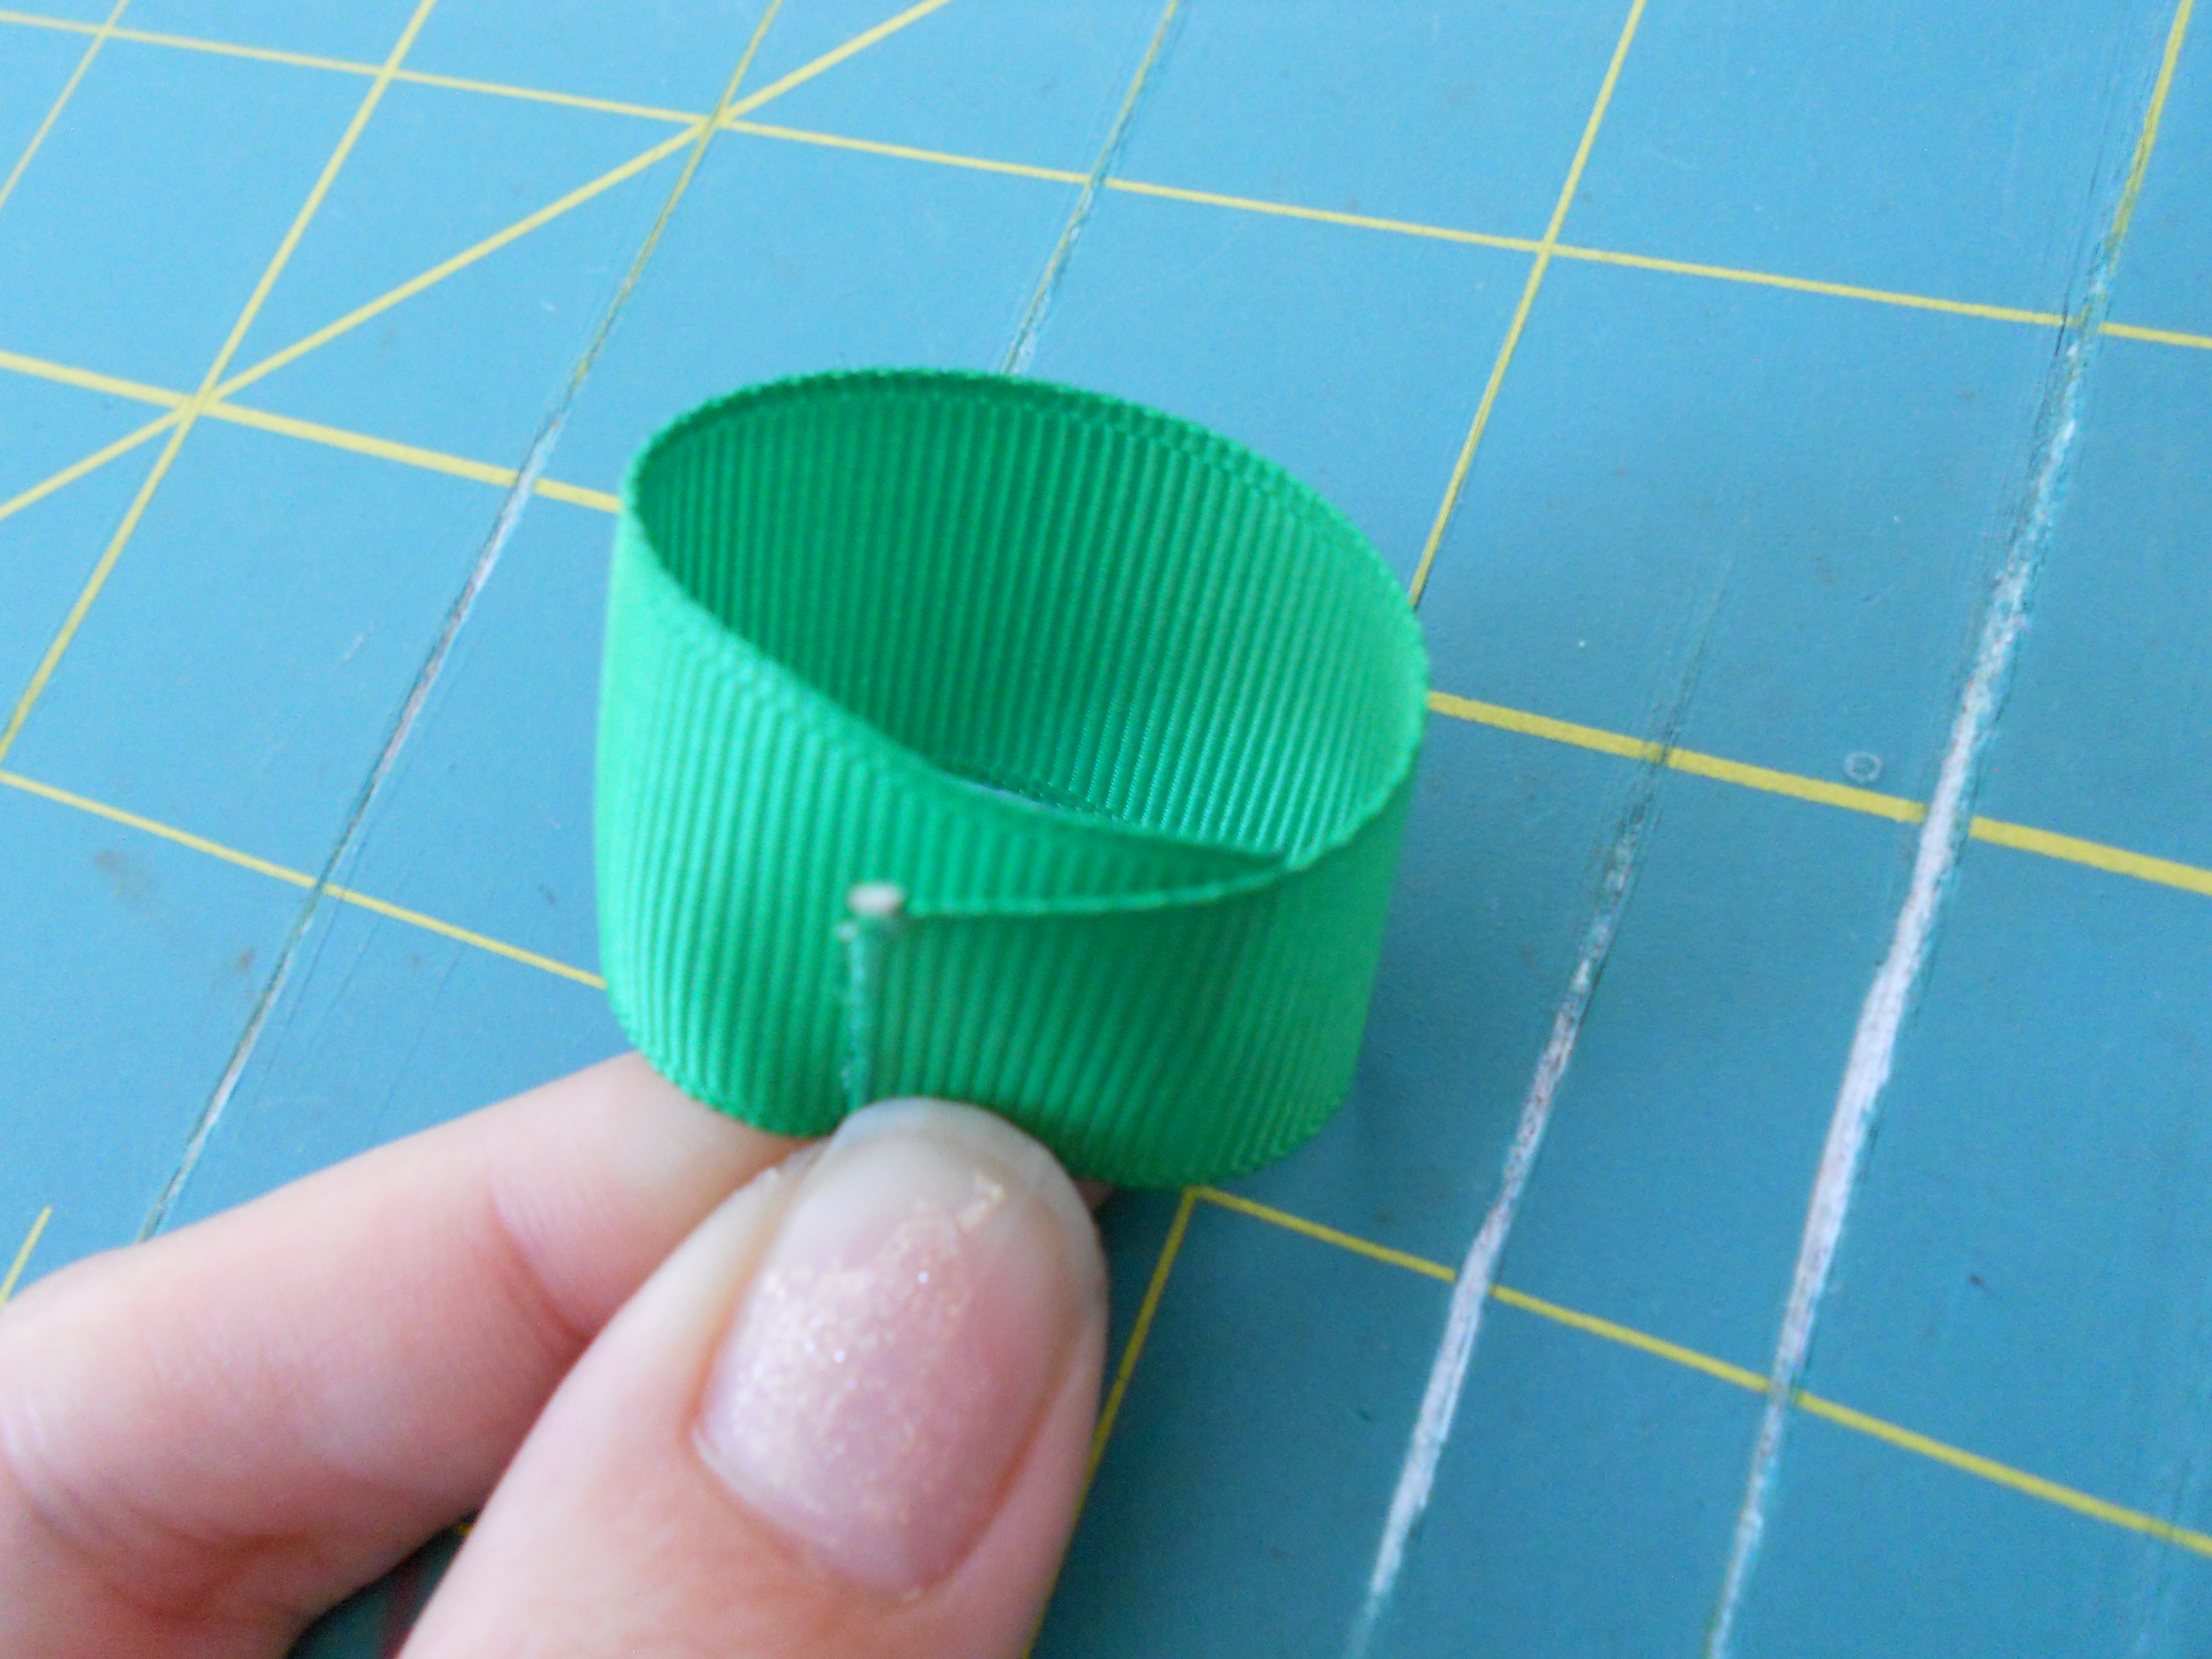
Step 9: Take your 4" piece of ribbon and fold it into a circle, overlapping the ends by about 1/2".
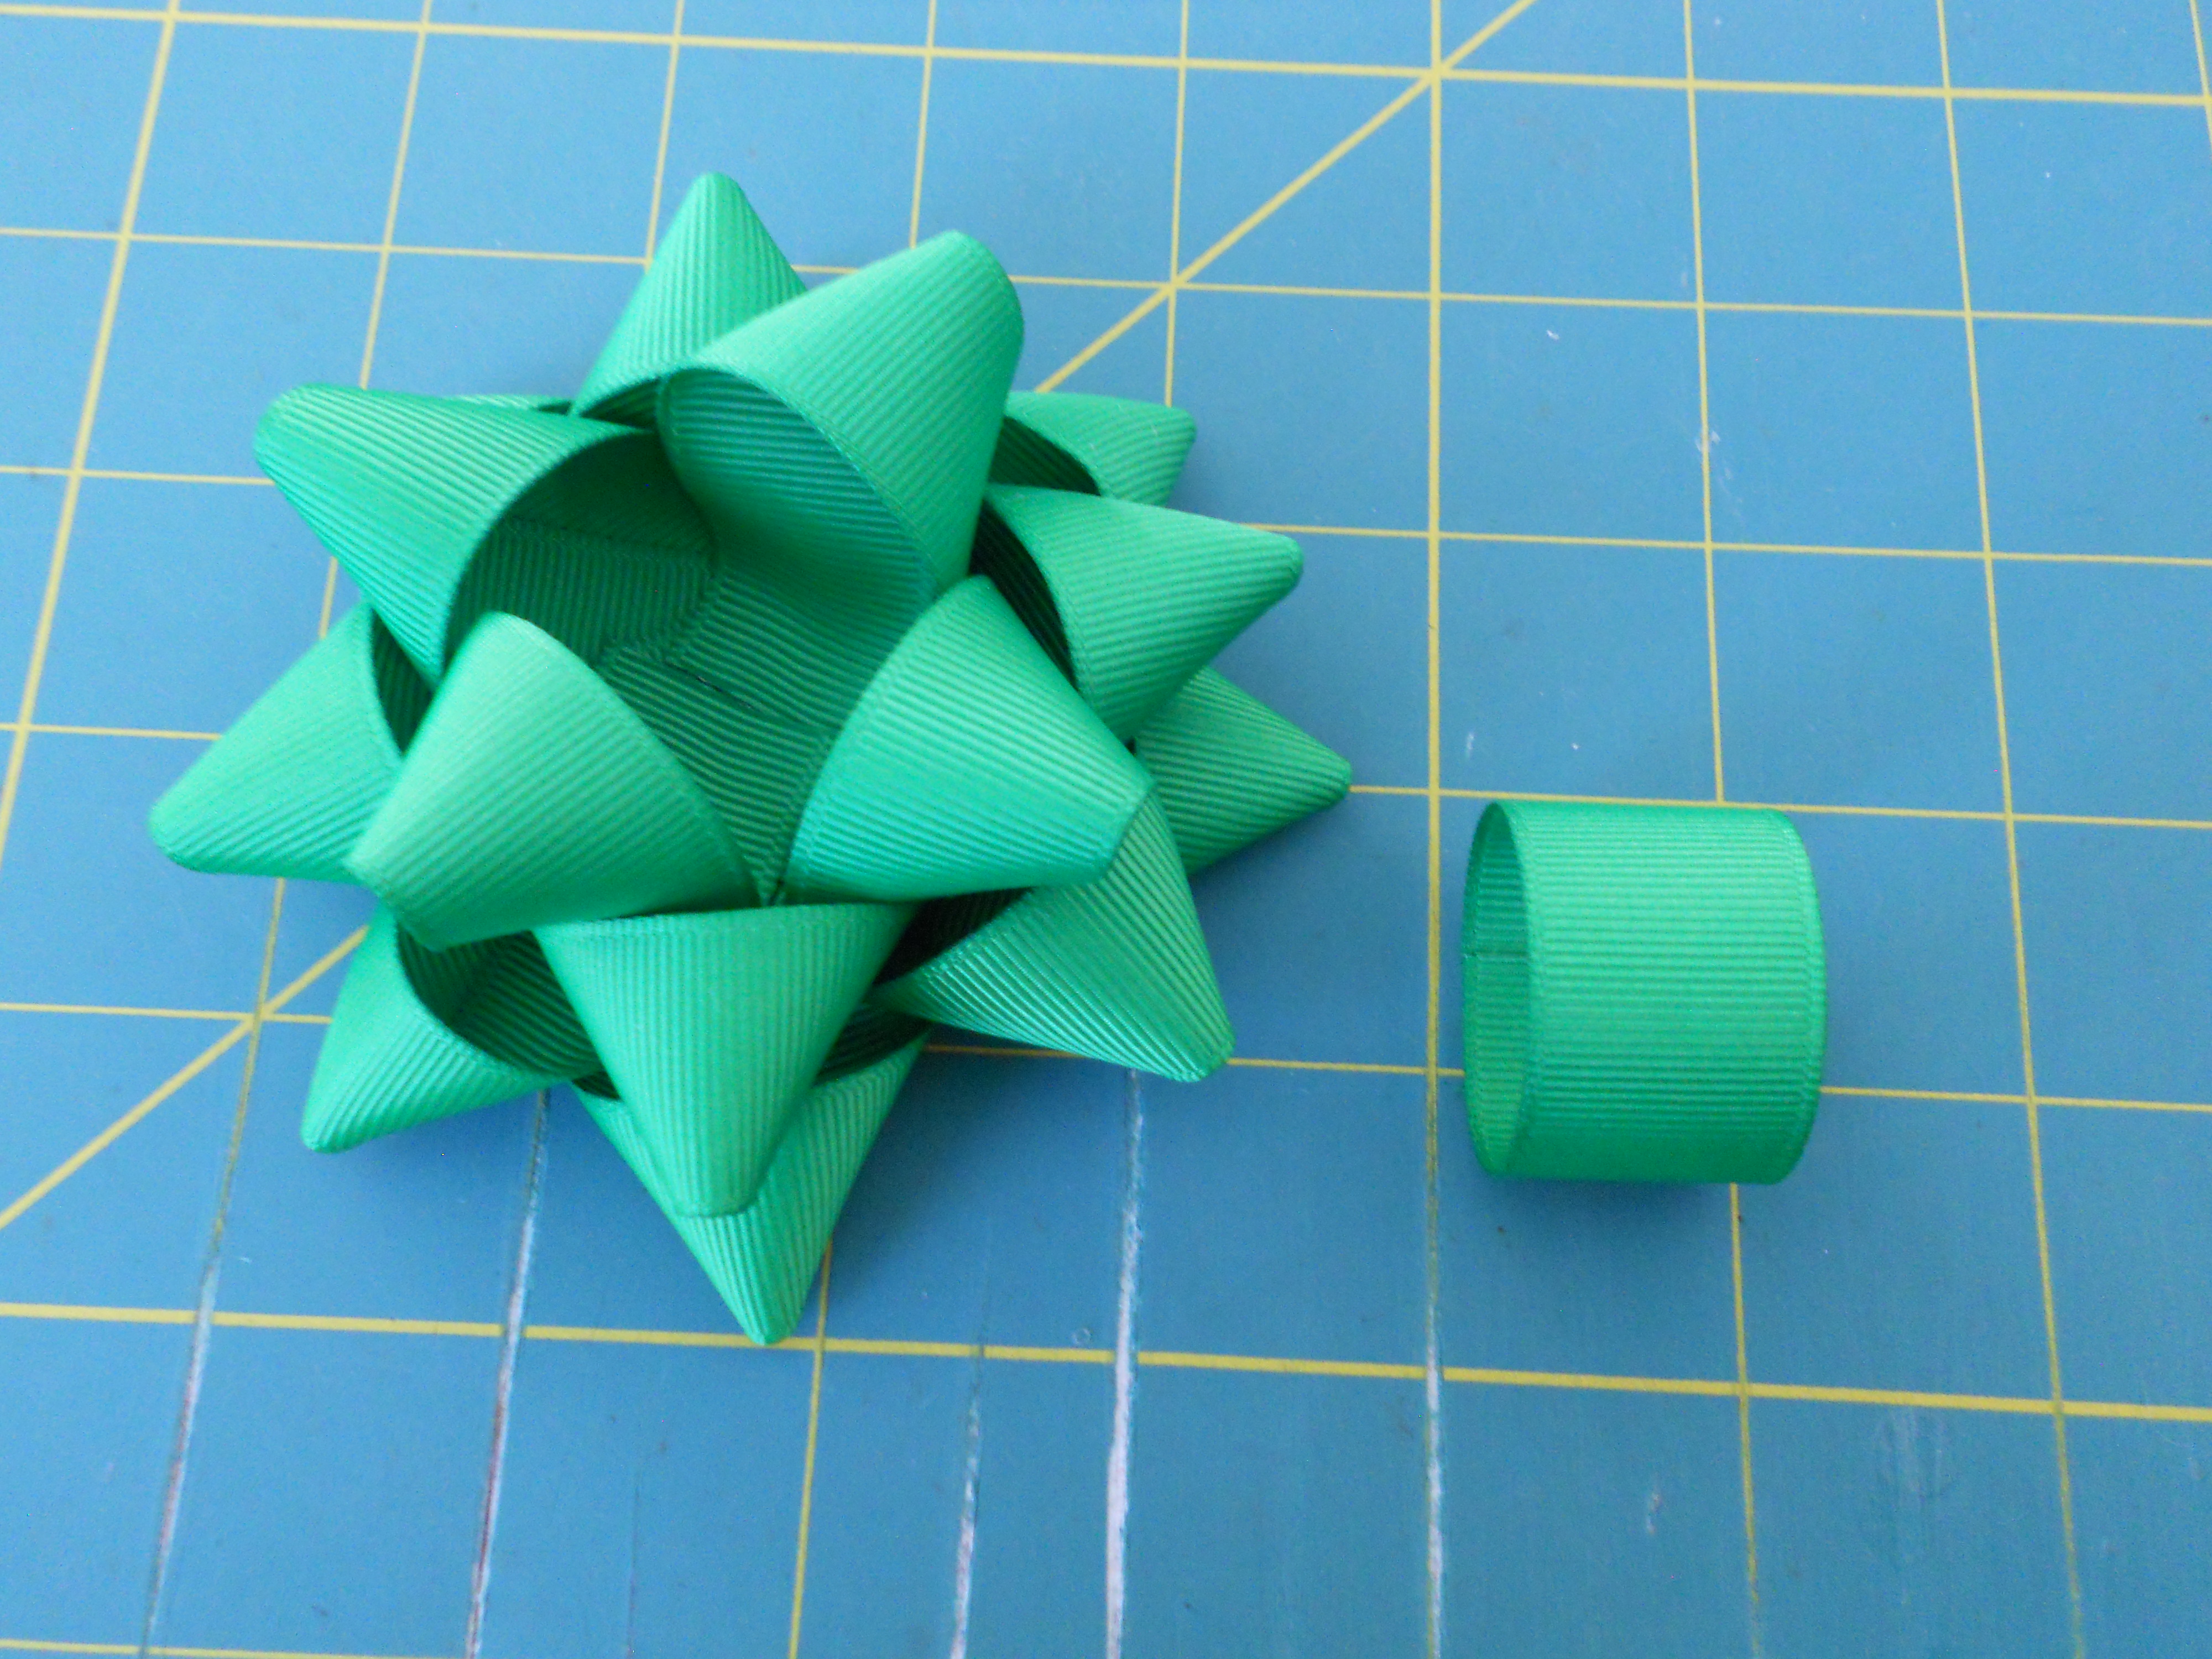
Step 10: Glue the ends together to form a circle, make sure your ends are glued evenly.
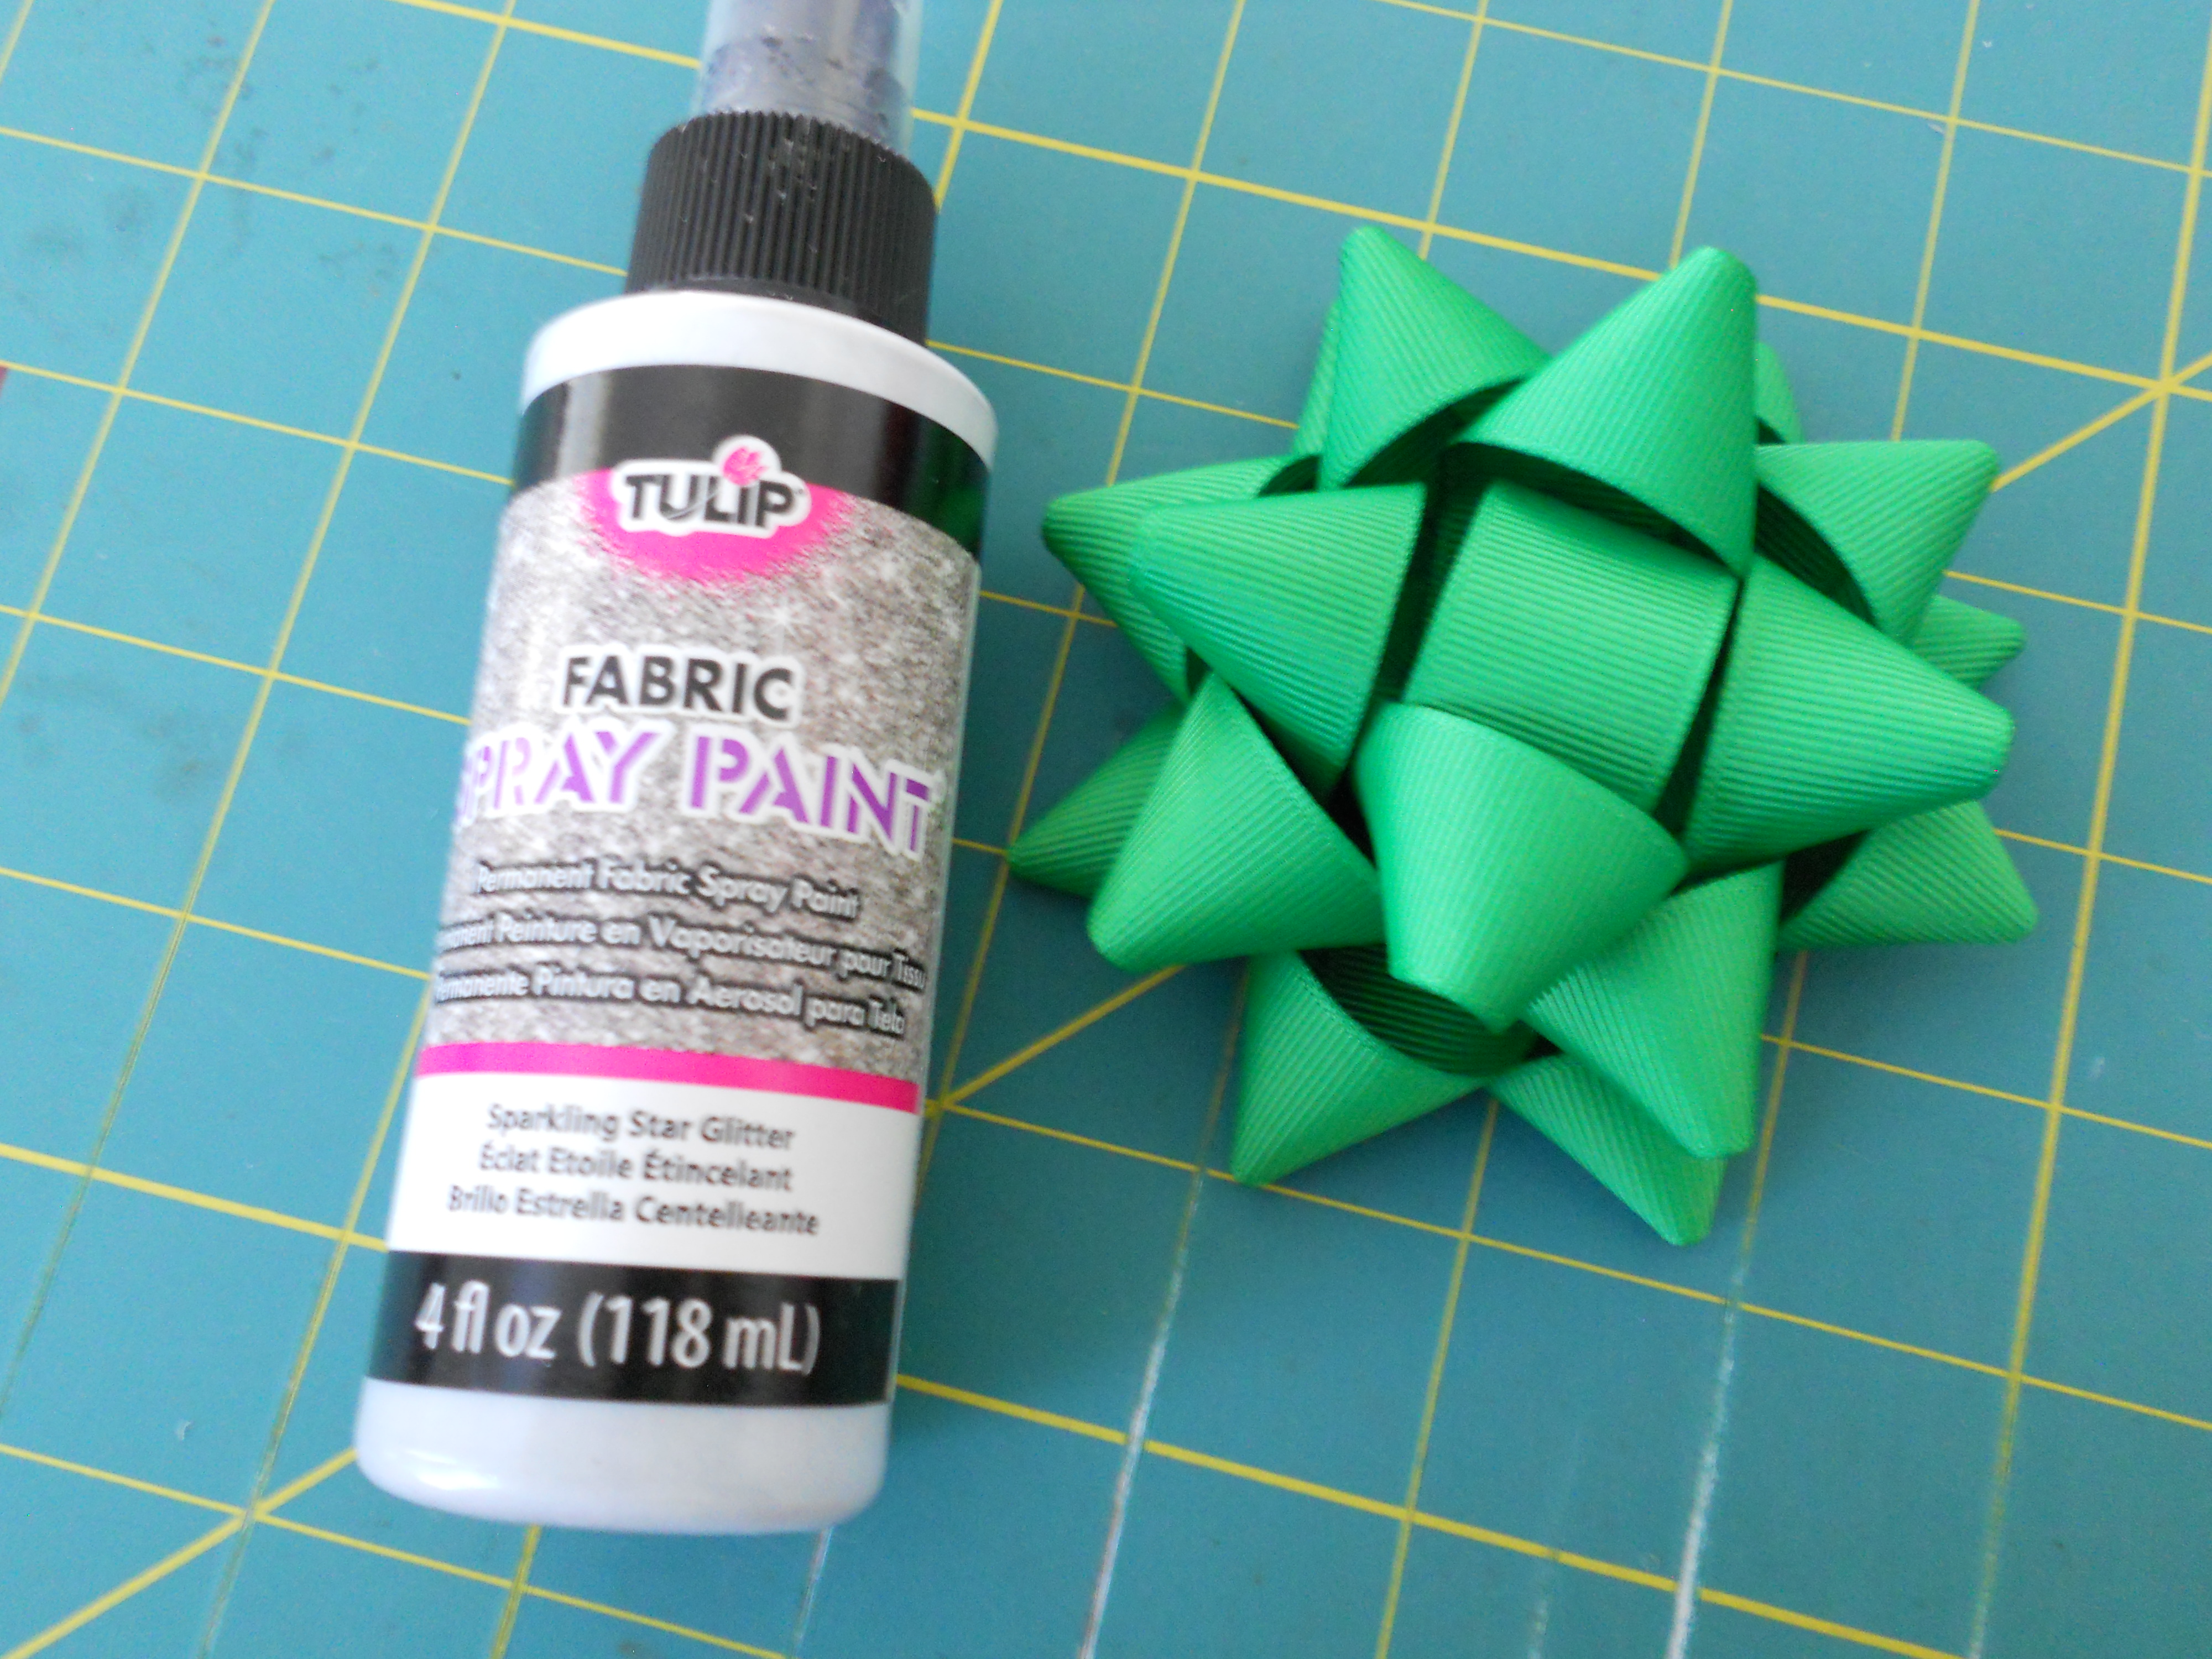
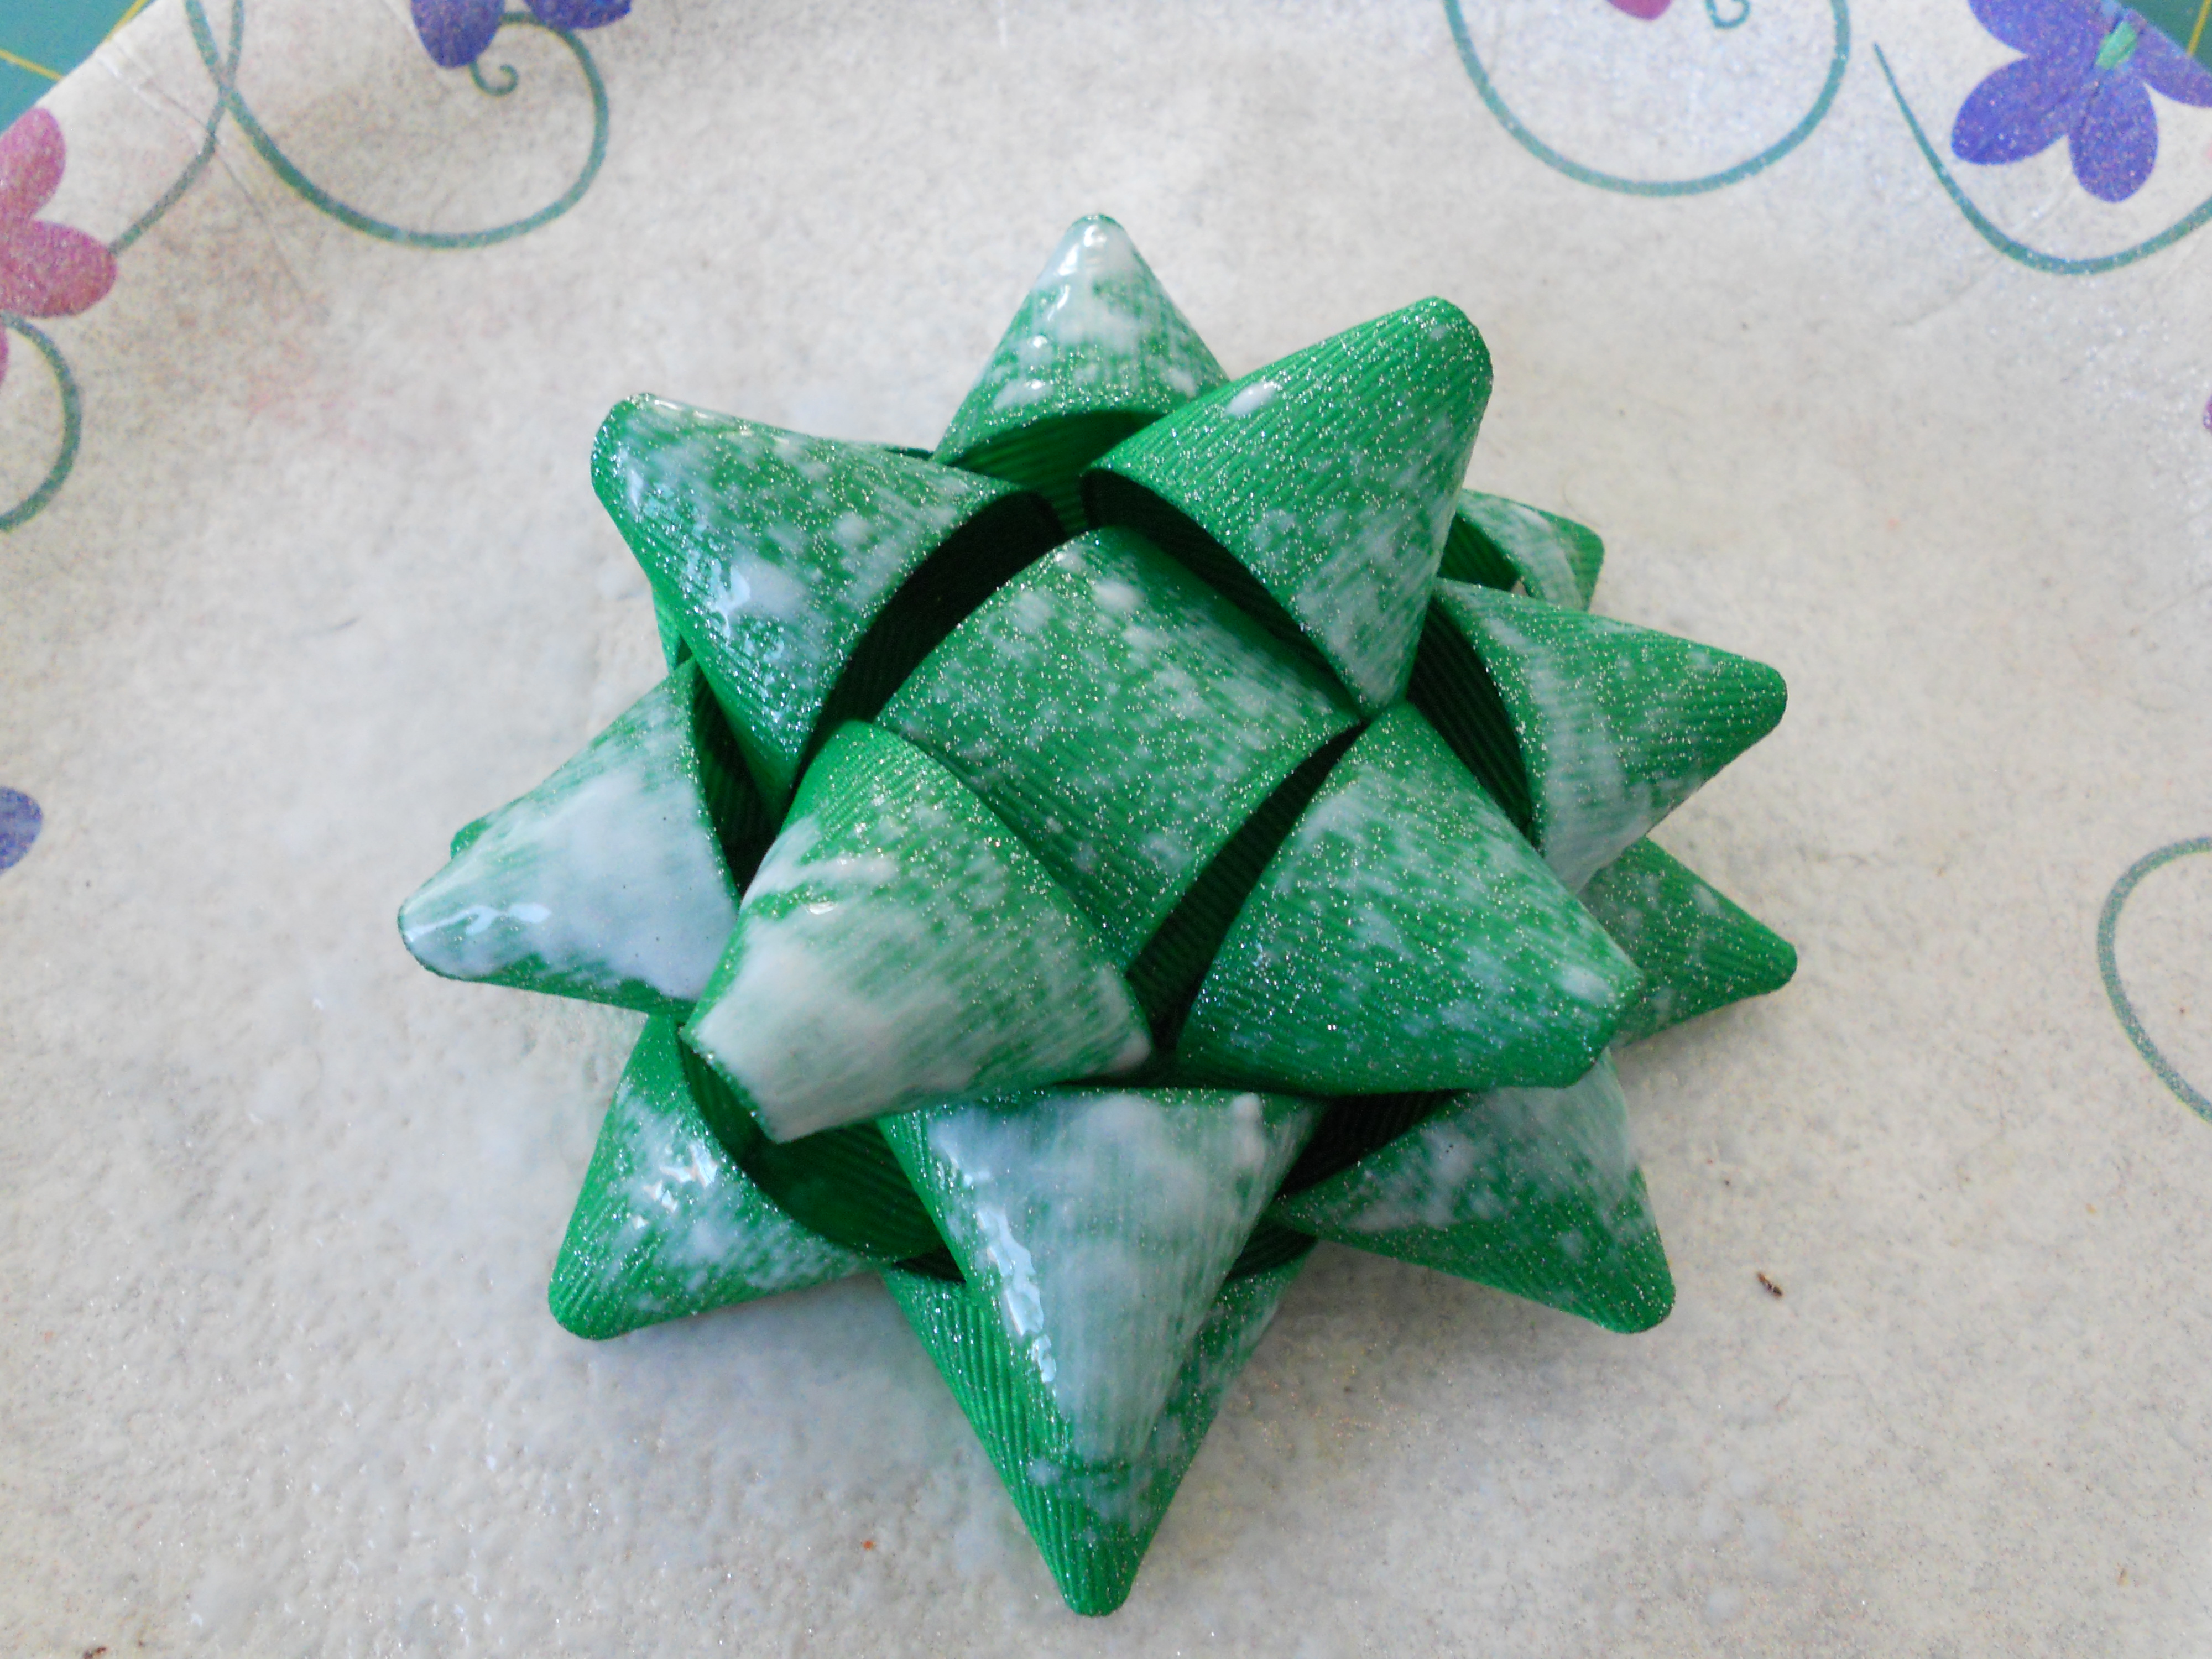
Step 11: Glue the circle into the center of your bow. *Optional* - Add glitter spray. I'm using silver fabric spray paint, this can be purchased at any craft store. This spray will make my bow glittery and will also help the bow hold it's shape.
Spray the entire bow down, it should be wet and look like above. Don't worry about the white - it will dry clear. Let the bow dry for a few hours or to speed up the process you can use a hair dryer on the lowest setting.
Brittany also shares how she made her bow into a fabulous hair-clip!
 Glue a 1.75" felt circle to the back of your bow. This creates a nice base to attach your alligator clip.
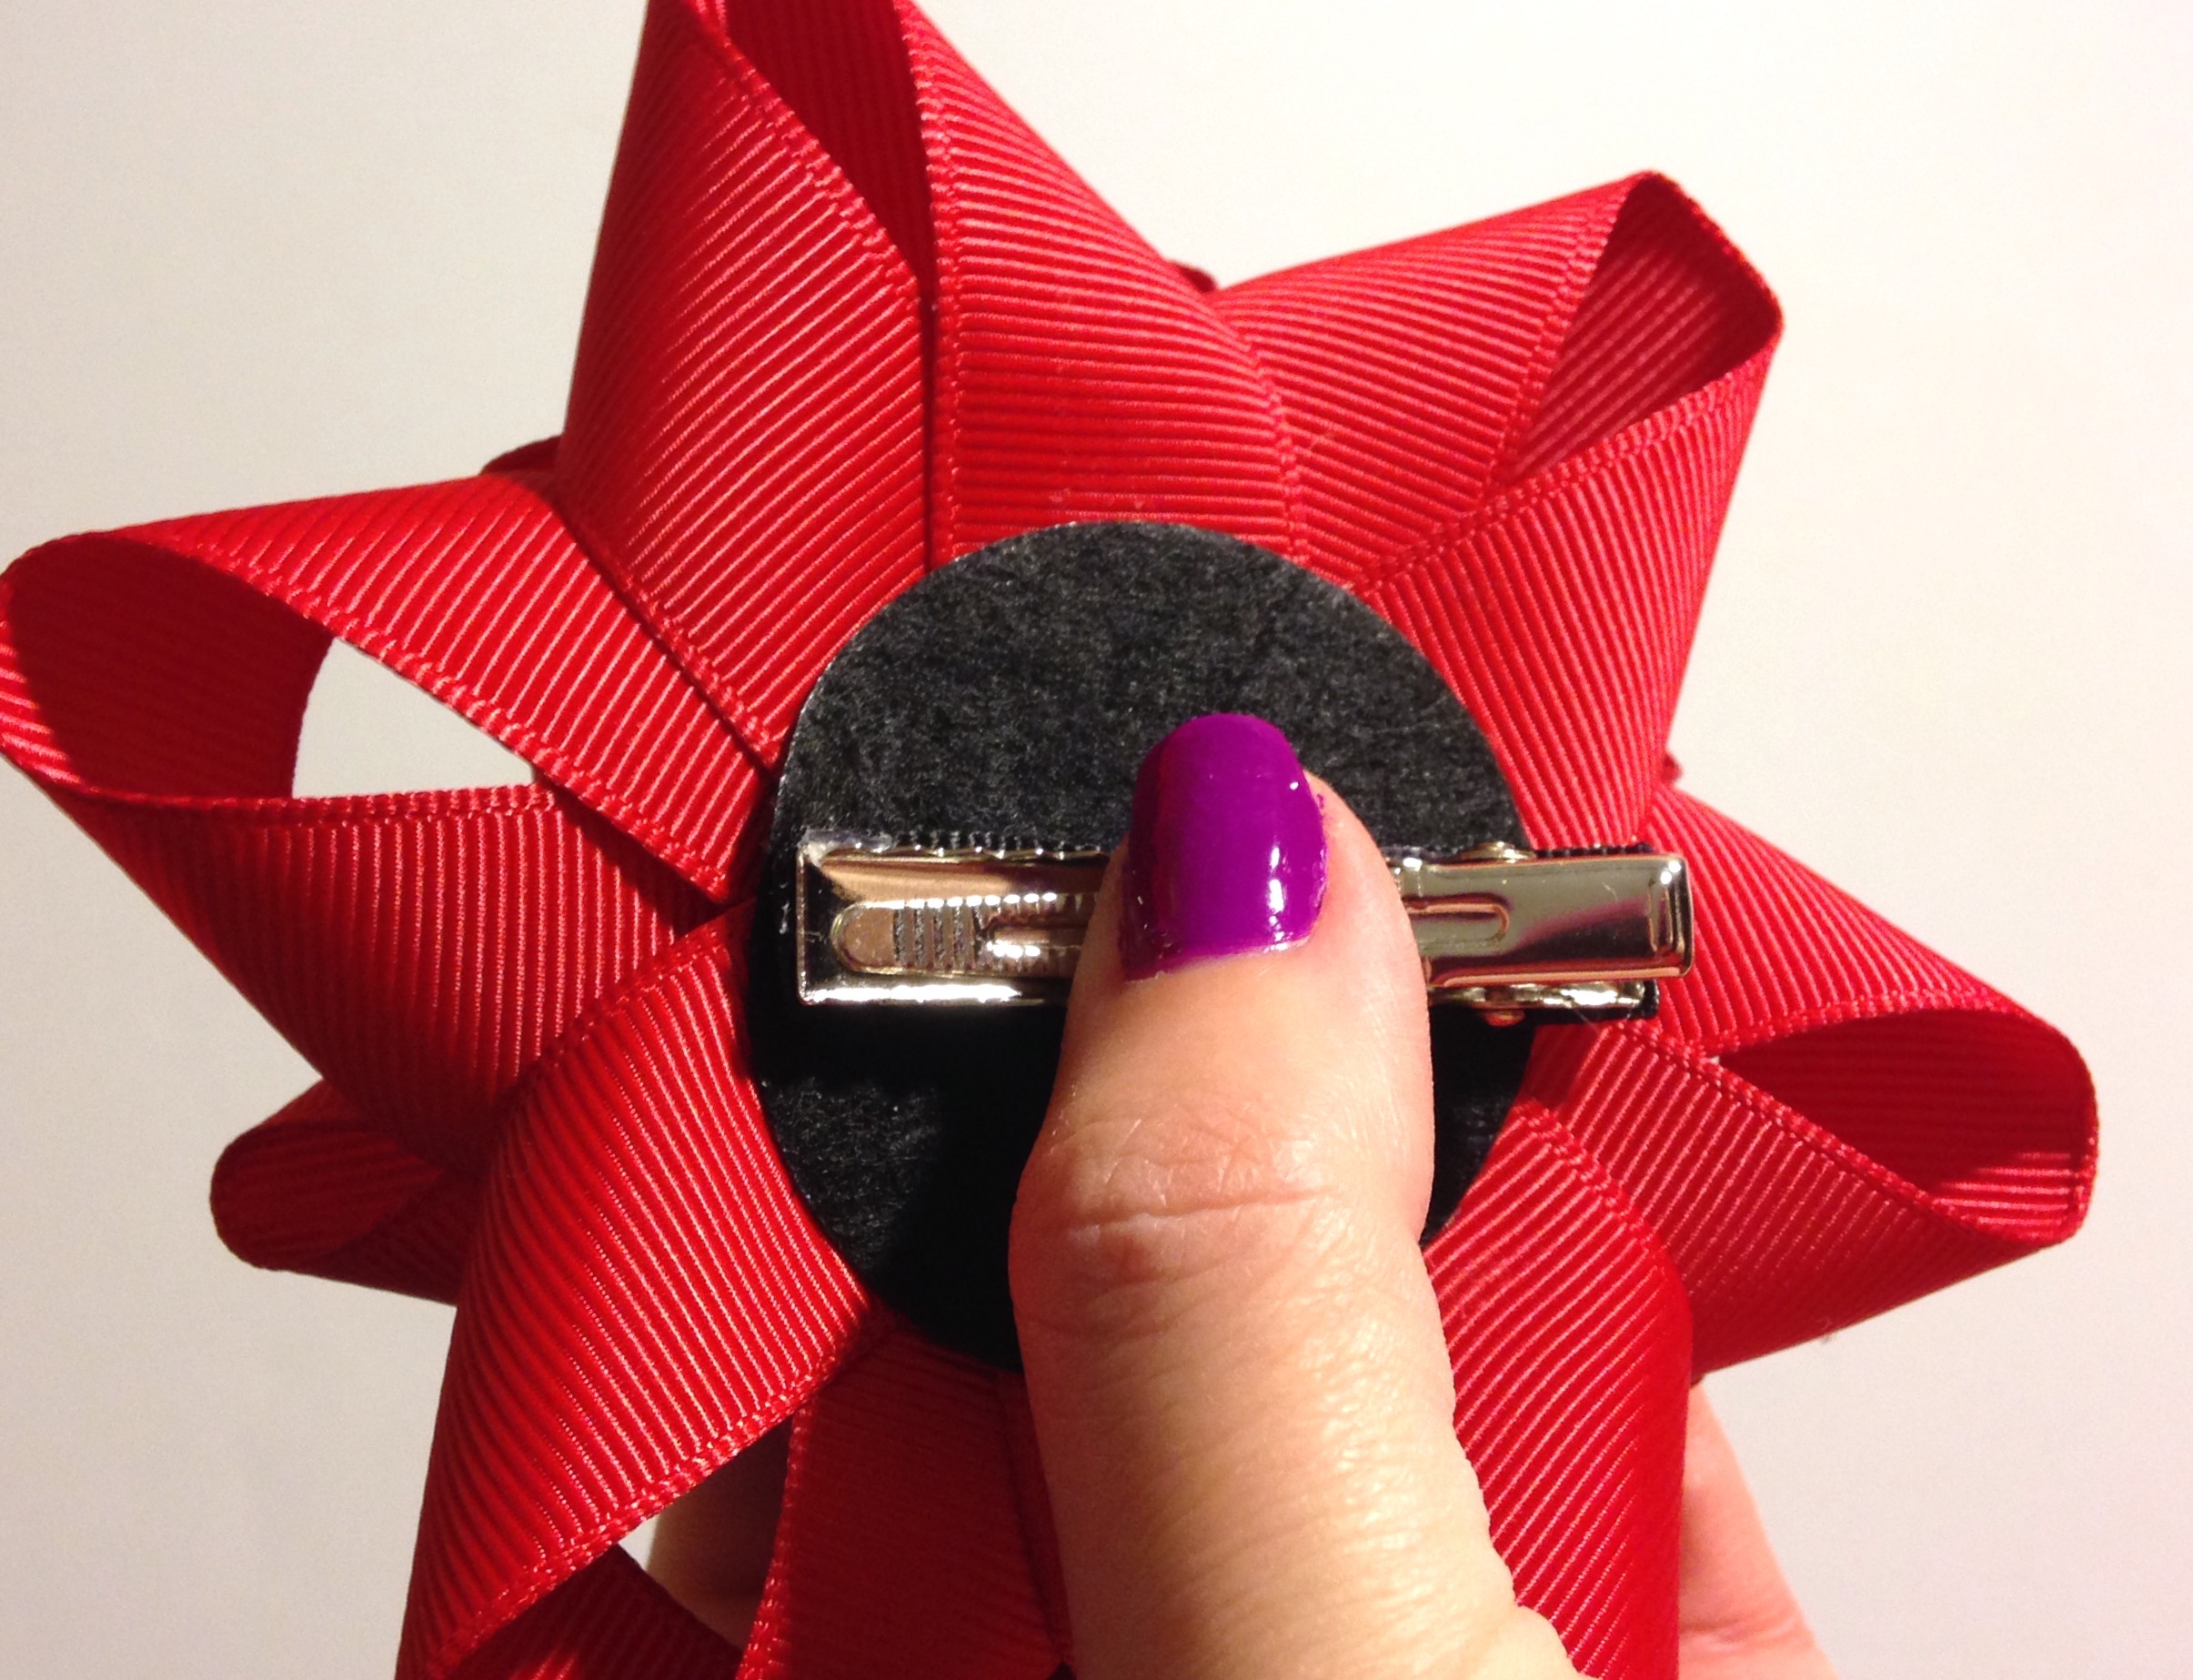 I chose to use a 1.75" alligator clip with teeth for this bow because of its flat surface on top. It makes it ideal for our creation and super simple to apply! I am applying a 2" piece of black 3/8" ribbon to the flat side of my clip before attaching to the felt circle. This is optional but I feel it creates a more secure hold.
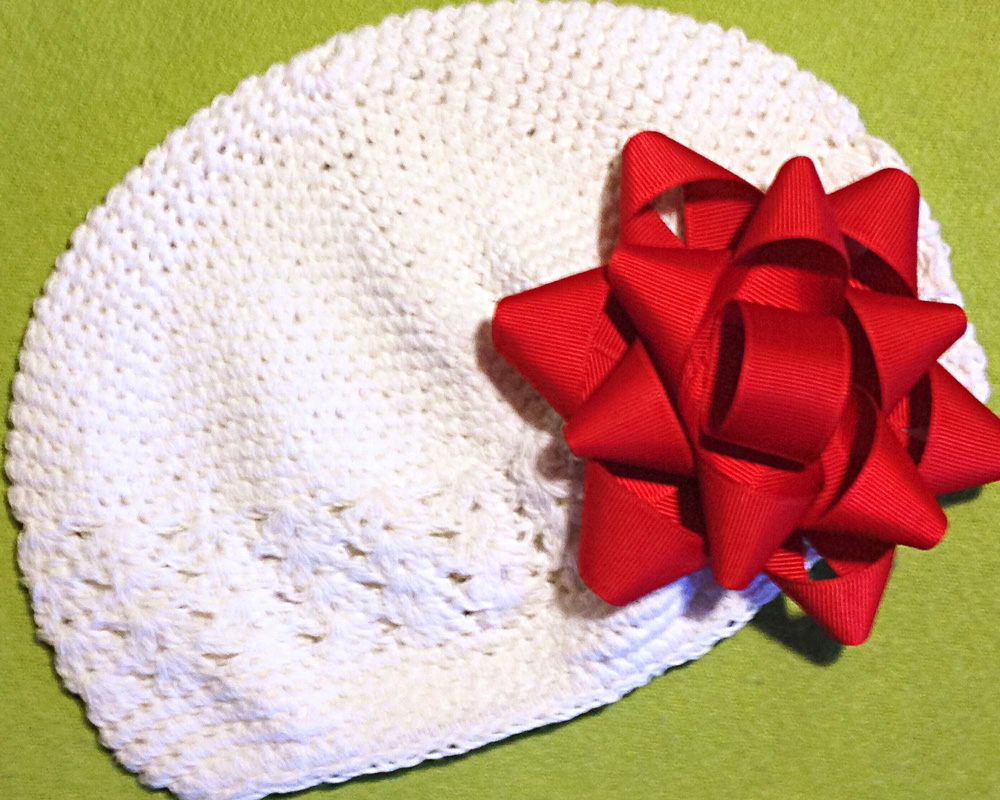 Now that you have a clip on the bow, you can also easily attach it to your favorite beanie hat, purse, etc.
How cute are these?! I love the look of these bows and the possibilities are endless with them! You could use printed ribbon or I have even seen some made out of paper. You could even use these on Christmas presents!
To change the size of your bow, use the general rule of thumb to simply double the overall size of the finished bow for your ribbon pieces. If you want a 3" bow you will need 6" ribbon strips.
Now that you have a clip on the bow, you can also easily attach it to your favorite beanie hat, purse, etc.
How cute are these?! I love the look of these bows and the possibilities are endless with them! You could use printed ribbon or I have even seen some made out of paper. You could even use these on Christmas presents!
To change the size of your bow, use the general rule of thumb to simply double the overall size of the finished bow for your ribbon pieces. If you want a 3" bow you will need 6" ribbon strips.
Visit the rest of our blog for more Crafting Tutorials and DIY Instructions!
Loading...

