 Contributor post by Danielle at Korker Krazy
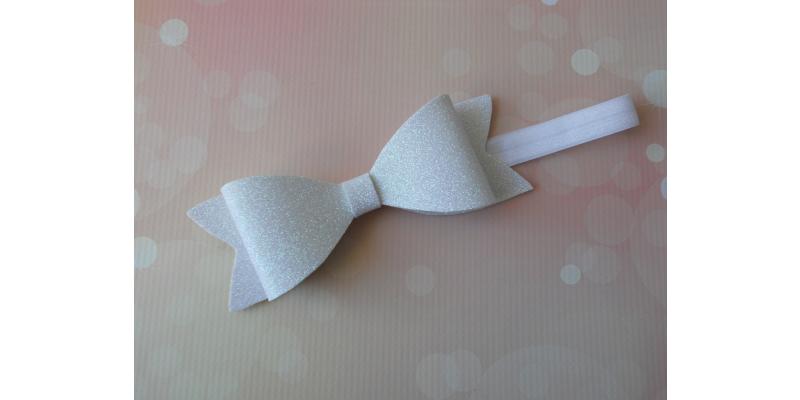
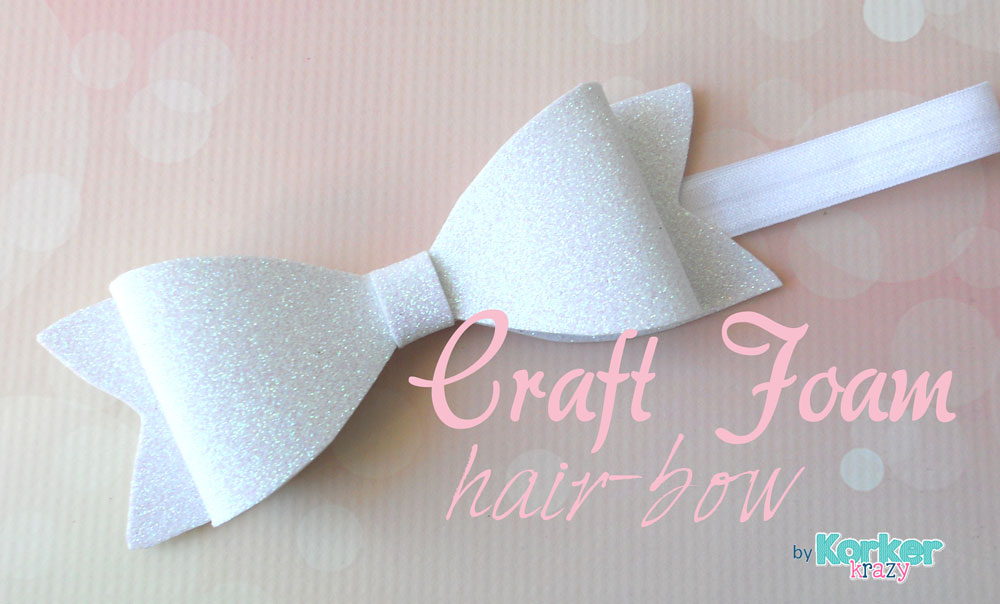
The bigger the bow, the better the mommy! I just LOVE these big glitter bows; they are the perfect size! Today I'm going to show you how easy it is to make your own!
Supplies Needed: Glitter Foam Sheets (Can be purchased at your local craft store) Fold Over Elastic Hot Glue Gun and Glue Scissors Pencil Lighter
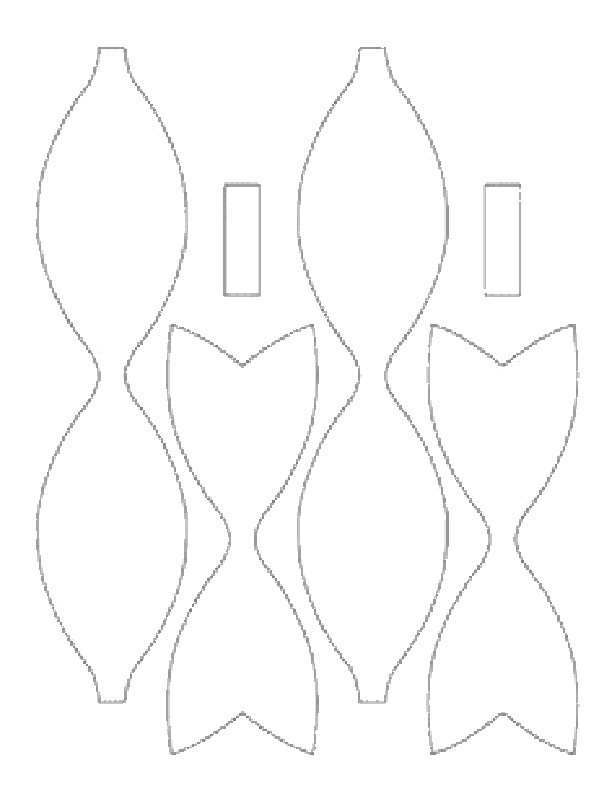

Step 1: Click the template above and save as an image on your computer. Print the template out on large card-stock paper. Cut out your template into the three pieces. This template actually makes 2 sets.
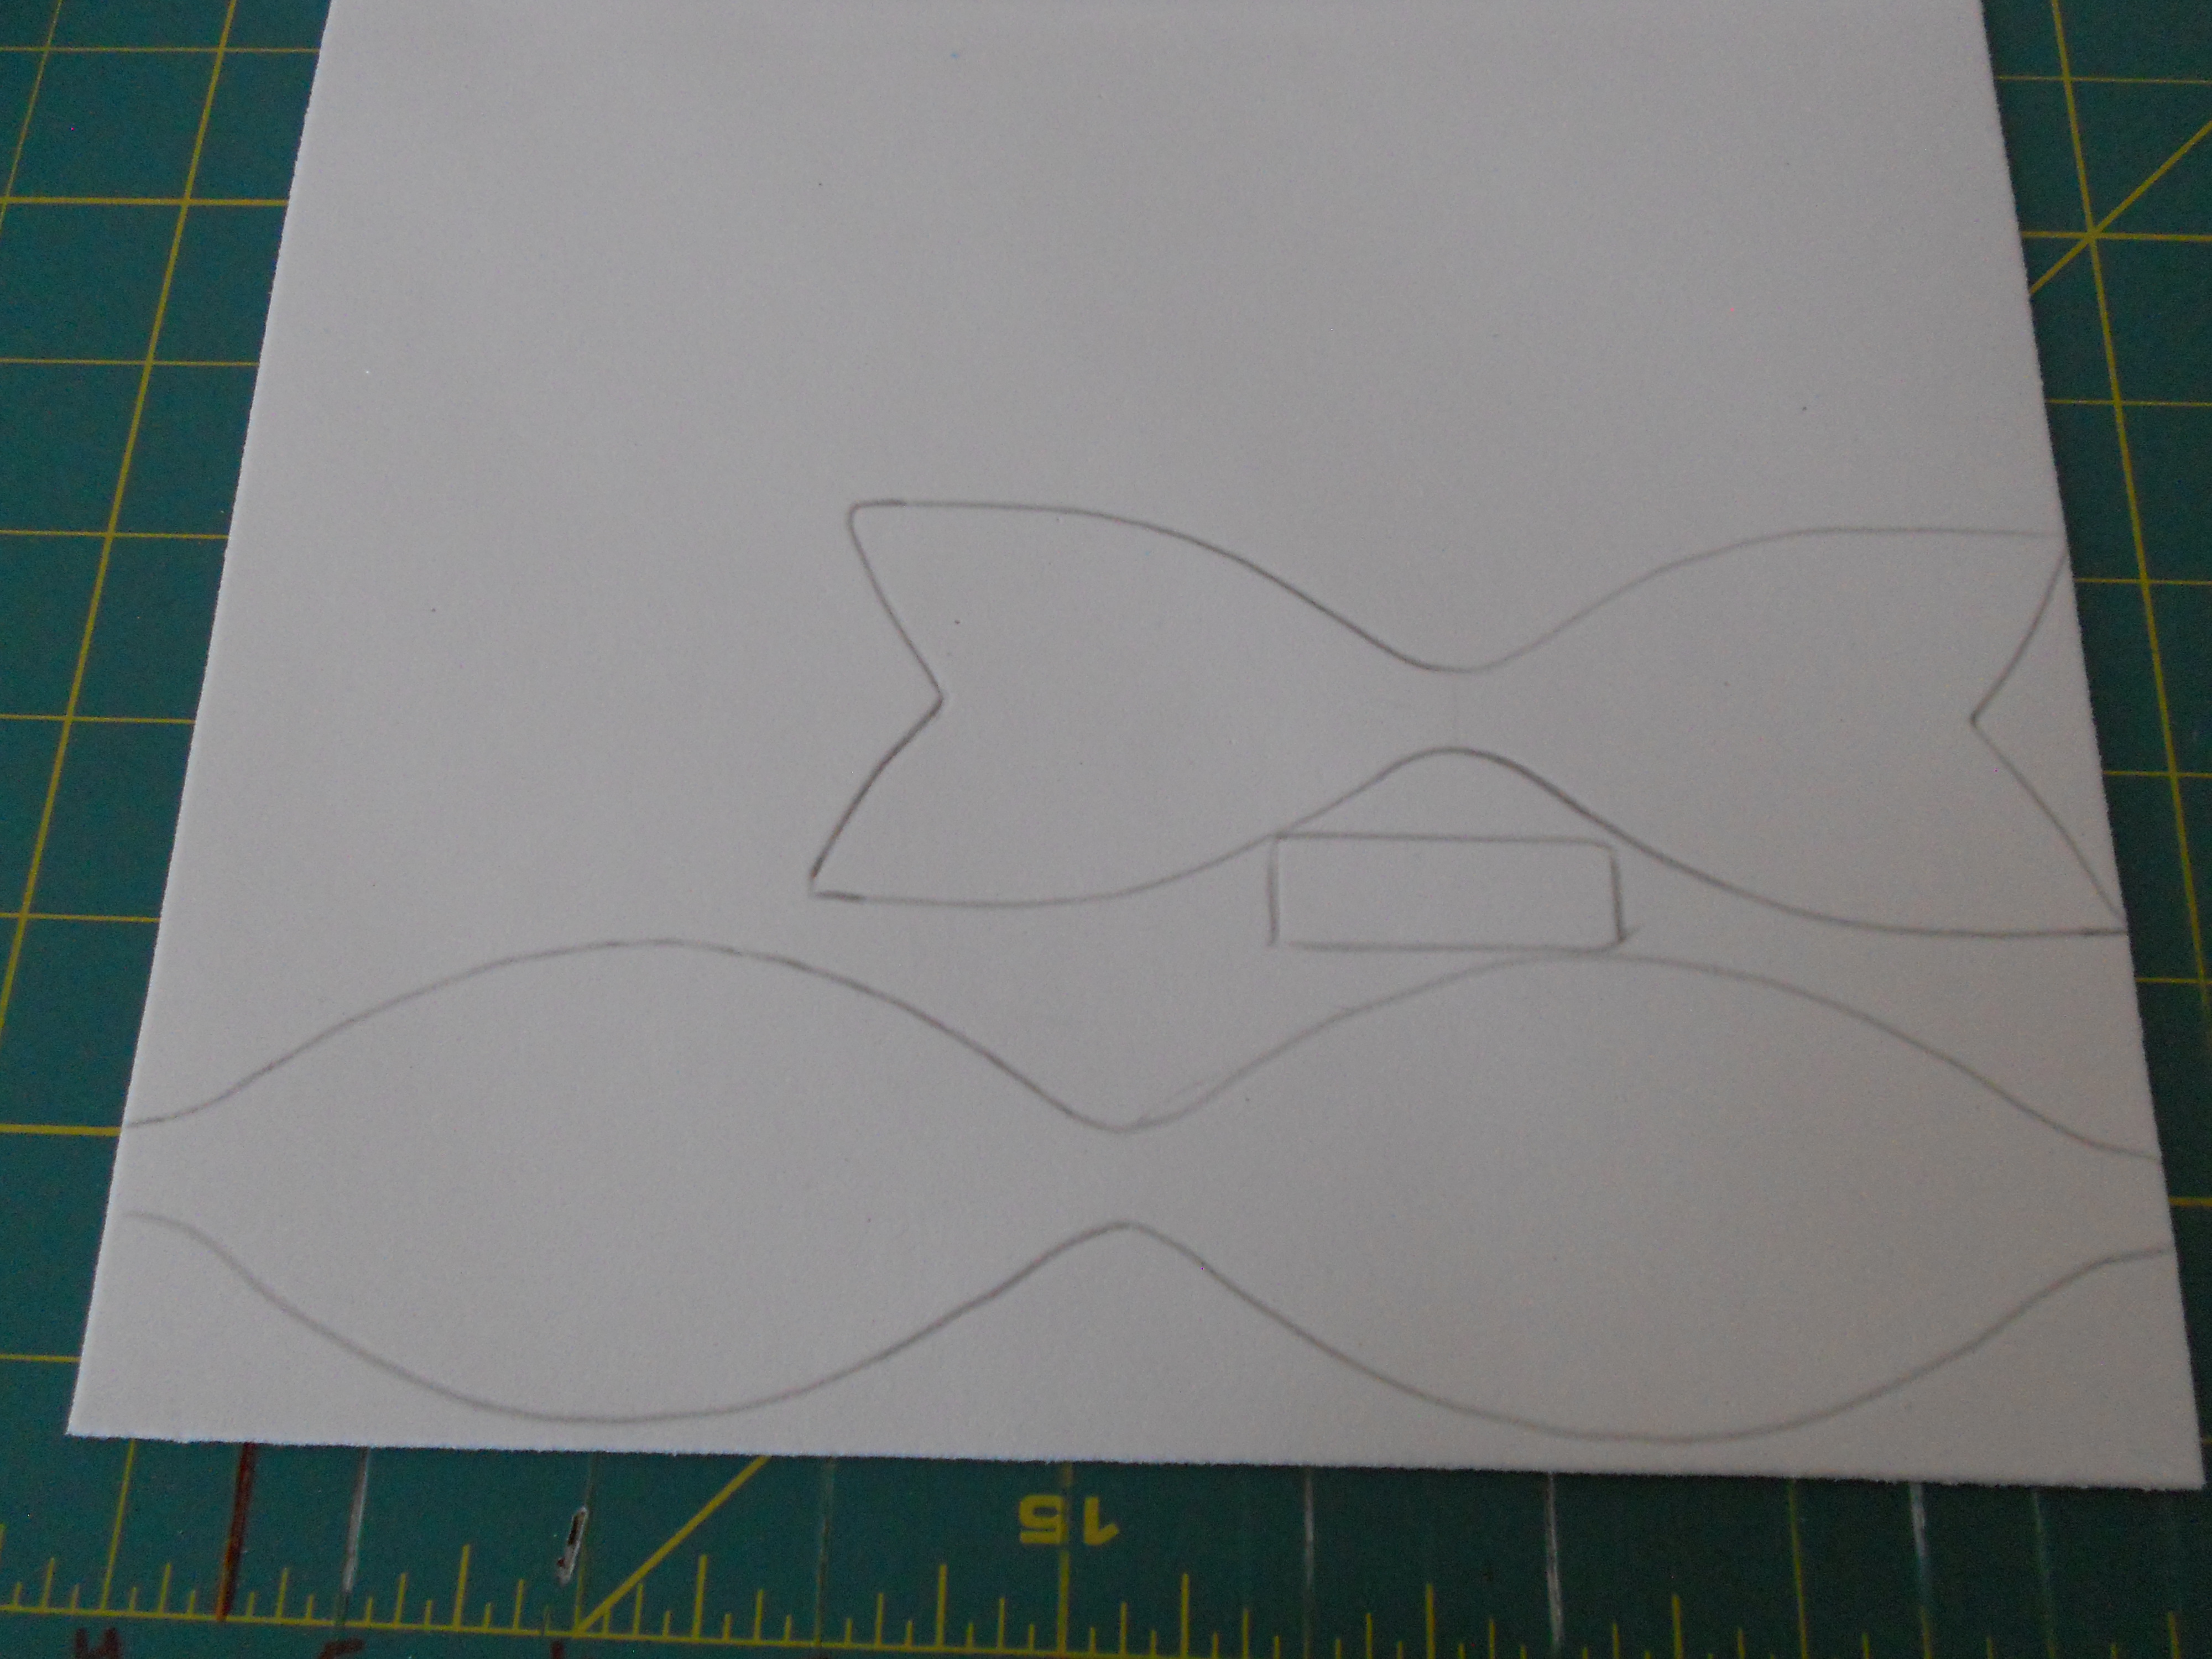
Step 2: Trace your template onto the back of your glitter foam sheet.

This is the foam I'm using, purchased at Hobby Lobby. Each sheet can make two of these bows.

Step 3: Cut out your foam. I like to cut mine just inside the line I traced so that you can't see the pencil markings on the bow.
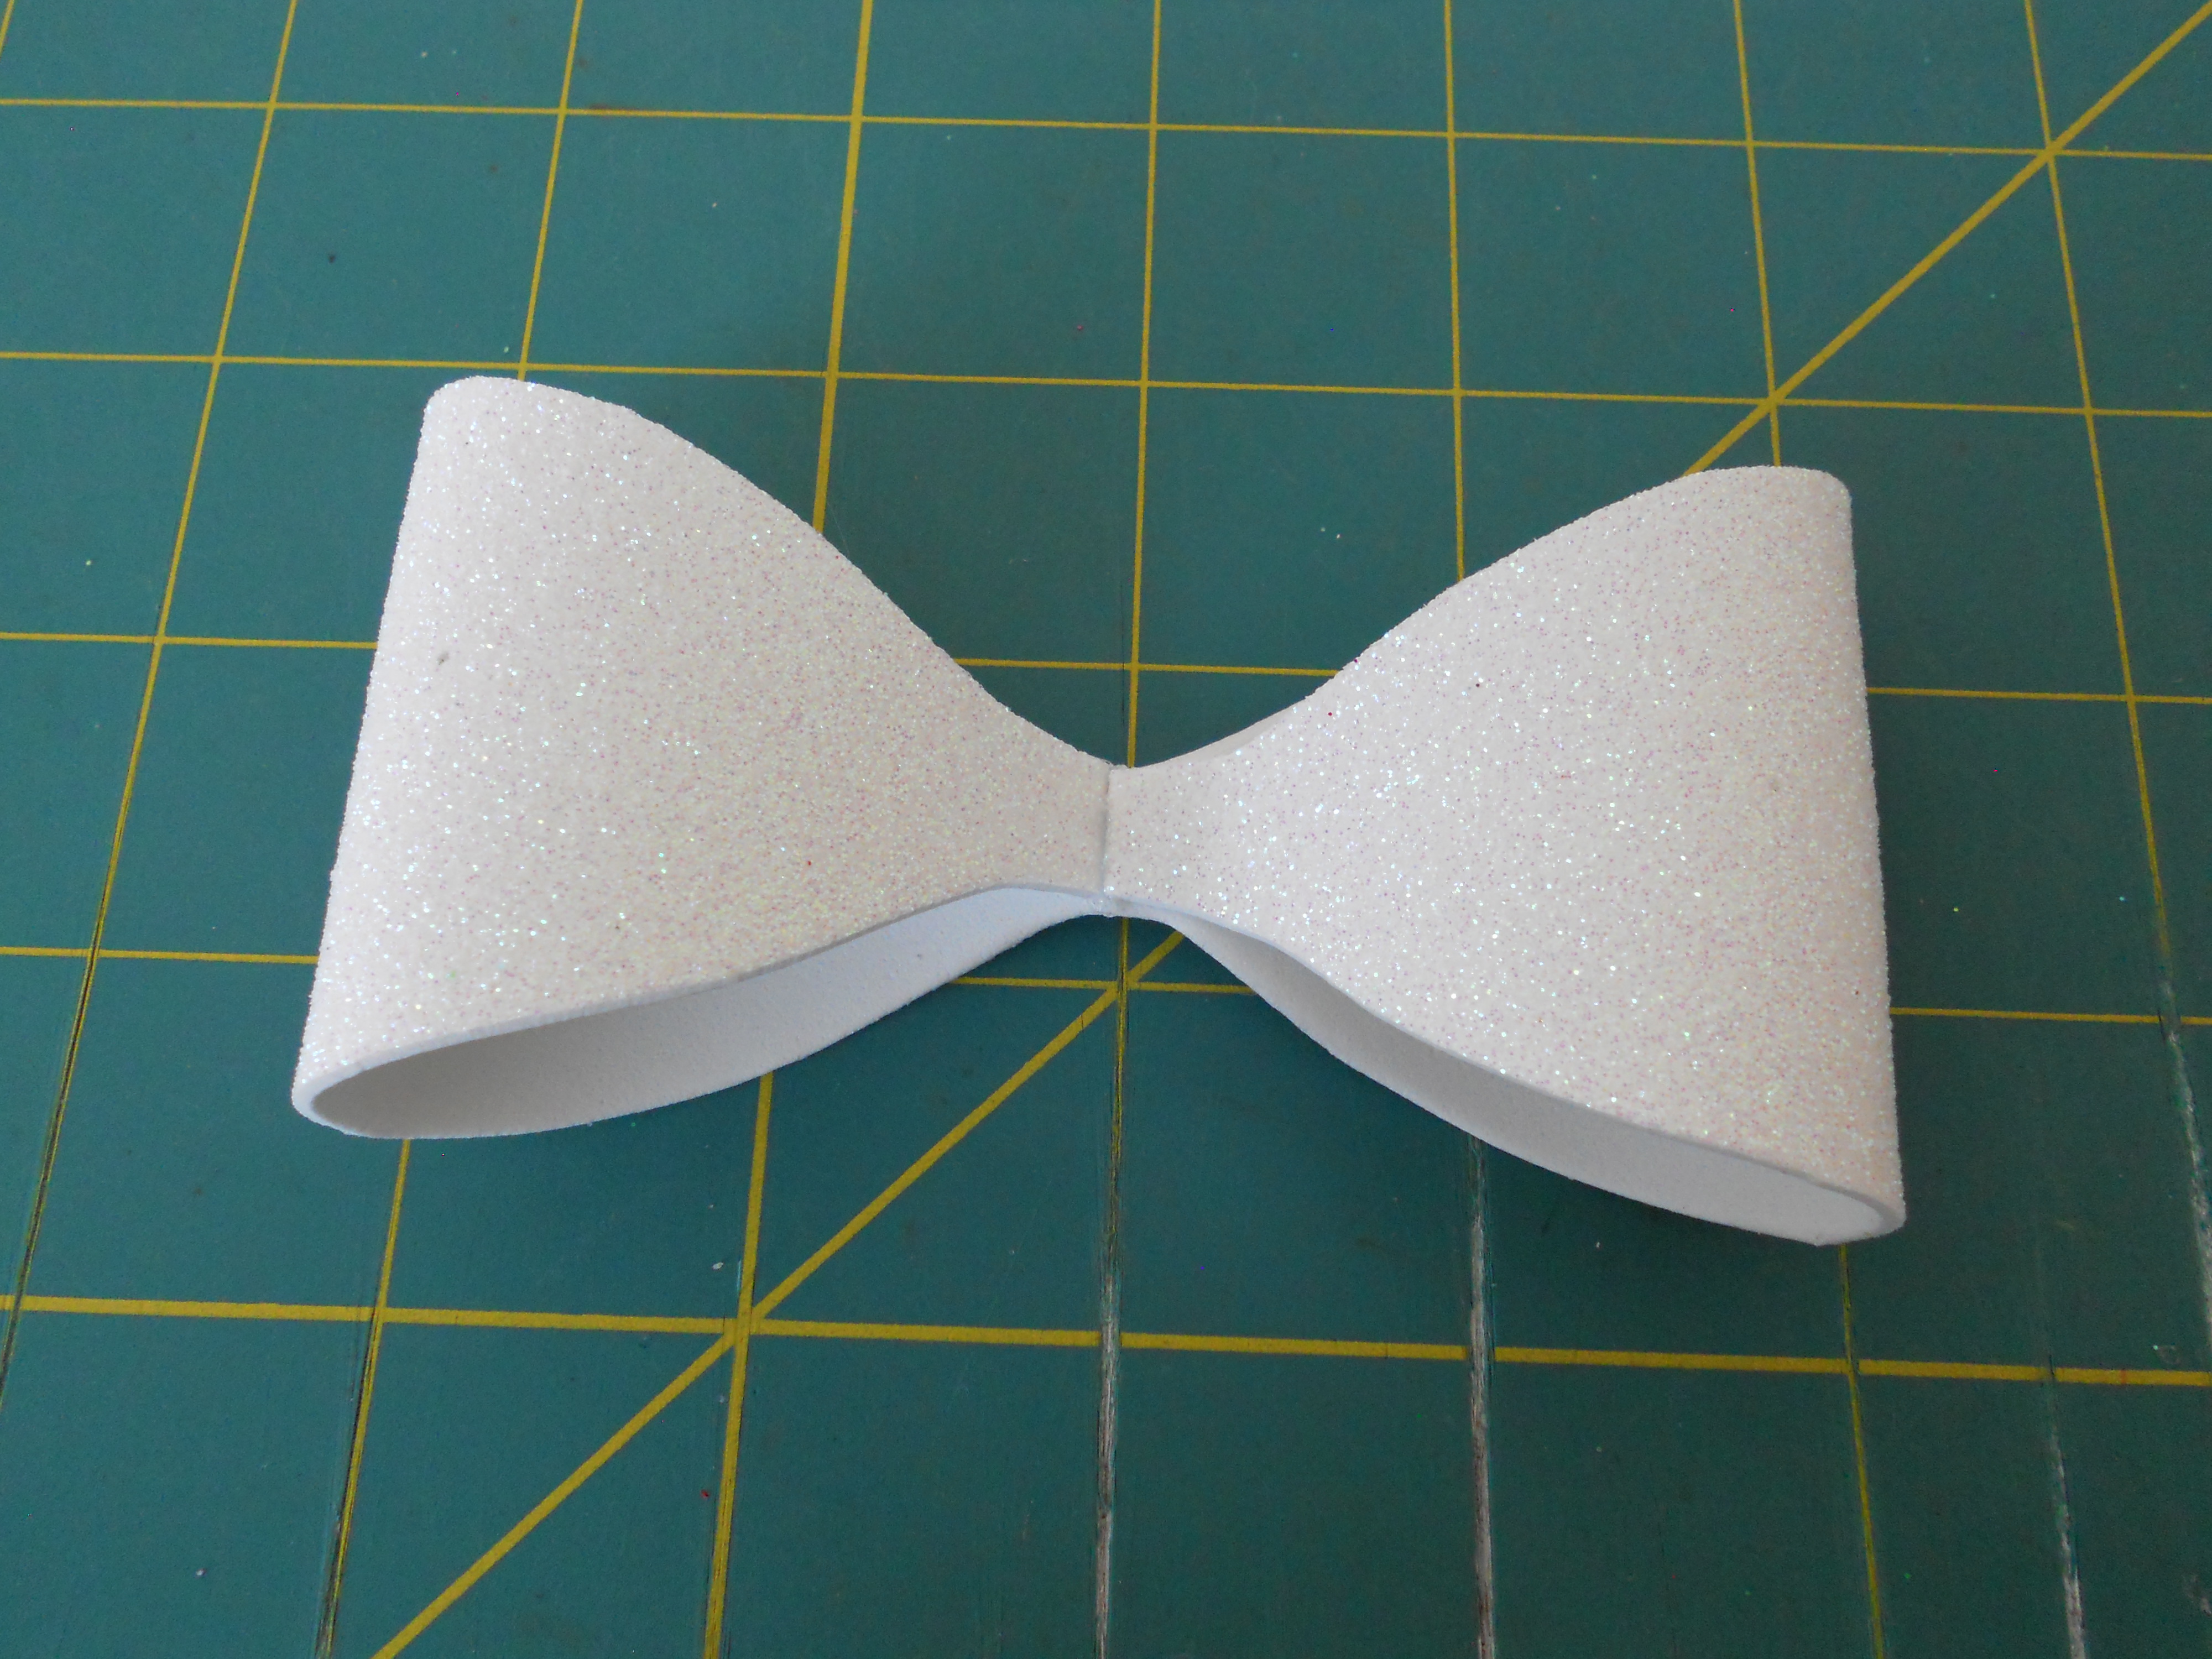
Step 4: Take your big round piece (the one that looks like glasses) and fold each side into the middle. Hot glue each side down, hold the piece down on the glue for a few seconds until it's dried.
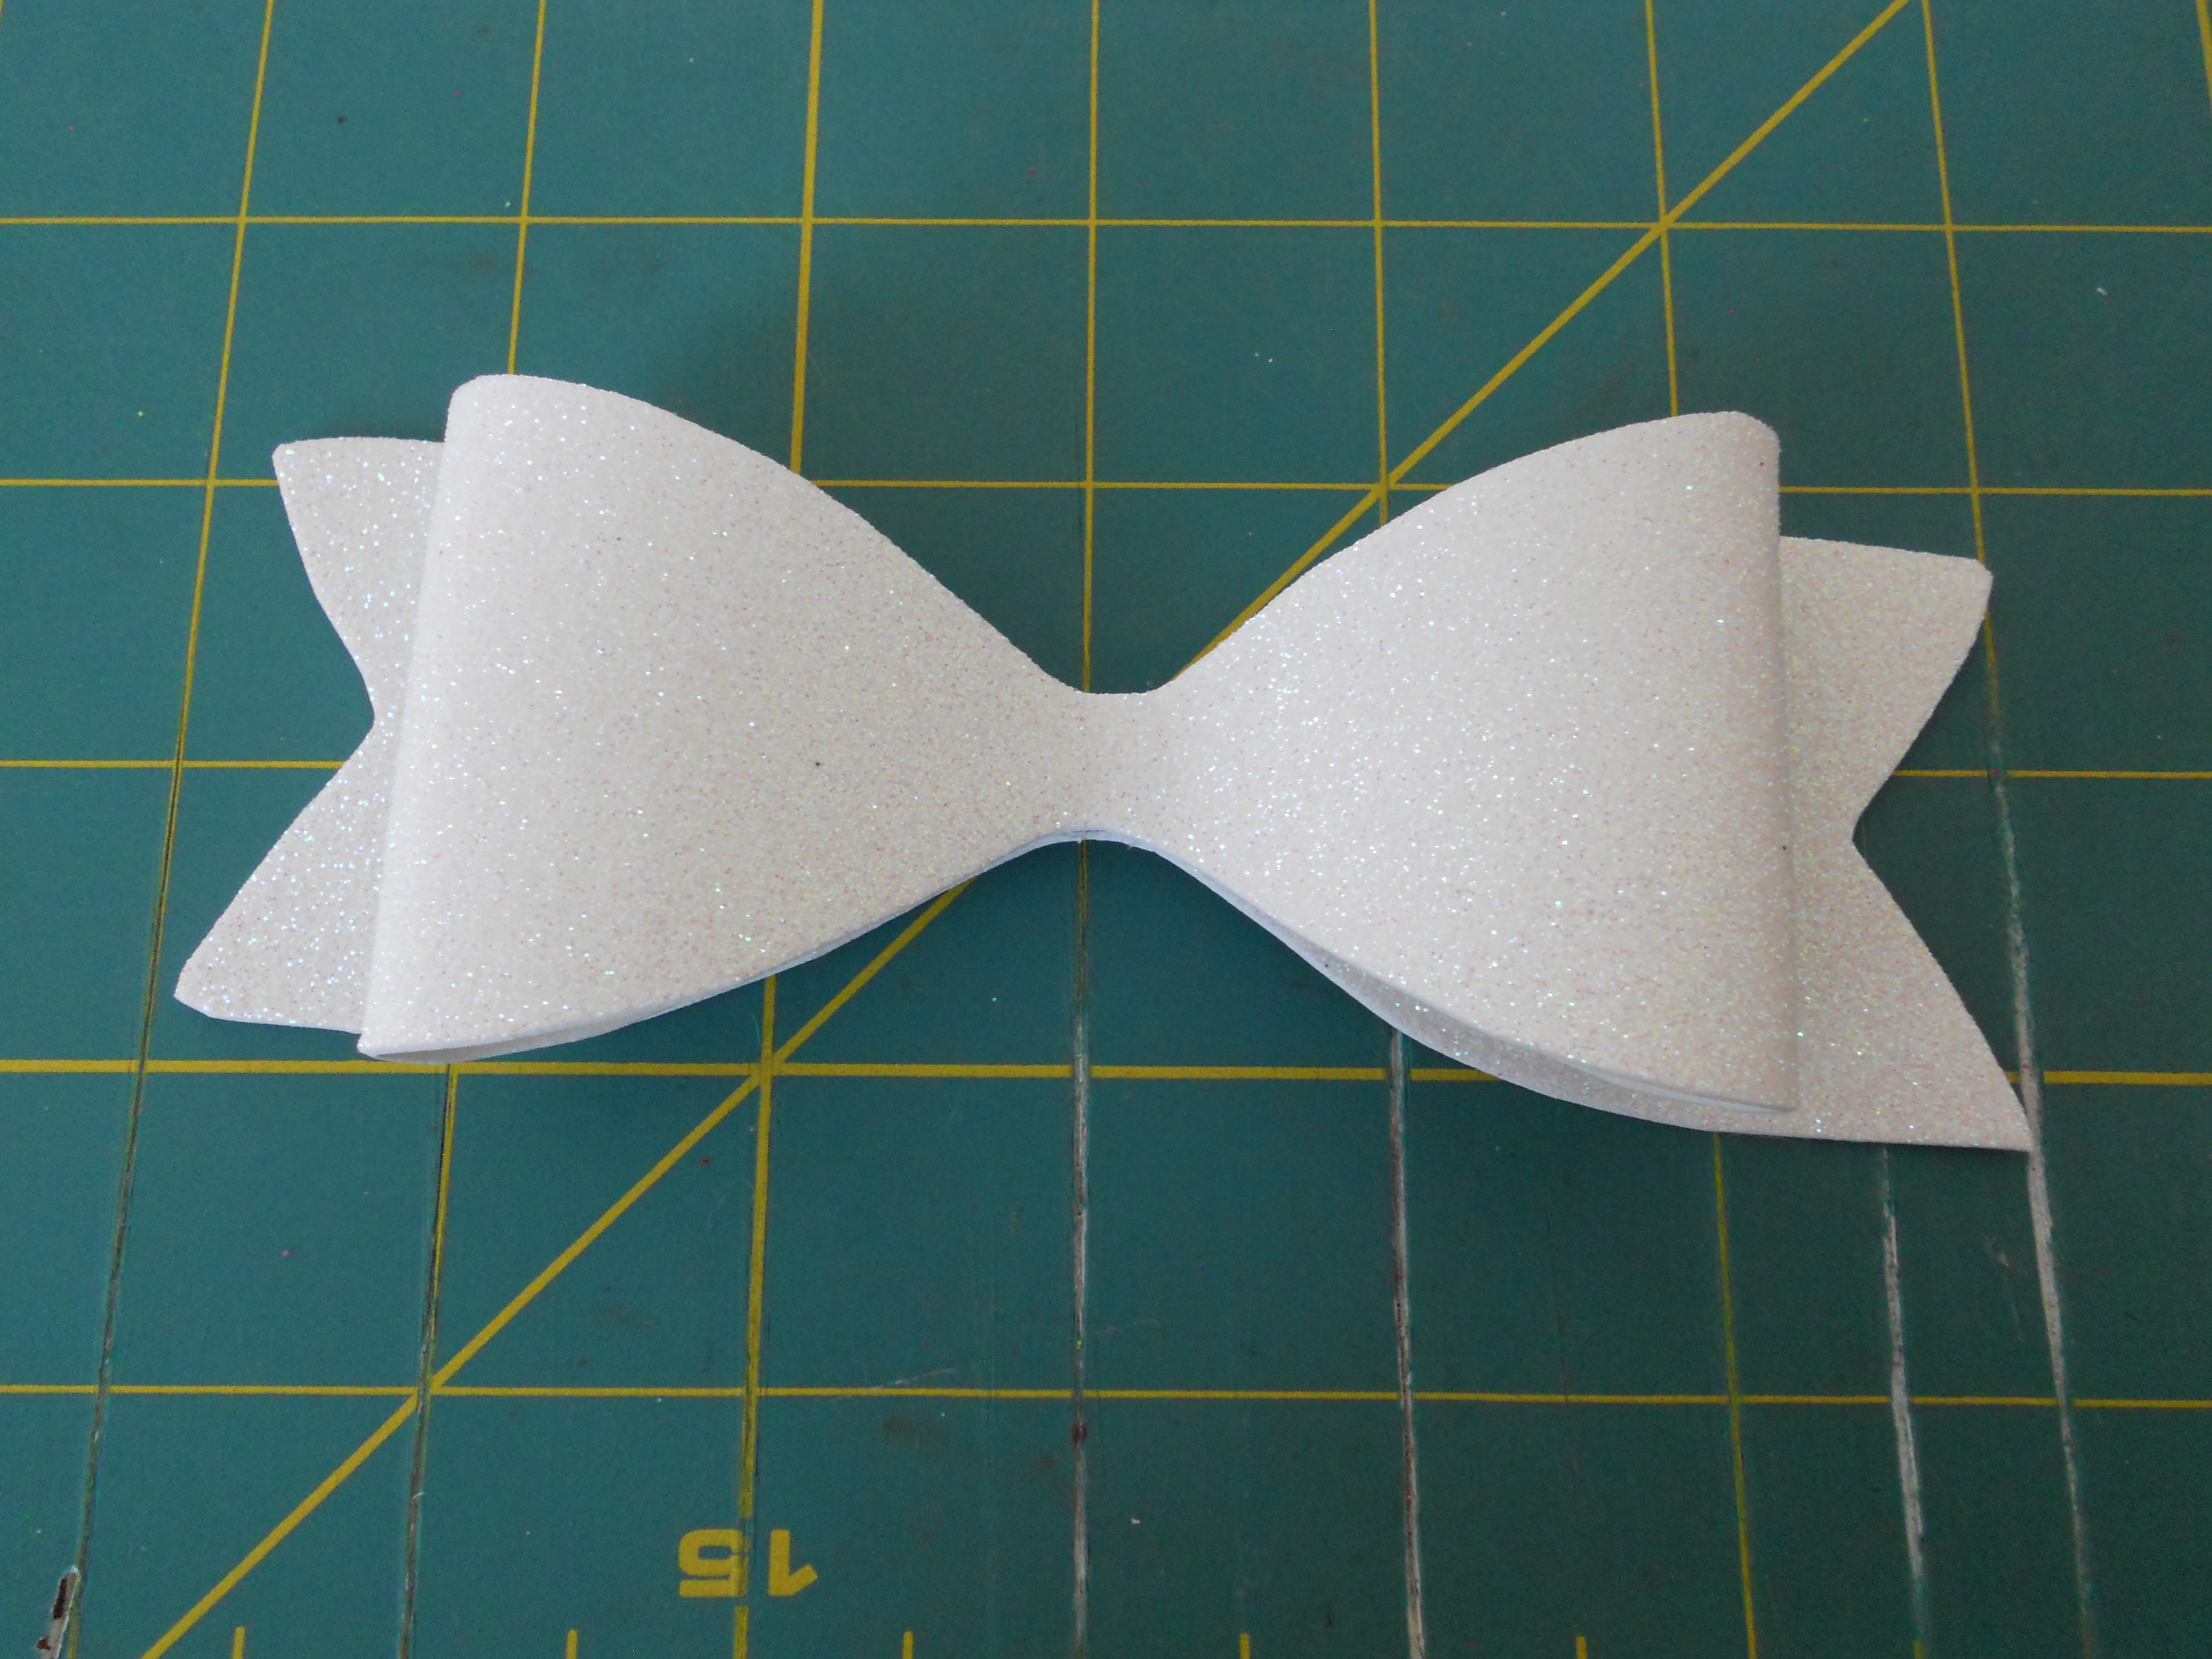
Step 5: Glue your bow piece onto the tail piece. Glue the side that you folded facing down.

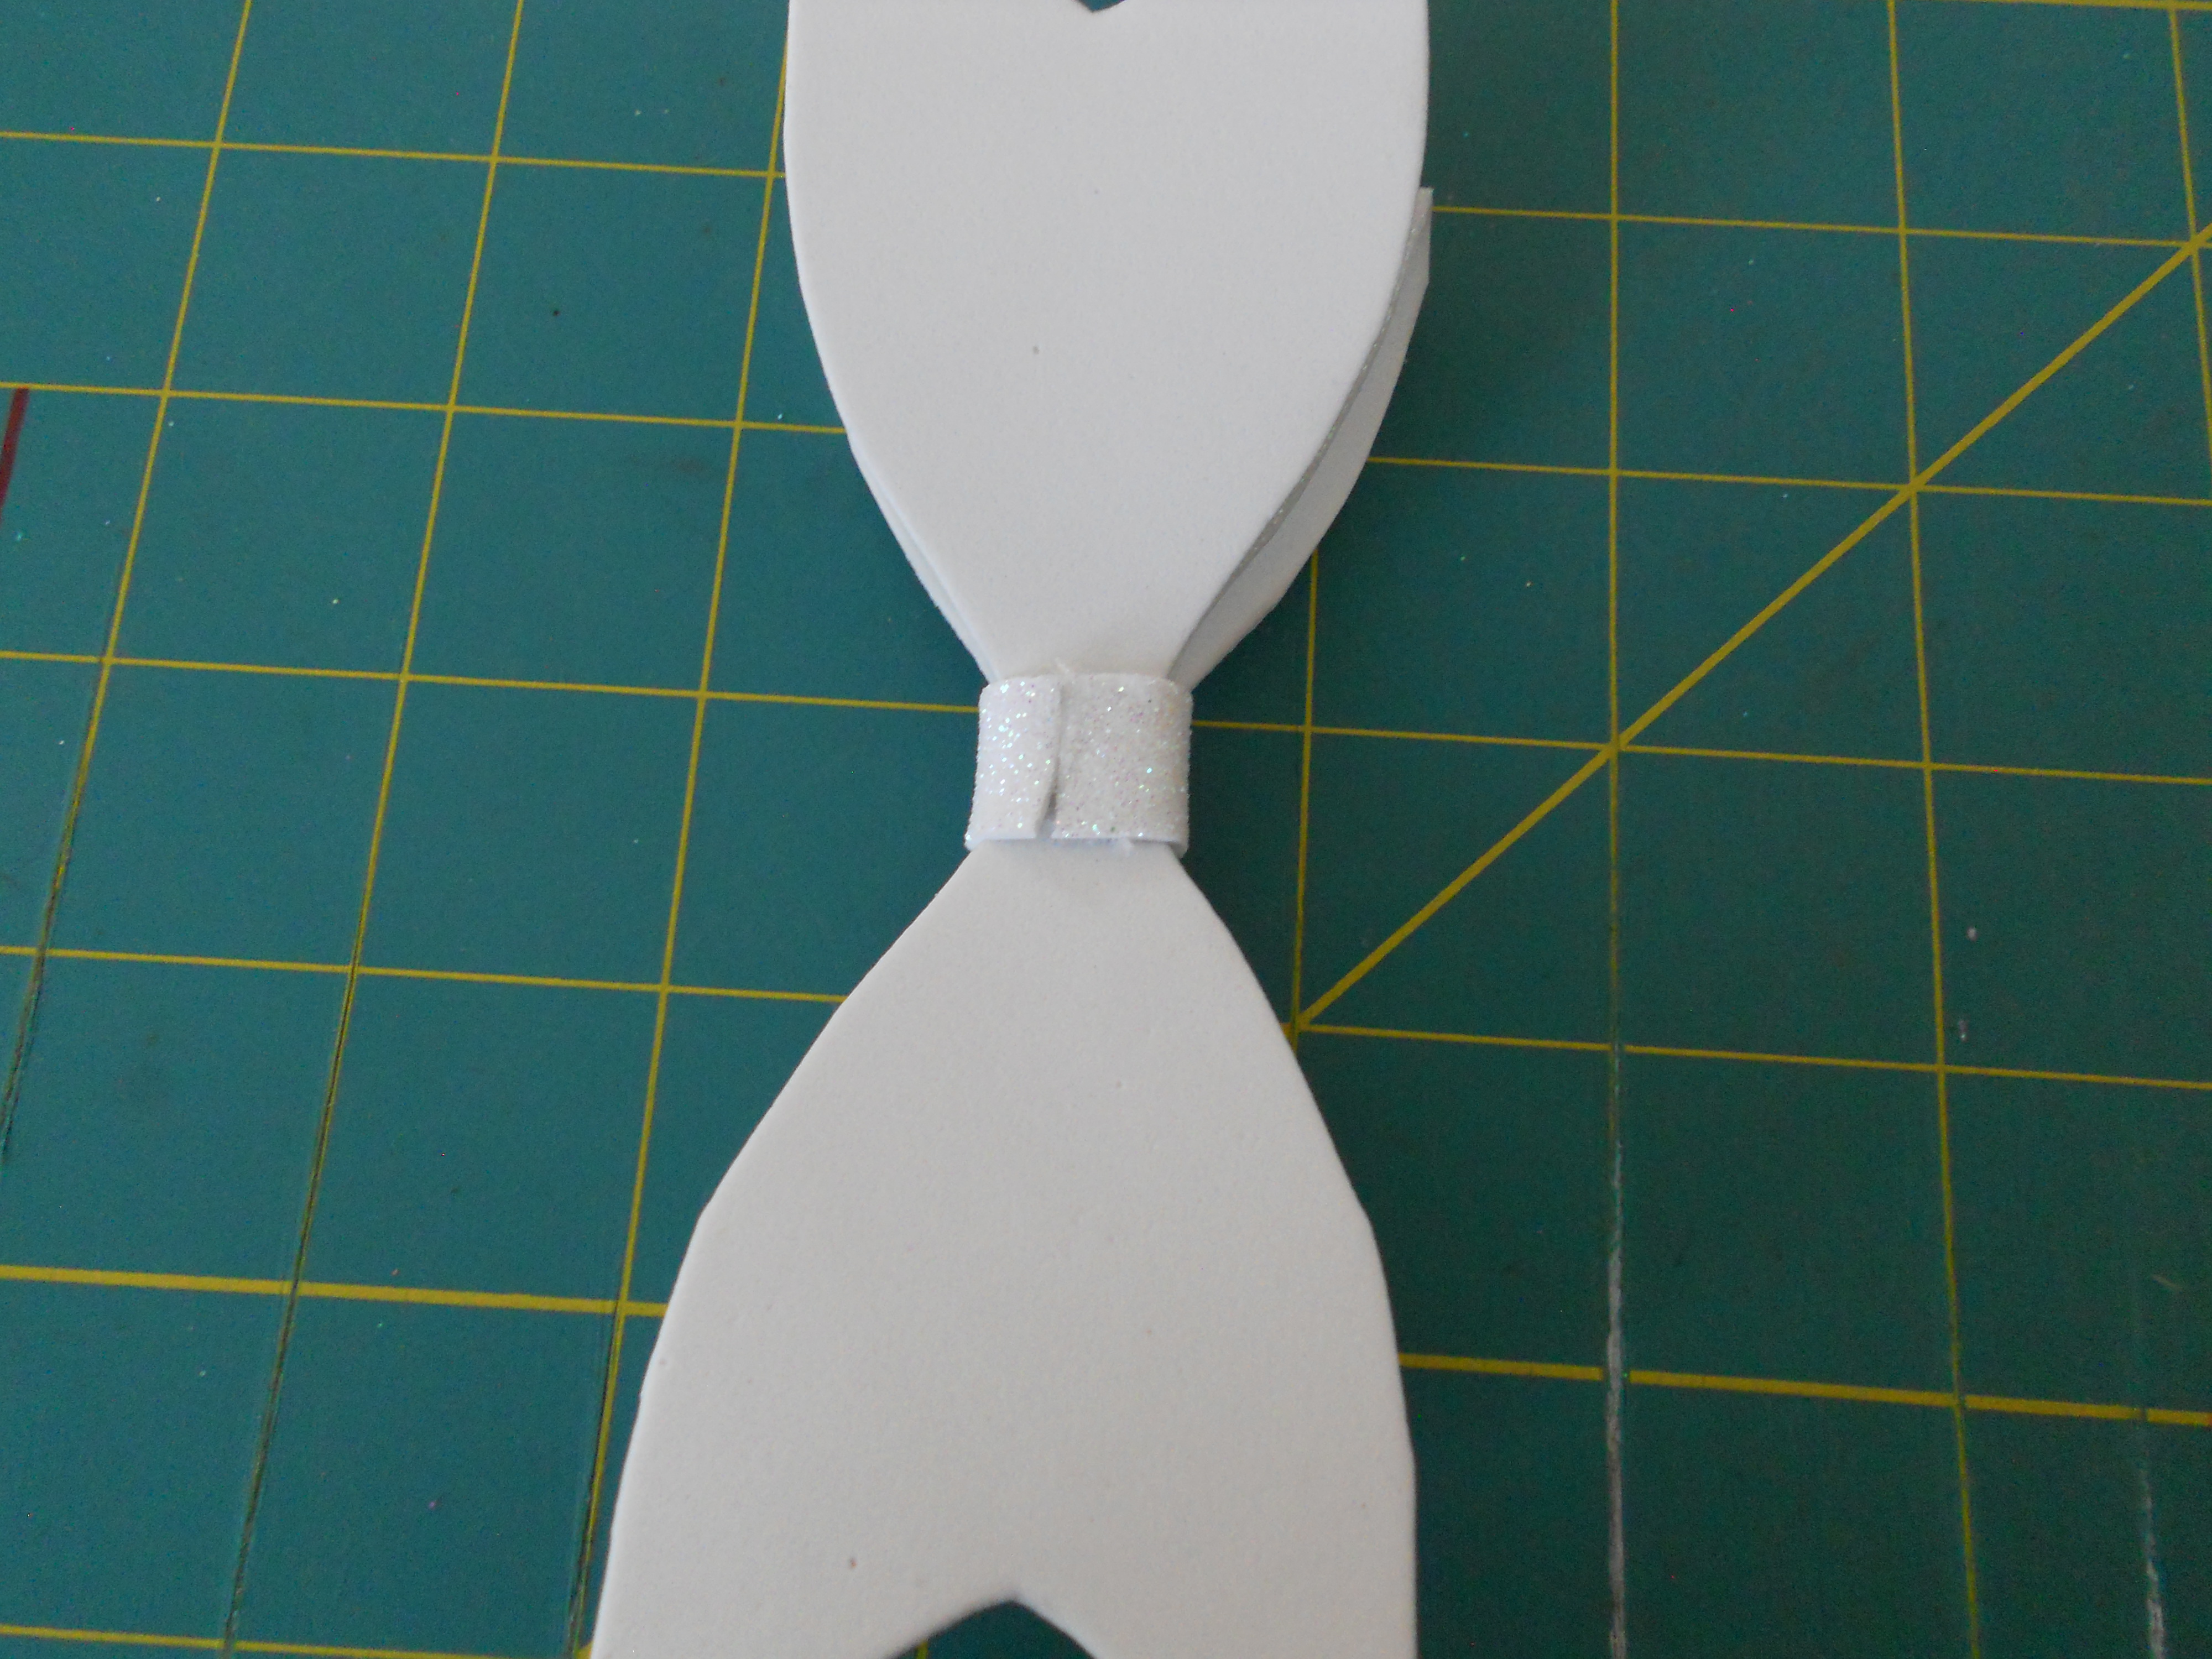
Step 6: Cover the center of your bow using the small rectangle piece. Start by gluing one side to the back of the bow. Wrap the piece around the front of the bow. Glue the other end down on the back.
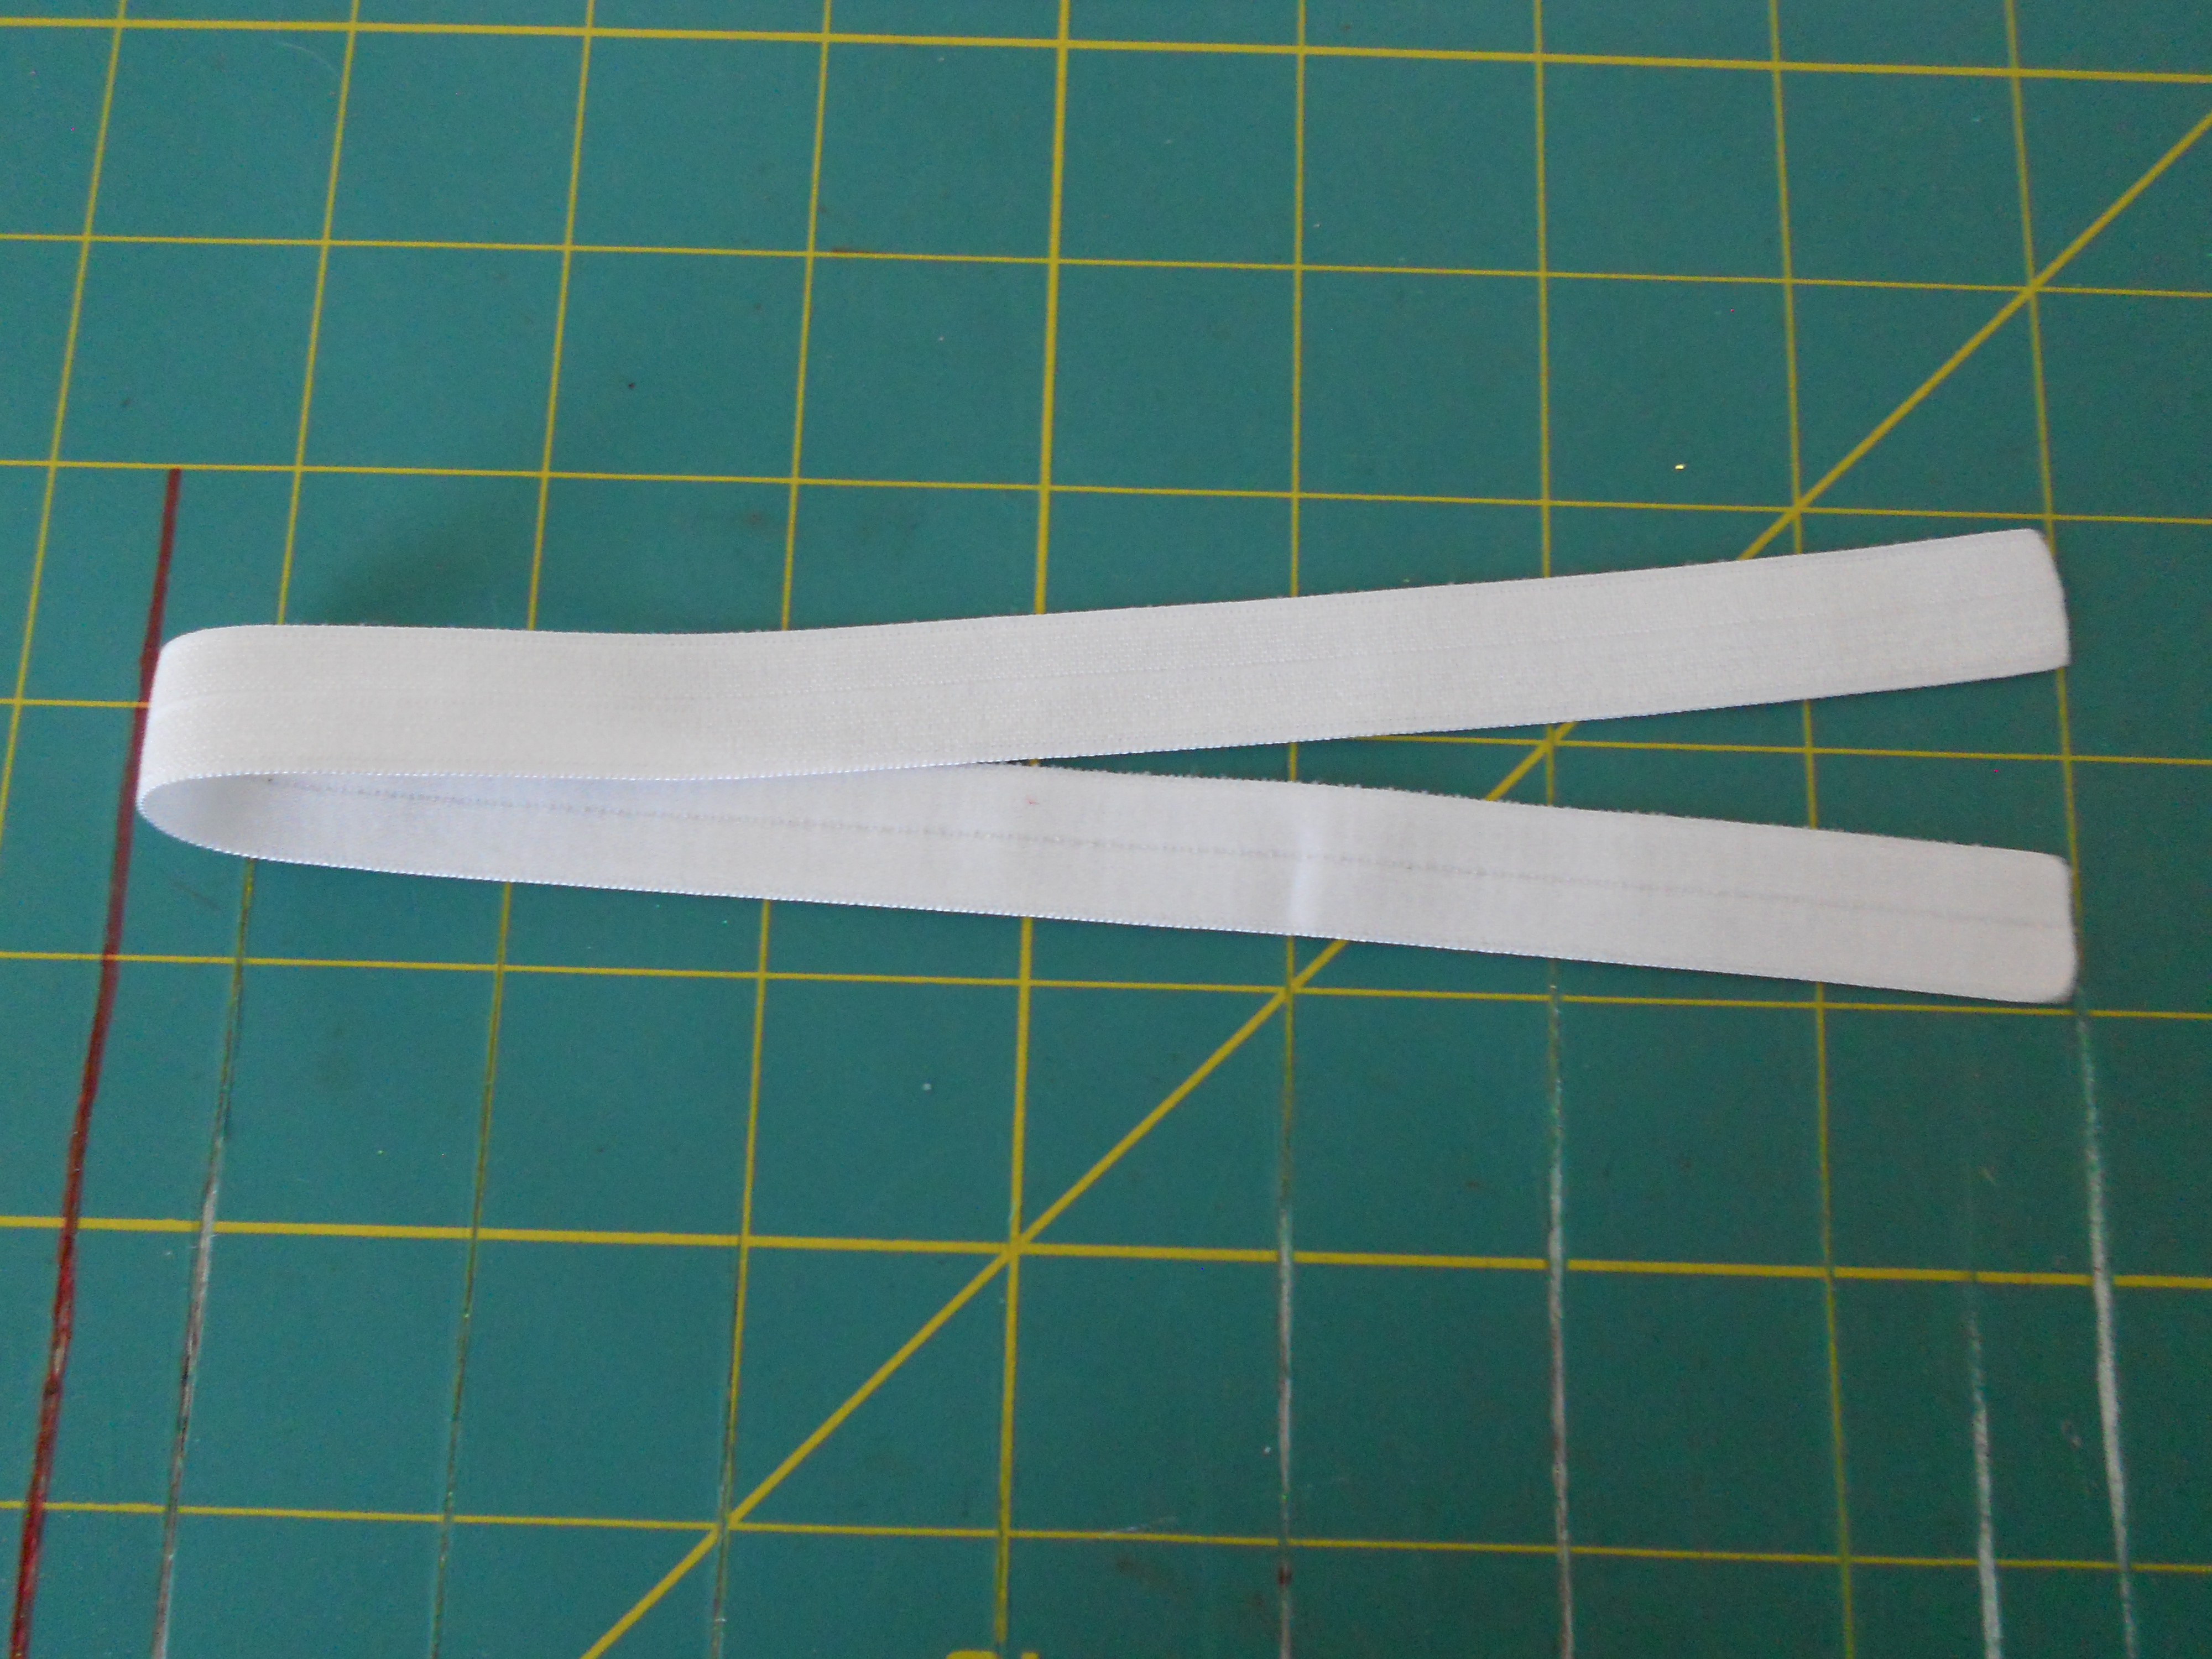
Step 7: Cut your fold over elastic to the size that you want. Below is a chart of the average size for each age group.
Premie 11-12" Newborn 13" 0-1 Year 14" 1-6 Years 15" Child/Teen 16.5" Adults 17.5-18"
*This chart is just a guide and may not be the correct size for every child.*
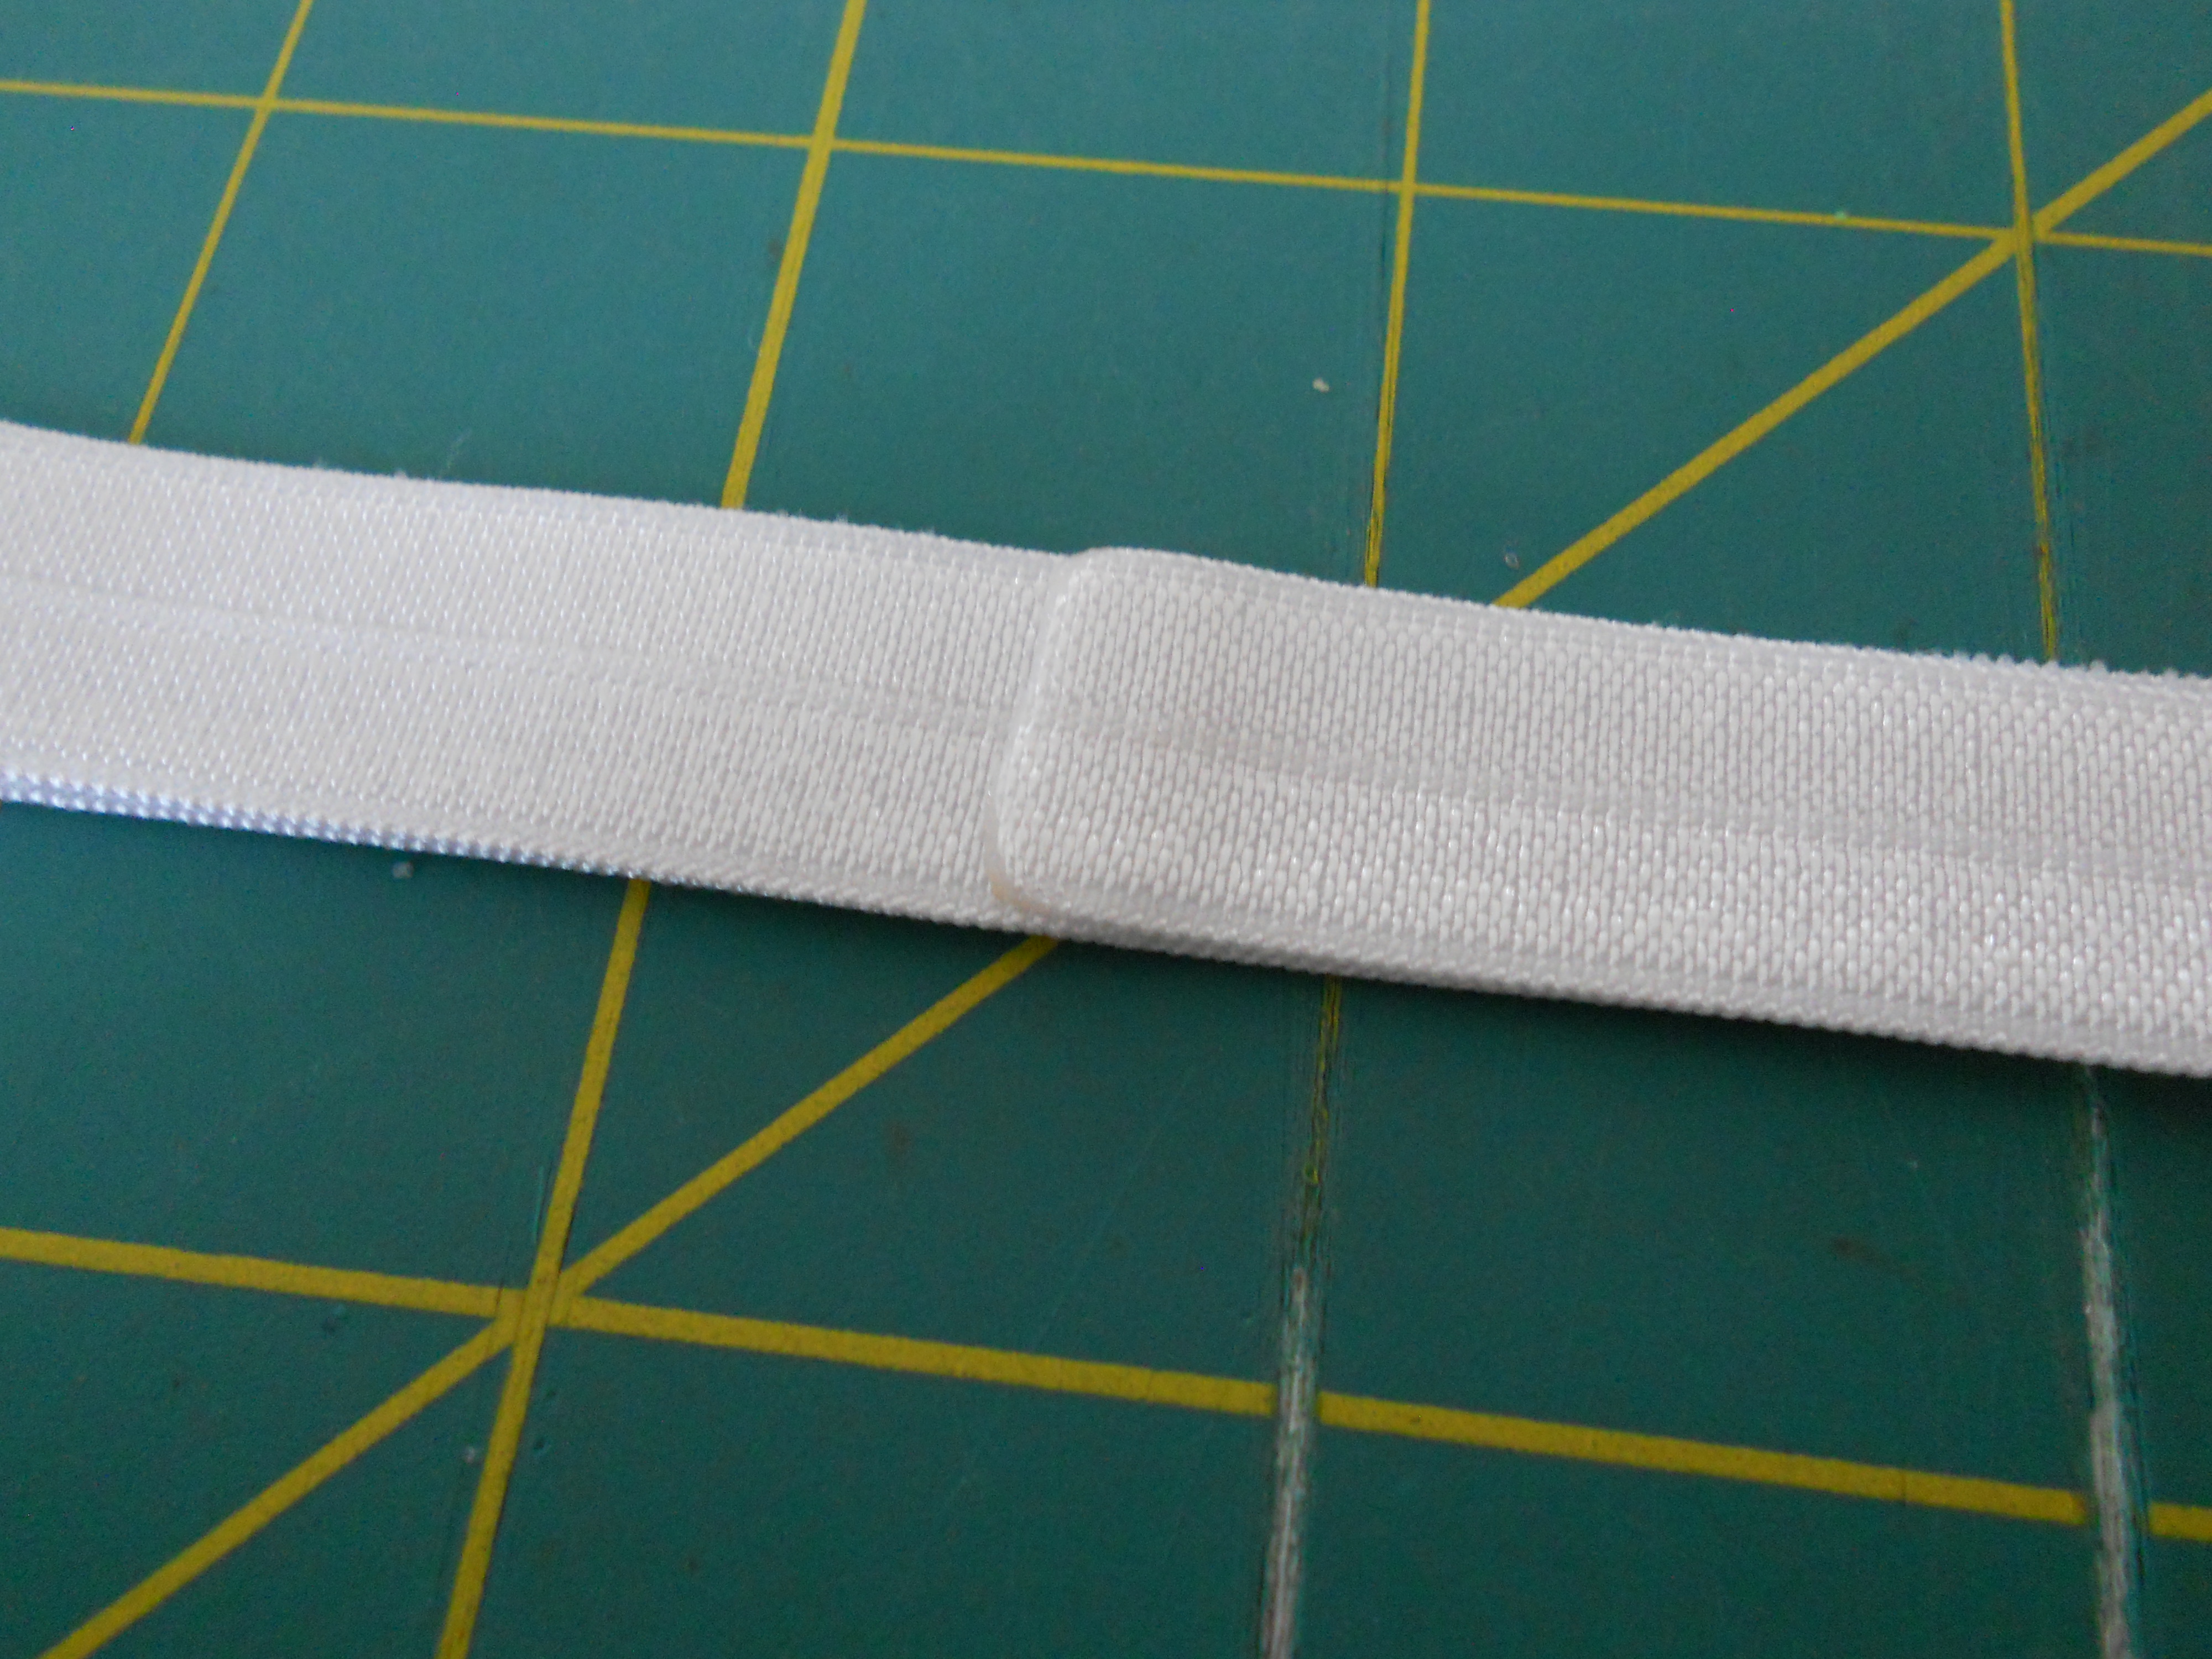
Step 8: Heat seal your ends with a lighter and glue the to open ends together, overlapping about .5".

Step 9: Glue the headband to the back of the bow.
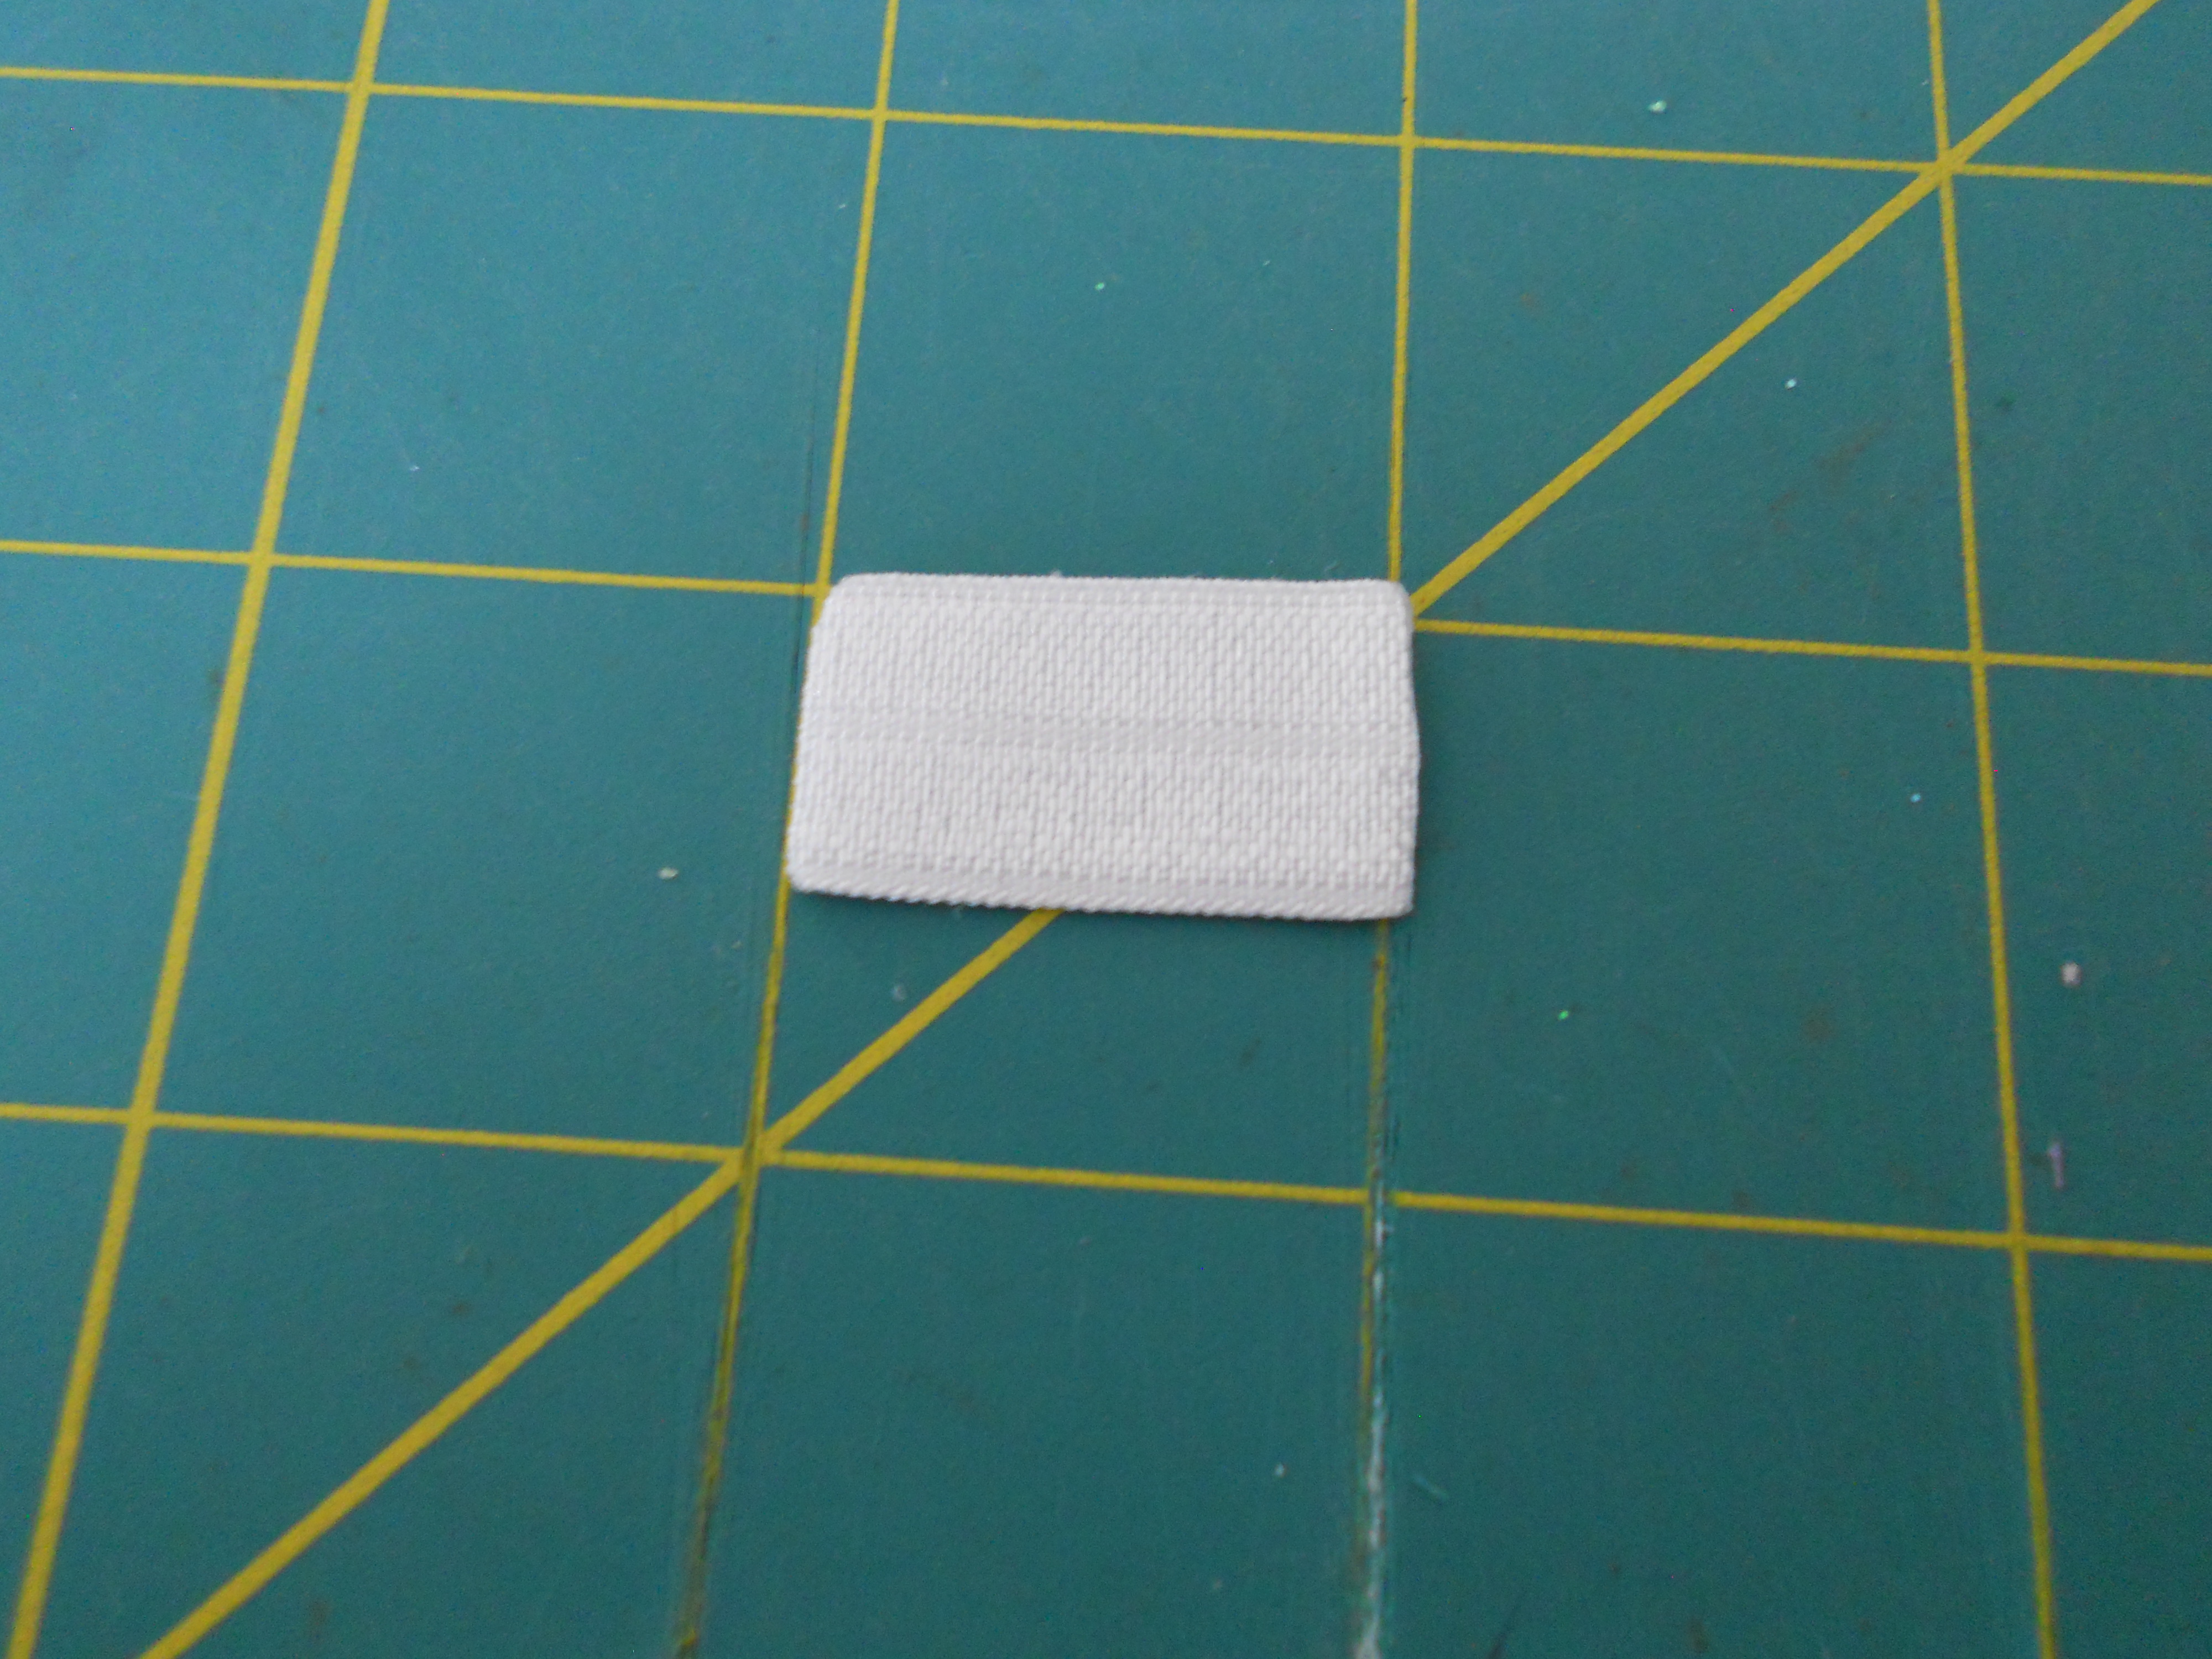
Step 10: Cut a small piece of your fold over elastic, heat seal the ends. 
Step 11: Use the small piece of elastic to cover the center of the headband.
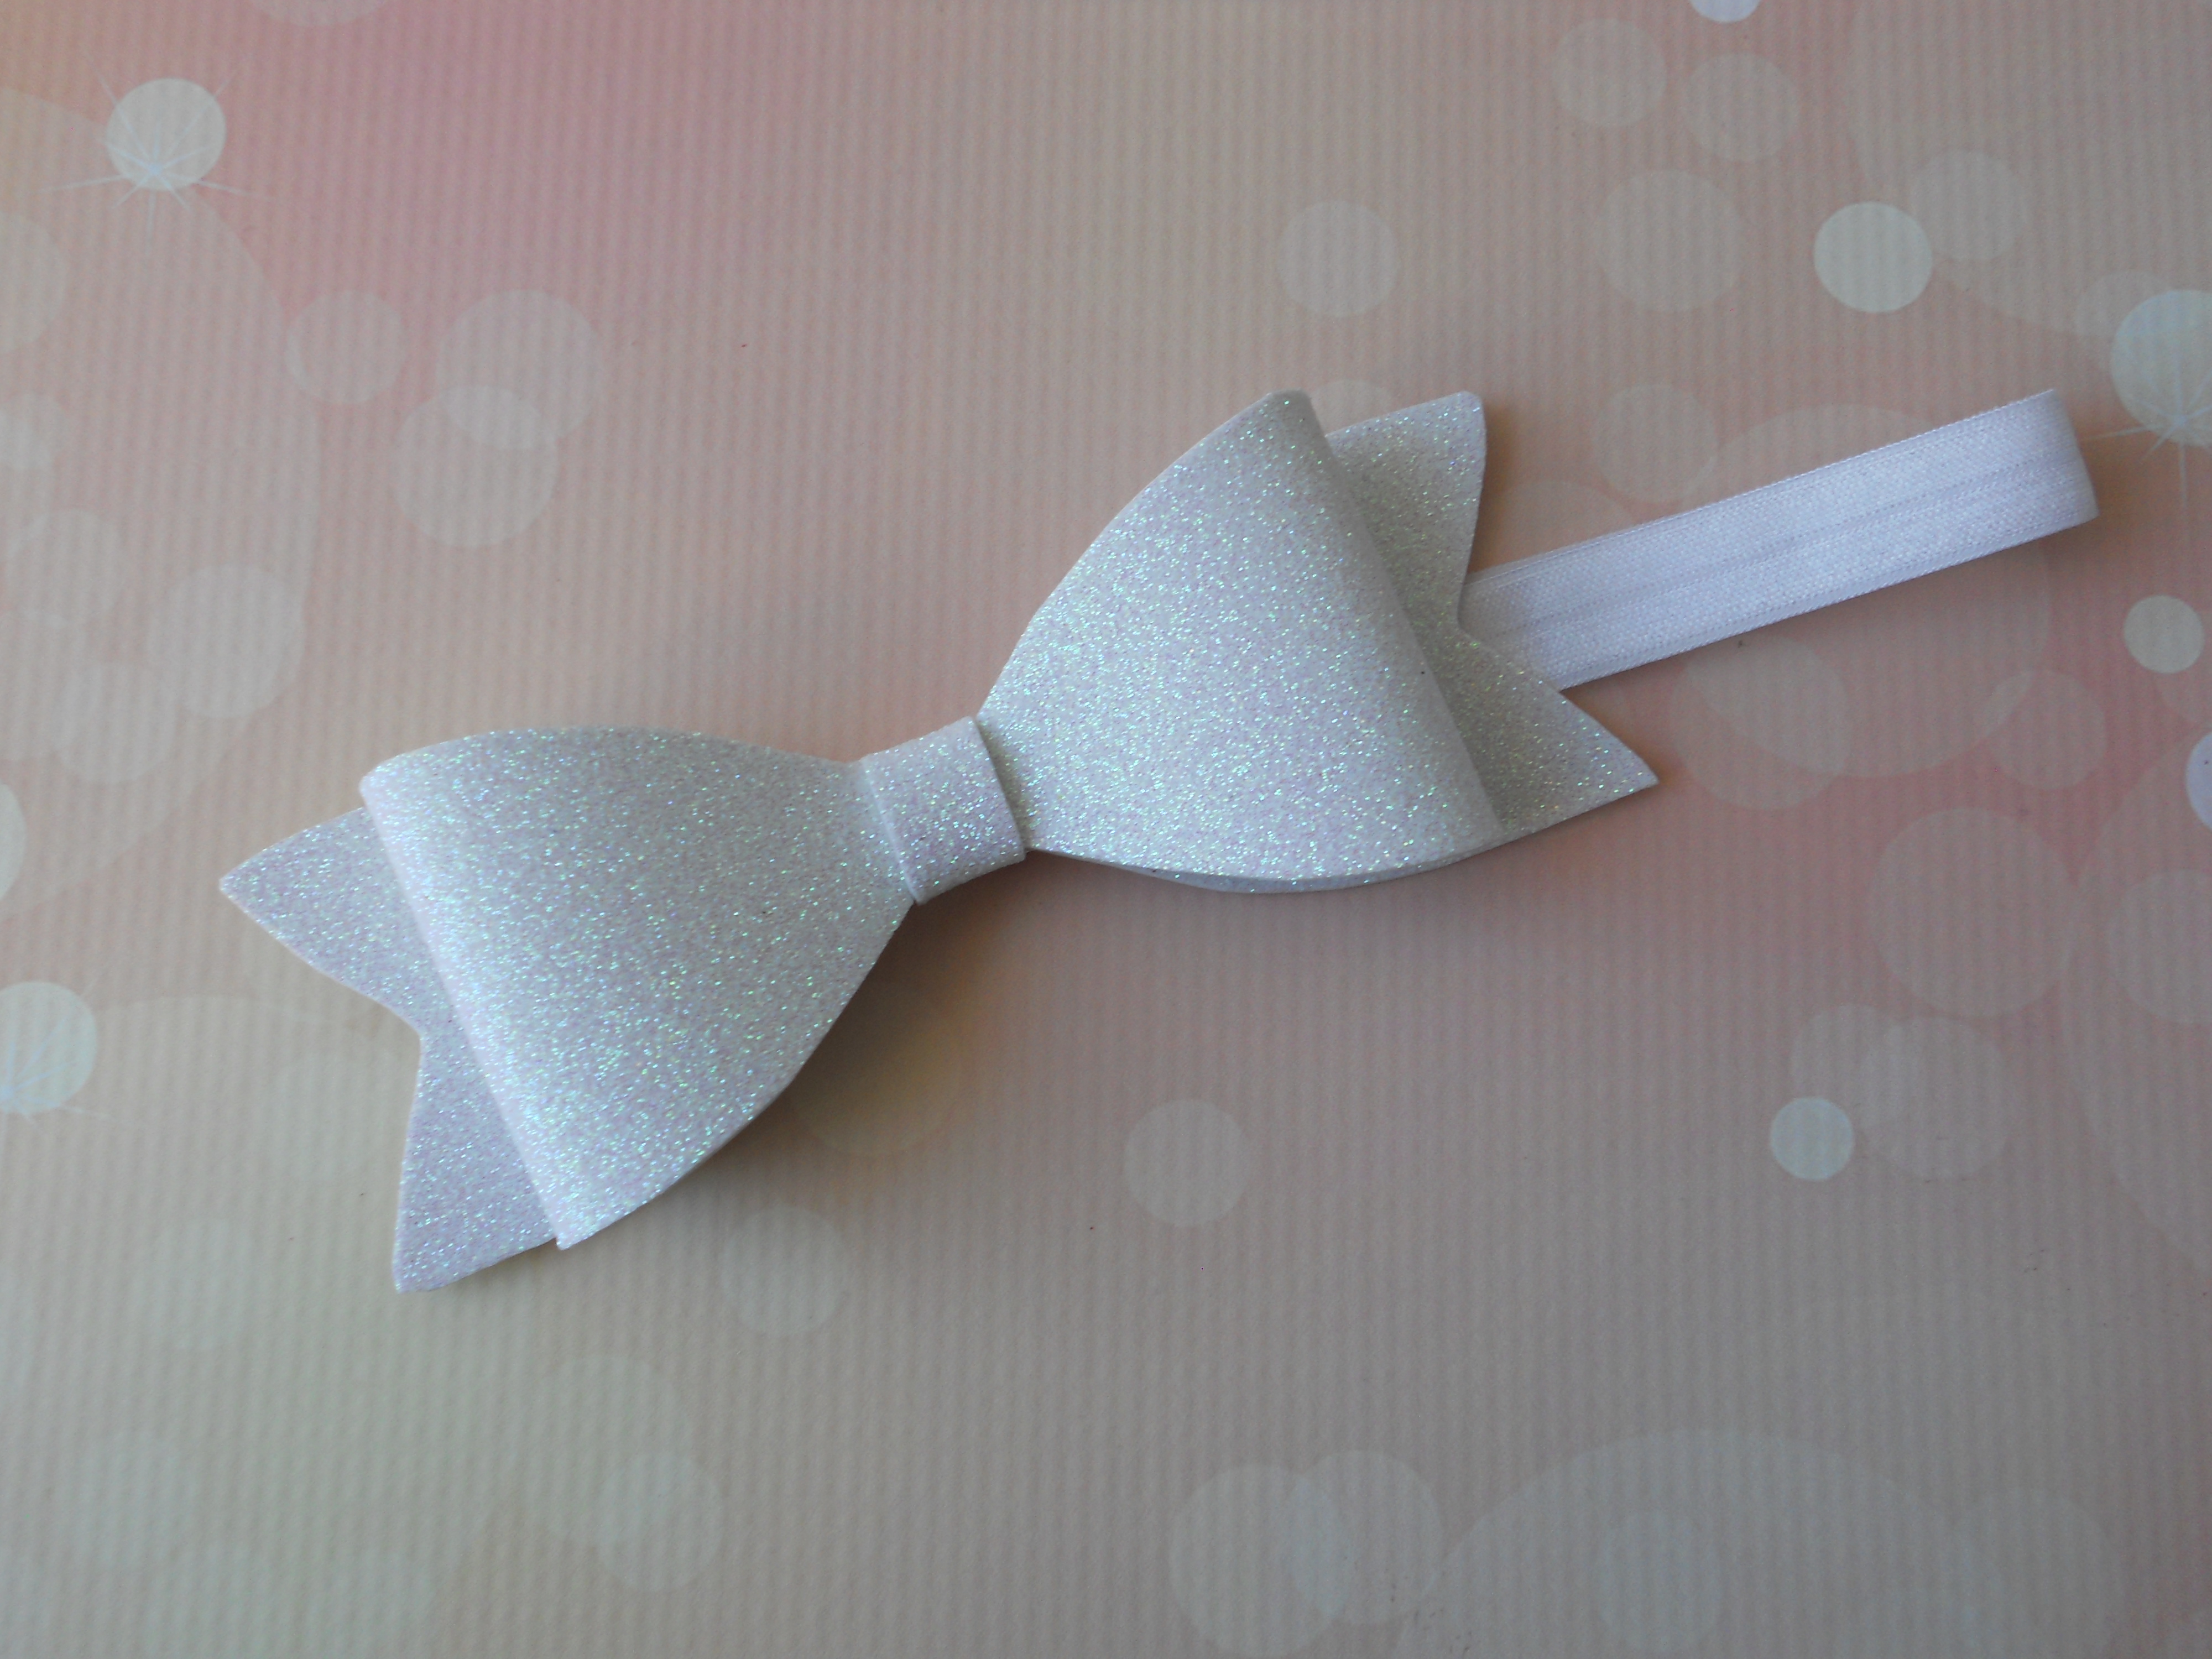
You're all finished! How cute are these? They are just adorable on my 5 year old and they're light weight so she doesn't mind wearing them. This foam comes in so many different colors and I even saw it in animal print! I can't wait to make some more of these in all the different colors.
Visit the rest of our blog for more Crafting Tutorials and DIY Instructions!
Loading...

