 contributor post by Cassie
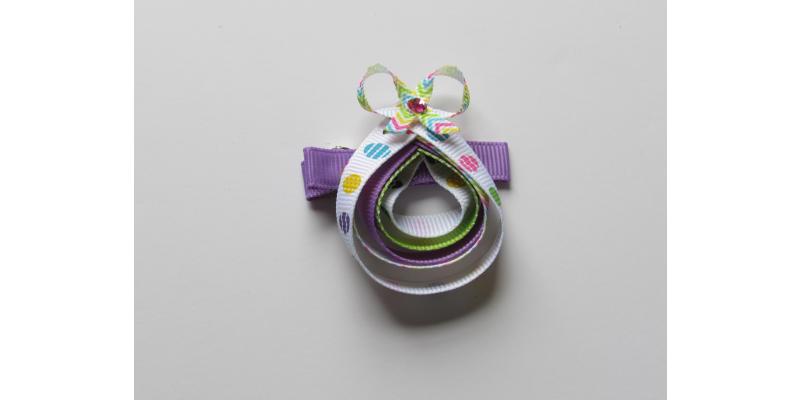
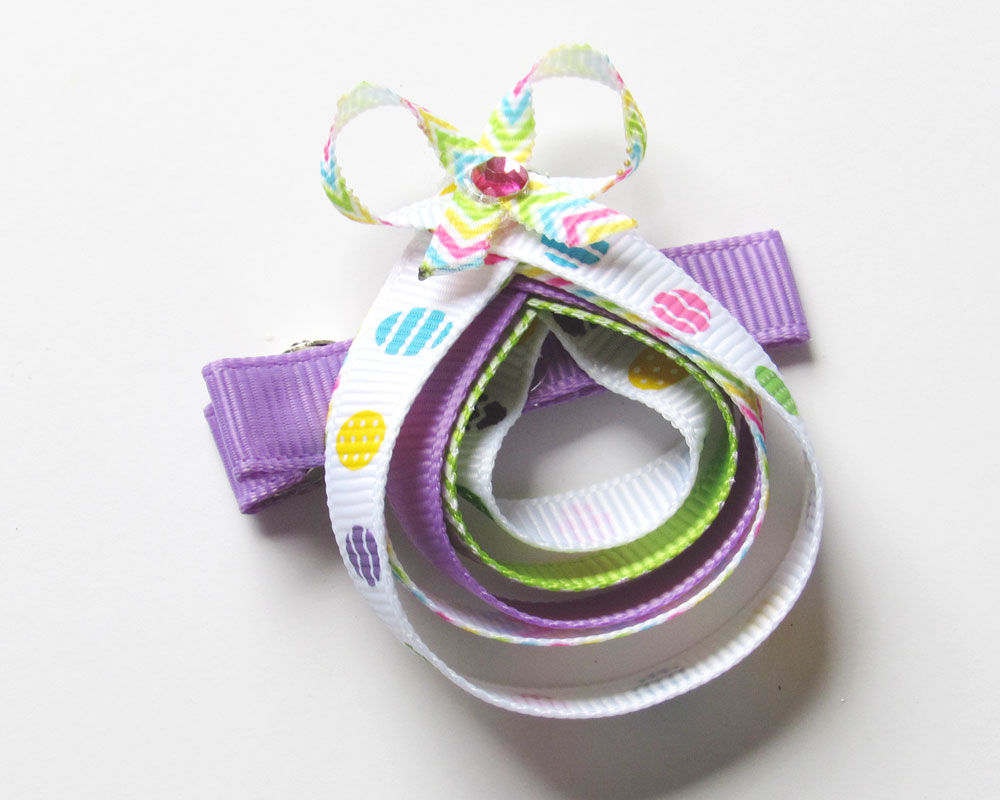
Hi y'all, it is Cassie from CuppyCake GumDrop Boutique & More here! Today we will be going over how to make this adorable Easter Egg Ribbon Sculpture. So, lets gather our supplies and get ready :)
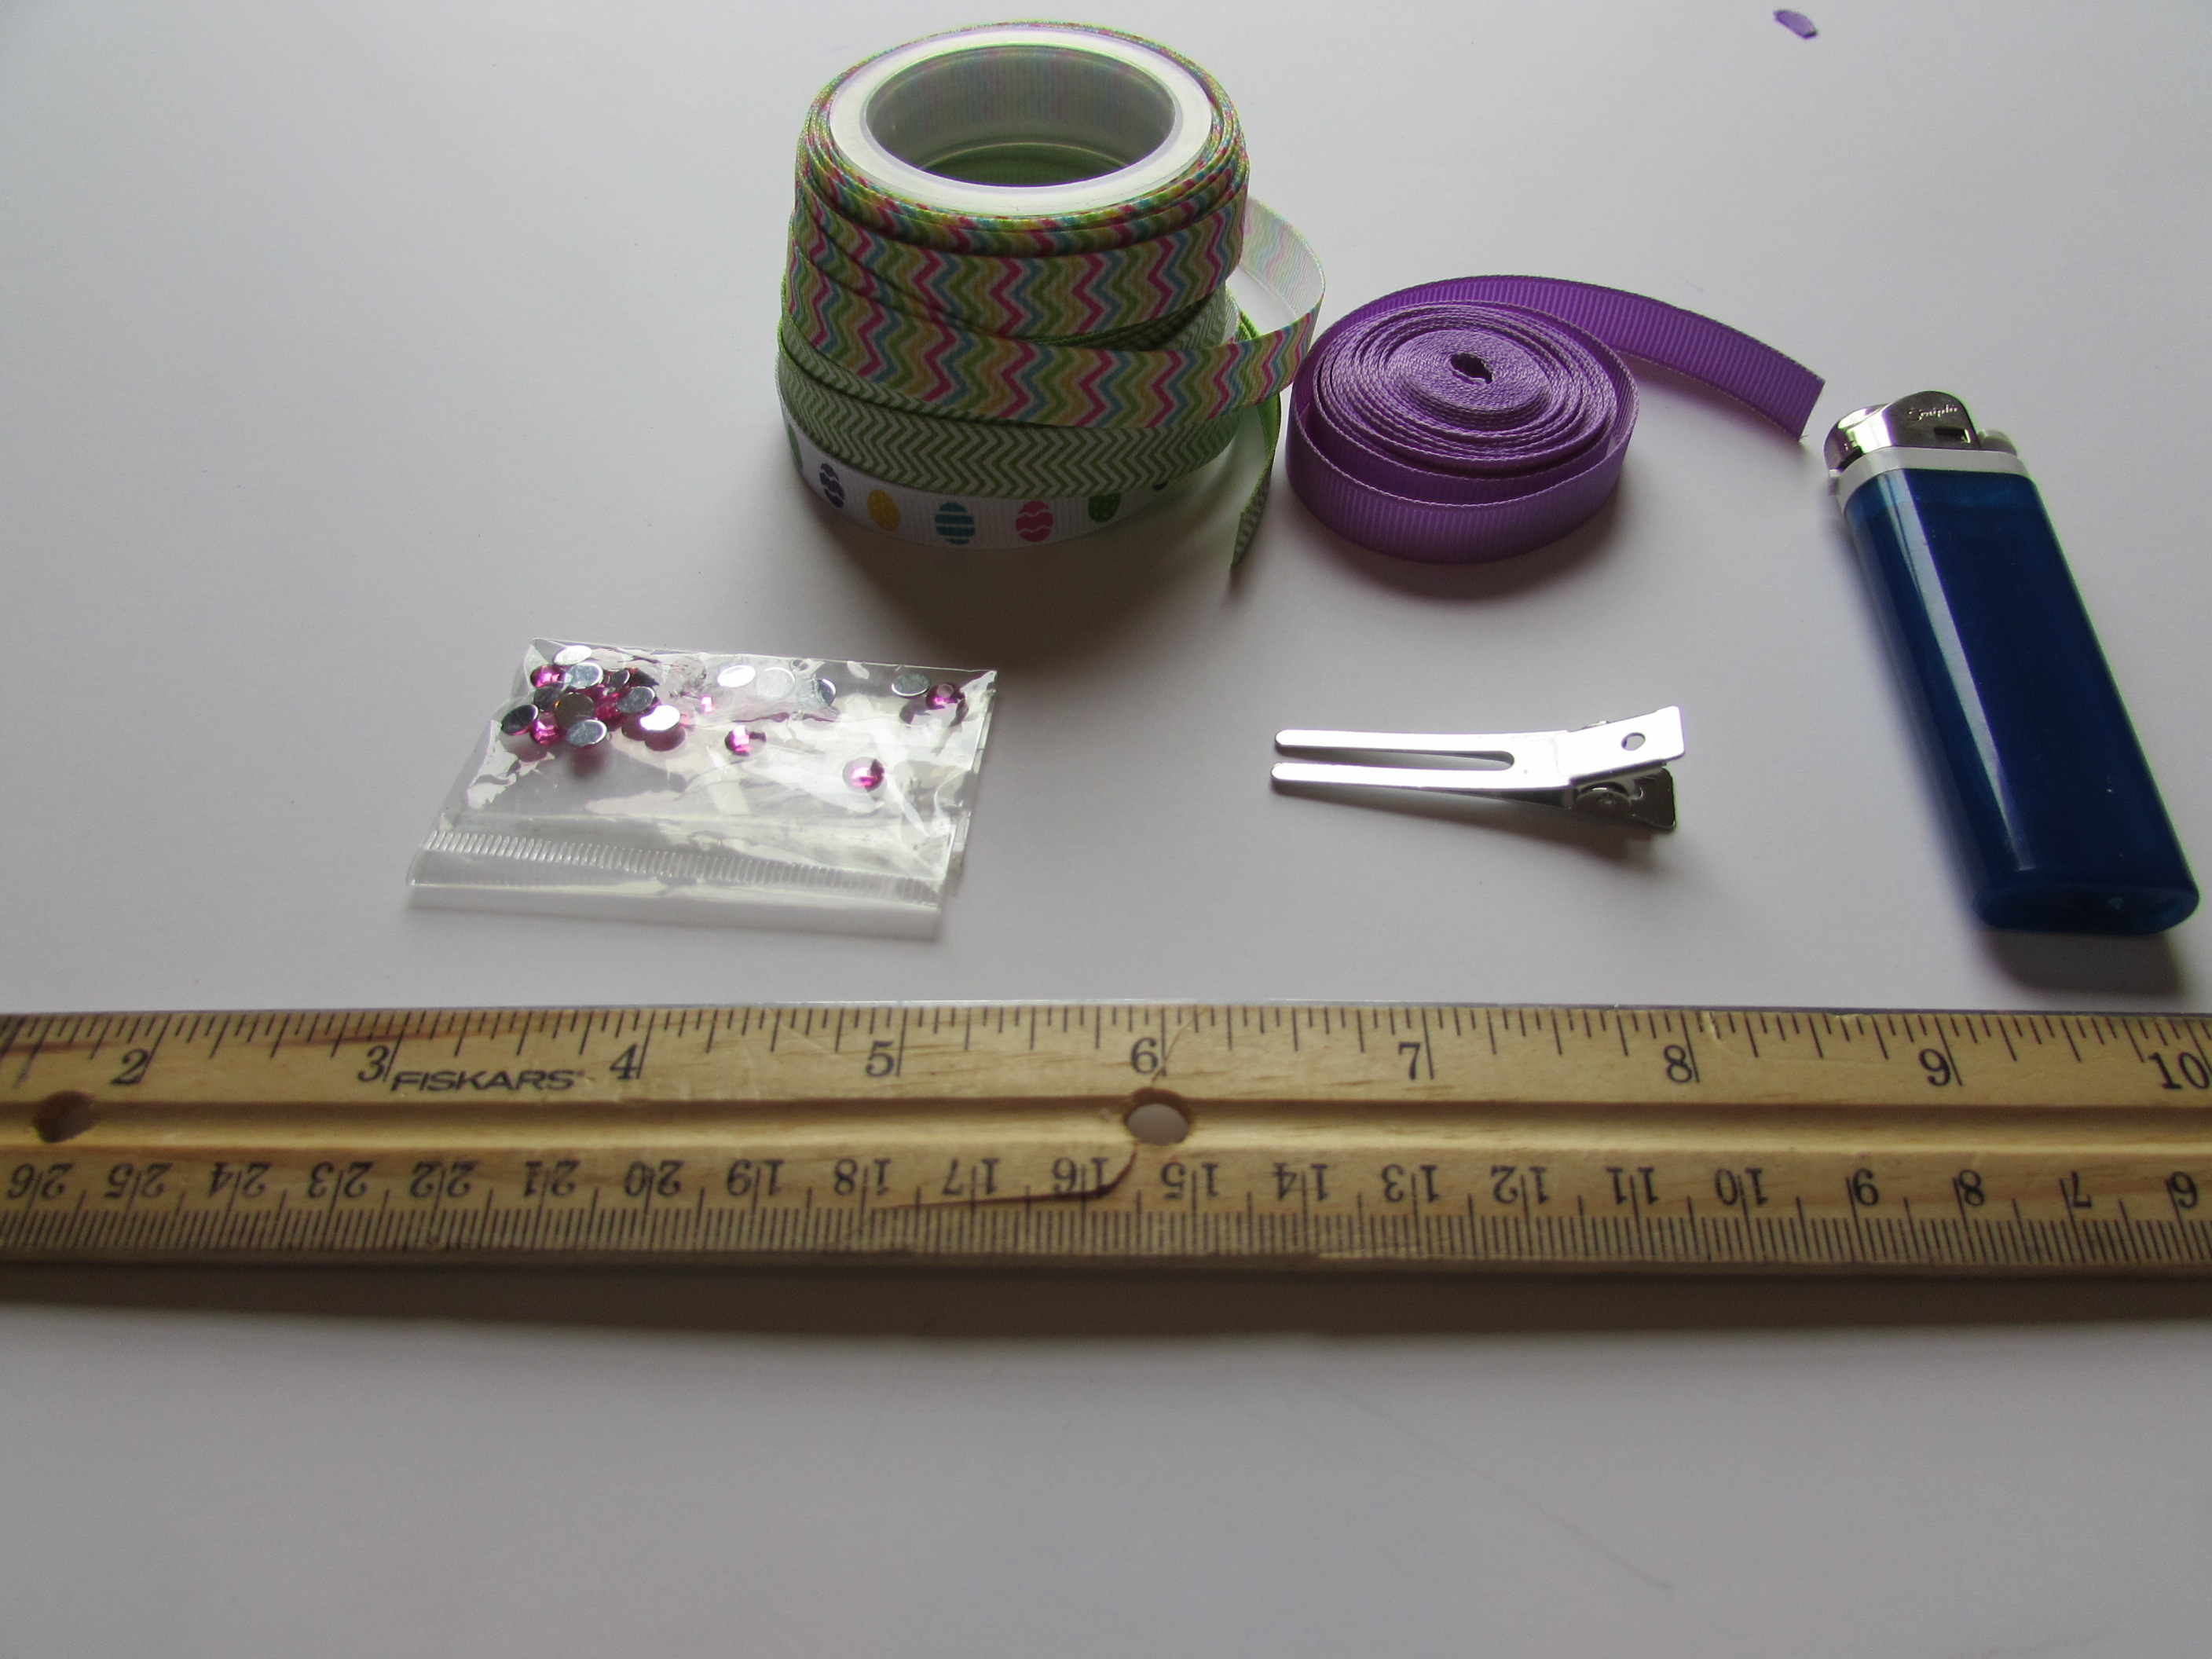
Supplies needed:
3/8" Ribbon
Alligator Clip
Hotglue & Hotglue gun
Rhinestone
Scissors
Lighter
Ruler
contributor post by Cassie
Hi y'all, it is Cassie from CuppyCake GumDrop Boutique & More here! Today we will be going over how to make this adorable Easter Egg Ribbon Sculpture. So, lets gather our supplies and get ready :)
Supplies needed:
3/8" Ribbon
Alligator Clip
Hotglue & Hotglue gun
Rhinestone
Scissors
Lighter
Ruler
 Step 1: Measure and cut your ribbon pieces needed for the egg.
1 - 5" piece
1- 4 1/2" piece
1 - 4" piece
1 - 3 1/2" piece
1 - 3" piece
Step 1: Measure and cut your ribbon pieces needed for the egg.
1 - 5" piece
1- 4 1/2" piece
1 - 4" piece
1 - 3 1/2" piece
1 - 3" piece
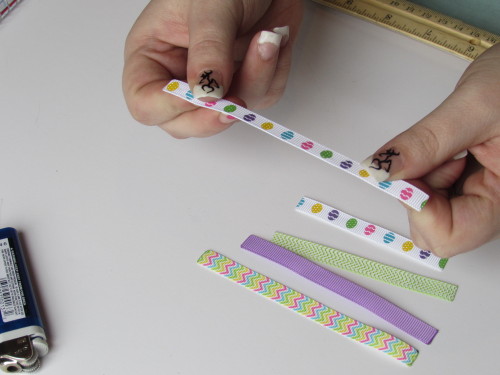
 Step 2: Be sure to HEAT SEAL all ends of your ribbon.
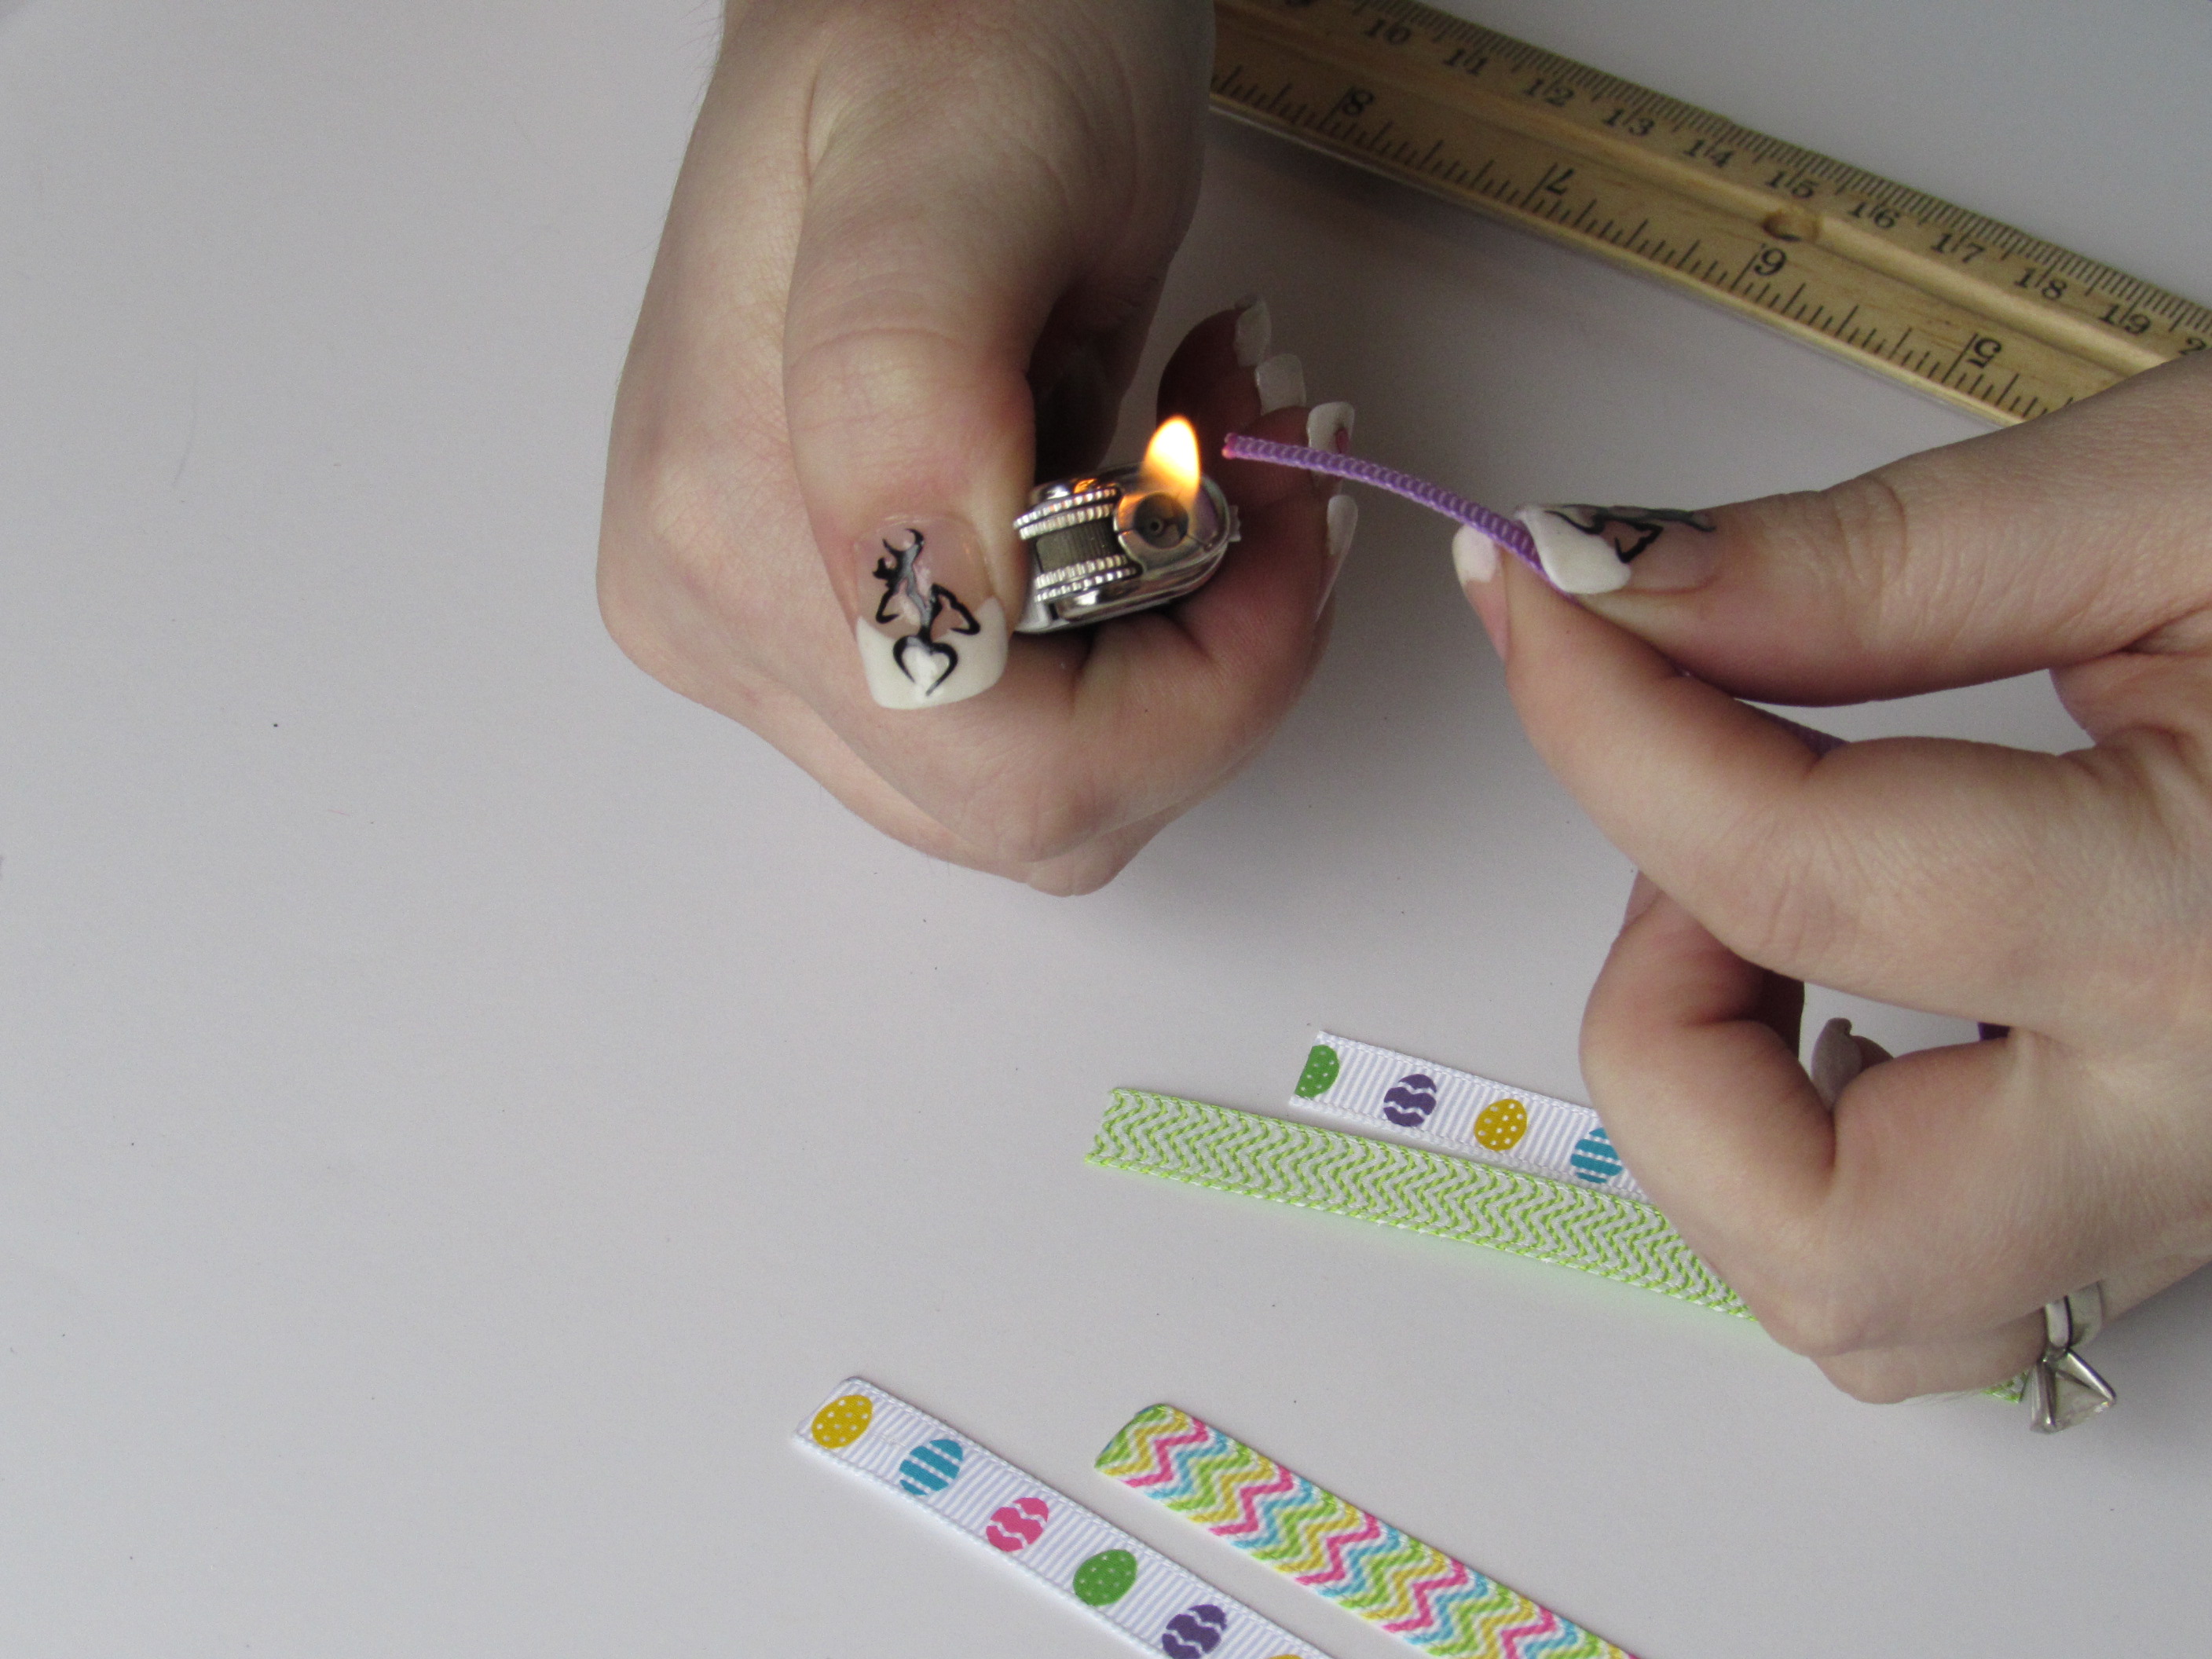 * Please be careful when using a lighter :)
Step 3: Pick up your 5" piece and fold over to where the ends meet. Creating an oval similar shape.
* Please be careful when using a lighter :)
Step 3: Pick up your 5" piece and fold over to where the ends meet. Creating an oval similar shape.
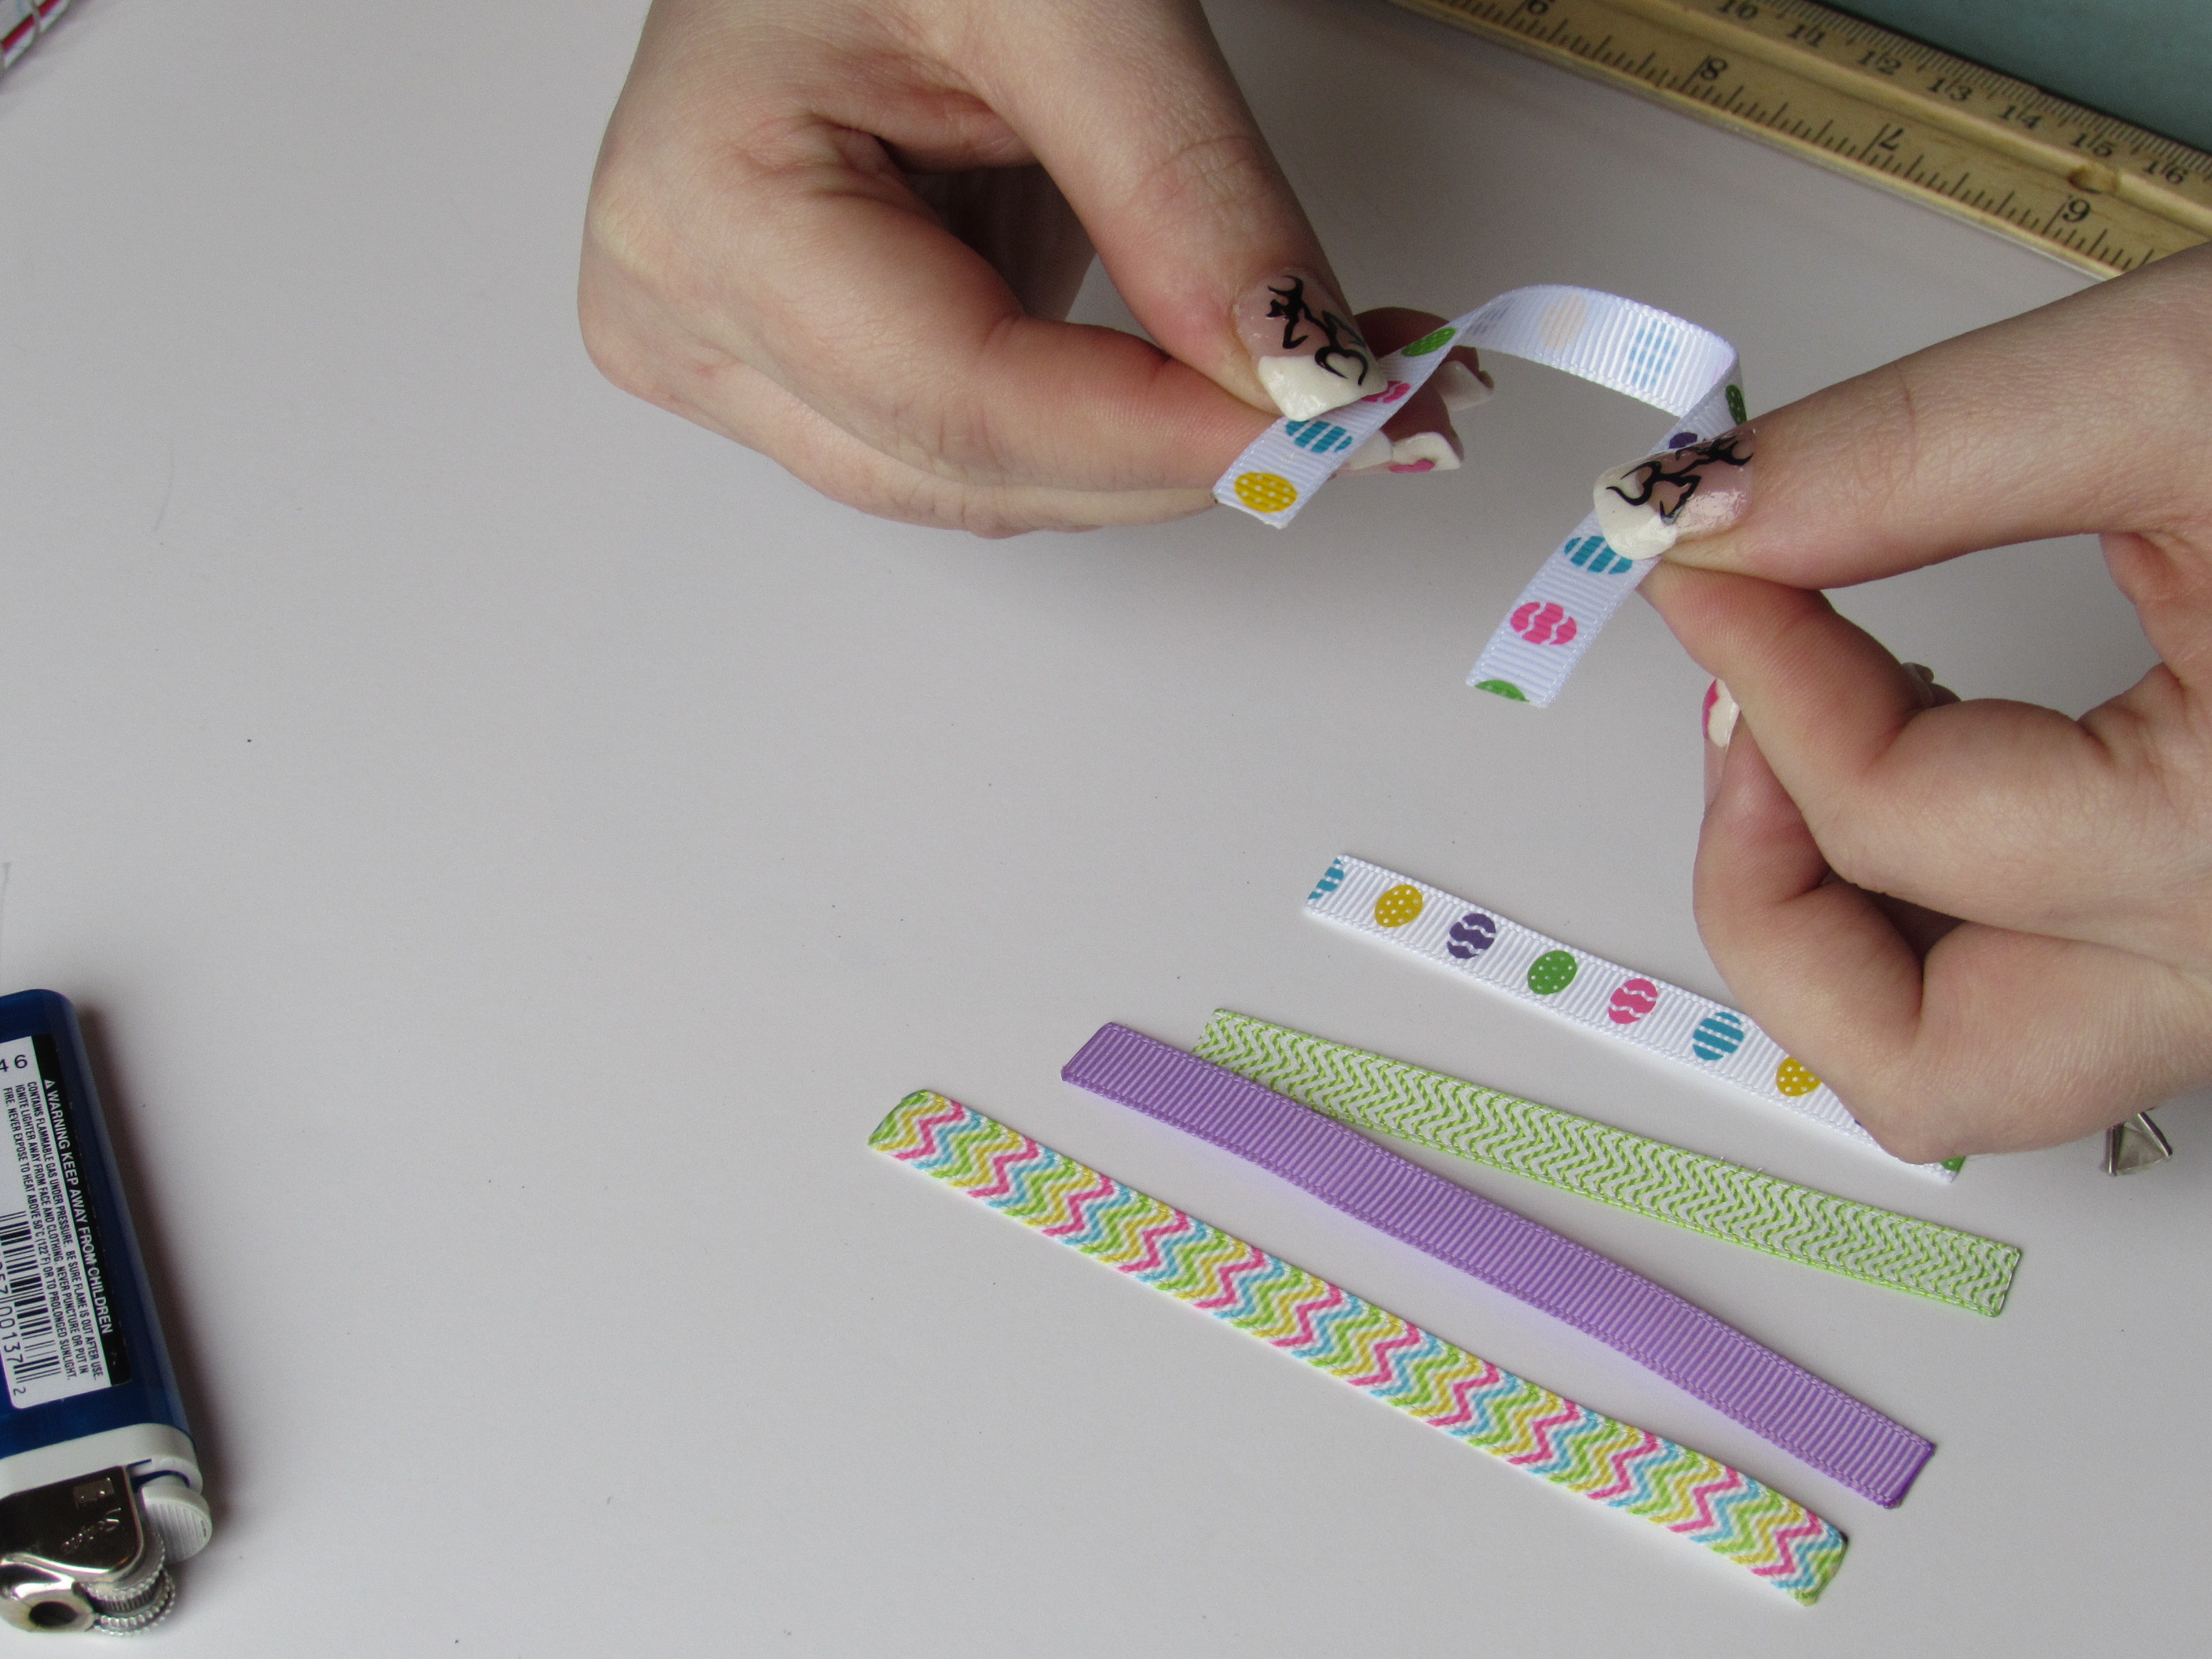
 Step 4: Apply hotglue to the end of the ribbon where the ends meet.
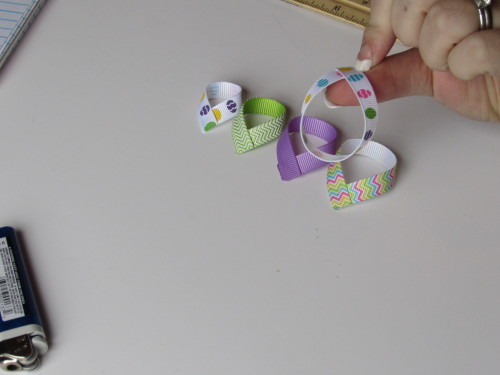
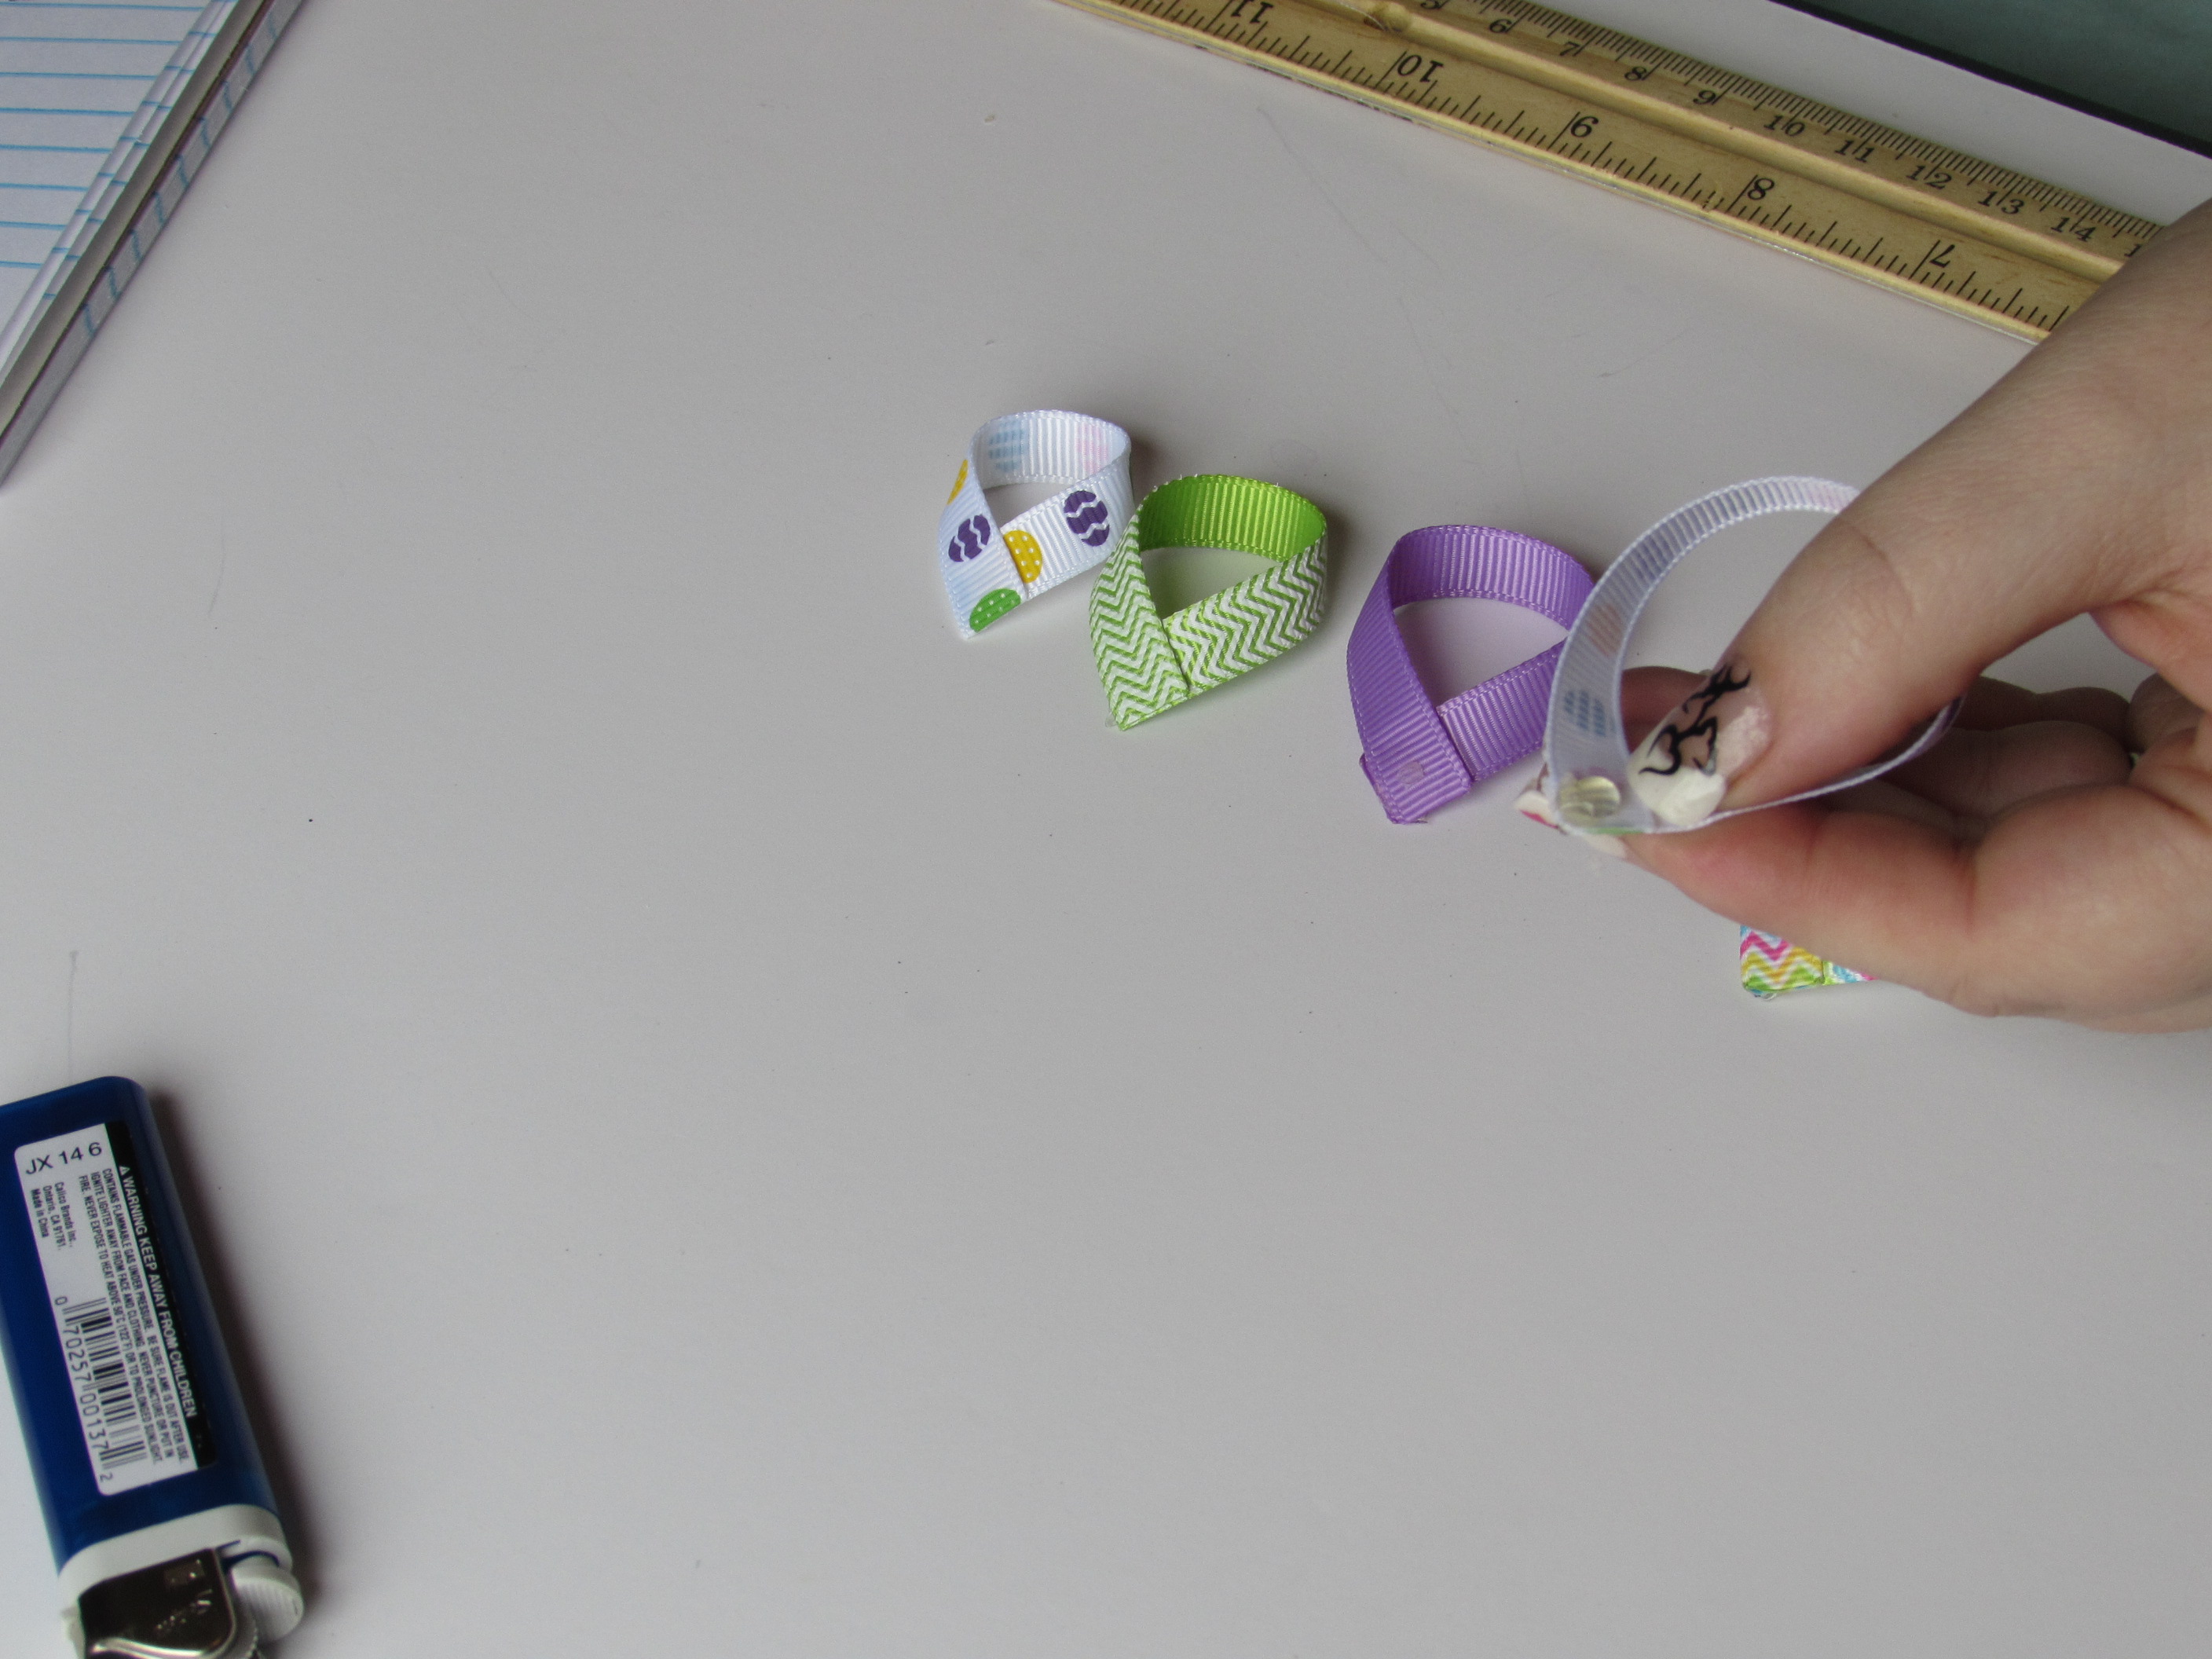
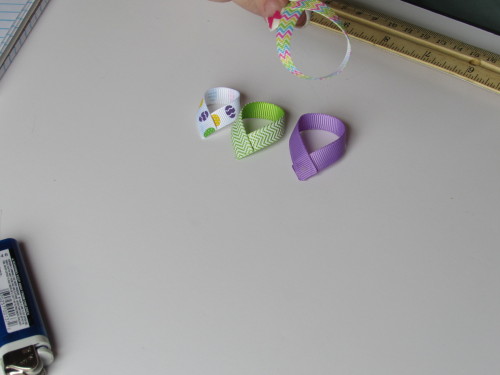
 Step 5: Do these steps for all remaining pieces.
Step 6: All pieces should now be completed and ready for assembly.
Step 5: Do these steps for all remaining pieces.
Step 6: All pieces should now be completed and ready for assembly.
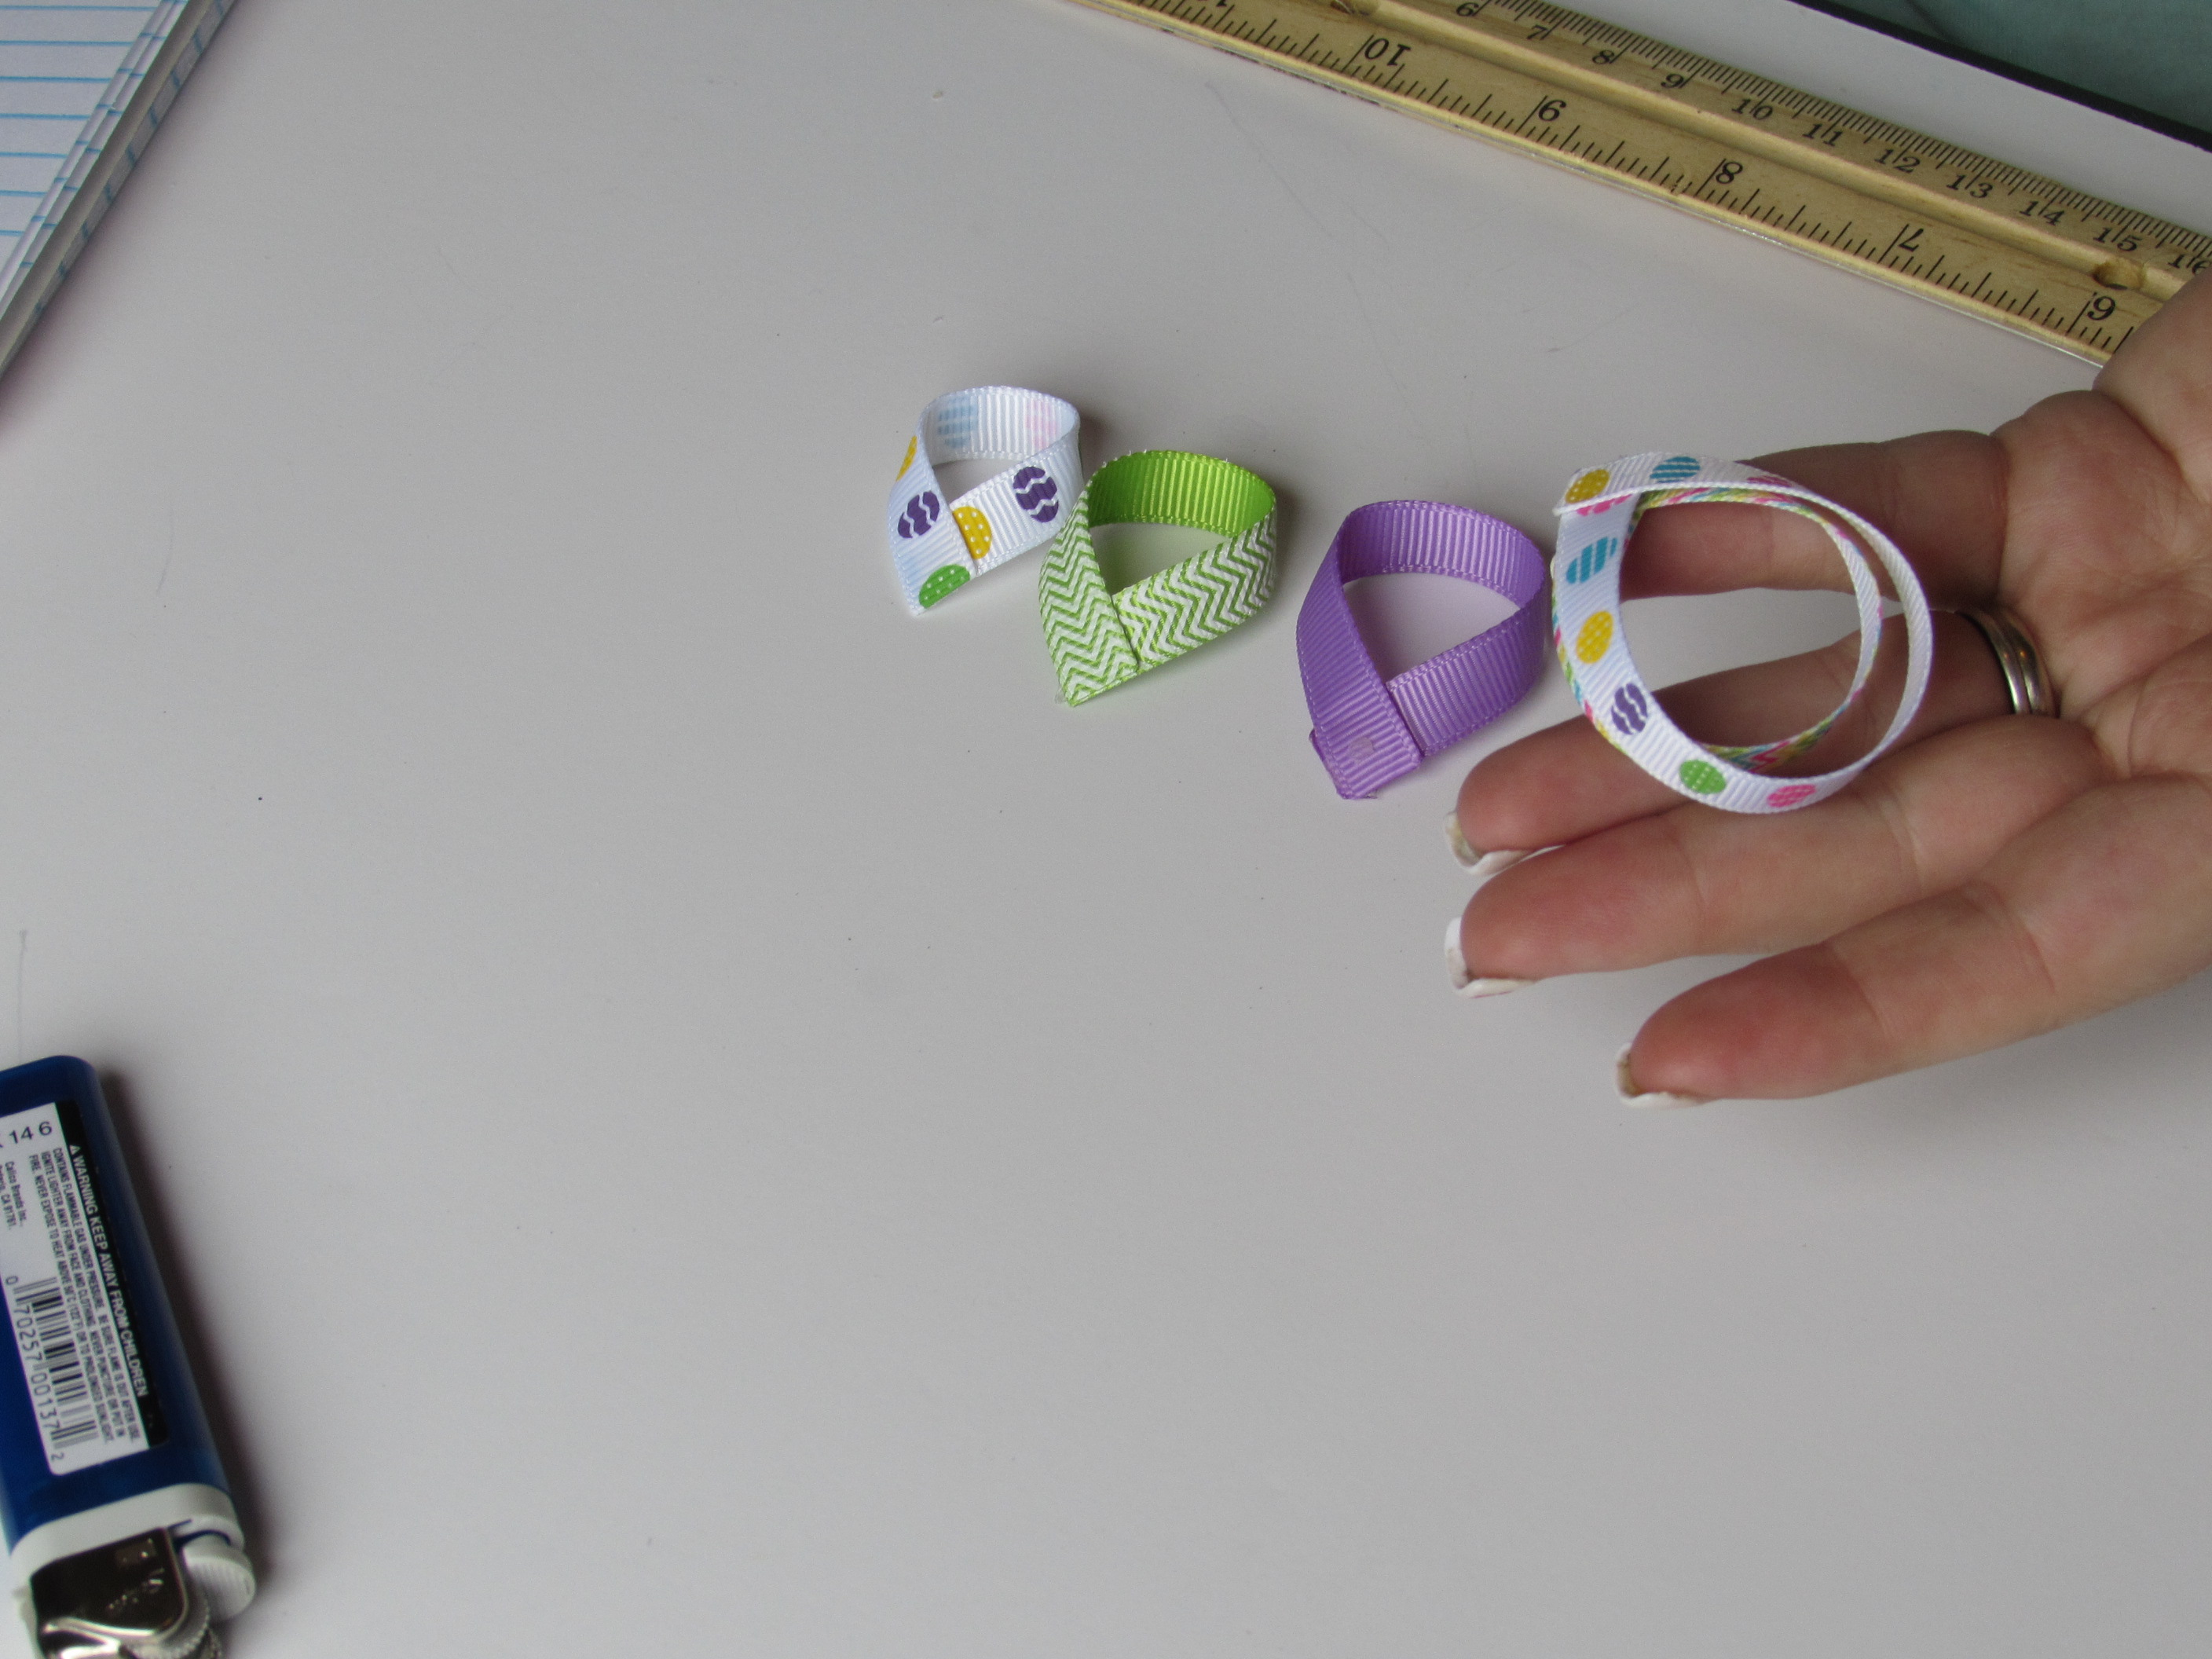
 Step 7: Line up all your pieces by size.
 Step 8: Pick up your big piece and apply hotglue to the back.
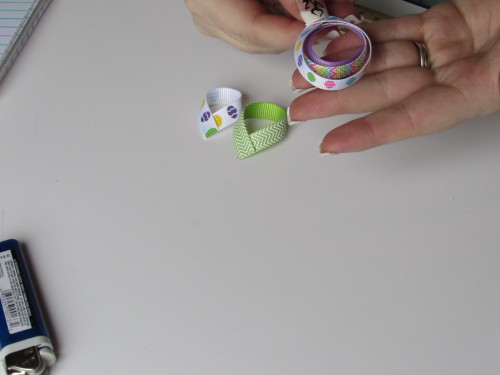
 Step 9: Now place the next size egg piece on top of the hotglue.
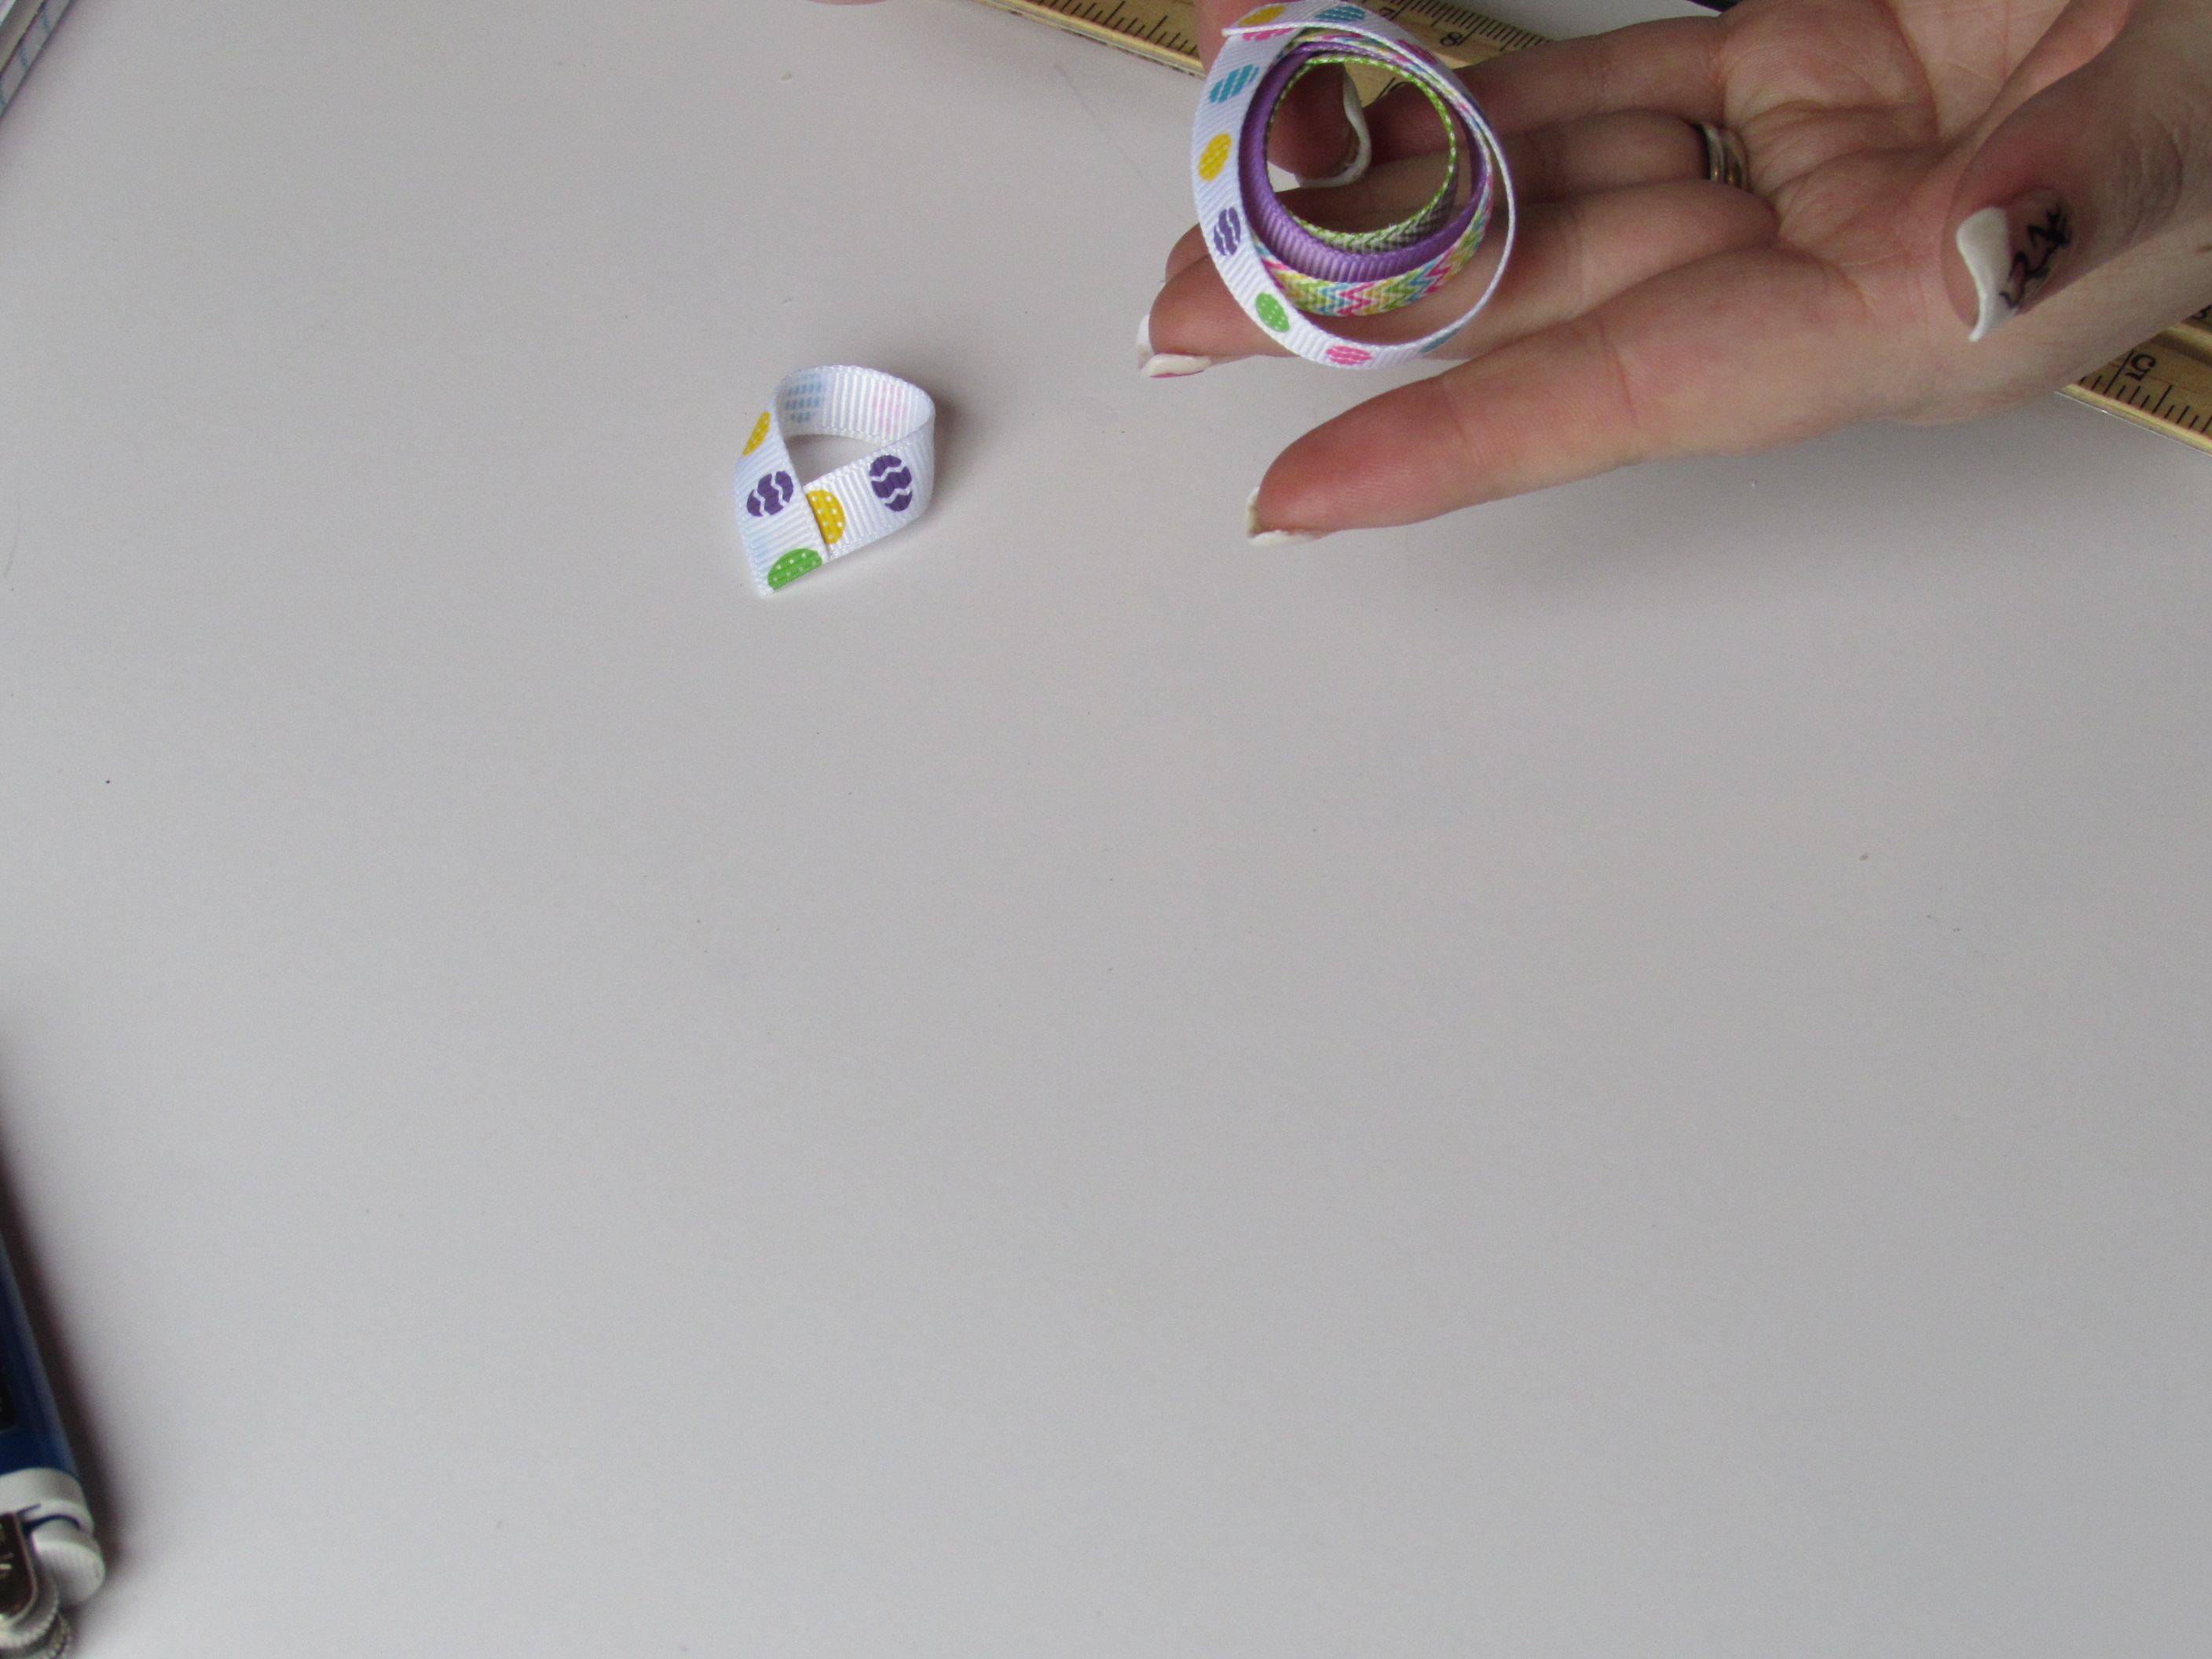
 Step 10: Repeat for the remaining pieces.
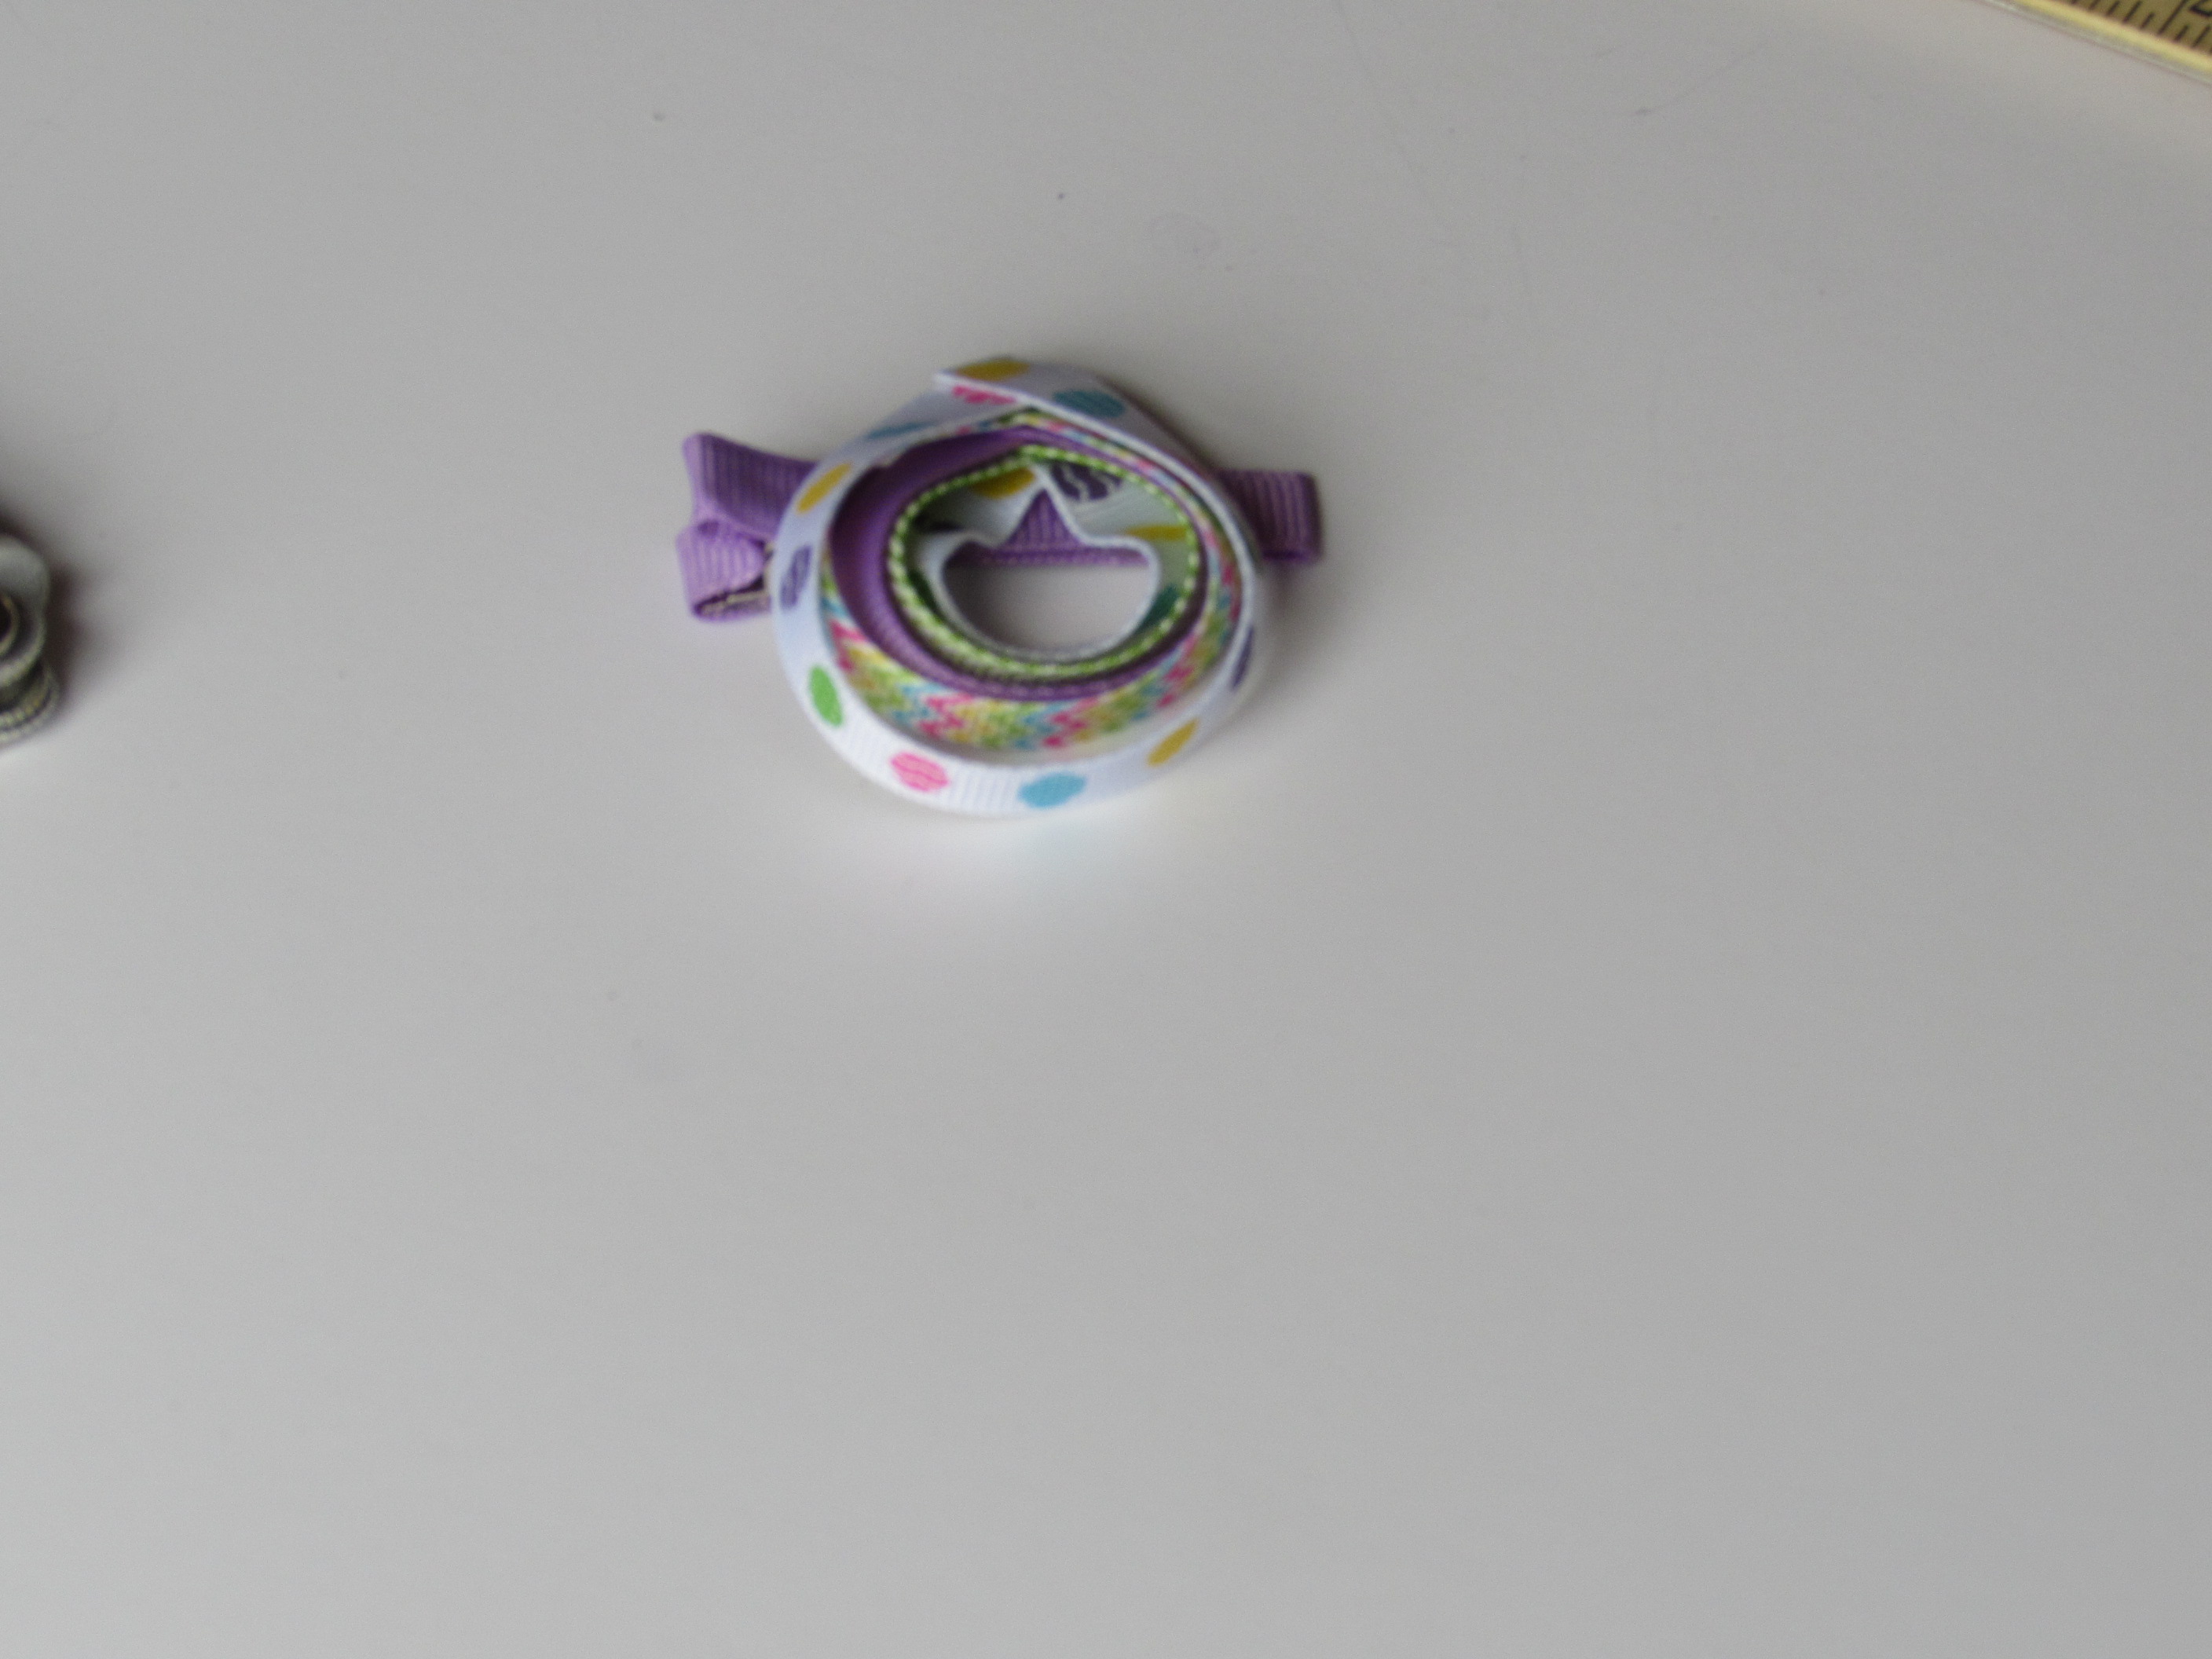
 Step 11: Lining your clip time. This is the fun part. Take your 3/8" choice of ribbon and line that alligator clip :)
 Step 12: Take your egg and place it on the clip. This is your preference on where you would like to place it. Once you have it where you want it, glue it down :)
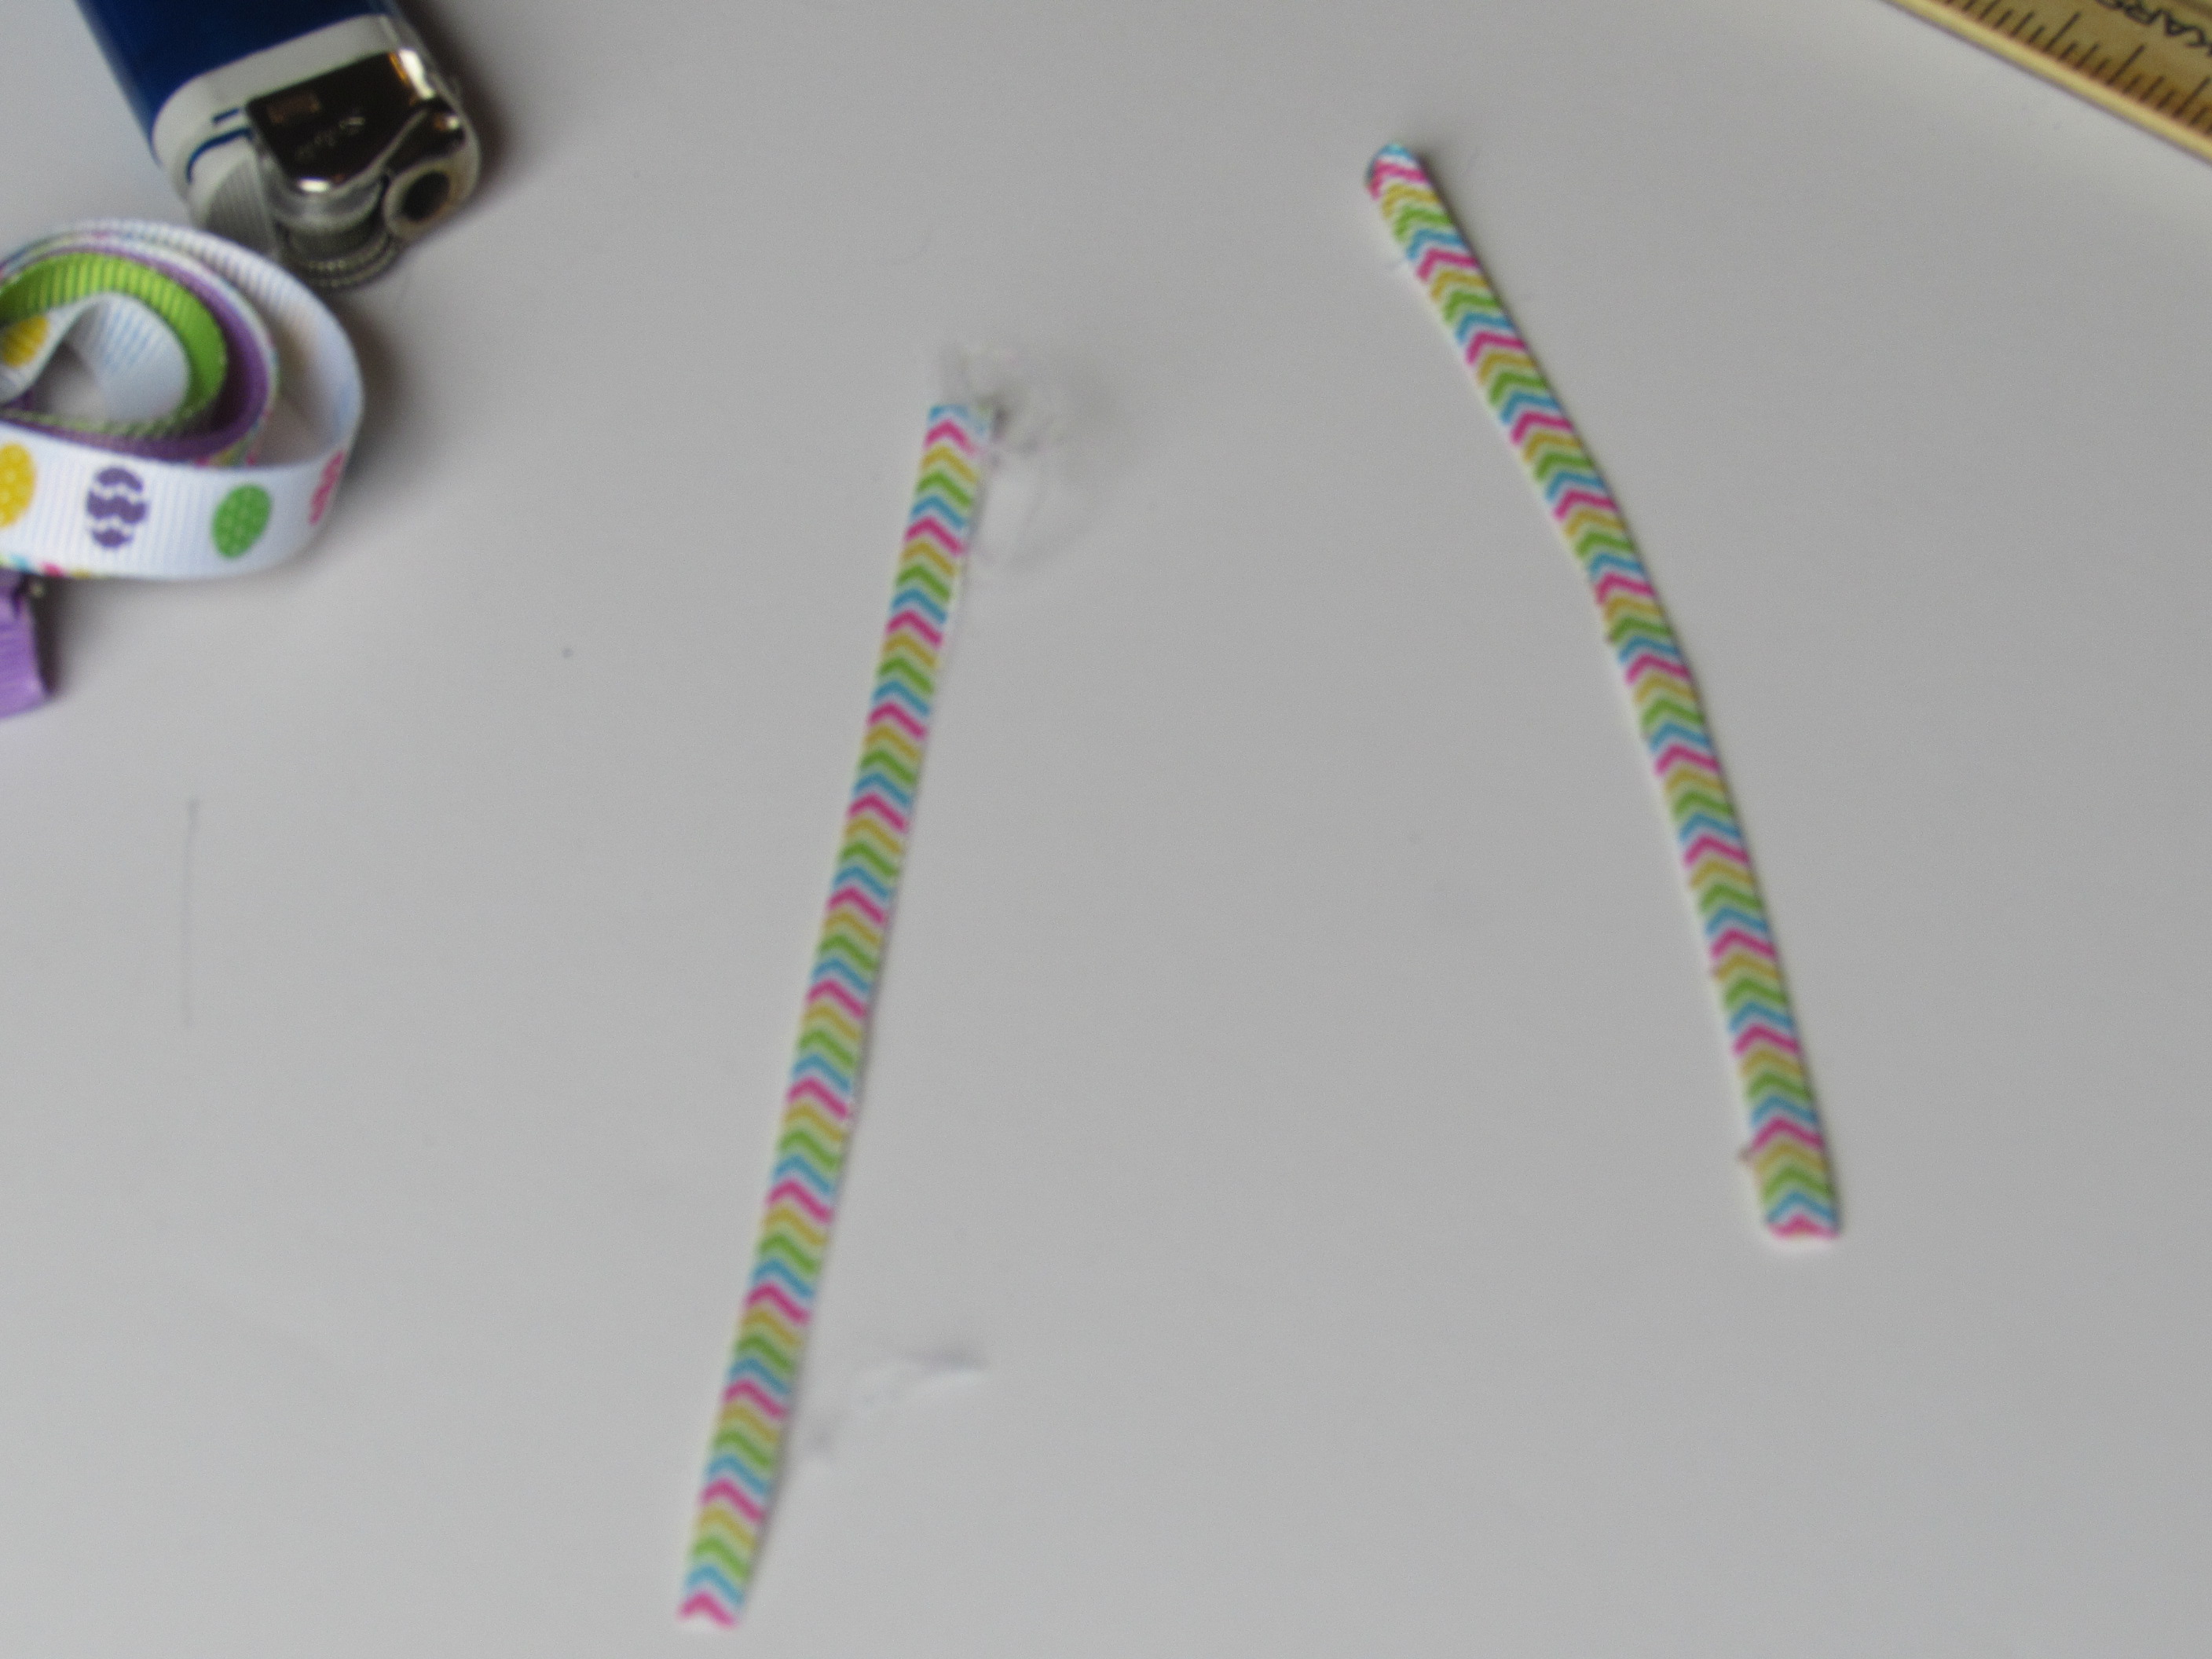
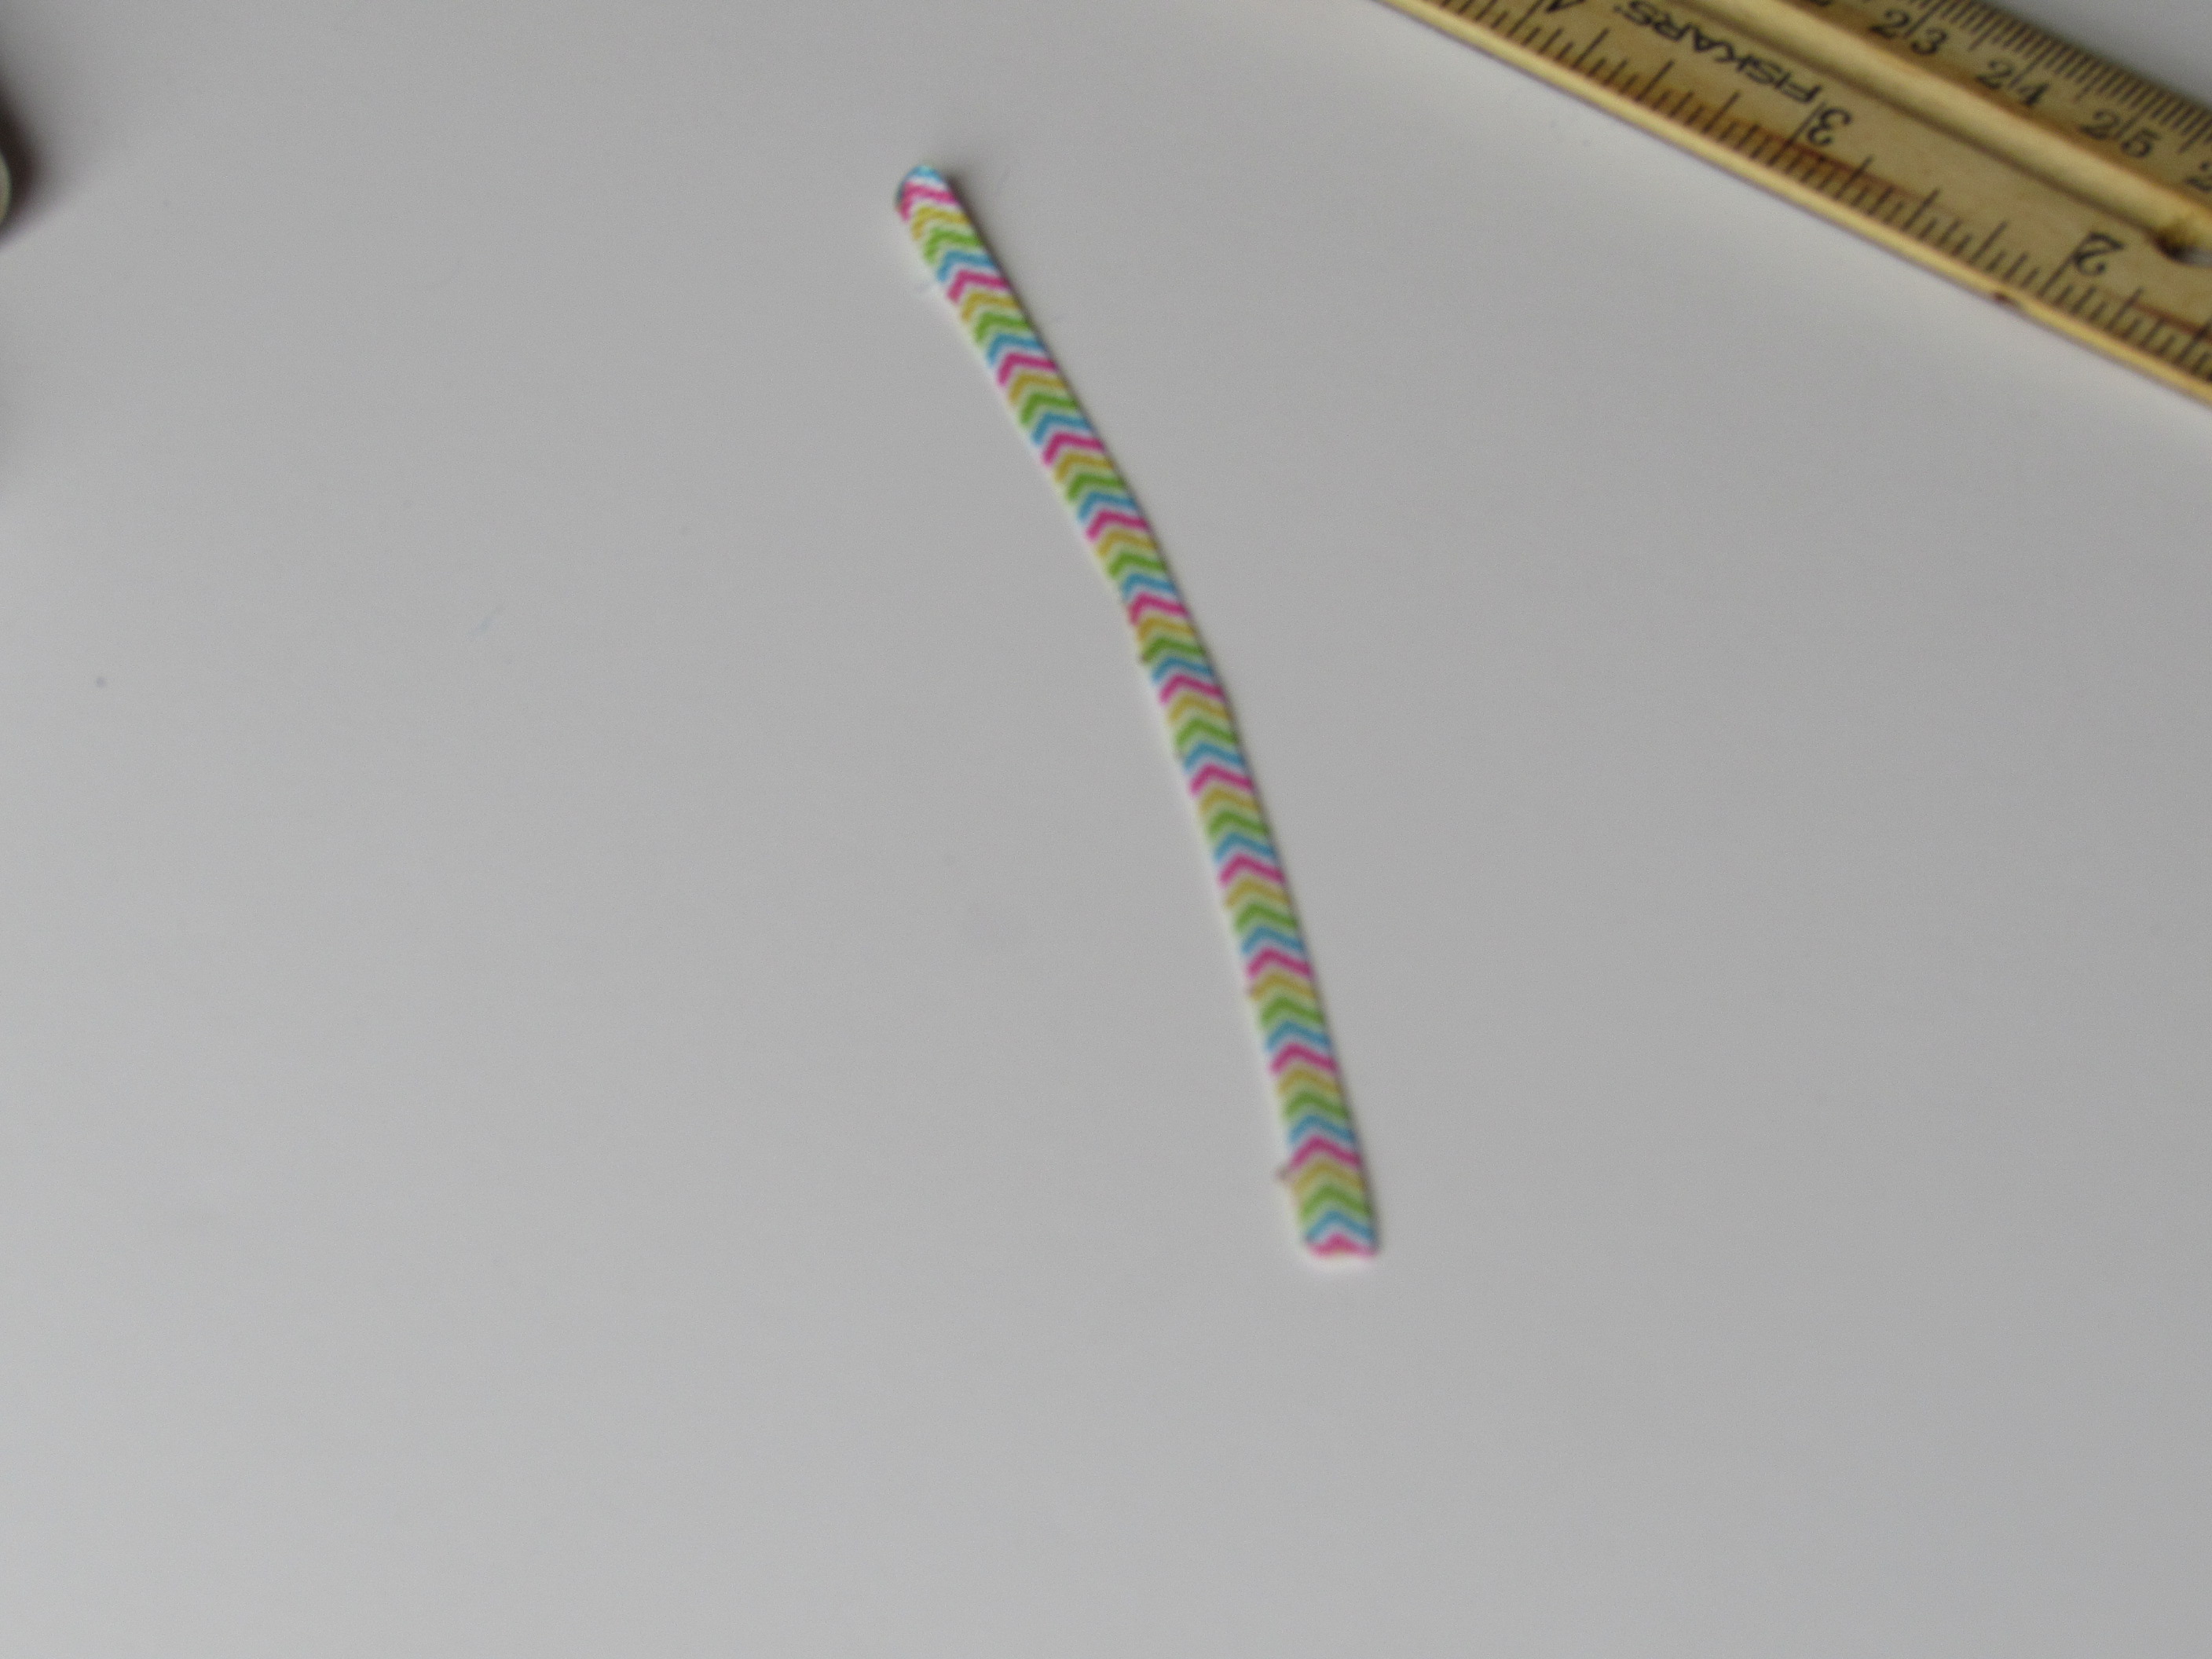
 Step 13: Take some 3/8" ribbon and cut it to 4.5" long.
 Step 14: Now cut that 3/8" piece of 4.5" long ribbon and cut it in half.
 * Be sure to HEAT SEAL where you cut the ribbon in half AND the ends :) You can even toss that other piece unless your a ribbon hoarder like me and you have to keep EVERYTHING because someday, just someday, you MIGHT need it :)
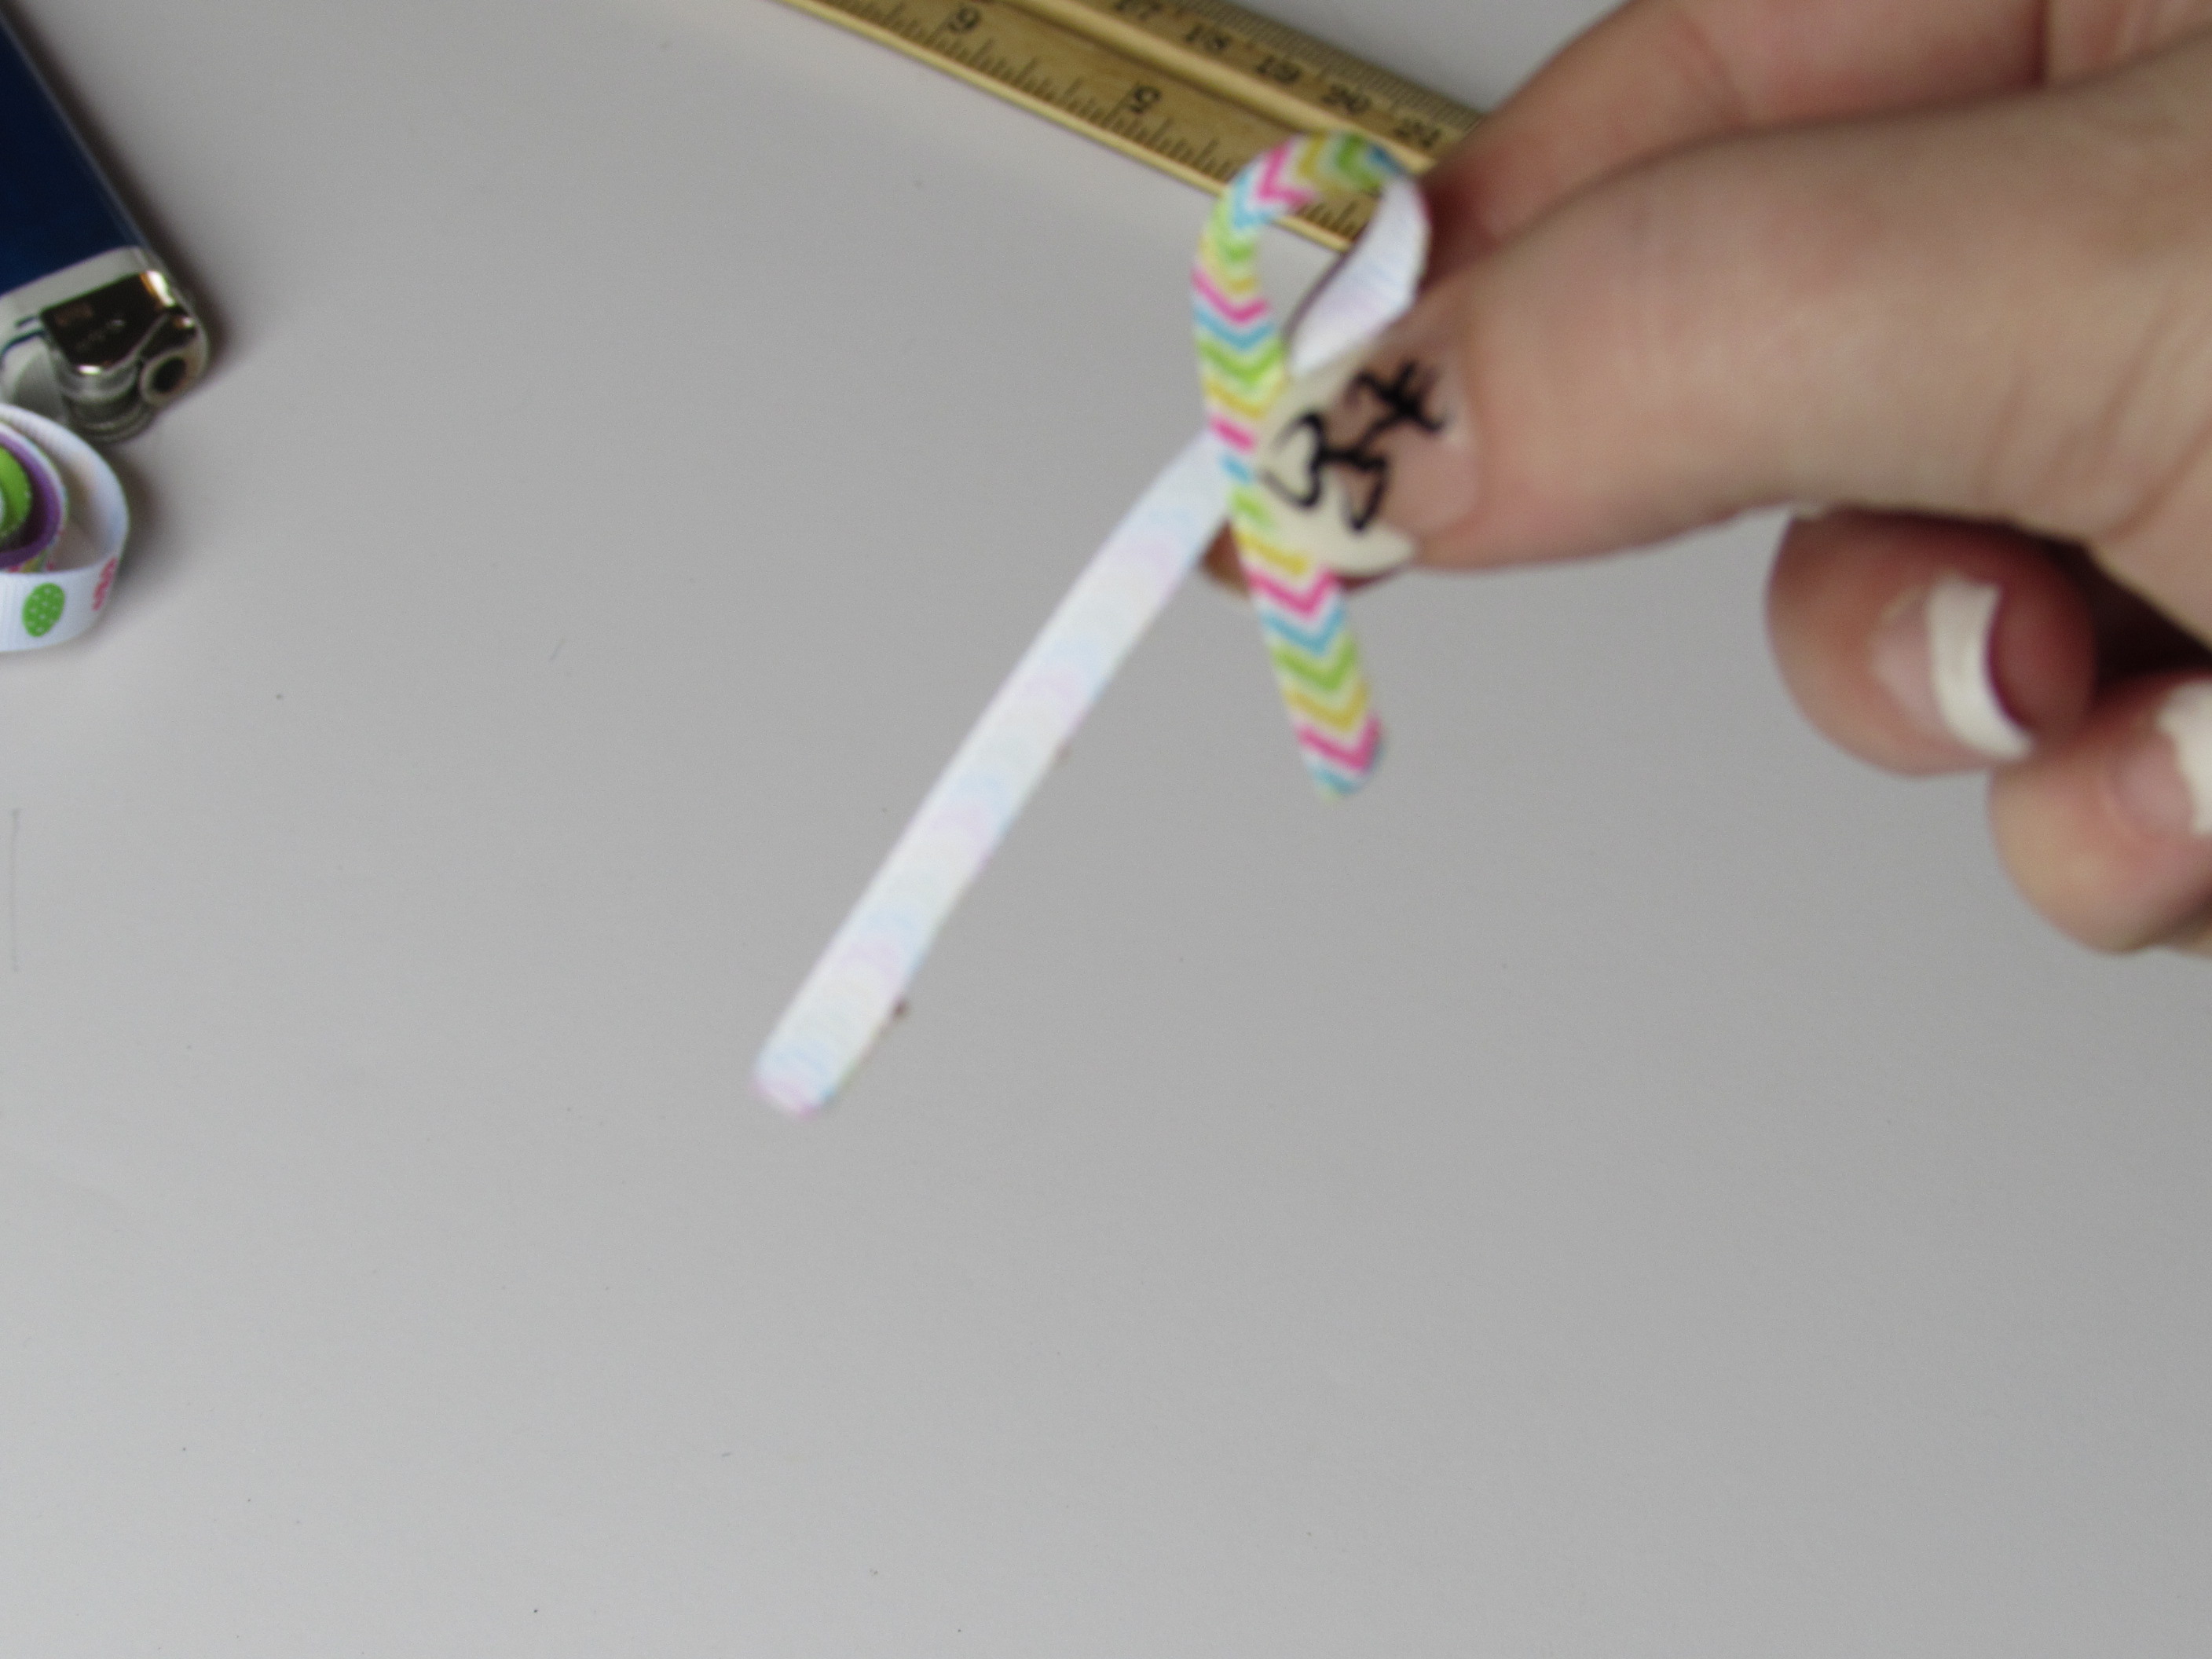
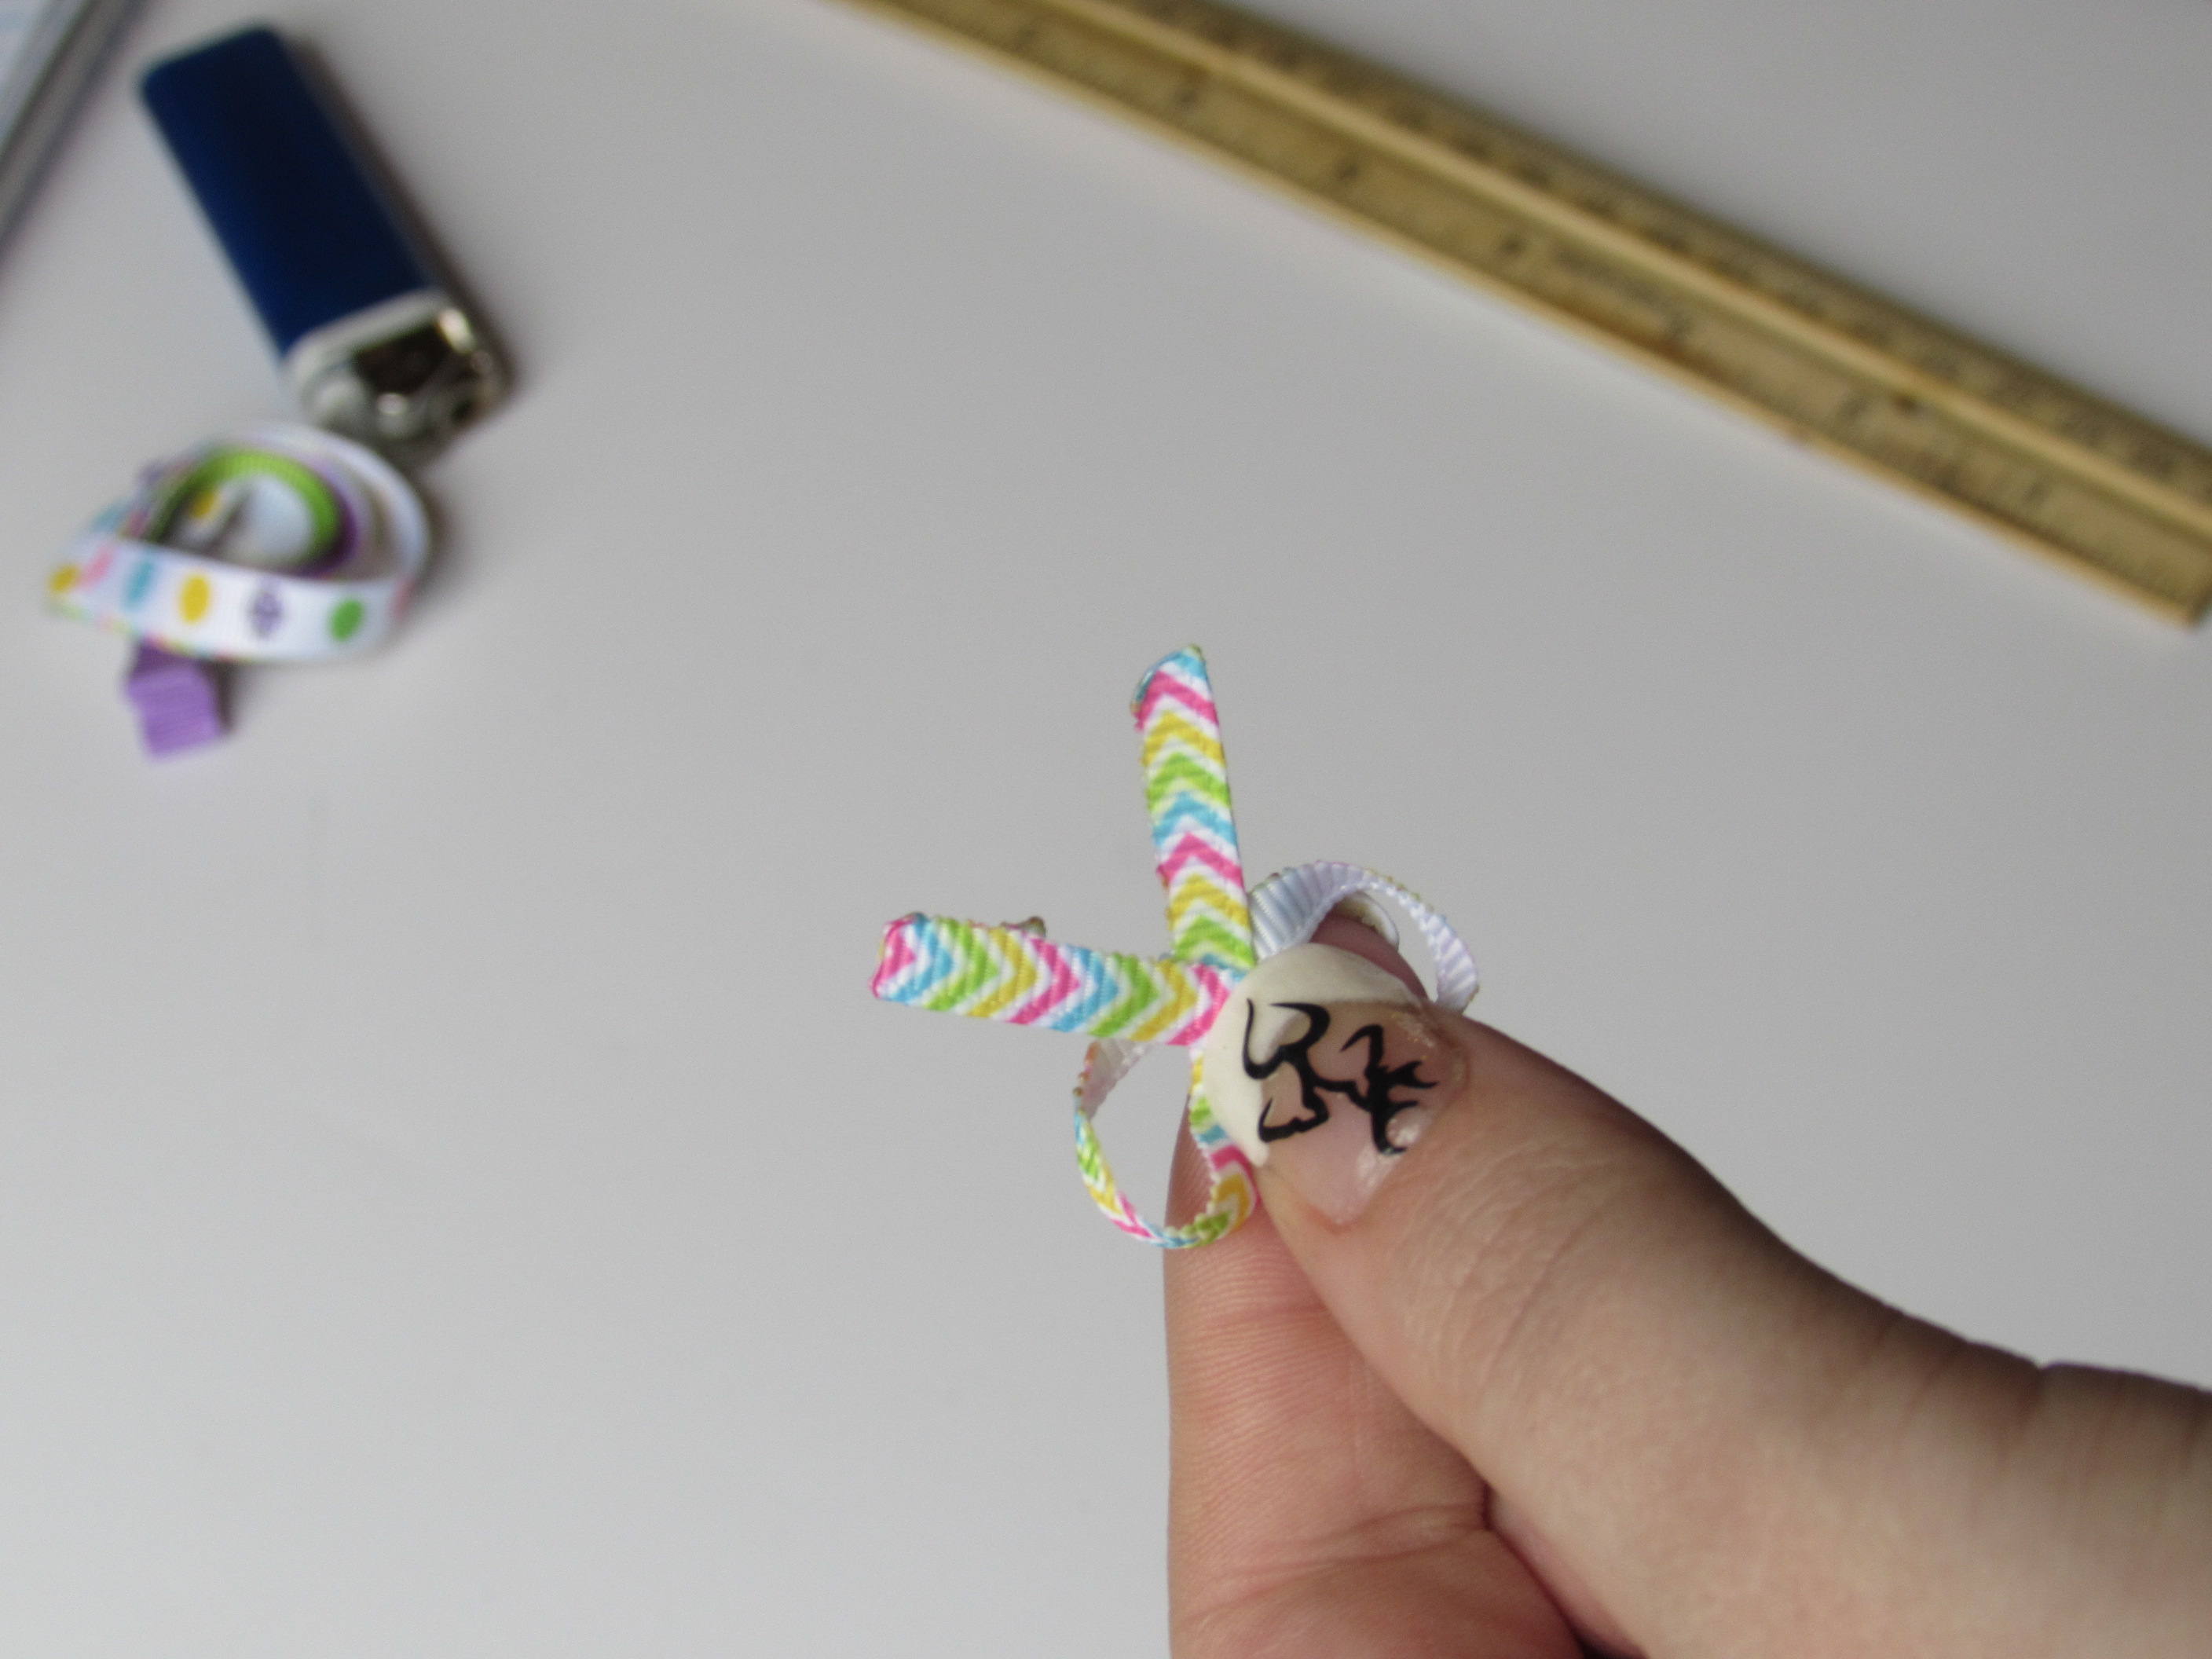
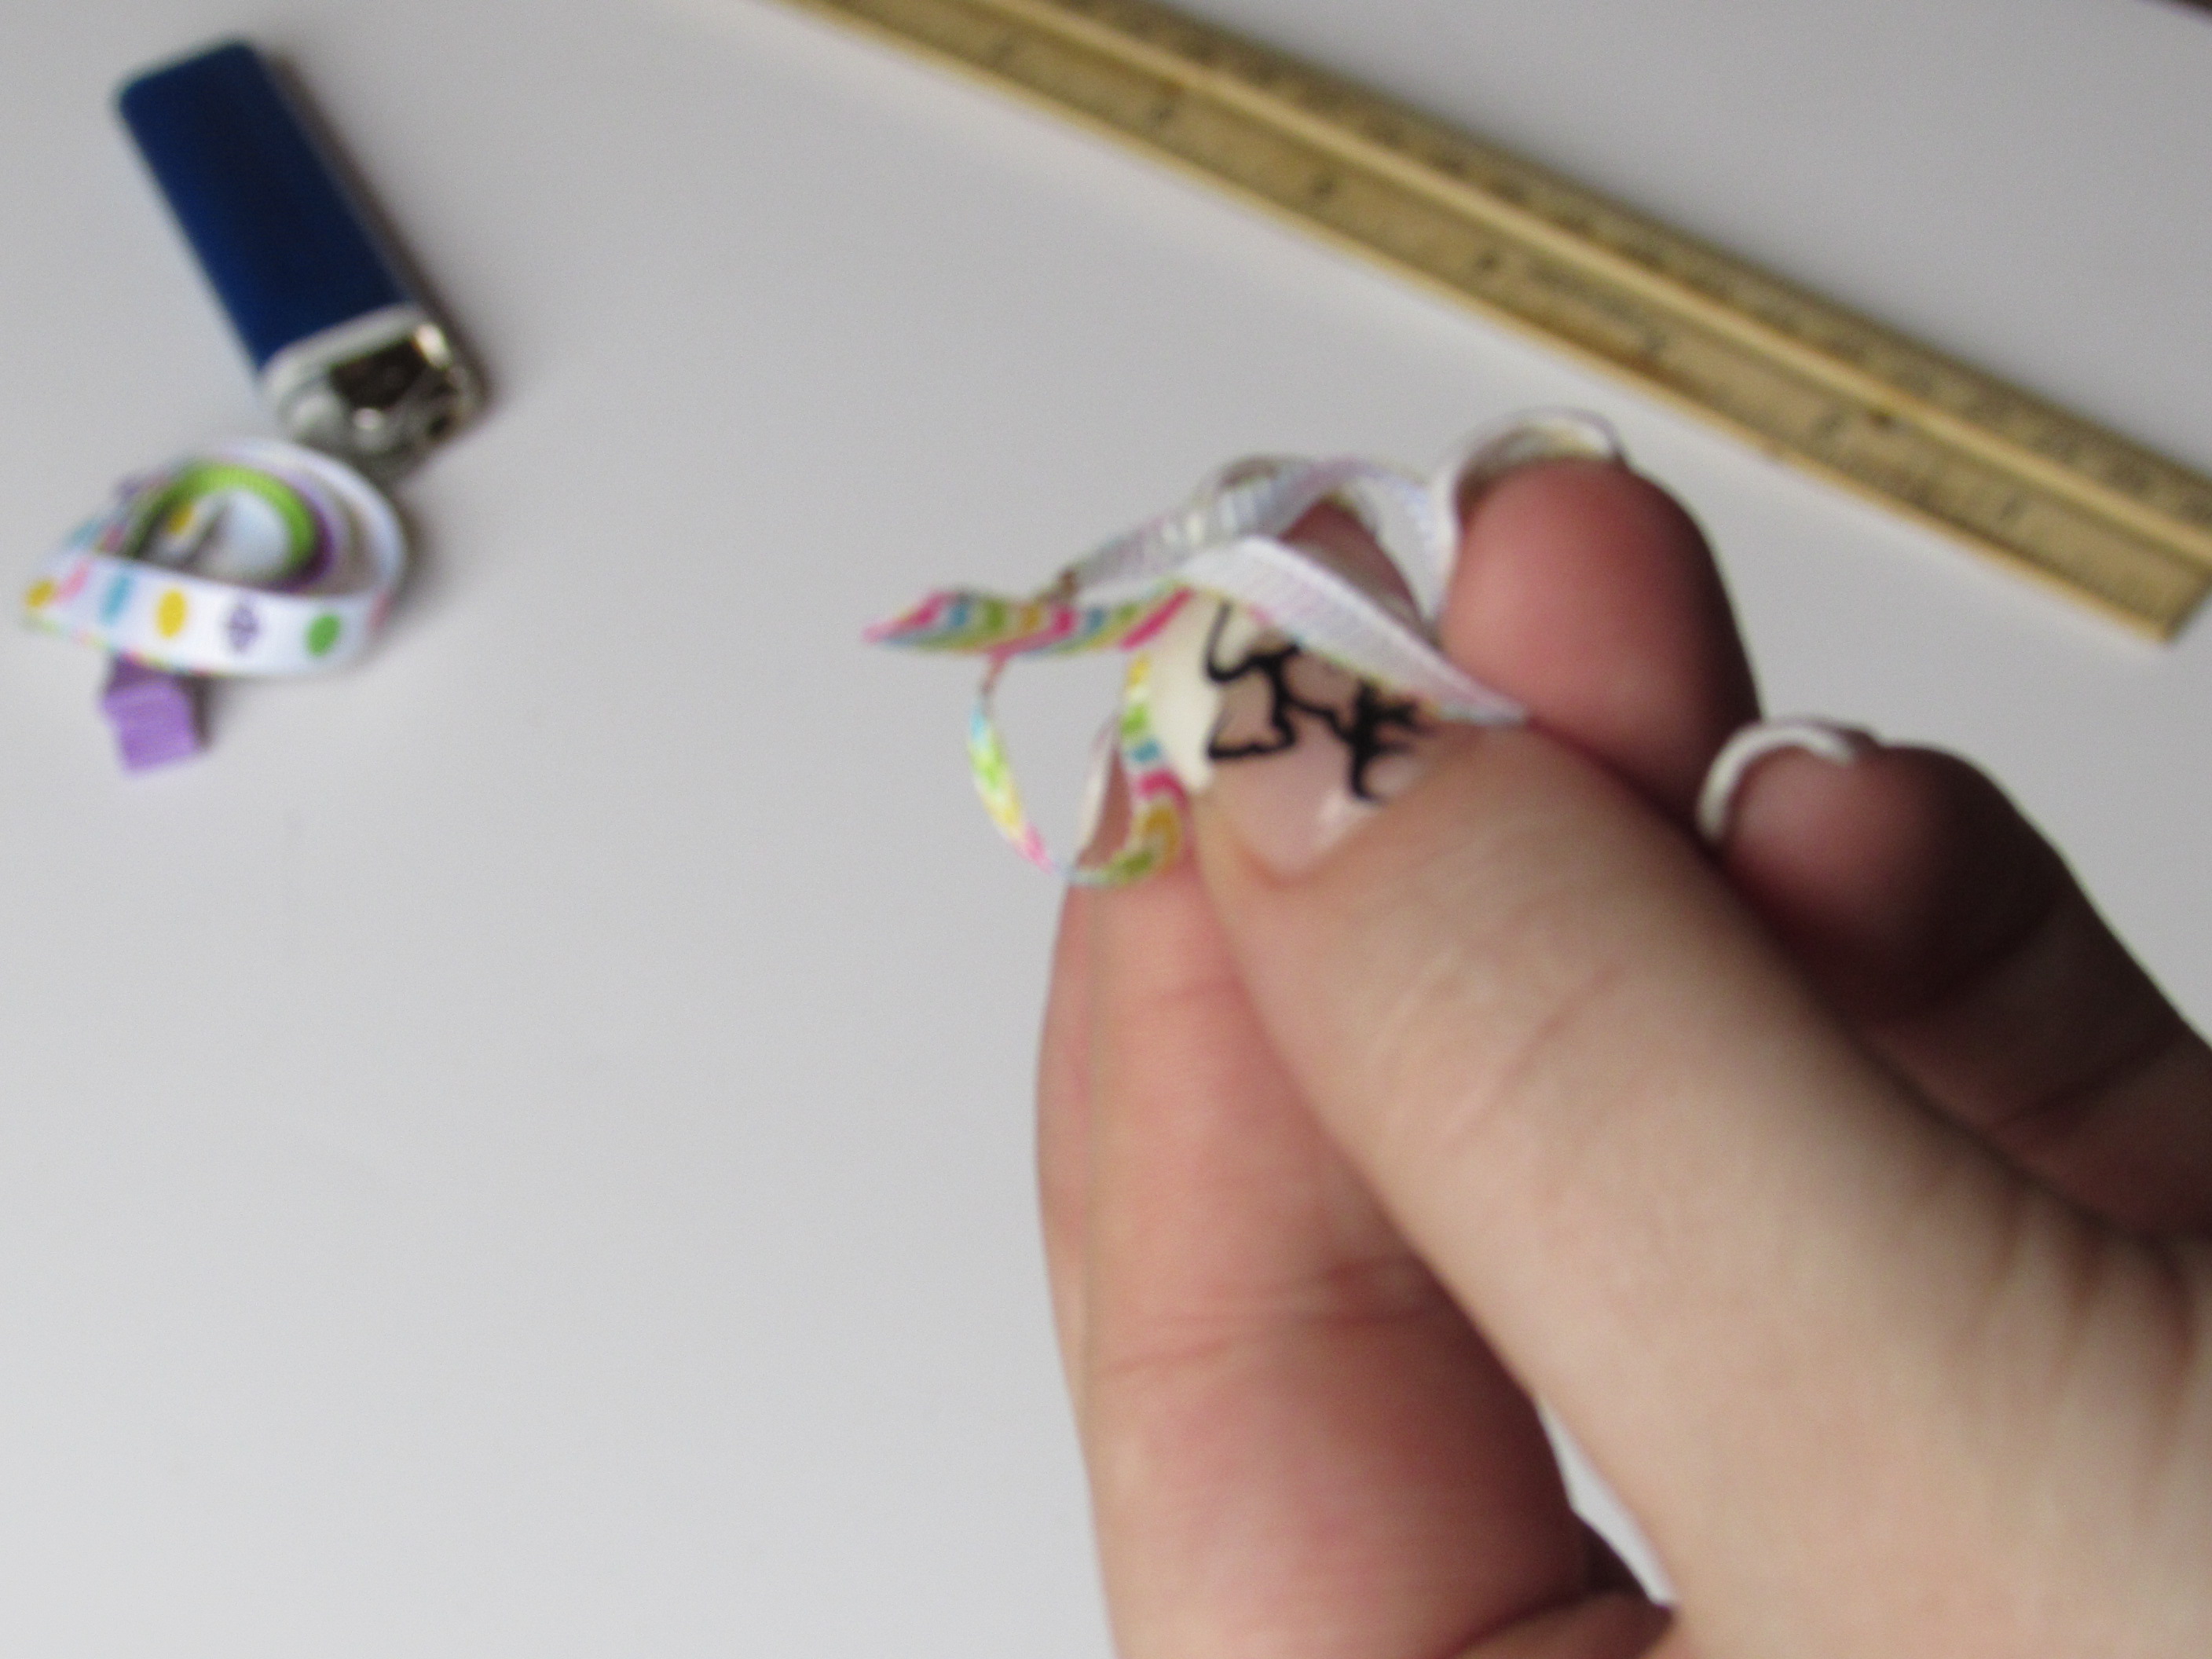
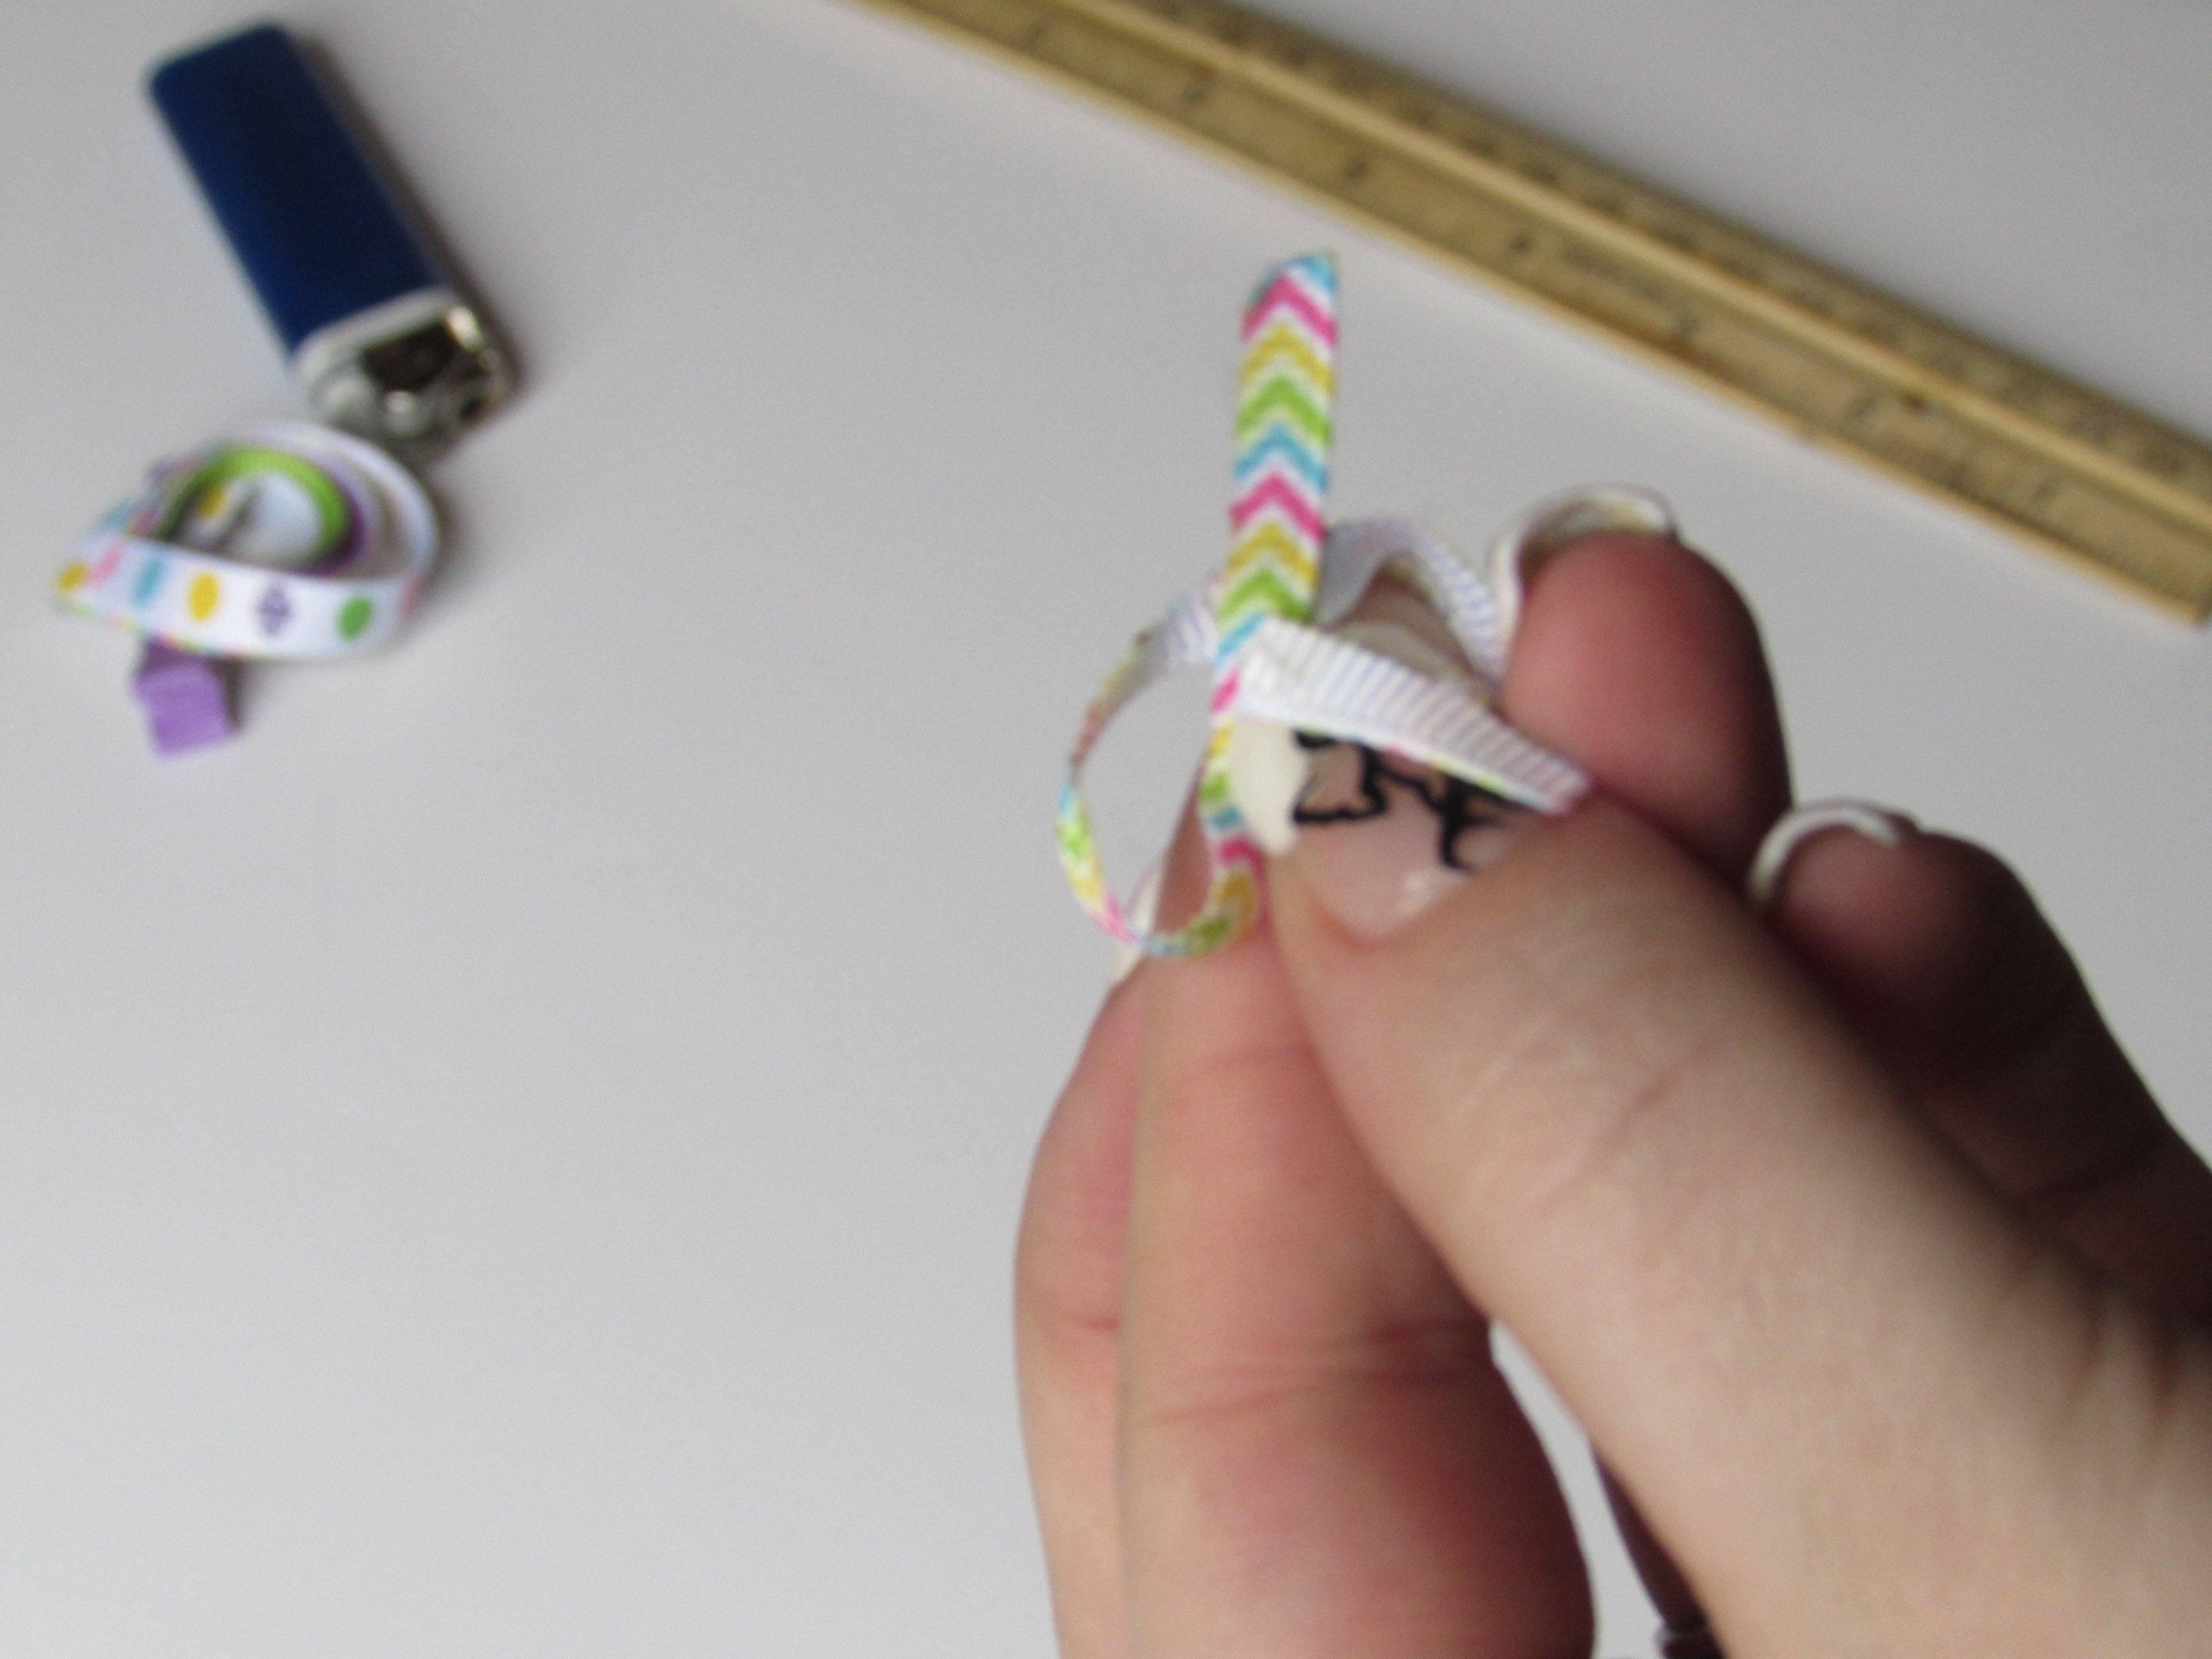
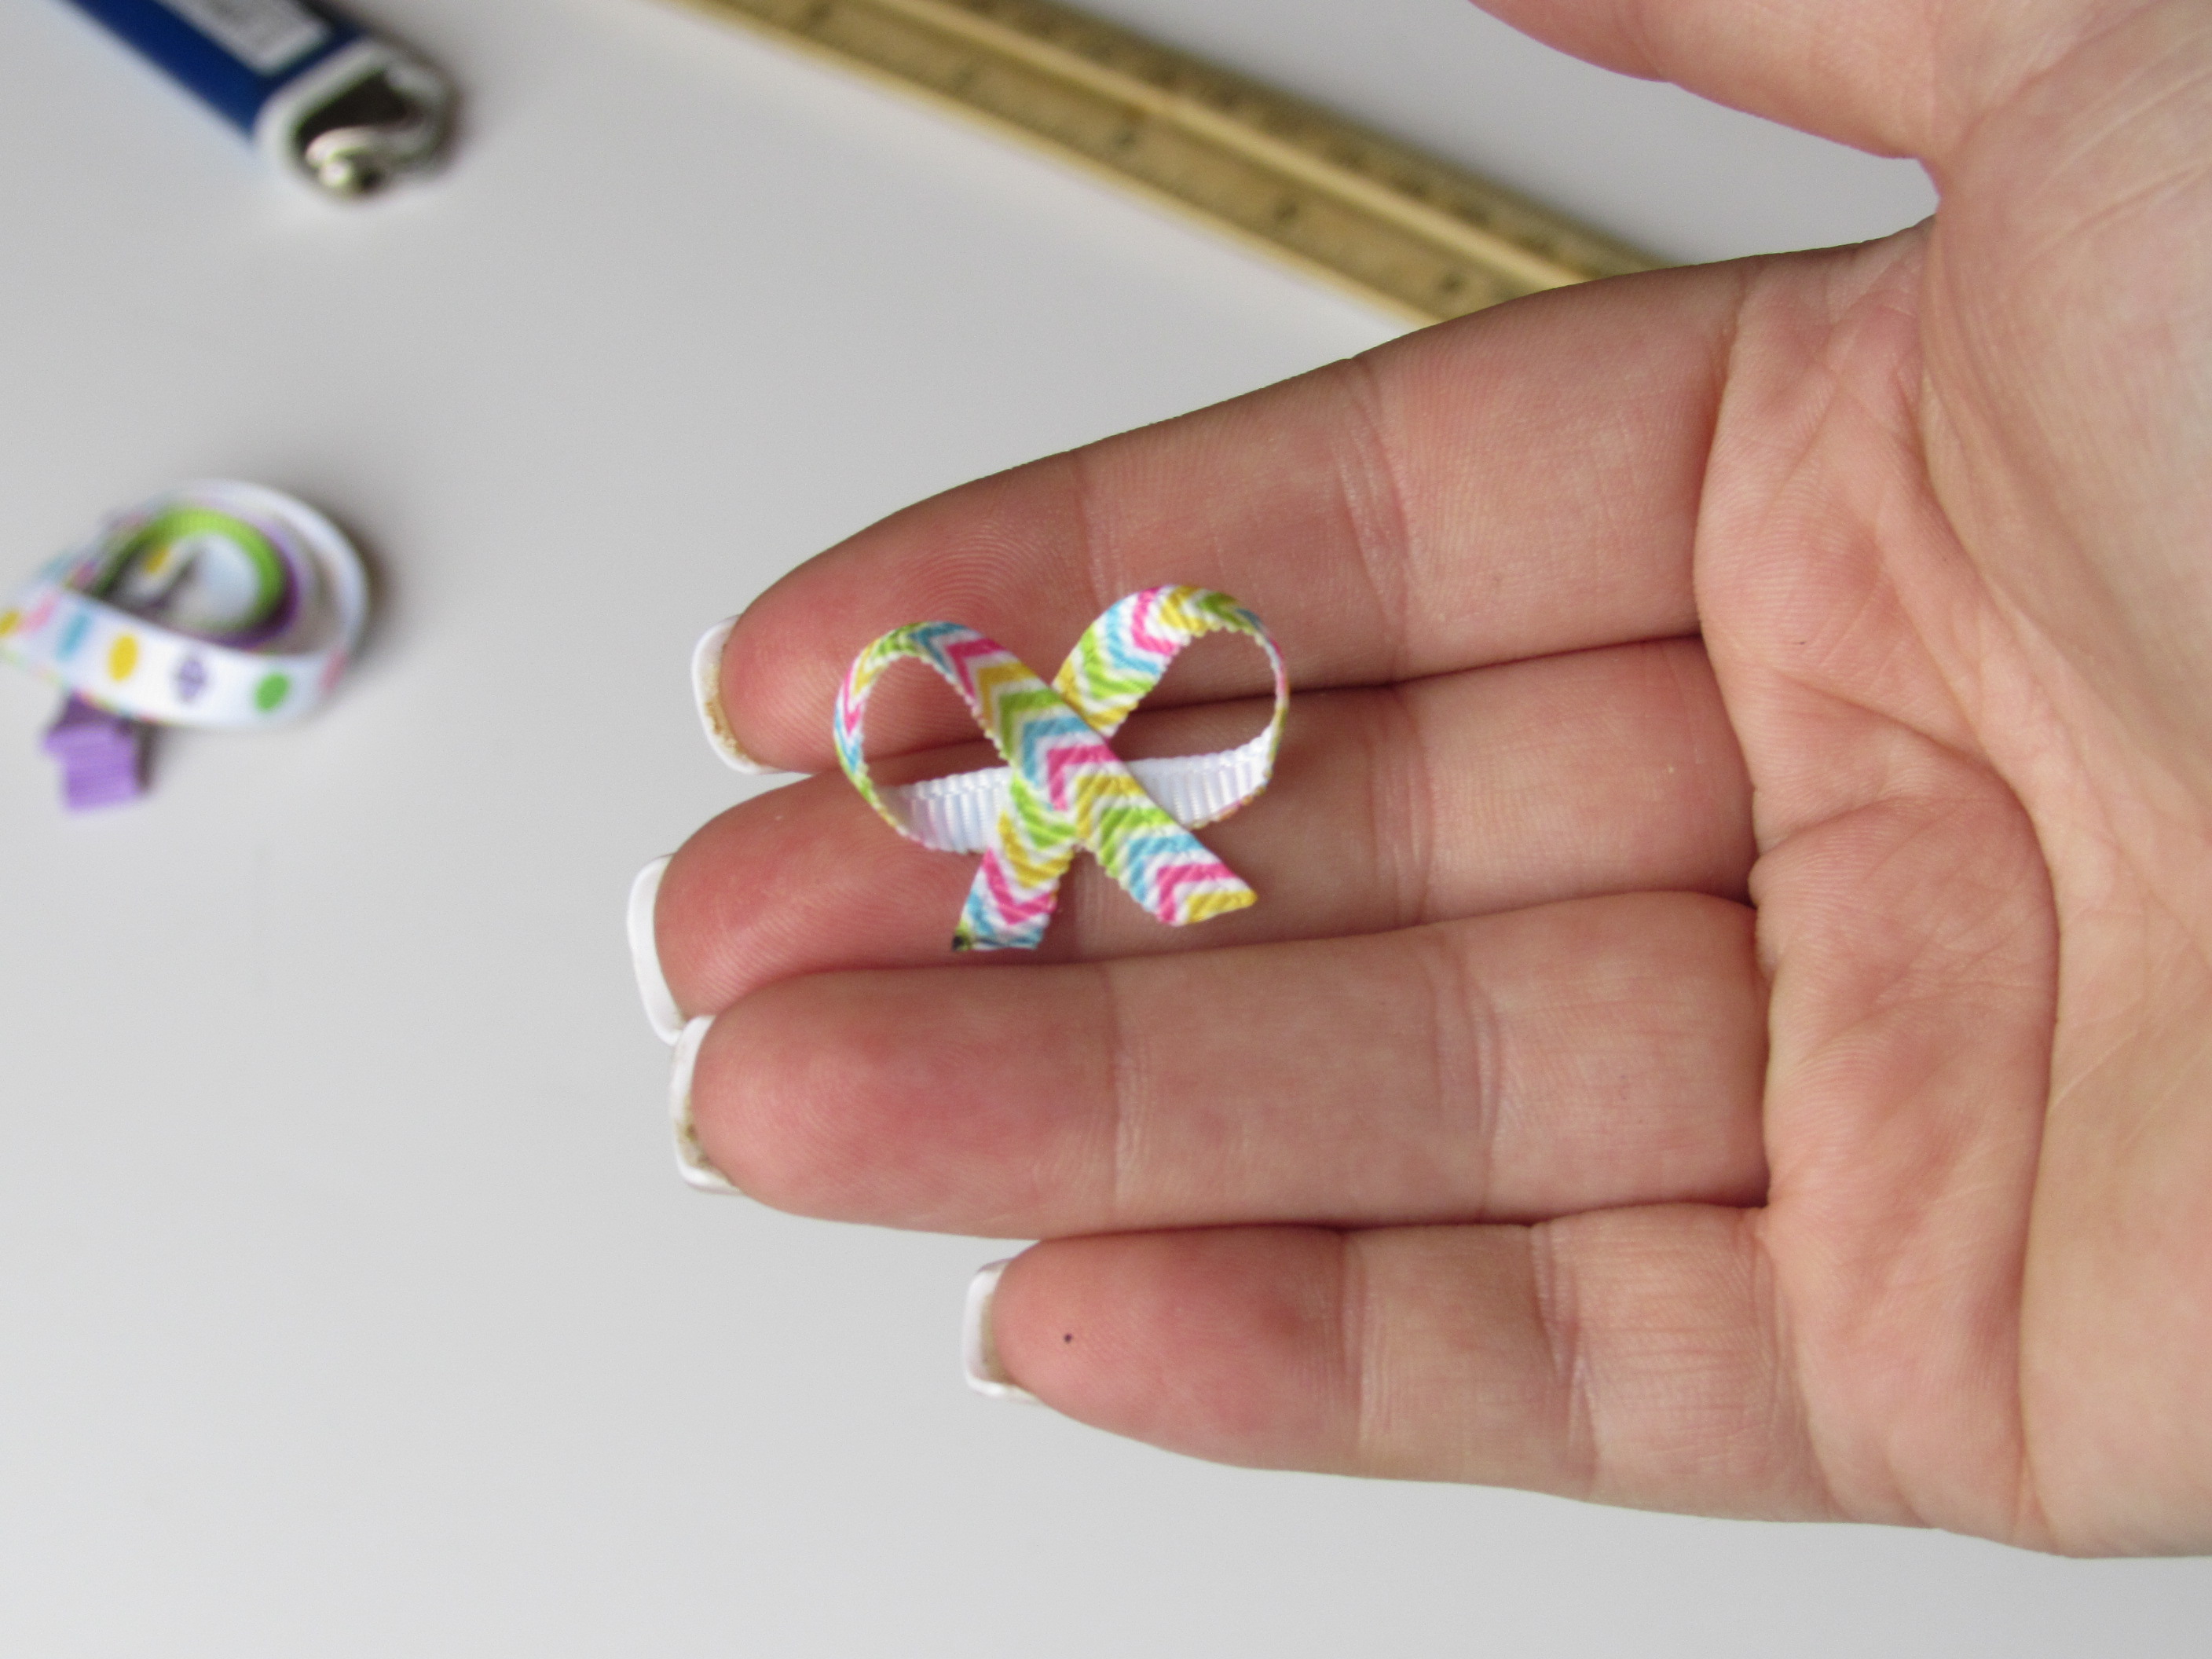
 Step 15: Take one end and create a loop in the center. Once you have that loop you will then want to take the other end, and create another loop and send that loop right in the middle creating a 2 loop bow :)
 Step 16: Now that you have your 2 loop bow done, you will need to apply hotglue to the back of the loops so it will hold the bow together.
 Step 17: Now that you have your bow secured with hotglue, you want to trim the ends to your preference. You can do straight cuts, "V" cuts, diagonal cuts, etc. I decided for this particular item to do a diagonal cut. :)
 Step 18: When you trim the ends to how you would like don't forget to " HEAT SEAL " those ends :)
Step 19: Now you are ready to hotglue the bow to your egg. I always do the top of the egg, but that is just my personal preference. You can put it where you would like.
Step 18: When you trim the ends to how you would like don't forget to " HEAT SEAL " those ends :)
Step 19: Now you are ready to hotglue the bow to your egg. I always do the top of the egg, but that is just my personal preference. You can put it where you would like.
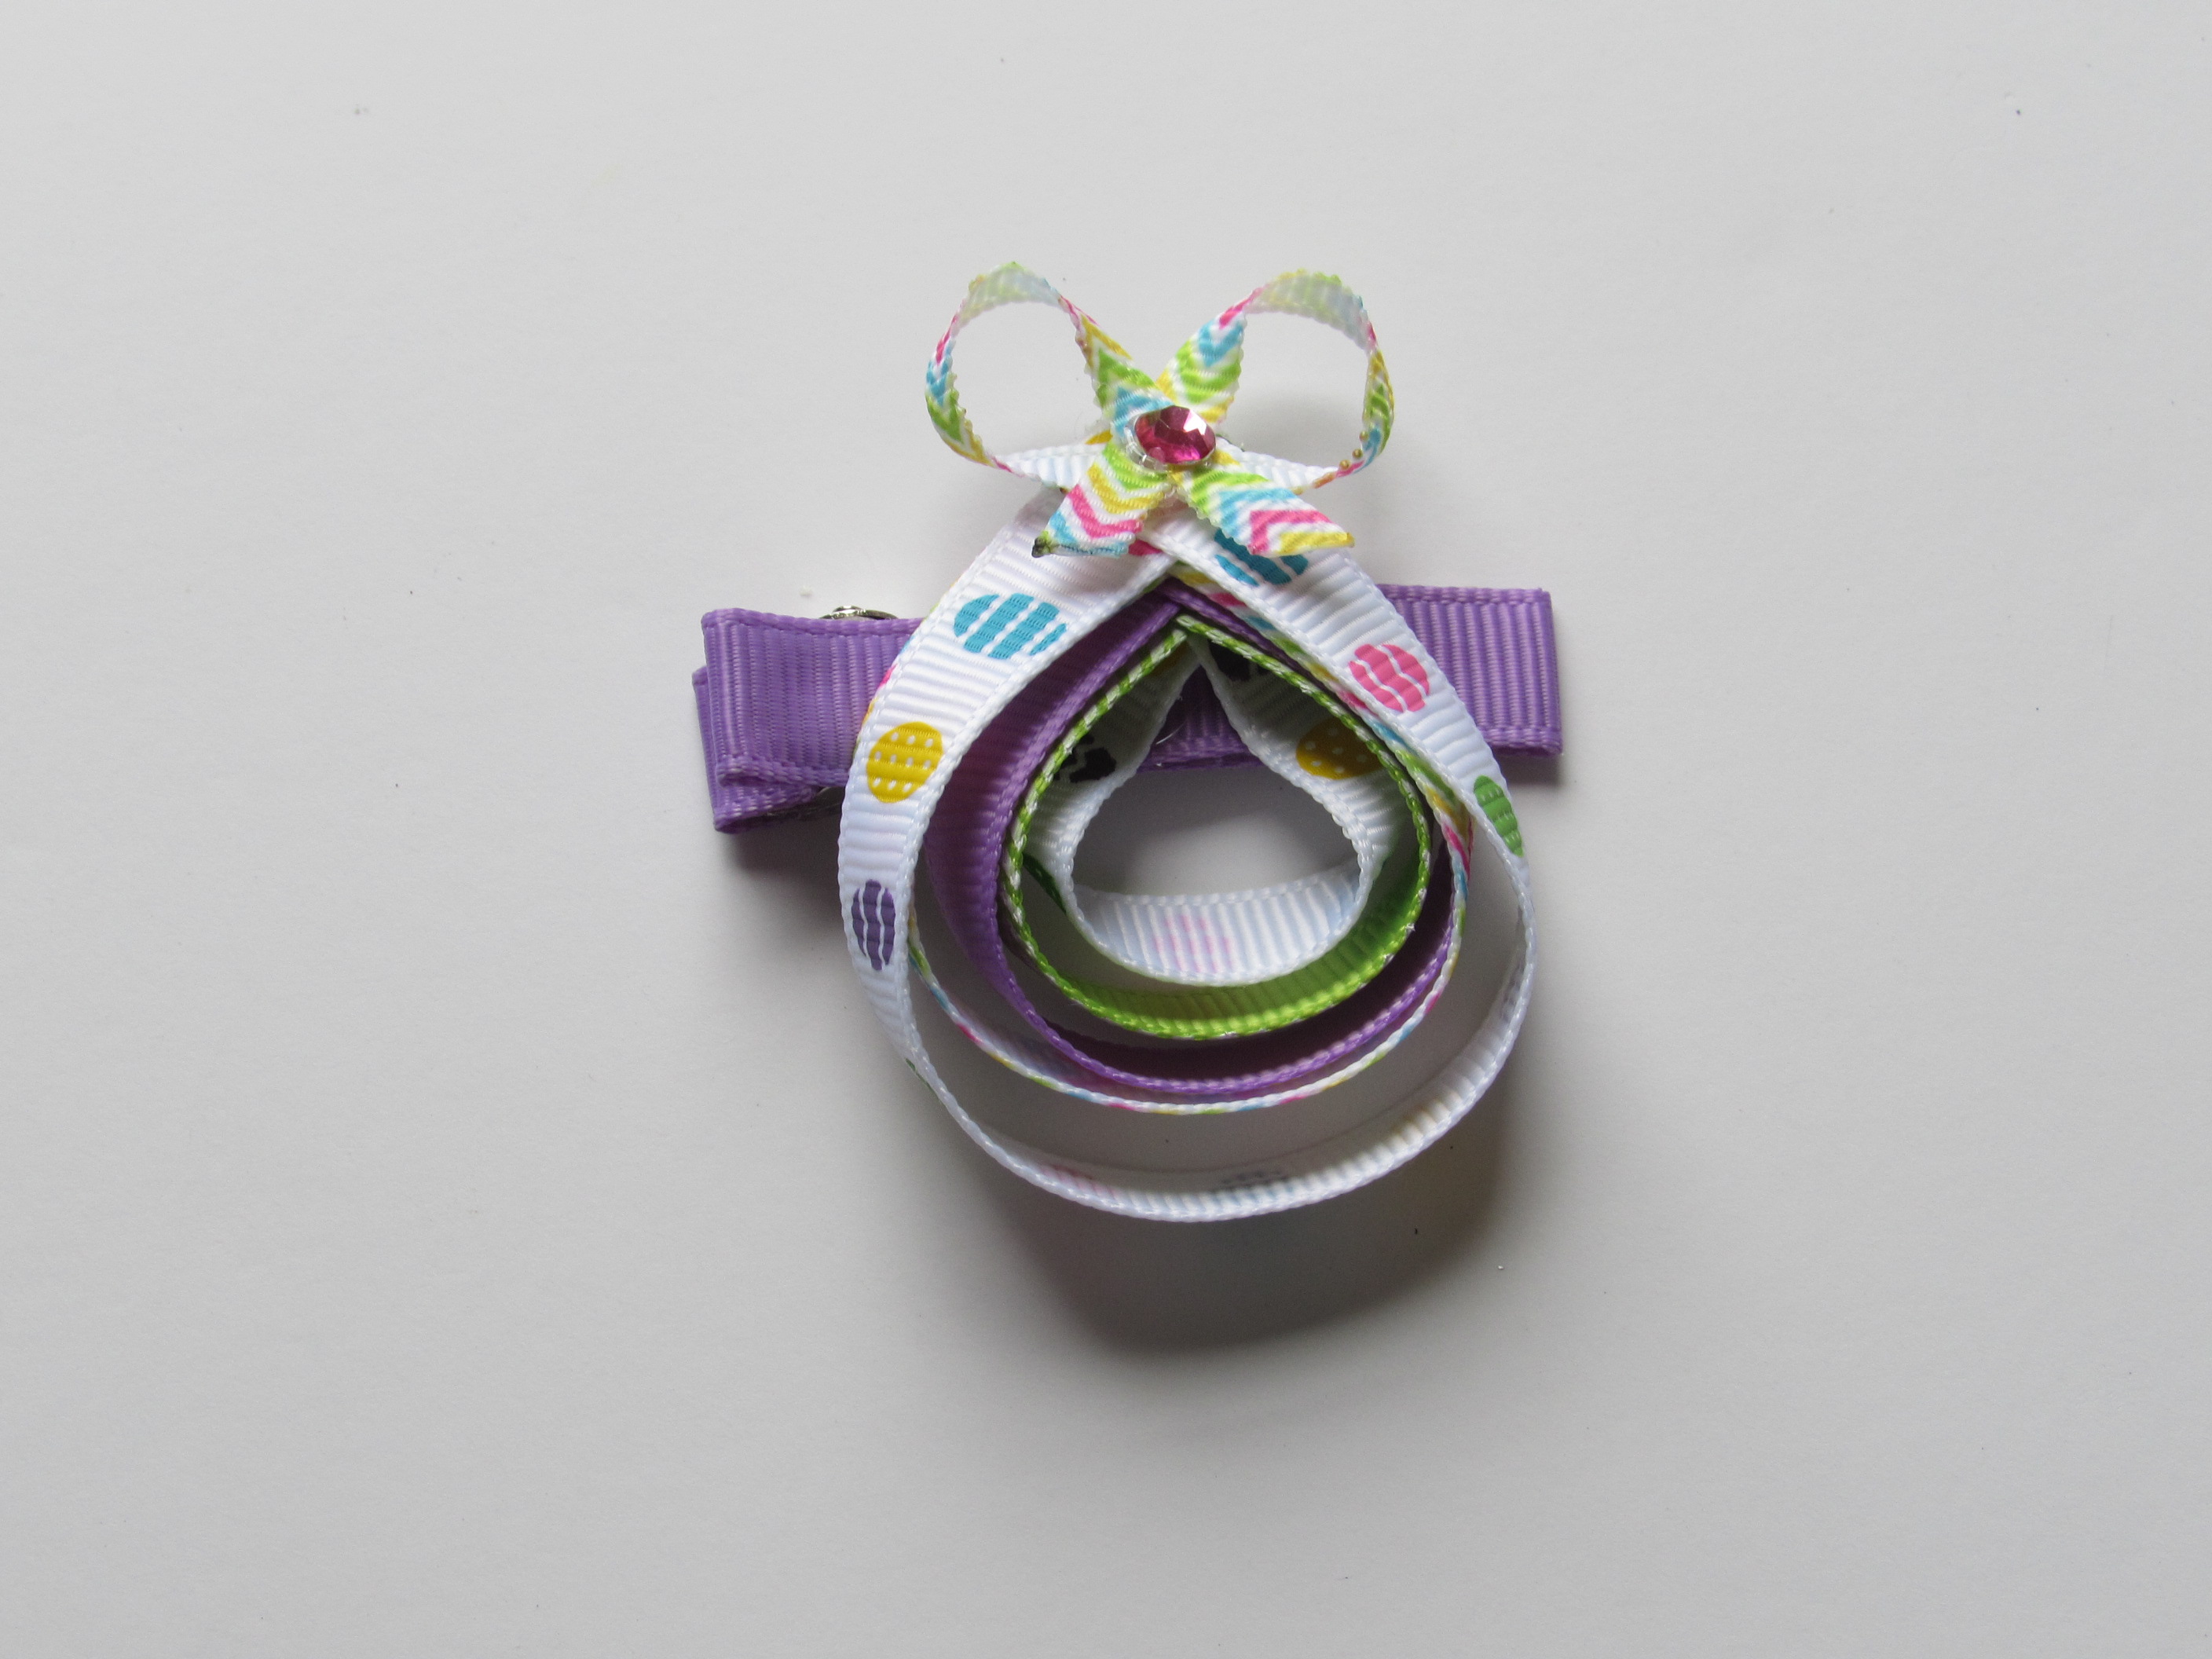
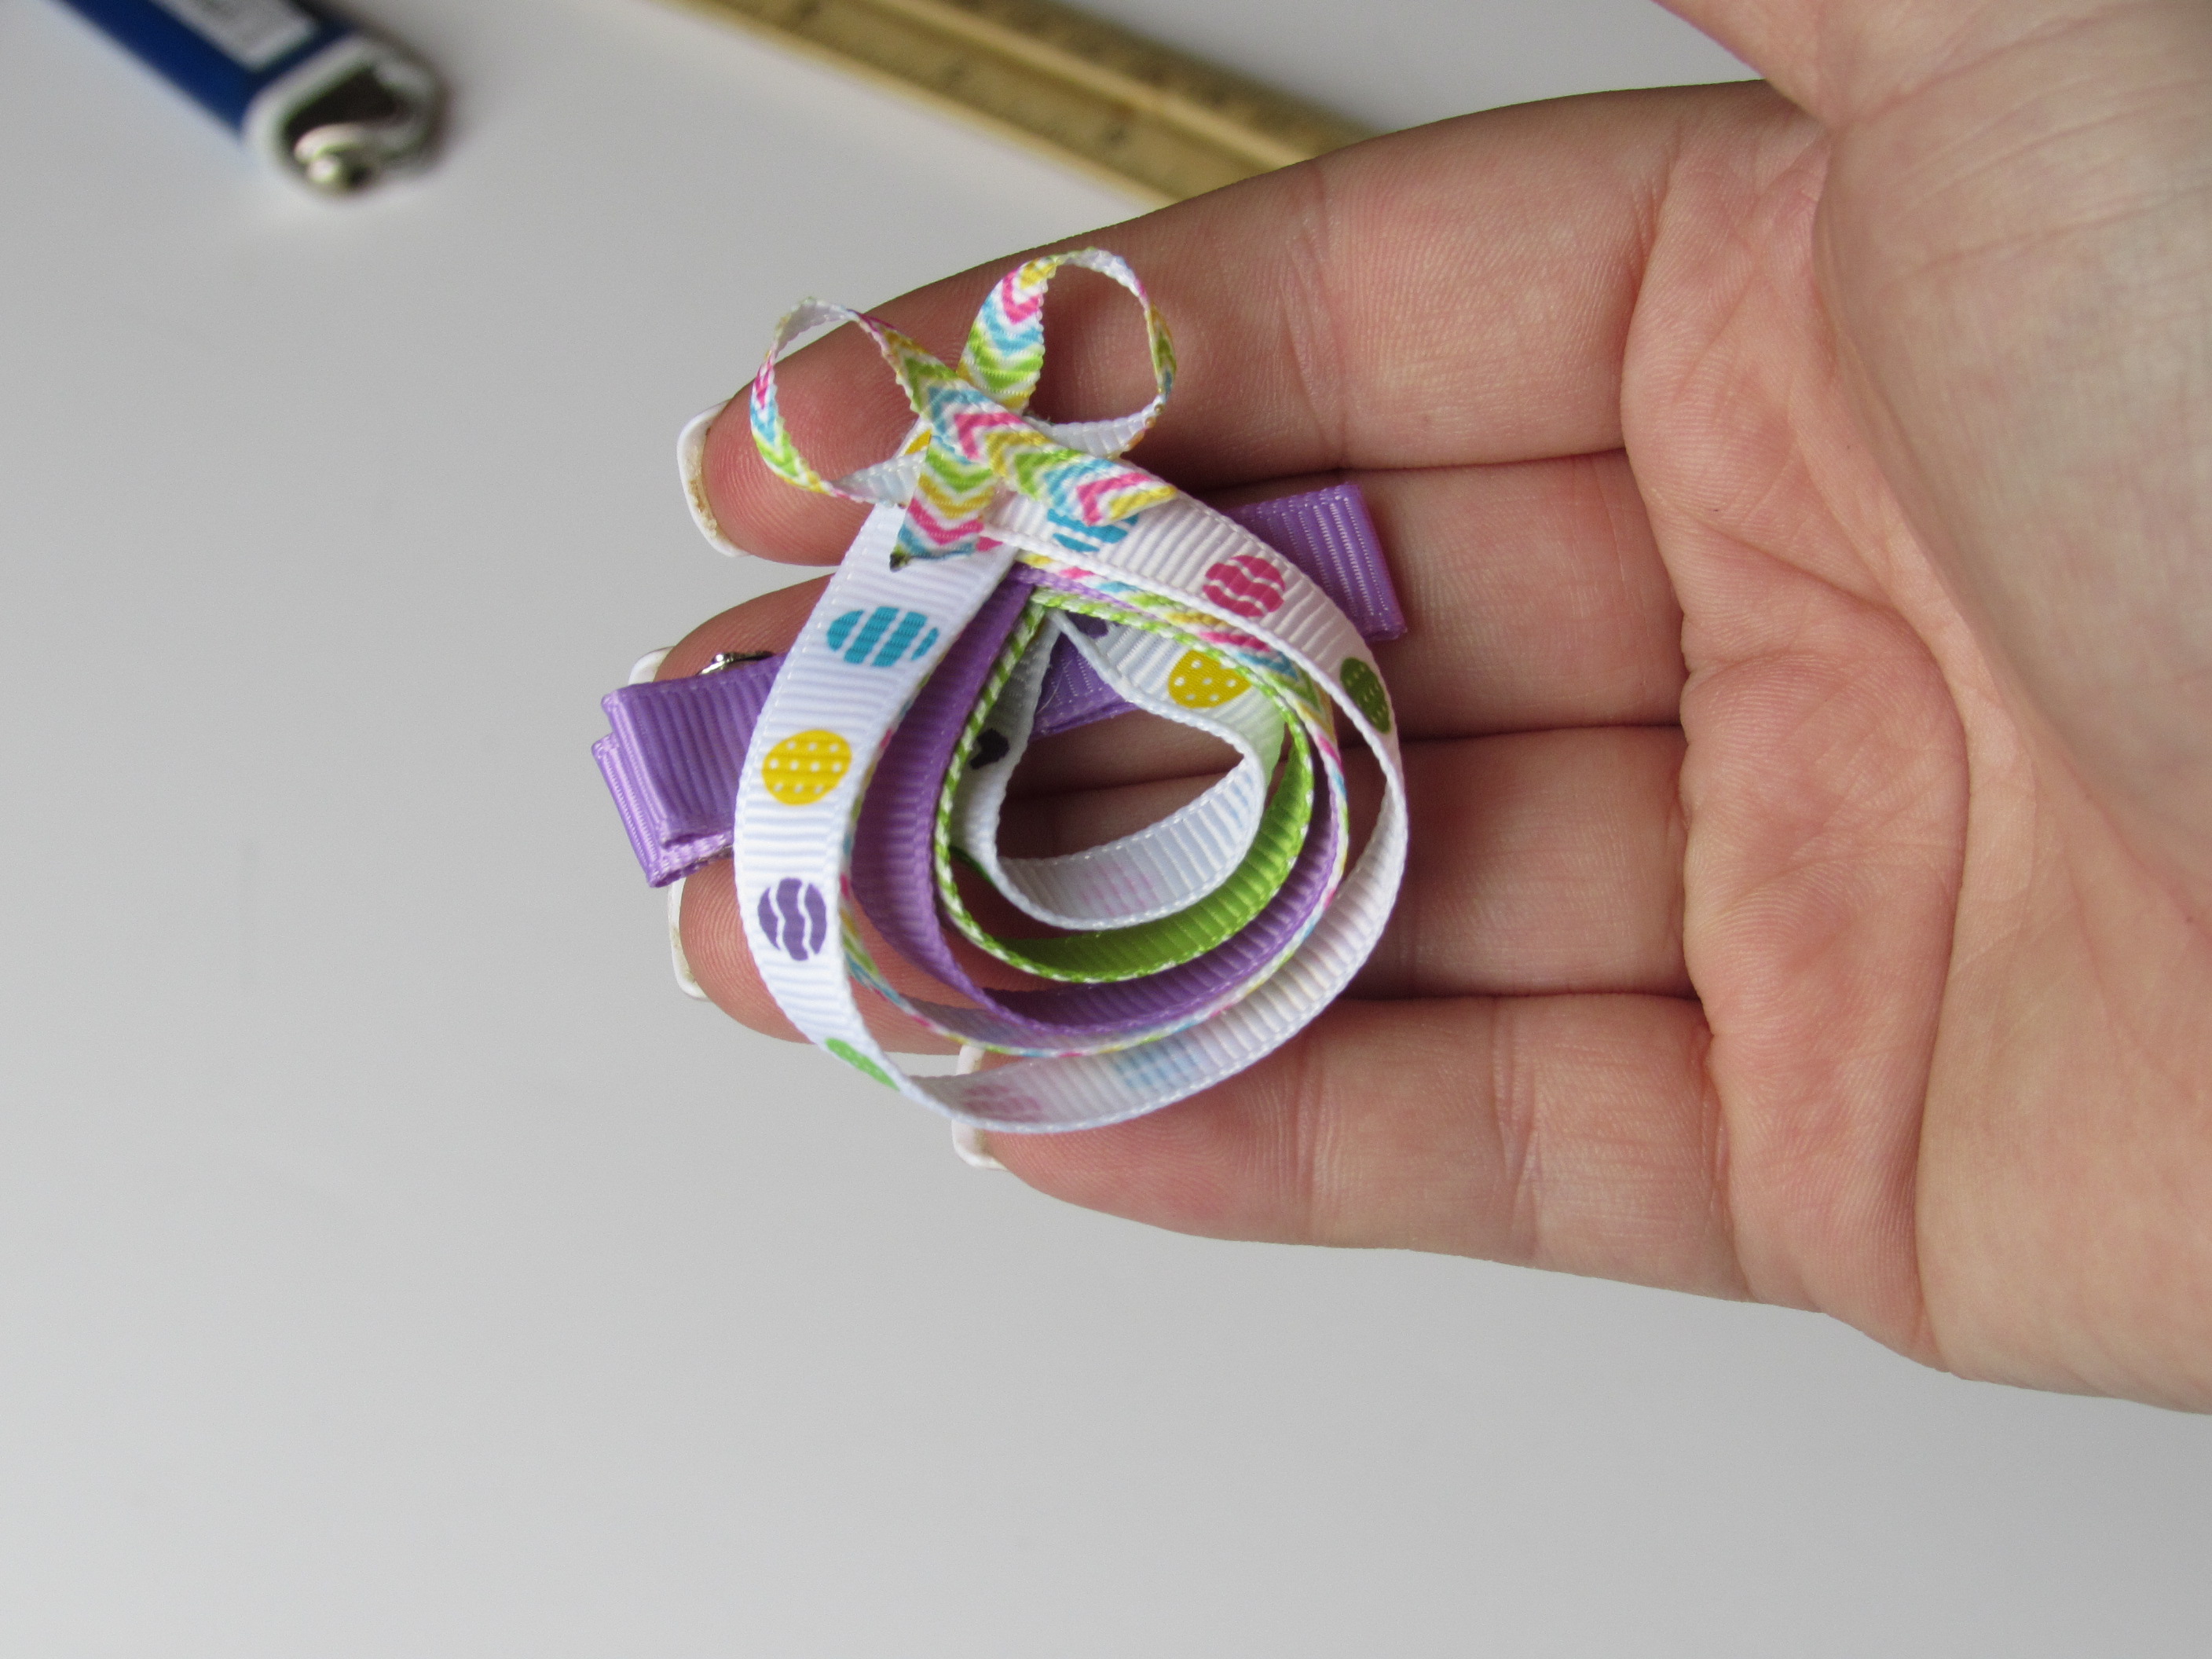 Step 20: Grab your pretty sparkly rhinestone center you are using. I decided a small pink rhinestone center would look adorable so that is what I went with. Apply a small amount of hotglue to the center of the bow. Then add your rhinestone center right on top of that.
 Now that we have that all completed you have you one adorable Easter Egg Ribbon Sculpture Clippie :) These can be created in different lengths, colors, prints, etc. You have the basic outline of how to do. Now get creating and show off those skills you have.
* If you are interested in any of the ribbons used in this tutorial please visit hbc online and order your goodies today :)
Have a great crafting day!
Now that we have that all completed you have you one adorable Easter Egg Ribbon Sculpture Clippie :) These can be created in different lengths, colors, prints, etc. You have the basic outline of how to do. Now get creating and show off those skills you have.
* If you are interested in any of the ribbons used in this tutorial please visit hbc online and order your goodies today :)
Have a great crafting day!
 ~Cassie
Visit the rest of our blog for more Crafting Tutorials and DIY Instructions!
Loading...

