 Contributor post by Danielle at Korker Krazy
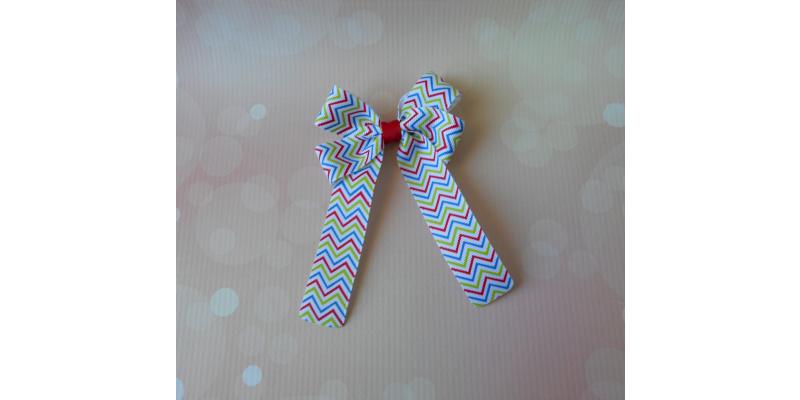
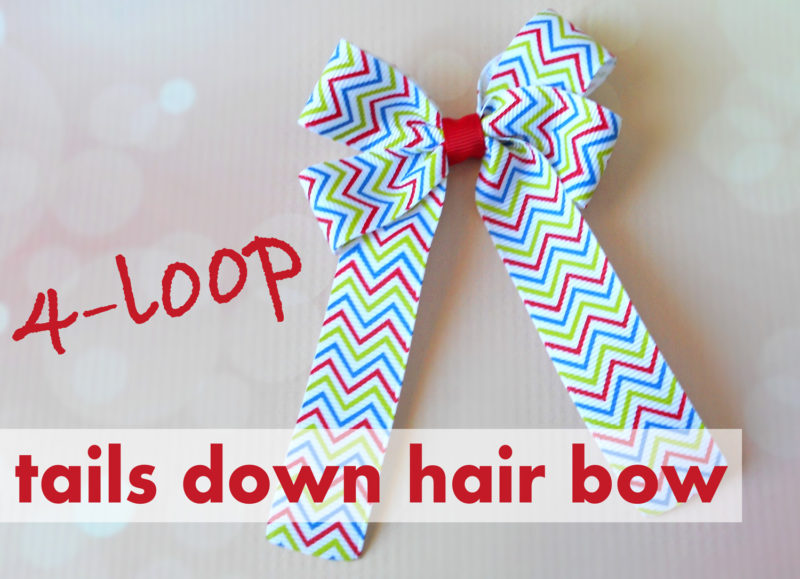
Ready-set-go! Back-to-school is here whether we are ready or not which means lots of clothes shopping and, of course, bow-making! Danielle shares easy instructions on how to make this classic tails down hair-bow that is perfect for school. You can also use a wide ribbon and larger template to make an oversized cheer bow.
This tutorial utilizes a cardboard template to form the bow. Brittany shares in this blog post how to create the same style bow without using a template.
Contributor post by Danielle at Korker Krazy
Ready-set-go! Back-to-school is here whether we are ready or not which means lots of clothes shopping and, of course, bow-making! Danielle shares easy instructions on how to make this classic tails down hair-bow that is perfect for school. You can also use a wide ribbon and larger template to make an oversized cheer bow.
This tutorial utilizes a cardboard template to form the bow. Brittany shares in this blog post how to create the same style bow without using a template.
Supplies Needed: 7/8" Grosgrain Ribbon (Primary Chevron) 3/8" Grosgrain Ribbon (Red) Hot Glue Gun & Glue 3" Template Salon Clip Alligator Clips Lighter Scissors
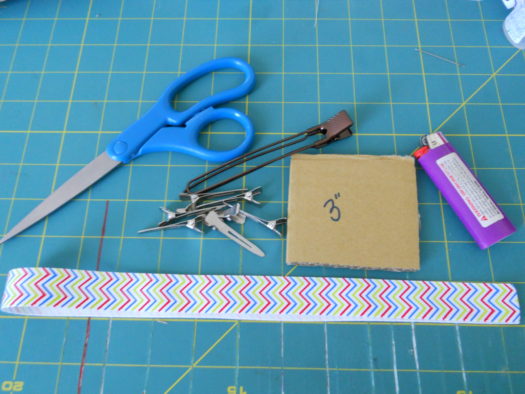
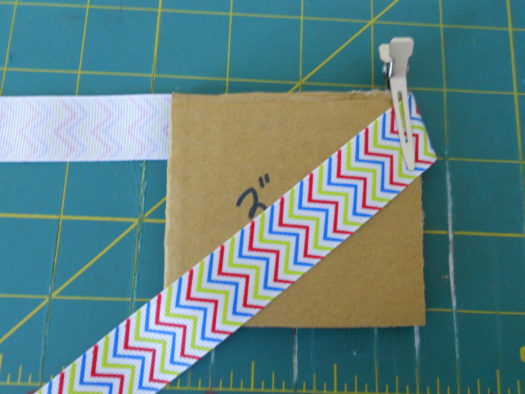
Step 1: Cut 24" of your 7/8" Grosgrain Ribbon, heat seal the ends. If you don't have a plastic 3" template you can make one with cardboard! Cut out a piece of thick cardboard that is 3"x3".
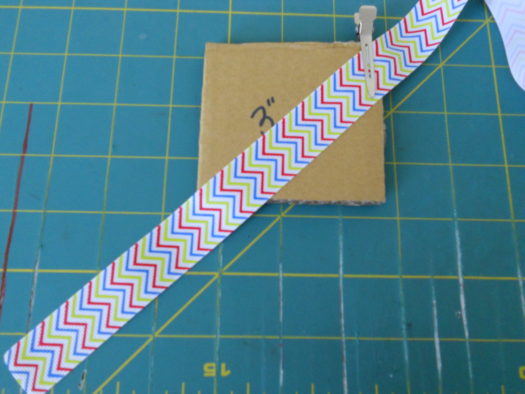
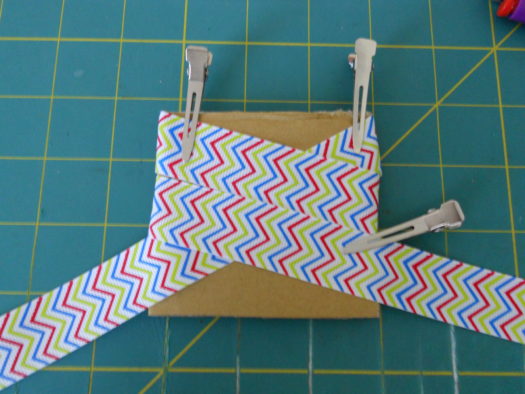
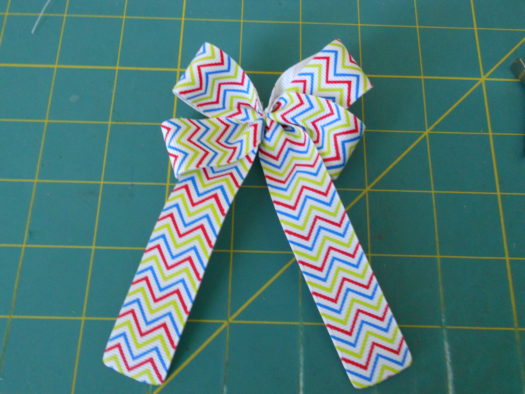
Step 2: Place your ribbon at a diagonal across your template. Leave a few inches off the bottom of the template for your tail. Use an alligator clip in the corner to hold the ribbon in place.
Step 3: Wrap your ribbon around the back of the template. The ribbon should be at the very top and straight across.
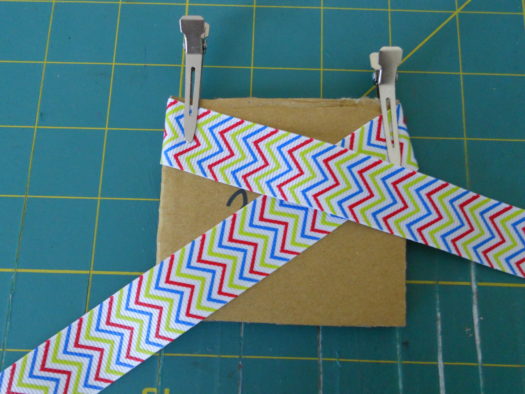
Step 4: Fold your long piece of ribbon across the front diagonally, crossing over your first ribbon. Use an alligator clip in the corner to hold the ribbon in place.
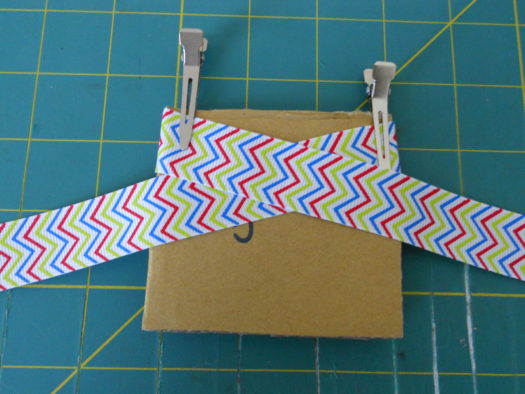
Step 5: Adjust your first ribbon by moving it up, even with the second ribbon.
Step 6: Loop the long piece of ribbon around the back of the cardboard, make sure it is straight across.
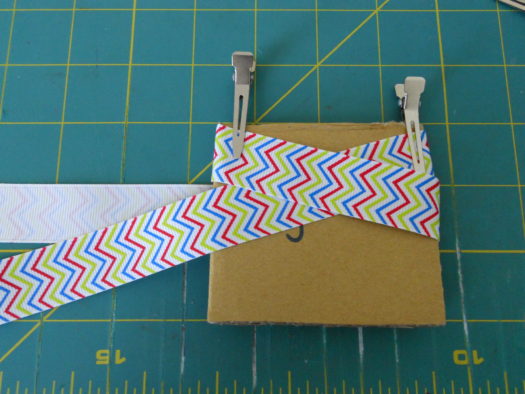
Step 7: Loop the long piece of ribbon back around the front diagonally.
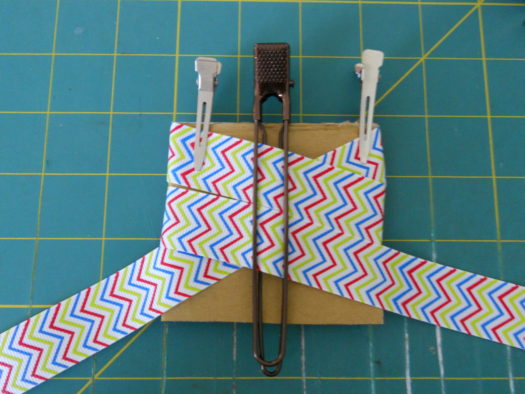
Step 8: Slide your salon clip down the center of the ribbons.
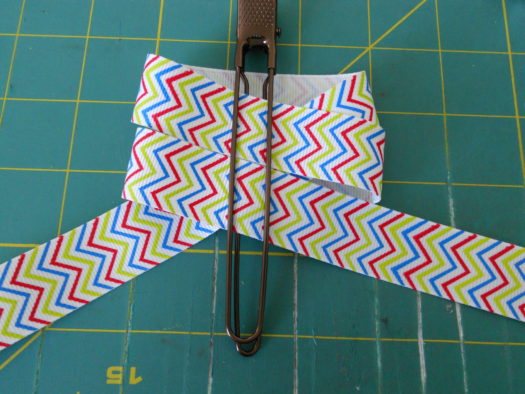
Step 9: Remove your ribbon from the template by sliding it up, carefully.
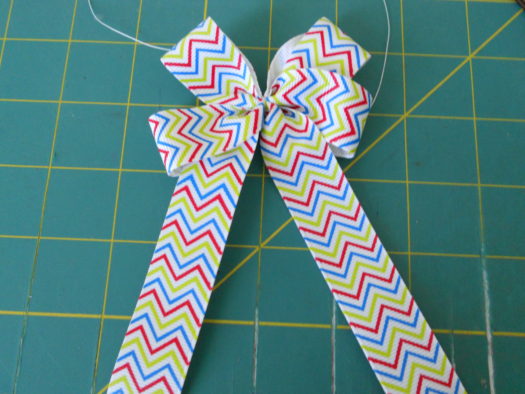
Step 10: Crease the center of your bow and wrap with upholstery thread or a similar heavy duty thread. Tie off the thread and cut.
Step 11: Gently pull on your loops to even them out. Adjust them however you would like - remember not to pull too hard! Even up your ends! Hold the two ends close together and trim any long pieces. I left my ends straight but a v-cut would be cute too!
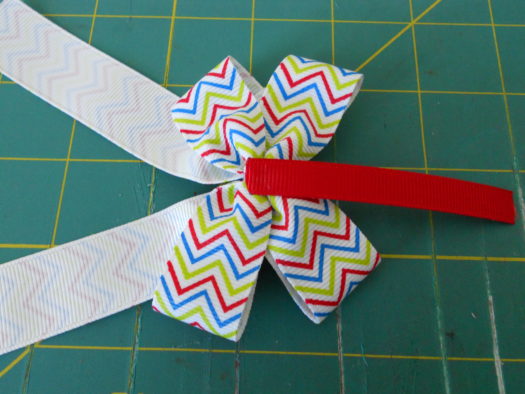
Step 12: Wrap your center. Using a piece of 3/8" ribbon - heat seal the end and glue down the back of the bow.
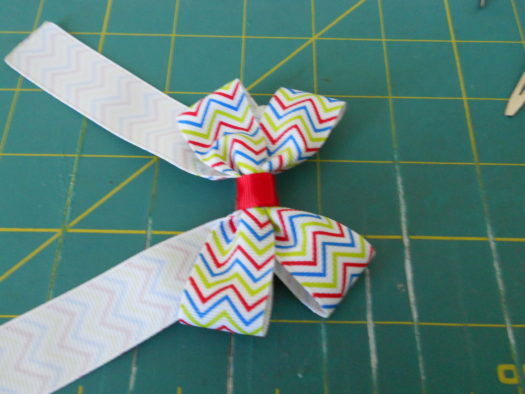
Step 13: Wrap the ribbon around the front of the bow and glue down on the back. At this step you may have to adjust your loops again and pull them out so they aren't smashed by the center and that's it!
You can attach this bow to the hardware of your choice. For small bows, you can use an alligator pinch clip or a small french barrette. For medium to large bows or cheer bows, these work best on a french barrette. Pull back the hair into a partial or full ponytail and attach your hair-bow!
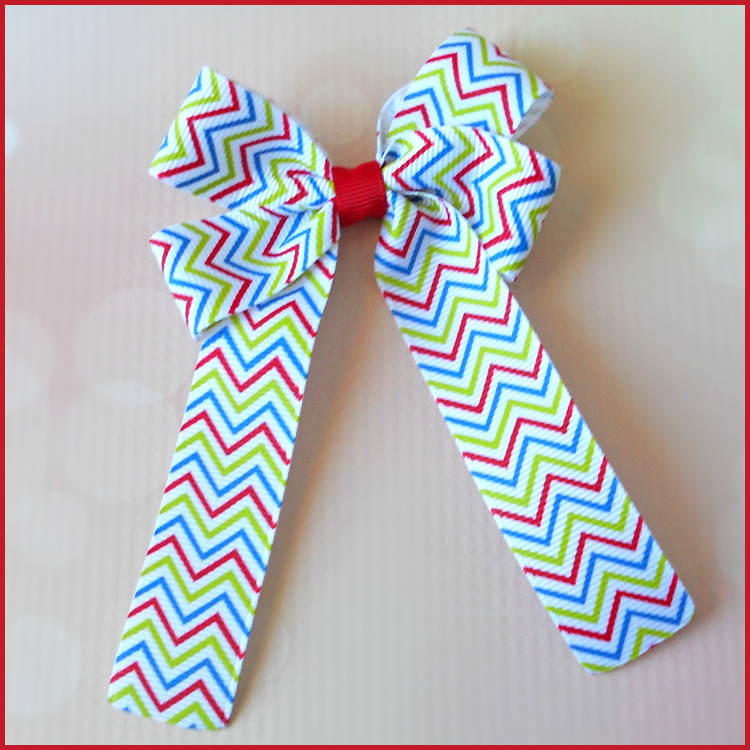
Visit the rest of our blog for more Hair Accessories Tutorials, Crafting Tutorials and DIY Instructions like this 4-Loop Tails Down School Hair-Bow!
Loading...

