 Contributor post by Danielle at Korker Krazy
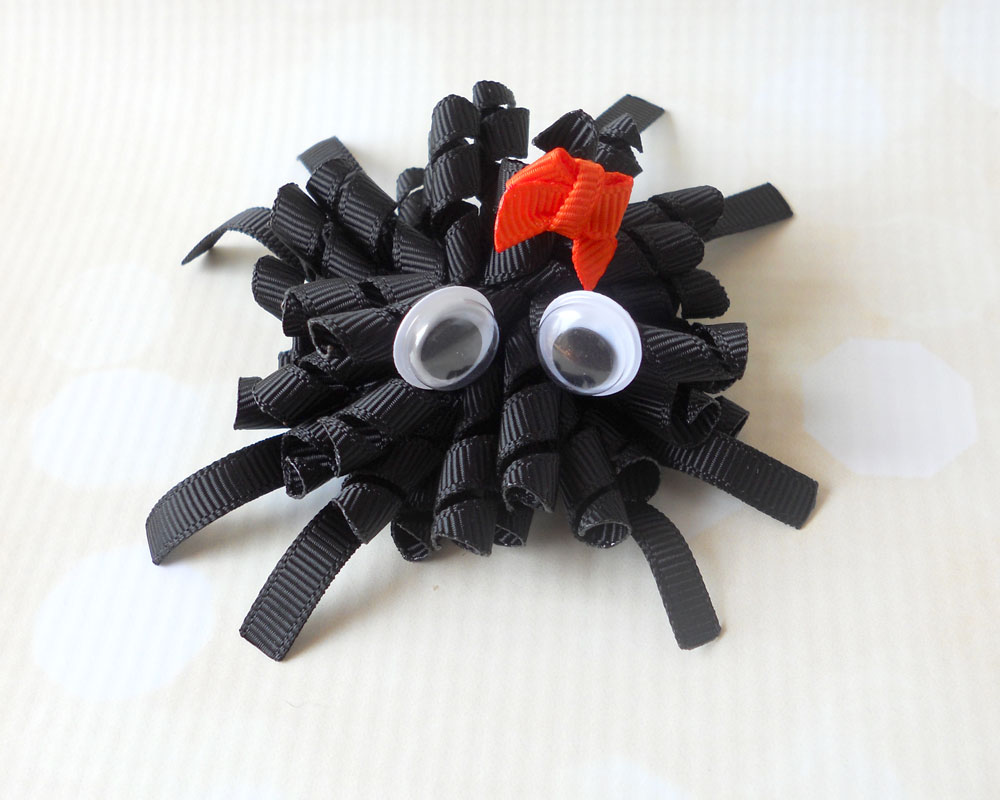
It's time to get your scare on, because today I'm going to show you how to make a cute spider korker bow!Supplies Needed: 1/4" Grosgrain Ribbon or pre-curled 1/4" korker pieces I am using black and orange. 3/16" Wooden Dowels (12" length) - These can be purchased at any craft store or Walmart. Clothespins (mini or regular size) Googly Eyes Rotary Cutter or Scissors Lighter Needle and Thread Hot Glue Gun & Glue Alligator Clip and 3/8" Grosgrain Ribbon to line it.
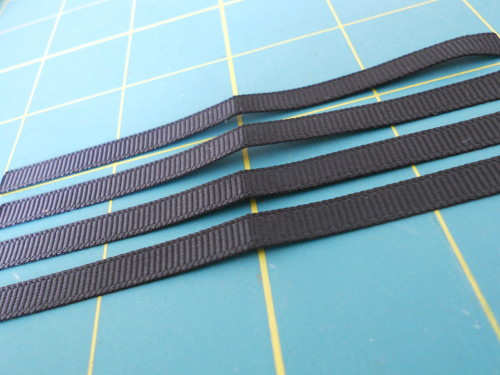
First we are going to make our spider legs! Cut four 4" pieces of your 1/4" grosgrain ribbon. Fold each ribbon in half and crease the center. Heat seal all ribbon ends.
Next, we are going to curve the ribbons to make them look more like spider legs. To curve each end hold your lighter along the bottom where you want the top of the curve. Don't hold the lighter too close to the ribbon. This is a quick step - be careful not to burn the ribbon! As you hold the lighter along the bottom you will see the ribbon curve down. Complete this step with each of your spider leg pieces.
Now we are going to glue the spider legs together. Start by gluing two pieces into the shape of an x. Remember how we creased the center of each piece? That is so you can line up the centers on this step before gluing! Add the next piece to the top of the x, then add the last piece. We now have our spider legs finished.
Now we are going to make the spider body. Wrap the ribbon around the dowels and secure both ends with a clothespin. To make one spider mini korker bow you will need (3) 12" strands of black.
Now that you have your dowels wrapped place them on a baking tray and bake for 25 minutes at 245 degrees. You do not need to spray anything on the ribbon! Once they are finished baking remove the pan from the oven and allow the ribbon to cool completely before removing it from the dowels.
Now we are going to cut all of our pieces. When making the spider korker, I wanted my bow to be round so I cut each edge straight across using my rotary cutter. Each strand should be cut to 2". I have 18 pieces of black.
Heat seal every end with your lighter. You can do this by lightly running the lighter along the edge. This step prevents fraying and is essential for the finished product. Line your korker pieces up in order and thread your needle.
Once all of your pieces are on the needle hold the center with your finger next to the needle and your thumb on the back of the bow. Thread your needle back and forth through the center several times. Keep your finger and thumb on the middle of the bow so your korker pieces don't get tied with the thread. Flip your bow over to the back and knot the thread several times.
Now you have your spider body and legs completed!

Flip your korker bow over so the back side is facing up and glue the top of the spider legs to the center.
Add your googly eyes! Using hot glue add your eyes to the korker bow.
Next we are going to make the bow for the spider. Cut a 2" piece of your orange ribbon and angle the ends, heat seal. Shape your ribbon into what looks like an awareness ribbon. Next, push the loop down - make sure you loop is even and straight across. Thread your needle through the center and tie around the center of the bow. Using the same size ribbon wrap the center to hide the thread.
Now using hot glue, add your bow to your spider, above the eyes. Flip your bow over and attach your lined alligator clip.


