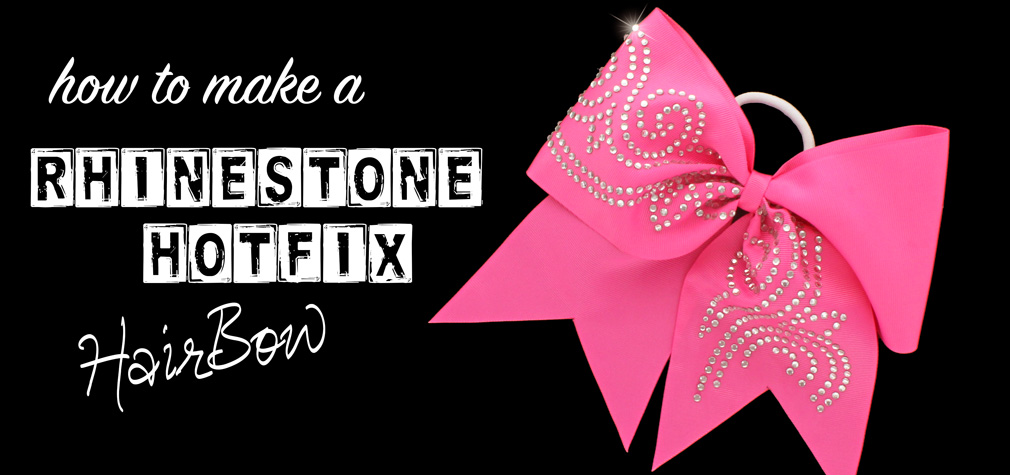
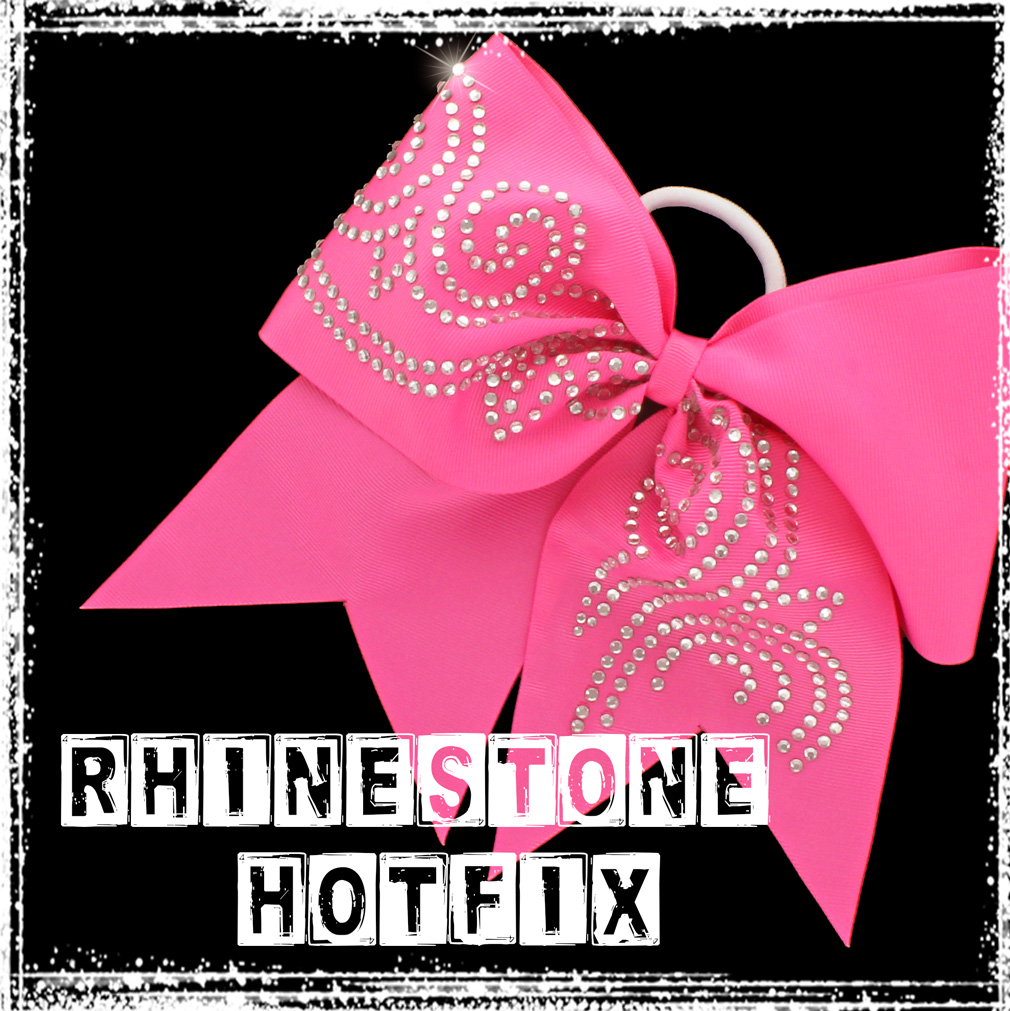
 Take your hair-bows to the next level with the addition of one of our sparkly rhinestone hotfix heat transfer strips! While the obvious applications for these rhinestone hot-fix strips are cheer and dance team bows, every little girl loves bling! Available in a variety of widths and patterns, there are narrower styles for 1.5" width ribbons all the way to 4" width ribbon designs.
If you haven't ever tried one of our rhinestone strips, don't be intimidated thinking that they look complicated or will take special equipment - they aren't much harder than a typical hair-bow and you probably already have what you need to make them on-hand!
Gather your supplies:
Take your hair-bows to the next level with the addition of one of our sparkly rhinestone hotfix heat transfer strips! While the obvious applications for these rhinestone hot-fix strips are cheer and dance team bows, every little girl loves bling! Available in a variety of widths and patterns, there are narrower styles for 1.5" width ribbons all the way to 4" width ribbon designs.
If you haven't ever tried one of our rhinestone strips, don't be intimidated thinking that they look complicated or will take special equipment - they aren't much harder than a typical hair-bow and you probably already have what you need to make them on-hand!
Gather your supplies:
- 4" grosgrain ribbon
- 3/8" grosgrain ribbon
- bold swirl hotfix heat transfer cheer strip
- heat transfer ironing sheet
- ponytail holder
- zip tie
- floral wire
- wire trimmers
- hot glue gun
- hot knife
- metal straight edge
- scissors
- glass crafting cutting board
- household iron or heat press
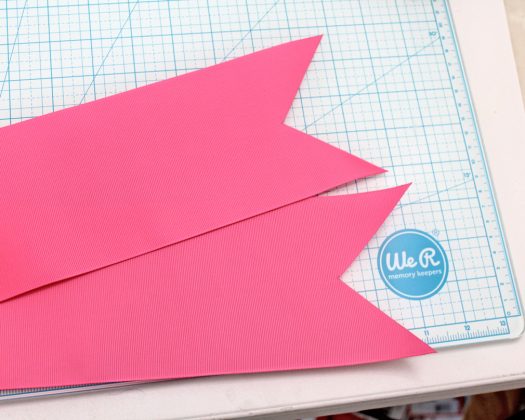
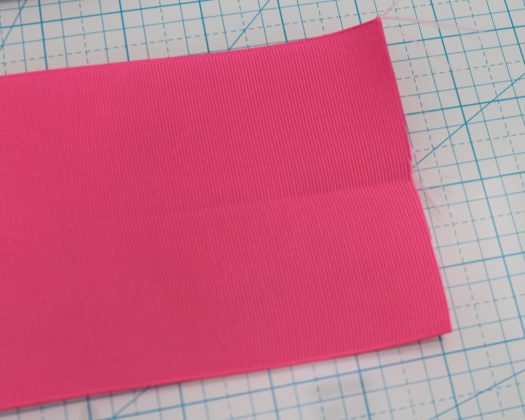 We are going to use our glass crafting cutting board to help us line up the perfectly measured cuts we will be making. Center the ribbon with the crease located on a main cutting line and use the horizontal grid lines to keep the ribbon lined up straight on the board. Slide the ribbon horizontally until the top right corner lines up (you will want it slightly past) with the 45 degree angle line. Lay your straight edge along that cut line. Use your hot knife to start cutting from where the crease in the ribbon meets the straight edge, cutting along the straight edge to the top edge of the ribbon, to get your top half cut.
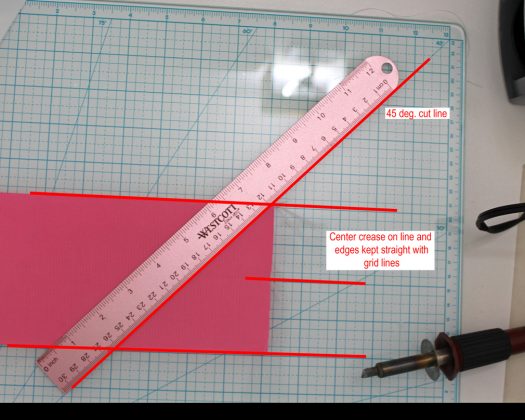 Flip your ribbon over upside down and repeat the same process to complete the other side of the cut. Then flip your ribbon horizontally to bring the other ribbon end to the right side and repeat the above process.
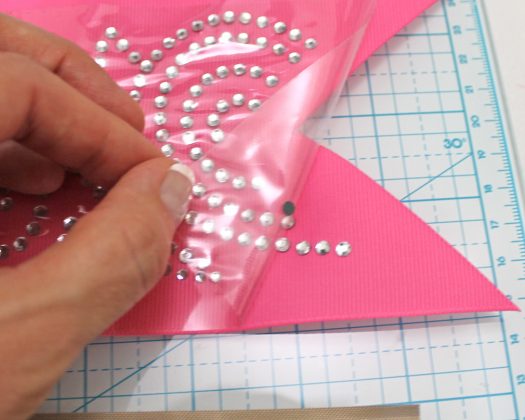
 The next step is to remove the white plastic backing and position the transfer on the ribbon in the desired location. Start in one corner of the transfer and start to slowly peel the backing away working at an angle.
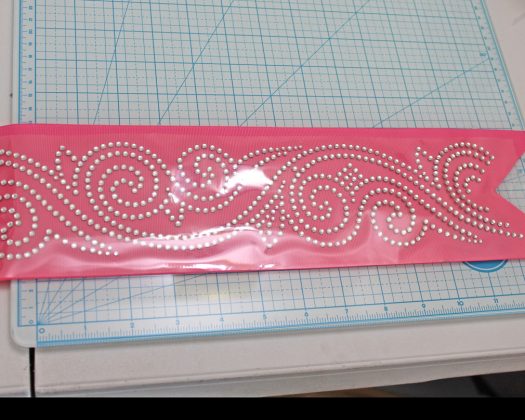
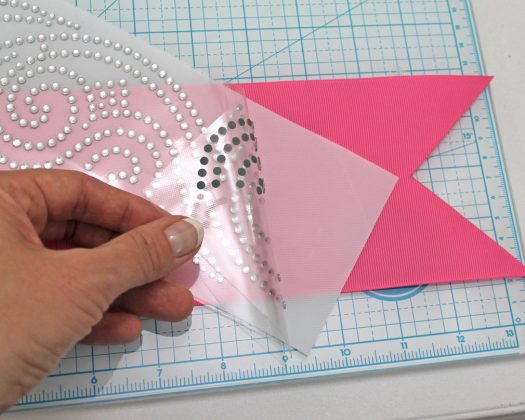 Once removed, lay the transfer gently on the ribbon in the desired location. After the heat transfer is positioned, firmly press the transfer to the ribbon to keep it in place while working with it.
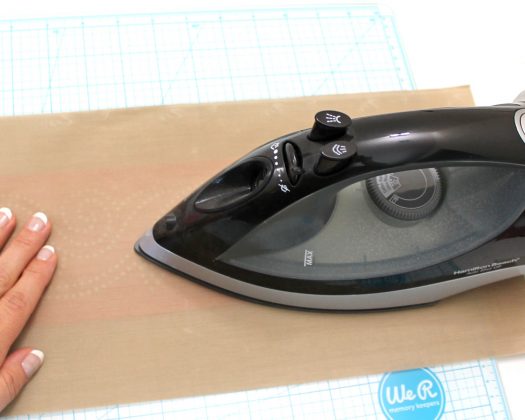
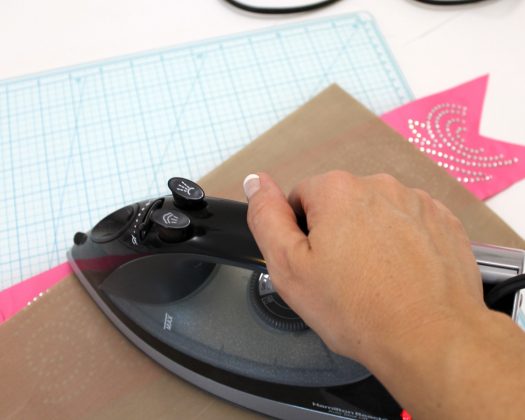
 Now it is time to apply heat to activate the glue on the back of the stones so that it adheres to the ribbon. Heat your iron to the highest setting and be sure to turn off any steam. A heat press set to 340 degrees is the best option, but as most people don't own a heat press, a standard household iron will make do. If you plan on using hotfix or heat transfer items fairly often, it may be wise to invest in a small heat press as it makes MUCH faster work than an iron and also is better for a firm stone adhesion as it gets hotter.
Place either an ironing sheet or other item such as a pillowcase or tea towel over the transfer and start to apply pressure with the iron starting on one end. You do not want to wiggle the iron around as you may dislodge some of the stones from their proper place, and instead want to apply medium pressure in one spot for a minimum of 45 seconds (15 seconds for heat press machine) before moving the iron to the next location. After finishing with the heat on the front side, you will now need to flip the ribbon over and do the same from the backside for the same amount of time (10 seconds on back side for heat press machine). This is a very important step as you will not be able to get the glue hot enough by only heating from the front as the rhinestones prevent some of the heat transfer.
Now it is time to apply heat to activate the glue on the back of the stones so that it adheres to the ribbon. Heat your iron to the highest setting and be sure to turn off any steam. A heat press set to 340 degrees is the best option, but as most people don't own a heat press, a standard household iron will make do. If you plan on using hotfix or heat transfer items fairly often, it may be wise to invest in a small heat press as it makes MUCH faster work than an iron and also is better for a firm stone adhesion as it gets hotter.
Place either an ironing sheet or other item such as a pillowcase or tea towel over the transfer and start to apply pressure with the iron starting on one end. You do not want to wiggle the iron around as you may dislodge some of the stones from their proper place, and instead want to apply medium pressure in one spot for a minimum of 45 seconds (15 seconds for heat press machine) before moving the iron to the next location. After finishing with the heat on the front side, you will now need to flip the ribbon over and do the same from the backside for the same amount of time (10 seconds on back side for heat press machine). This is a very important step as you will not be able to get the glue hot enough by only heating from the front as the rhinestones prevent some of the heat transfer.
 After heating from both sides is finished, you can test the adhesion by very slowly starting to peel back the clear plastic transfer sheet, again working at an angle. You can see in the image here that a stone did not get properly heated/adhered and came up on the transfer sheet. Simply lay the sheet back down and start over in that area again with the heat and add at least an additional 15 seconds. You will find that smaller stones tend to be much harder to heat adequately, especially when they are next to larger stones that are taller than they are, so those areas will need a little extra TLC, mostly heating from the back side. That issue is alleviated when using a heat press as it thoroughly heats and adheres all stones (except for possibly extreme height differences).
 After the plastic transfer sheet is successfully removed, you will want to do an extra round of heating as pulling off the sheet has also applied upward pressure on the stones, making them looser, and they will be more prone to popping off if you do not heat them again. Apply another full round of heat from the top side and preferably another round from the back as well. This step is only needed if using a household iron, not if using a heat press machine.
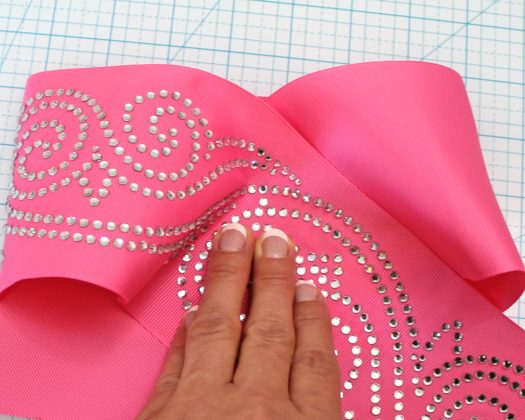
 It's time to make a bow! I typically use my cutting board to line up my cheer style hair-bows. There is no set rule for how big to make the loops or how long to make the tails when you are using a flexible rhinestone design like this one that doesn't have a set "center". Start by folding your ribbon in half and firmly creasing the center to mark the center of your bow. Line that crease up on a main grid line and then make sure the corners of your loops are the same distance away on either side. Also make sure that where ever your ribbons cross, it is always lined up on the same main center grid line. Generally the ribbons should cross at a 90 degree angle.
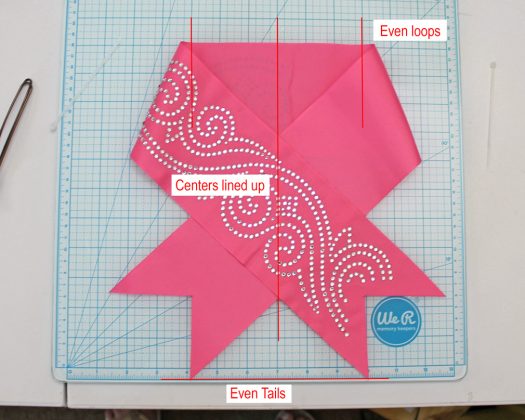 To help keep this positioning, you can add a drop of hot glue to where the tails cross.
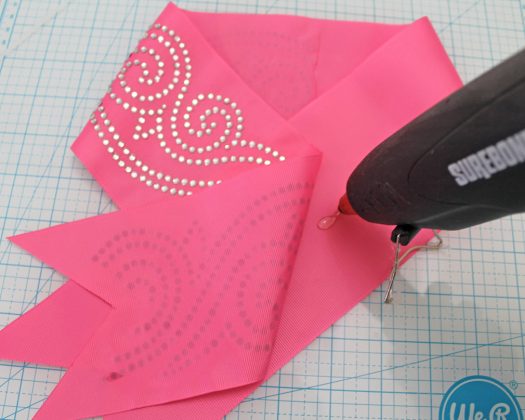 Now we are going to slide the top of the bow down so that the top of the ribbon edge lines up with where the ribbons cross each other.
 Carefully pick up the bow while trying to keep everything in place, and then gather the center accordion-style, starting in the center.
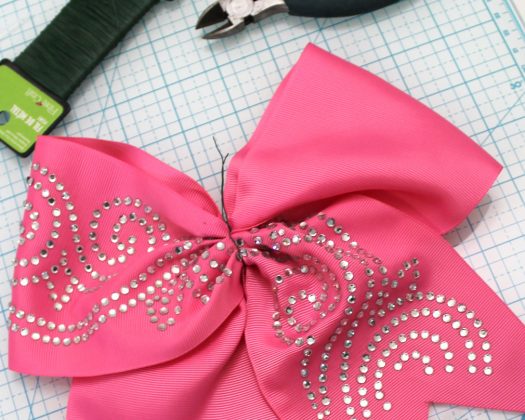
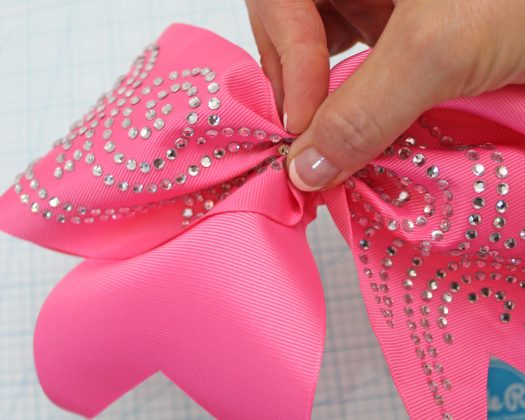 Loosely wrap some floral wire around the center and make a few twists with your free hand. The wire is temporary and will be removed shortly, but serves to hold the center in place leaving you two free hands to work with.
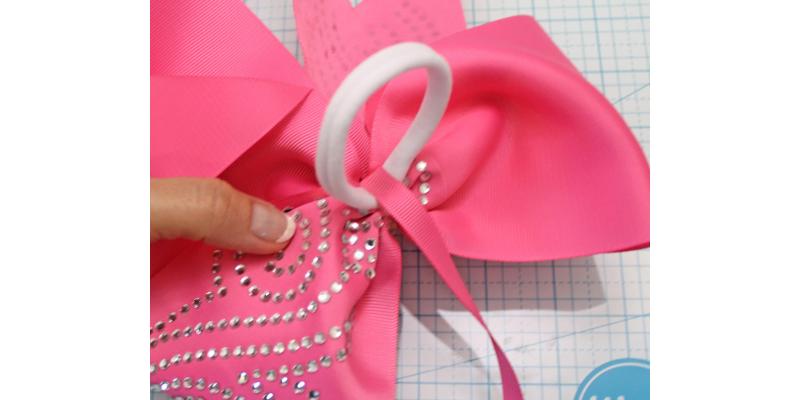
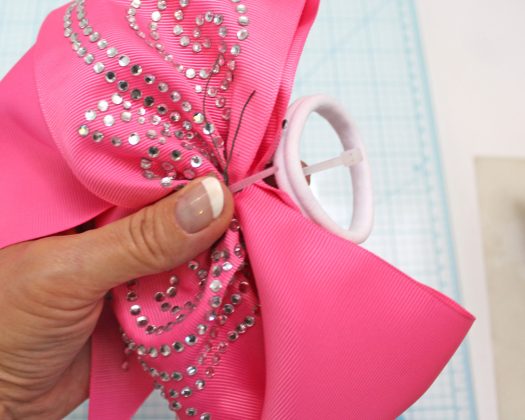
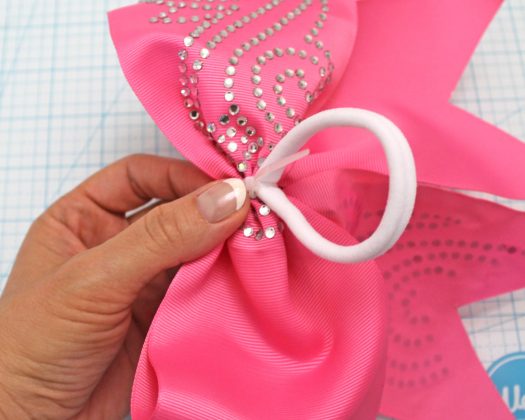
 Grab a ponytail holder and your zip tie. Slip the ponytail holder onto the zip tie and then circle the bow center with the zip tie. Very loosely tighten the zip tie so that it gets past the first ridge or two and "locks".
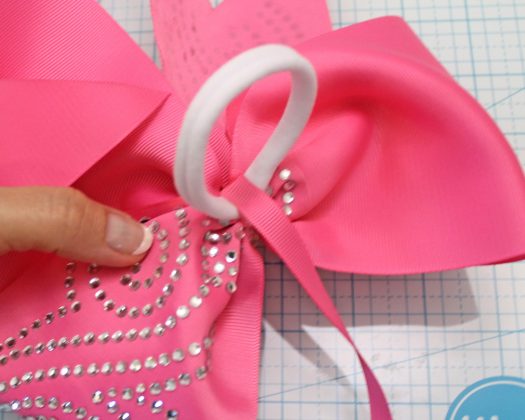
 Once the zip tie is locked, you can then freely twist it and the ponytail so that it is lined up in the center of the bow and the locking mechanism and ponytail holder are positioned where you want them in the back of the bow. After everything is in place, go ahead and tighten the zip tie a few more notches so that it is just snug enough to hold things in place, but not so tight that it can't be moved around some still. Now is when you will remove the florist wire and also adjust the loops and tails of your bow so that everything is even. After everything looks perfect, tighten the zip tie as tight as you can pull it and snip the end off flush with your wire snippers.
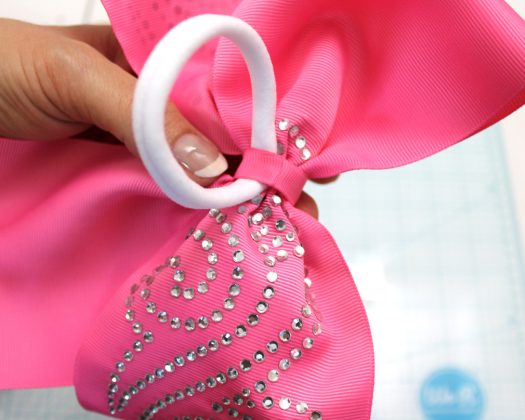
 We're ready to add the final center ribbon! Trim off around 3 inches of the 3/8" width matching ribbon and glue one end to the back of your bow.
 Wrap the ribbon around the front snugly (but not so tight that it isn't smooth), trim the end and heat seal with the wood burner tool, and then glue to the back side as well, overlapping the other end.
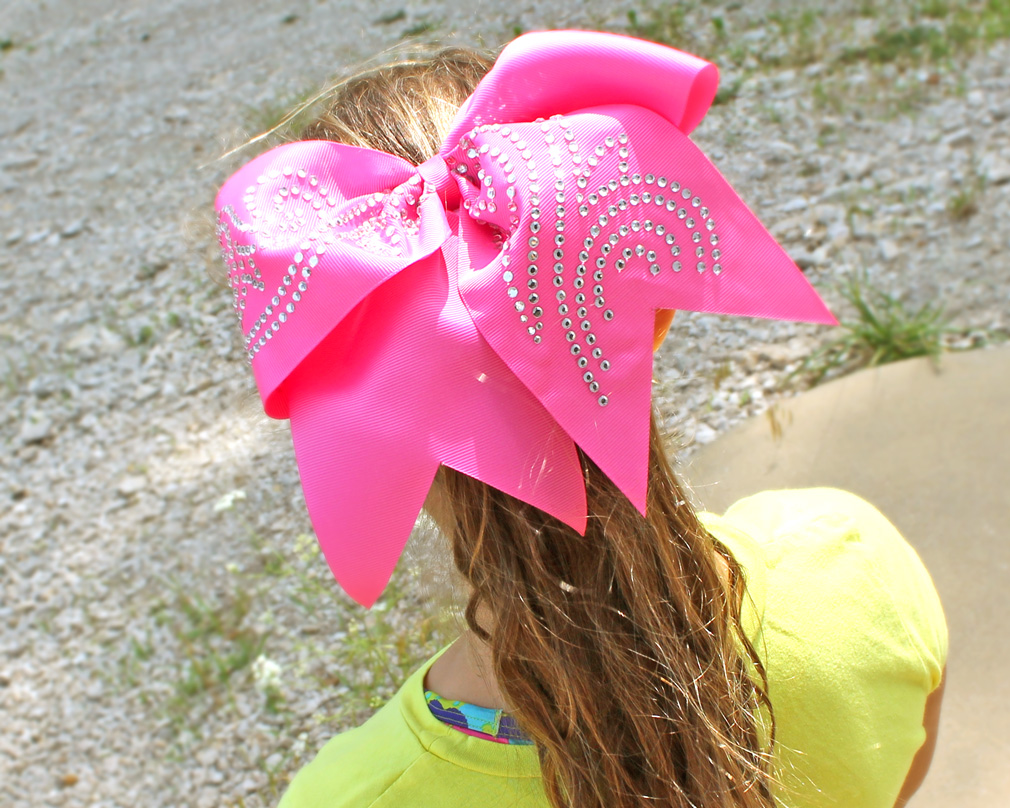
 Your dazzling hair-bow is complete!
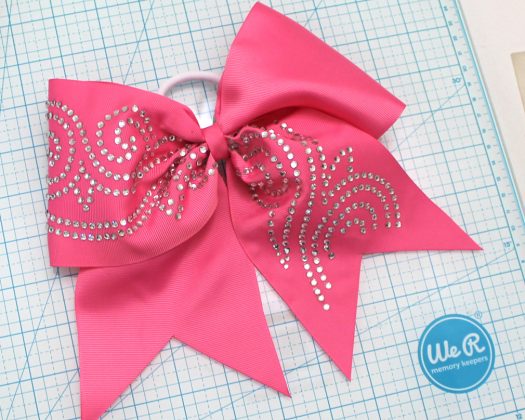 Sport your rhinestone hotfix cheer hair-bow!
Visit the rest of our blog for more Girls Hair Accessories Tutorials, Crafting Tutorials and DIY Instructions like this Rhinestone HotFix Cheer Hair-Bow!
Loading...

