 Contributor post by Brittany
With a new year of school upon us and kiddos joining new sports teams, I thought this was the perfect time to share how to make the No-Slip Sports Headband! These headbands are seriously amazing and I even wear them myself! They are perfect for working out, yoga, running, any kind of sport, as well as for every day use when you & your "mini me" want to keep your hair out of your face and in place! These are perfect for girls of all ages! Keep reading to find out how to make your very own (NO SEW!) No-Slip Headband!
Contributor post by Brittany
With a new year of school upon us and kiddos joining new sports teams, I thought this was the perfect time to share how to make the No-Slip Sports Headband! These headbands are seriously amazing and I even wear them myself! They are perfect for working out, yoga, running, any kind of sport, as well as for every day use when you & your "mini me" want to keep your hair out of your face and in place! These are perfect for girls of all ages! Keep reading to find out how to make your very own (NO SEW!) No-Slip Headband!
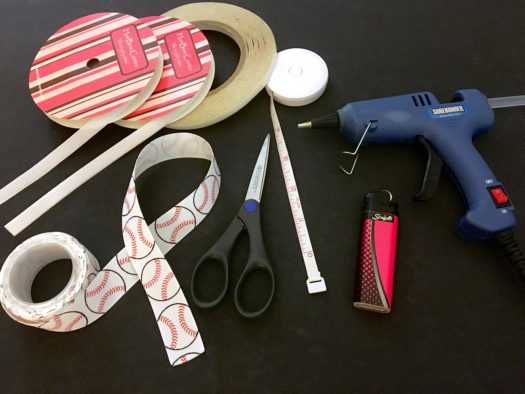 Listed below are the supplies you will need:
•3/8" white velvet ribbon
•3/8" white elastic velvet ribbon or 3/8" fold over elastic
•1/4" double sided fillet tape
•measuring tape
•hot glue gun
•7/8" baseball grosgrain ribbon
•scissors
•lighter
Listed below are the supplies you will need:
•3/8" white velvet ribbon
•3/8" white elastic velvet ribbon or 3/8" fold over elastic
•1/4" double sided fillet tape
•measuring tape
•hot glue gun
•7/8" baseball grosgrain ribbon
•scissors
•lighter
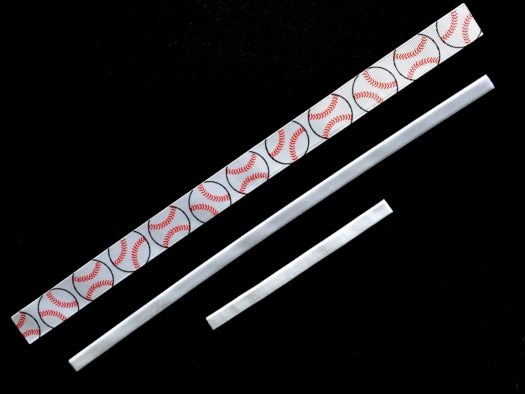 Shown above are the 3 main pieces we will need to construct our headband. I have measured out 14" of the super cute 7/8" baseball ribbon and heat sealed each end using a lighter. Next I have 13" of 3/8" white velvet ribbon, and the last piece is 5.5" of 3/8" white elastic velvet ribbon.
This headband is being made to fit a 3yr old toddler with a head measurement of 19.5". The headband will be 18.5" after construction and will stretch up to approx 21.5". I suggest measuring each individual's head, following all the way around their hairline, from the top of her head to the base of her neck and back up. Adjust measurements accordingly to insure a perfect fit. For example an adult's head measurement is approx 21.75" so I use around 15.5" of ribbon, and approx 6" of elastic velvet ribbon. This will make a headband that stretches up to approx 24". The decorative ribbon should come all the way down behind the ears, and the stretchy elastic ribbon goes from ear to opposite ear along the hairline at the base of the neck.
Shown above are the 3 main pieces we will need to construct our headband. I have measured out 14" of the super cute 7/8" baseball ribbon and heat sealed each end using a lighter. Next I have 13" of 3/8" white velvet ribbon, and the last piece is 5.5" of 3/8" white elastic velvet ribbon.
This headband is being made to fit a 3yr old toddler with a head measurement of 19.5". The headband will be 18.5" after construction and will stretch up to approx 21.5". I suggest measuring each individual's head, following all the way around their hairline, from the top of her head to the base of her neck and back up. Adjust measurements accordingly to insure a perfect fit. For example an adult's head measurement is approx 21.75" so I use around 15.5" of ribbon, and approx 6" of elastic velvet ribbon. This will make a headband that stretches up to approx 24". The decorative ribbon should come all the way down behind the ears, and the stretchy elastic ribbon goes from ear to opposite ear along the hairline at the base of the neck.
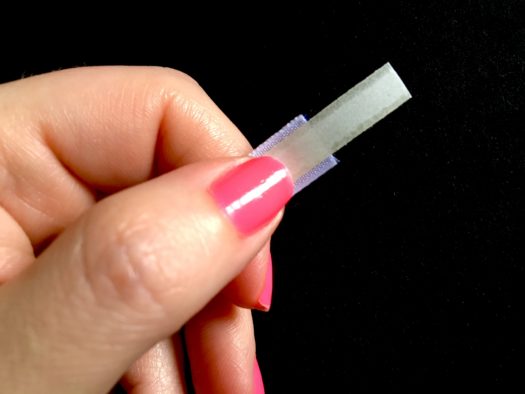 First you will take your 13" piece of velvet ribbon and line the non-velvet side with double sided fillet tape. You will need 14" of tape, leaving an additional 1/2" of tape on both sides of your velvet as shown above.
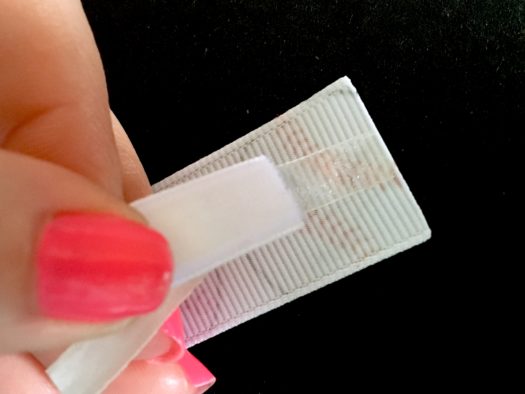 Now peel off the paper backing a few inches at a time and apply down the middle of the baseball ribbon as shown above. You should now have each end of ribbon with 1/2" of double side tape only.
 Now we are going to attach the elastic velvet ribbon to the baseball ribbon. Here I like to use a bit of hot glue along with the double sided tape we already have there for maximum security. So apply a bit of glue on top of your ribbon & tape and line up the end of your stretchy elastic velvet ribbon with the end of your regular velvet ribbon. (All velvet should be facing the inside of the headband so that it is touching your head while wearing. This is what holds your headband firmly in place all day long!) Press end of elastic ribbon down into the hot glue and hold for a few seconds.
 Take the other end of elastic and apply to the end of ribbon the same way.
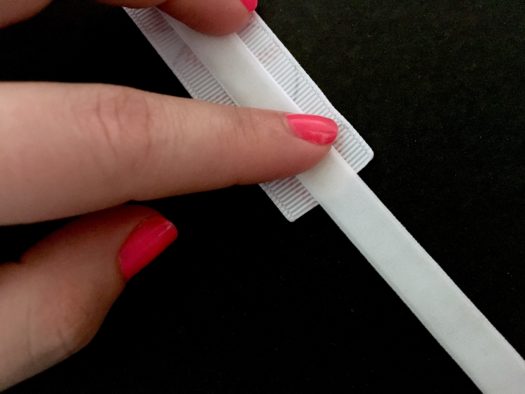
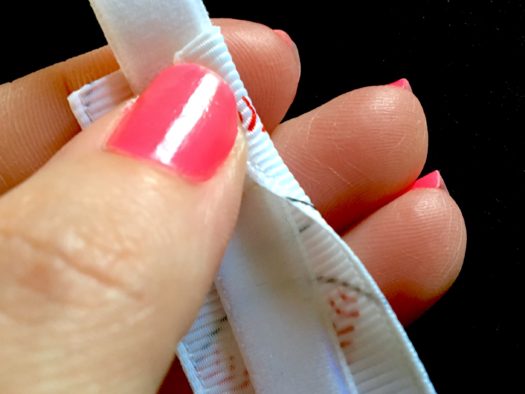 As shown above, fold one side of ribbon ontop of the velvet using hot glue.
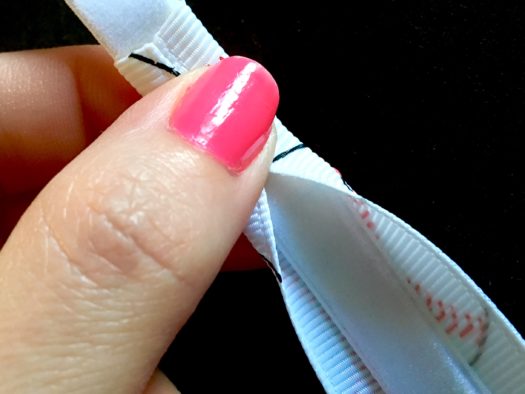 Now fold and glue the other side down. This creates a much nicer appearance on the outside of the headband as well as securing the velvet underneath even more.
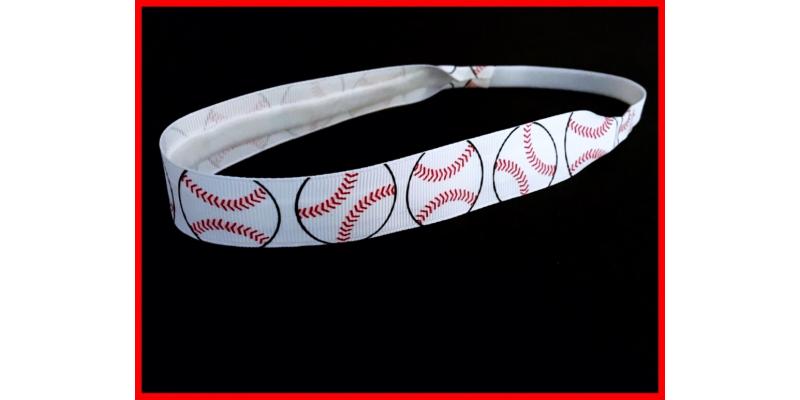
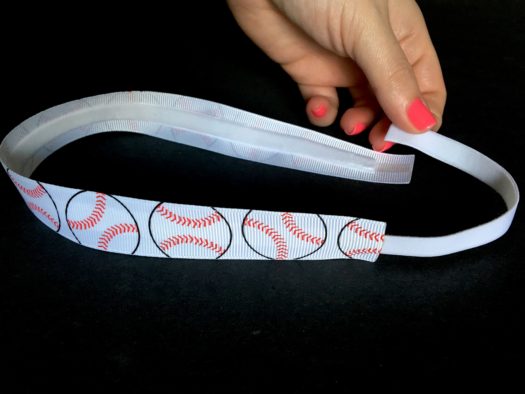
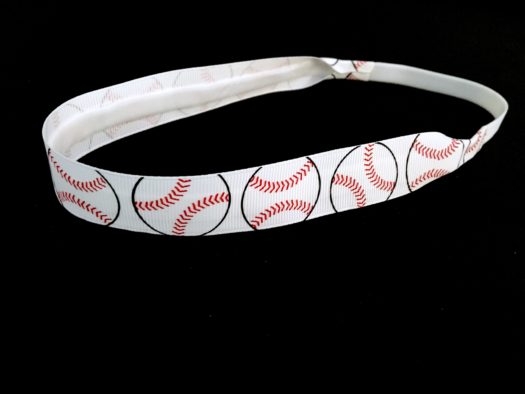
 How cute is this baseball themed headband!? Not only can these darling headbands be made using any size or type of ribbon you desire, but they are absolutely amazing at what they do! I can throw a headband on in the morning and my hair is still perfectly held into place when I take it off at the end of the day... And my headband never moves! If that doesn't say enough, my very active 3yr old princess getting the same results should take away anyone's doubts! But you don't have to take my word for it-- go ahead and try them for yourself! Who knew that a few inches of velvet could make your life so much easier?
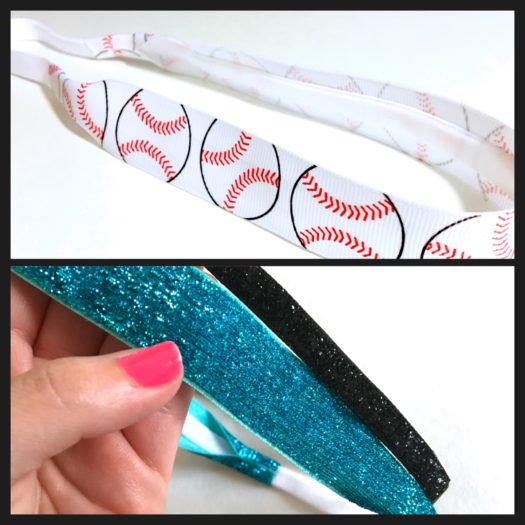
 Check out how cute these are when made with glitter ribbon too! From sporty to sparkly and everything in between! Have a great day!
Visit the rest of our blog for more Crafting Tutorials and DIY Instructions!
Loading...

