Contributed by Jen 12/11/2011

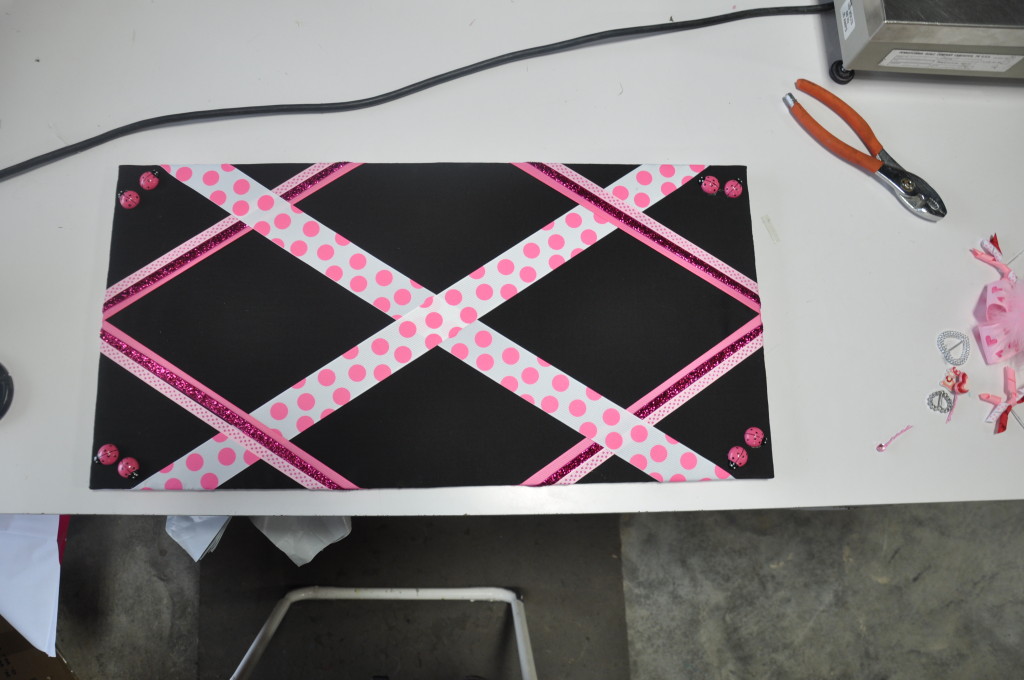
These ribbon boards are both beautiful and useful! Girls of all ages will love these ribbon boards whether they be used for displaying photographs or for storing hair-bows.
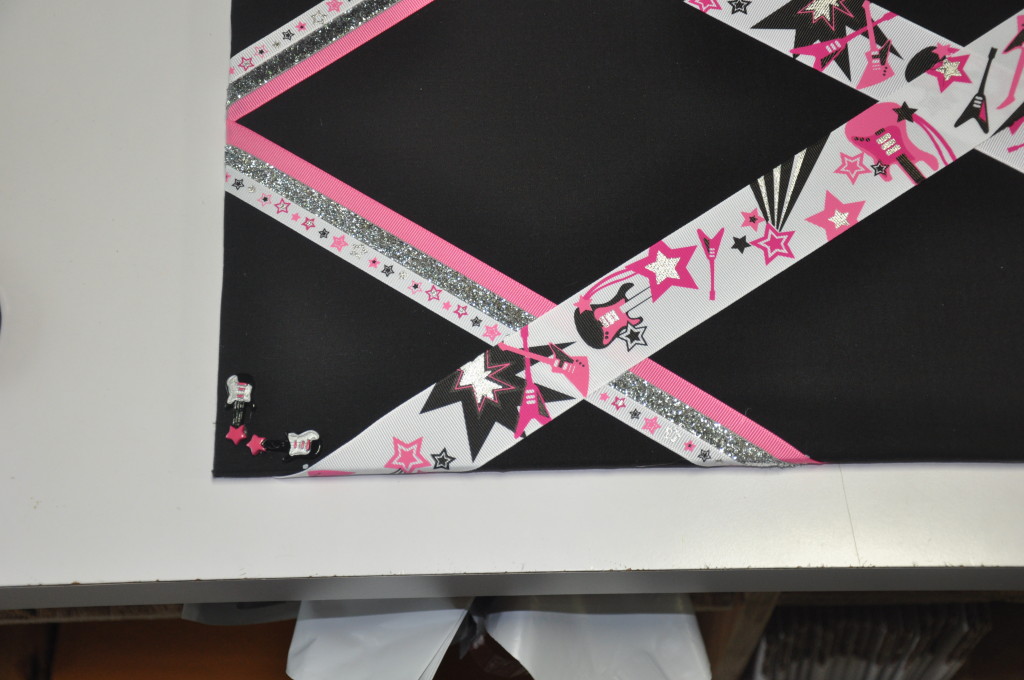
Select a number of coordinating ribbons. Both grosgrain ribbon and satin ribbon will work well for this craft project. Jen used printed
1.5" Rock Star,
3/8" Rock Star,
3/8" Silver Glitter Ribbon, and solid
Hot Pink grosgrain ribbon.
Cut your cork board to the desired finished size. We recommend using a thin layer of batting. It can either be tacked in the corners to the cork board or also with a little bit of adhesive. You can leave off the batting, but it gives a softer, more upholstered look. Don't go too thick or else the thumb-tacks will not stick in the board.Wrap with desired fabric and tack to the back of the board.
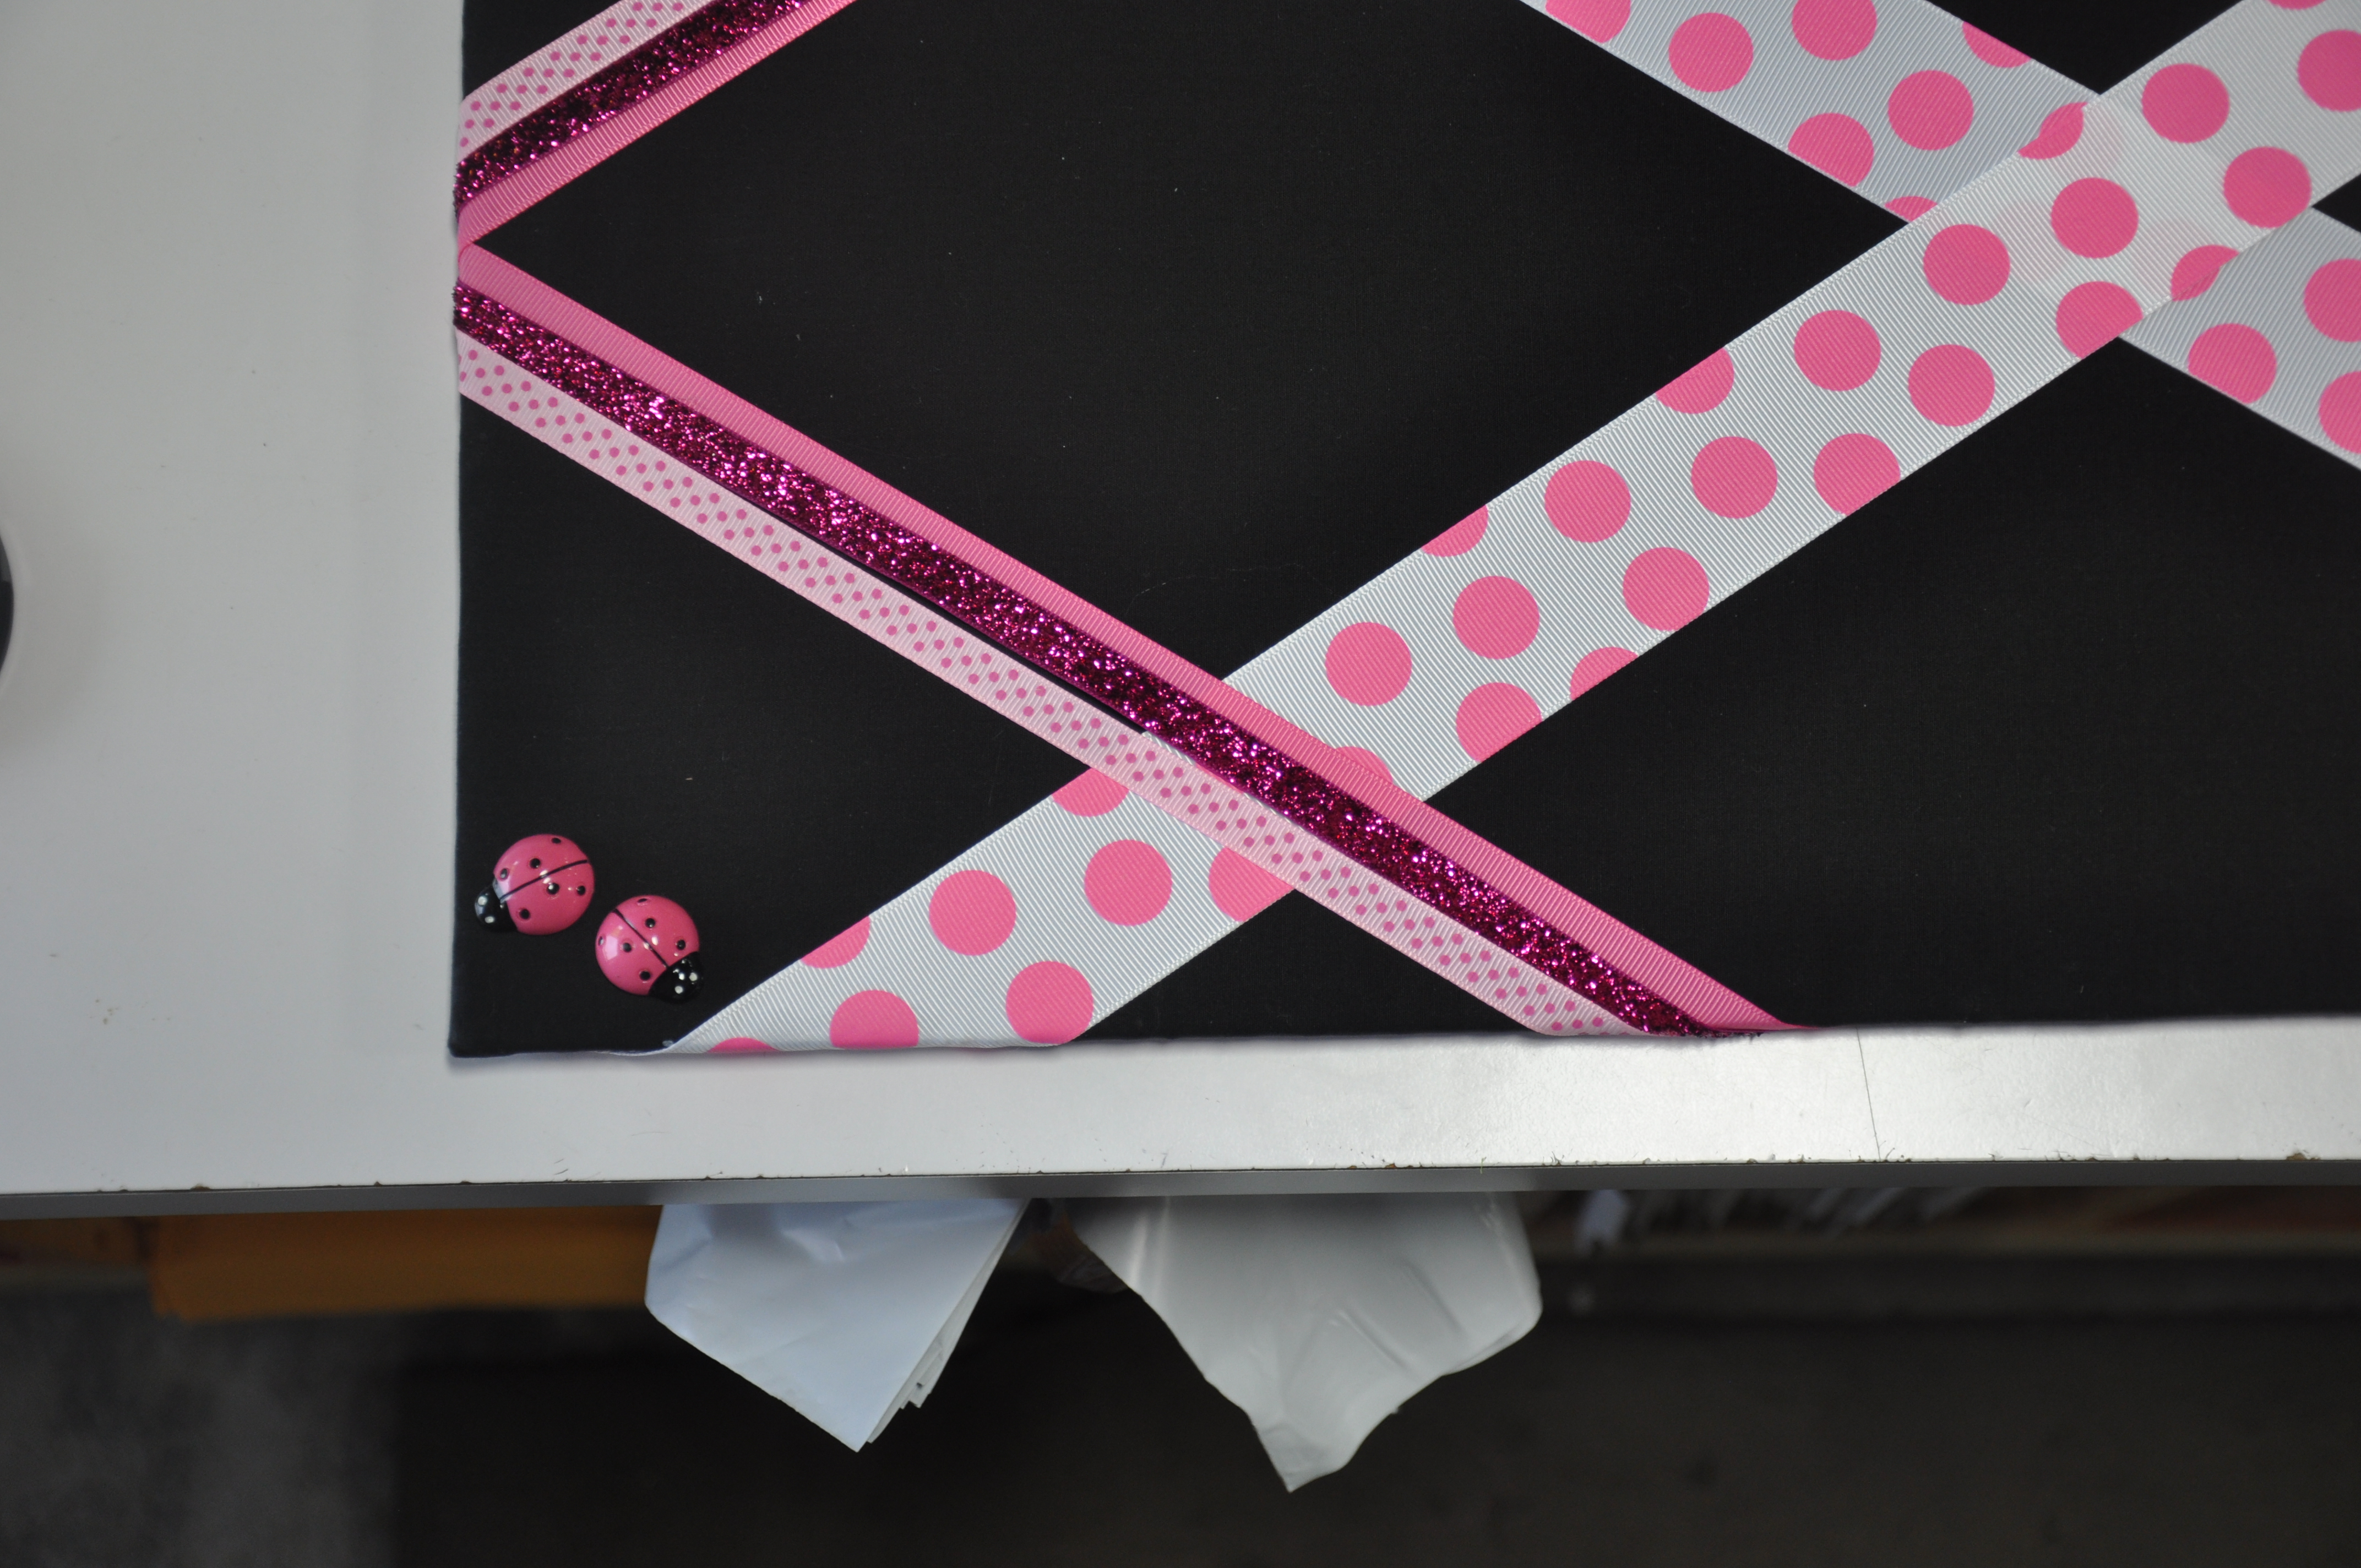
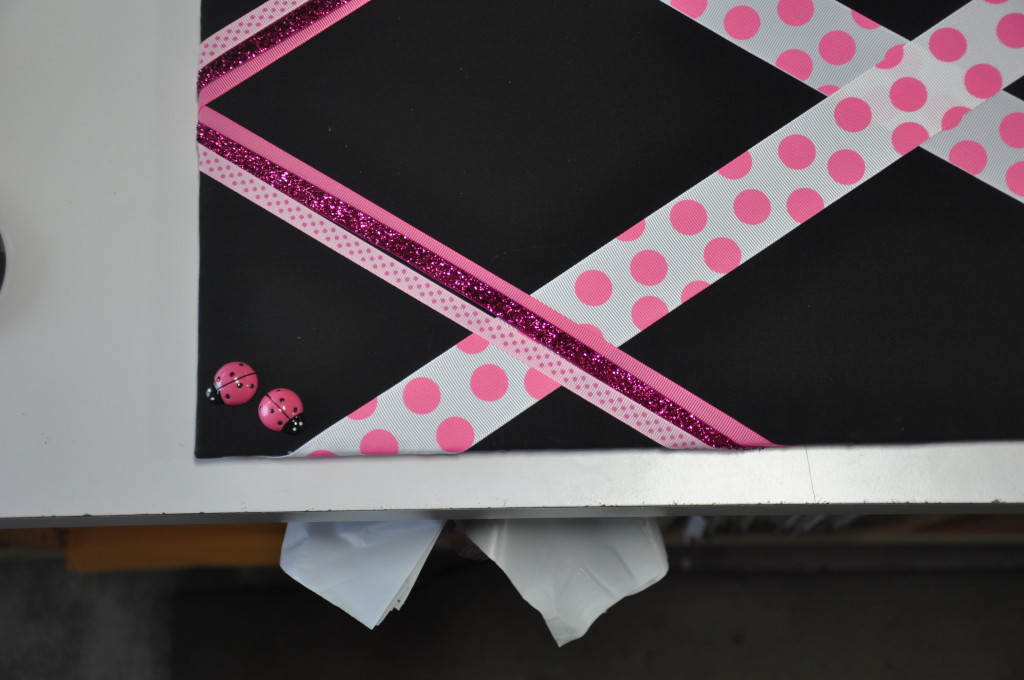
Criss-cross the ribbons across the board in desired layout. Jen used hot-glue to secure where the ribbons overlap. Those points should be glued both the board and to each other. You do not want to glue the entire length of the ribbons as you can slide pictures under the ribbons as well. Another more secure method to attach the ribbon to the board would be to add a small nail or staple as well at each intersection along with the glue and then cover with fun buttons. This will also help create a more upholstered look. Wrap ribbon ends around back of board and tack in place.
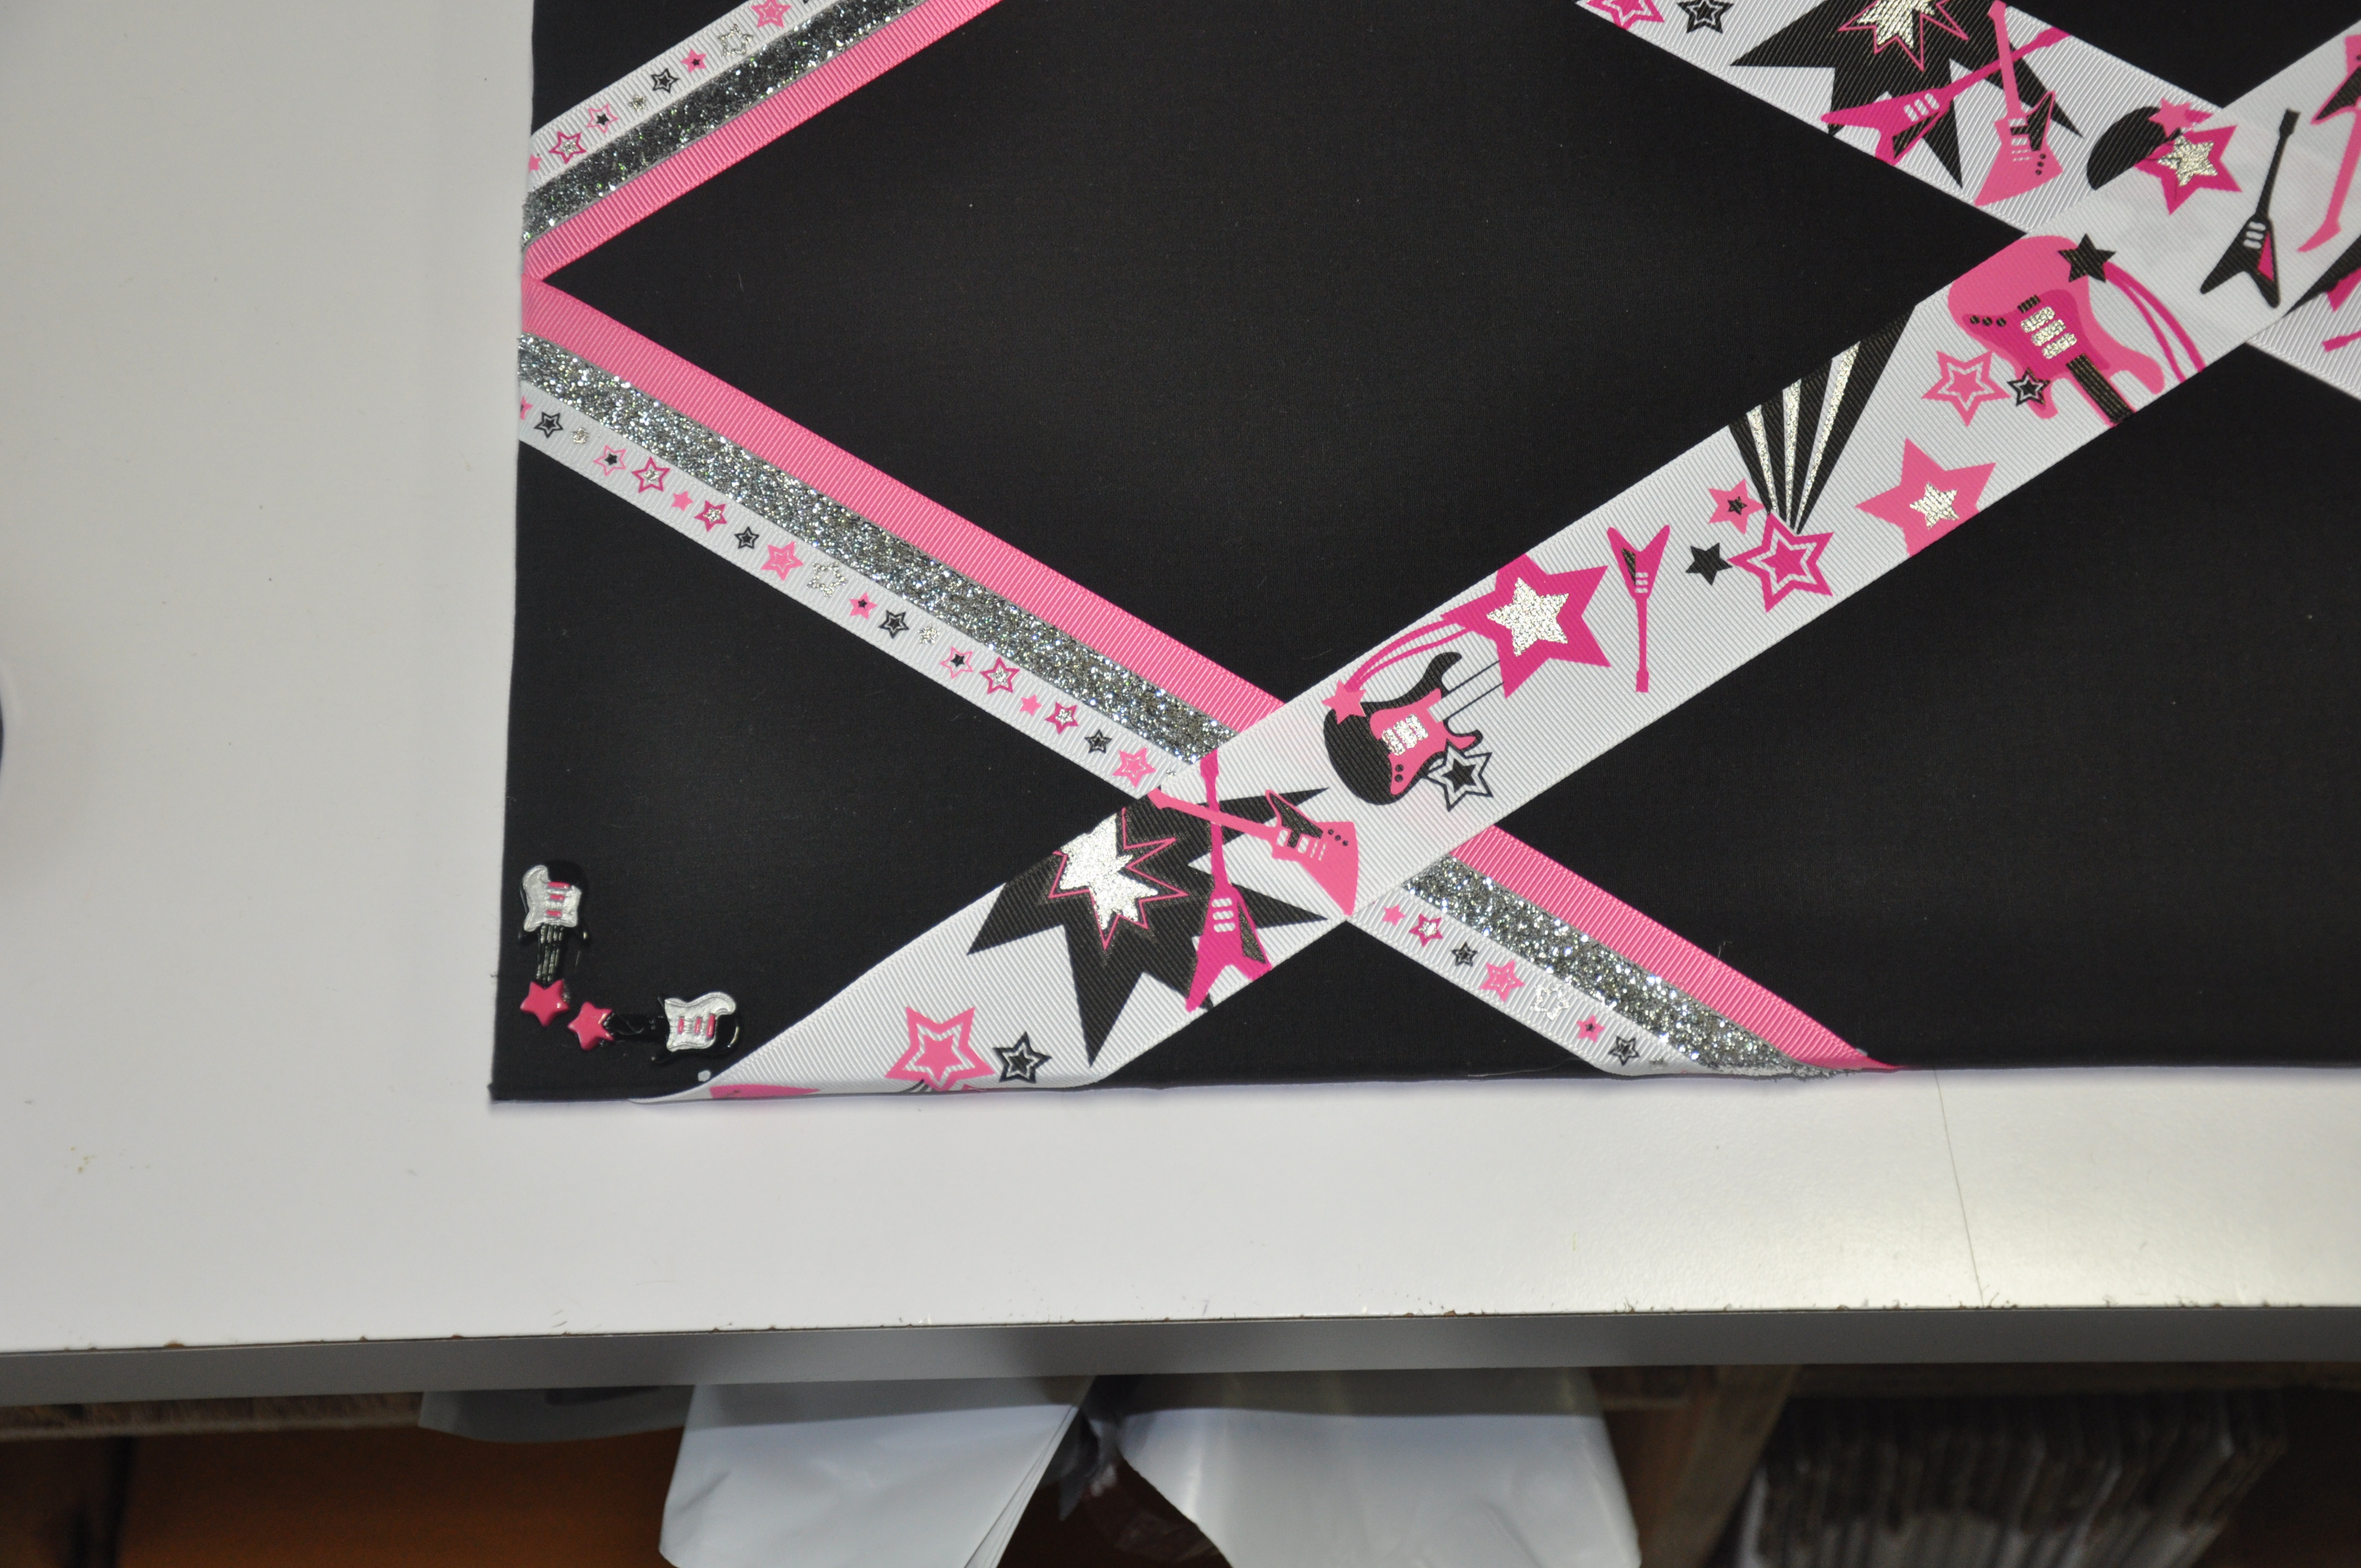
Jen glued some coordinating
resin embellishments to the corners for extra kick.
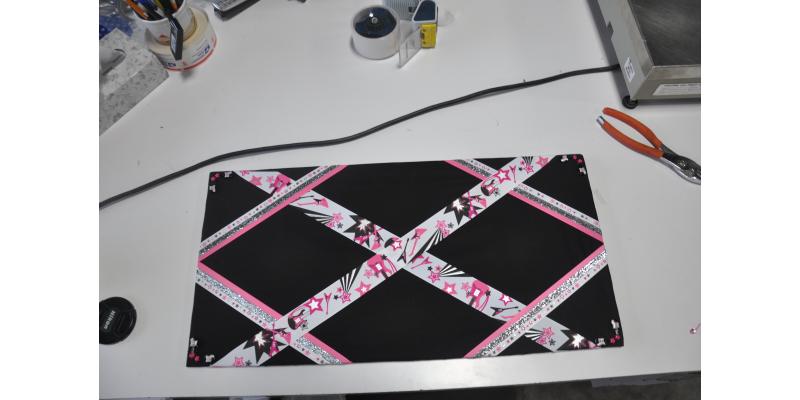
Here is an additional board she created as well. These were made as Christmas gifts for nieces!
Visit the rest of our blog for more Crafting Tutorials and DIY Instructions!
 Here is an additional board she created as well. These were made as Christmas gifts for nieces!