 Contributor post by Danielle at Korker Krazy
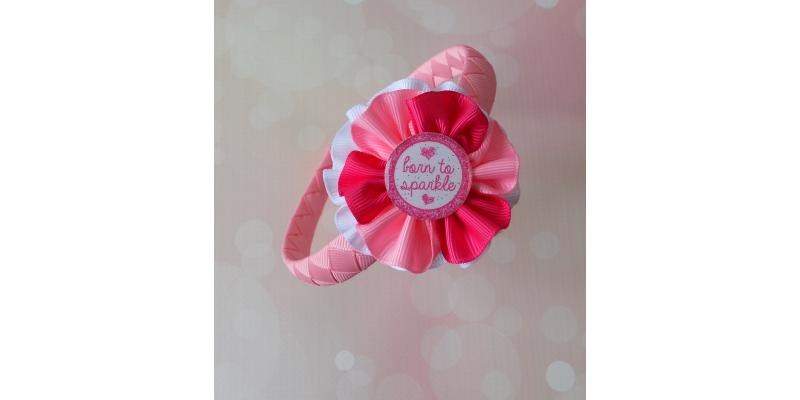
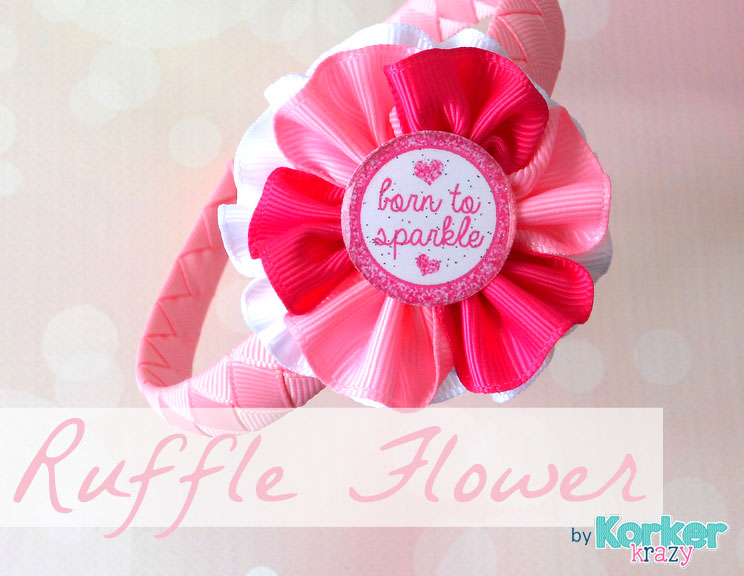
Ruffled hair flowers seem to be popping up everywhere this spring and for good reason; They are girly, hand-made crafty, and have that sweet vintage charm that we all love! All you need is ribbon, scissors, needle, thread, and a simple gathering stitch to whip up one of these little darlings.
Supplies Needed: 7/8" Grosgrain Ribbon in Pink, Shocking Pink and White. Upholstery Thread and Needle Hot Glue Gun & Glue Rotary Cutter/Wood Burner/Scissors Bottle Cap Image & Epoxy Sticker (Optional) White Felt Circles Alligator Clip
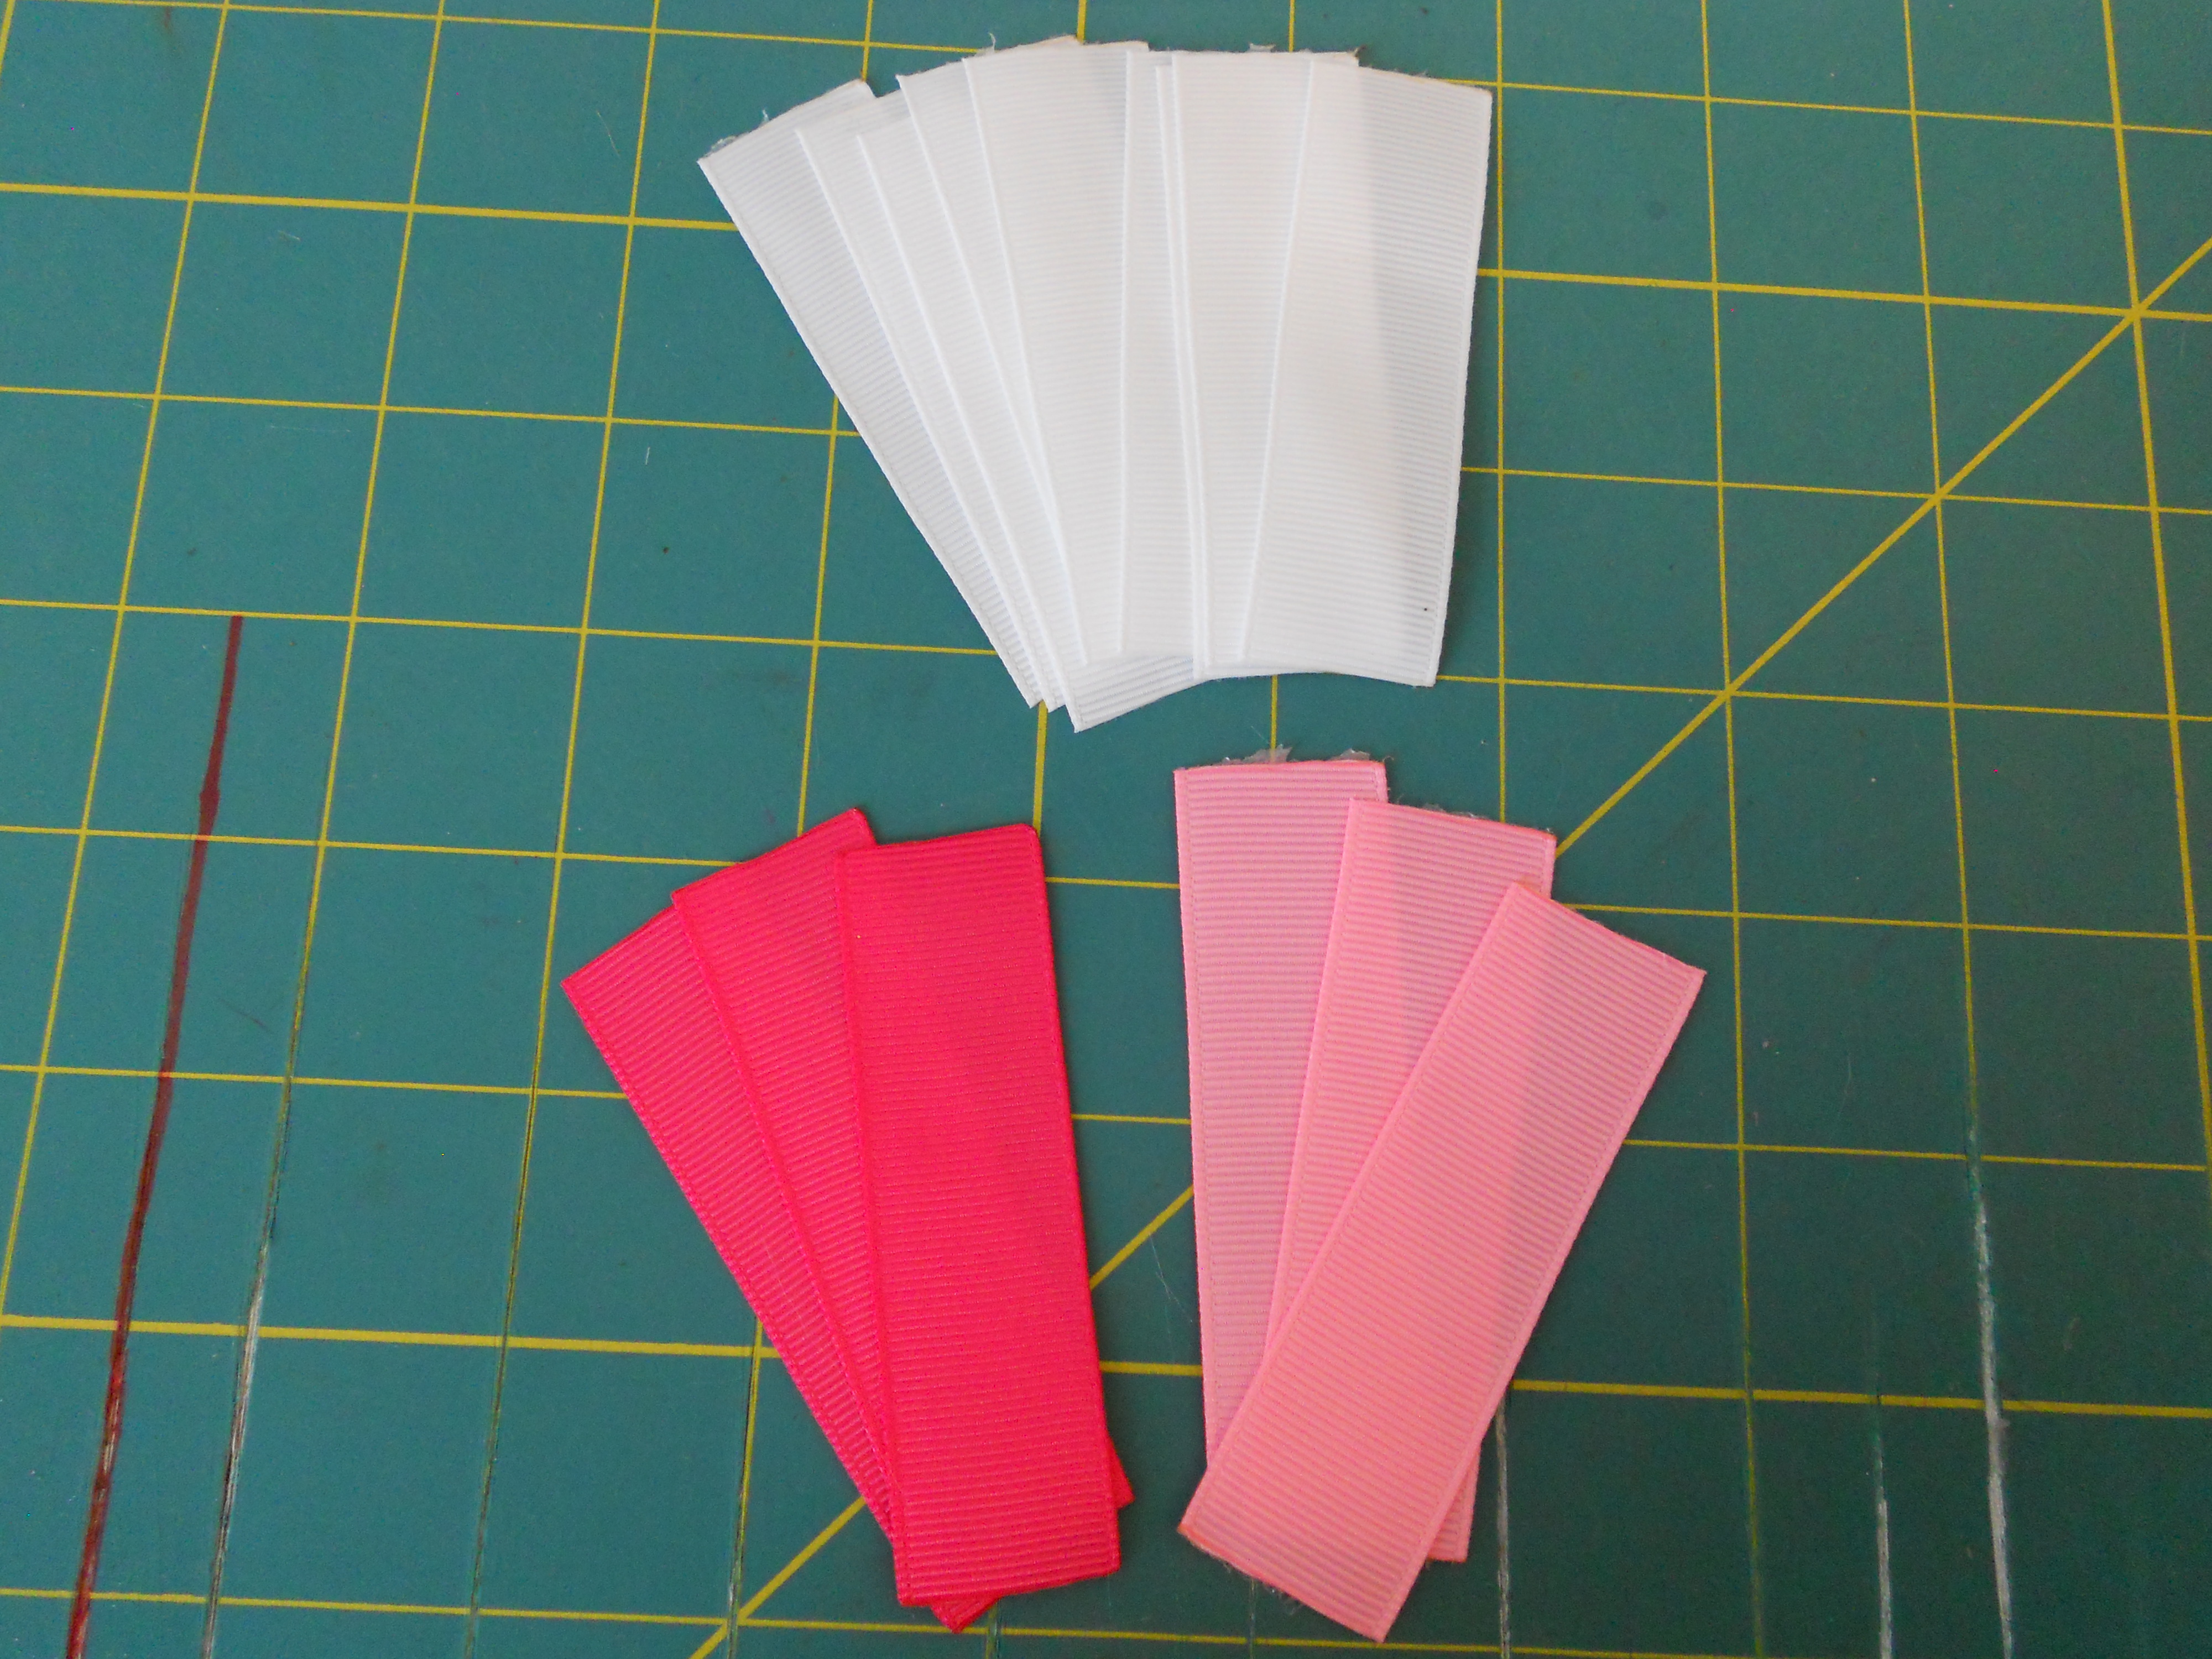
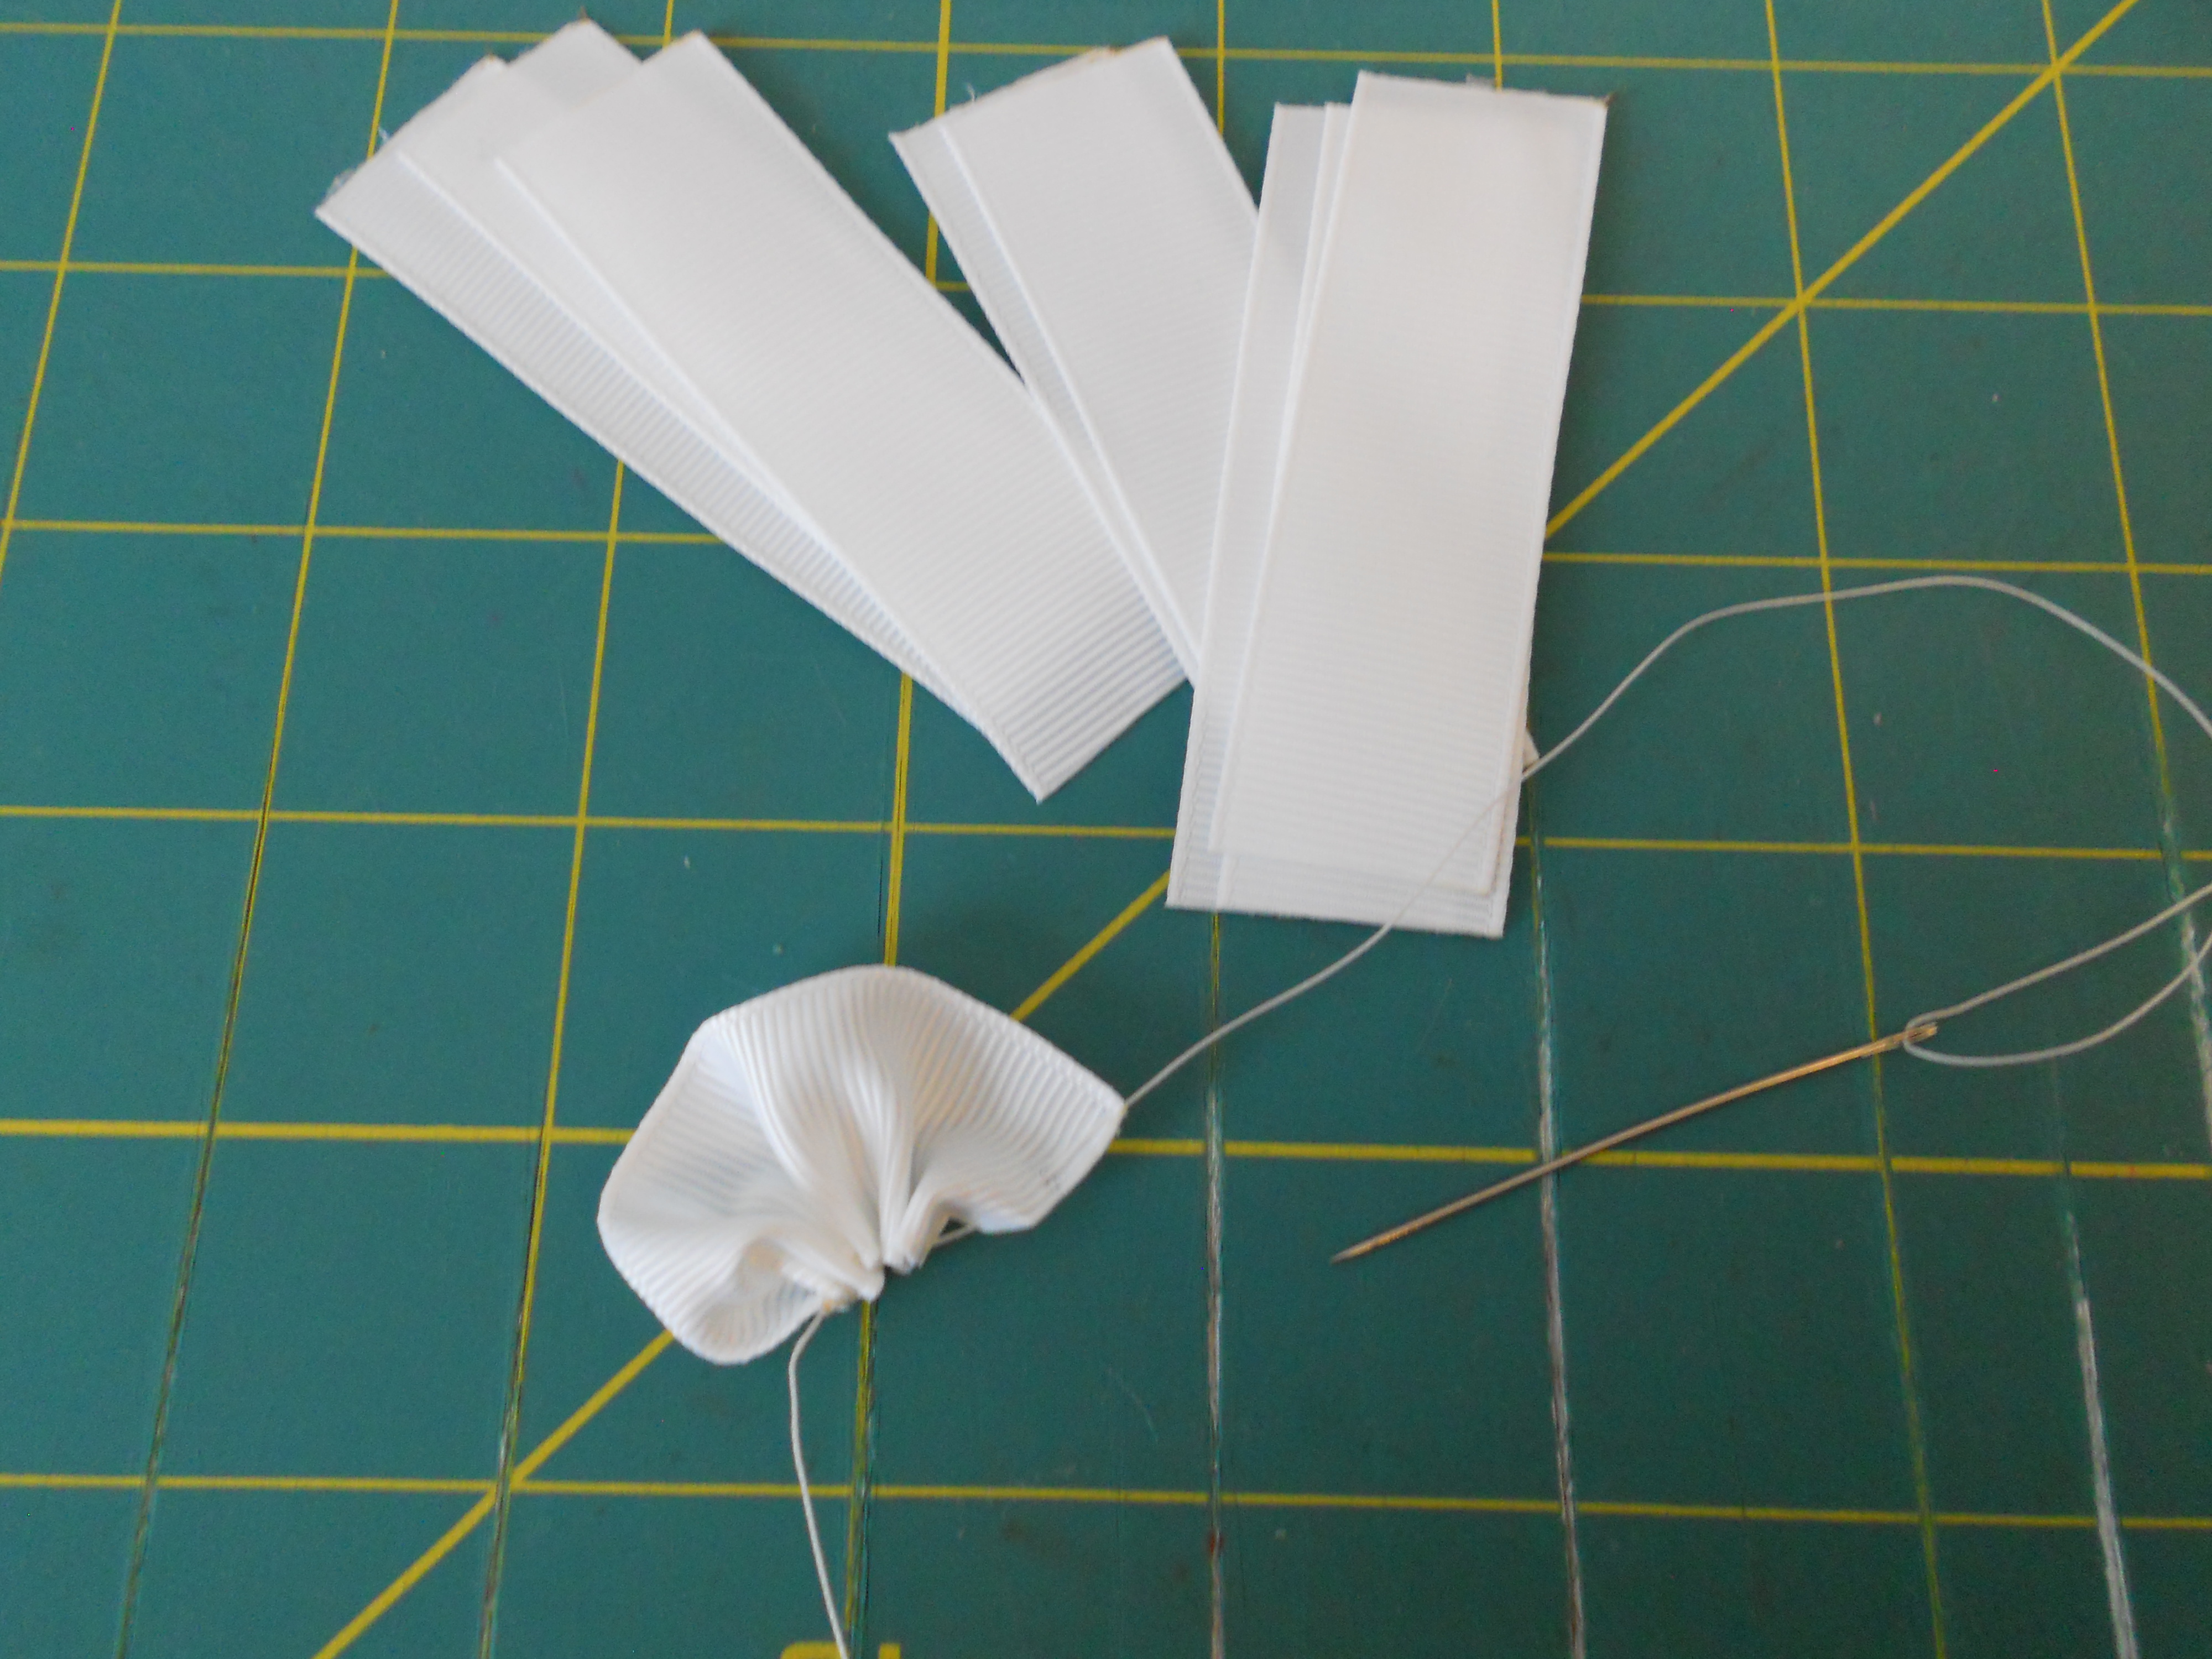
Step 1: Cut your ribbon. You need six 3" pieces for your top layer and nine 3" pieces for your bottom layer. I cut three pieces each of pink and shocking pink and nine pieces of white.
Heat seal all your ribbon ends.

Step 2: Thread your first piece of ribbon onto the needle. Starting with one short end make a running stitch.
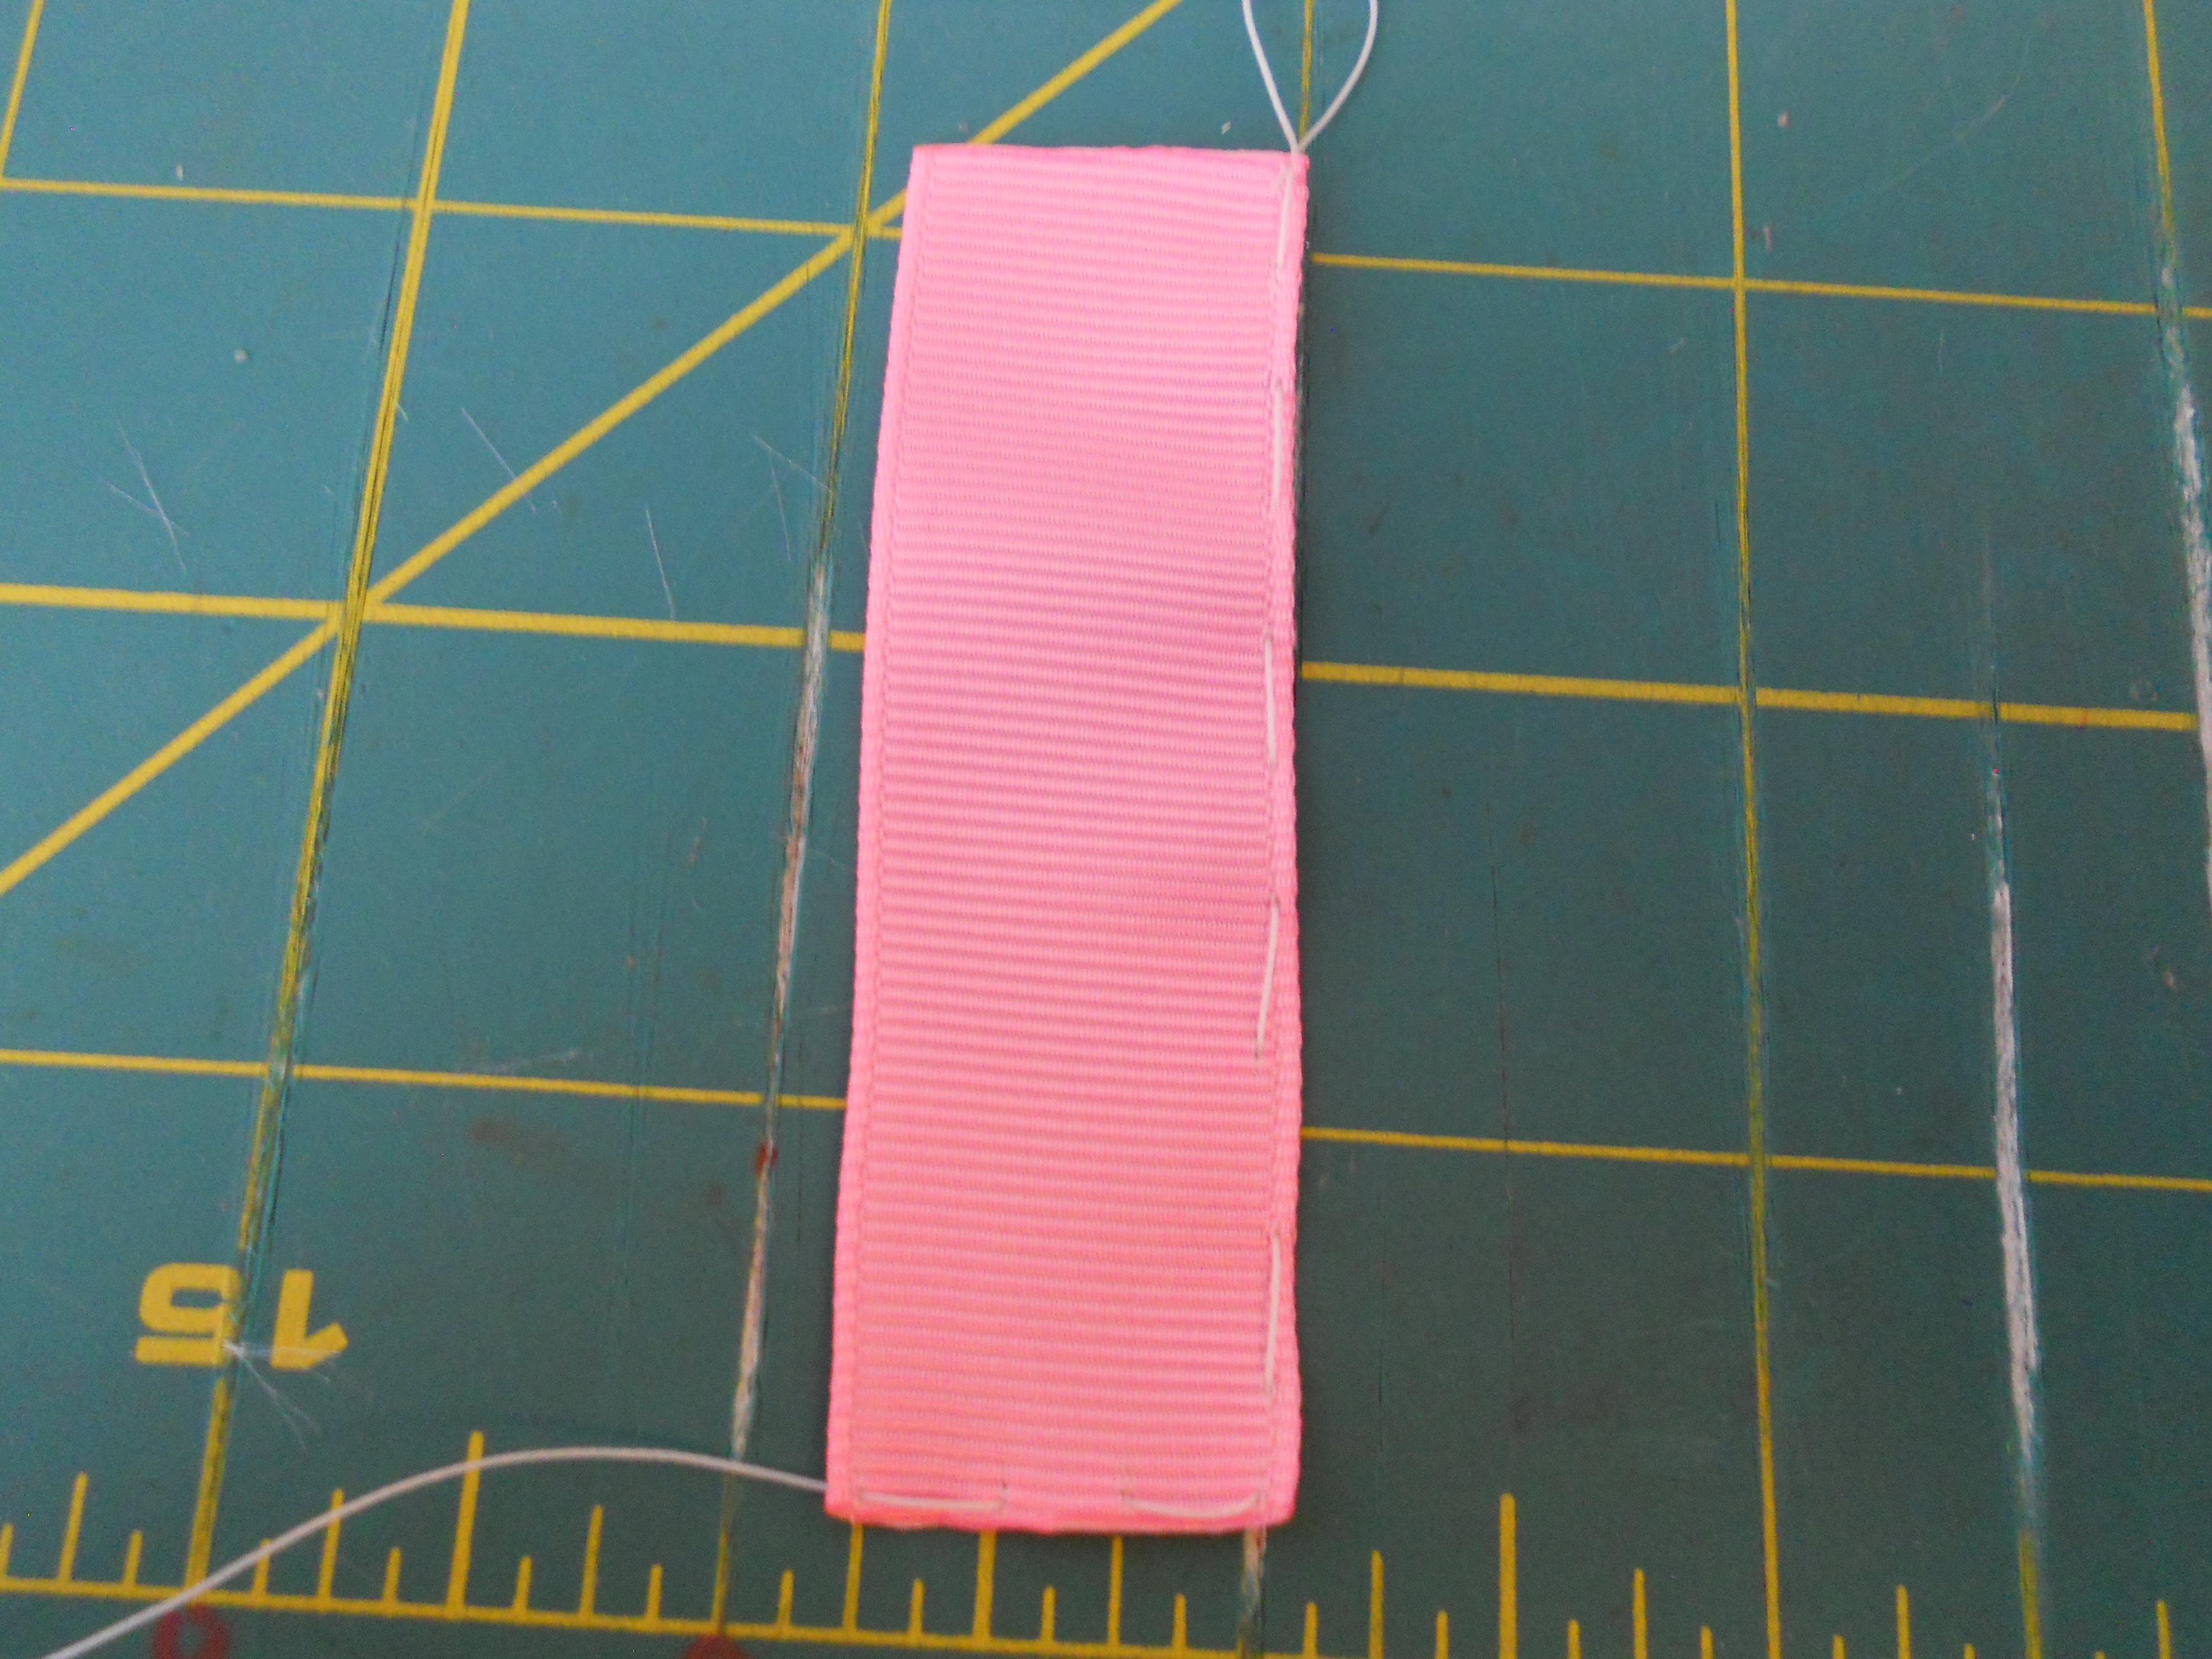
Step 3: Make a running stitch down the long side of your ribbon piece.
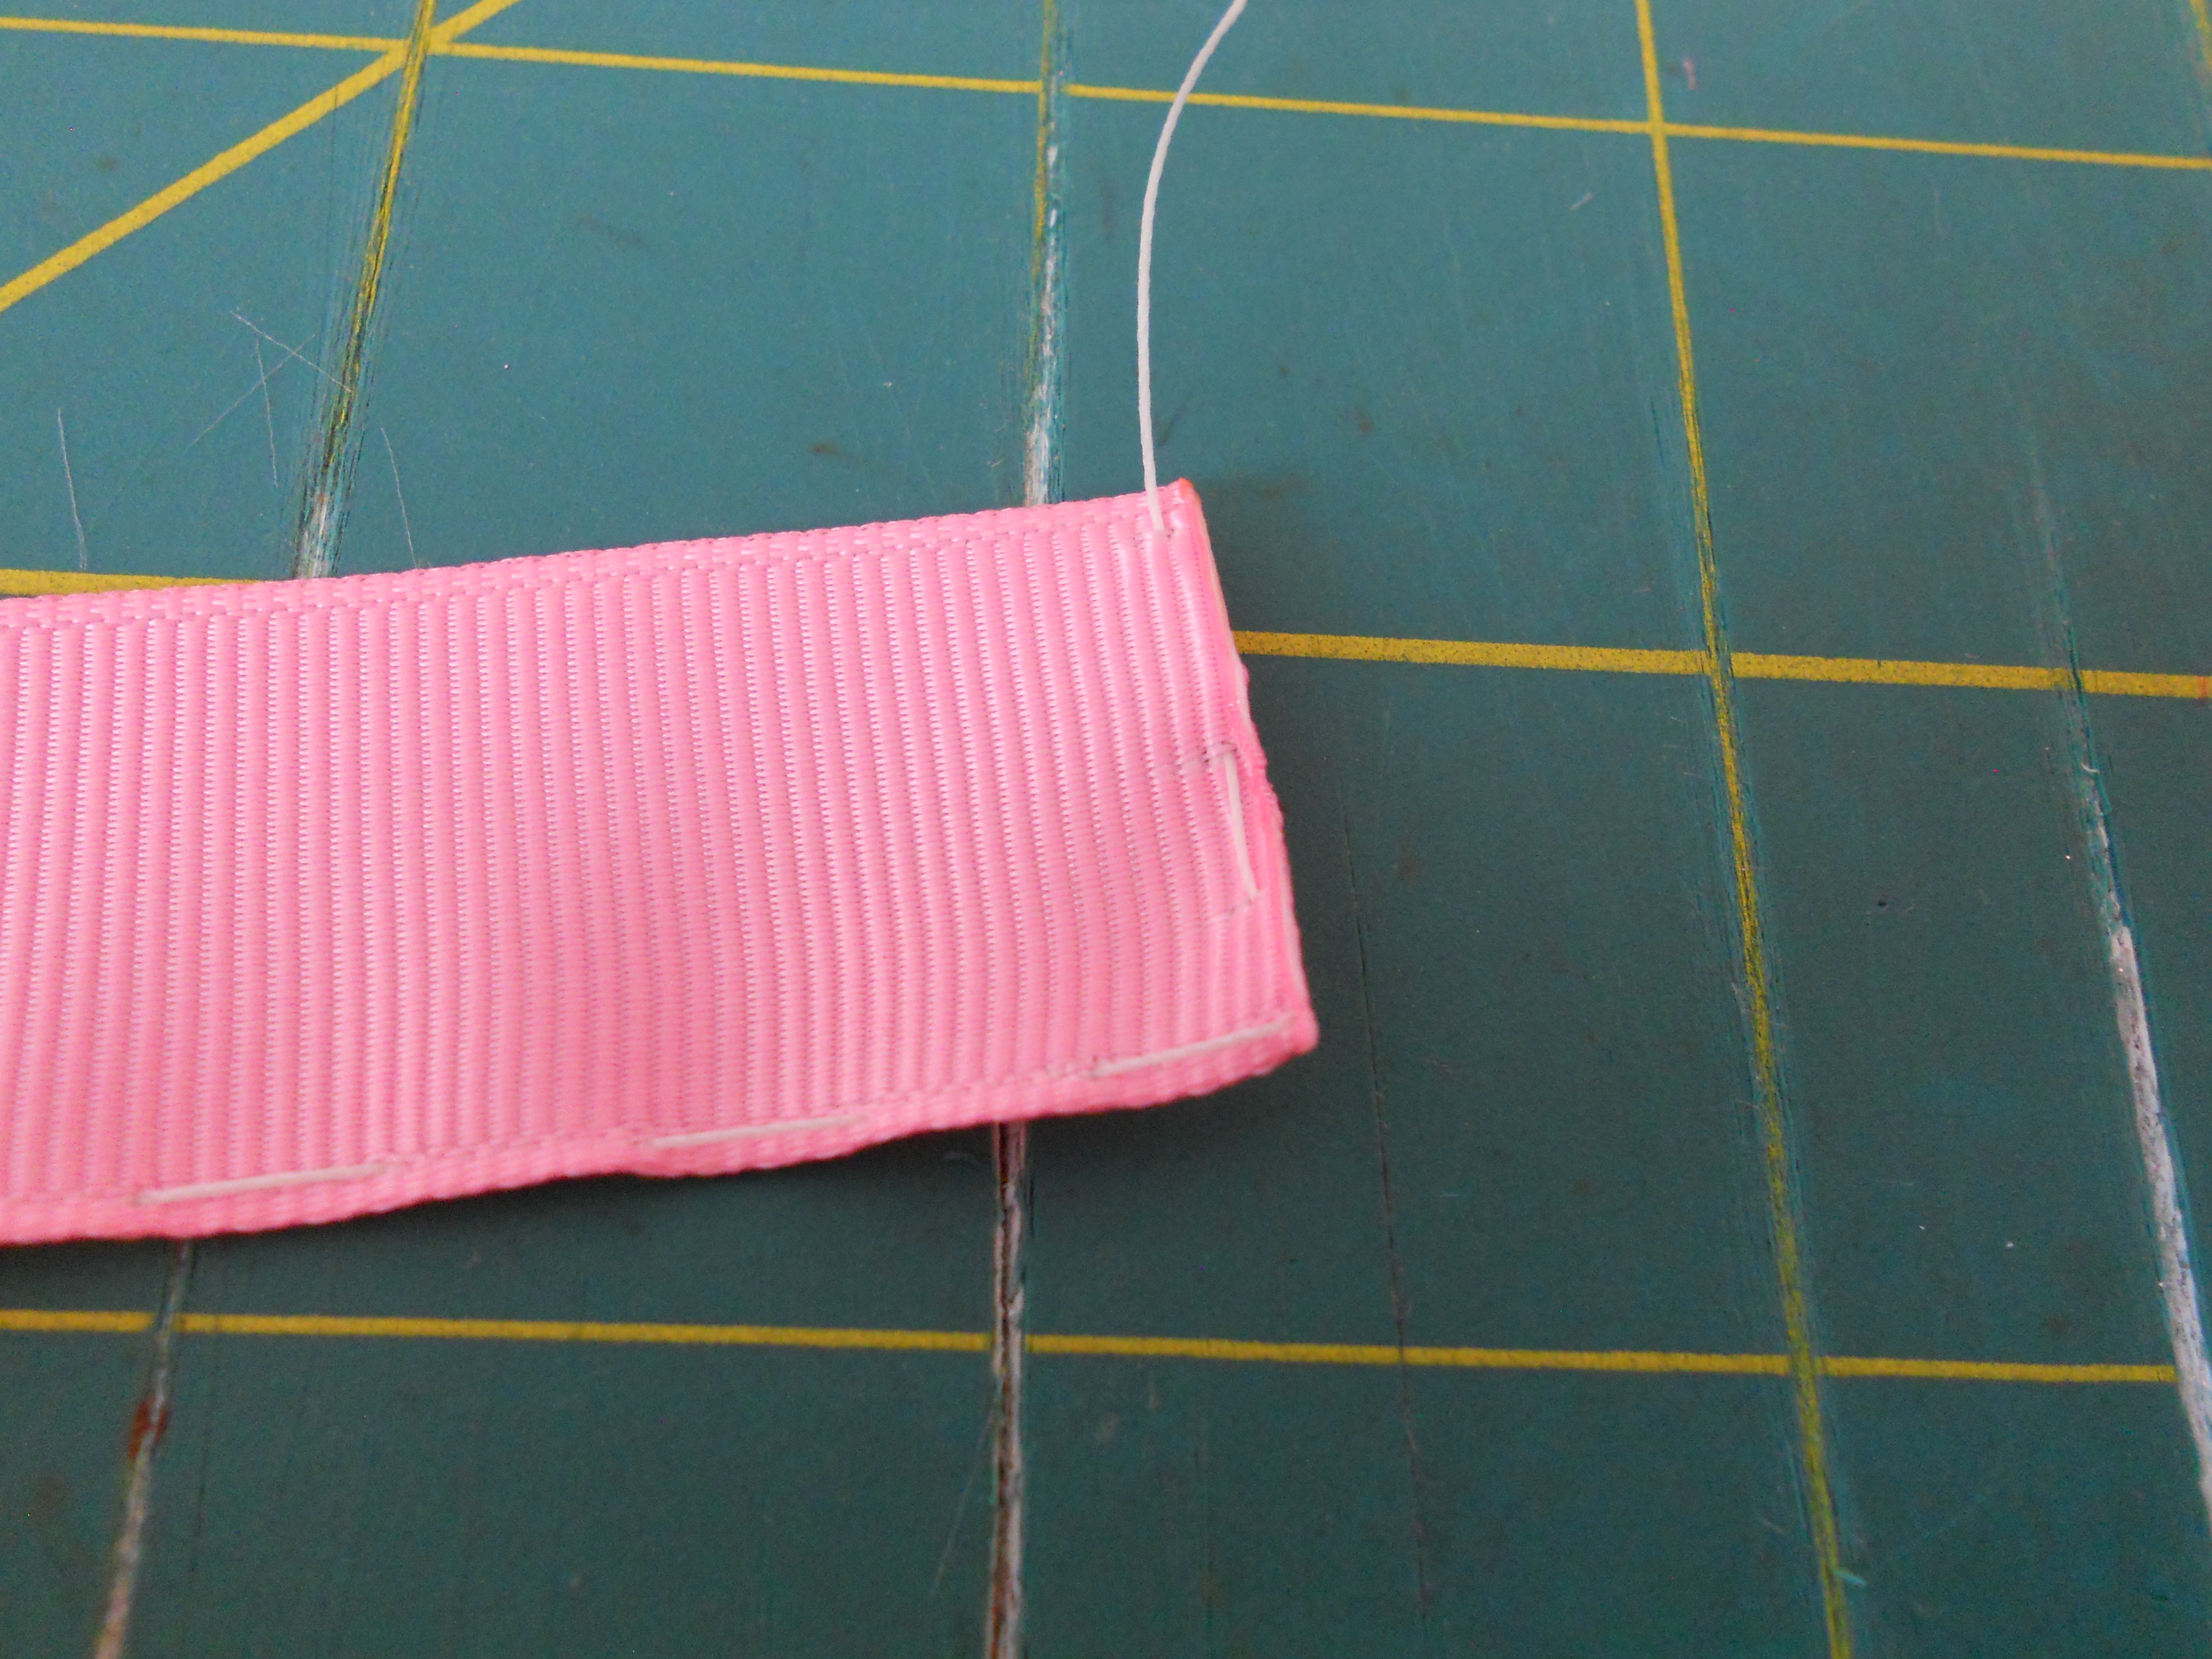
Step 4: Make a running stitch down the last short side of your ribbon piece.

Step 5: Push the ribbon piece to the knot at the end of your ribbon. You will see you have formed your first ribbon petal.
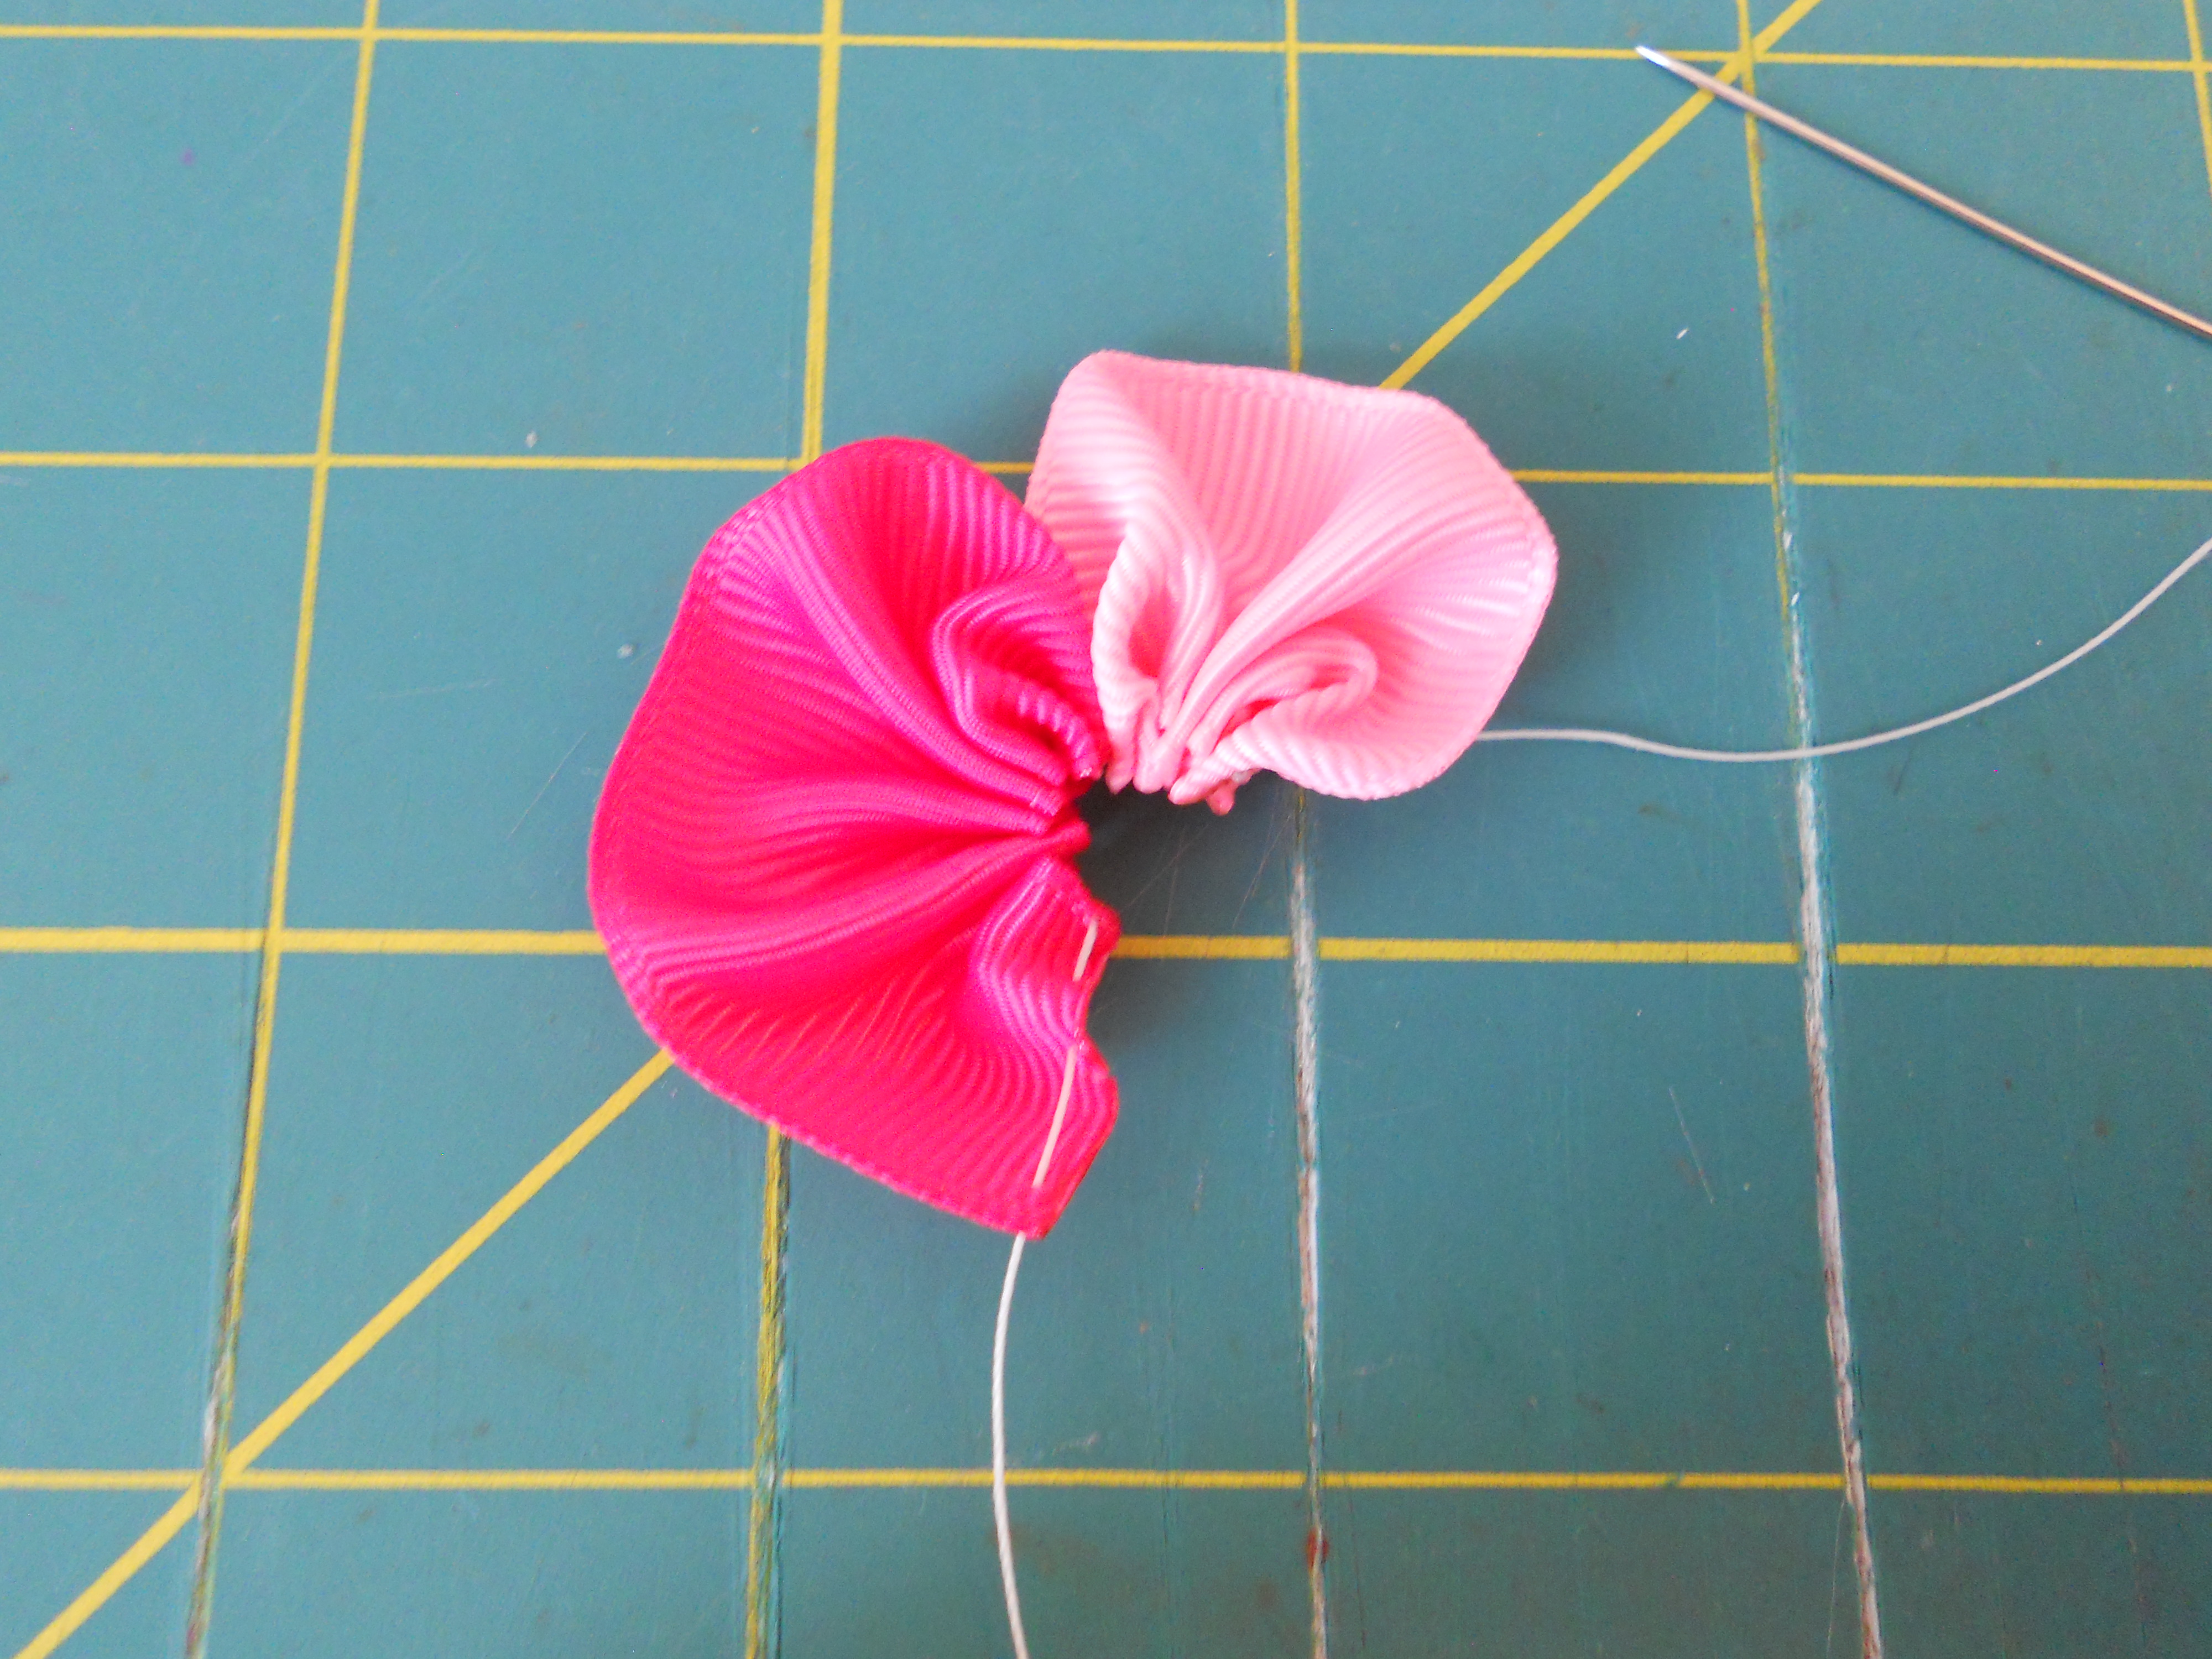
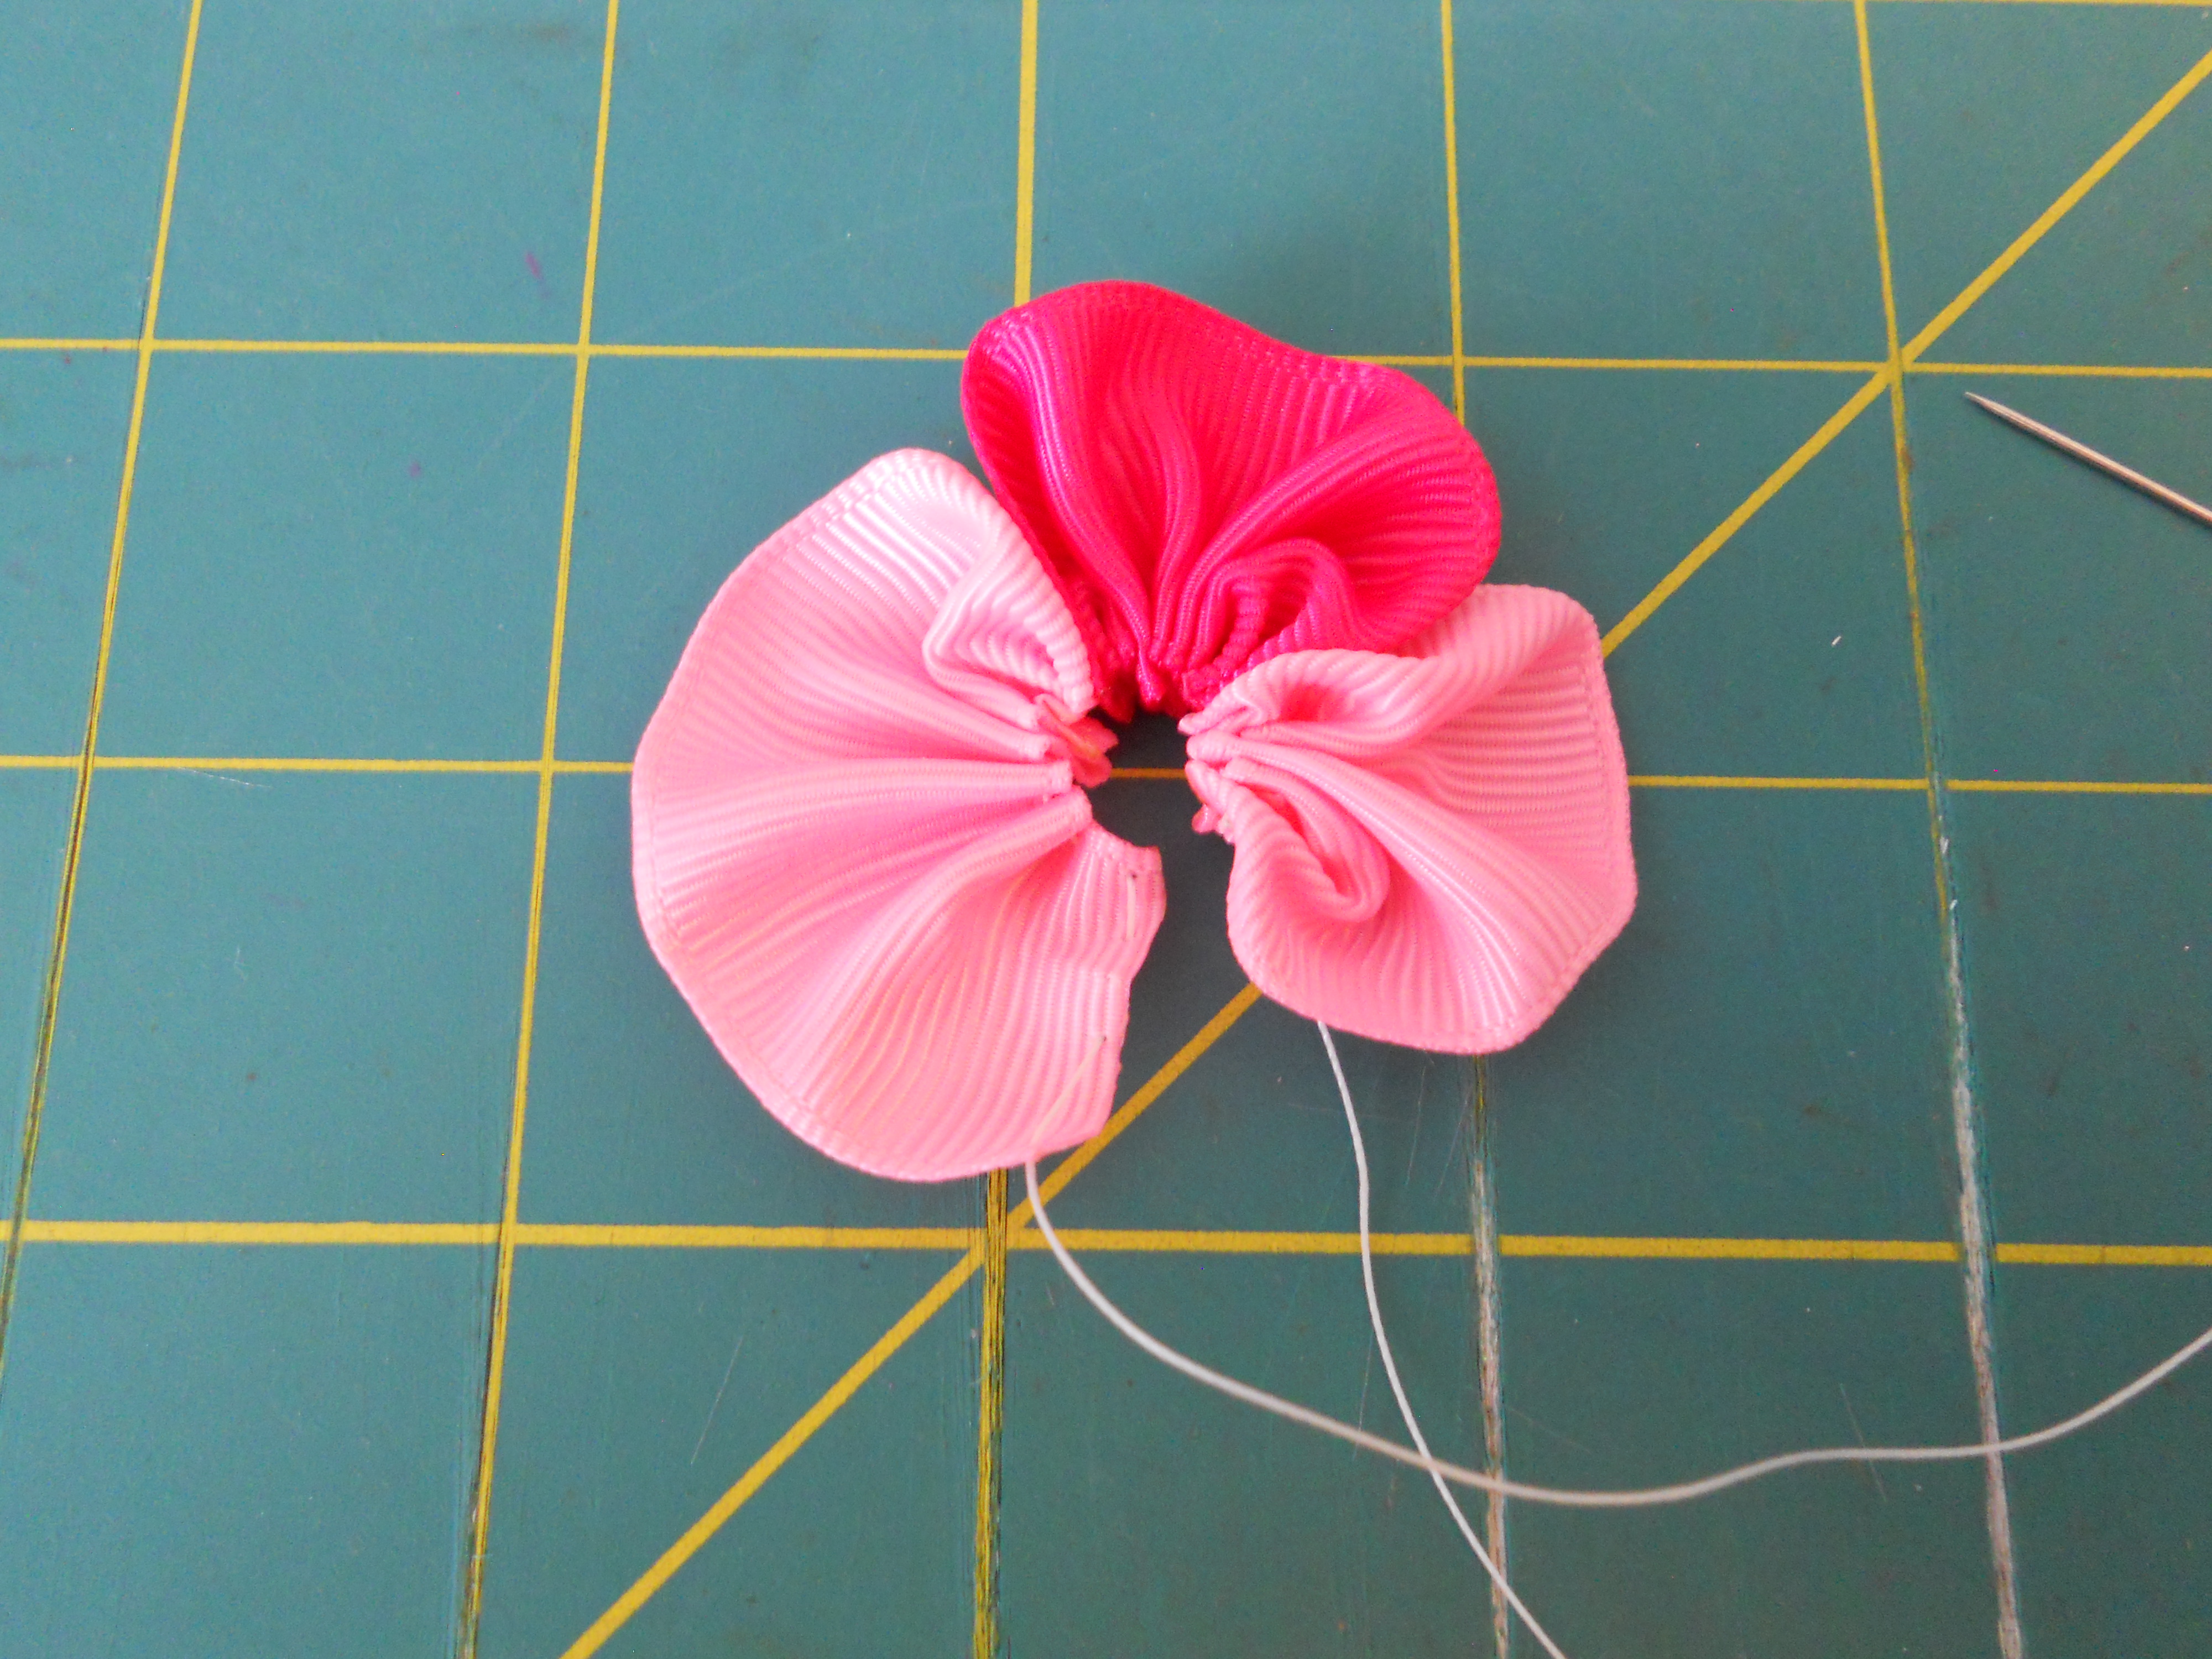
Step 6: Continue the same steps above with each piece of ribbon. If you are using multiple colors make sure you align them on your thread the way you want your finished flower.
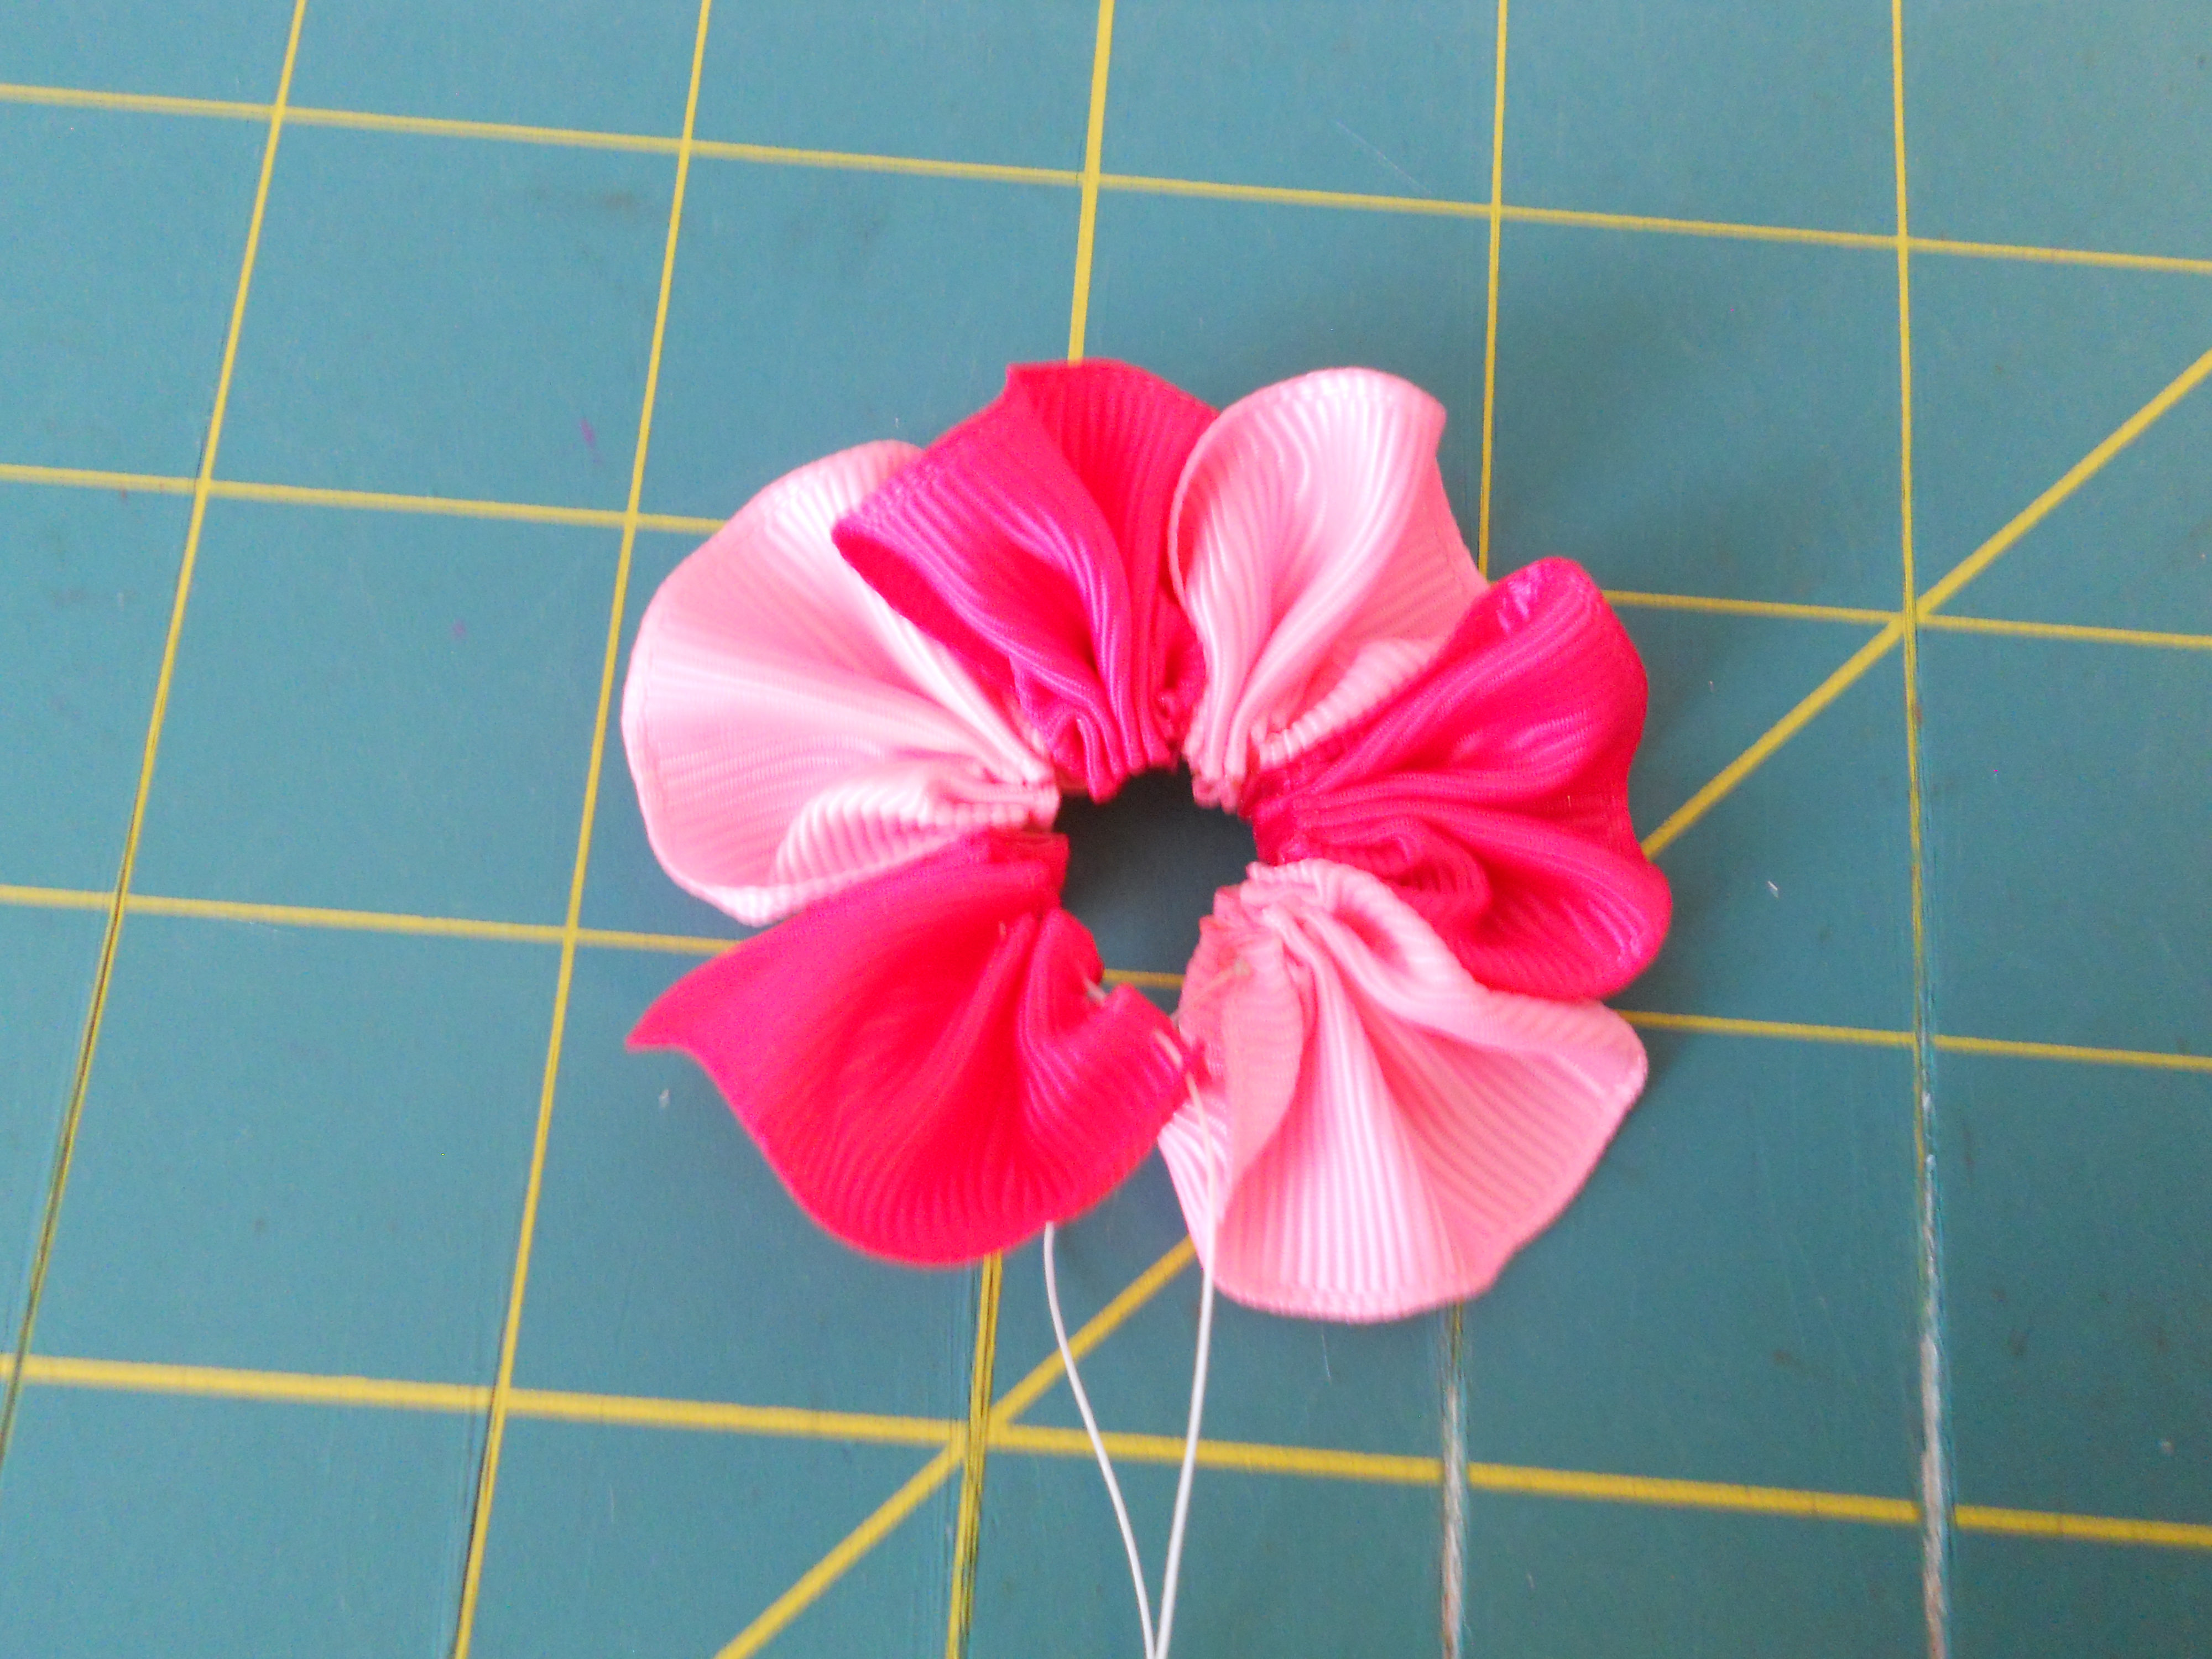
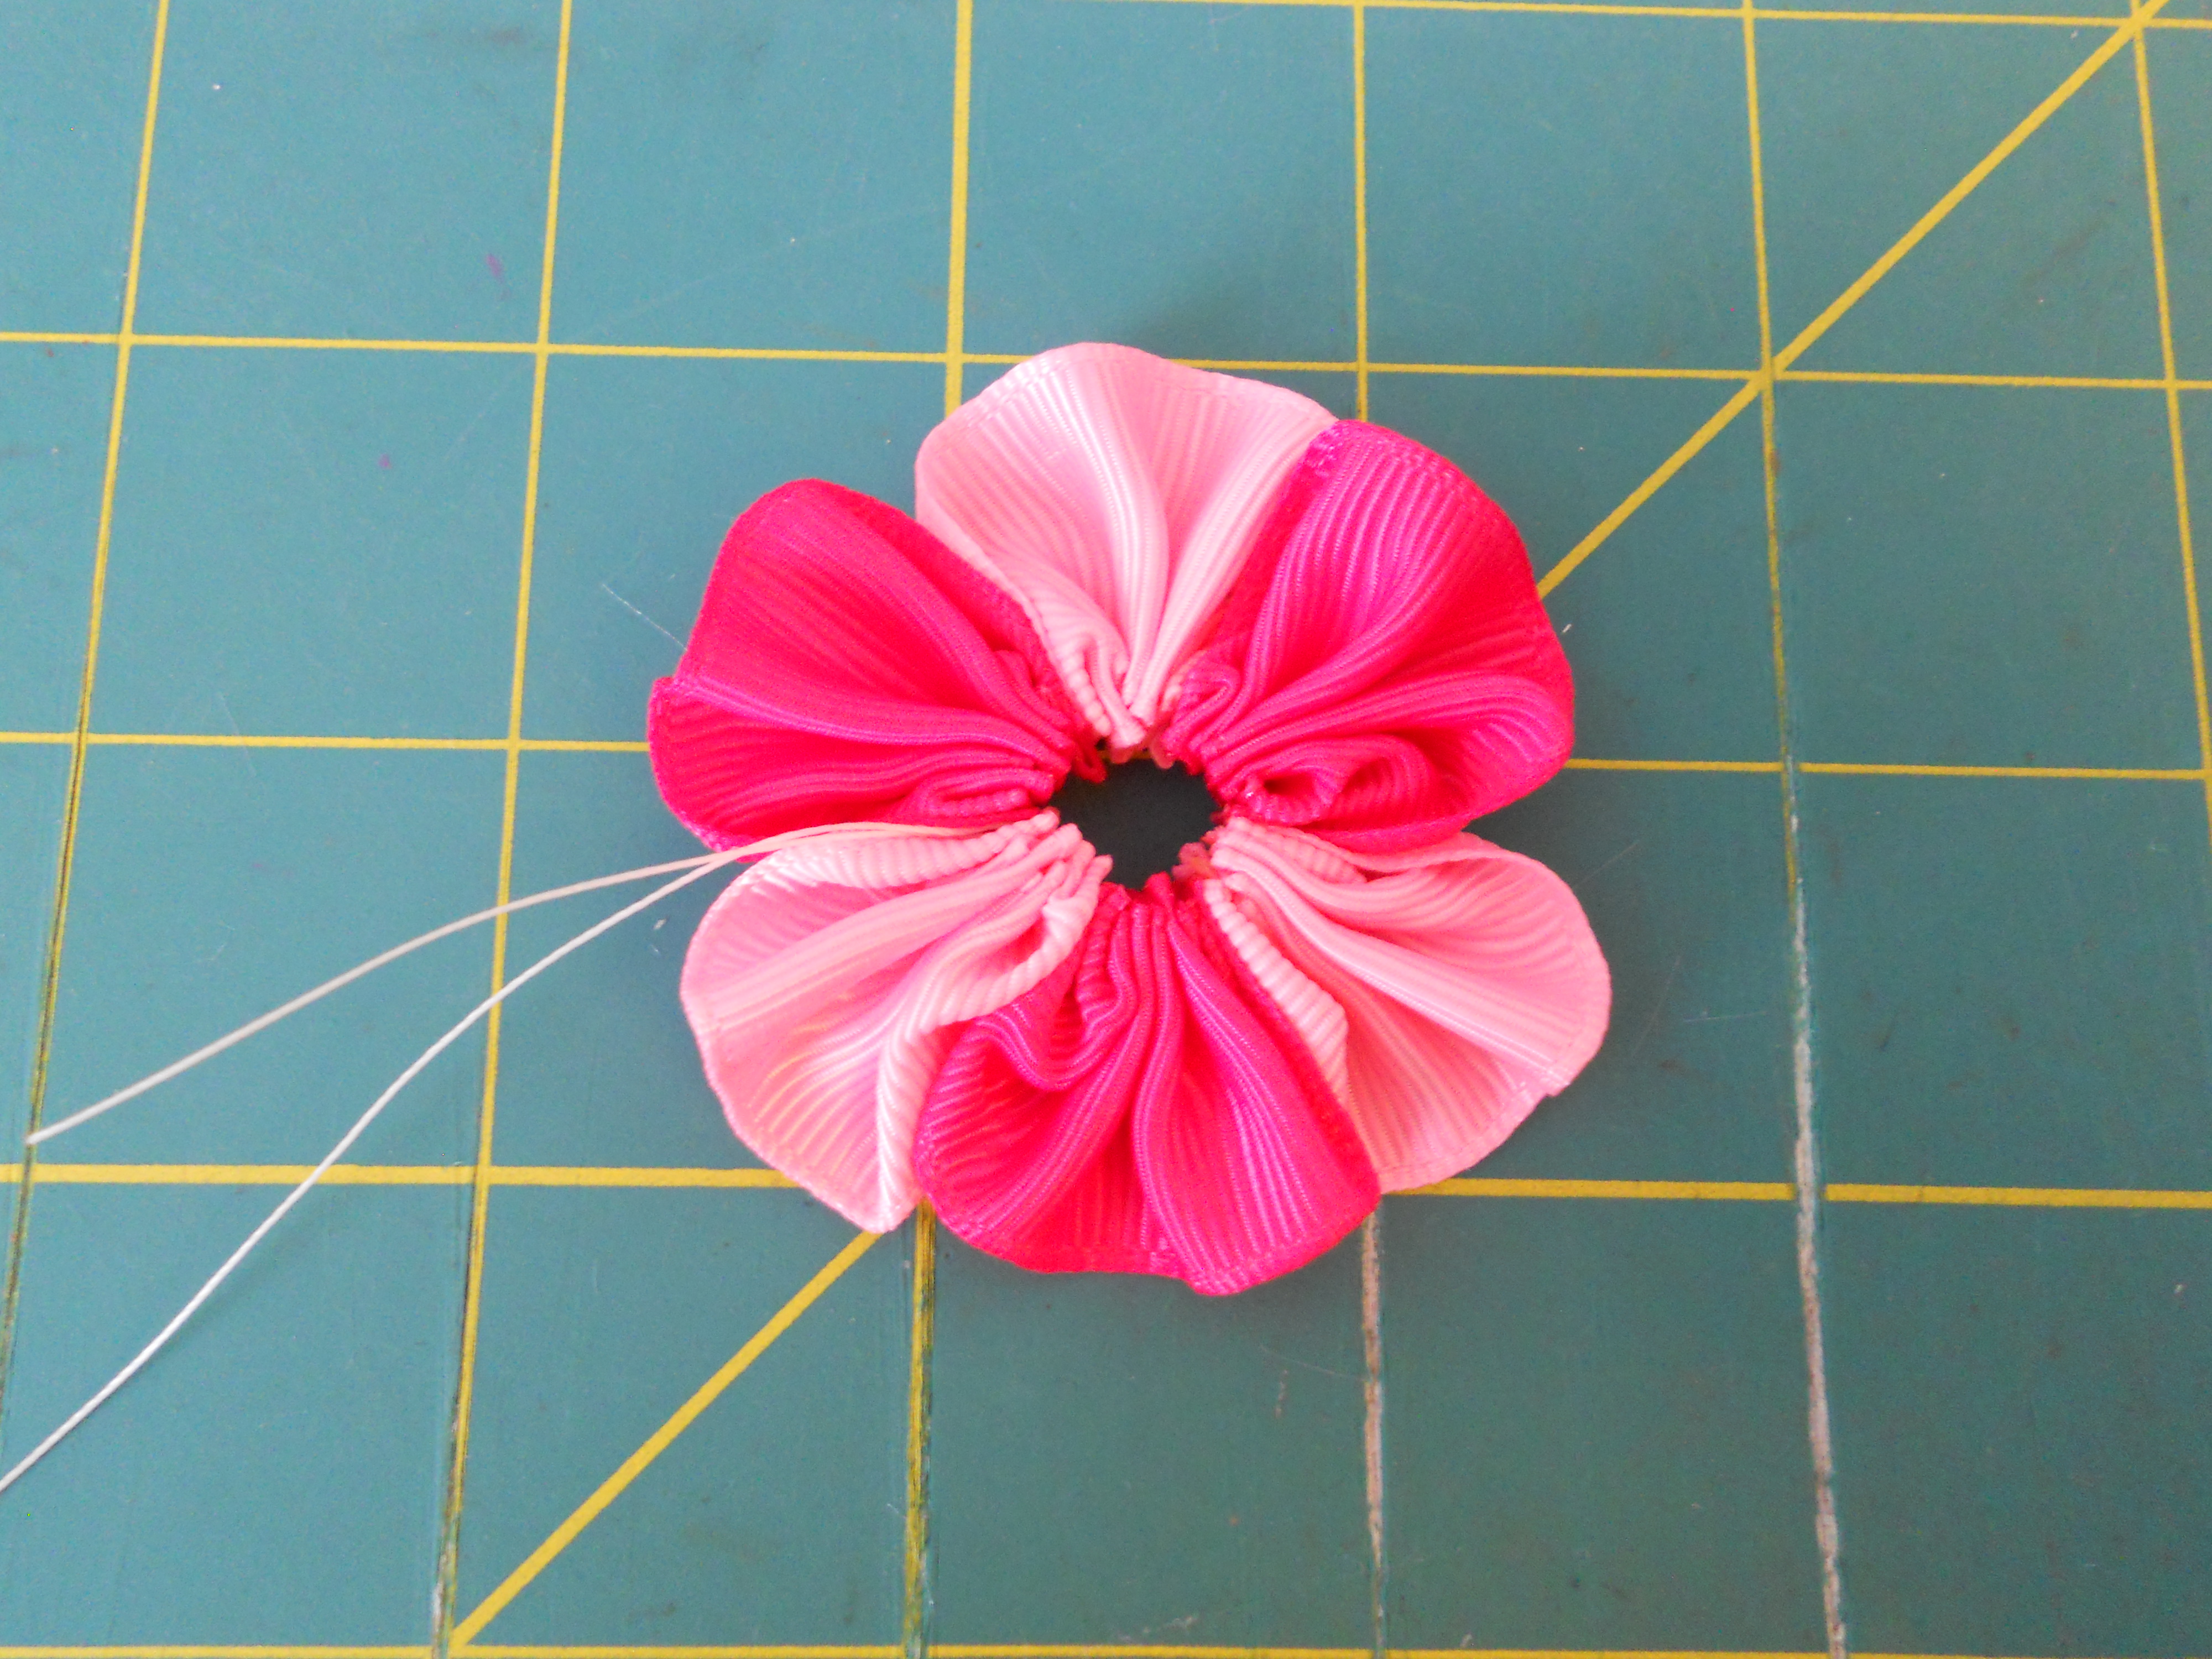
After all your petals are added to the flower. Pull your thread tightly and tie several knots to hold the flower together.
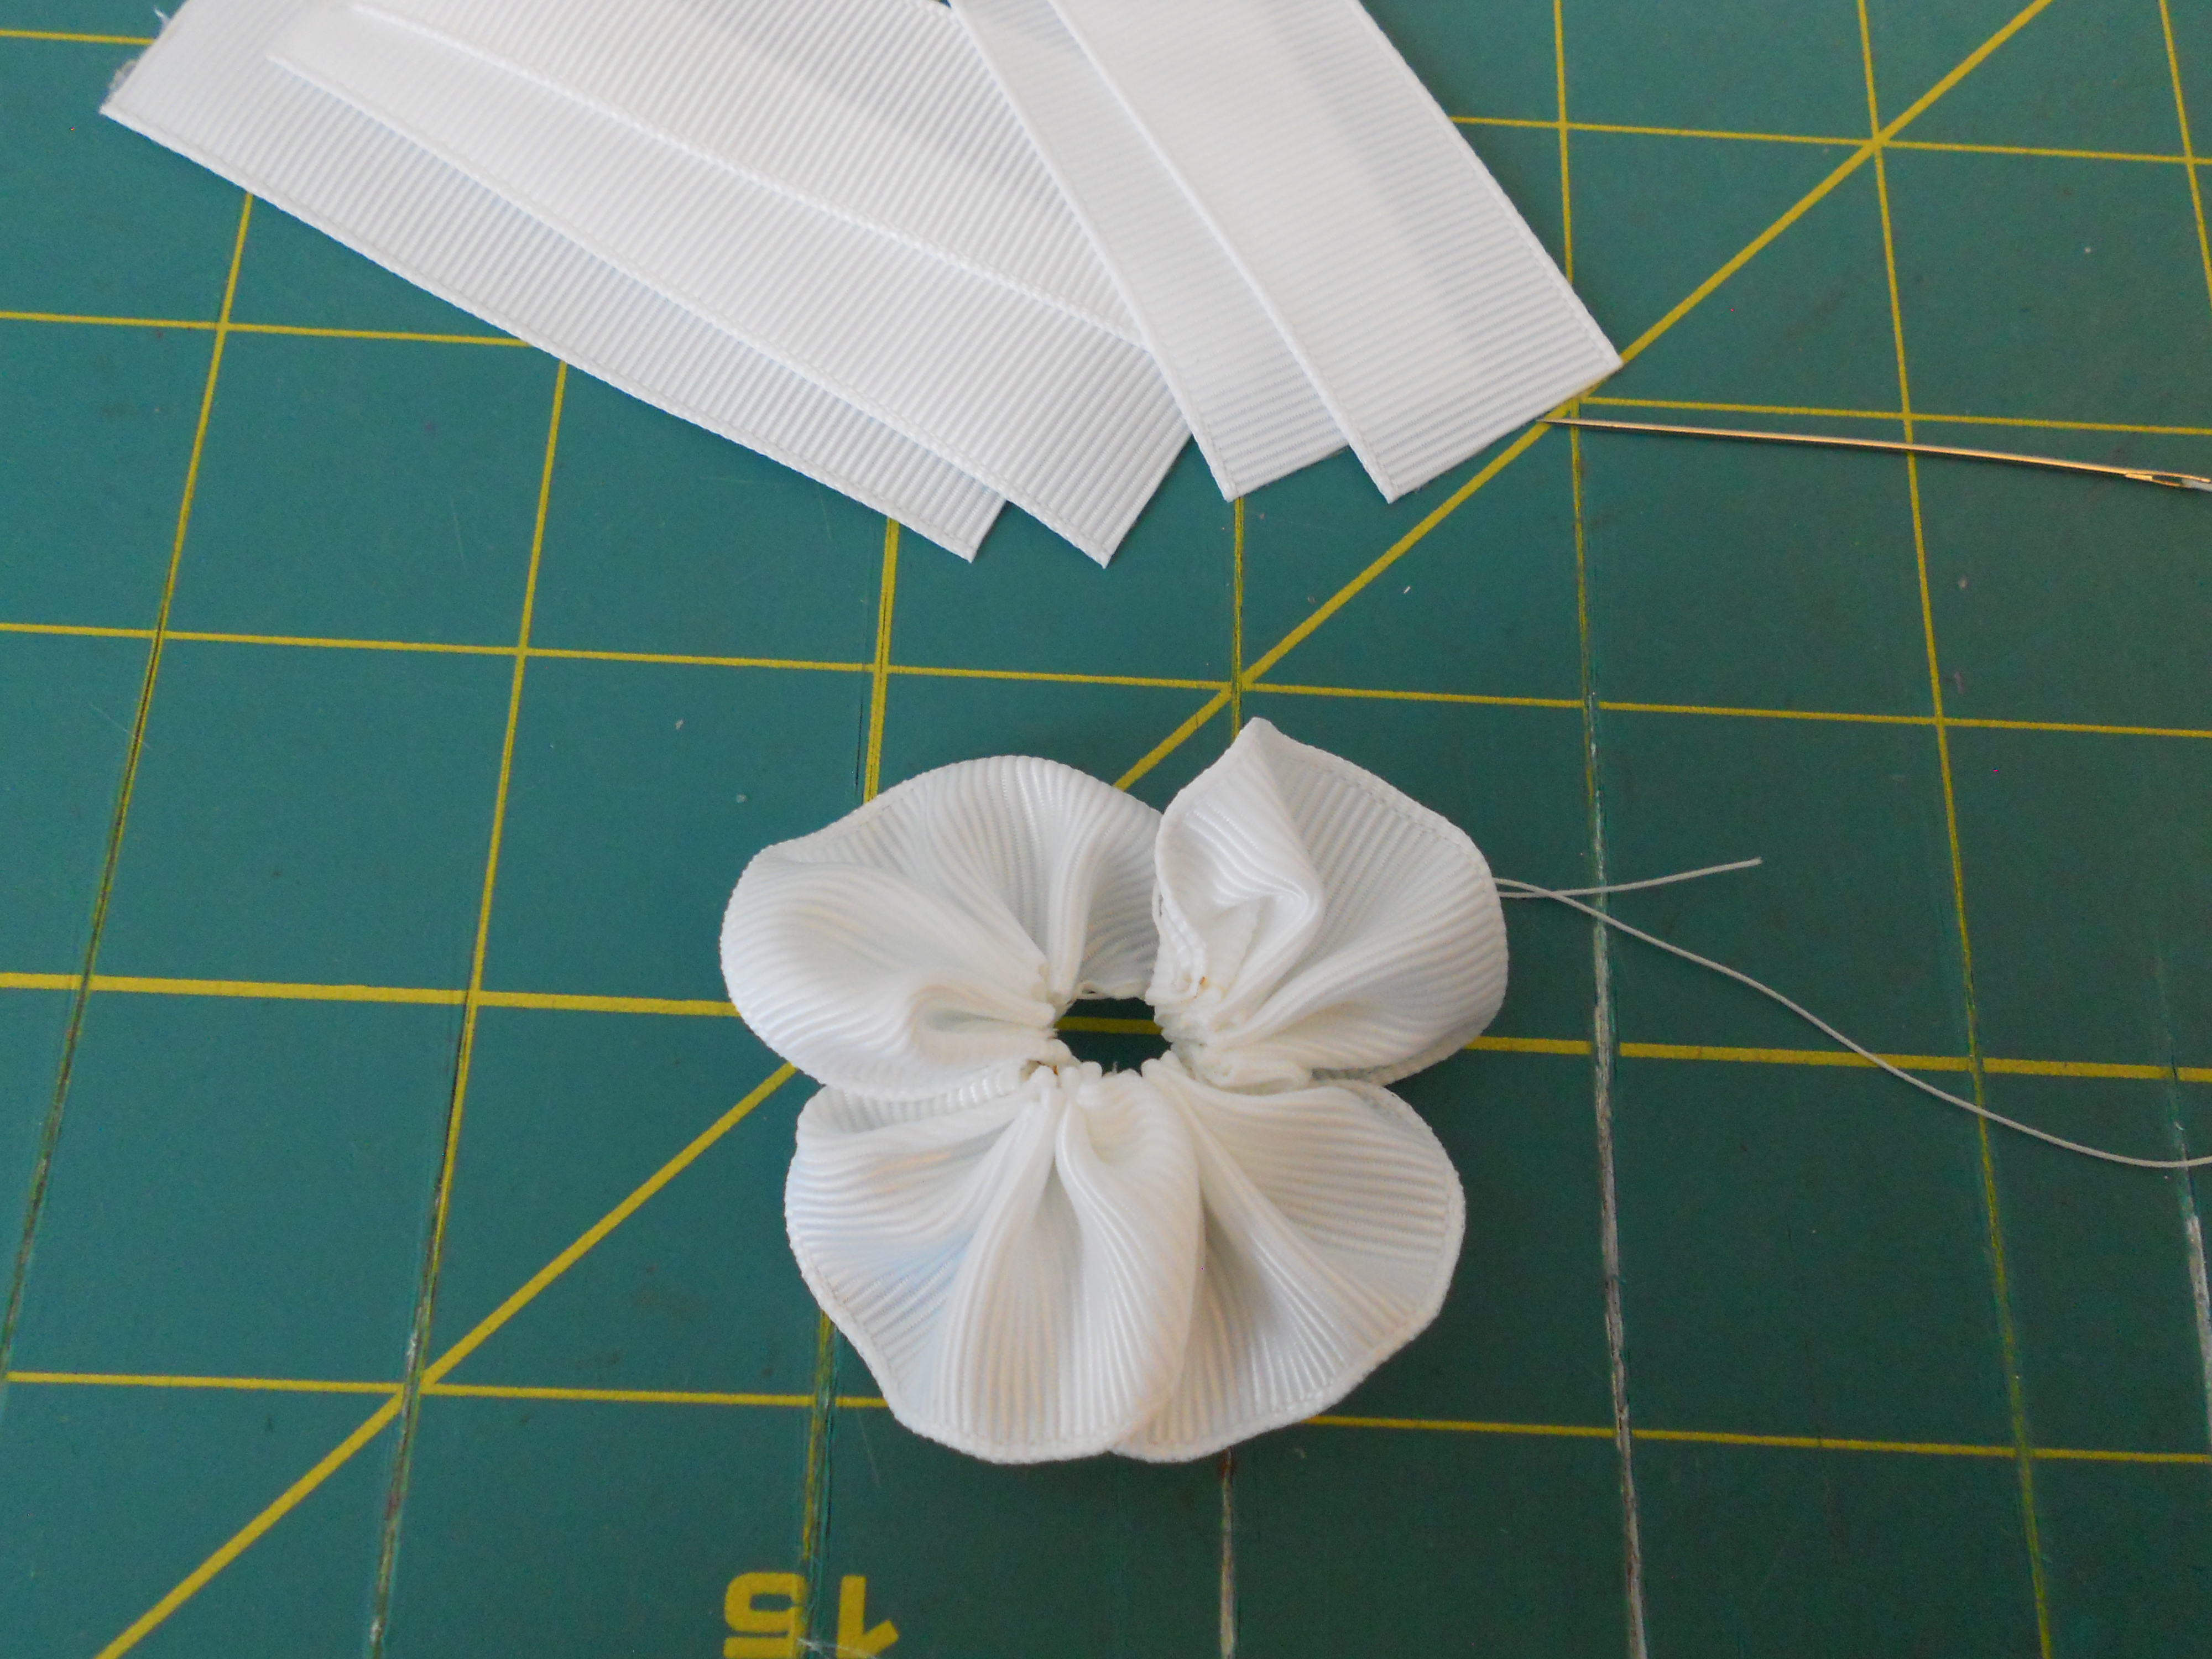

Step 7: Complete the above steps with your white ribbon. You now have two separate flowers. You can adjust your petals by gently pulling on them.

Step 8: Glue your flowers together. Run a line of glue around the center of the white flower and press your pink flower down.
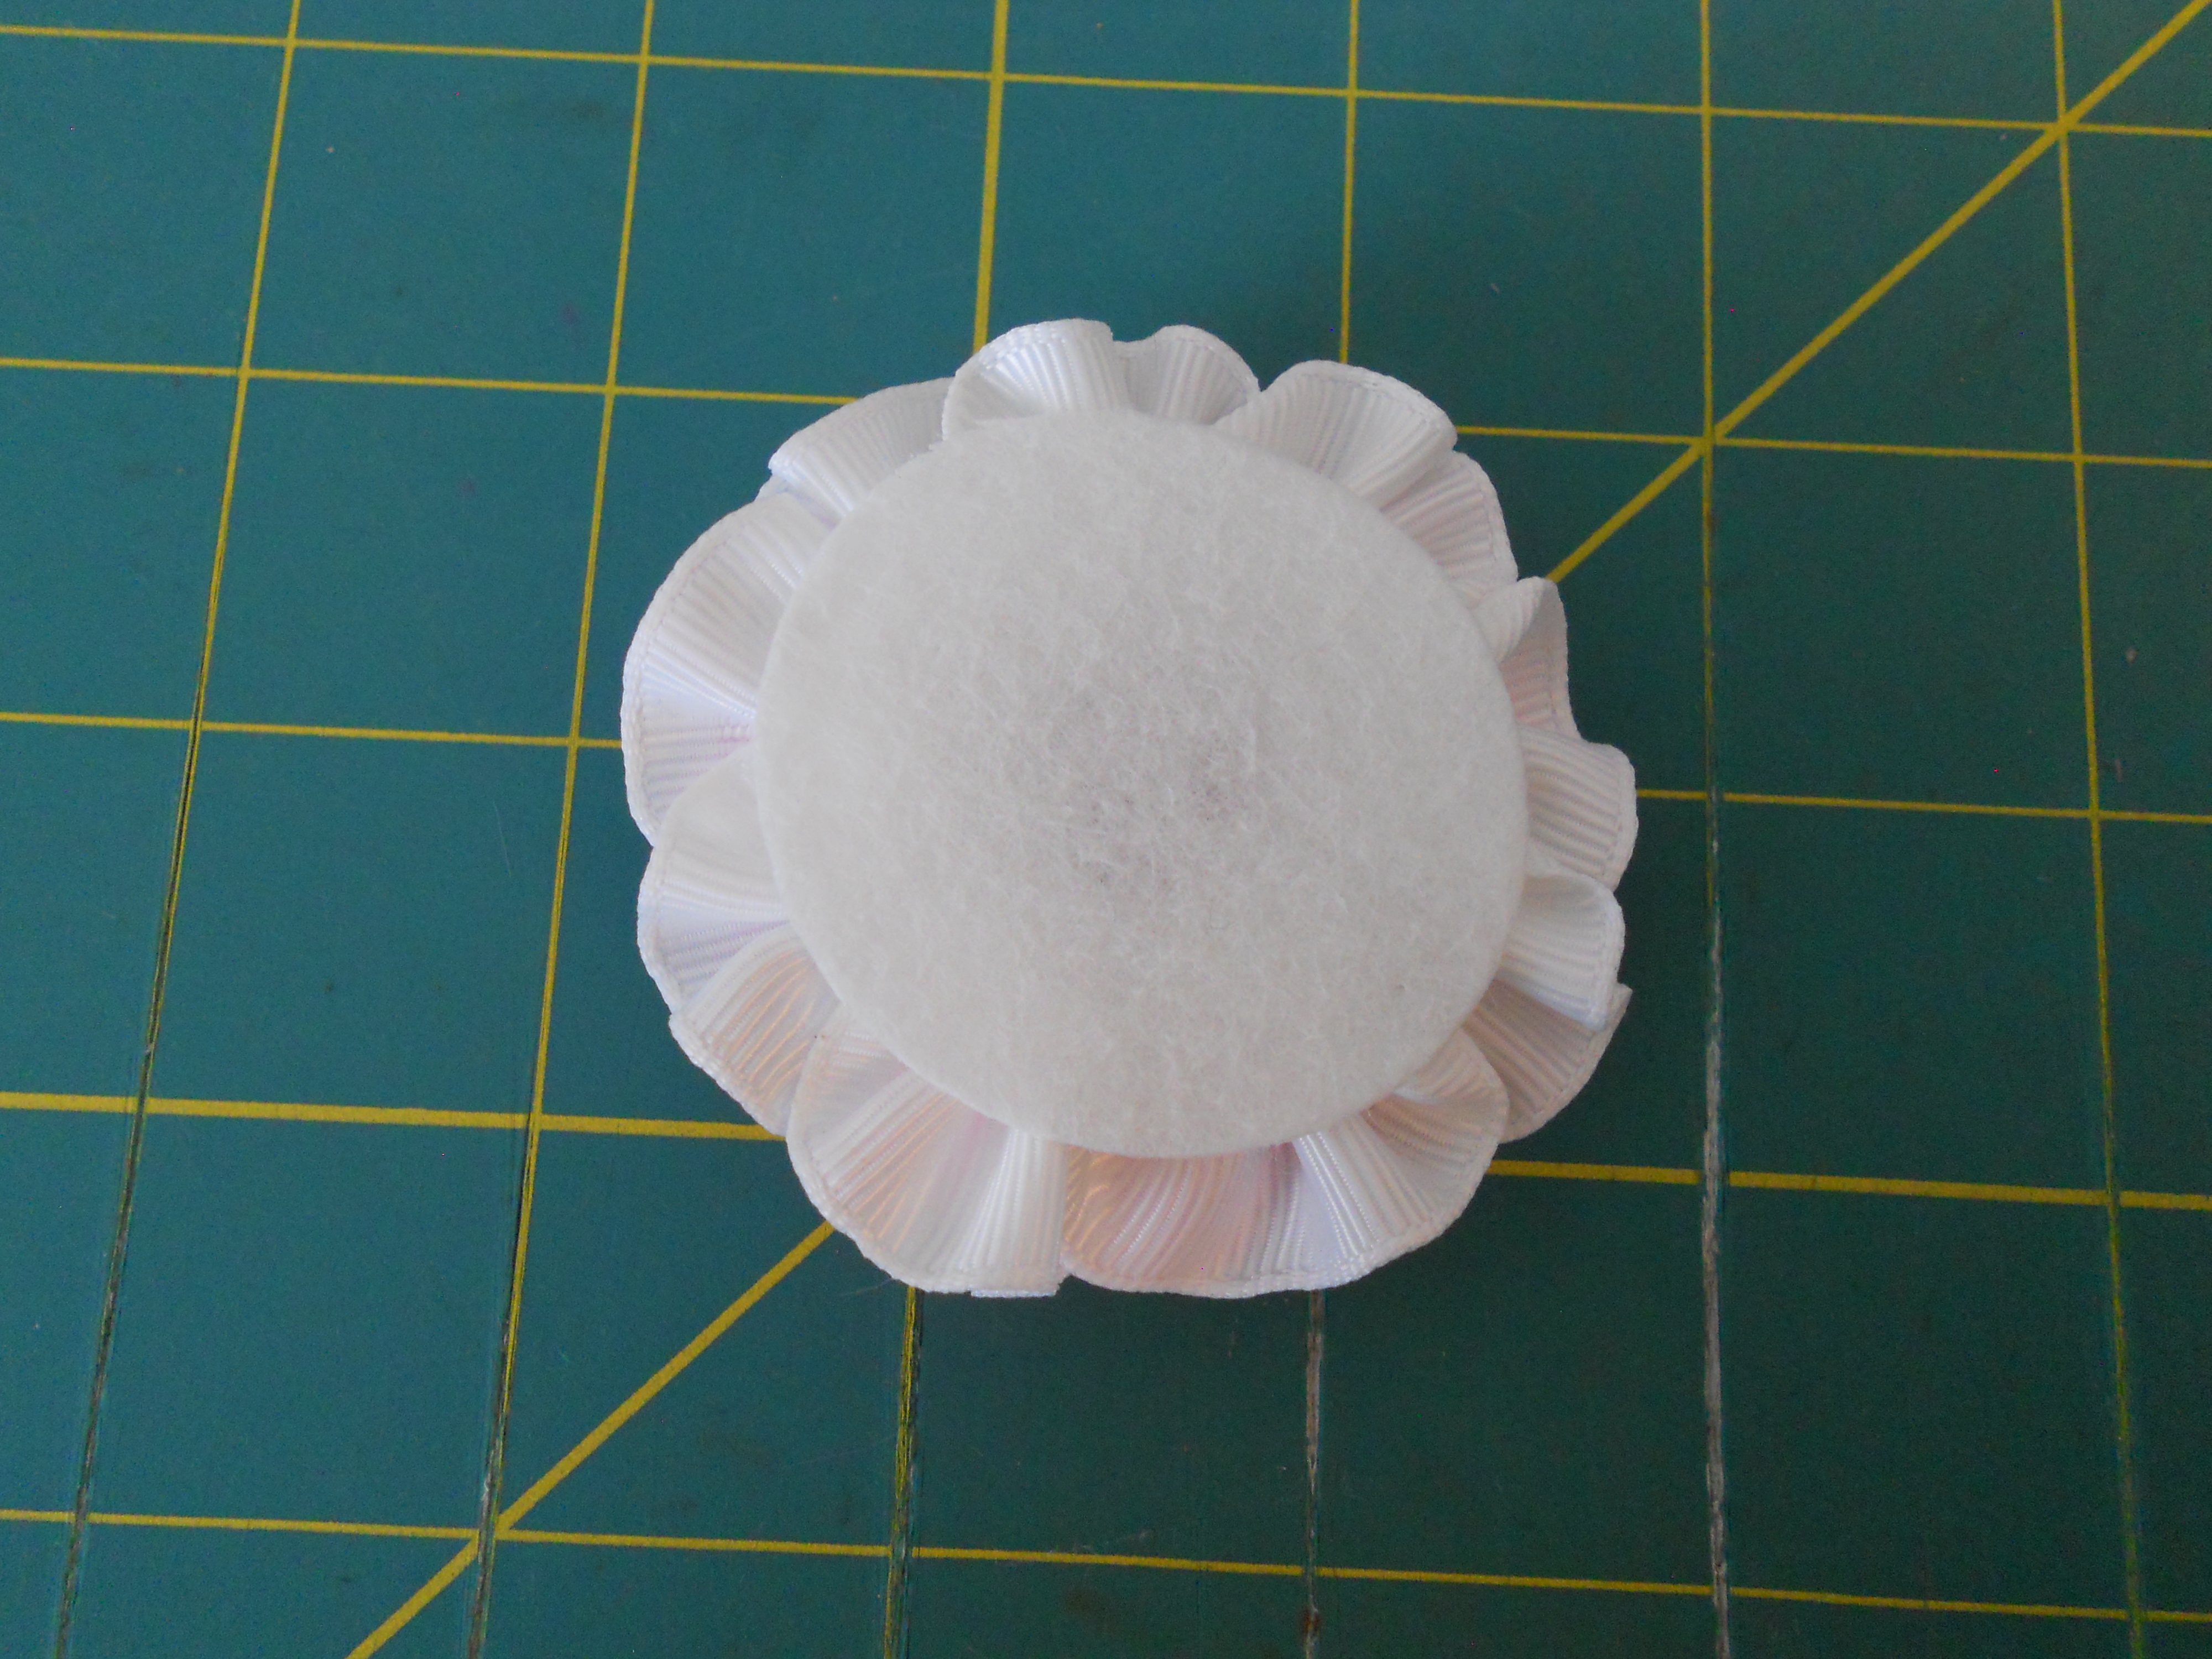
Step 9: Glue your felt circle onto the bottom of your flower.
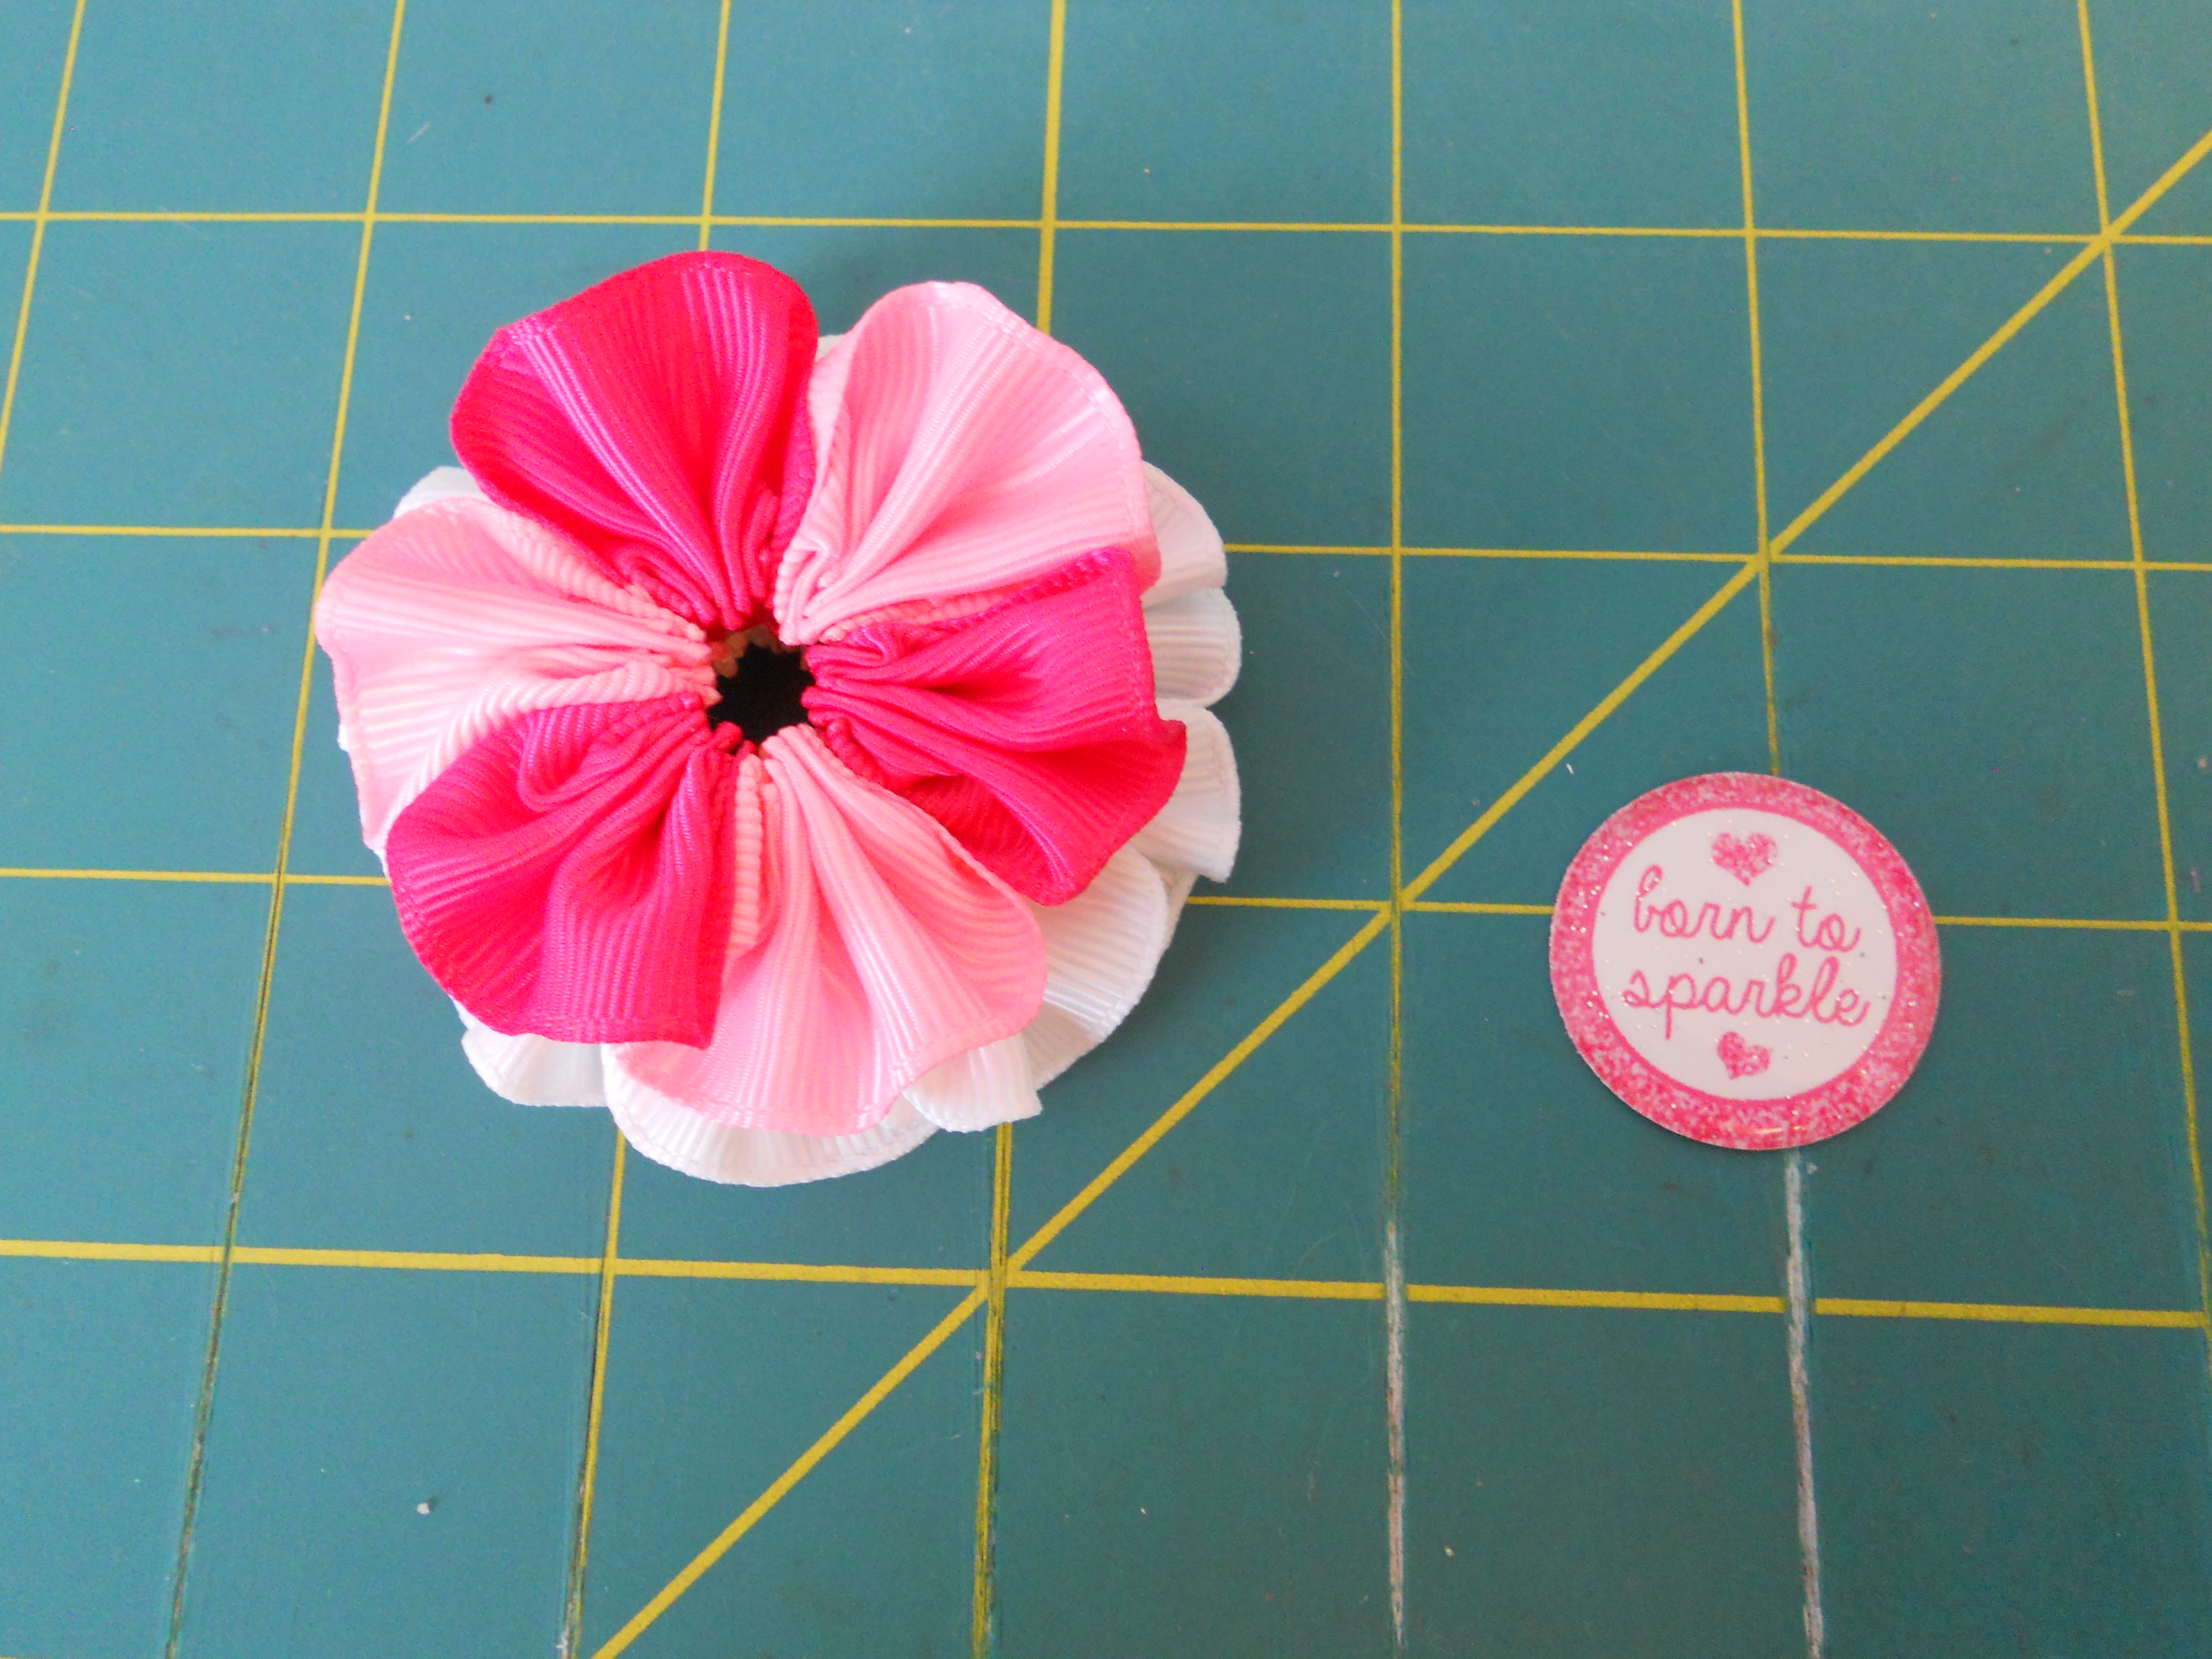
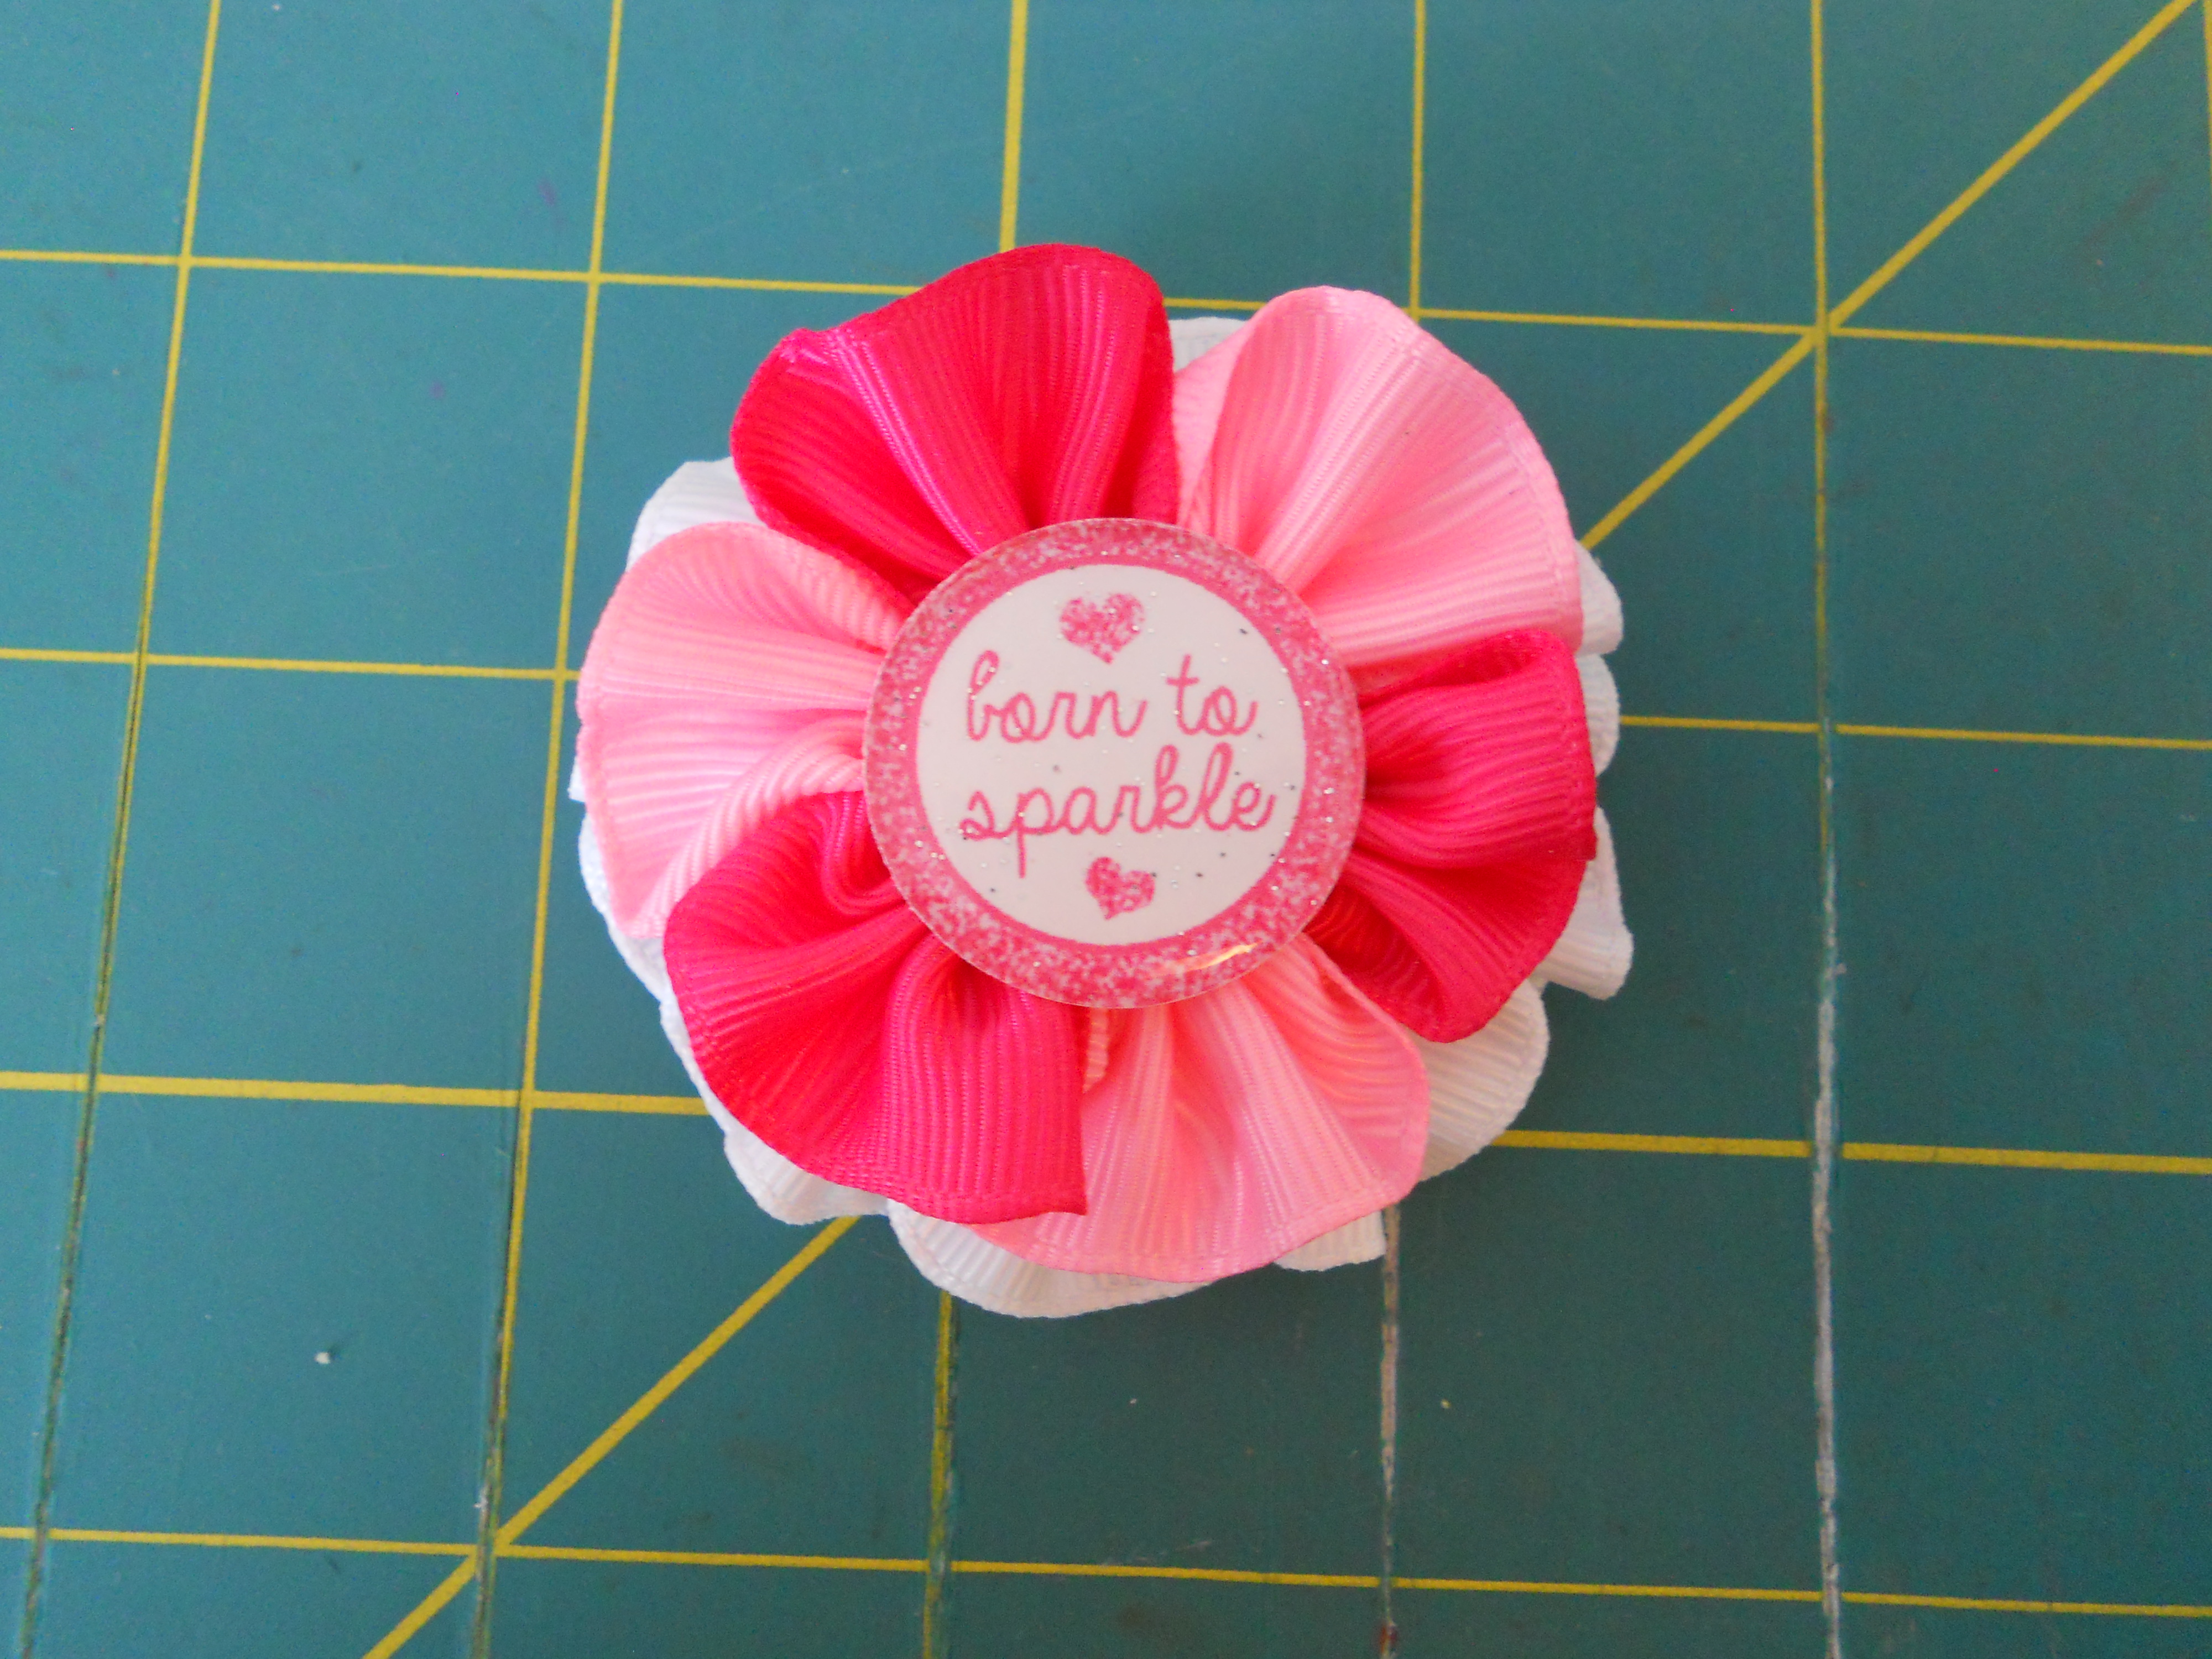
Step 10: Glue your image onto the center of your flower. Add your alligator clip to the back.
Your flower is finished! I just love the way these look on a woven headband. If you are interested in adding a woven headband with your flower you can find my tutorials for those here.

Visit the rest of our blog for more Crafting Tutorials and DIY Instructions!
Loading...

