 If you have been on HBC's website lately, you may have seen our new, BEAUTIFUL flowers - satin roses in a variety of styles, sizes, and gorgeous colors! These satin roses are perfect for making headbands, wedding accessories, different clothing accessories, and so much more. They will add an elegant style to anything that you make with them. Today I am going to show you how to make a simple, yet beautiful necklace using these satin roses. Let's get started!
Supplies needed:
If you have been on HBC's website lately, you may have seen our new, BEAUTIFUL flowers - satin roses in a variety of styles, sizes, and gorgeous colors! These satin roses are perfect for making headbands, wedding accessories, different clothing accessories, and so much more. They will add an elegant style to anything that you make with them. Today I am going to show you how to make a simple, yet beautiful necklace using these satin roses. Let's get started!
Supplies needed:
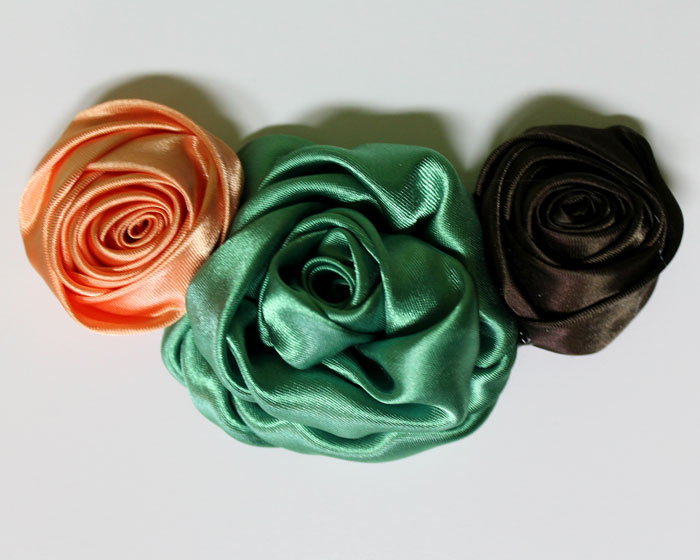
- 1- 3" Twisted Rose Satin Fabric Flower- Sage Green
- 2- 2" Medium Satin Rose Knots- 1 Peach, 1 Brown
- 2- 1.25"Small Satin Rose Knots- 1 Peach, 1 Brown
- 2- Small Rounded Rhinestone Embellishments
- 4- 1"Felt Circles
- 2- 1.75" Felt Circles
- 2 - 18" of 7/8" Brown Double Faced Satin Ribbon You can adjust this measurement according to the size necklace you want.
- Hot Glue Gun and Glue
- Scissors
- Ruler
- Lighter- heat seal ends of ribbon

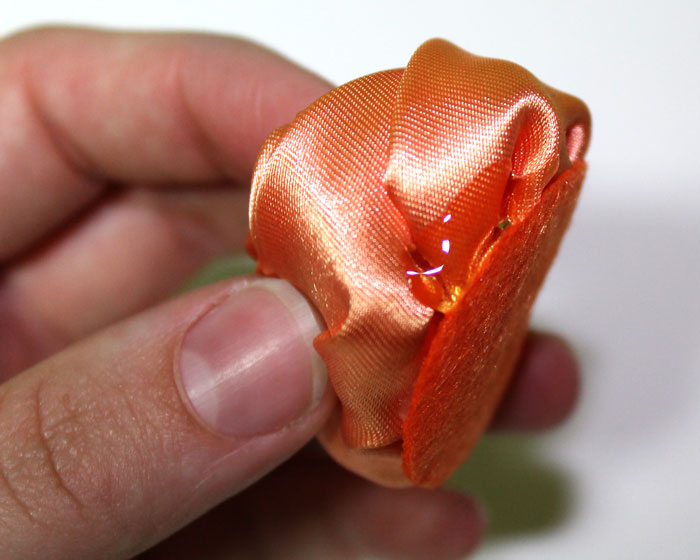
I glued mine by working on both sides of the large satin flower to help me get the right shape. While you are gluing make sure to hold the flowers together tightly to ensure a firmer hold.
After all your flowers are glued together, turn your rose knots over and use your felt pads to create a sturdy backing for your necklace. Side note: The satin flowers already come with felt pads on the back as shown in this picture. I am using white ones.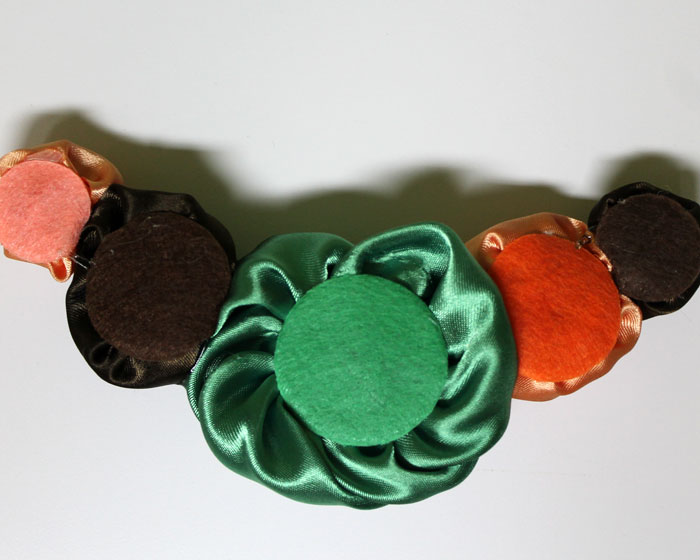
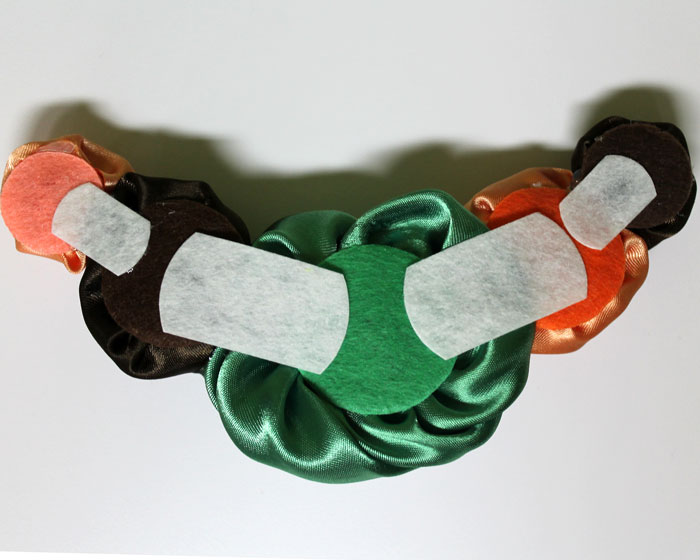 When you glue the felt pads on the back make sure to overlap the edges of the two flowers you are gluing together as shown above in the picture.
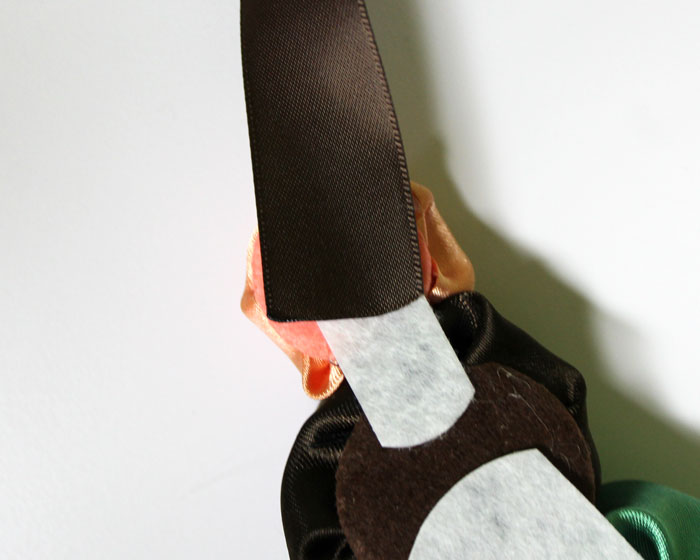
Once that is done you will need to measure and cut 2 pieces of 18" length double-faced satin ribbon. Make sure to heat seal both ends. Glue one end of the ribbon to the back of one small satin rose. Then also do the other side.
When you glue the felt pads on the back make sure to overlap the edges of the two flowers you are gluing together as shown above in the picture.
Once that is done you will need to measure and cut 2 pieces of 18" length double-faced satin ribbon. Make sure to heat seal both ends. Glue one end of the ribbon to the back of one small satin rose. Then also do the other side.
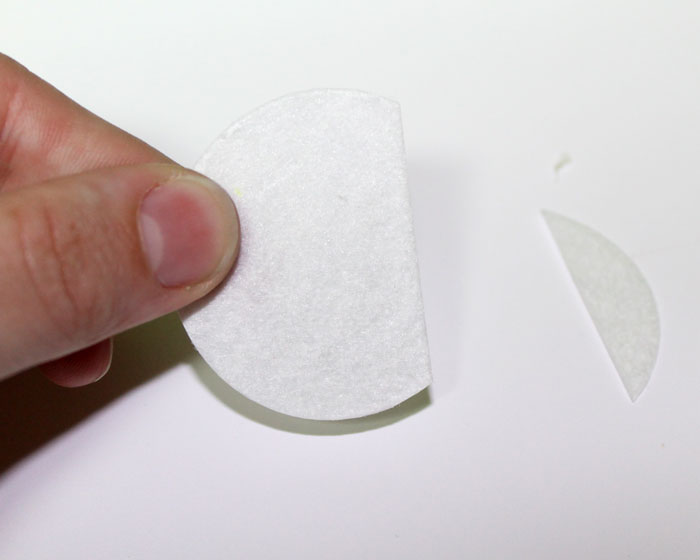
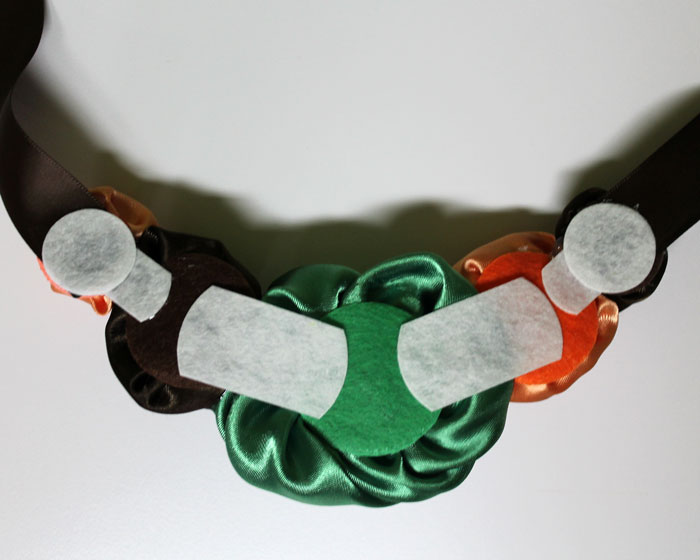
 Next we will take the last two small felt pads and place them over where you glued the ribbon to the flowers. These two felt pads will most likely not need to be trimmed, but make sure and double check just in case. :)
Tie the loose ends of the ribbons together in either a bow or a knot.
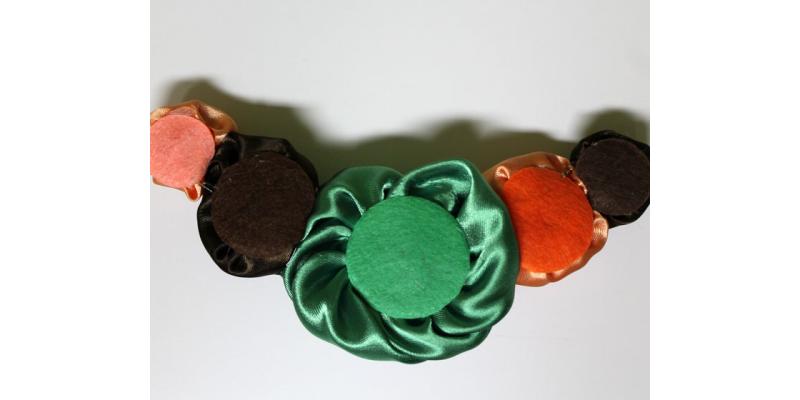
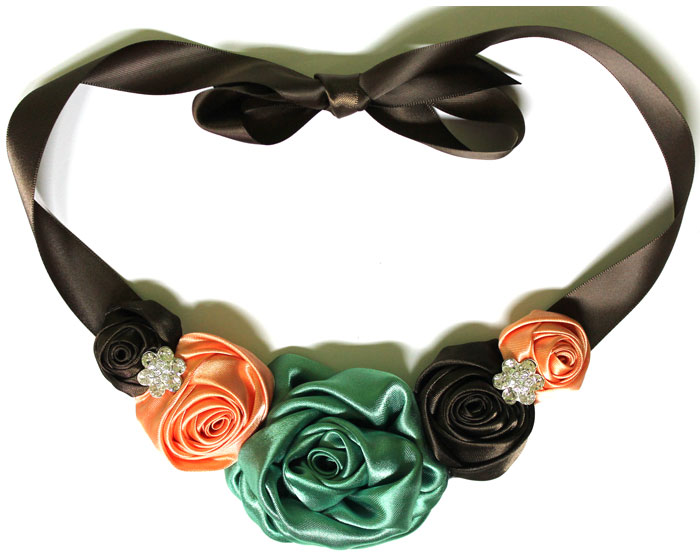
Your necklace should look like this now. :)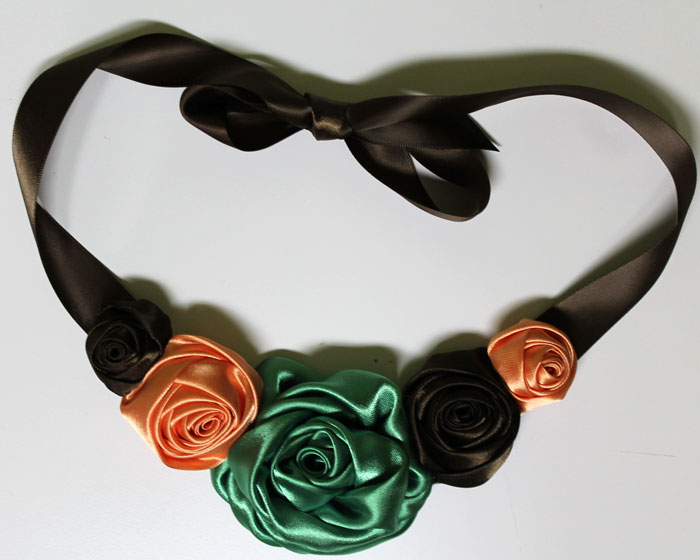
At this point I decided I wanted to add a little sparkle to make the necklace pop a little. So, I added two small rounded rhinestone embellishments. One between the small and medium roses on both sides of the necklace. But you don't have to add them if you don't want to. Take and apply glue to the back of the embellishments and press them firmly between the small and medium size roses.
You can also add a scrap piece of satin to the back of the necklace to hide the felt pads, but this is totally optional also.
Voila! This is your end result! Simply beautiful! :) Thanks for reading!
Visit the rest of our blog for more Crafting Tutorials and DIY Instructions!
Loading...

