Contributor post by Danielle
Lately I have really enjoyed making ribbon sculptures, so today I'm going to show you how to make this gorgeous snowflake ribbon sculpture! These are so cute and would look amazing on a hair clip or elastic headband!
Supplies Needed:
3/8" Grosgrain Ribbon in White Hot Glue Gun & Glue Wood Burner or Scissors/Lighter Felt (Optional) Rhinestone Center
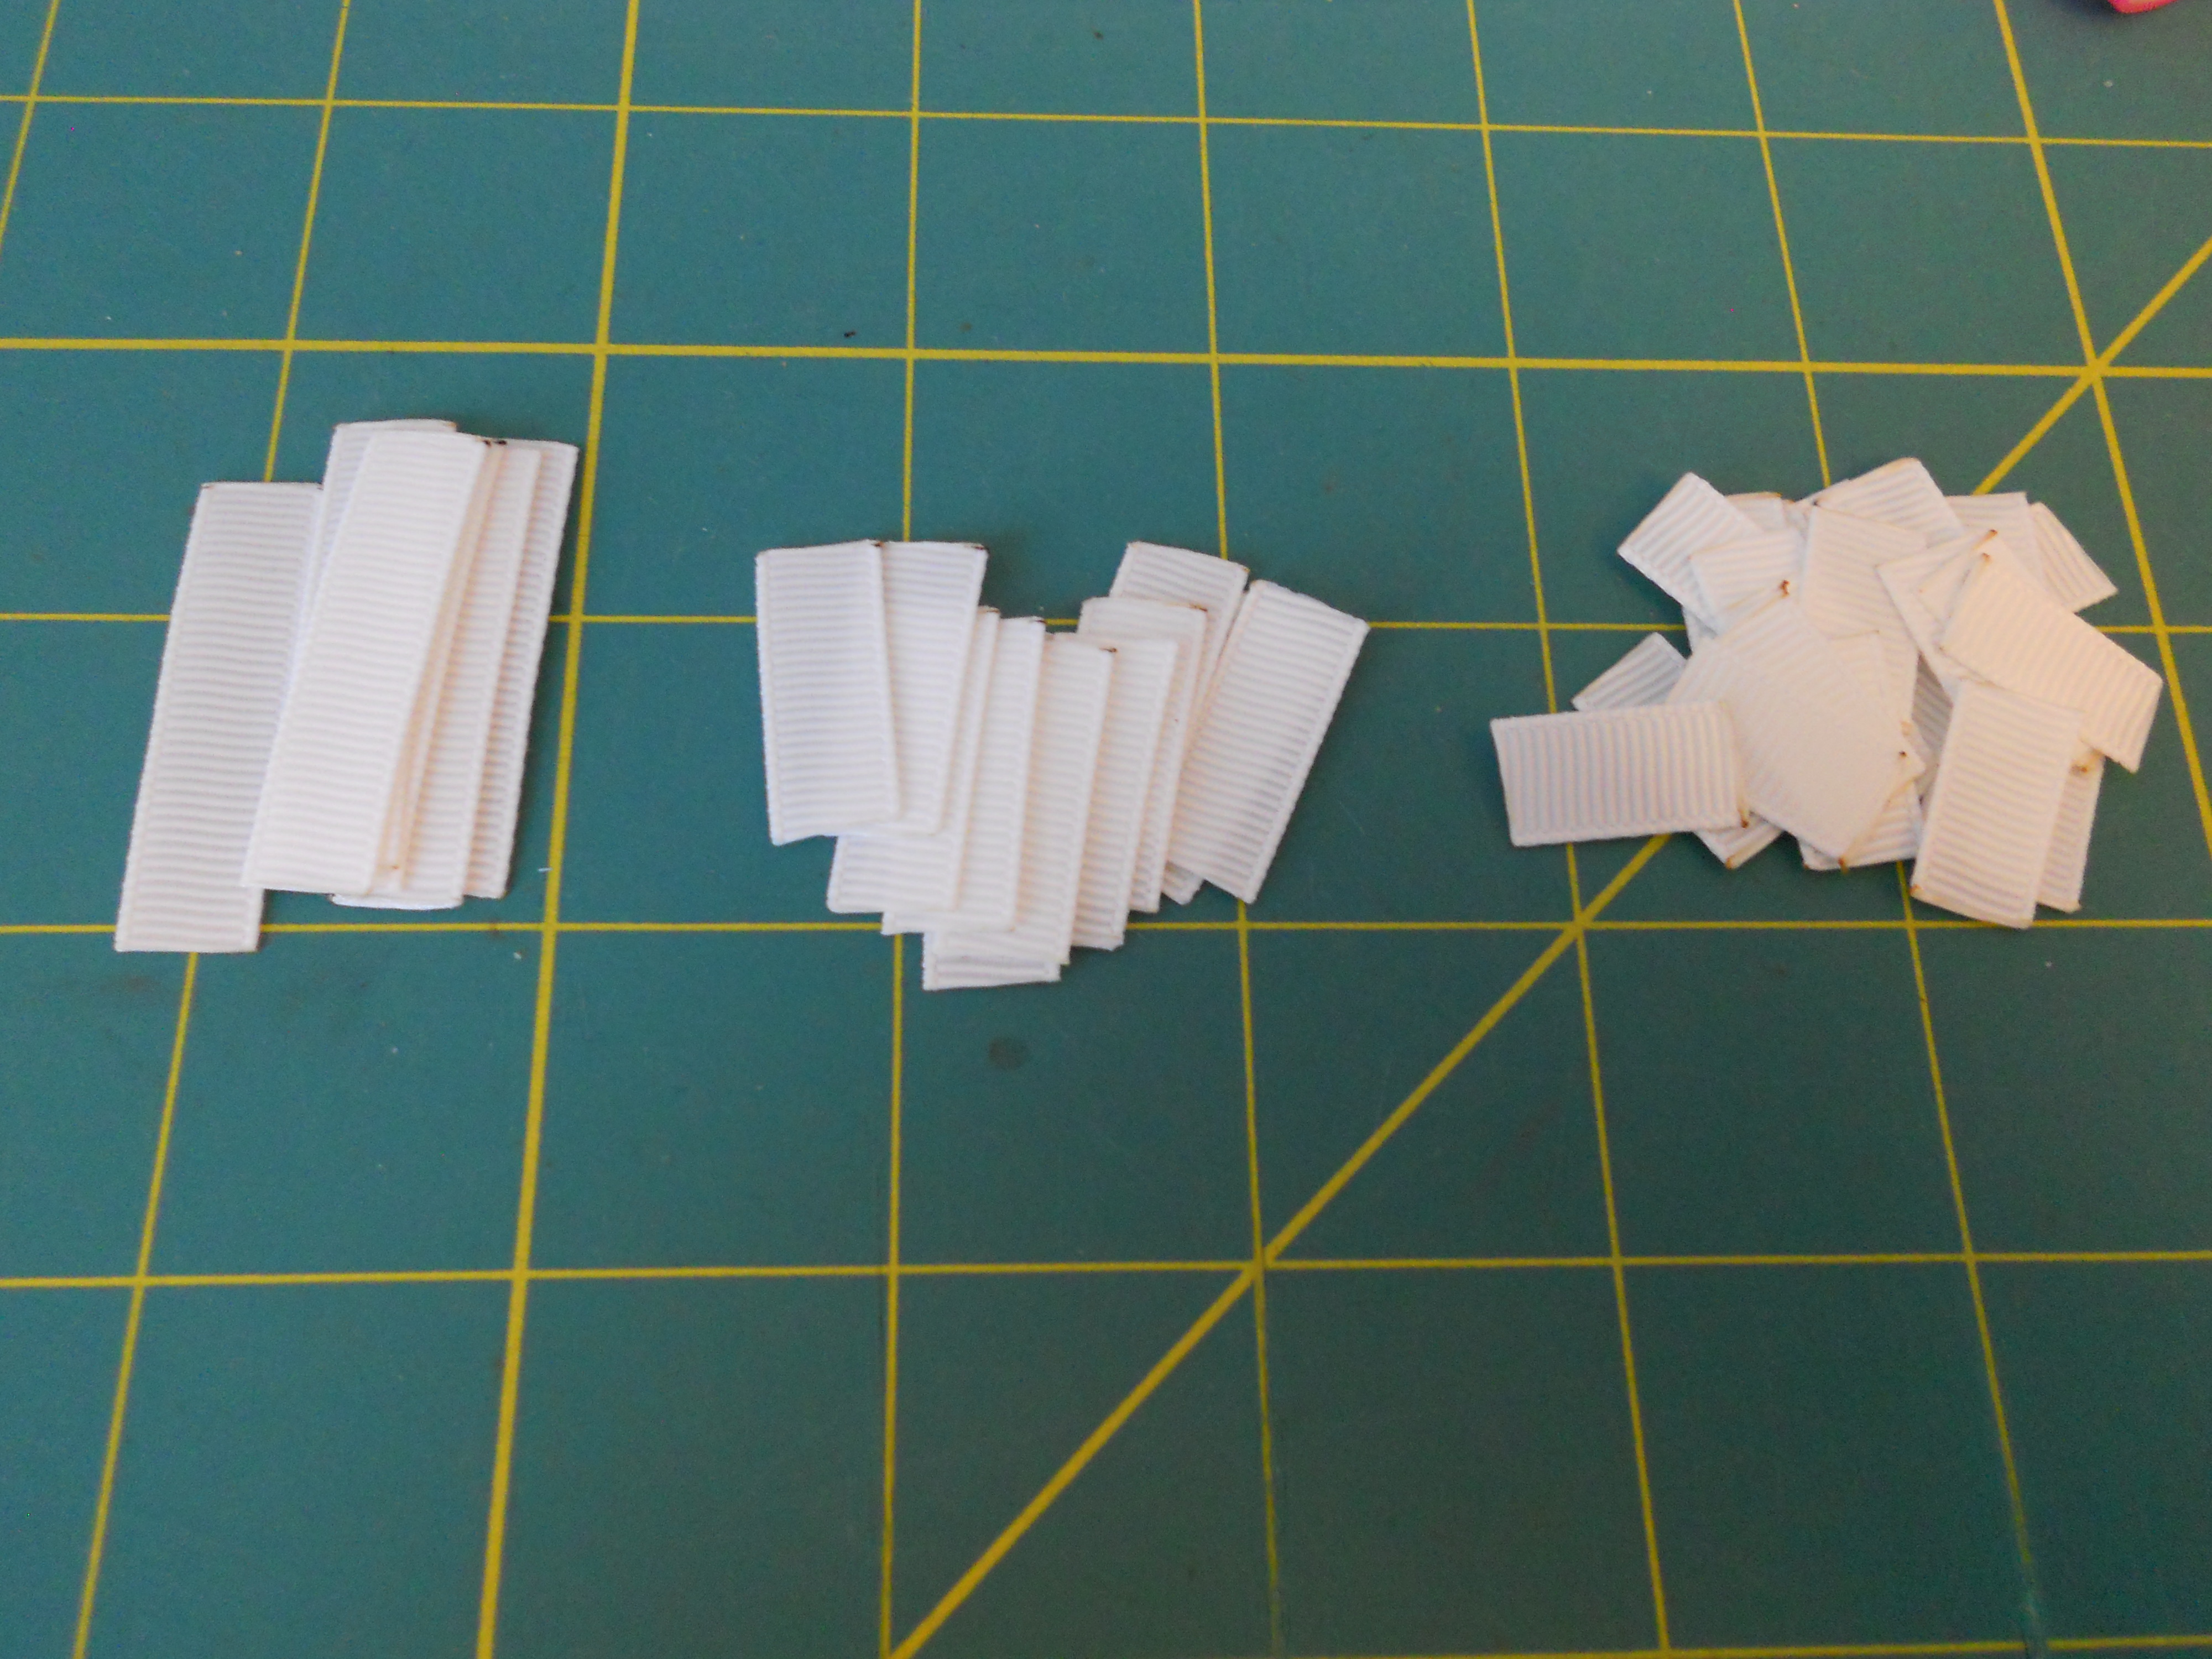
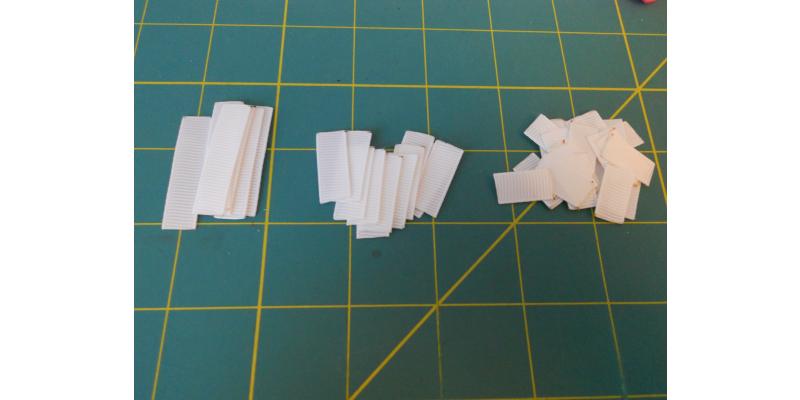
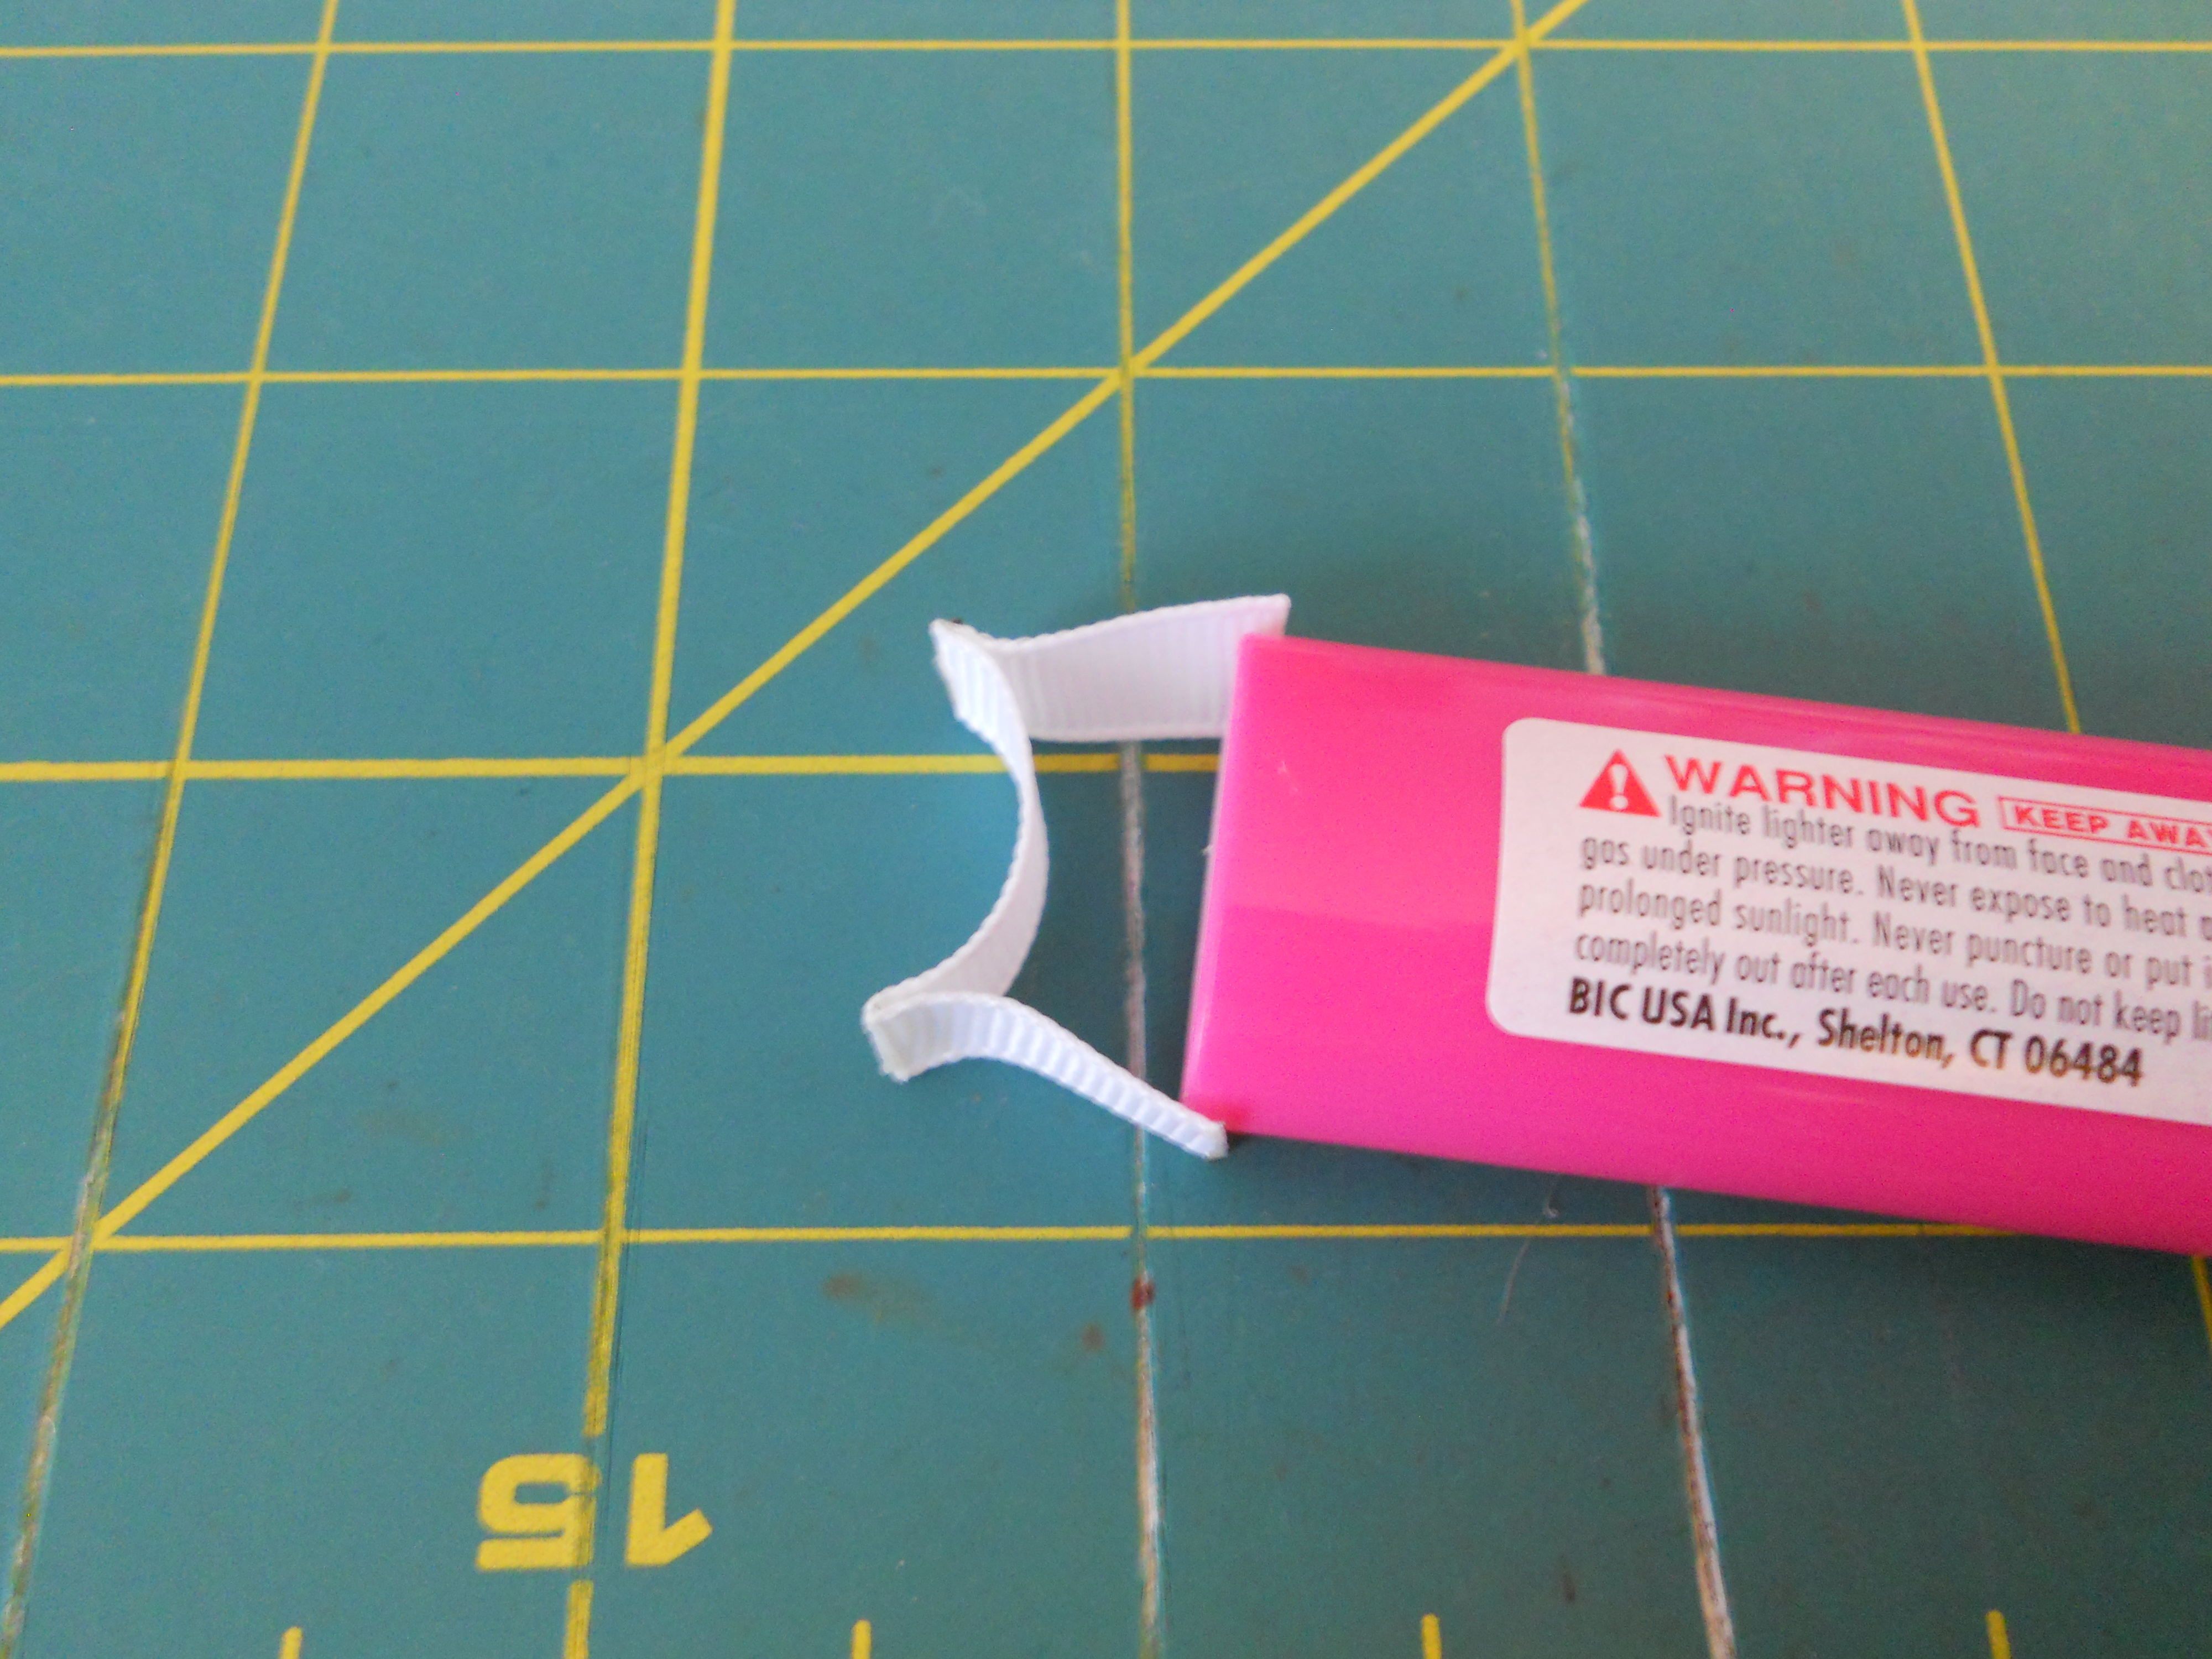
Step 1: Using your white 3/8" ribbon cut (6) 1 1/2" pieces, (12) 1" pieces and (24) 3/4" pieces. I know I have said it before but using a wood burner is SO much better when cutting a lot of ribbon. I pretty much use my wood burner for all my cutting now. It makes the entire process much faster by cutting and heat sealing your ends at the same time.
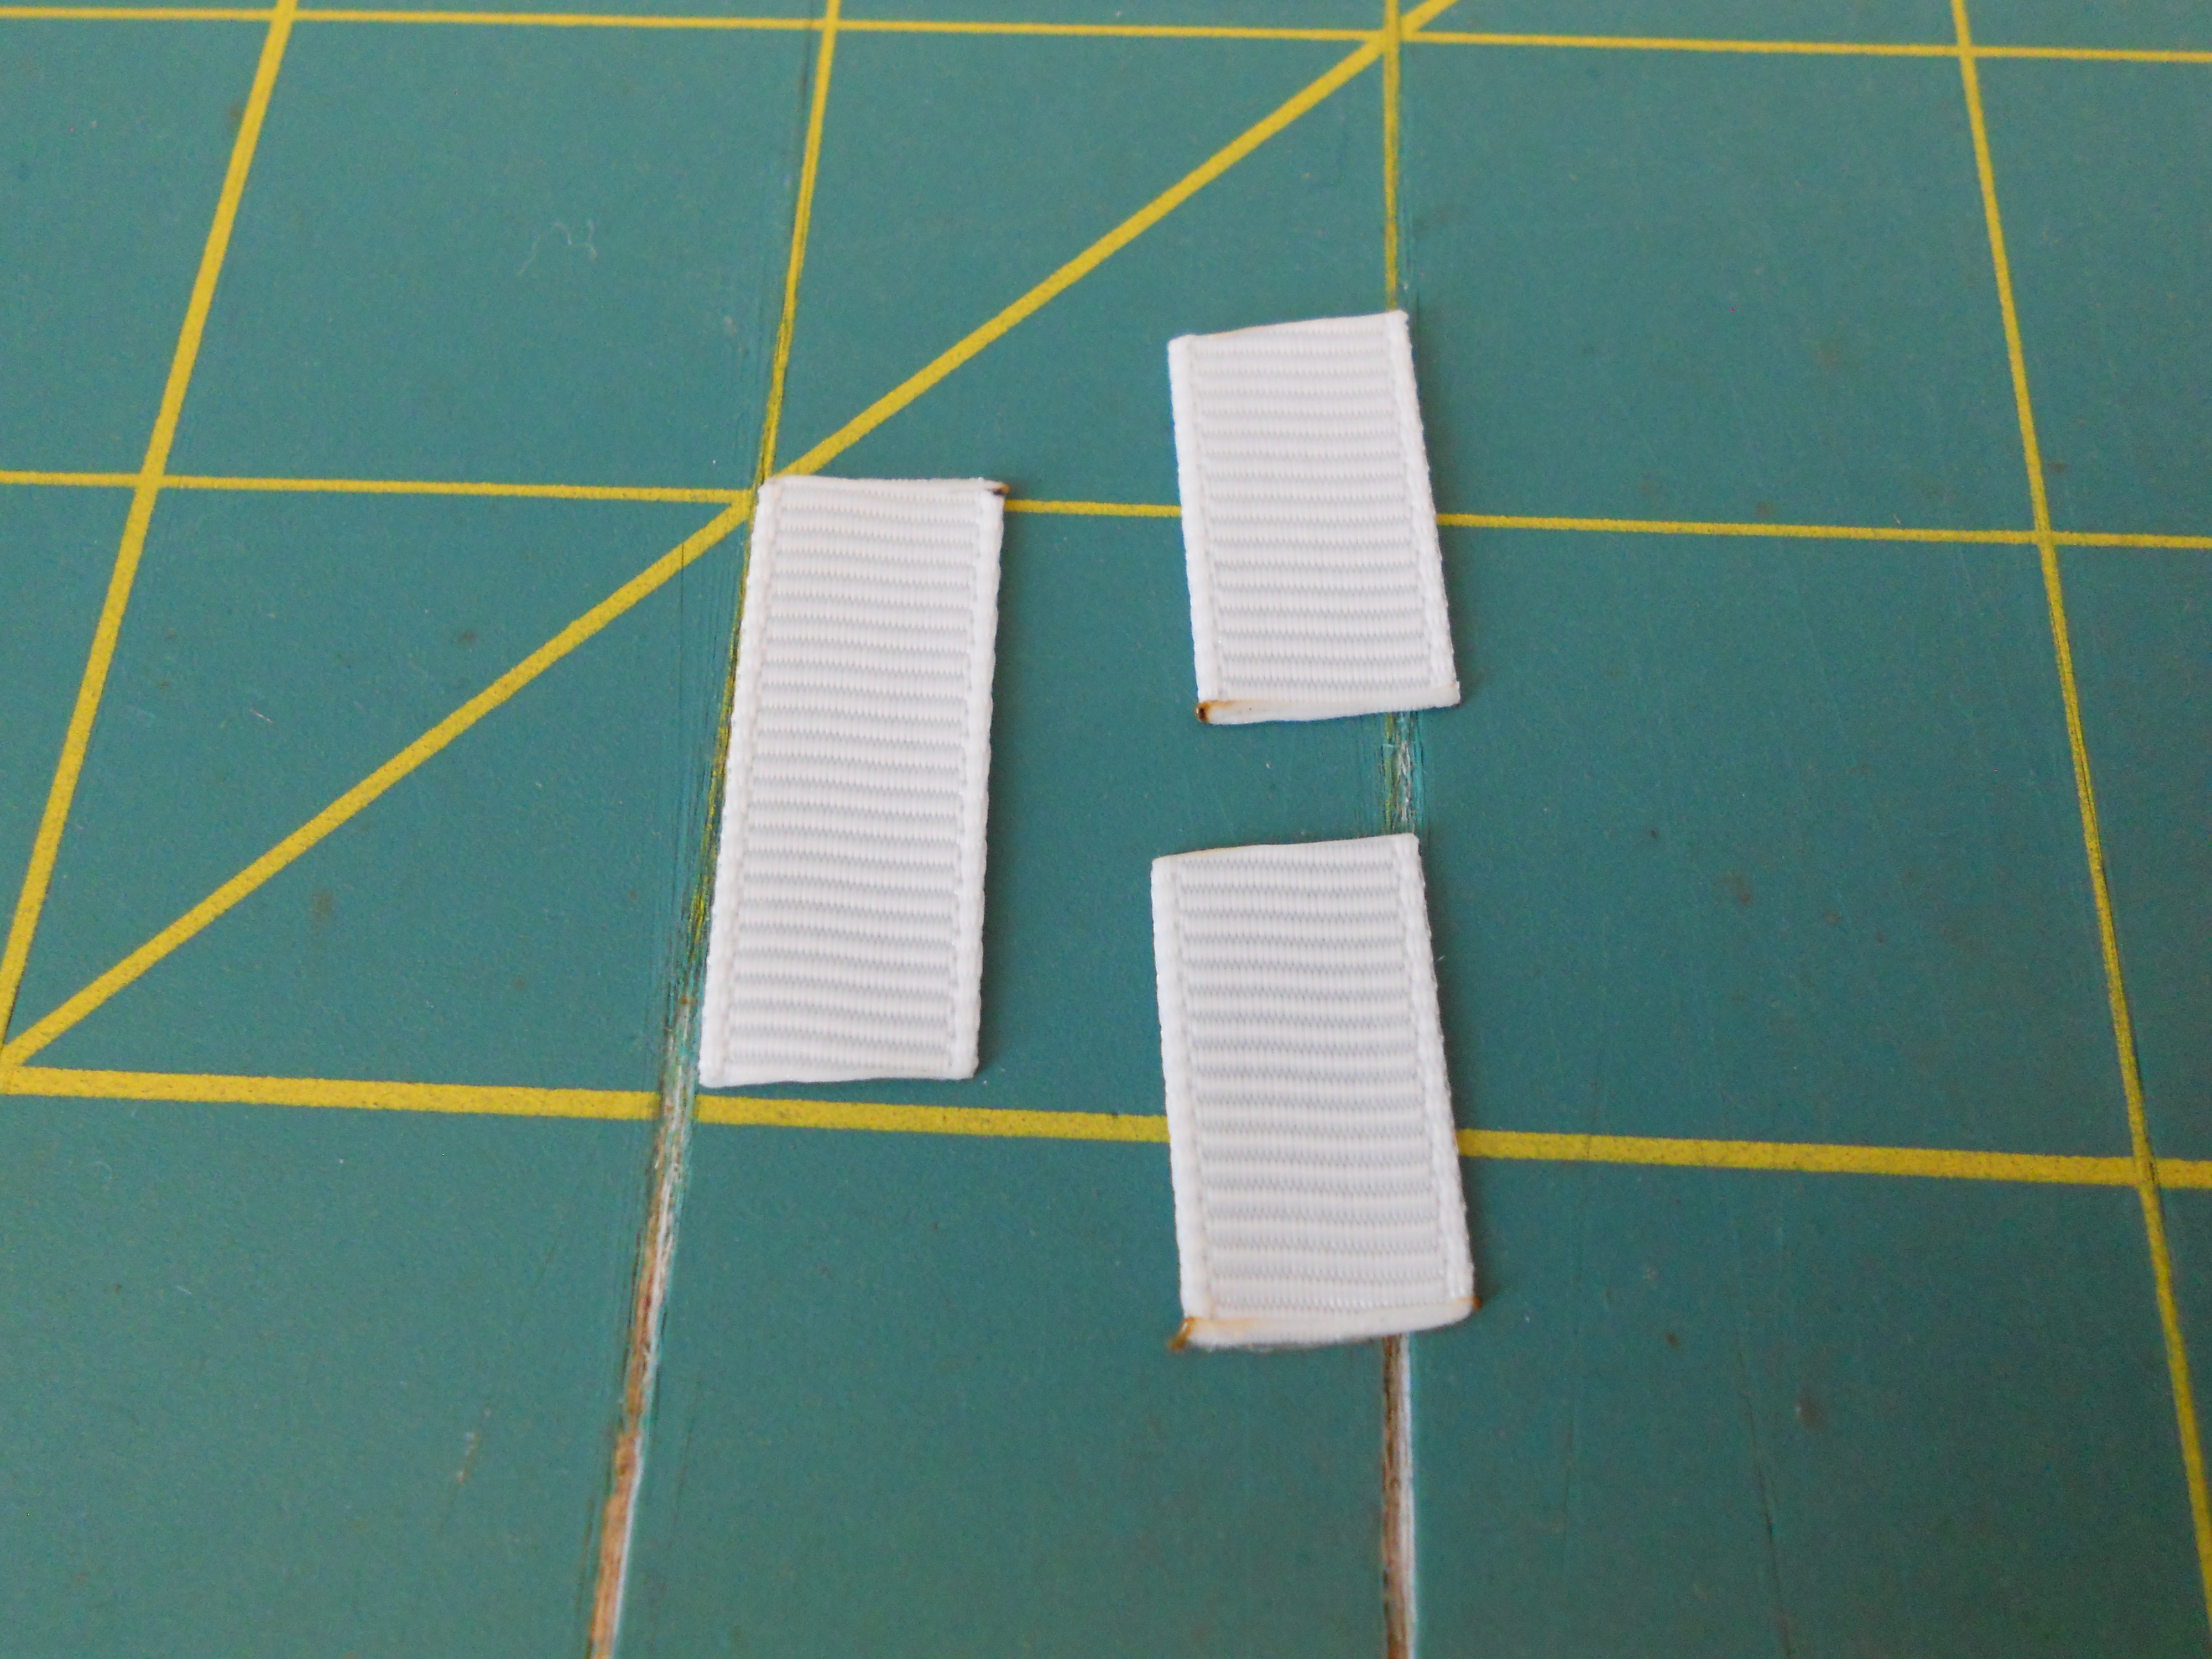

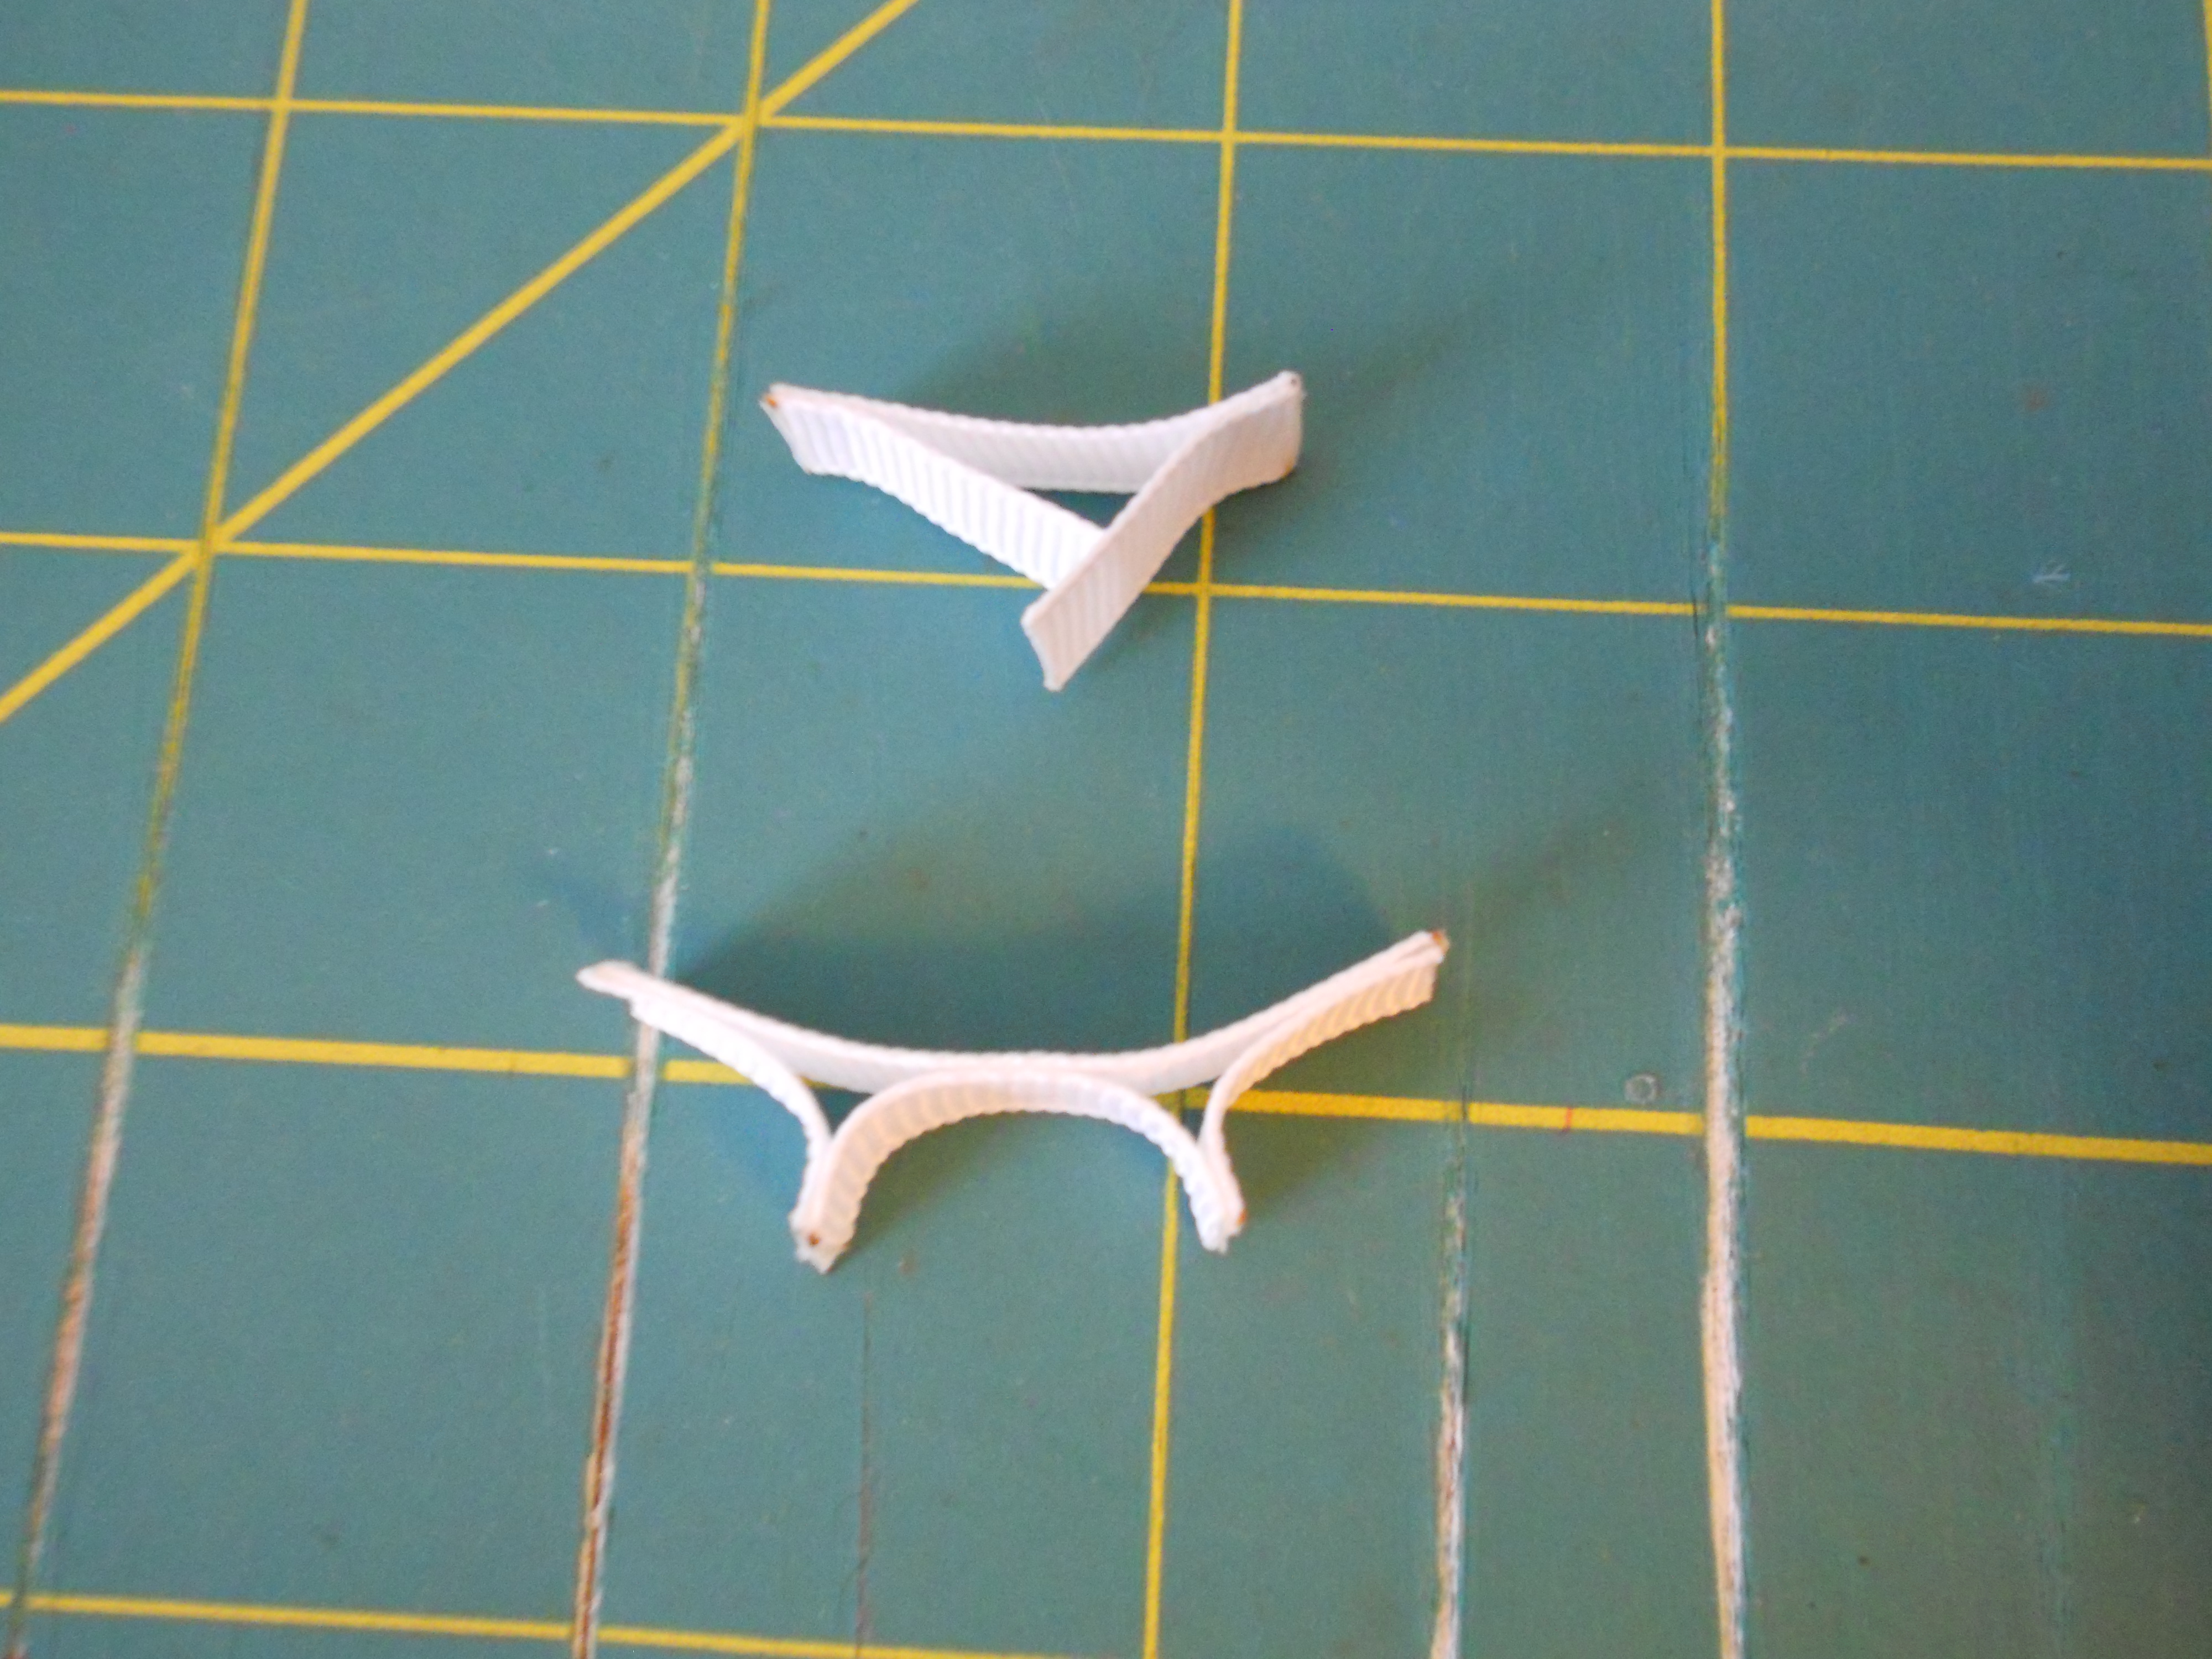
Step 2: Gather (1) 1" piece and (2) 3/4" pieces. Take your first 3/4" piece and line the end up with one end of the 1" piece. Using just a small amount of glue, glue them together. Take your second 3/4" piece and line the end up at the other end of the 1" piece. Again, only using a small amount of glue to glue the ends.
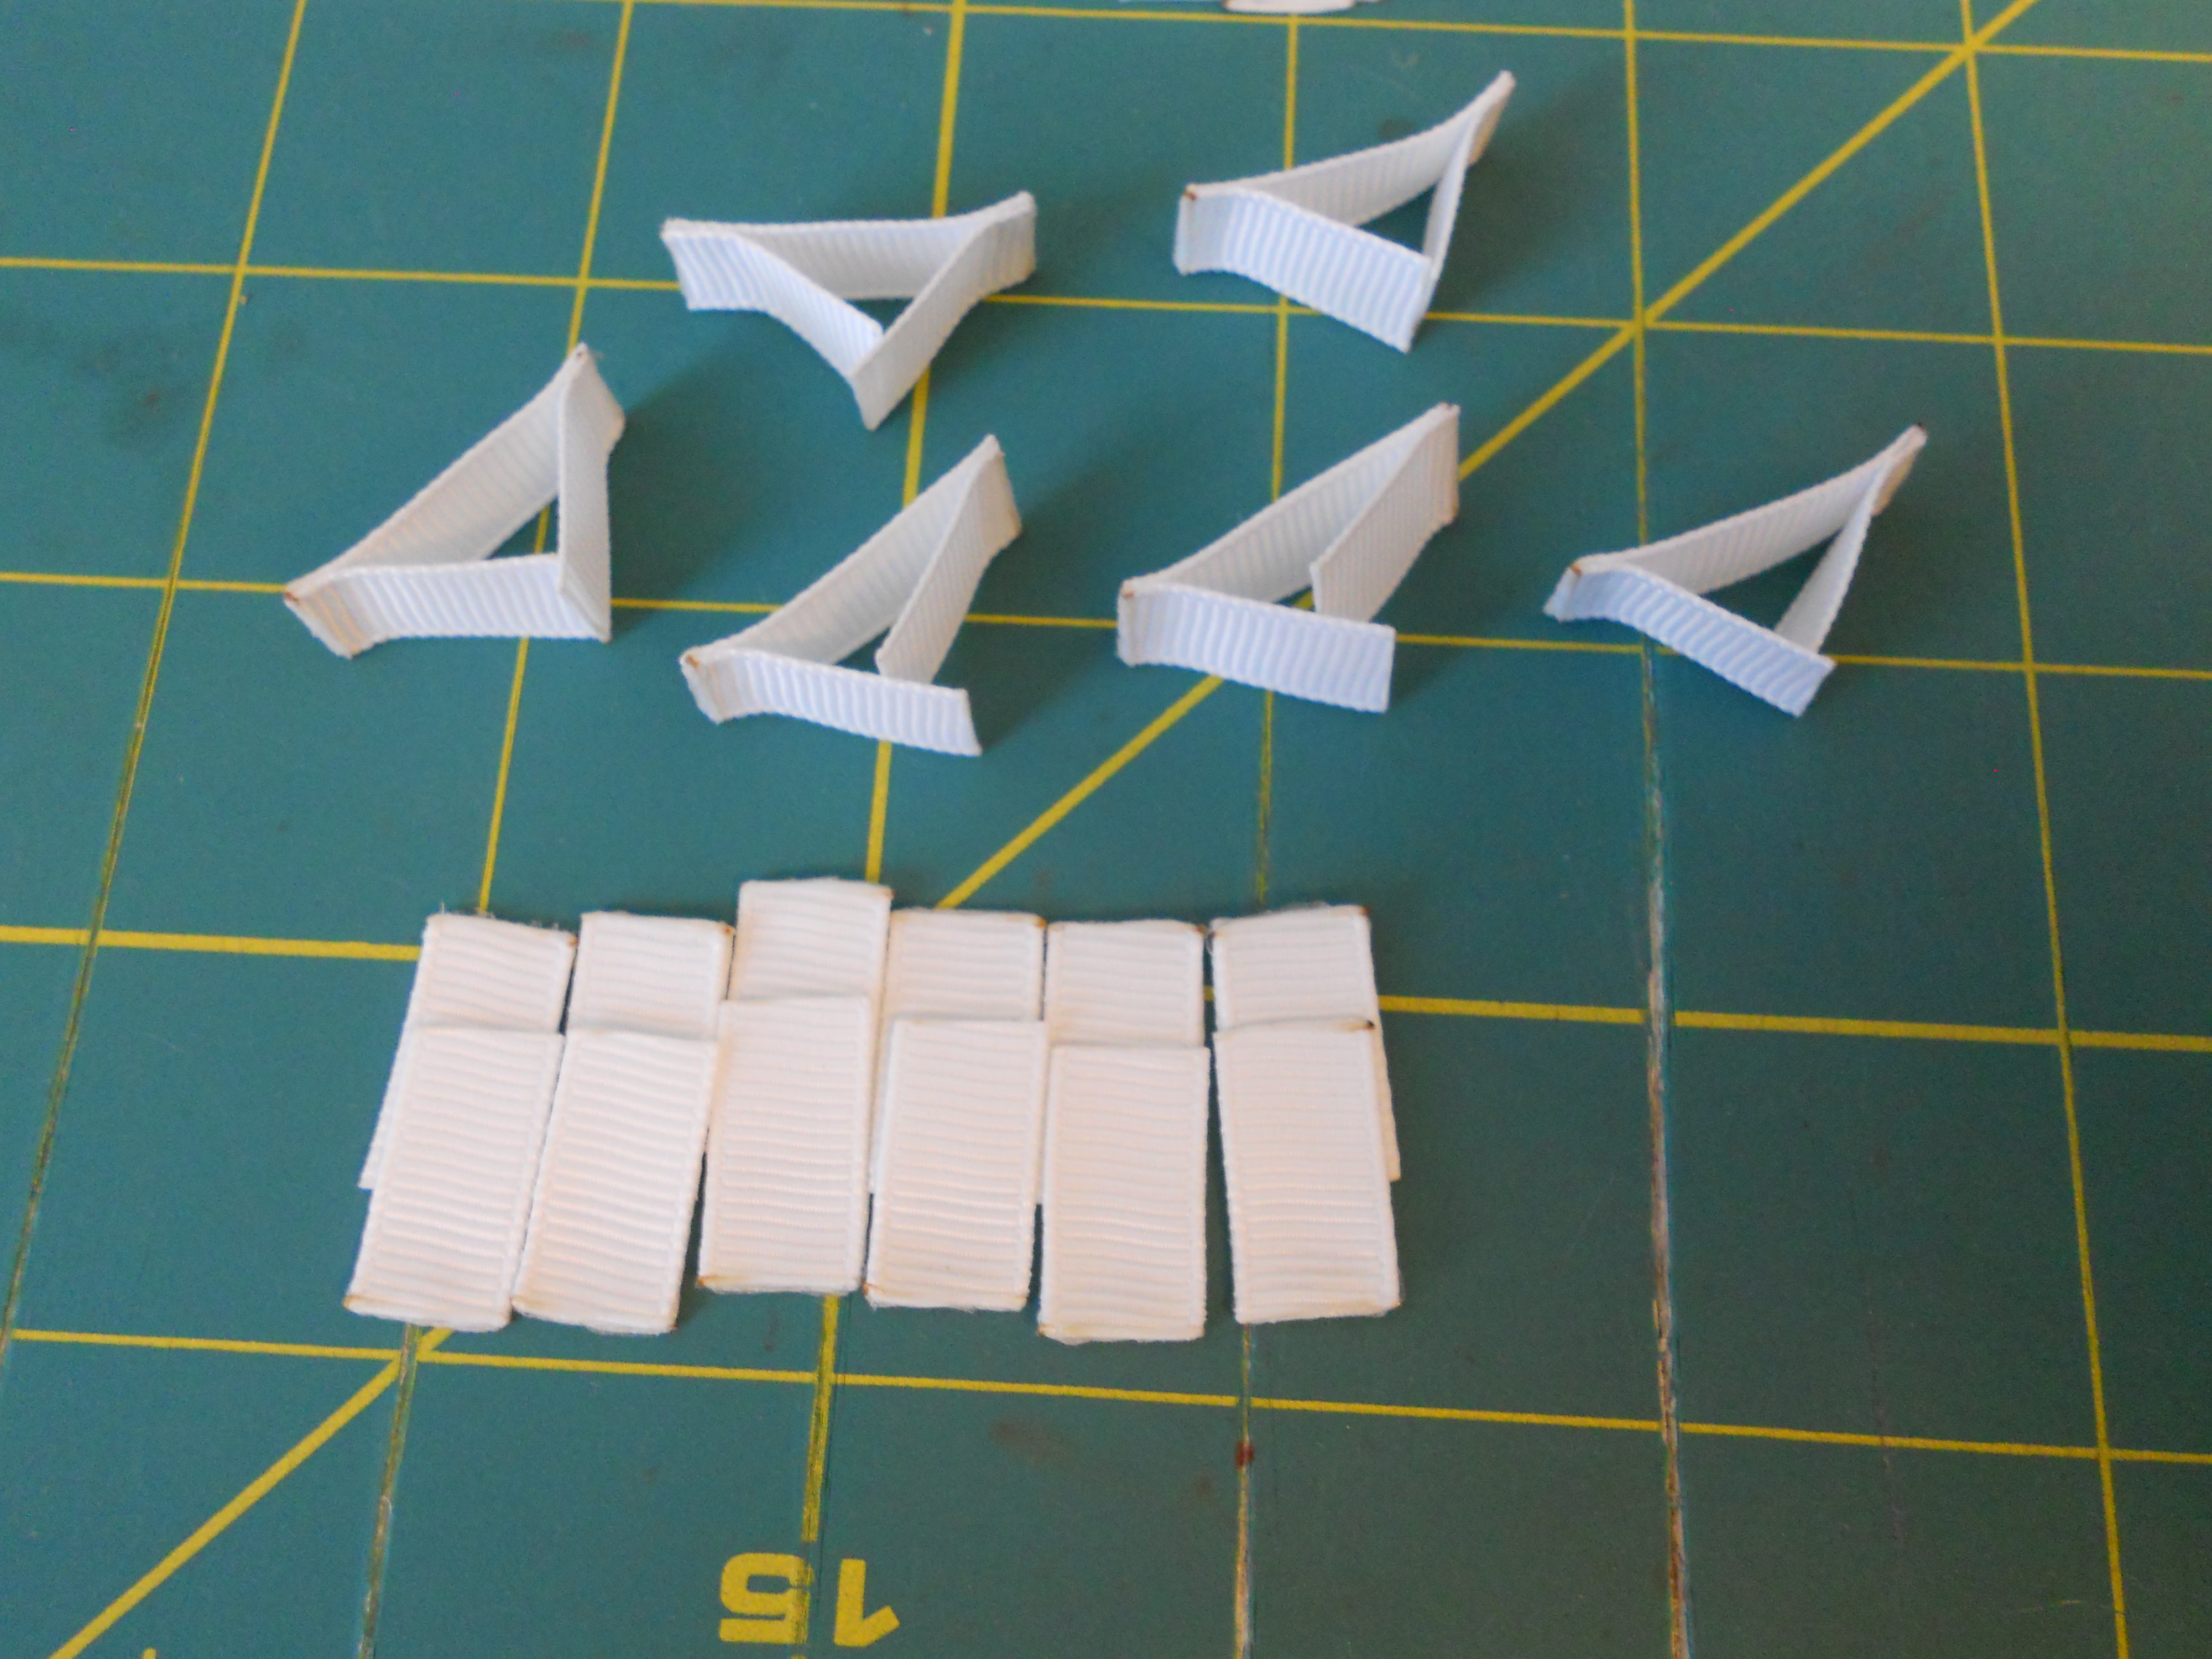
Step 3: Repeat step 2 with the rest of your 1" and 3/4" pieces. You should now have 12 of these pictured above.

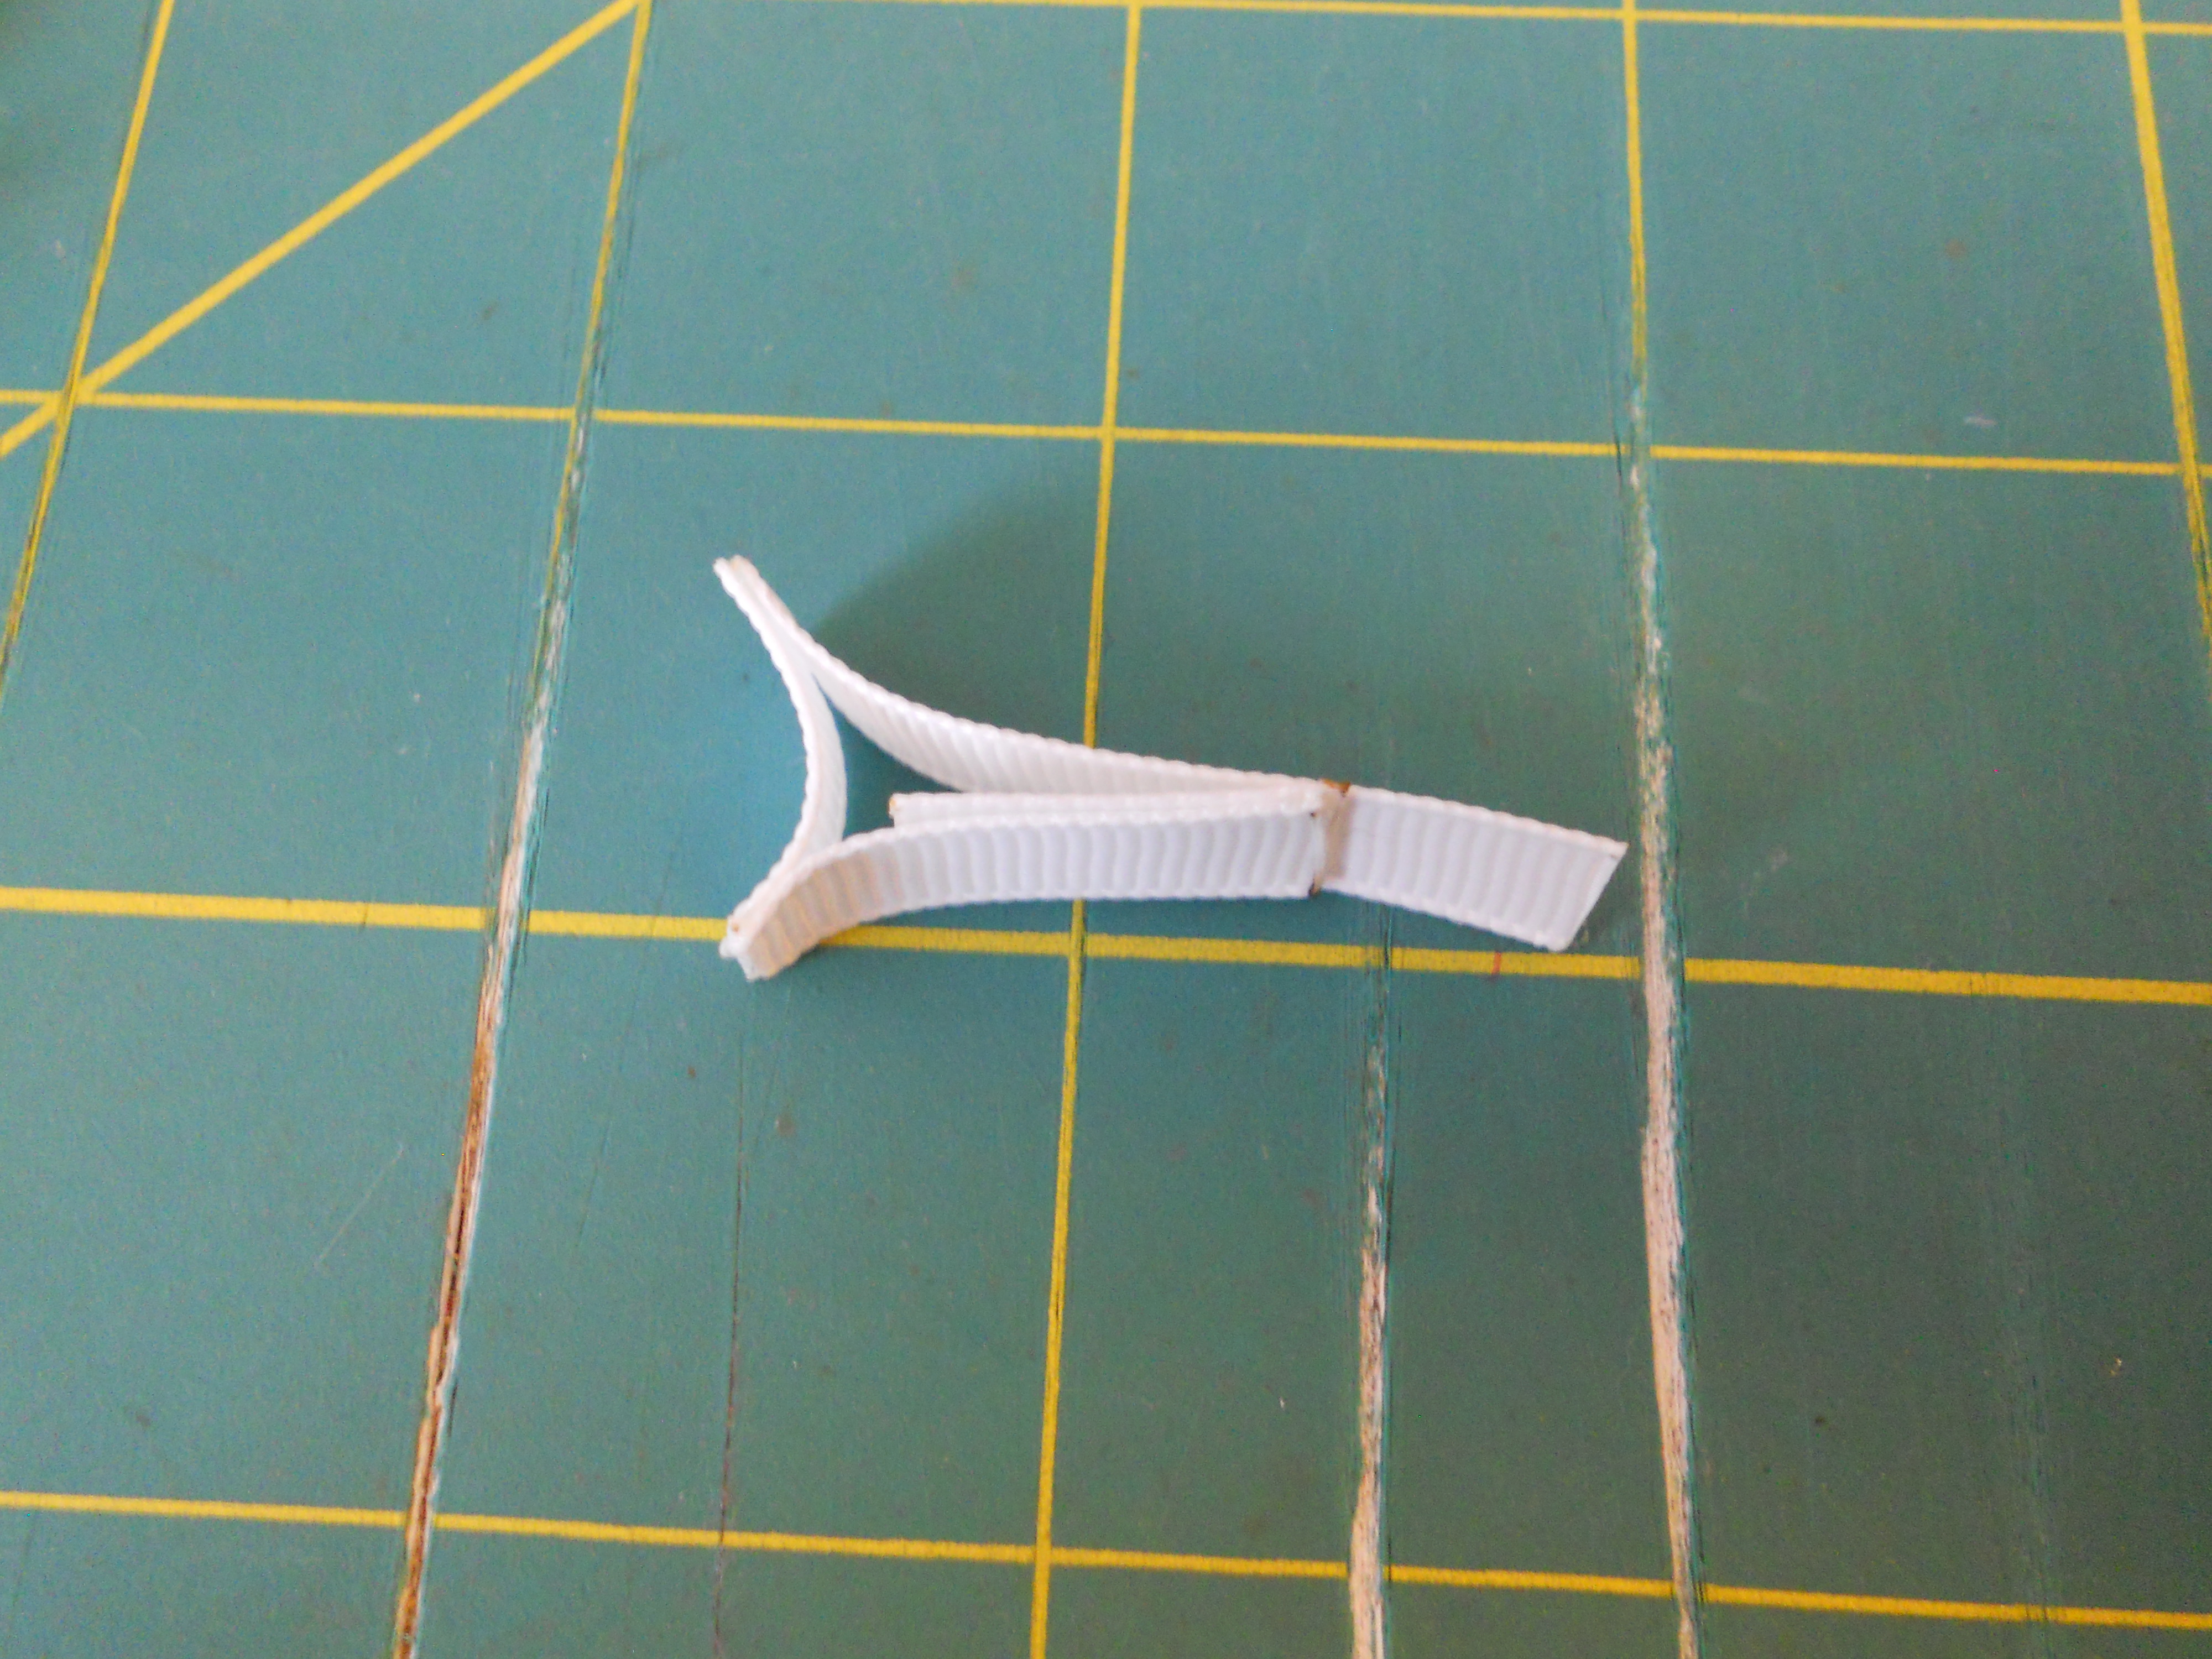
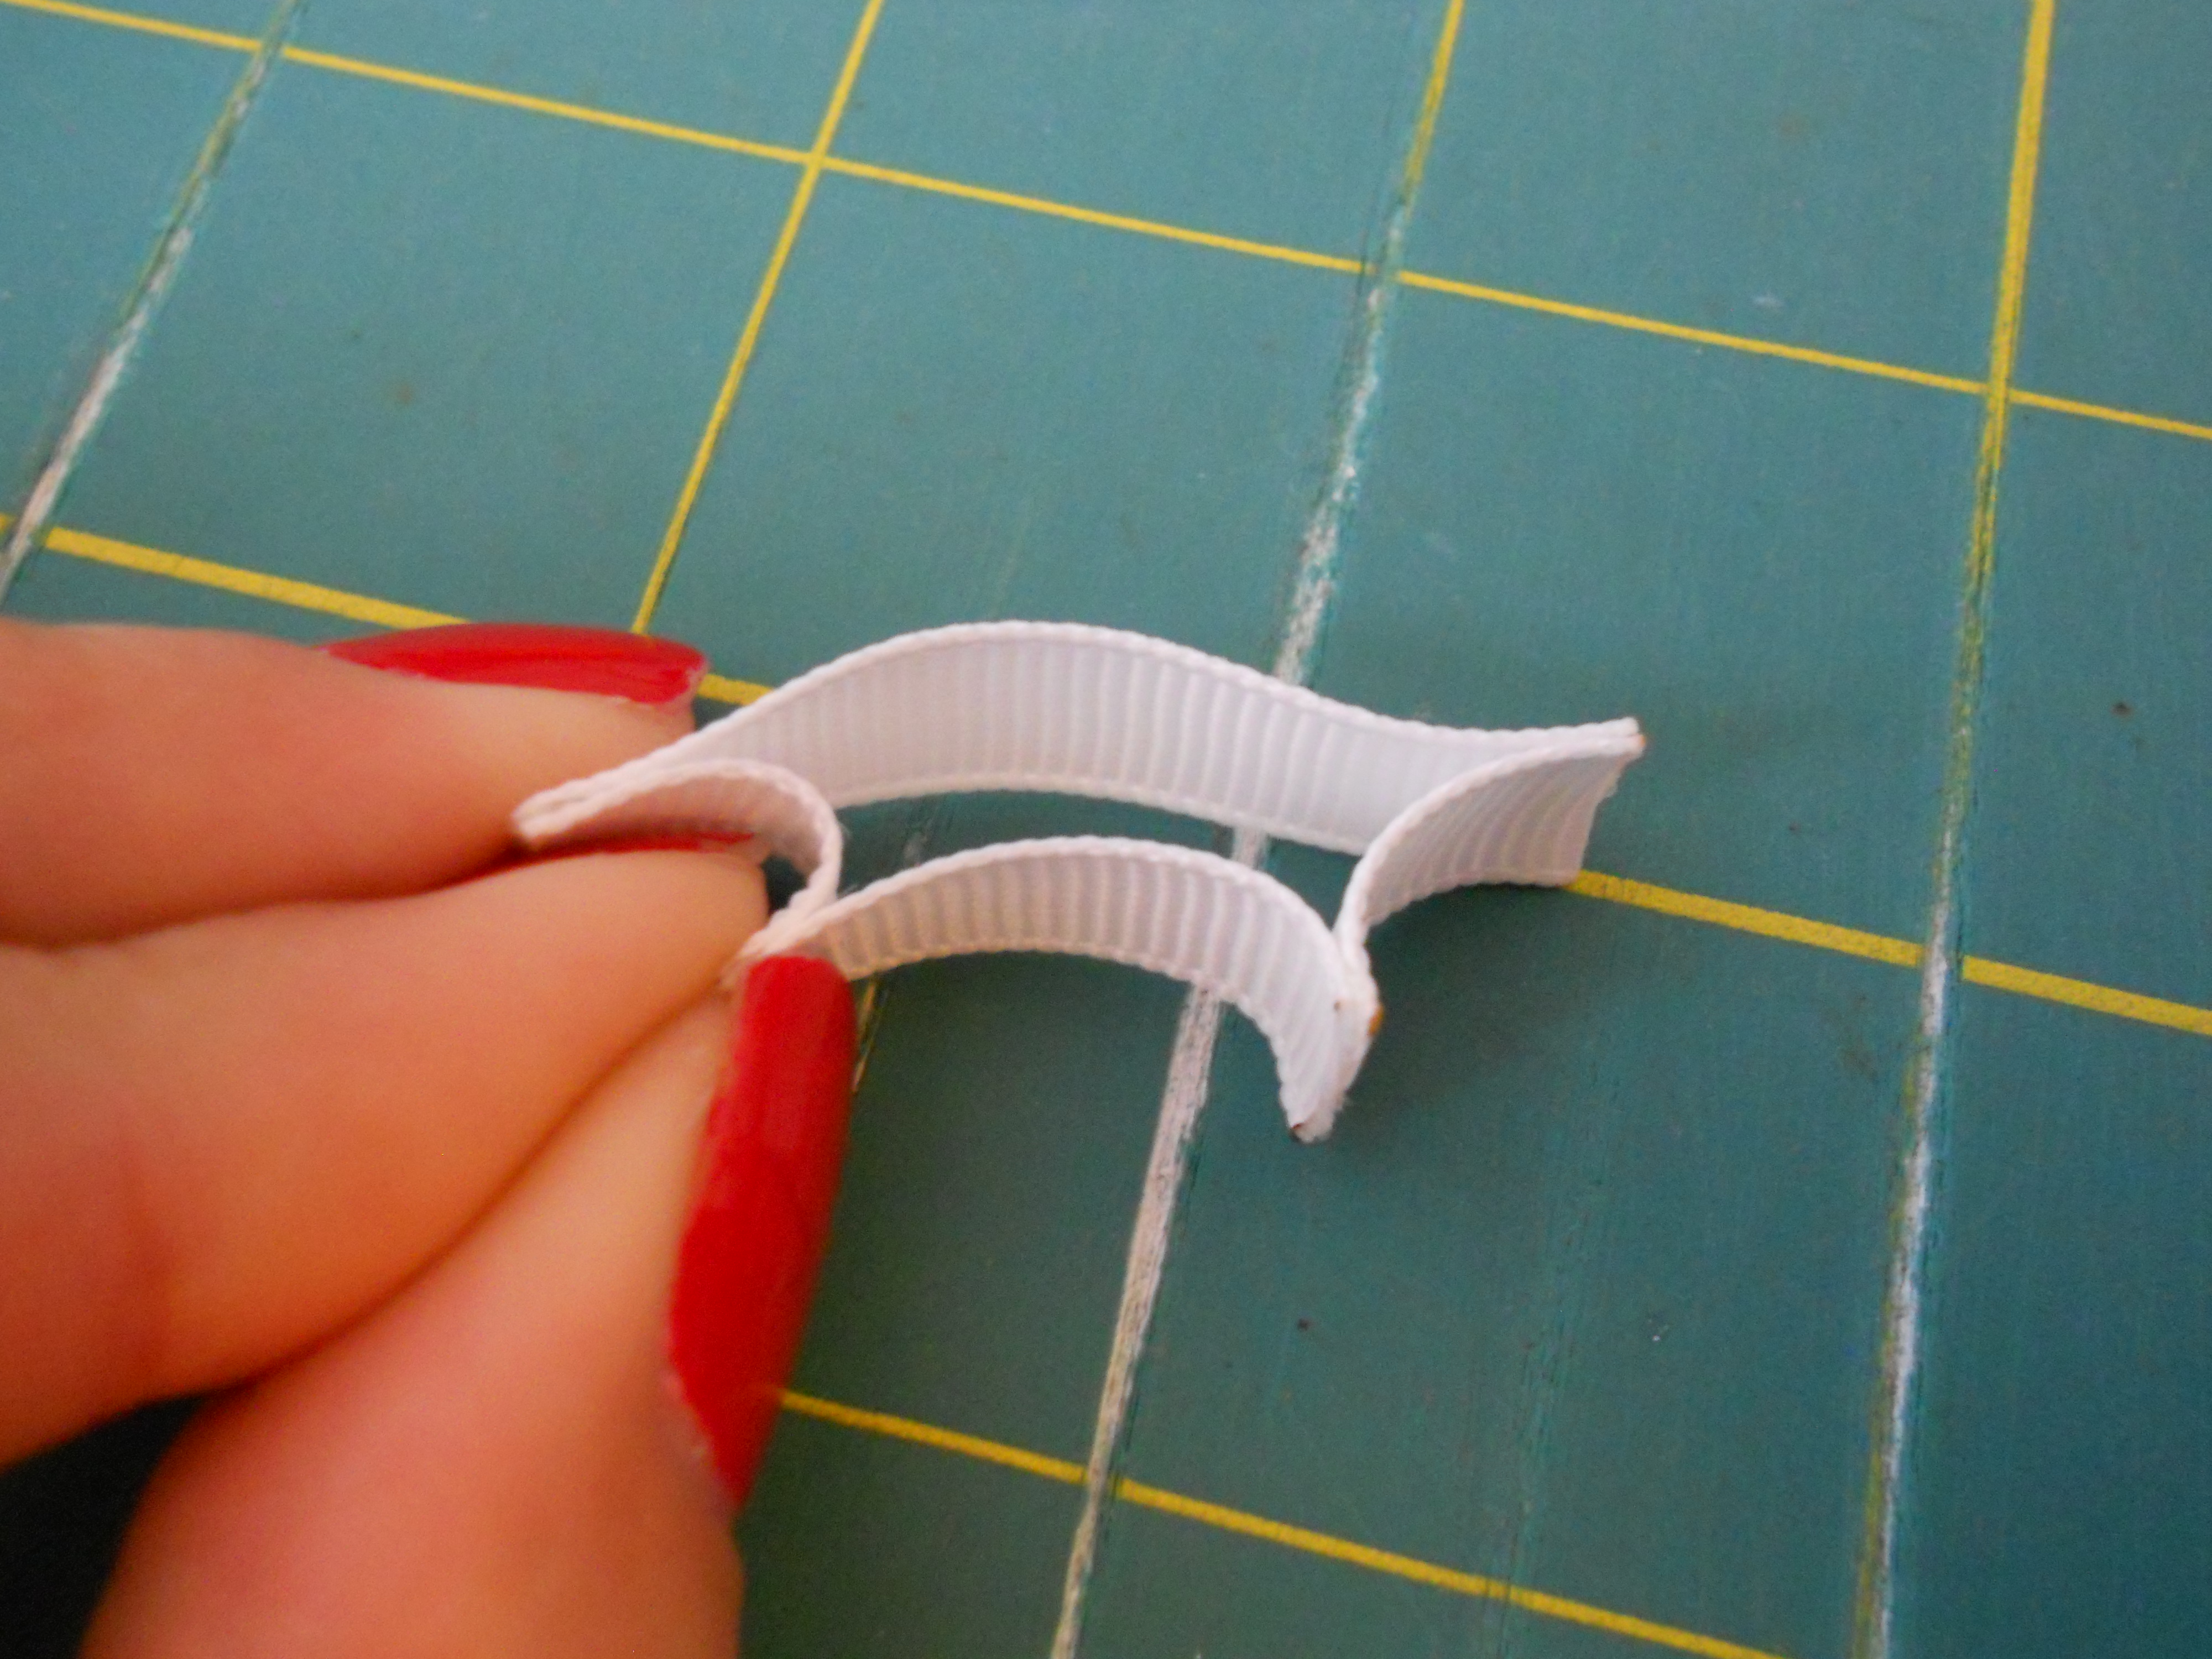
Step 4: Glue one of the pieces you just made to 1 piece of your 1 1/2" ribbon. Start by lining up the ends and using a small amount of glue to glue the first side together. Line up the other ends and glue them together. Finally, pull apart the ribbon and put a small dot of glue in the middle to glue the centers together.

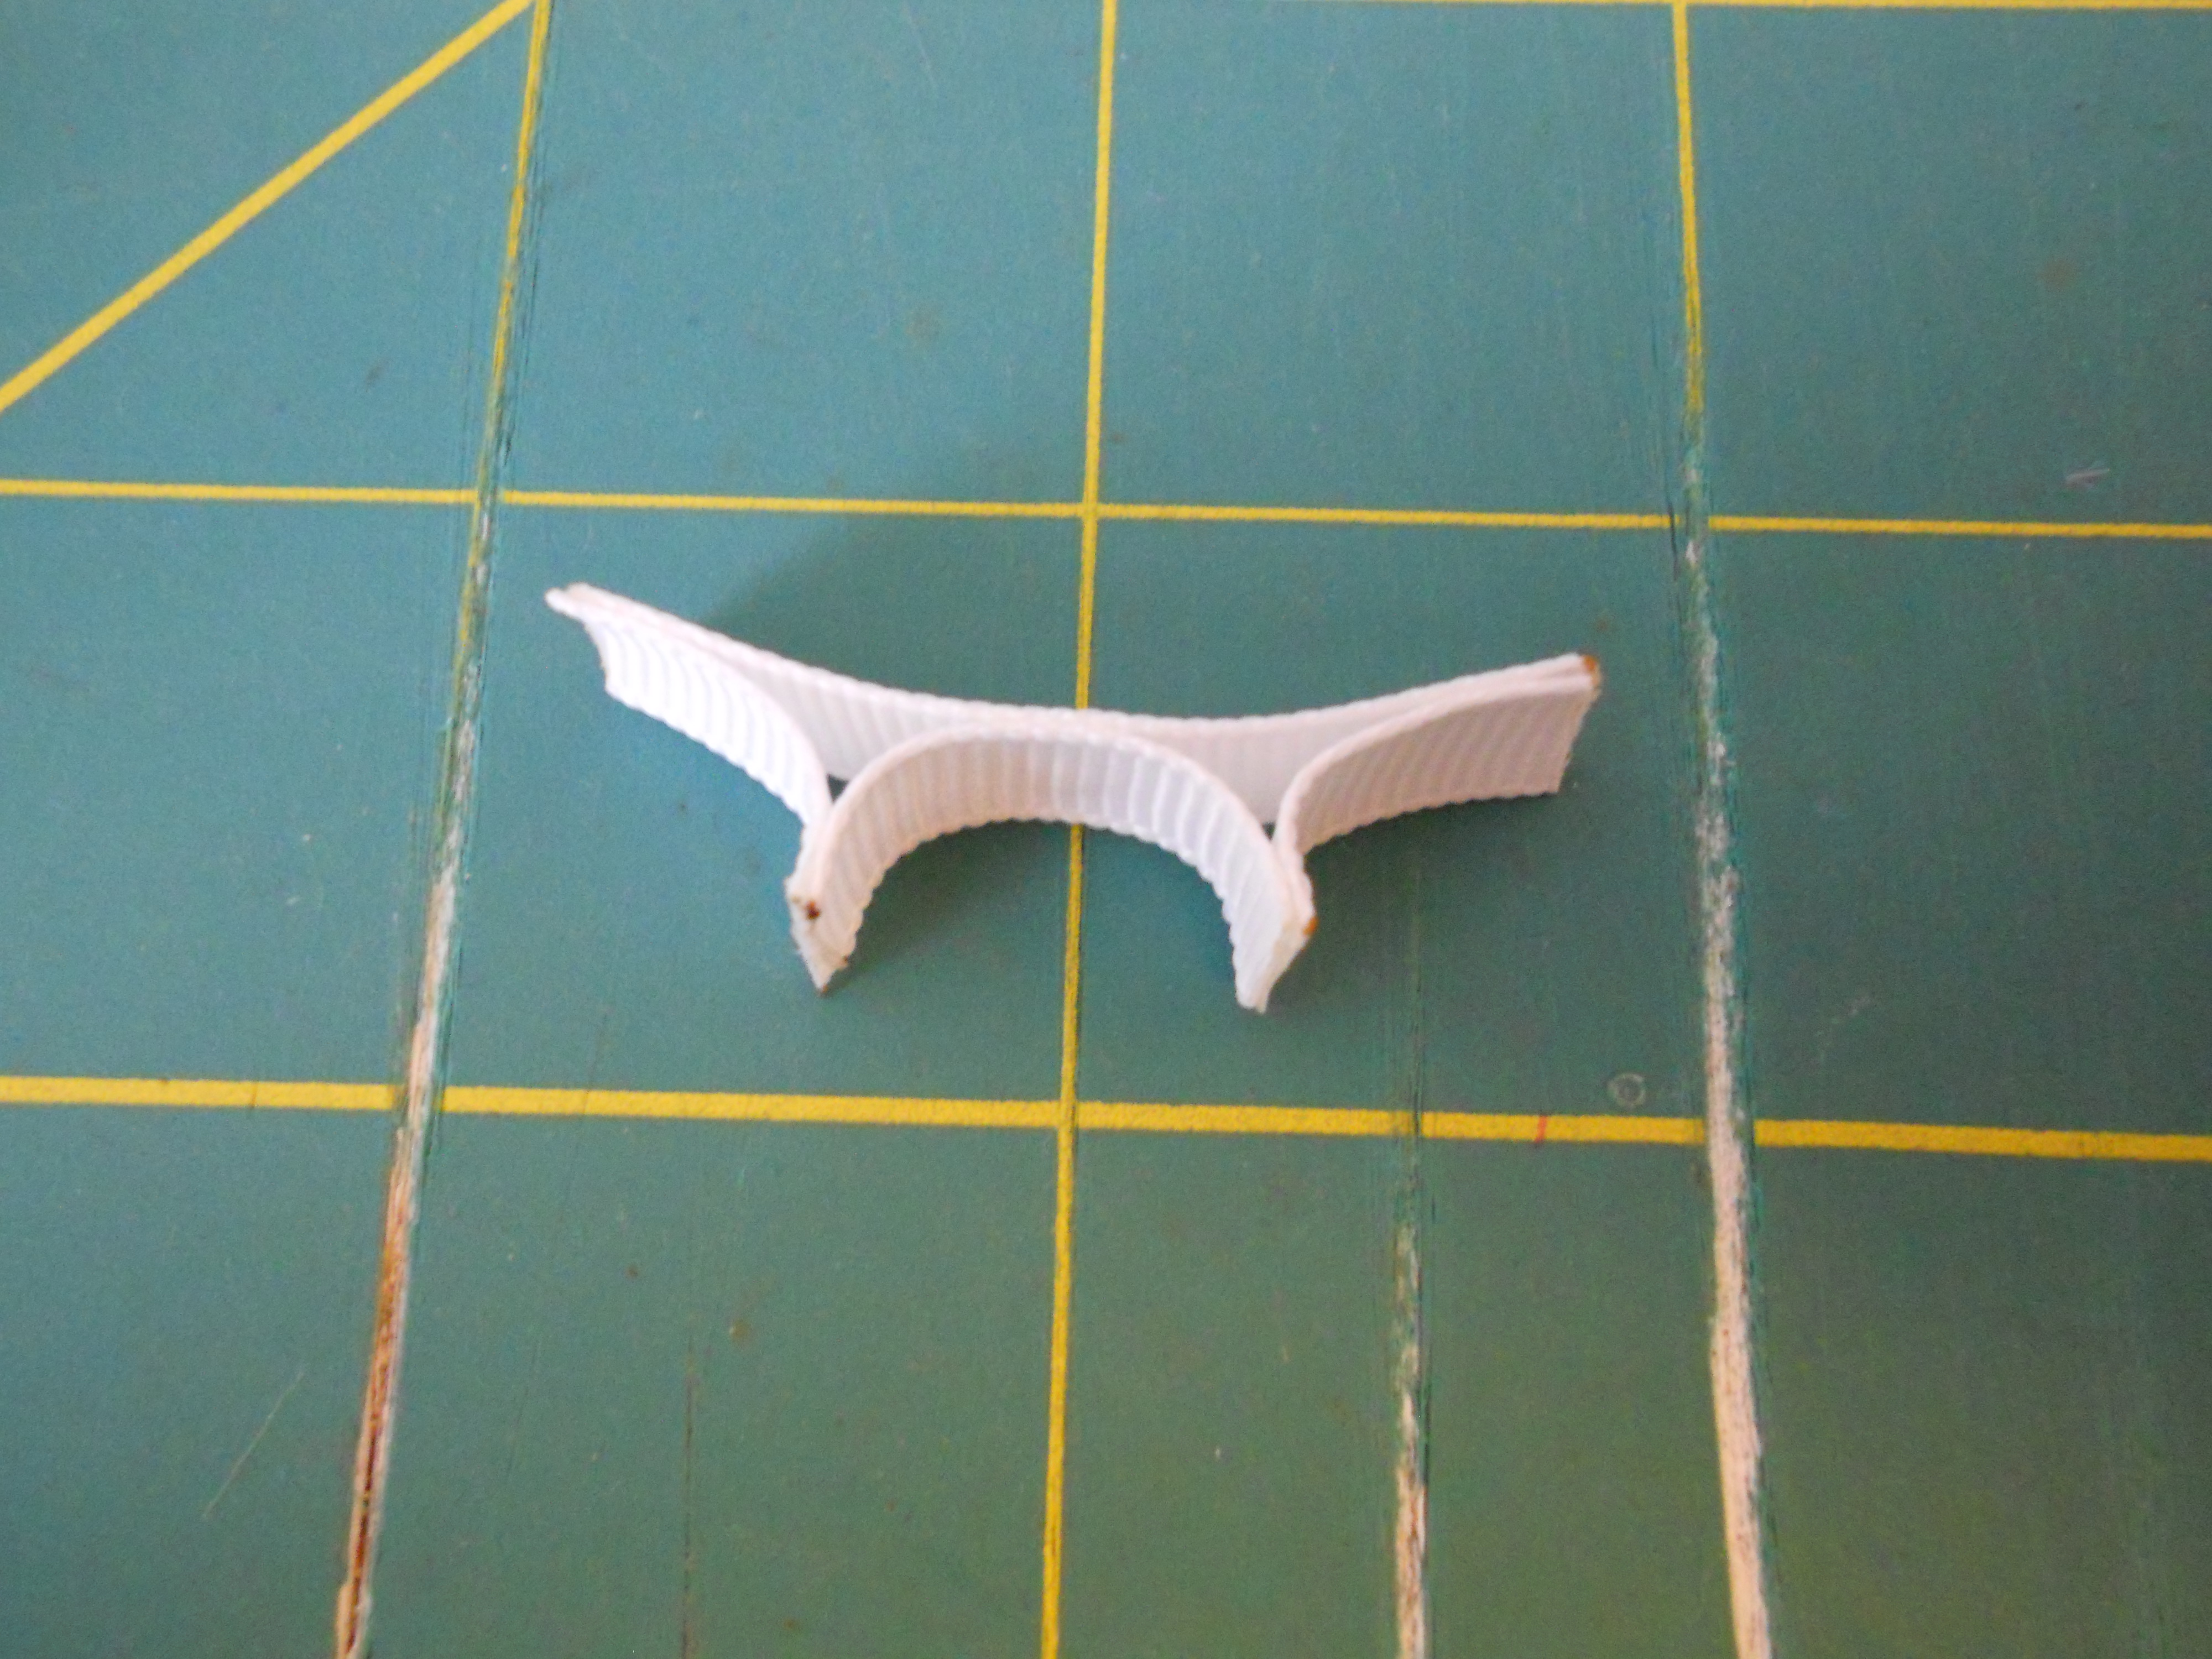
Step 5: We are going to glue another one of the shapes you made in step 2 to the opposite side that we just glued. Start by gluing one end, then the other end. Followed by gluing the center together. You have just made your first snowflake petal!
**TIP** If at any time you accidentally use too much glue, use your lighter to gently heat up the excess glue and wipe it away quickly with your finger.

Step 6: Repeat steps 4 and 5 with the rest of your ribbon pieces. You should now have 6 snowflake petals.
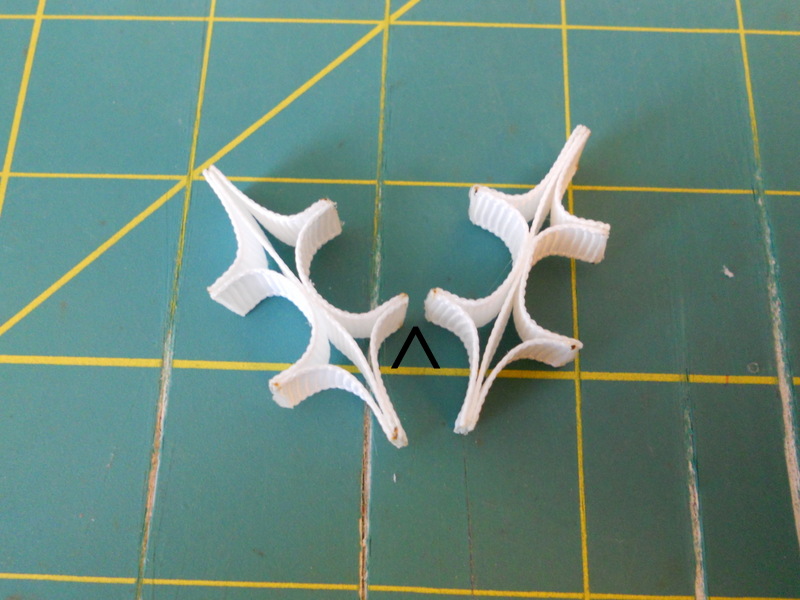
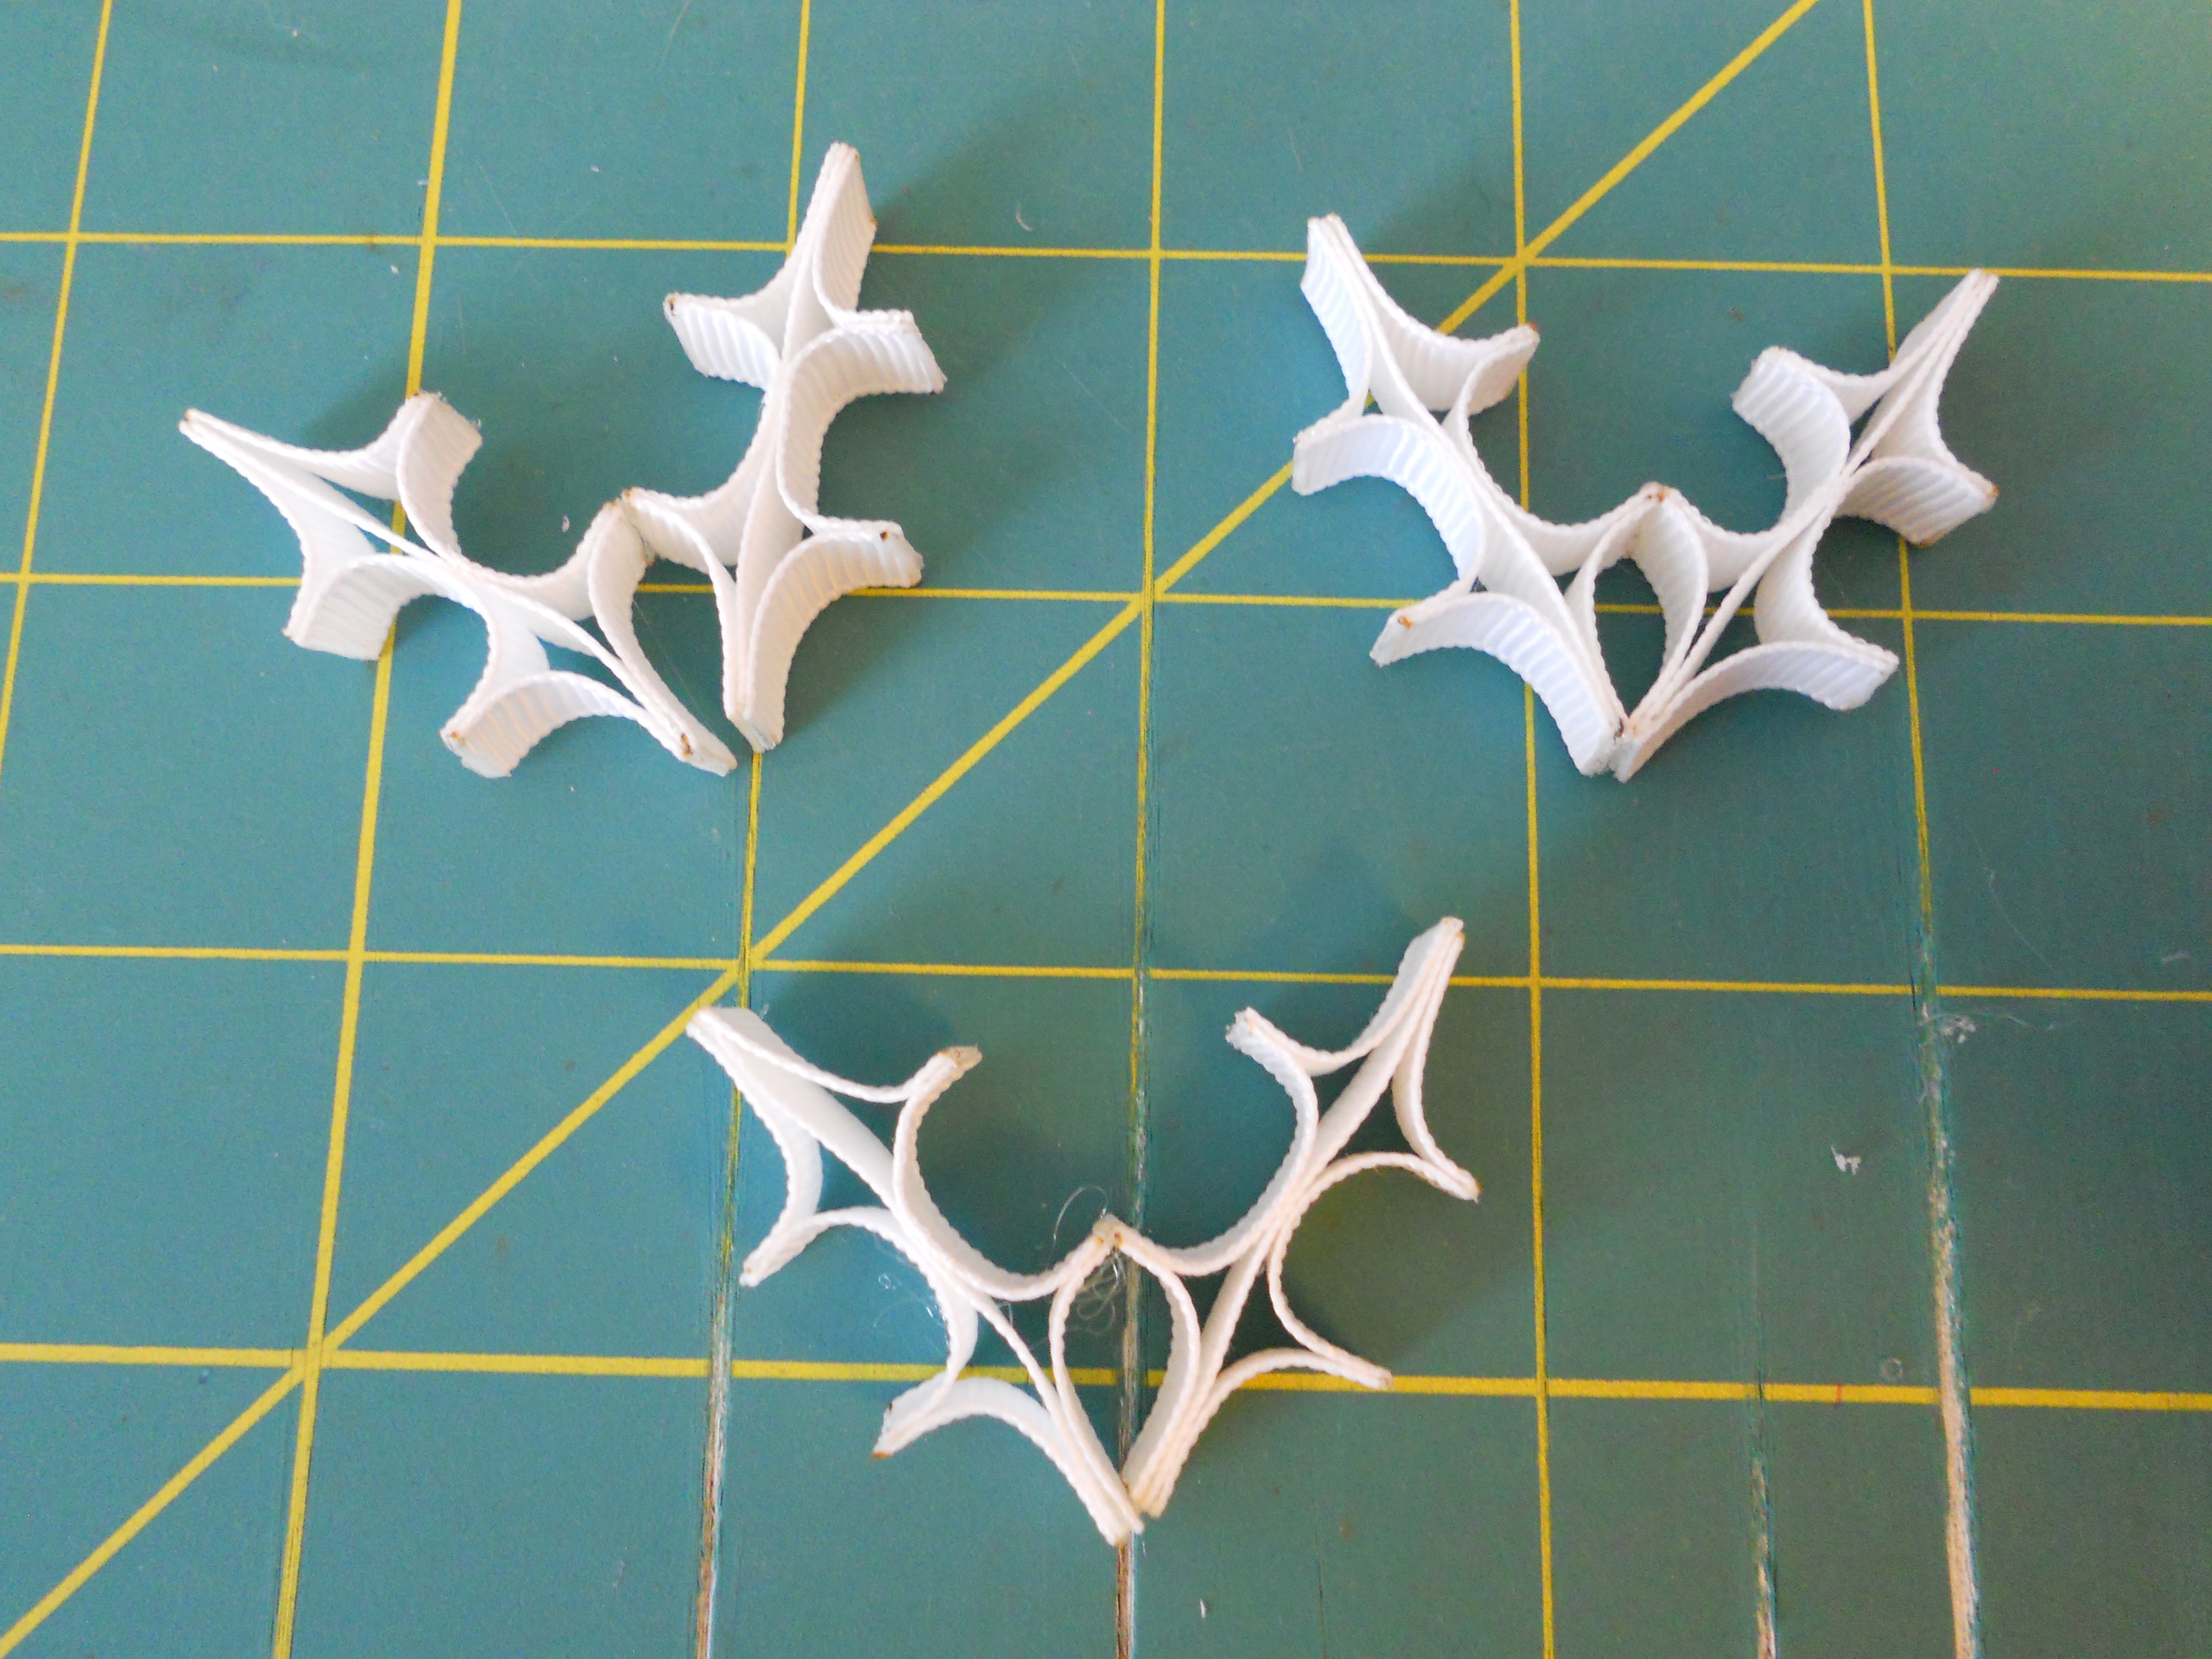
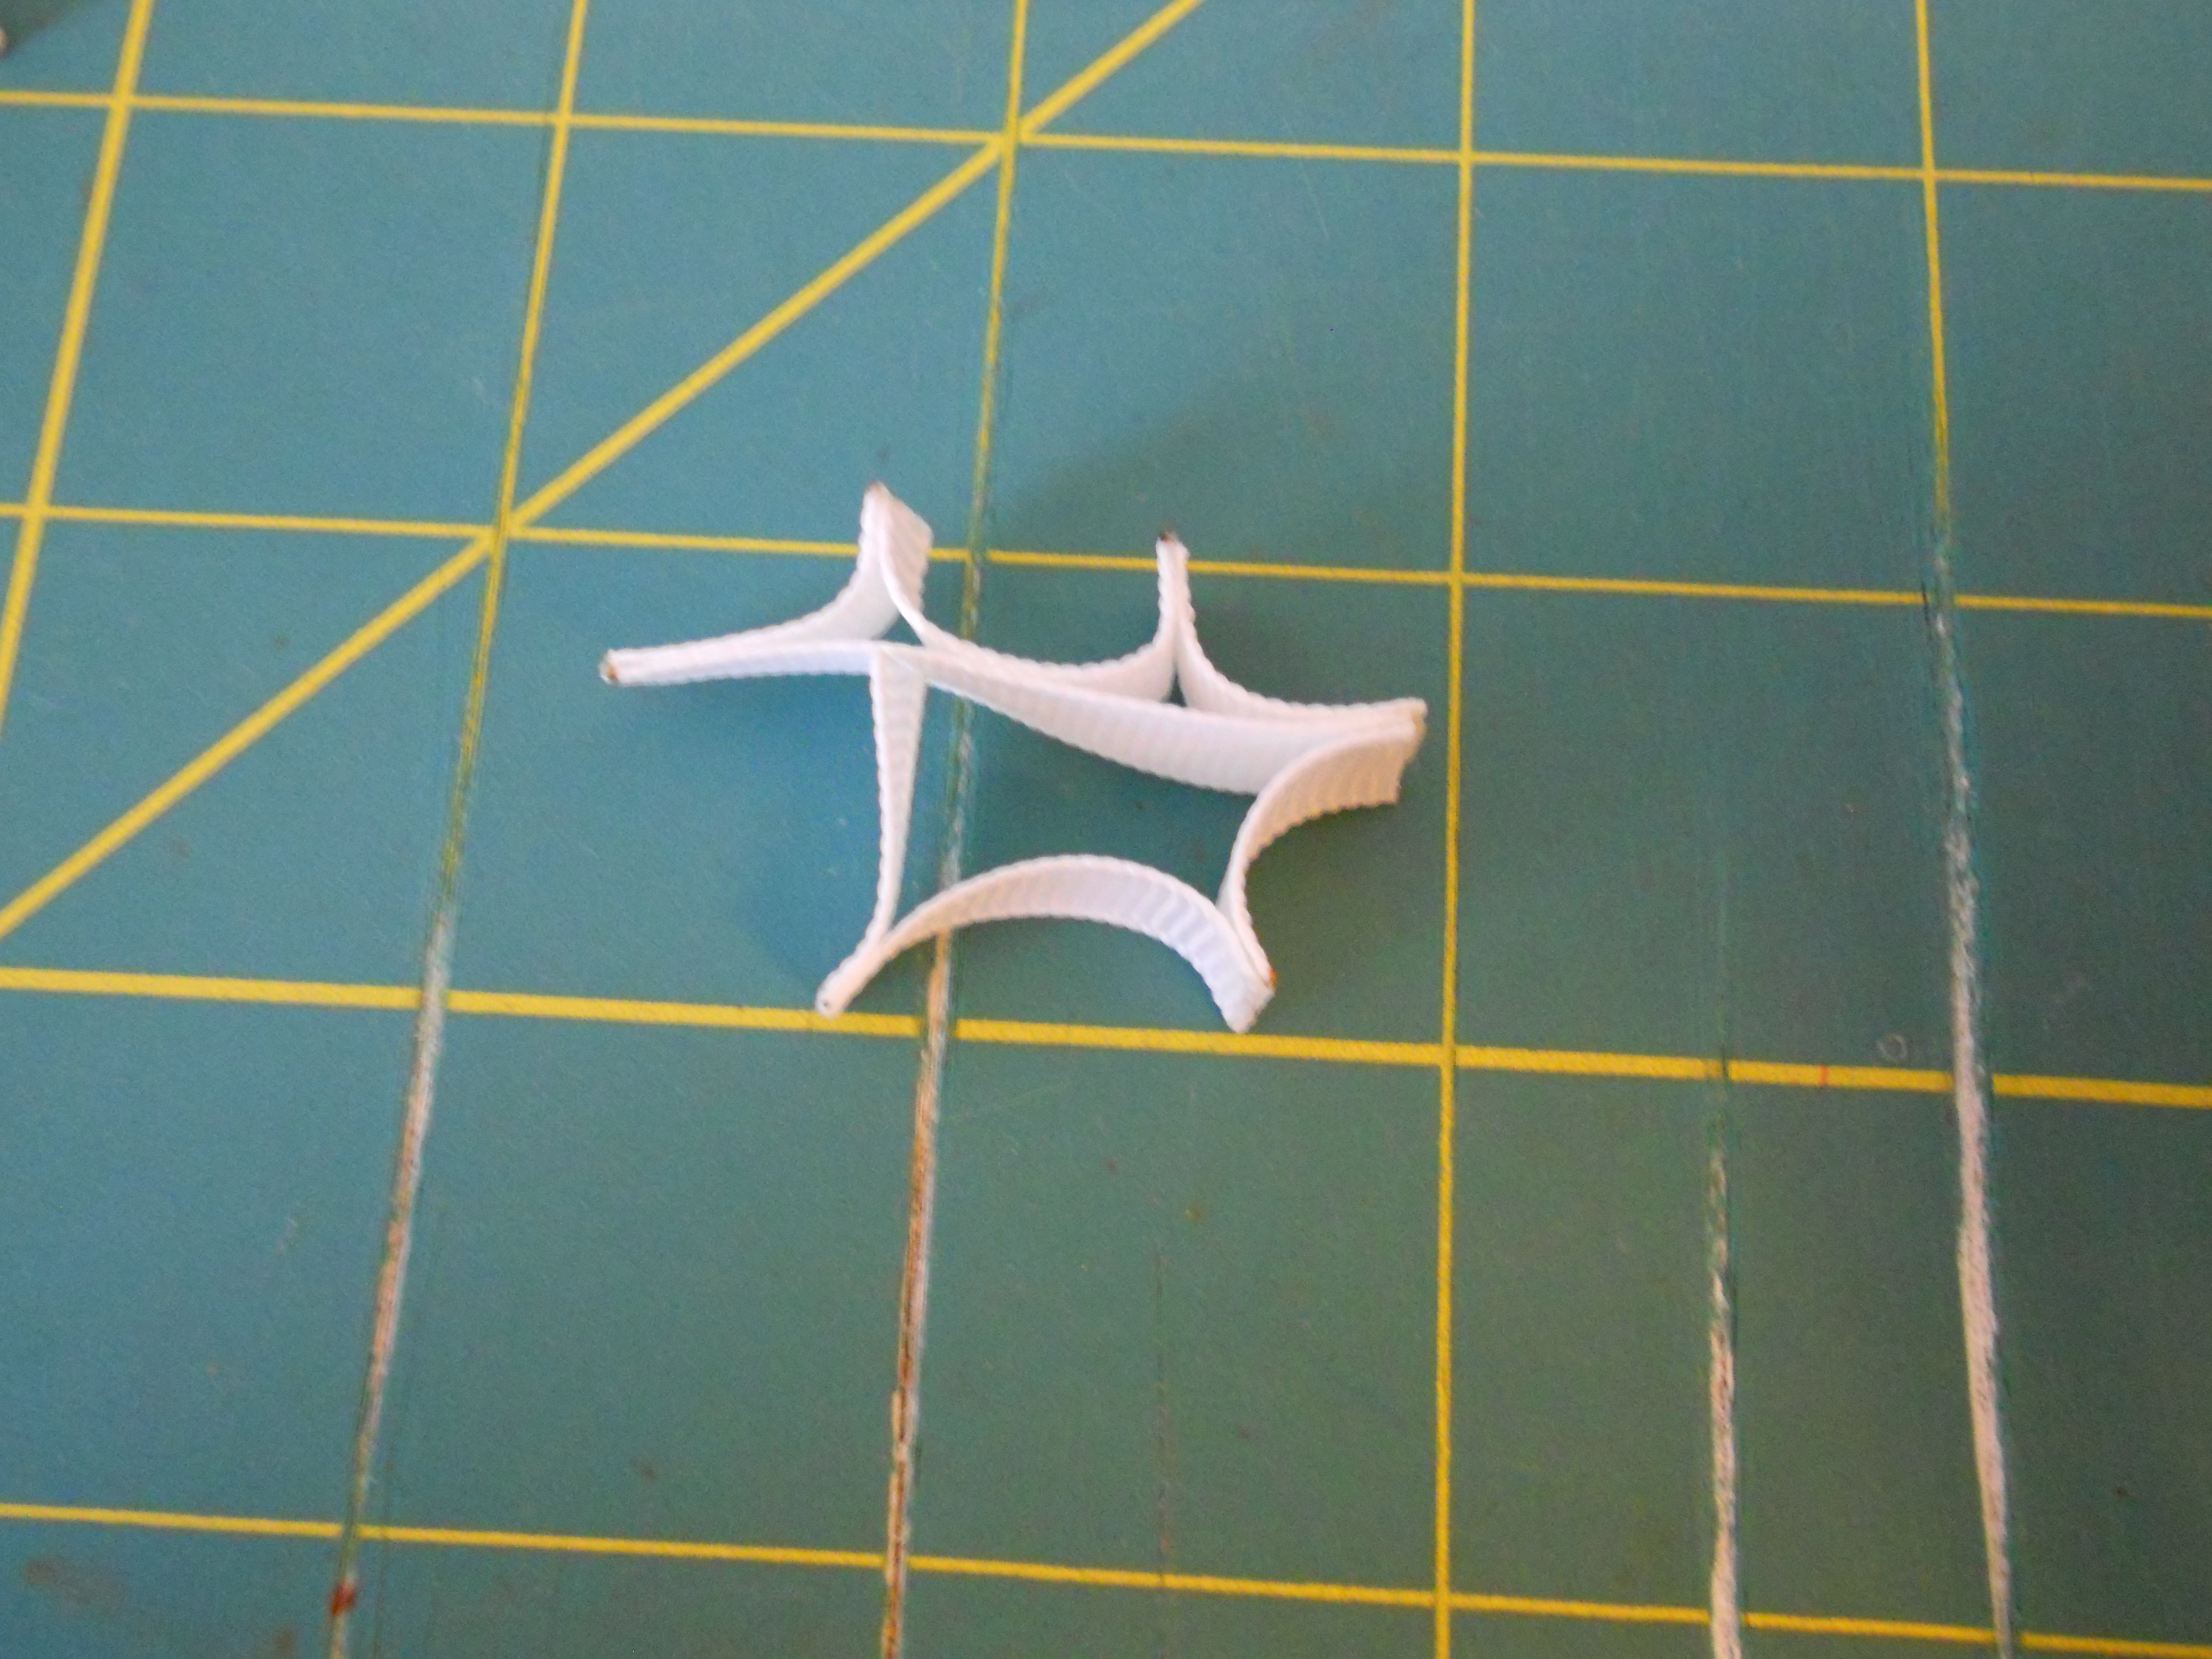
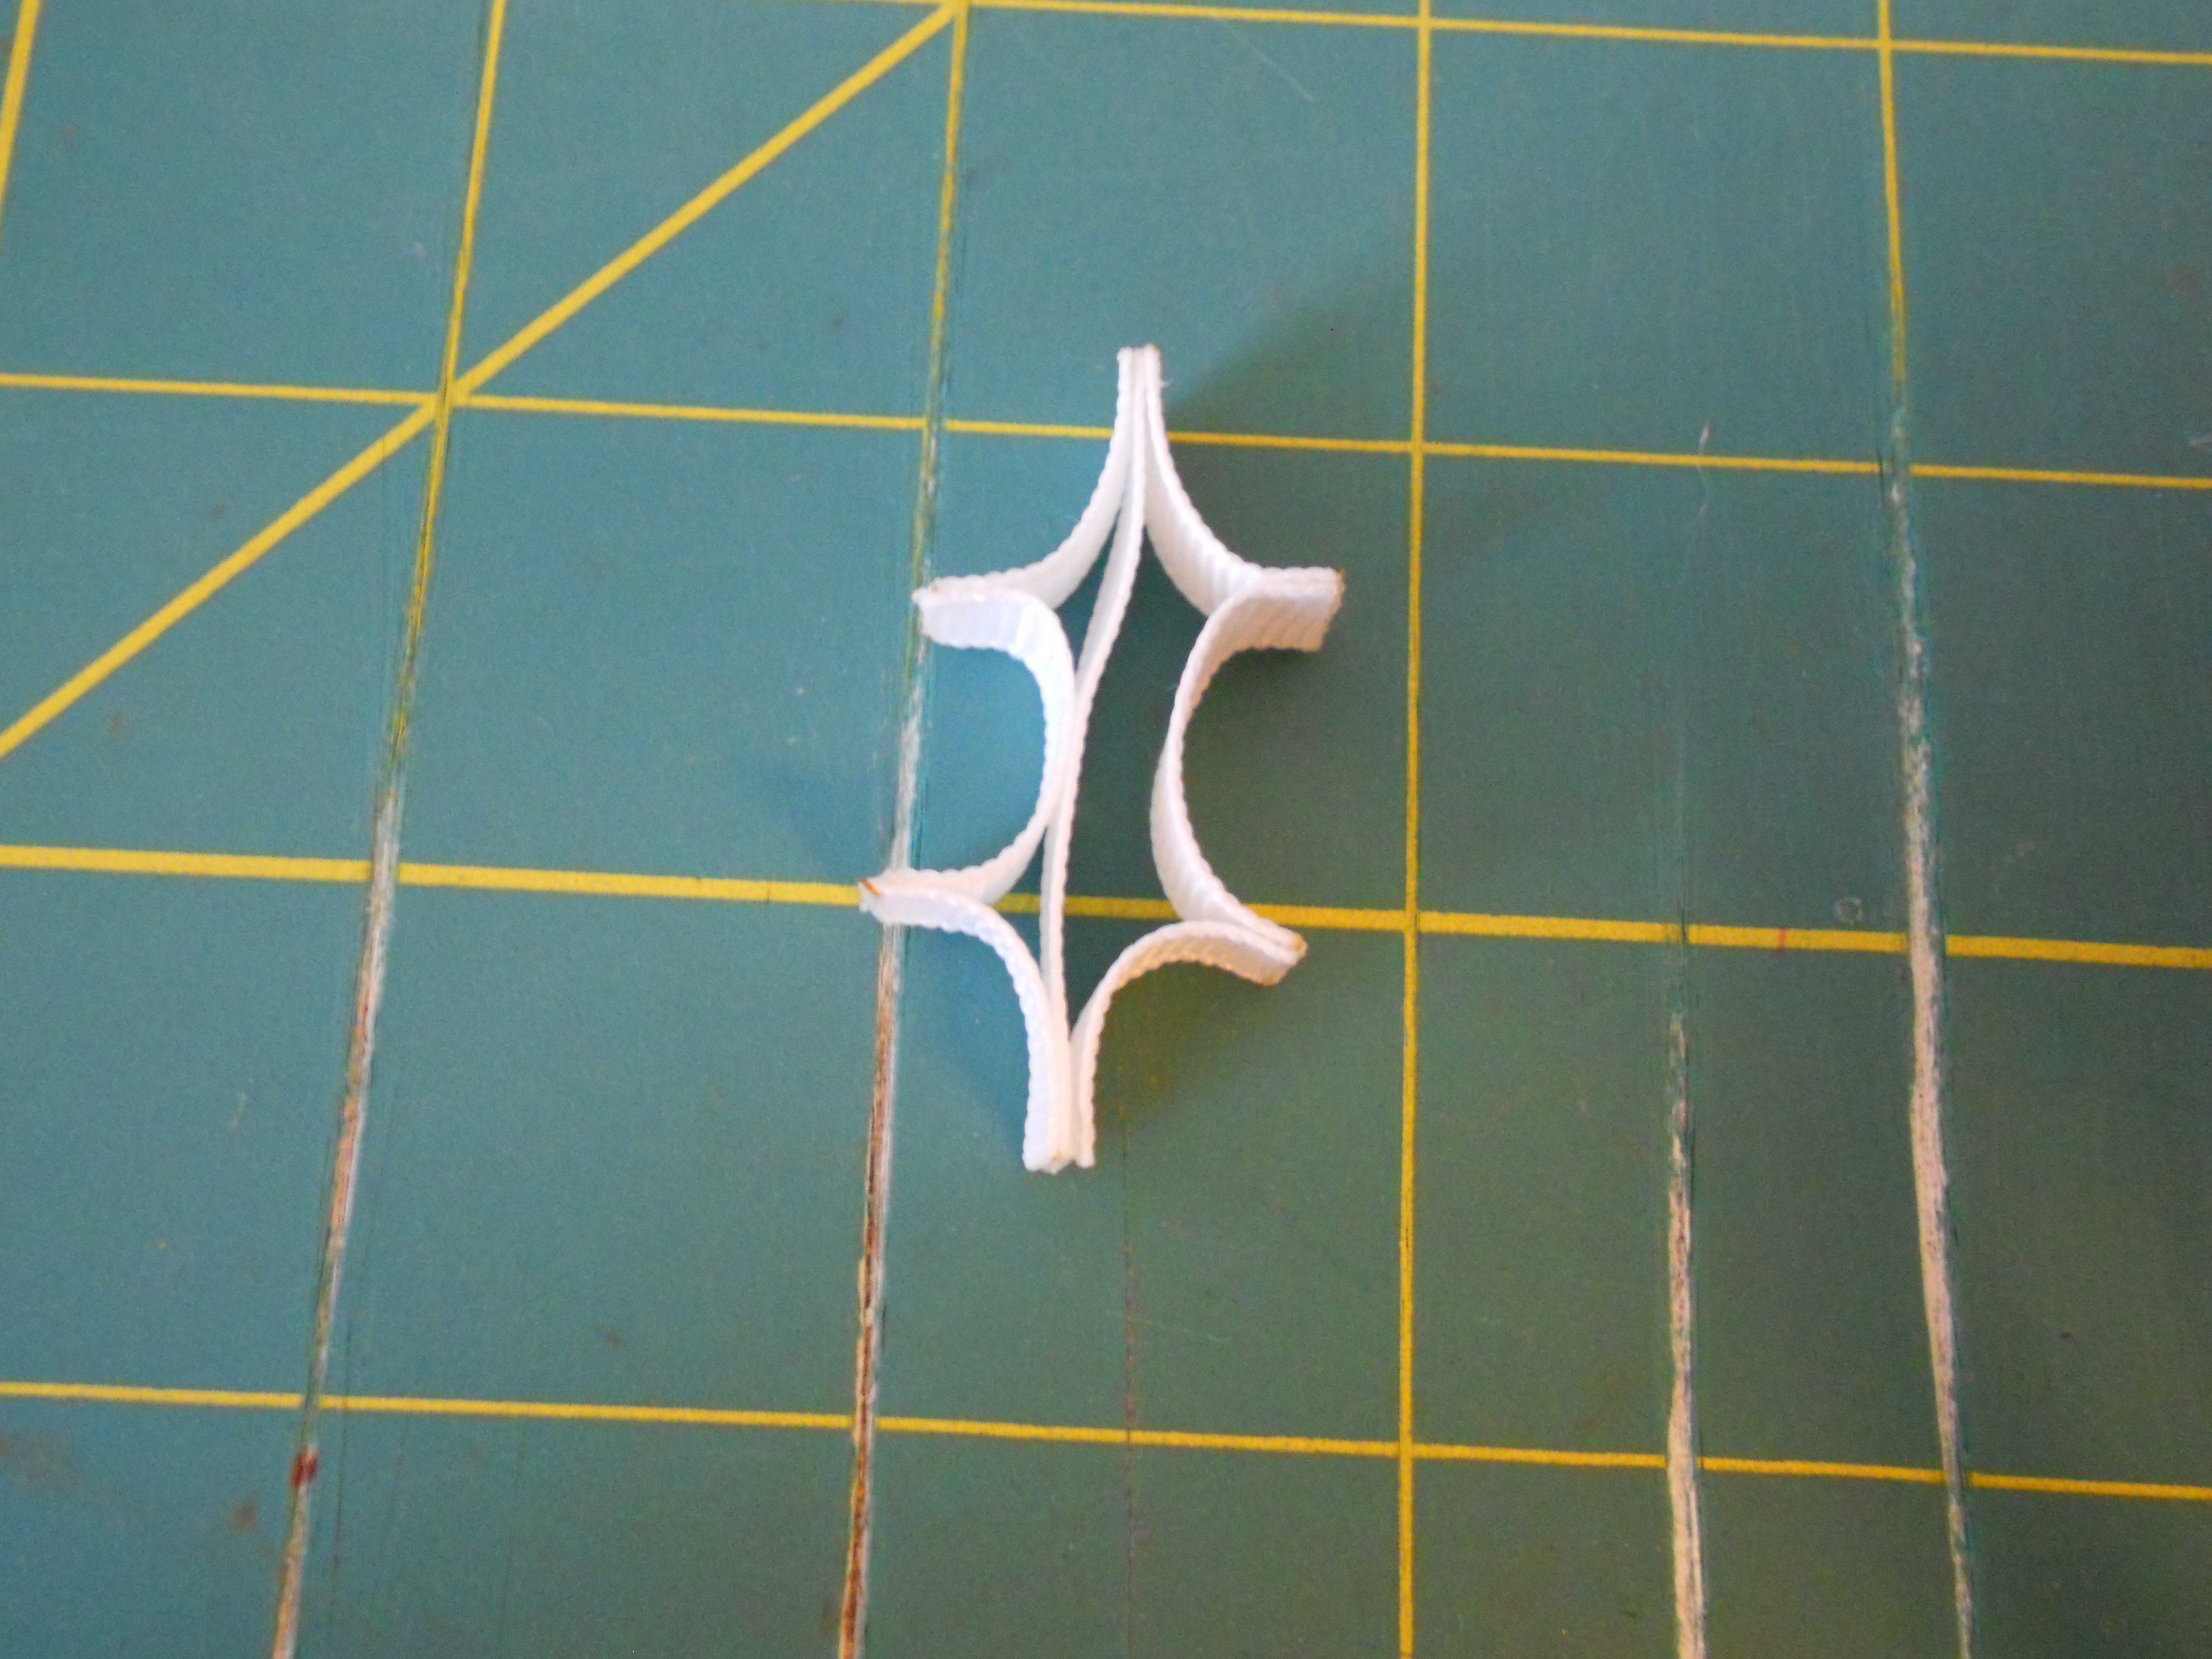
Step 7: Now we are going to glue the snowflake petals together, 2 at a time. Glue the 2 petals together at the bottom points that are sticking out. In the above picture I have an arrow pointing to the parts you need to glue together. Now, glue your other 2 sets together. You should now have just 3 sets.
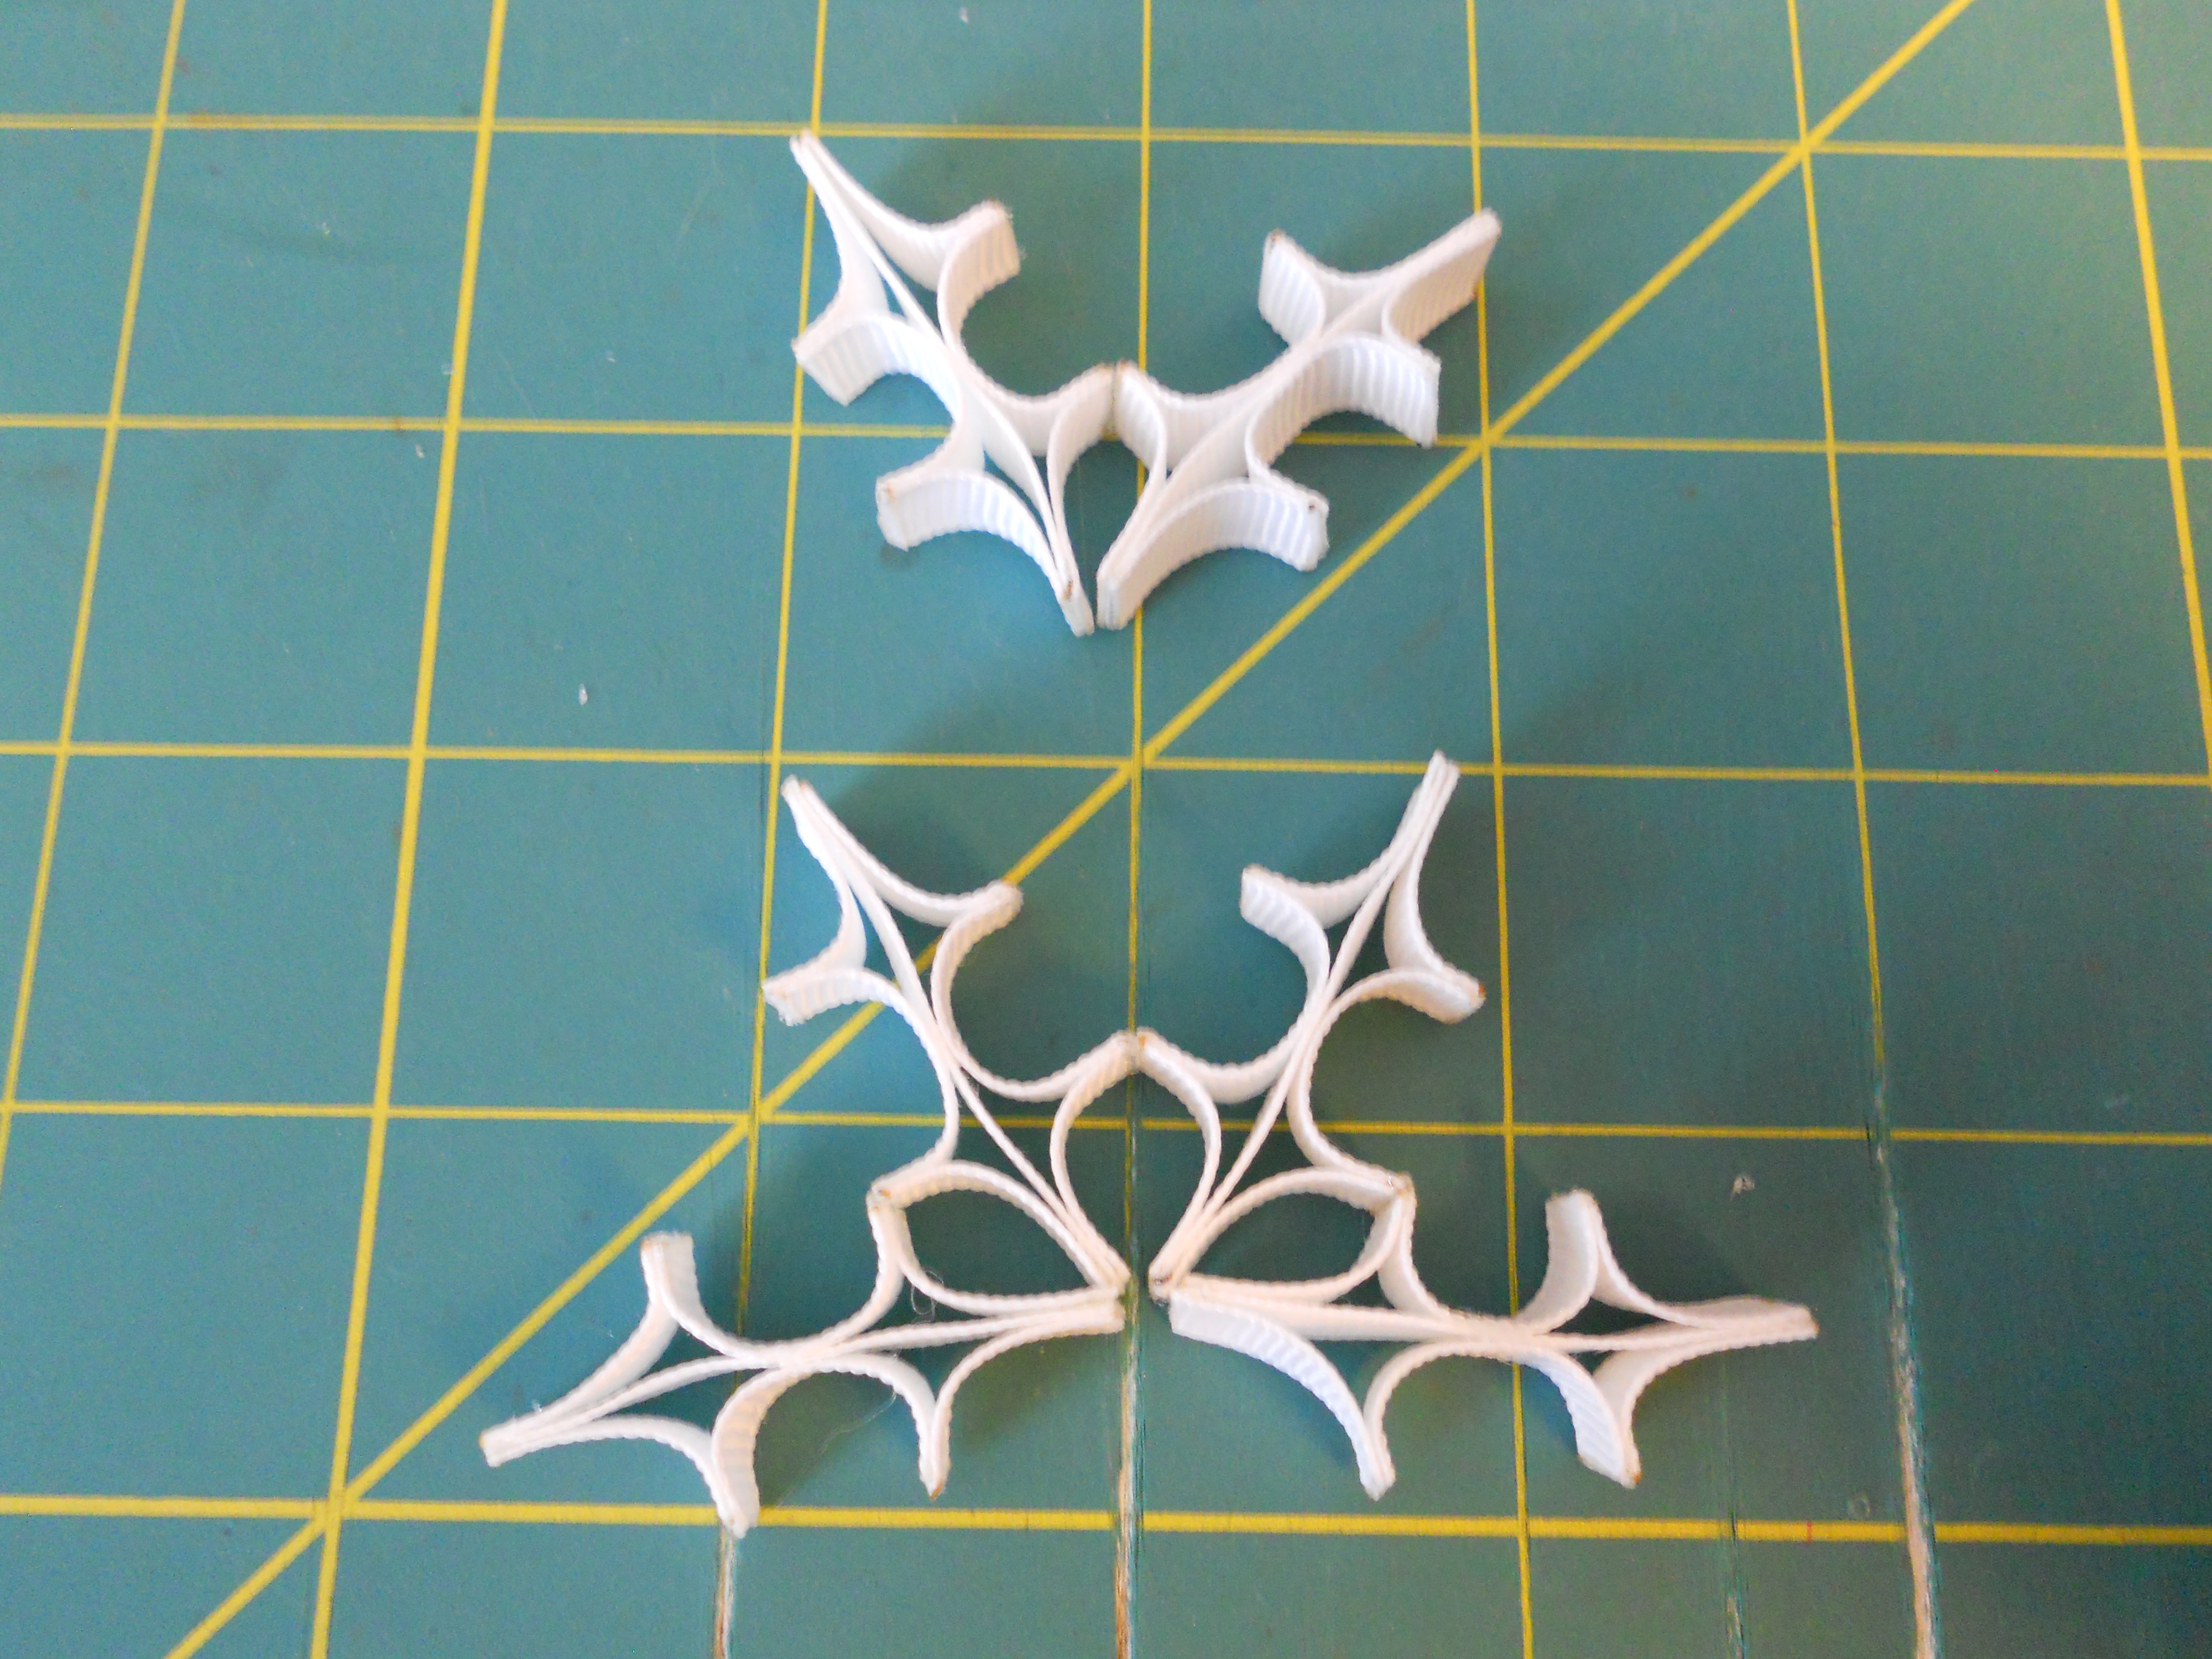
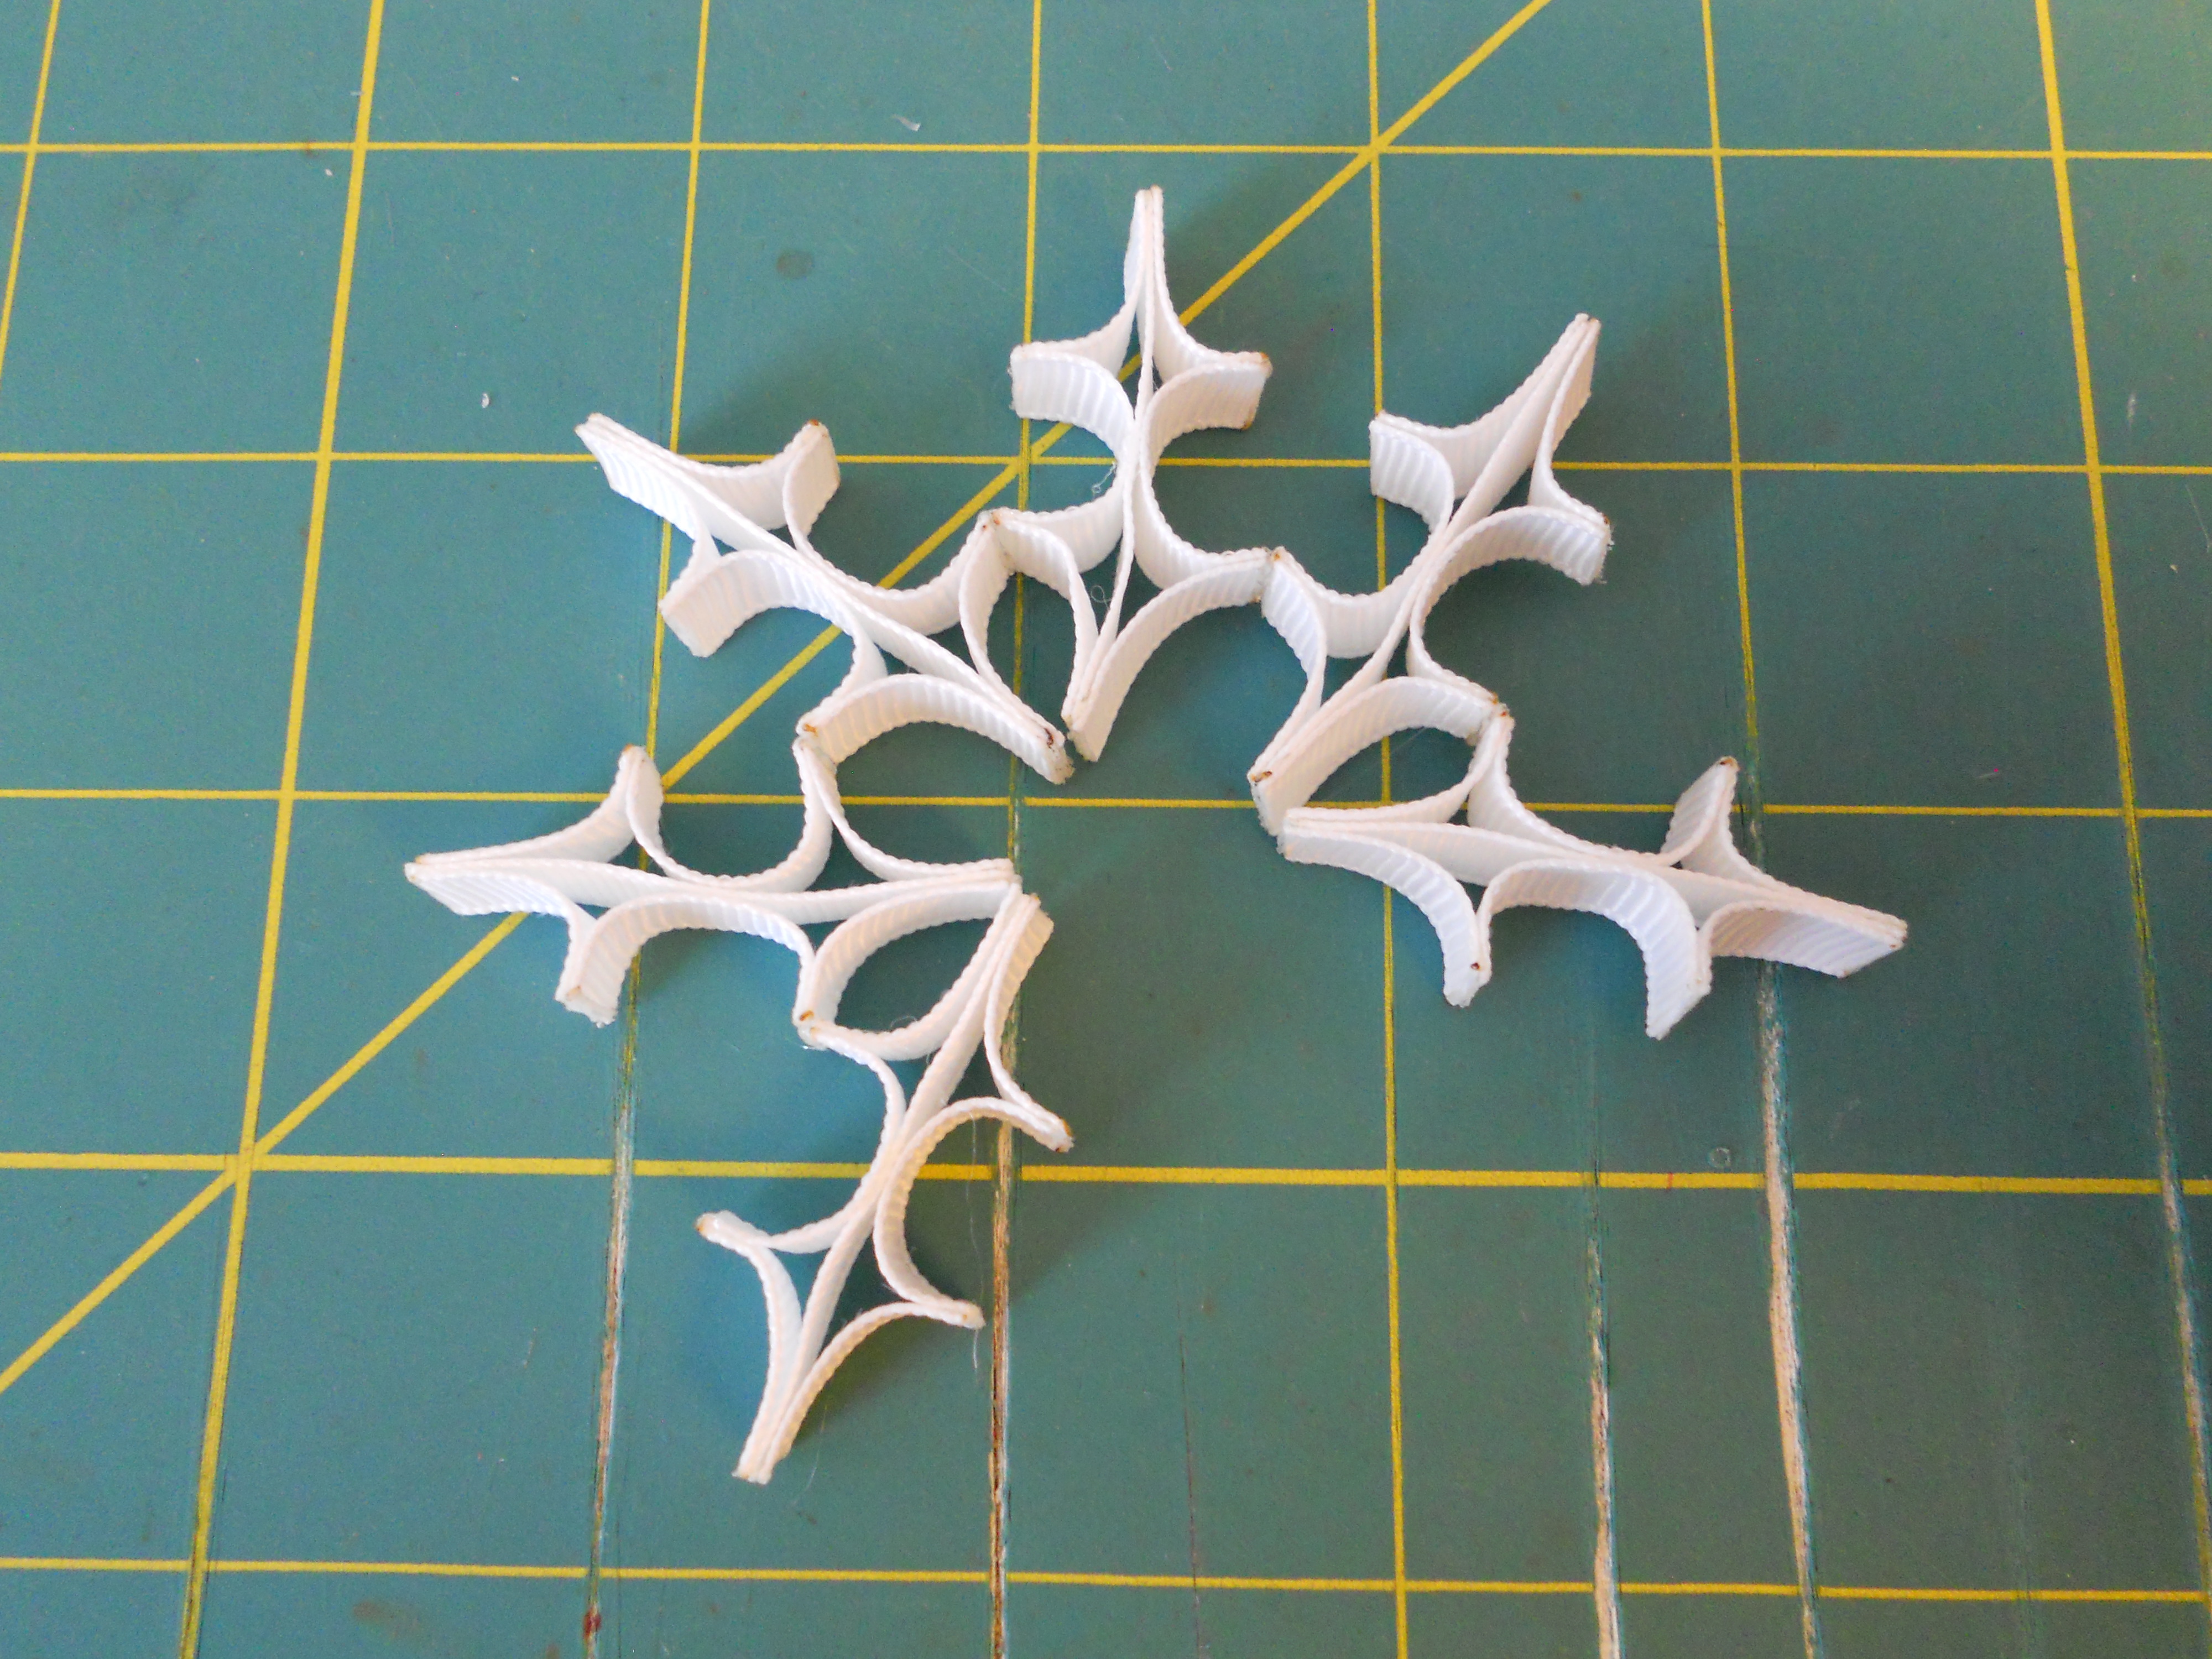


Step 8: Glue the sets together at the same points that we glued in step 7. When you get to the end glue the two ends together. Now we are going to pull all of the centers together and glue them, these don't have to be perfect as they will be covered up. Your snowflake is now formed!
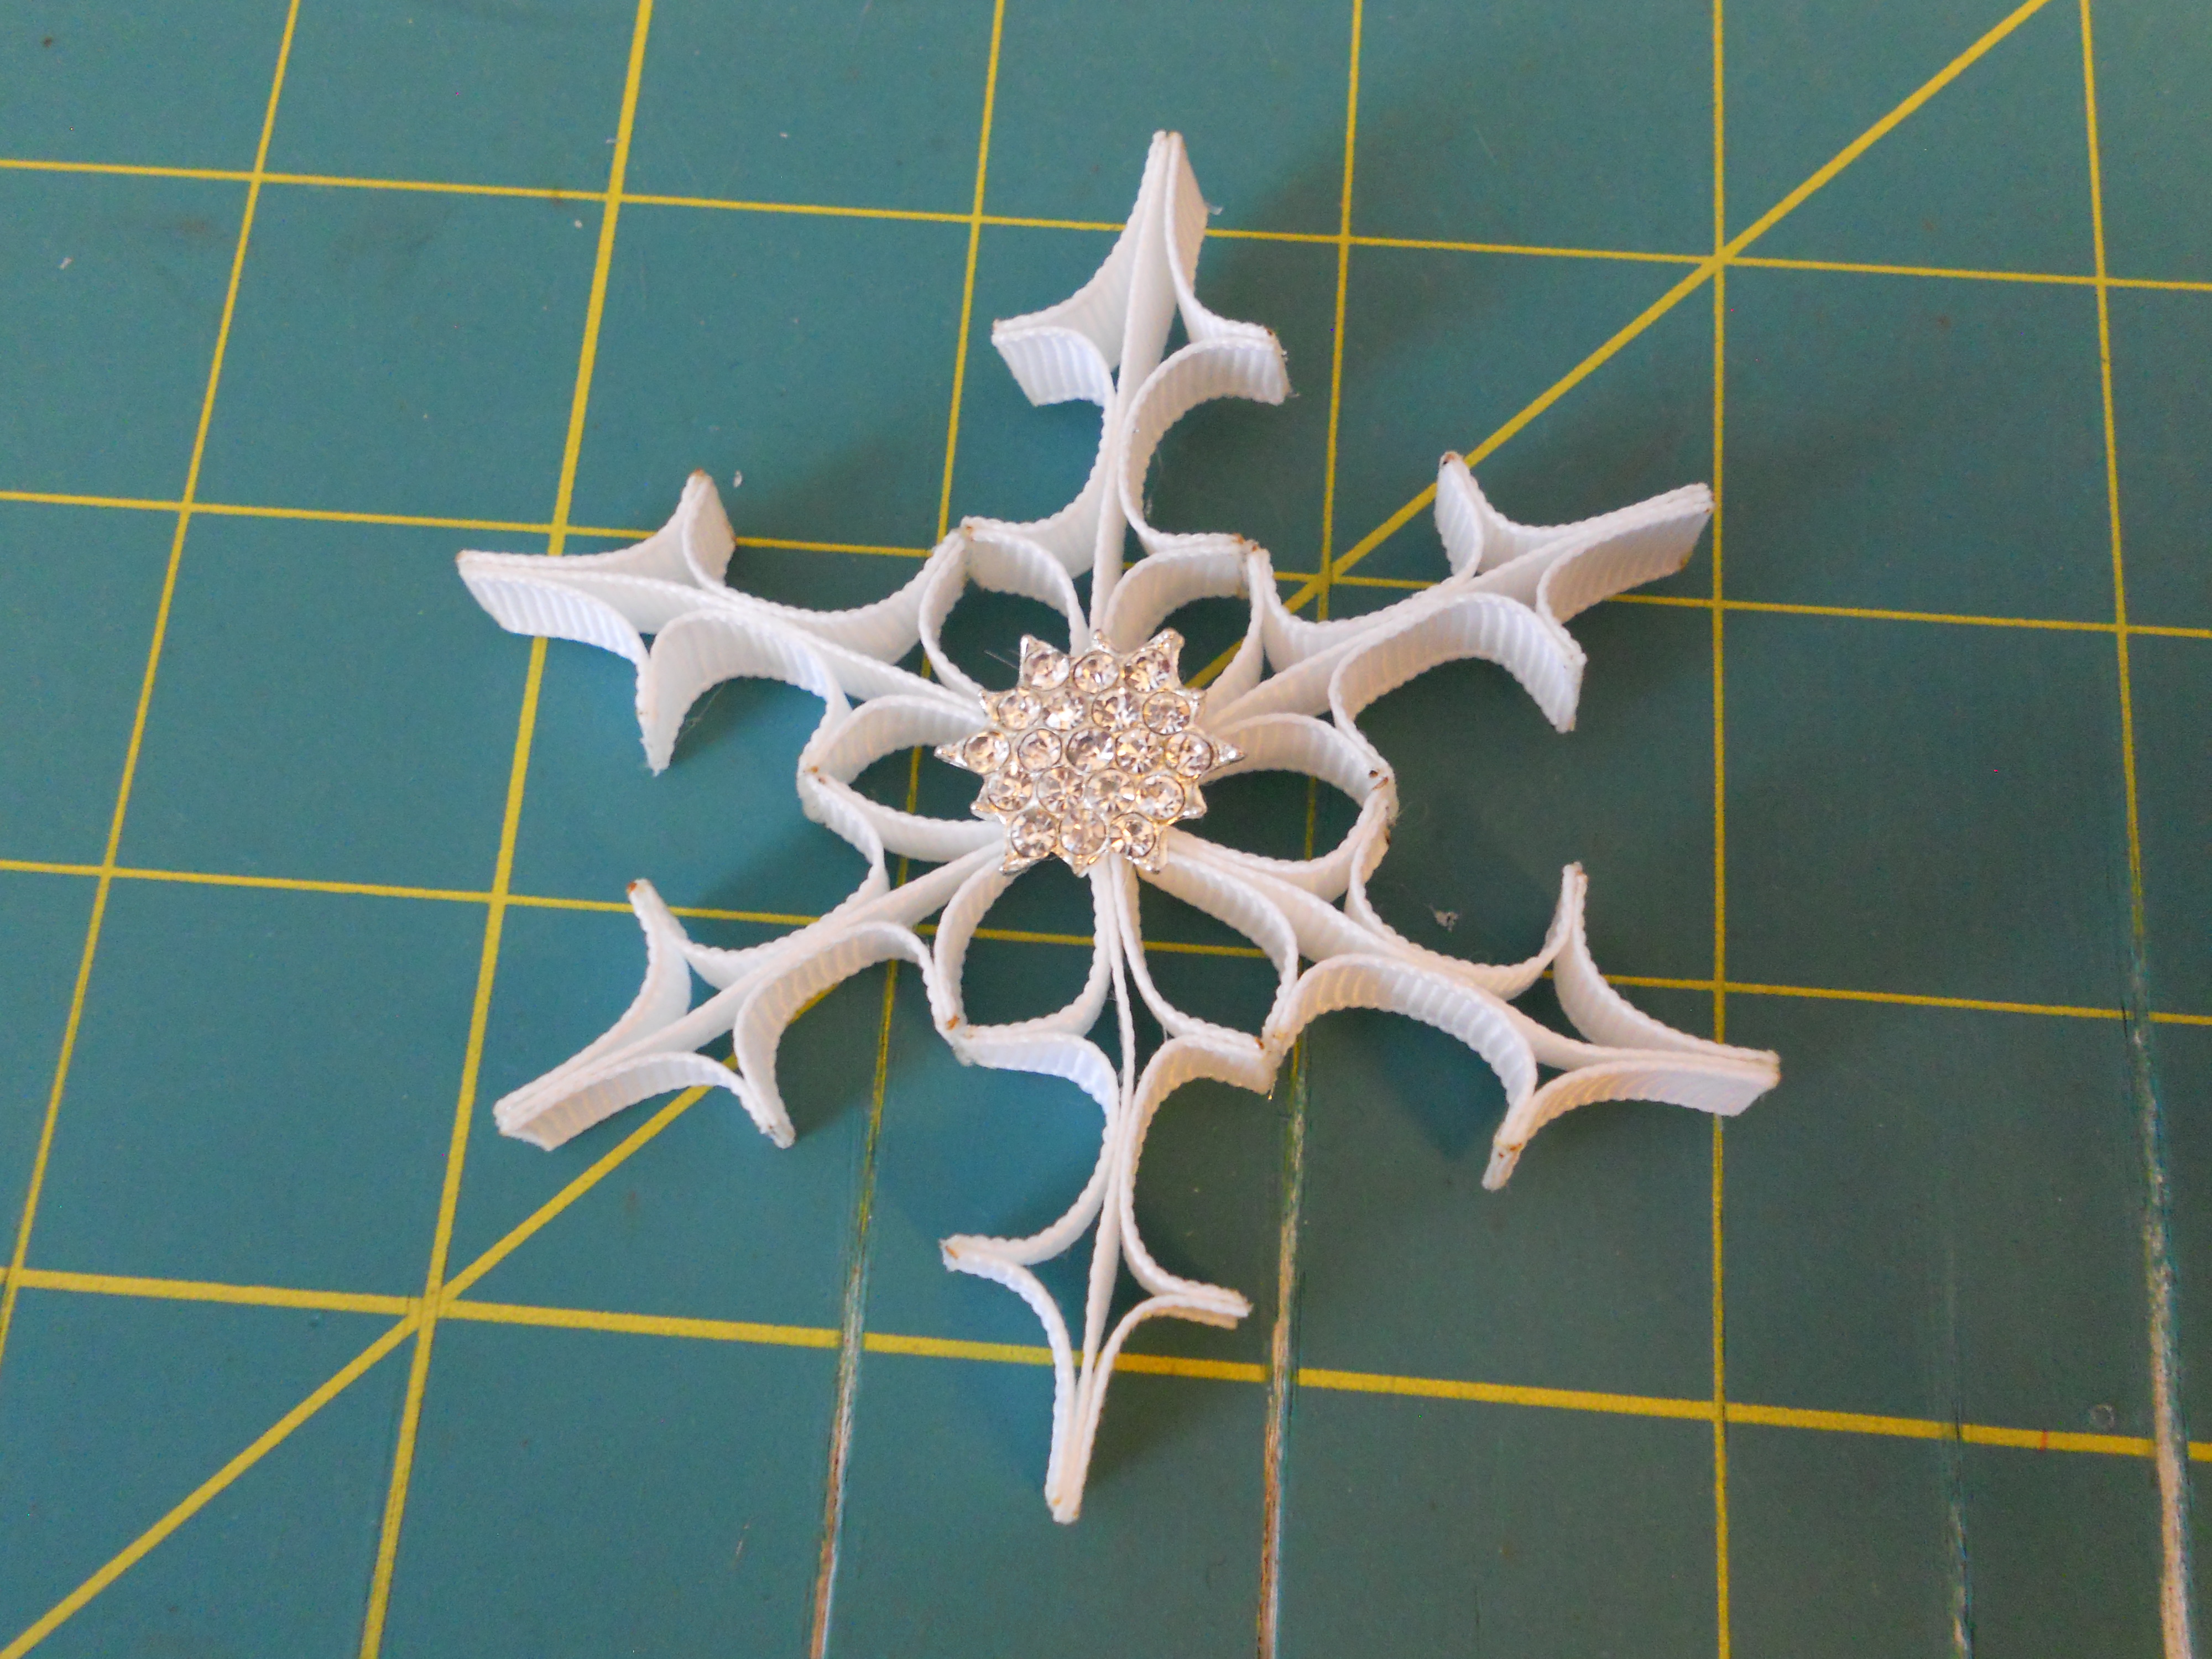
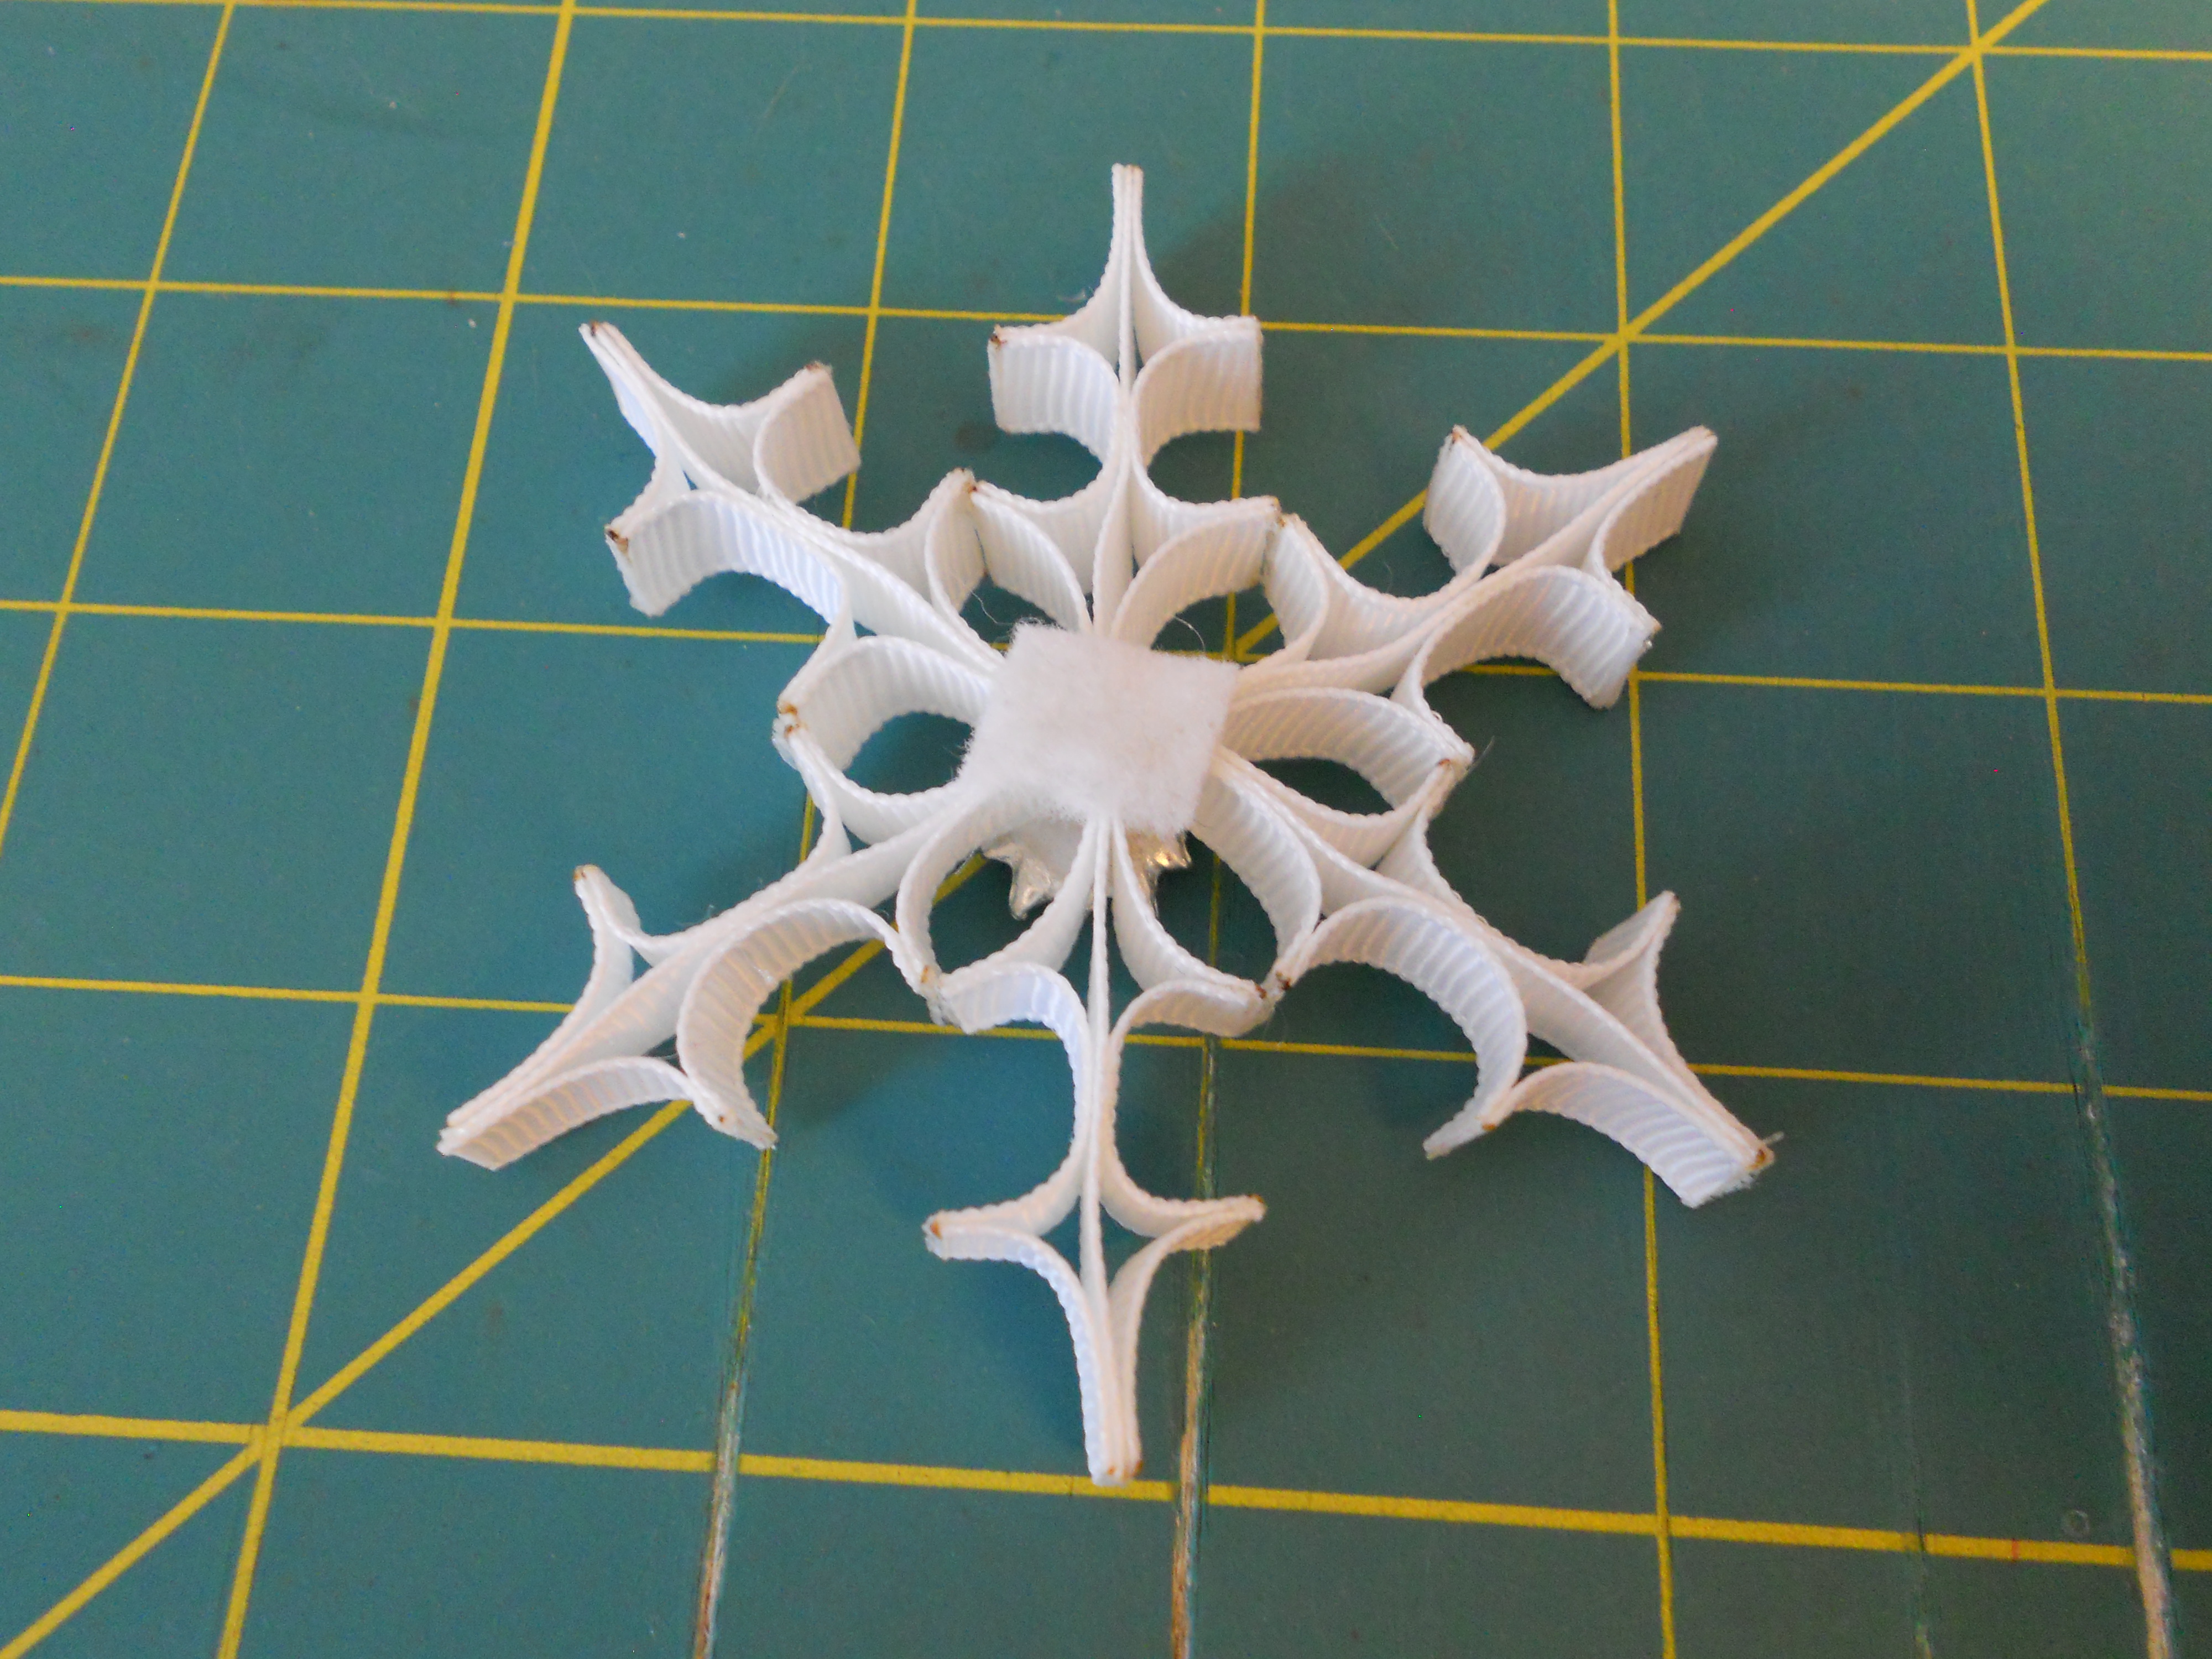
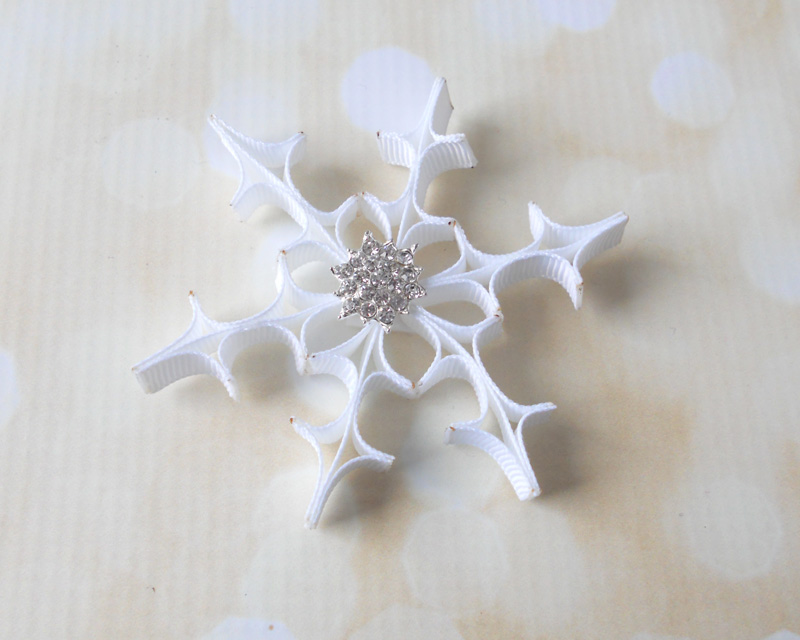
Step 9: Glue your rhinestone to the center of the snowflake. I am using these gorgeous starburst rhinestones. Glue a small piece of felt on the back center of your snowflake, this is optional. I chose to add the felt to cover up the center. You can add a clip to your snowflake or add it to a headband for a great sparkly hair accessory that's perfect for winter!
Visit the rest of our blog for more Crafting Tutorials and DIY Instructions!
Loading...

