 Contributor post by Erika
Well...who's ready for Spring?? I know I am!! I guess that depends on what part of the country you lay down your glue gun. As I'm typing this, there are snowflakes coming down on my side of town. So, working on Spring and Summer inspired hair accessories really gets me excited for the coming seasons. With all that being said, a Strawberry Inspired Flower is what I'll be bringing to the work table today. This project is made into 9 easy steps, is very easy to make and can take just about 20 minutes to create once you have all your materials together...and your GLUE GUN is PLUGGED in and READY to go. :) I only say this because I seem to always forget and I remember just when I'm picking it up to glue something...sheesh.
Here's what you'll need for this project:
[caption id="attachment_443" align="aligncenter" width="625"]
Contributor post by Erika
Well...who's ready for Spring?? I know I am!! I guess that depends on what part of the country you lay down your glue gun. As I'm typing this, there are snowflakes coming down on my side of town. So, working on Spring and Summer inspired hair accessories really gets me excited for the coming seasons. With all that being said, a Strawberry Inspired Flower is what I'll be bringing to the work table today. This project is made into 9 easy steps, is very easy to make and can take just about 20 minutes to create once you have all your materials together...and your GLUE GUN is PLUGGED in and READY to go. :) I only say this because I seem to always forget and I remember just when I'm picking it up to glue something...sheesh.
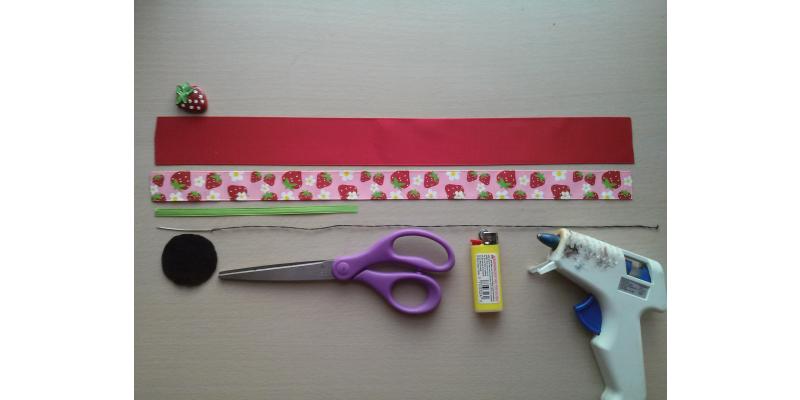
Here's what you'll need for this project:
[caption id="attachment_443" align="aligncenter" width="625"] Materials[/caption]
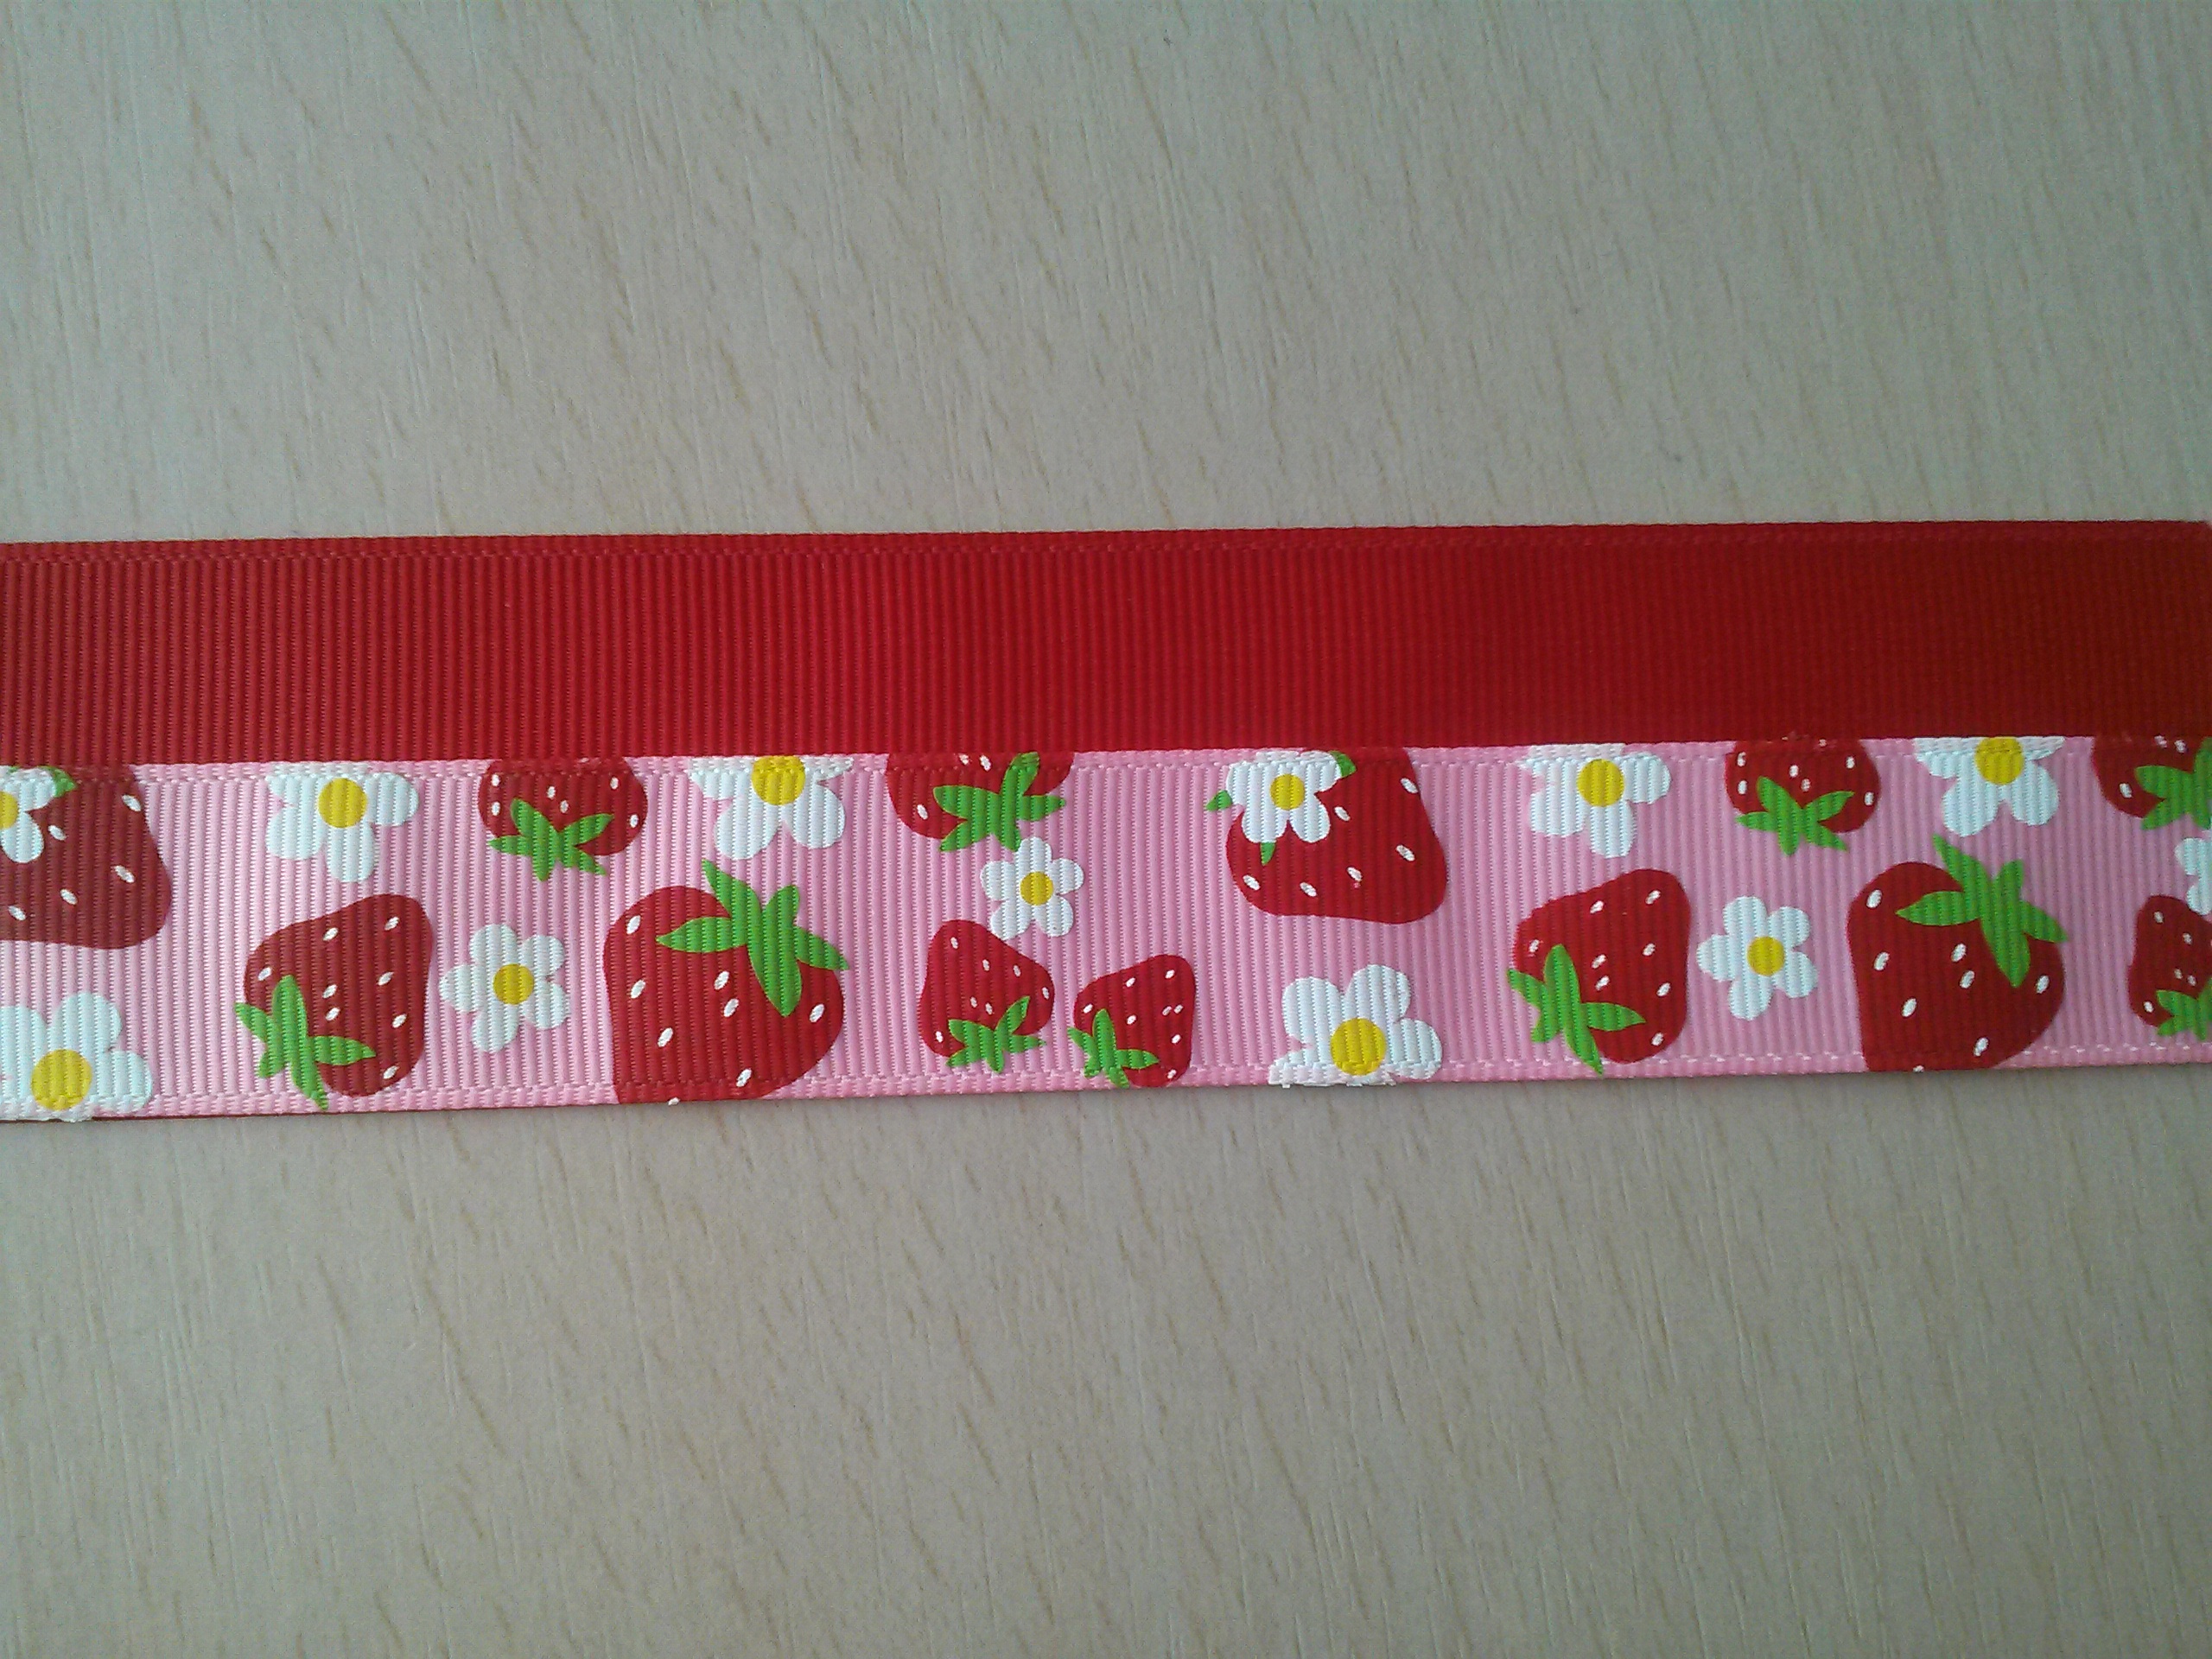
- 1.5in wide red ribbon already cut to 15in long
- 7/8in wide Strawberry print ribbon also cut to 15in long
- 1 Strawberry flatback resin
- green 1/8 ribbon
- 1.75in felt circle
- needle with thread
- a lighter to seal the ribbon's edges
- hot glue gun
- scissors
 Step 2. Take your needle and form a knot at the corner where you would like to begin sewing. (By the way, the color of the thread isn't really important since it will not be seen. But if you're a perfectionist go on and match those threads.) Some people prefer to start from the left side of the ribbon, others the right side. This does not matter. The job will still get done. It's entirely up to you :)
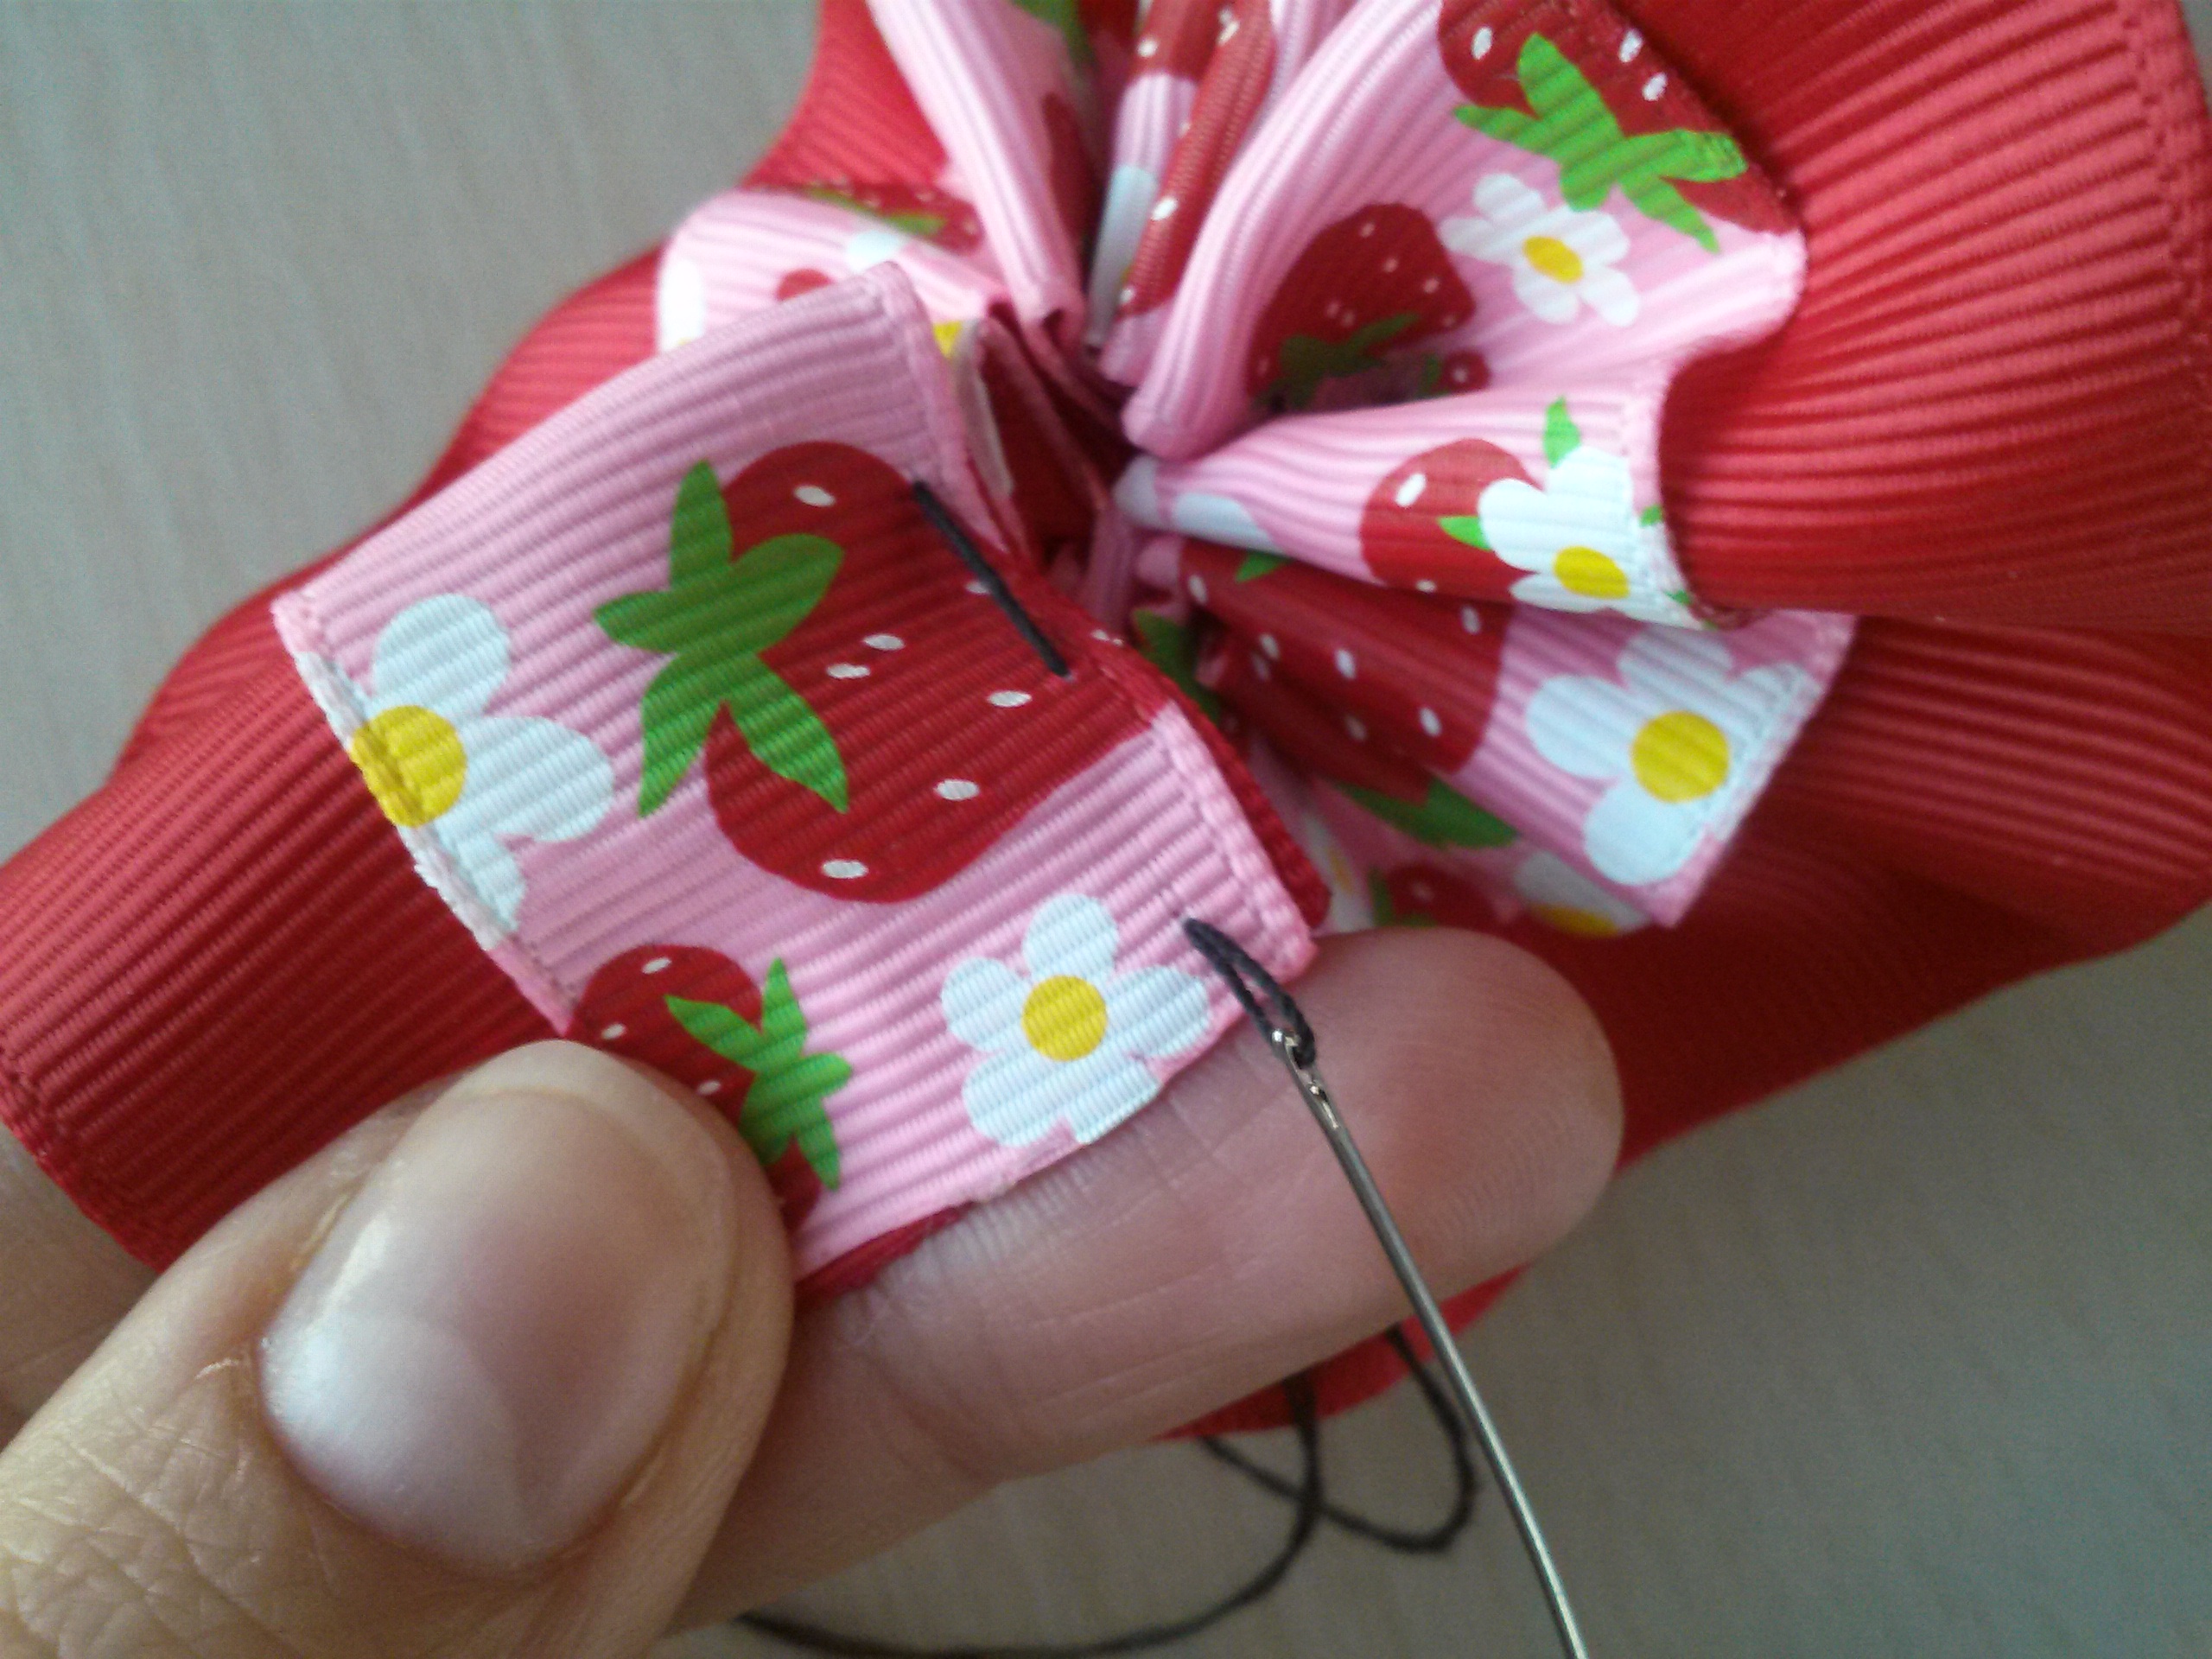
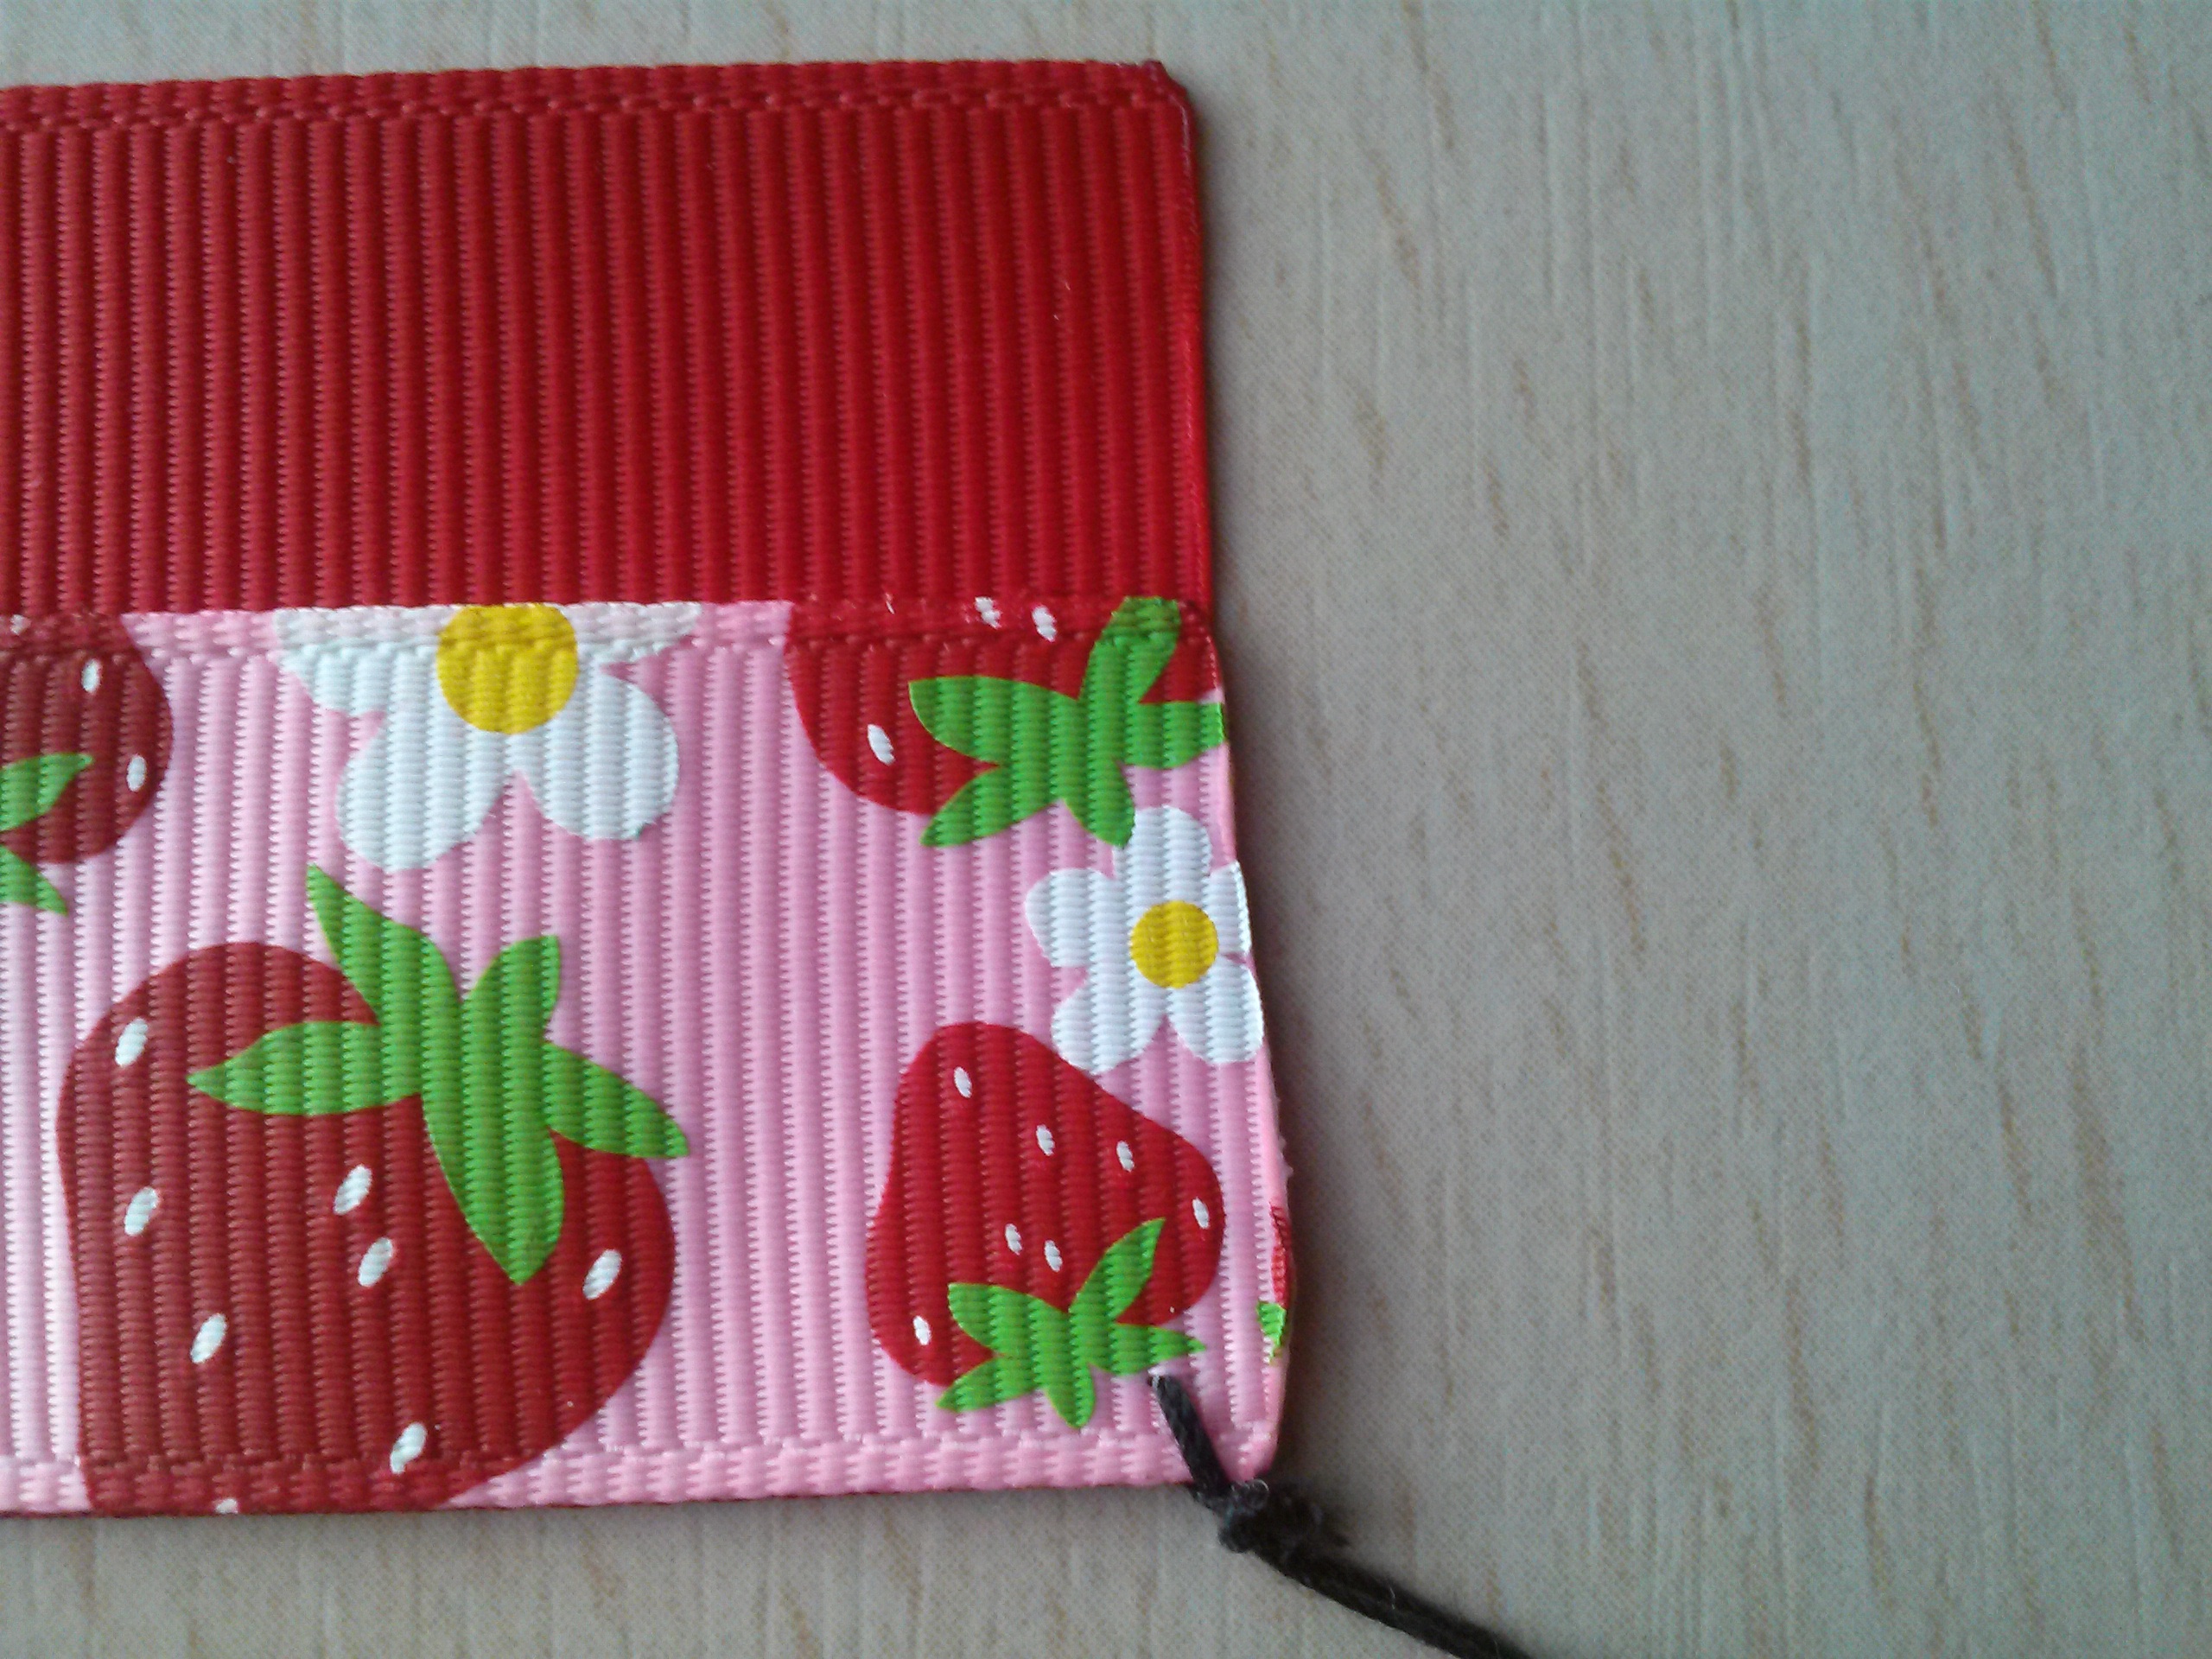 Step 3. Next we begin to sew. Easy sewing. Poke the needle close to where you made the knot so no ribbon goes to waste. Start the stitch from the printed side of the ribbon. Front to back.
 Step 4. Continue this pattern in and out making the spaces in between the stitching the same length. The bigger the spaces the bigger the ruffle would be. But for this length of ribbon that we are using lets just keep the ruffles small.
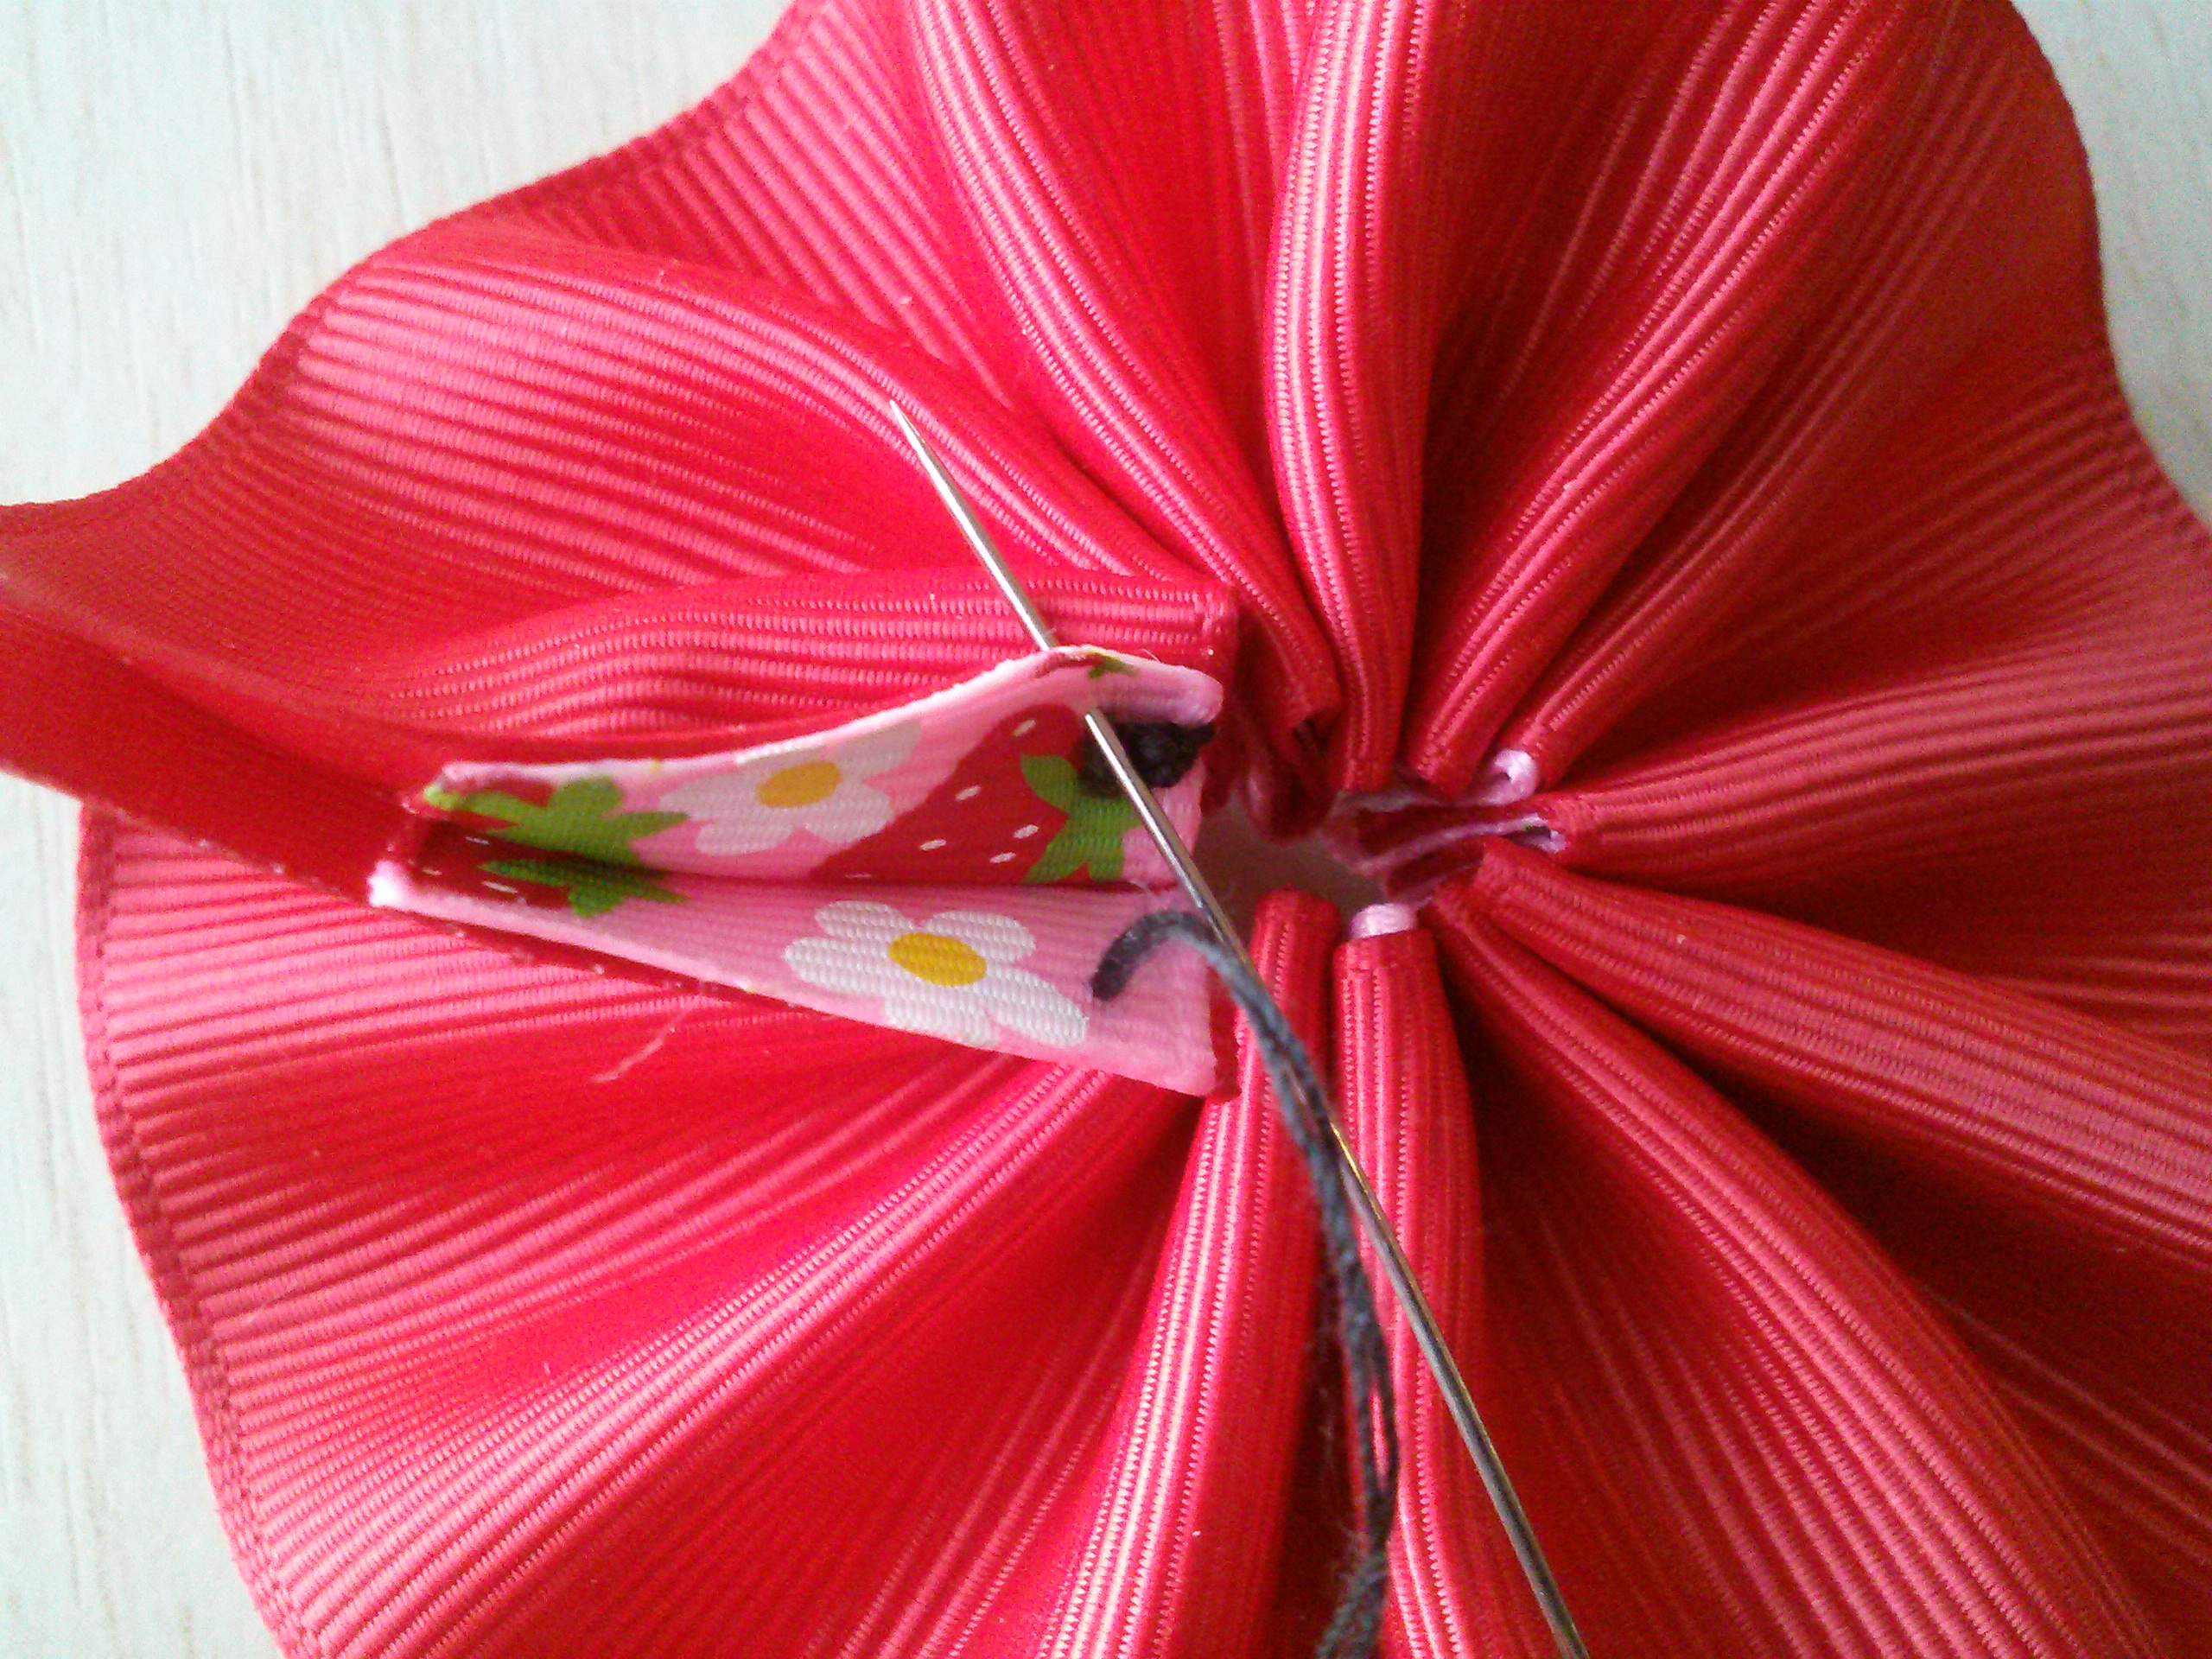
 Step 5. When you reach the end of the ribbon make sure your needle and last stitch is going out through the front of the ribbon. The needle and thread should be facing you. Pull and tug your needle so that the ribbon comes together in a bunch forming a flower. Nice and tight.
 Step 6. Flip the flower over and bring both ends of the ribbon together by creating a stitch. Form a knot.
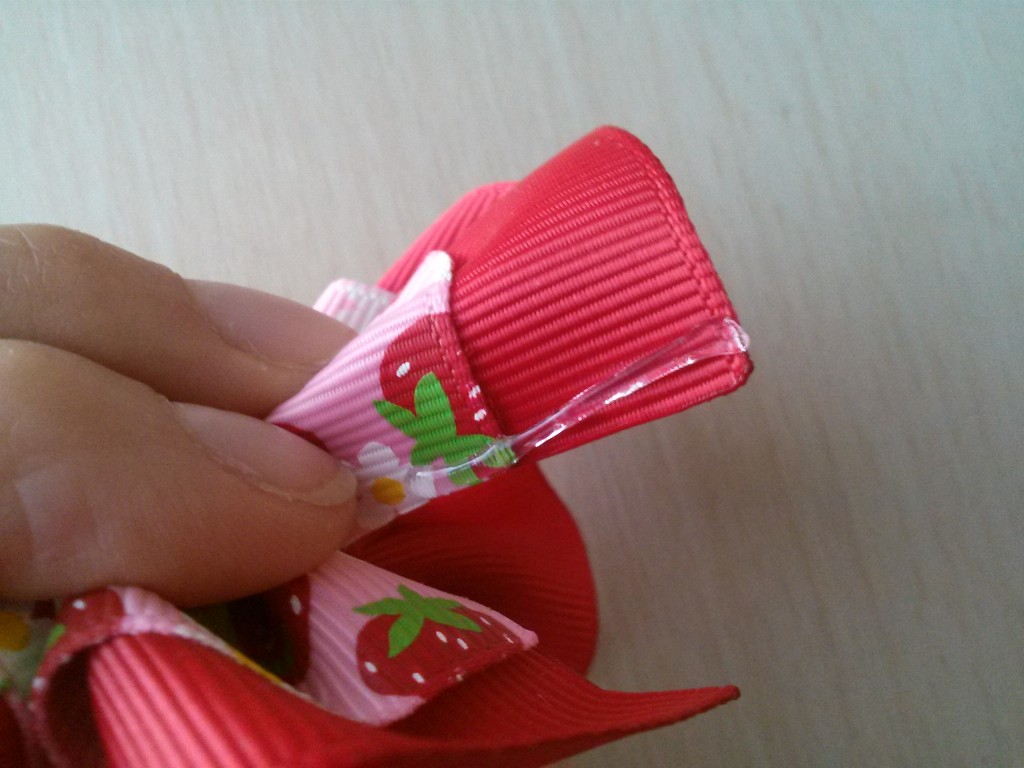
 Step 7. Bring the ends together with glue. In this way there is no openings and the ruffles look as though they continue. Then fold that piece just a tad bit back and add a drop of glue there also.
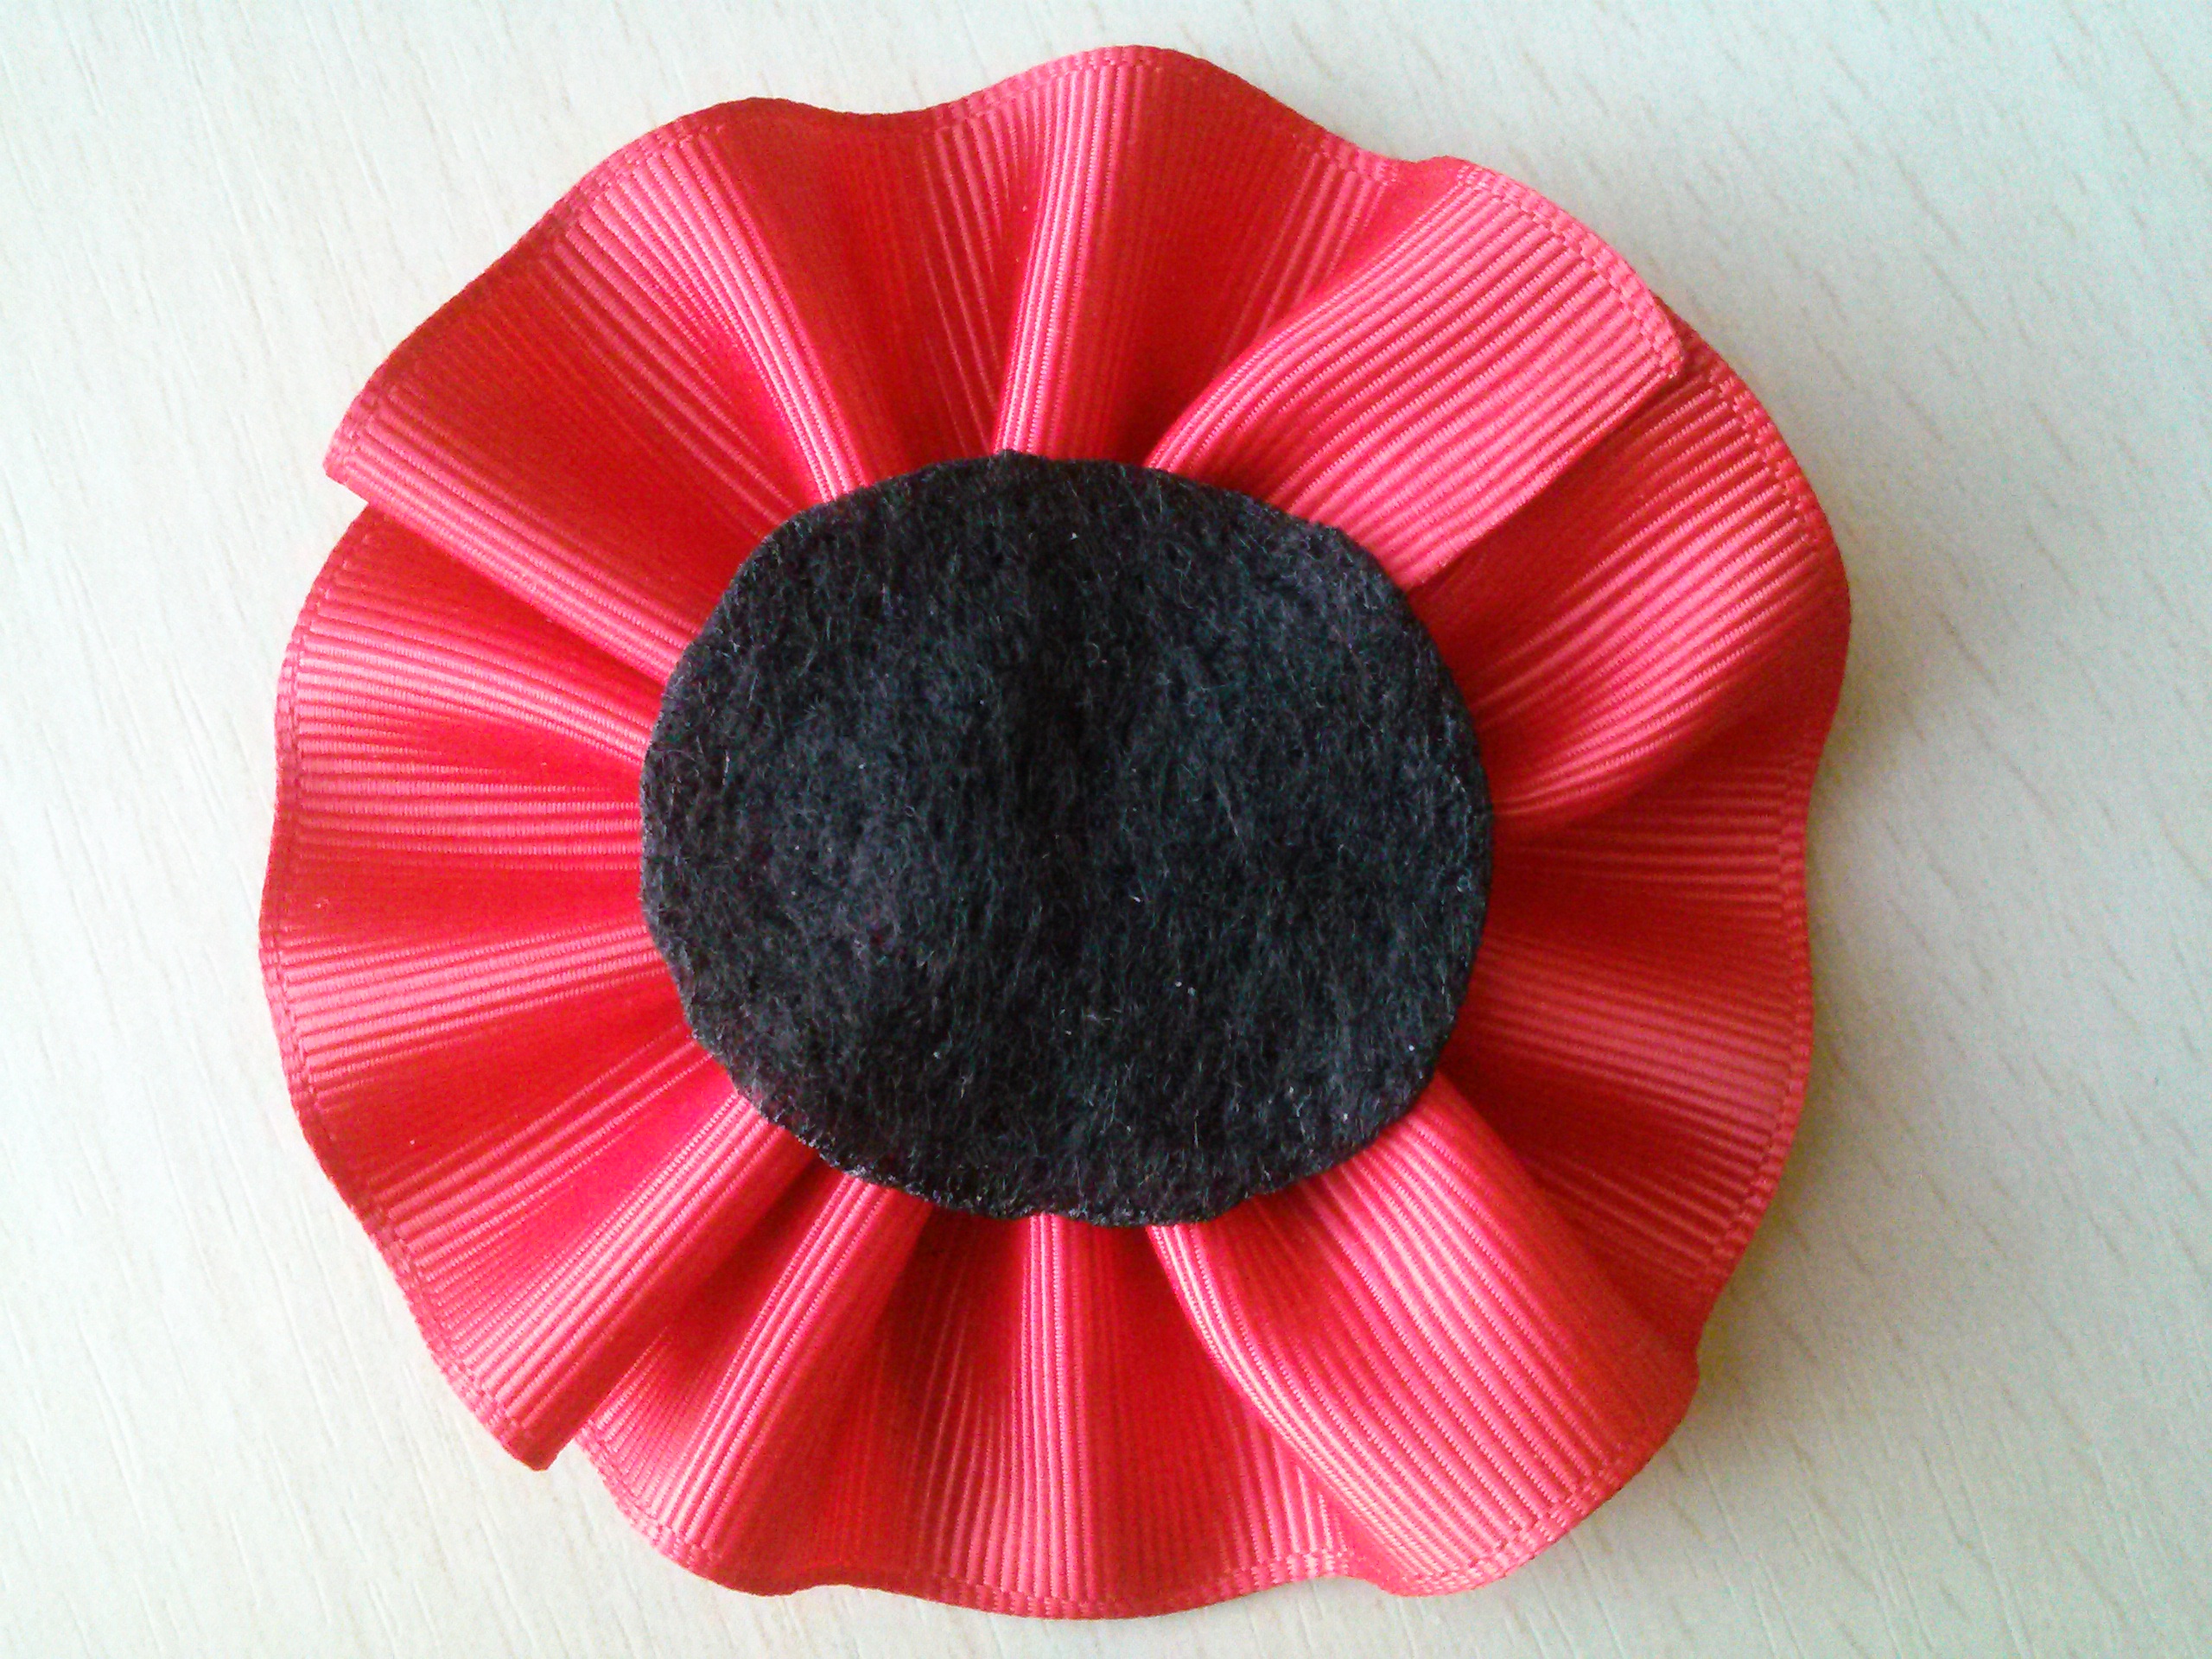
 Step 8. Now glue the felt to the back of your flower so that your ruffles stay in place. NOTE: If you are making this a headband as I did, this is your time to attach the FOE headband than add the felt over it to secure it in place.
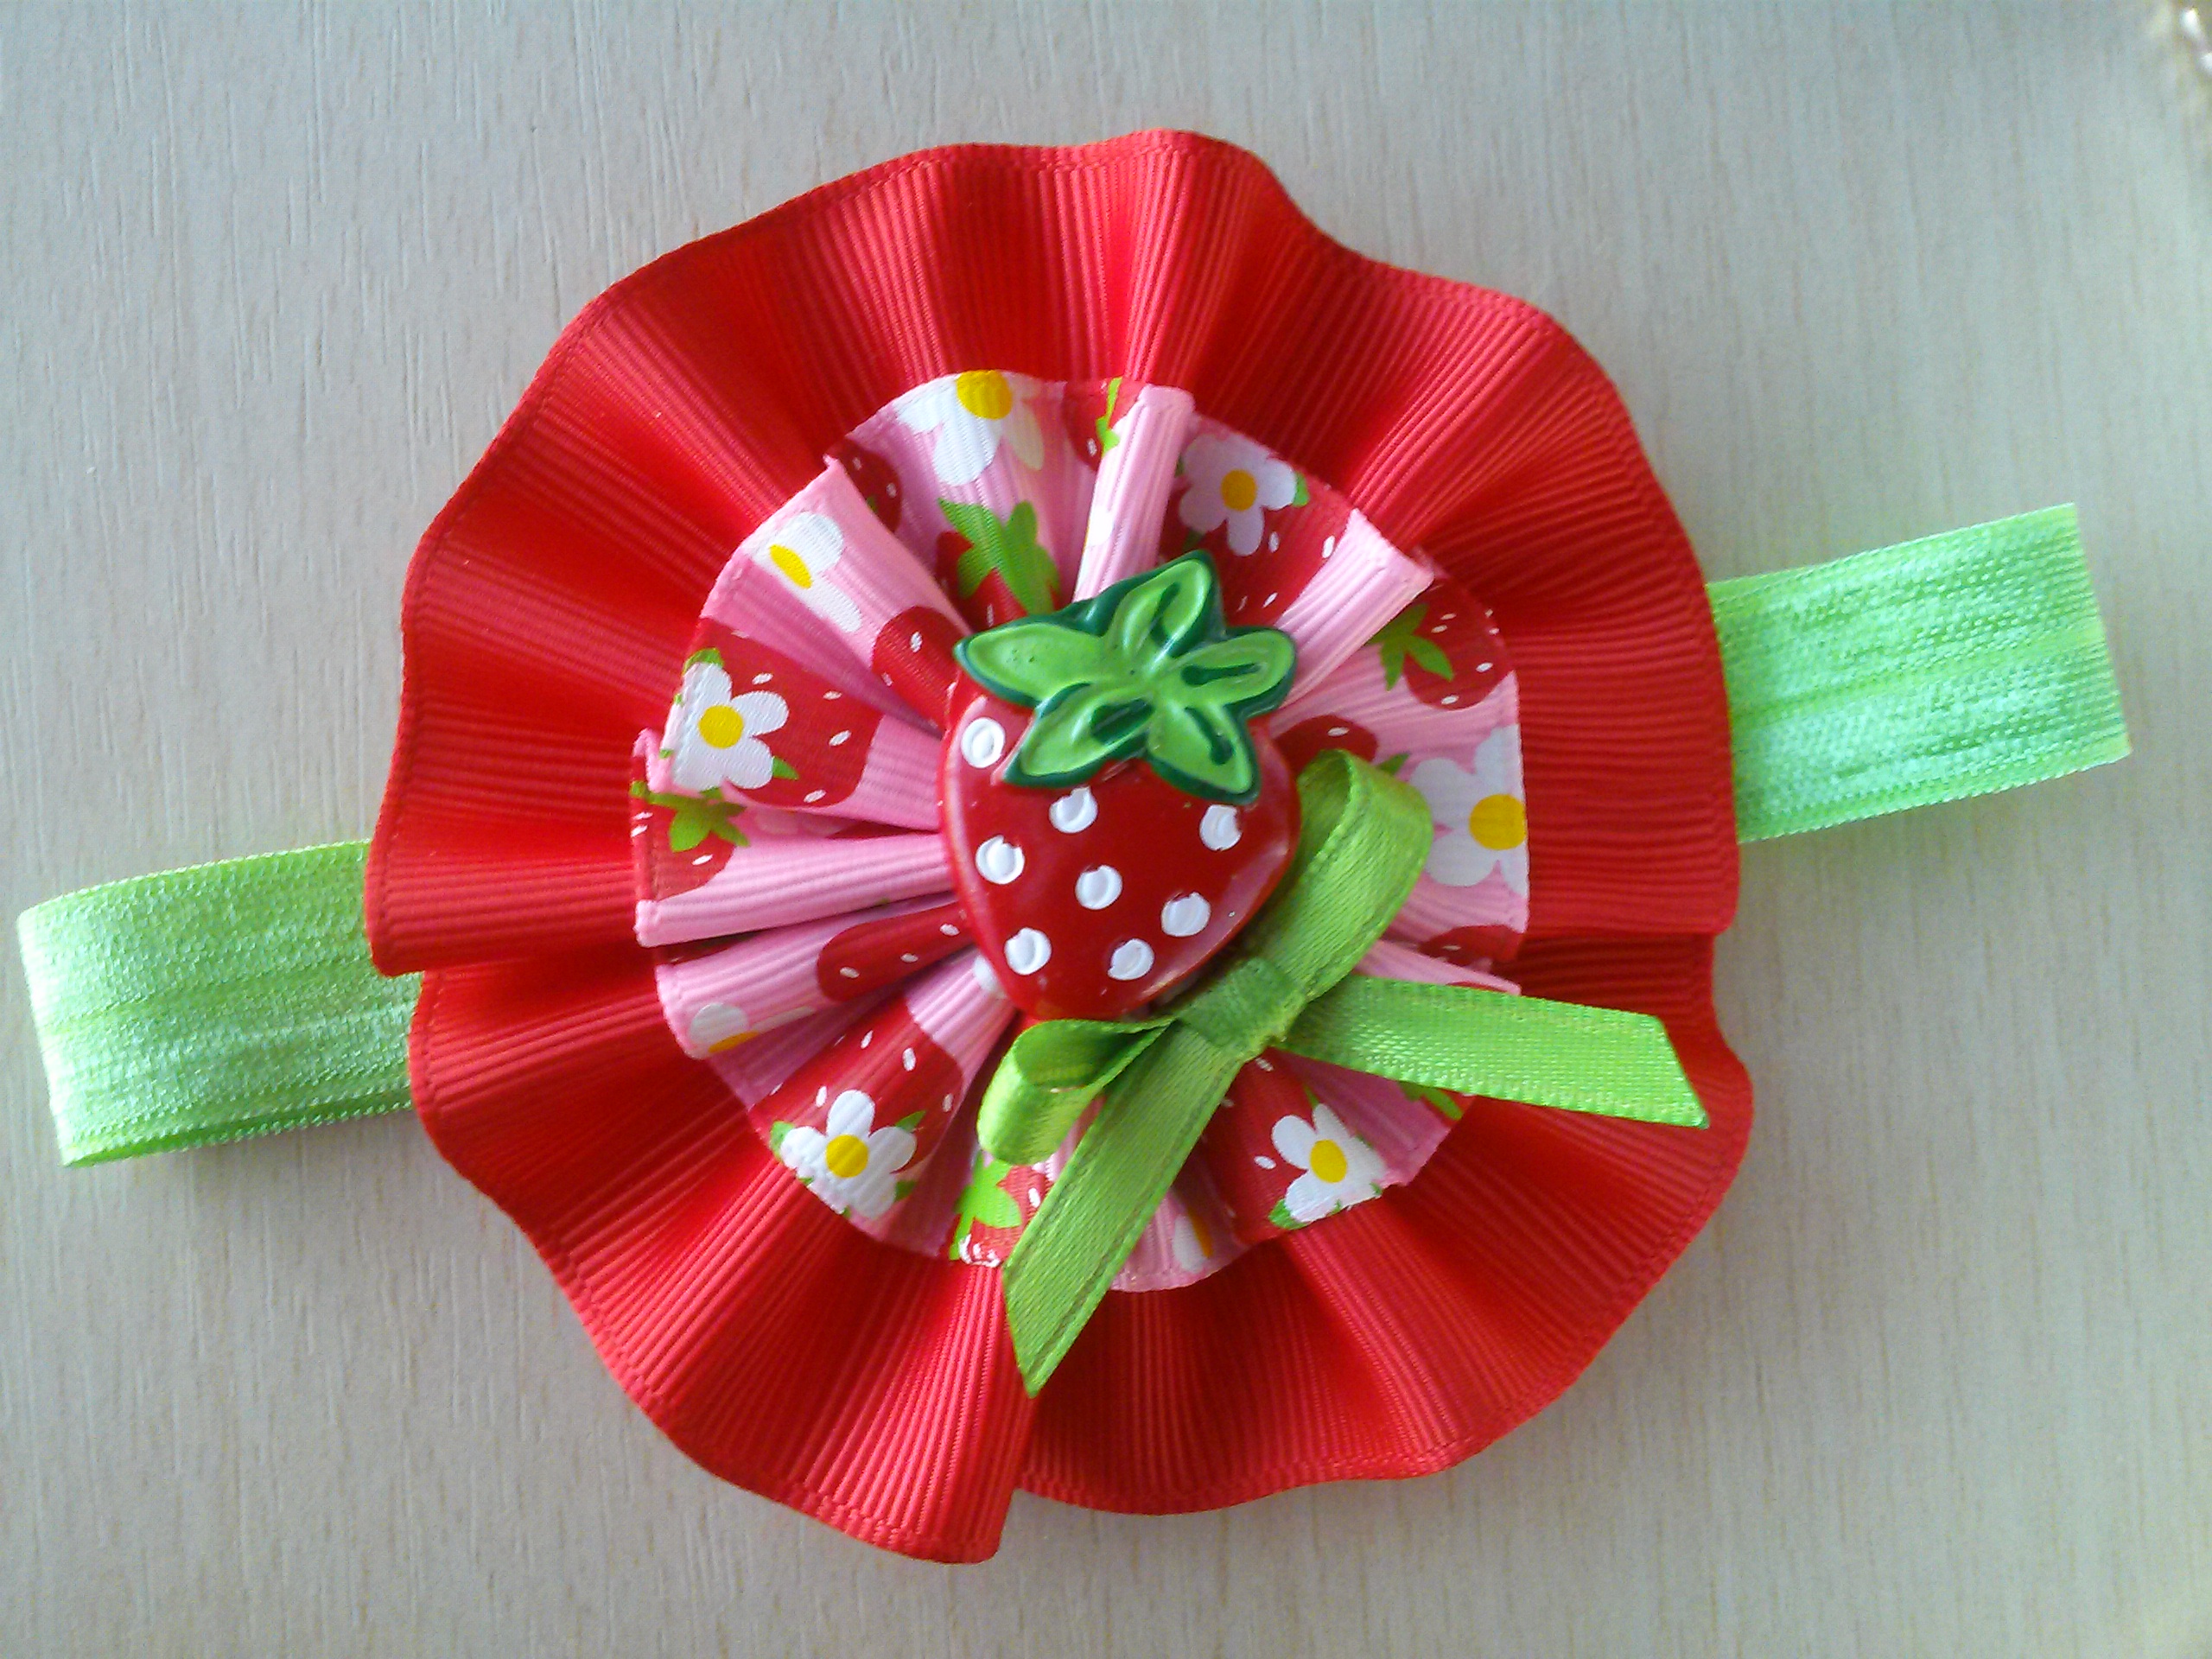
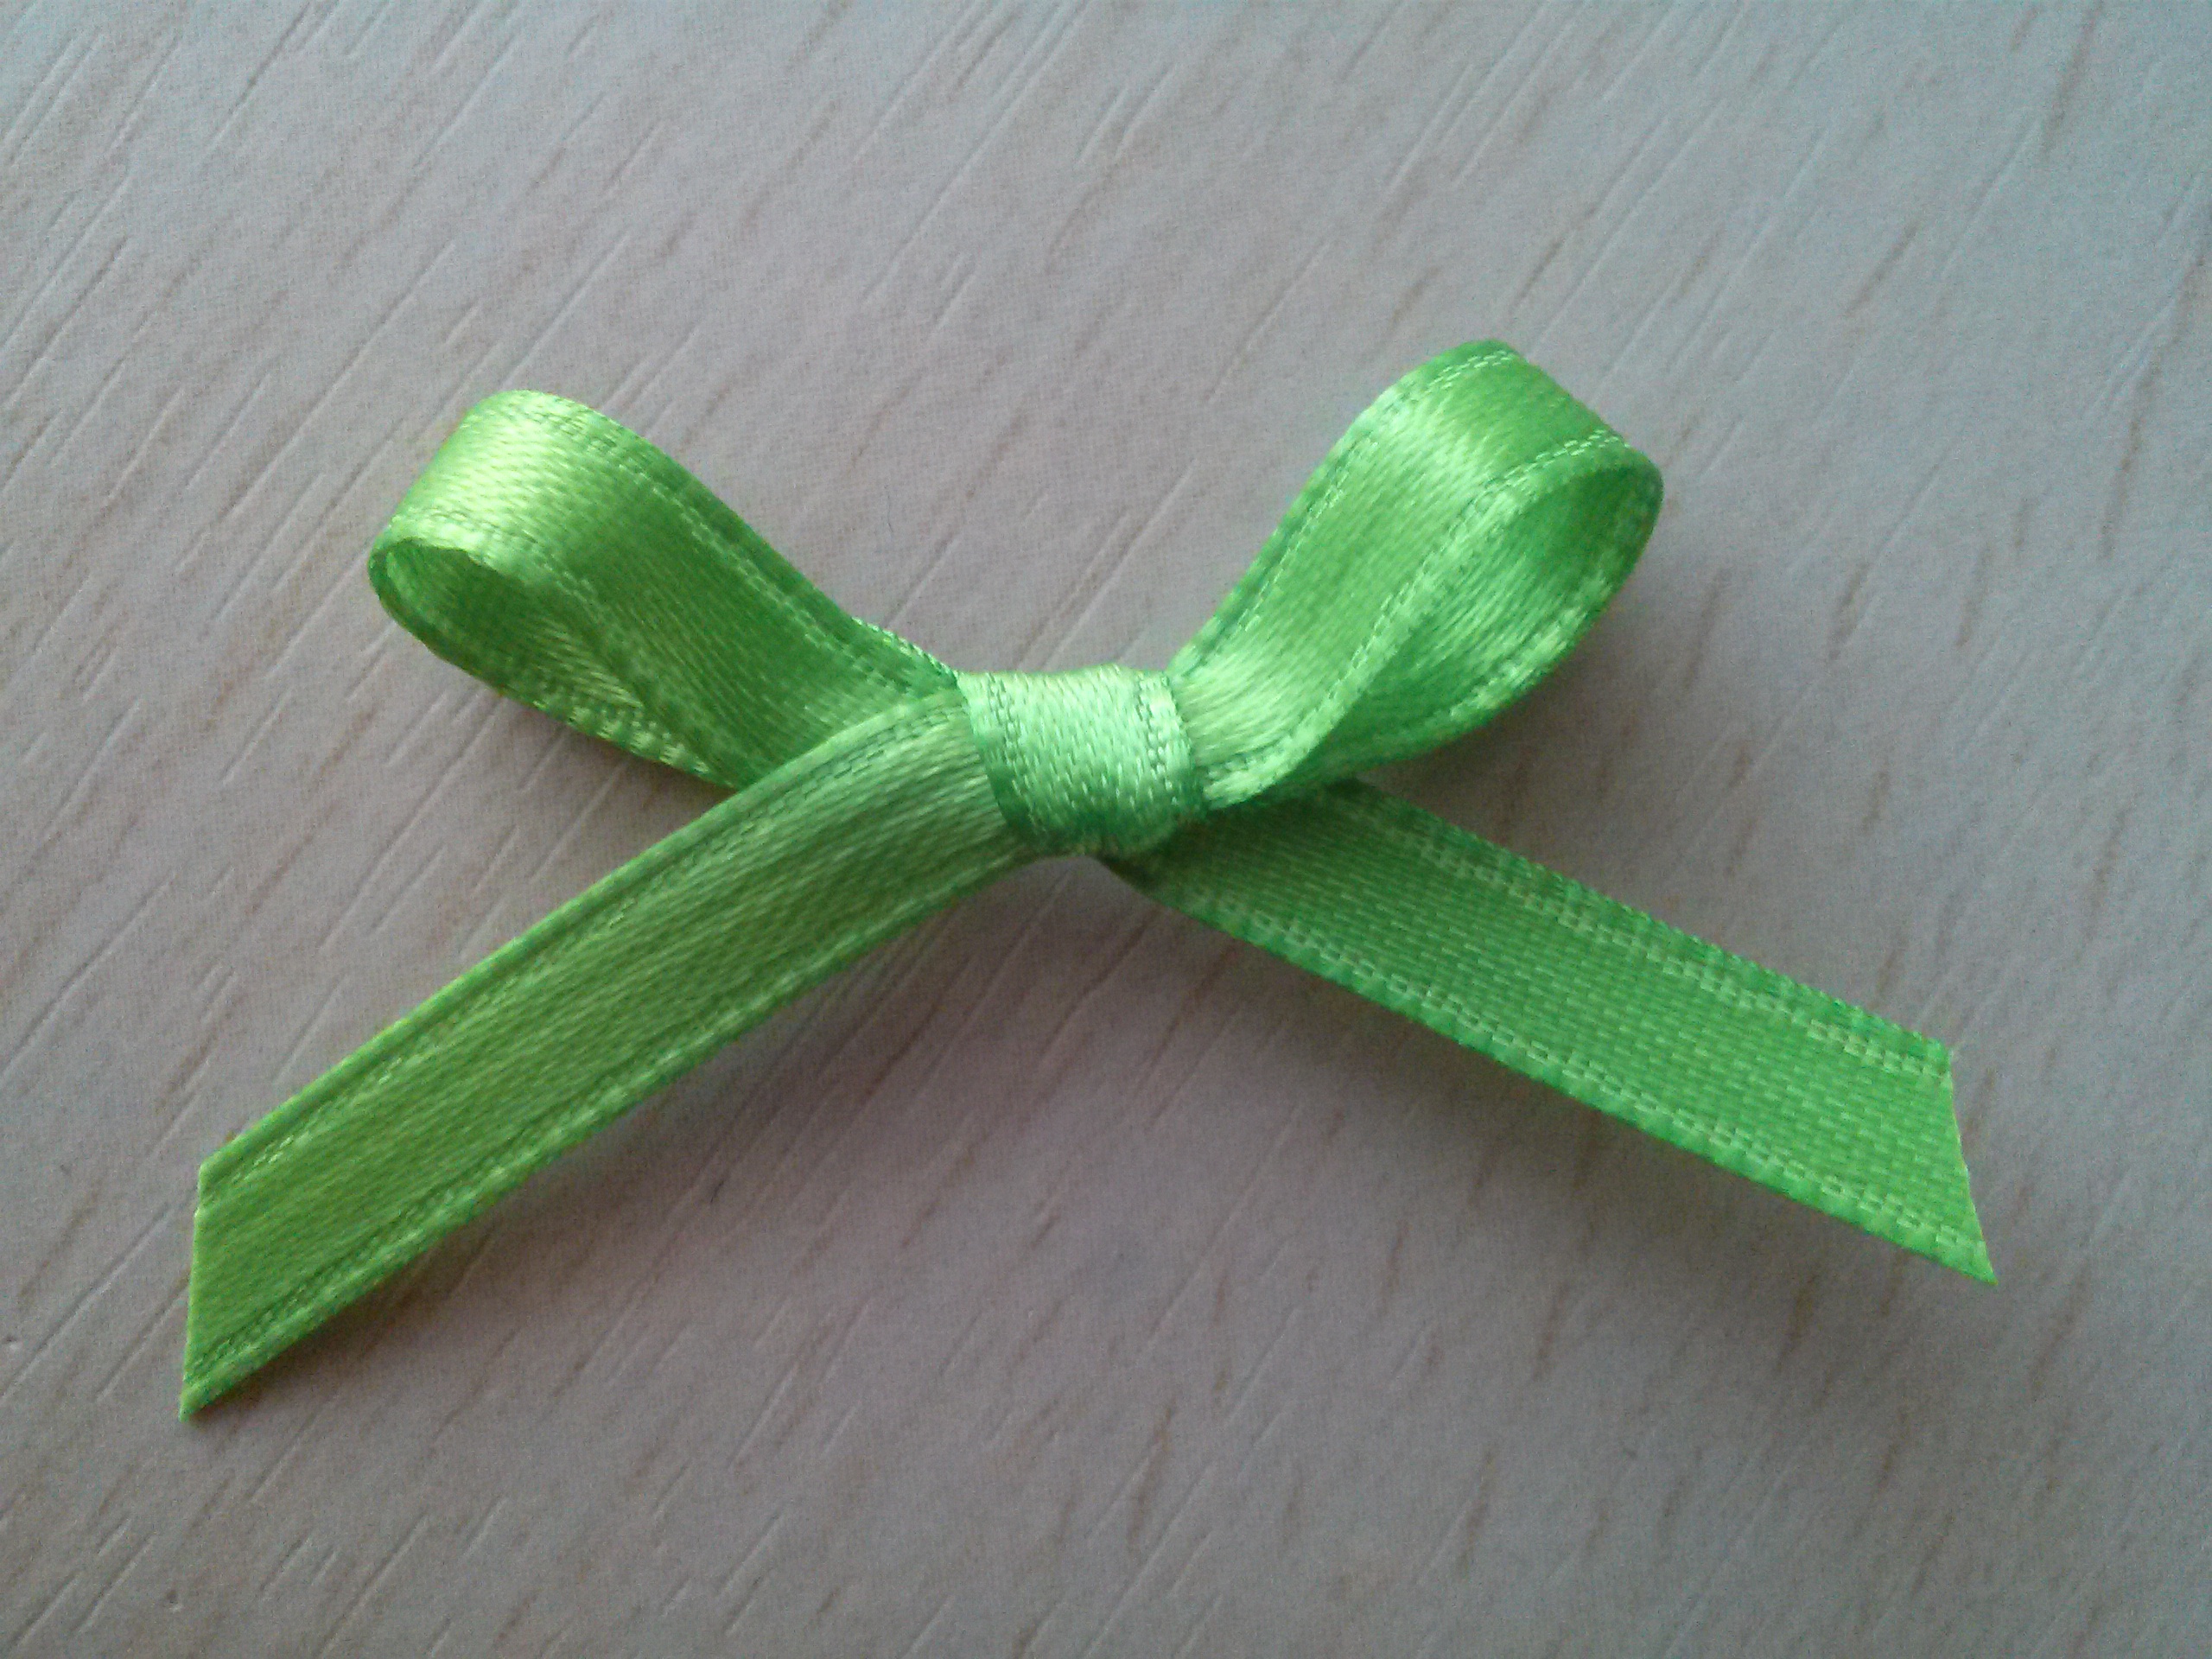
 Step 9. Flip your cute flower over and glue the strawberry flat back resin to the center of the flower. Make sure to cover the center so you cannot see the stitching. (this is also why in step 5 you had to pull and tug tightly to bring the flower together so that the center would be as small as possible.) Add a mini green bow made from the 1/8th ribbon and glue it right beneath the strawberry. (the mini bow is optional.)

 And there you have it!! Enjoy!!
Visit the rest of our blog for more Crafting Tutorials and DIY Instructions!
Loading...

