 I'm sure everyone has seen the GORGEOUS new satin roses that HBC now offers! I can't explain how excited I was to see all the amazing colors and to learn that they come in 3 perfect sizes! Ooooh the possibilities!!! Today we are going to make a stunning cluster of satin roses that is not only simple to make, but can be done a million different ways to suit any style or occasion! So let's get started!
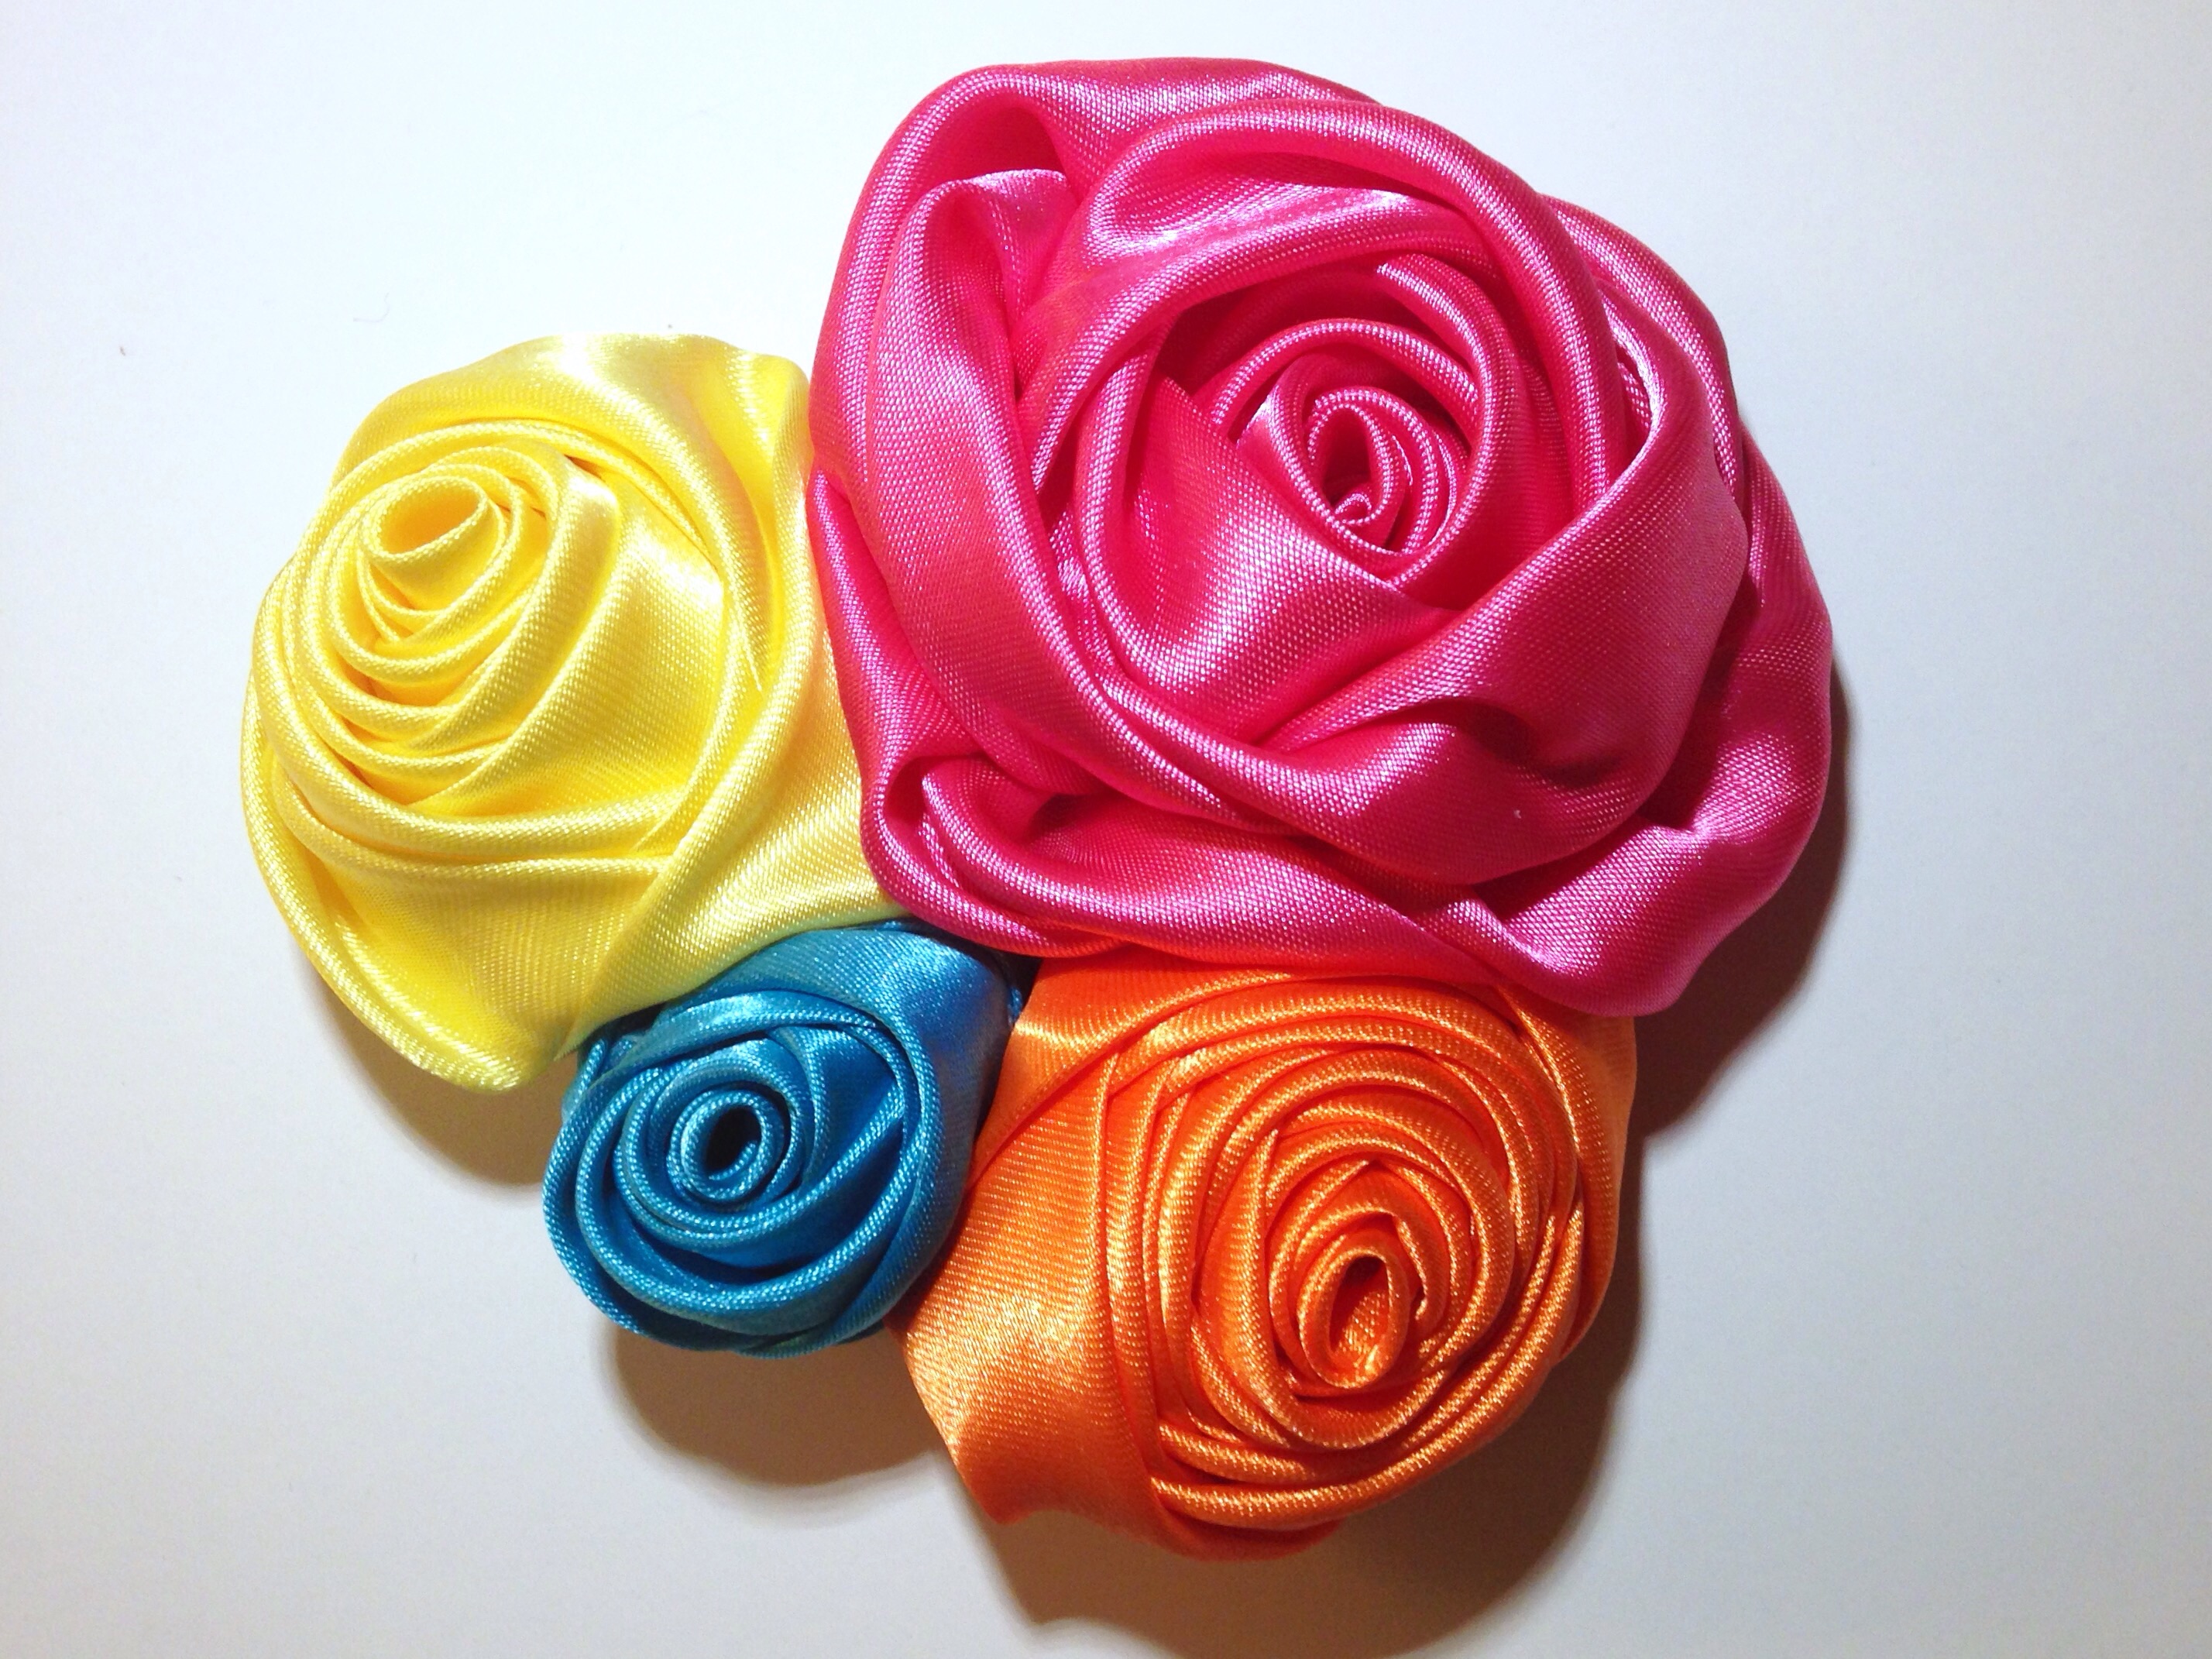
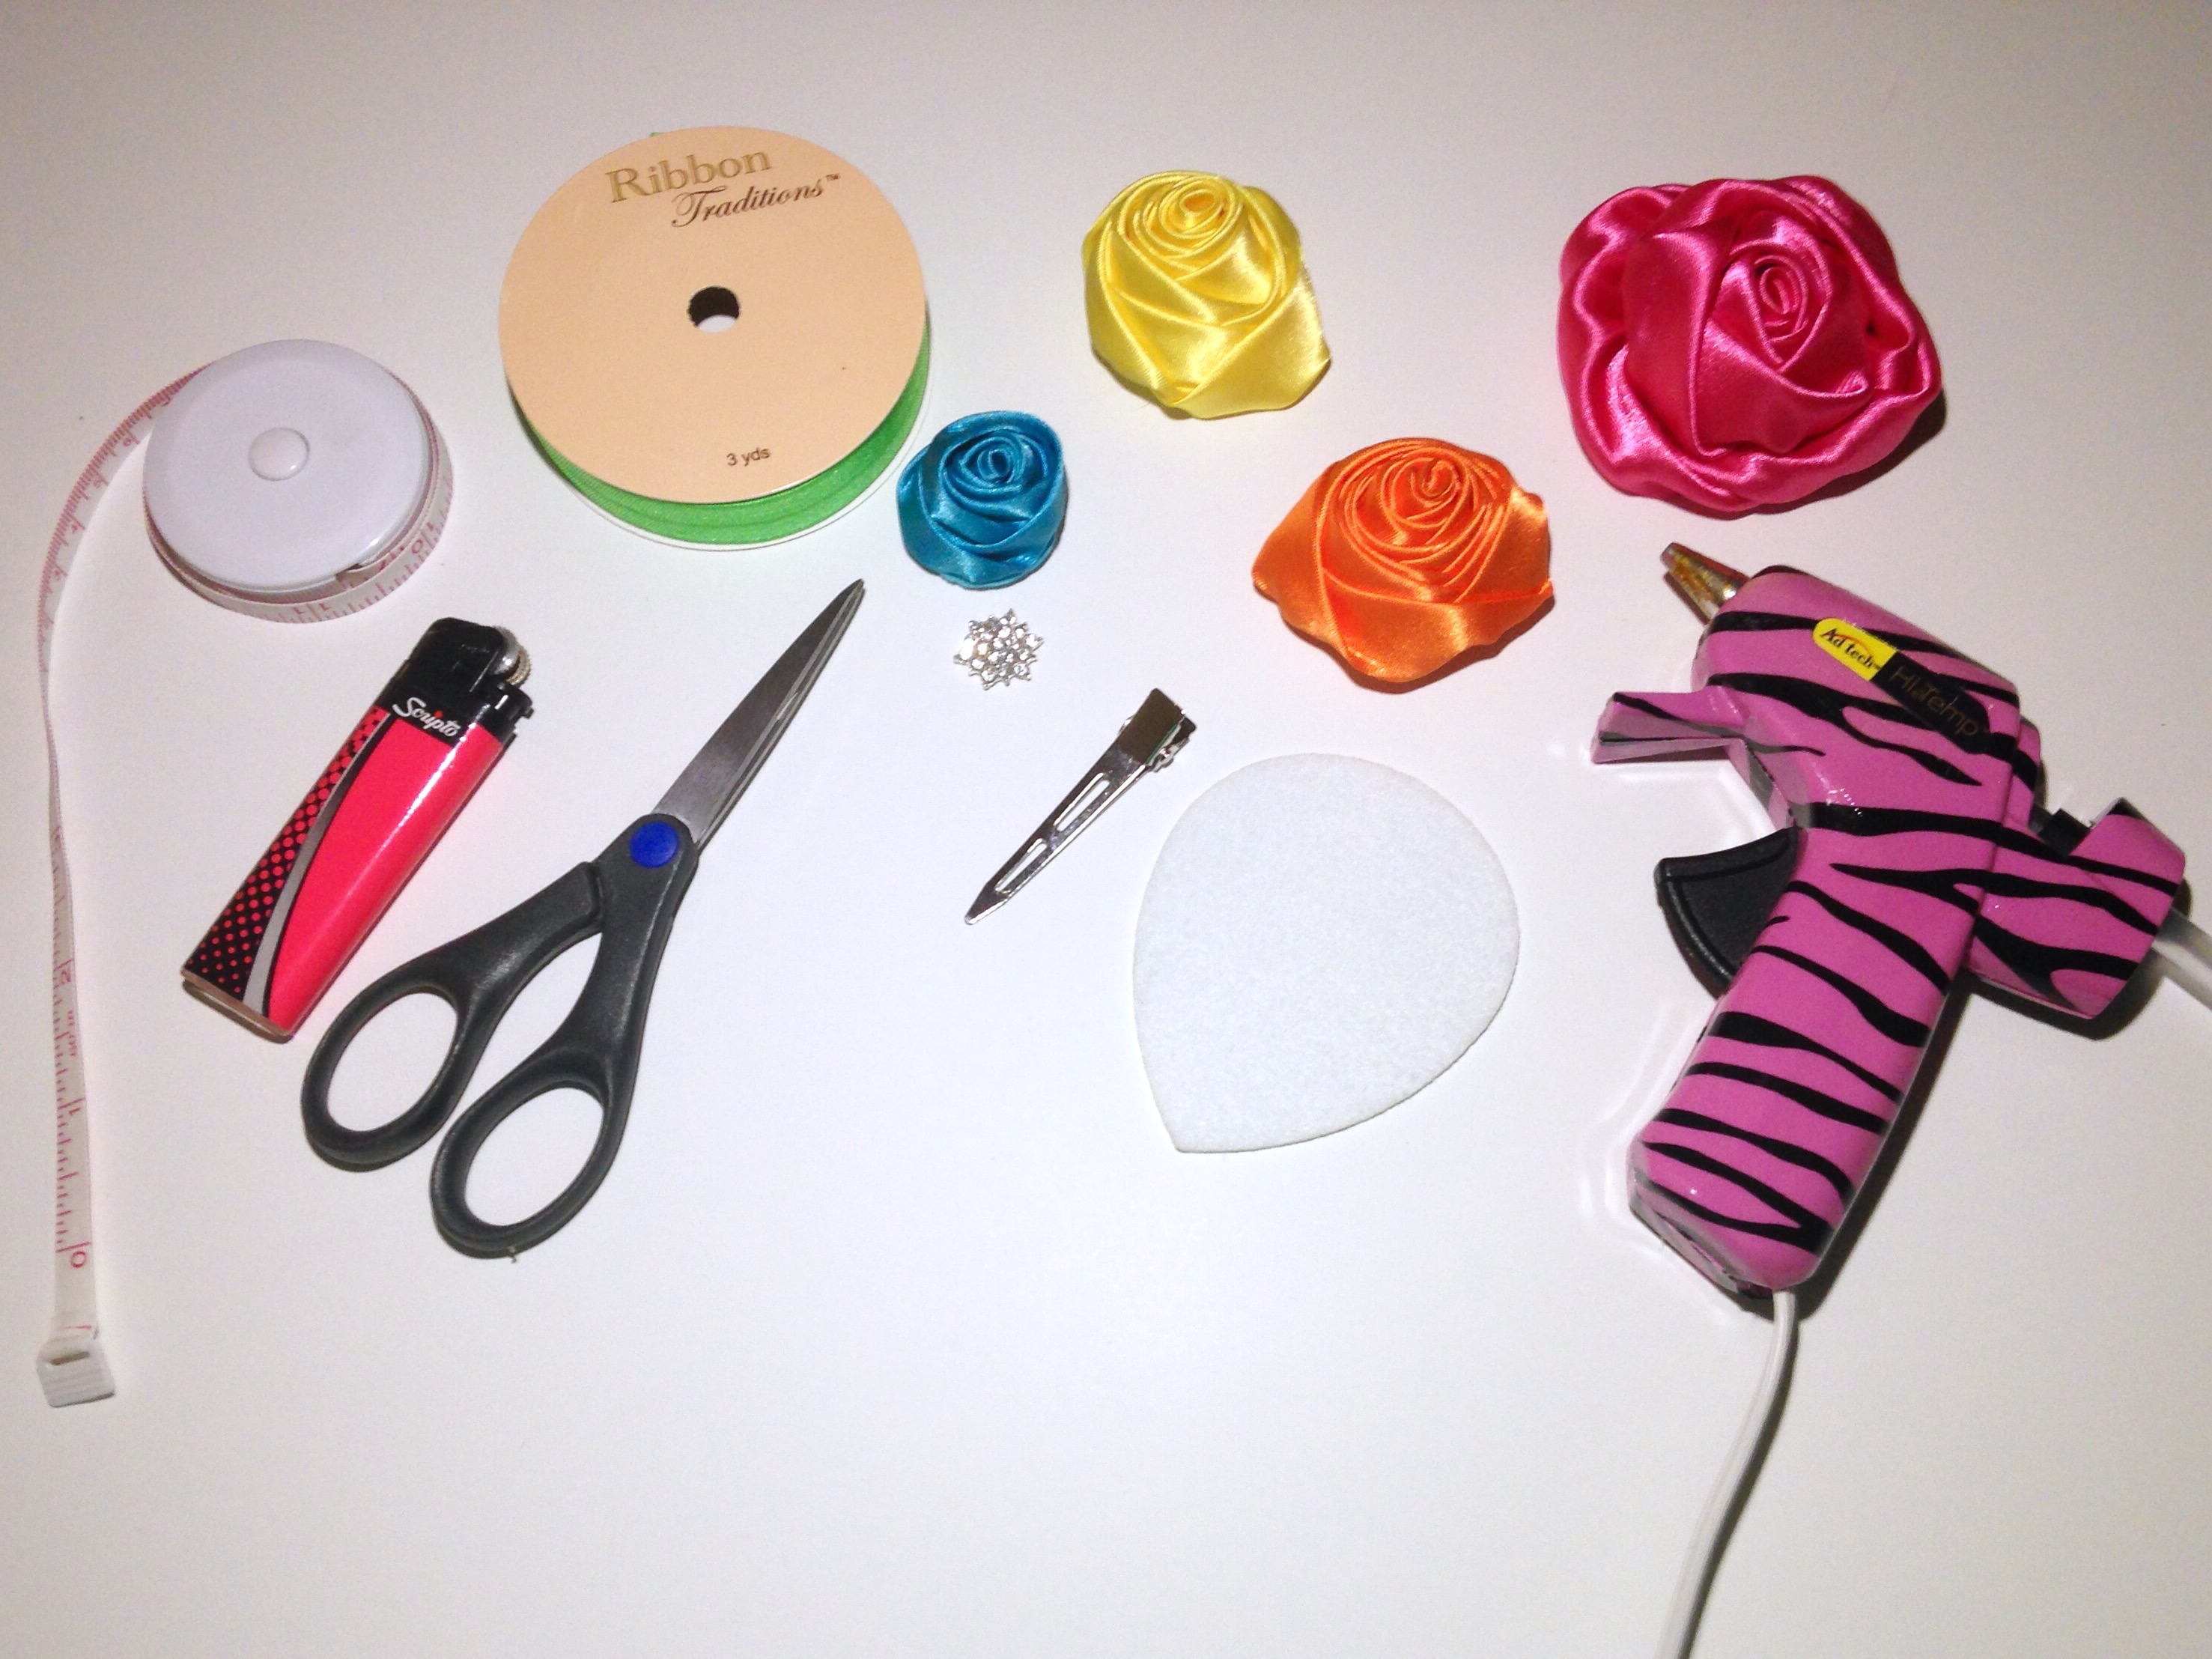 Pictured above are the supplies needed:
•3" twisted satin rose (hot pink)
•2" medium satin rose (tangerine & soft yellow)
•1.25" small satin rose (teal)
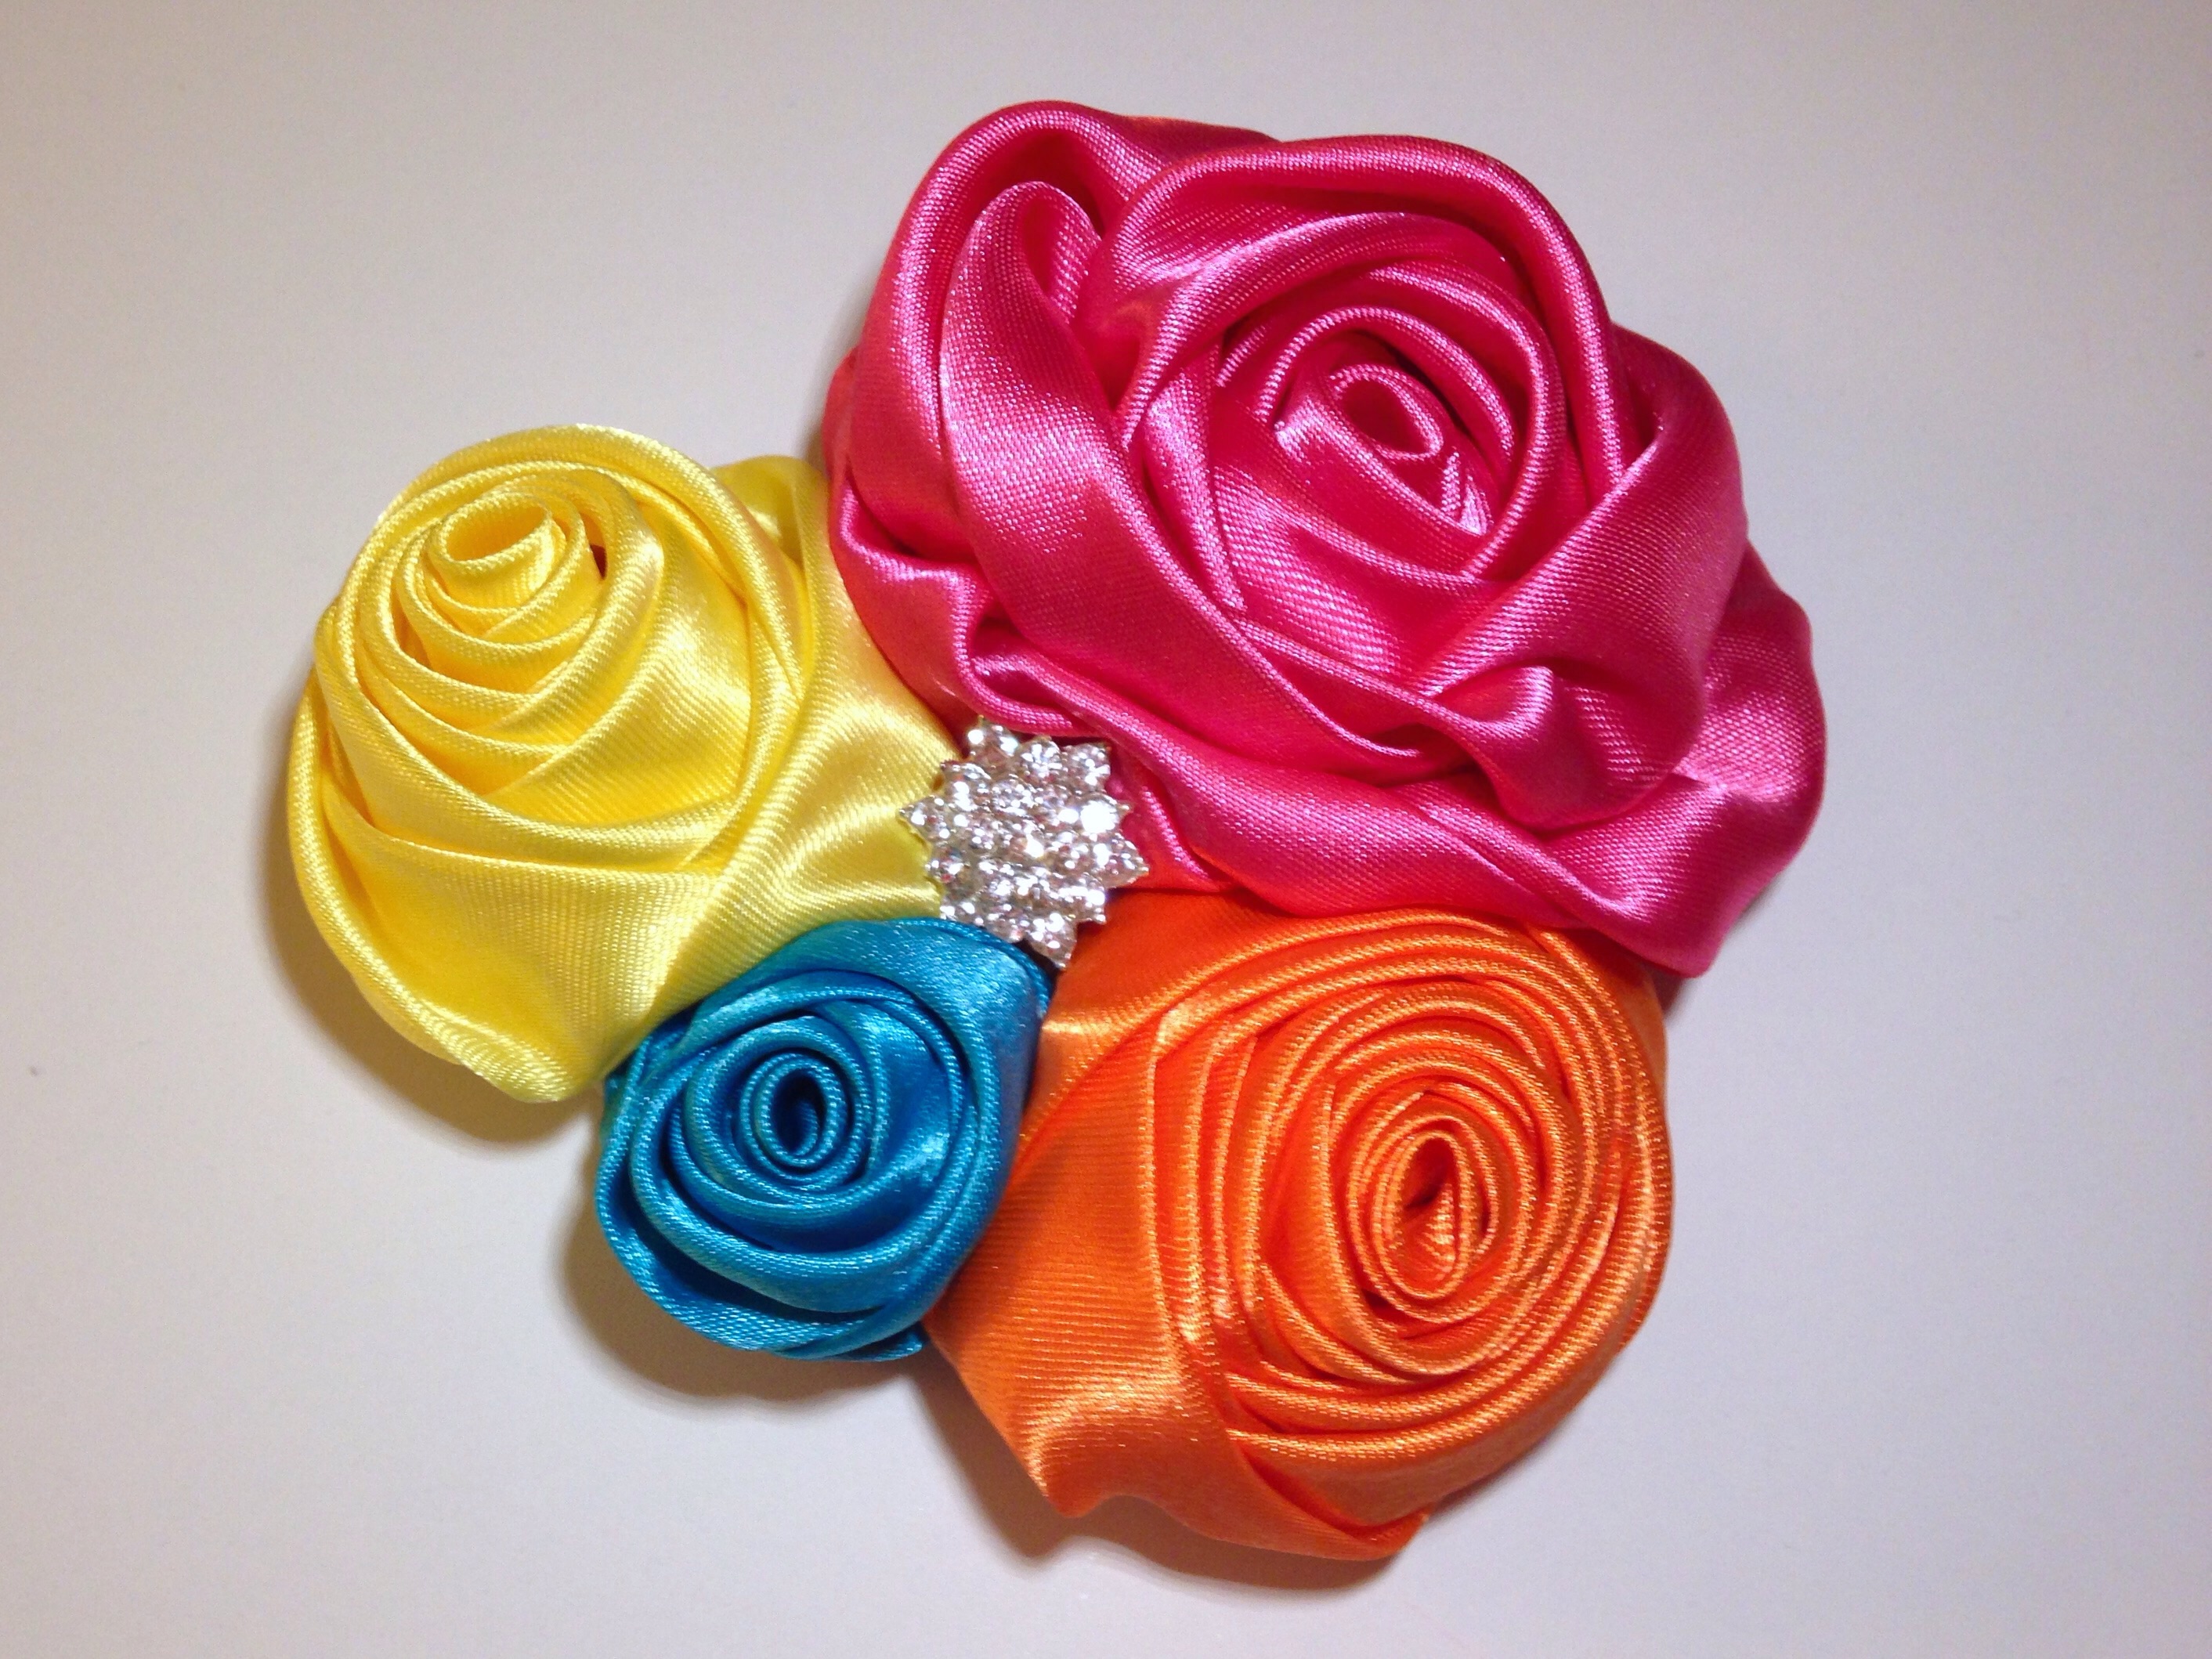
•small starburst rhinestone embellishment center
•5/8" elastic ribbon (apple green)
•2.25" large alligator clip
•3.5" fan felt pad
•measuring tape
•scissors
•lighter
•hot glue gun
Pictured above are the supplies needed:
•3" twisted satin rose (hot pink)
•2" medium satin rose (tangerine & soft yellow)
•1.25" small satin rose (teal)
•small starburst rhinestone embellishment center
•5/8" elastic ribbon (apple green)
•2.25" large alligator clip
•3.5" fan felt pad
•measuring tape
•scissors
•lighter
•hot glue gun
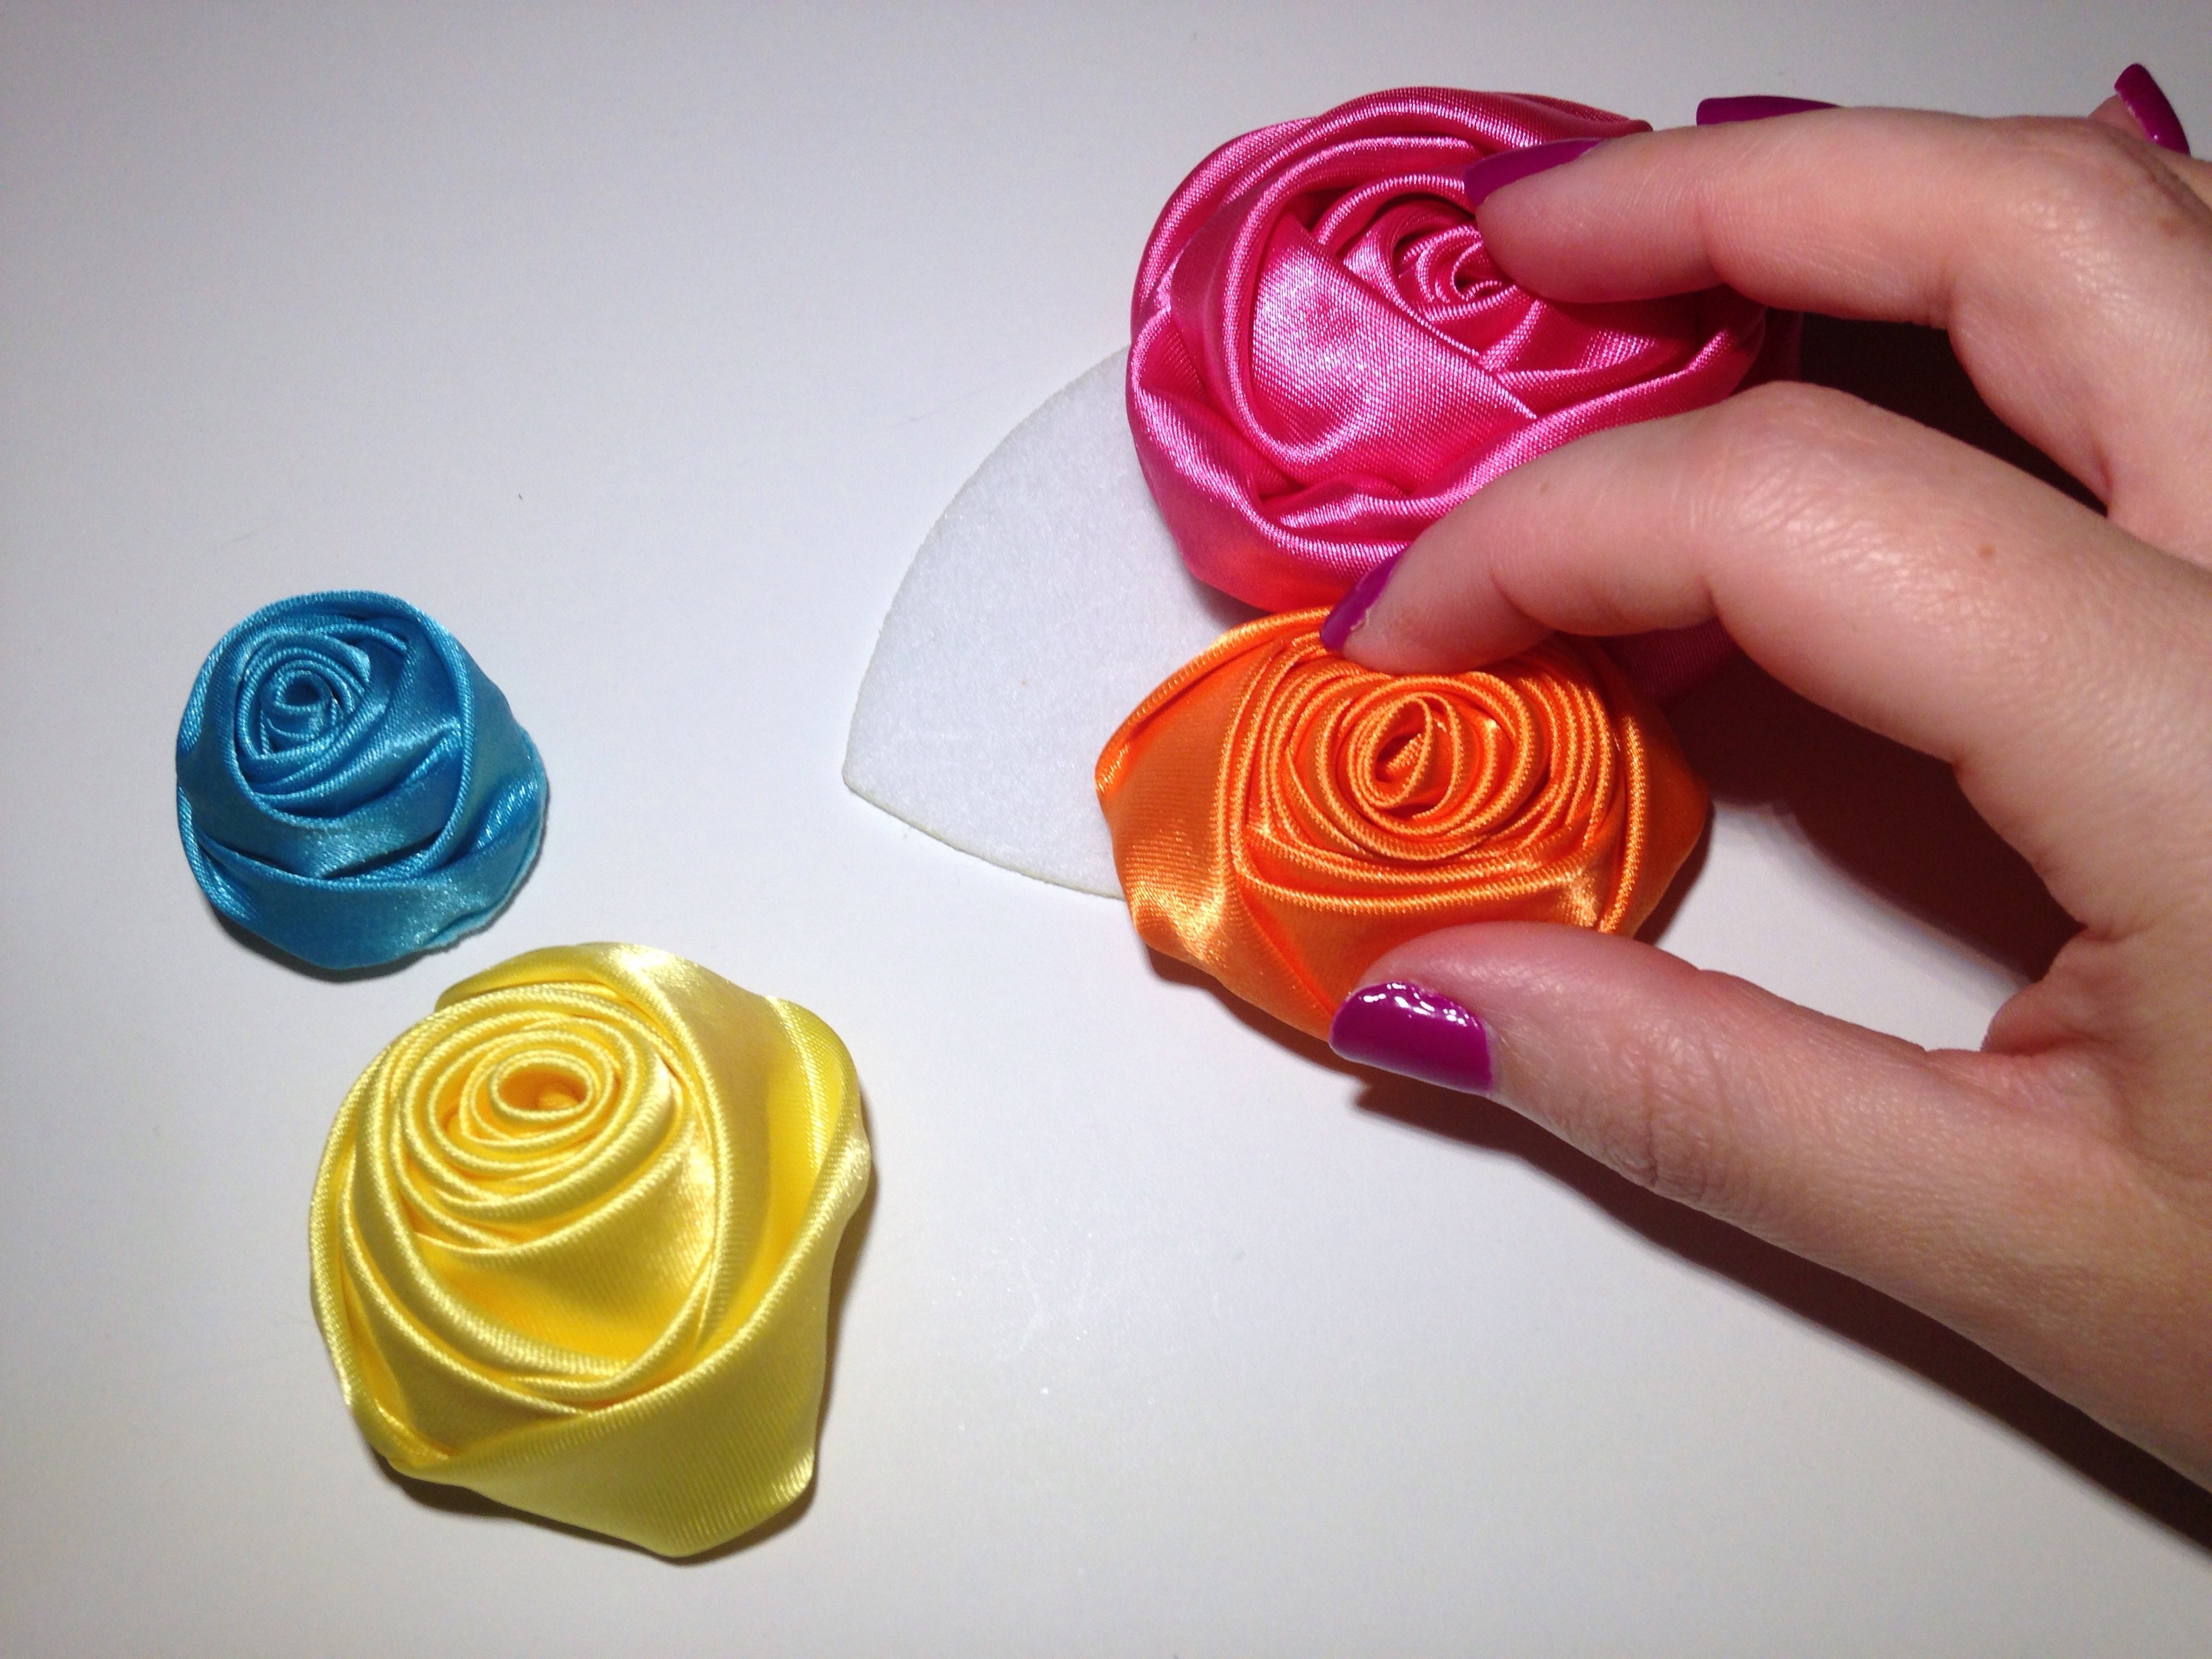
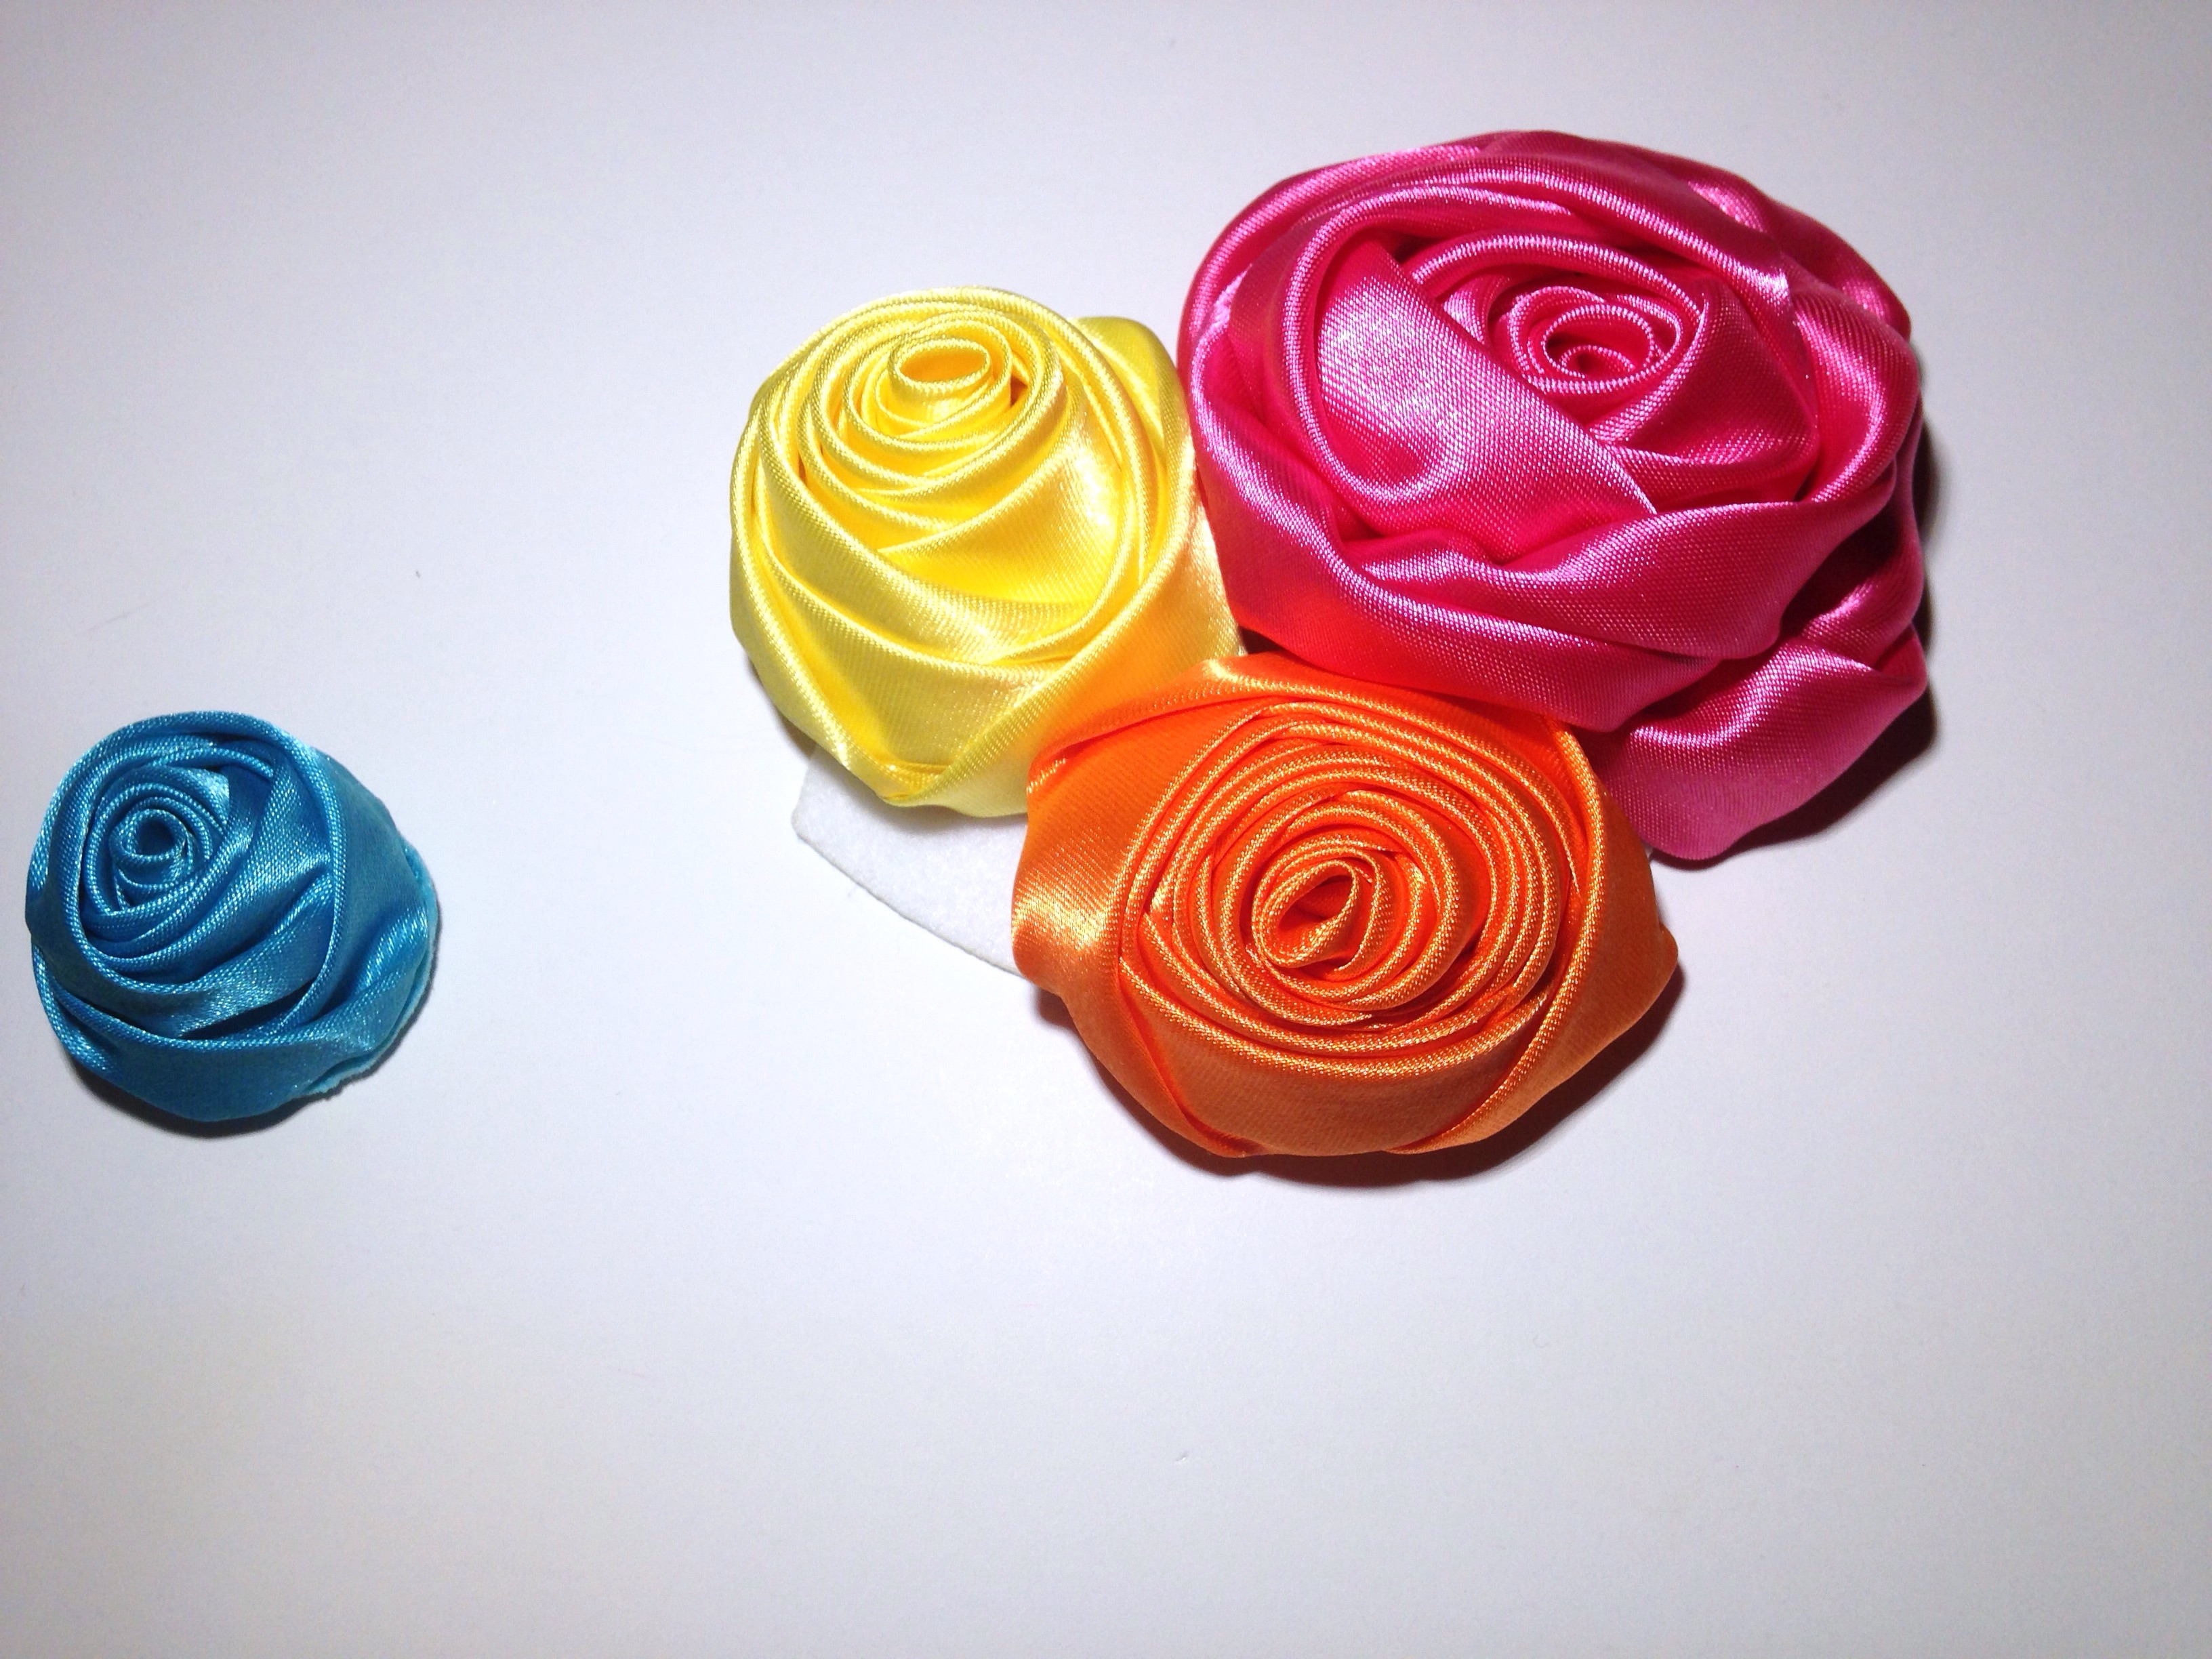
 Before we get started I must say, it took me 3 times as long to decide on the perfect vibrant color scheme & embellishment options than it did to actually MAKE this headband! Each and every color is beautiful, which makes the decision of what to use first a very hard one! So after you have chosen the perfect colors & sizes for your creation, next comes the fun of playing around with all the different ways to arrange the flowers. I highly suggest trying several options and layouts before you start glueing roses to the felt pad. I started with my largest 3" satin rose and then worked my way down in sizes. Use a generous amount of hot glue but not so much that it oozes out and becomes super messy.
 Once your roses are perfectly in place, now you can add your perfect finishing touches! HBC has so many gorgeous embellishment centers so it's super easy to finish off the look you're going for. Personally I absolutely love the way the starburst rhinestone embellishment looks with the soft & shiny satin roses! Just gorgeous!
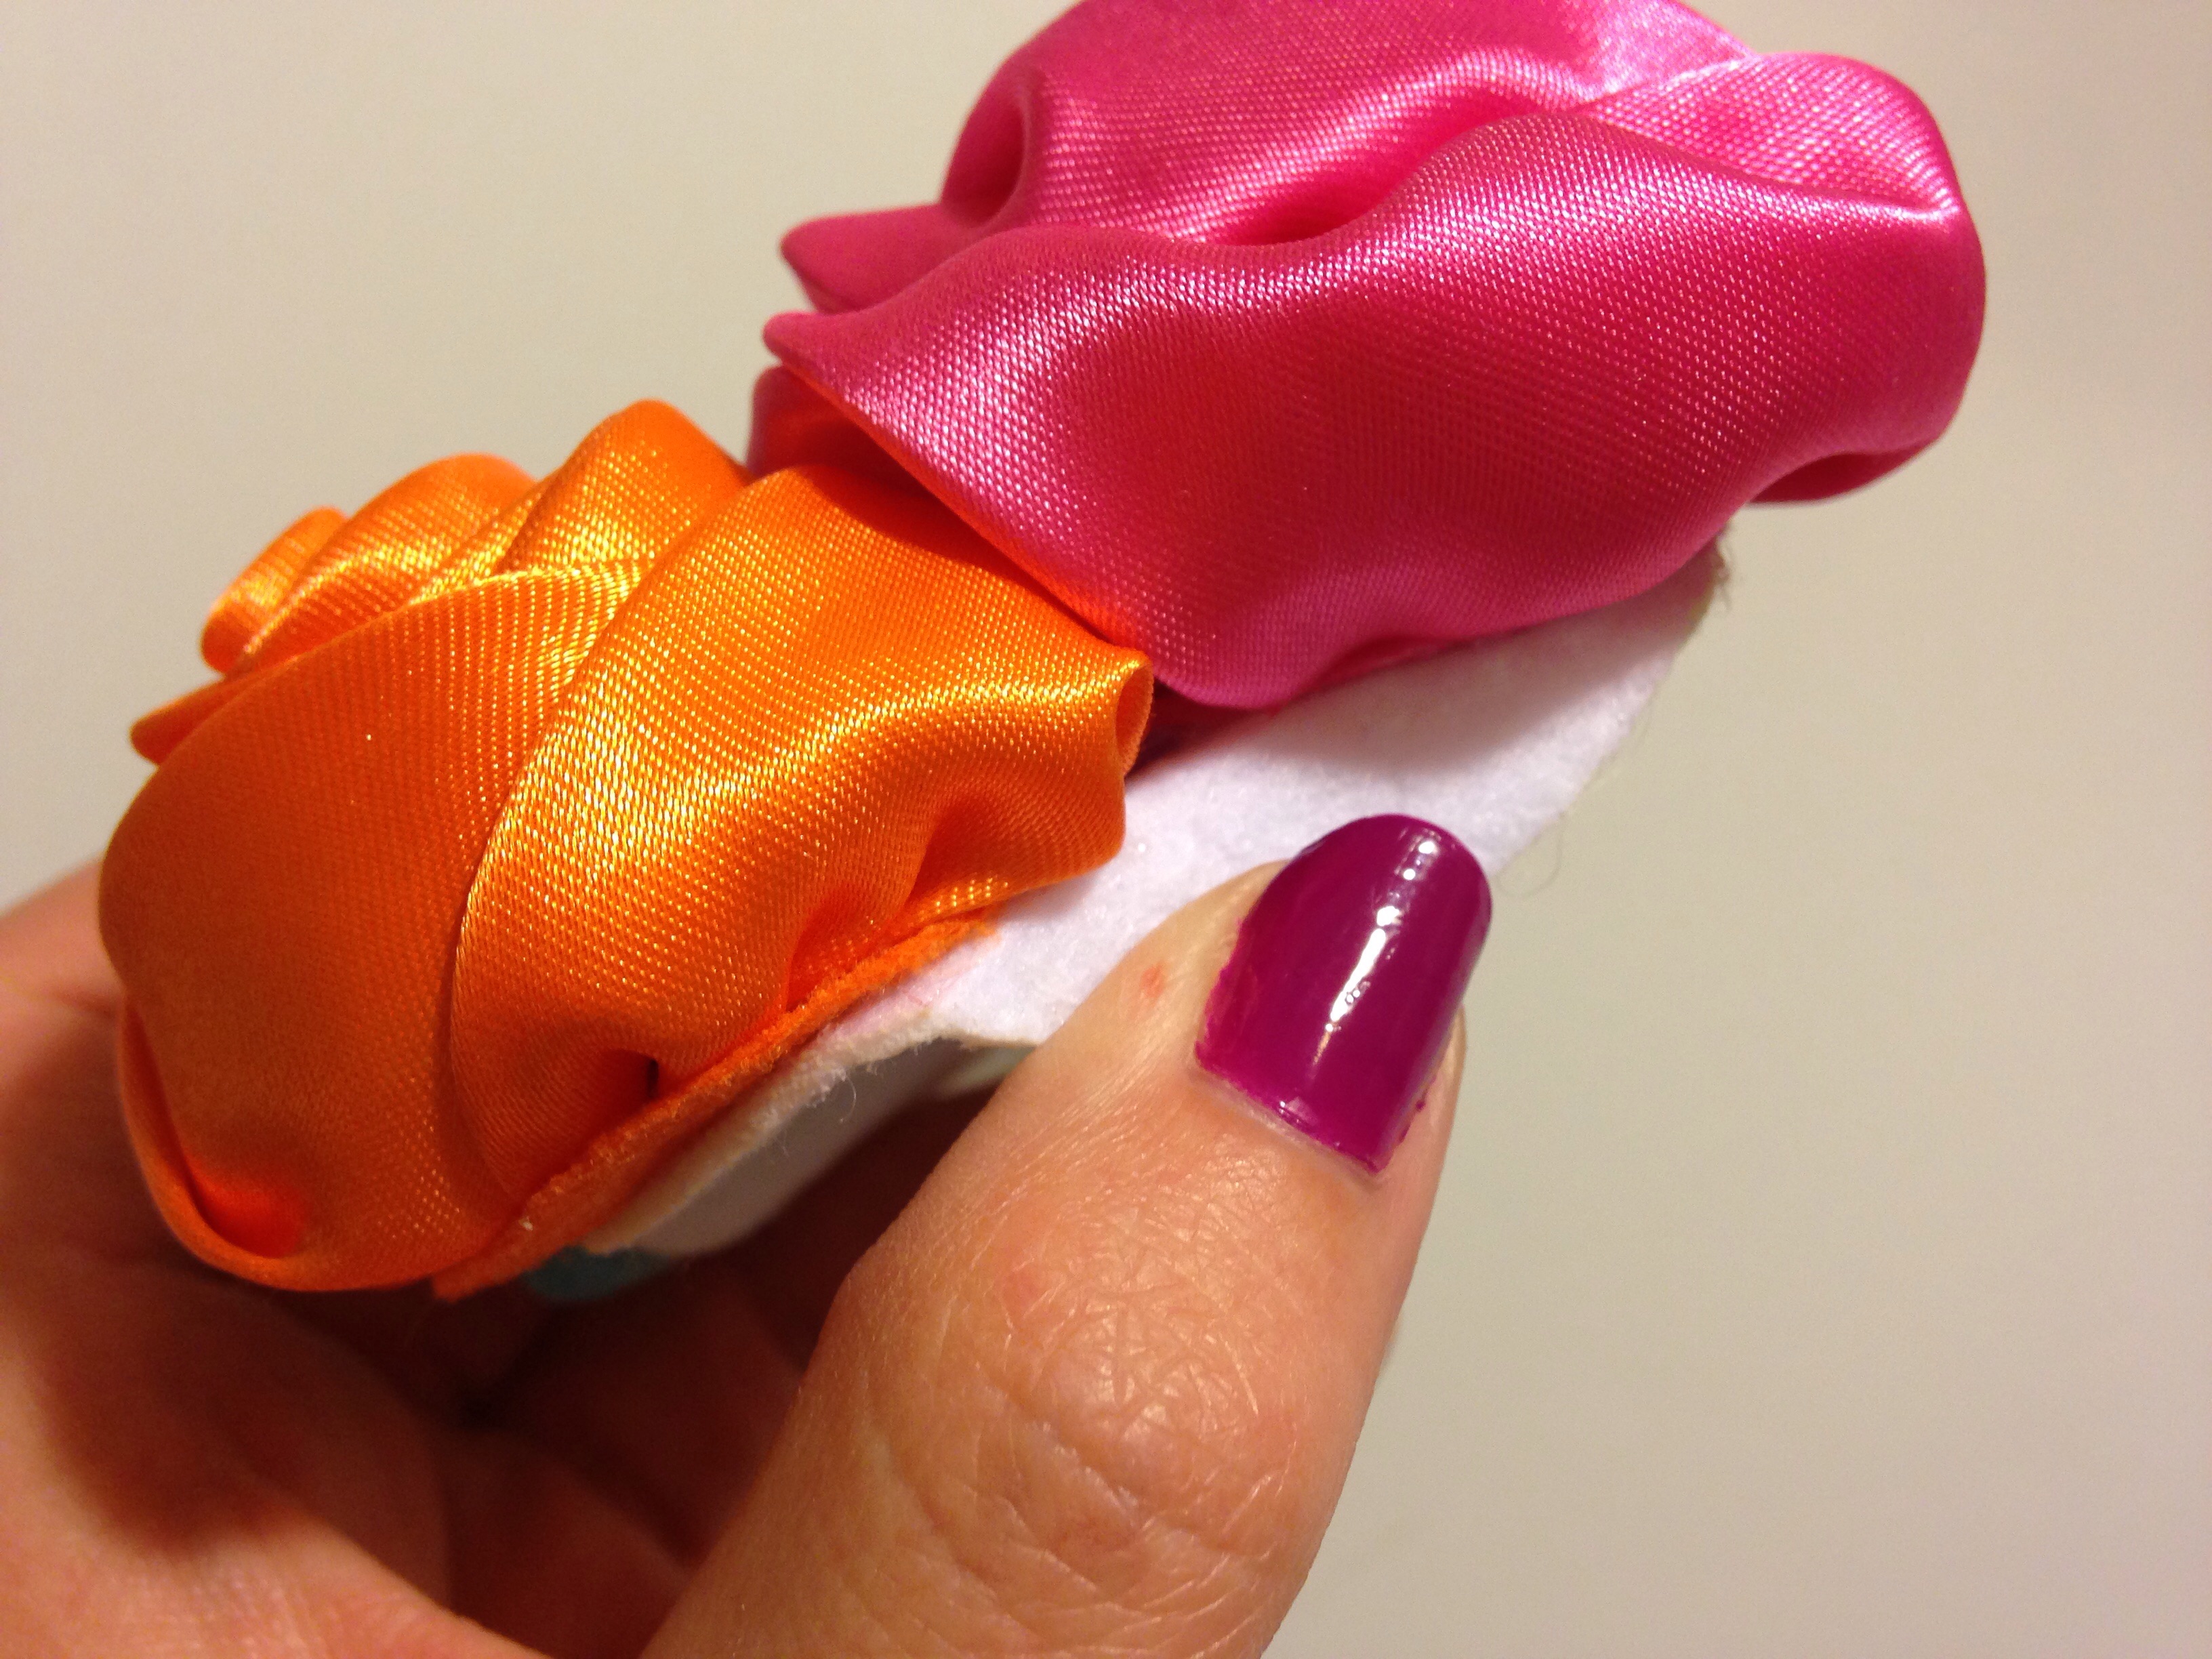
 Before we work on the backside of our flower cluster you may want to do a tad bit of trimming around the edges. If there are any white spaces along the edge that you're afraid could possibly be visible, carefully trim them away with your scissors.
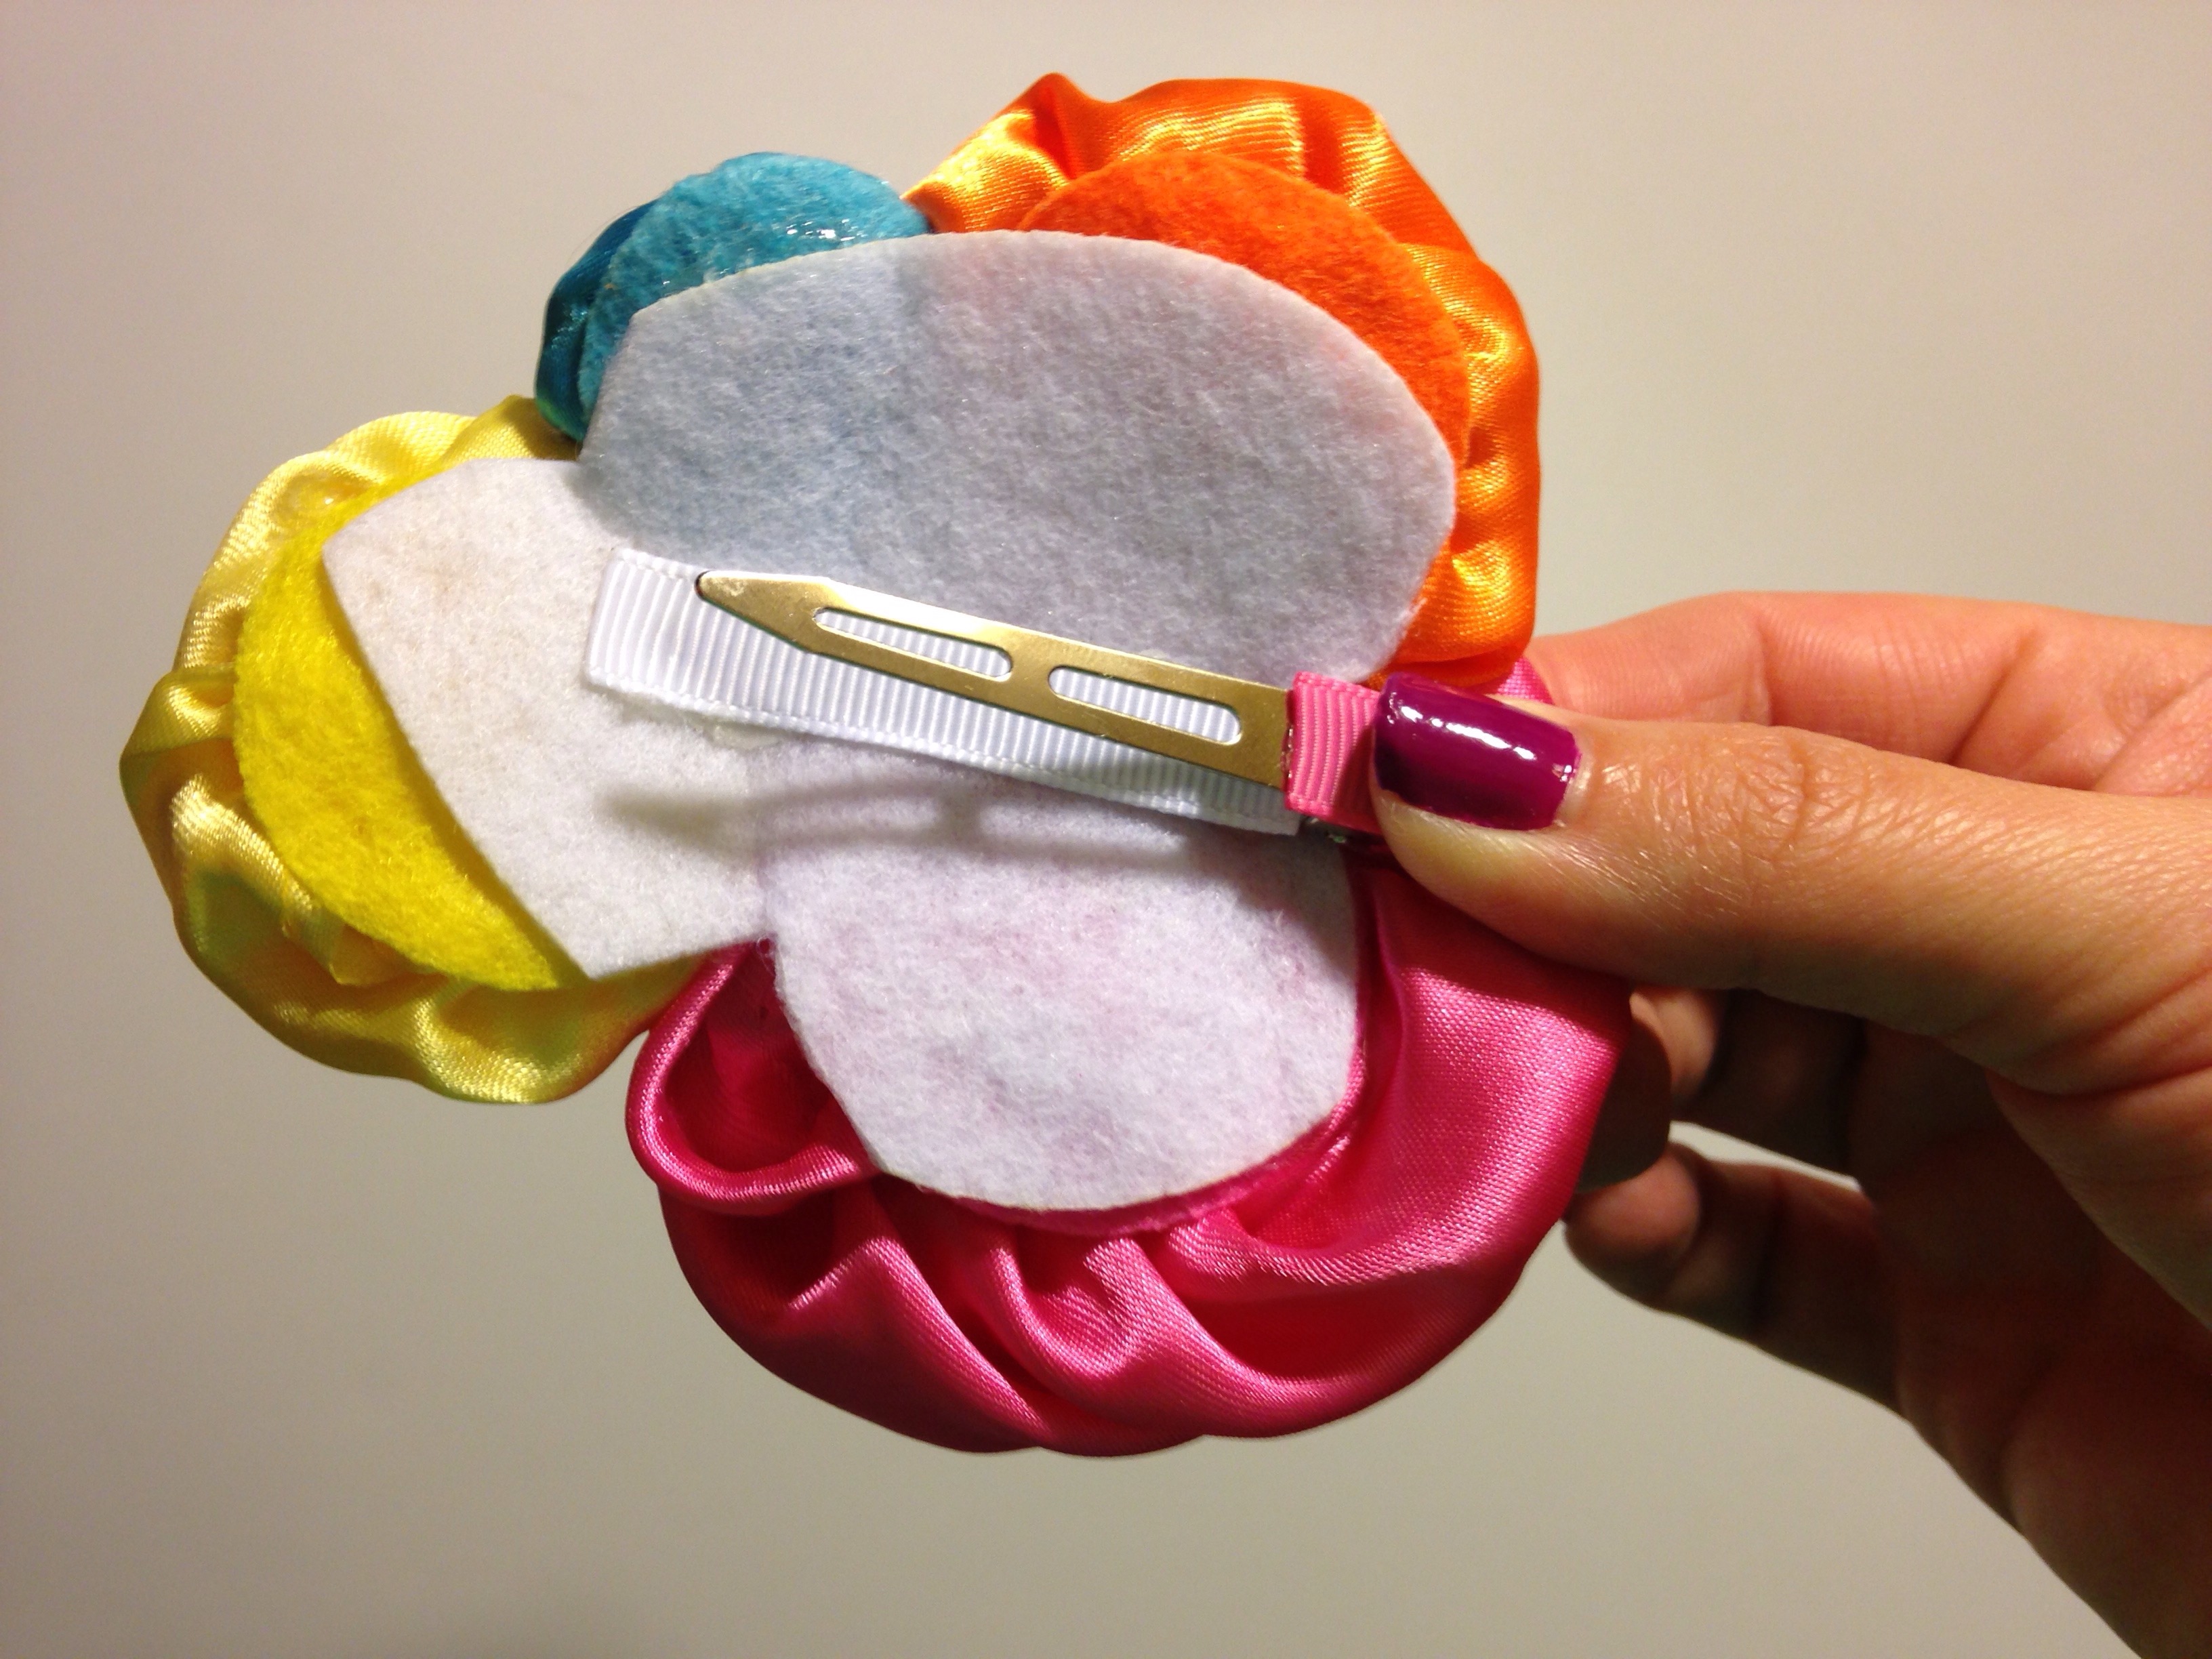
 Now why would we be adding an alligator clip if this is a headband? Well, from my experience I've learned that the older my daughter gets the more she rebels against wearing headbands for very long. She loves to wear her bows, so instead of only having a headband that may or may not get worn for very long, I like to have an additional option! By adding a large alligator clip to the back of my felt this gives her the option to also be able to clip the beautiful cluster of roses directly into her hair. I have chosen to use a large alligator clip simply b/c they are my favorite. You may use a smaller alligator clip if you prefer. To assure the clip will not be seen, I found the perfect spot underneath the fluffy hot pink layers of my largest rose. To hide the clip even more you can line the end of your clip using 3/8" ribbon in a matching color.
 To secure my alligator clip to the felt I am using a generous amount of hot glue and then covering one side of the clip with a small piece of 3/8" white grosgrain ribbon to match the white felt backing. Now the clip is held firmly into place so I can clip into my daughters hair or onto the headband that we're about to make!
 Making your own elastic headband is super duper simple! If possible, measure your little darlings head (or whoever will be wearing this sweet satin ensemble) to get an idea of how much elastic you will need. Don't forget to adjust the size to make room for stretch. If the headband is too large, the weight from the cluster of roses could cause it to be loose and floppy or even fall off her head. If you have a headband made of similar material that fits well, you could even measure it to make your perfect fit. So my daughter is 2 years old and I am using between 16-17 inches of elastic.
 After cutting your elastic, very quickly run your lighter across the ends to prevent them from fraying and falling apart. Form a circle overlapping the ends about an inch and hot glue. Cut another 2" piece of elastic. Don't forget to run your lighter across the ends. As shown in the pic above, hot glue one end to the backside of the headband vertically.
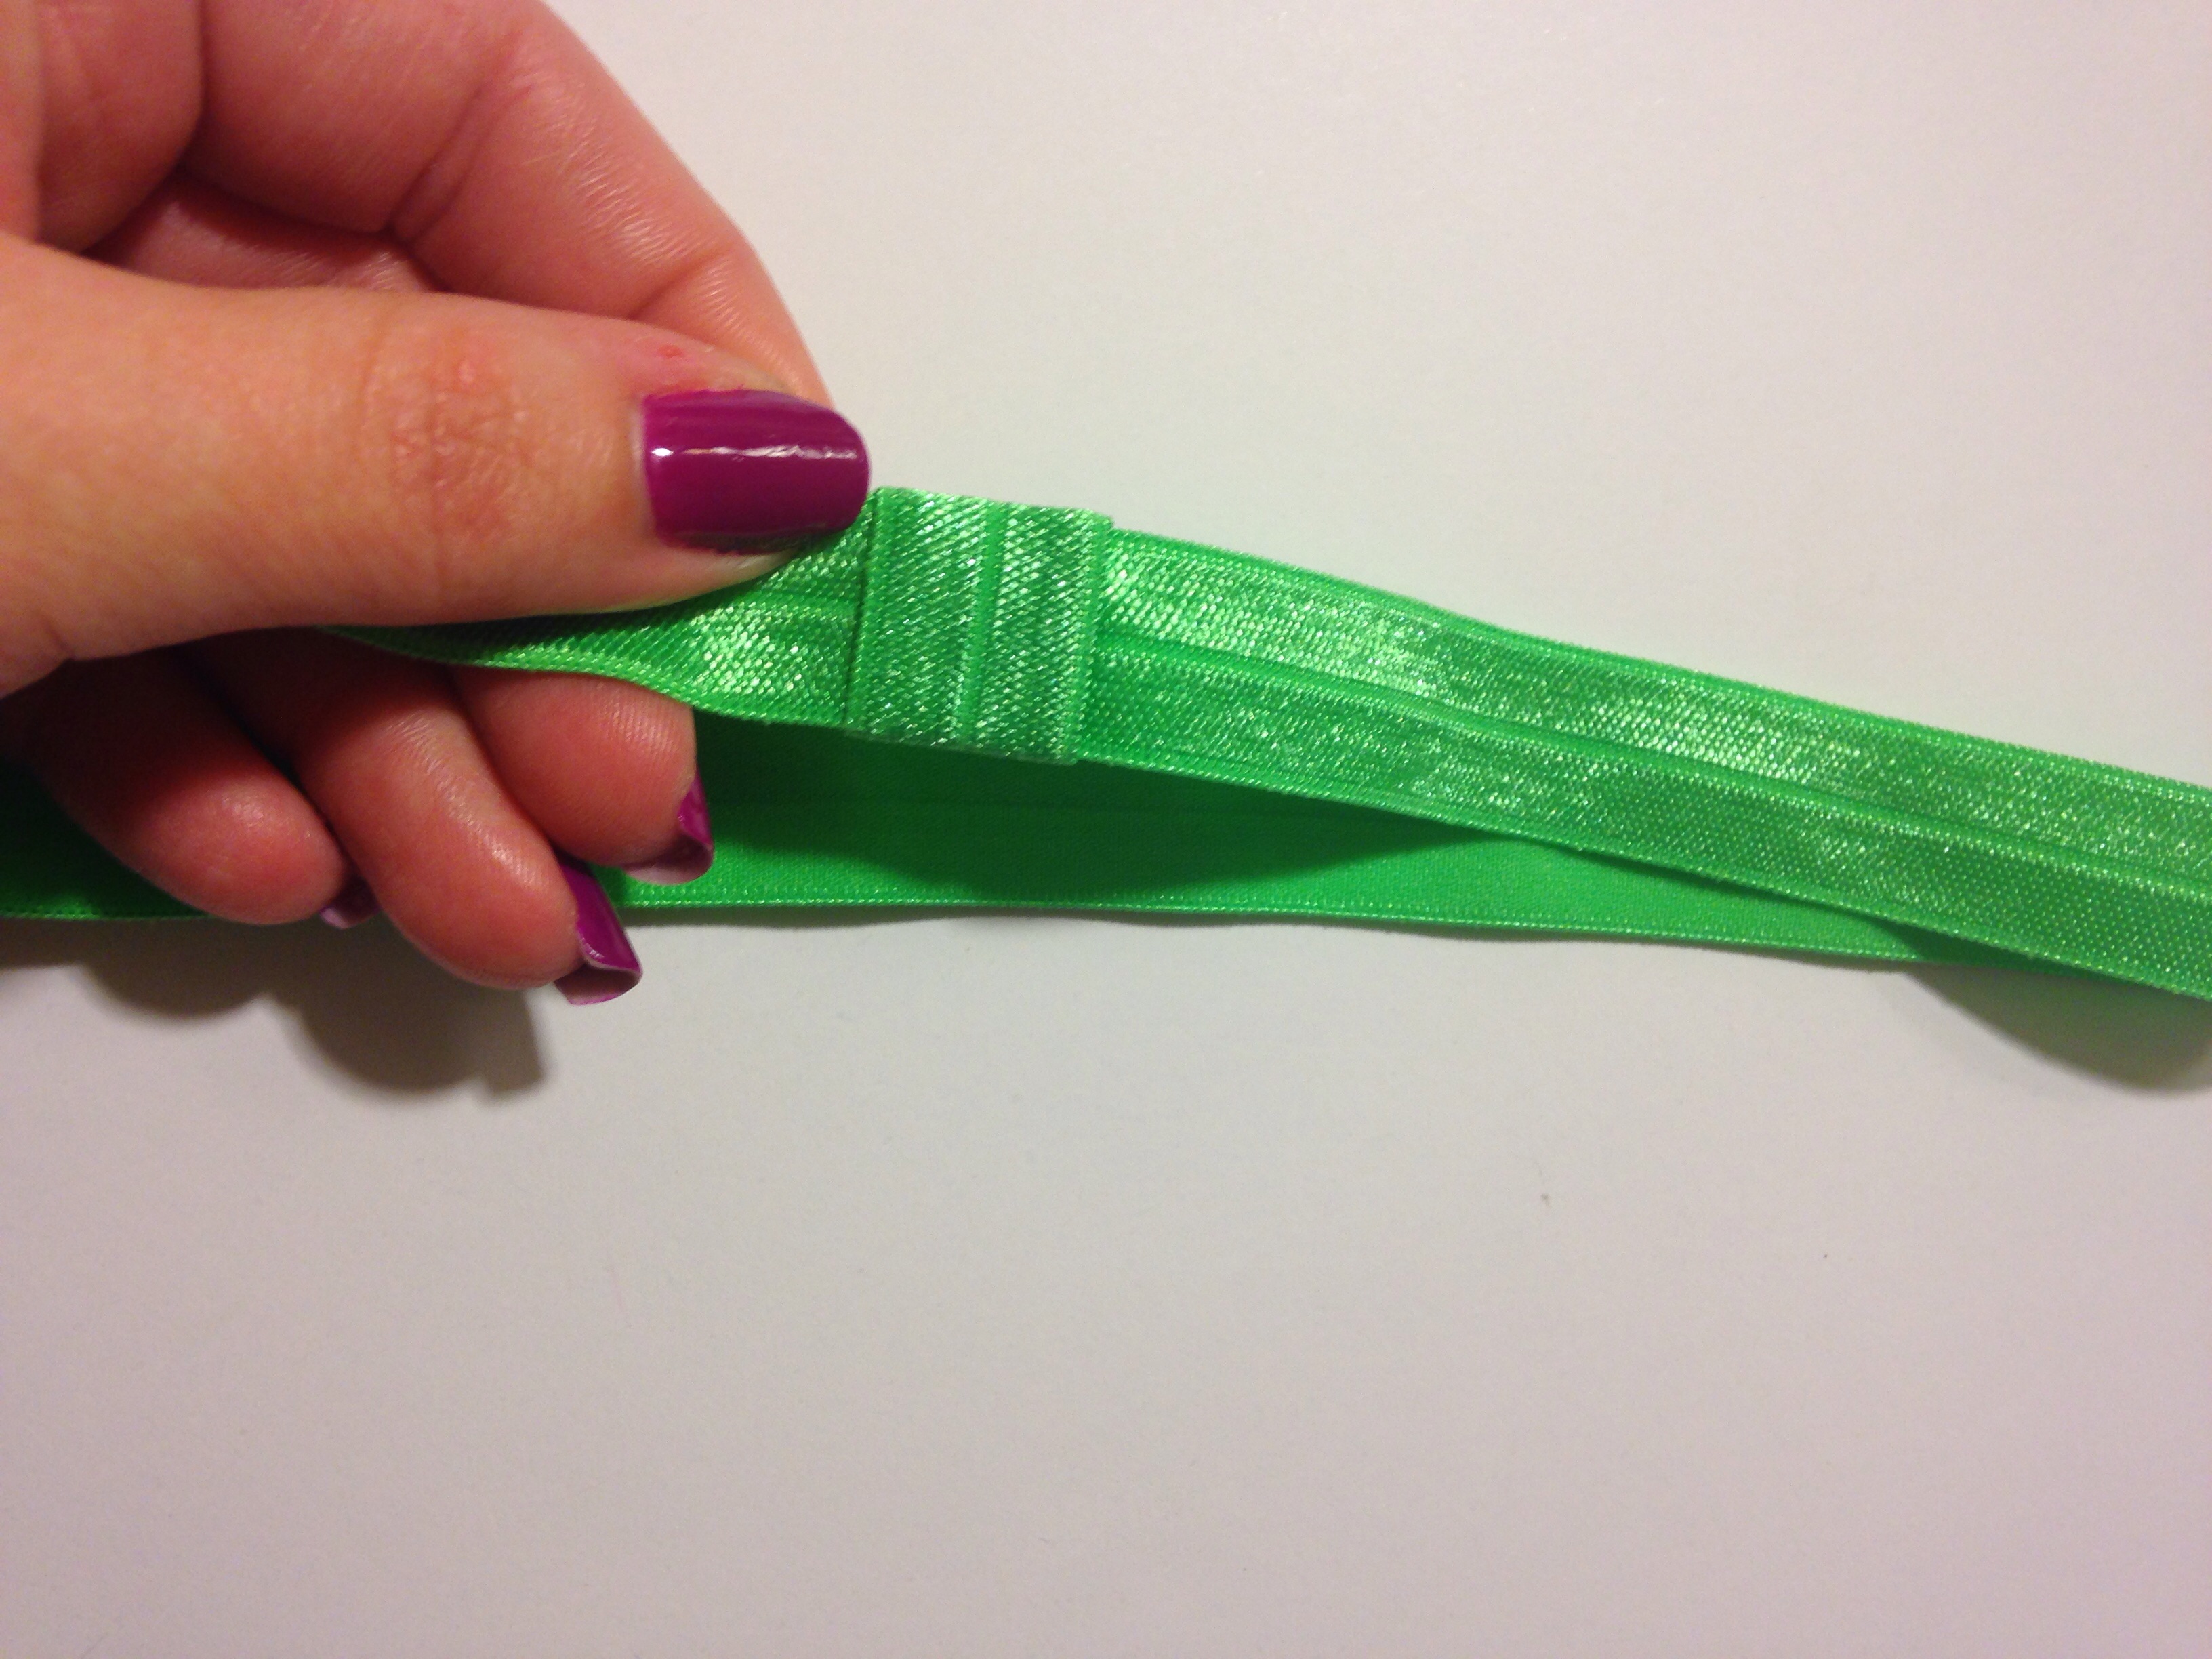 Wrap around to the front side but do not glue down. Bring the remaining elastic around to the backside and glue down once again. Now you've made a loop that you can easily slide your alligator clip in & out of!
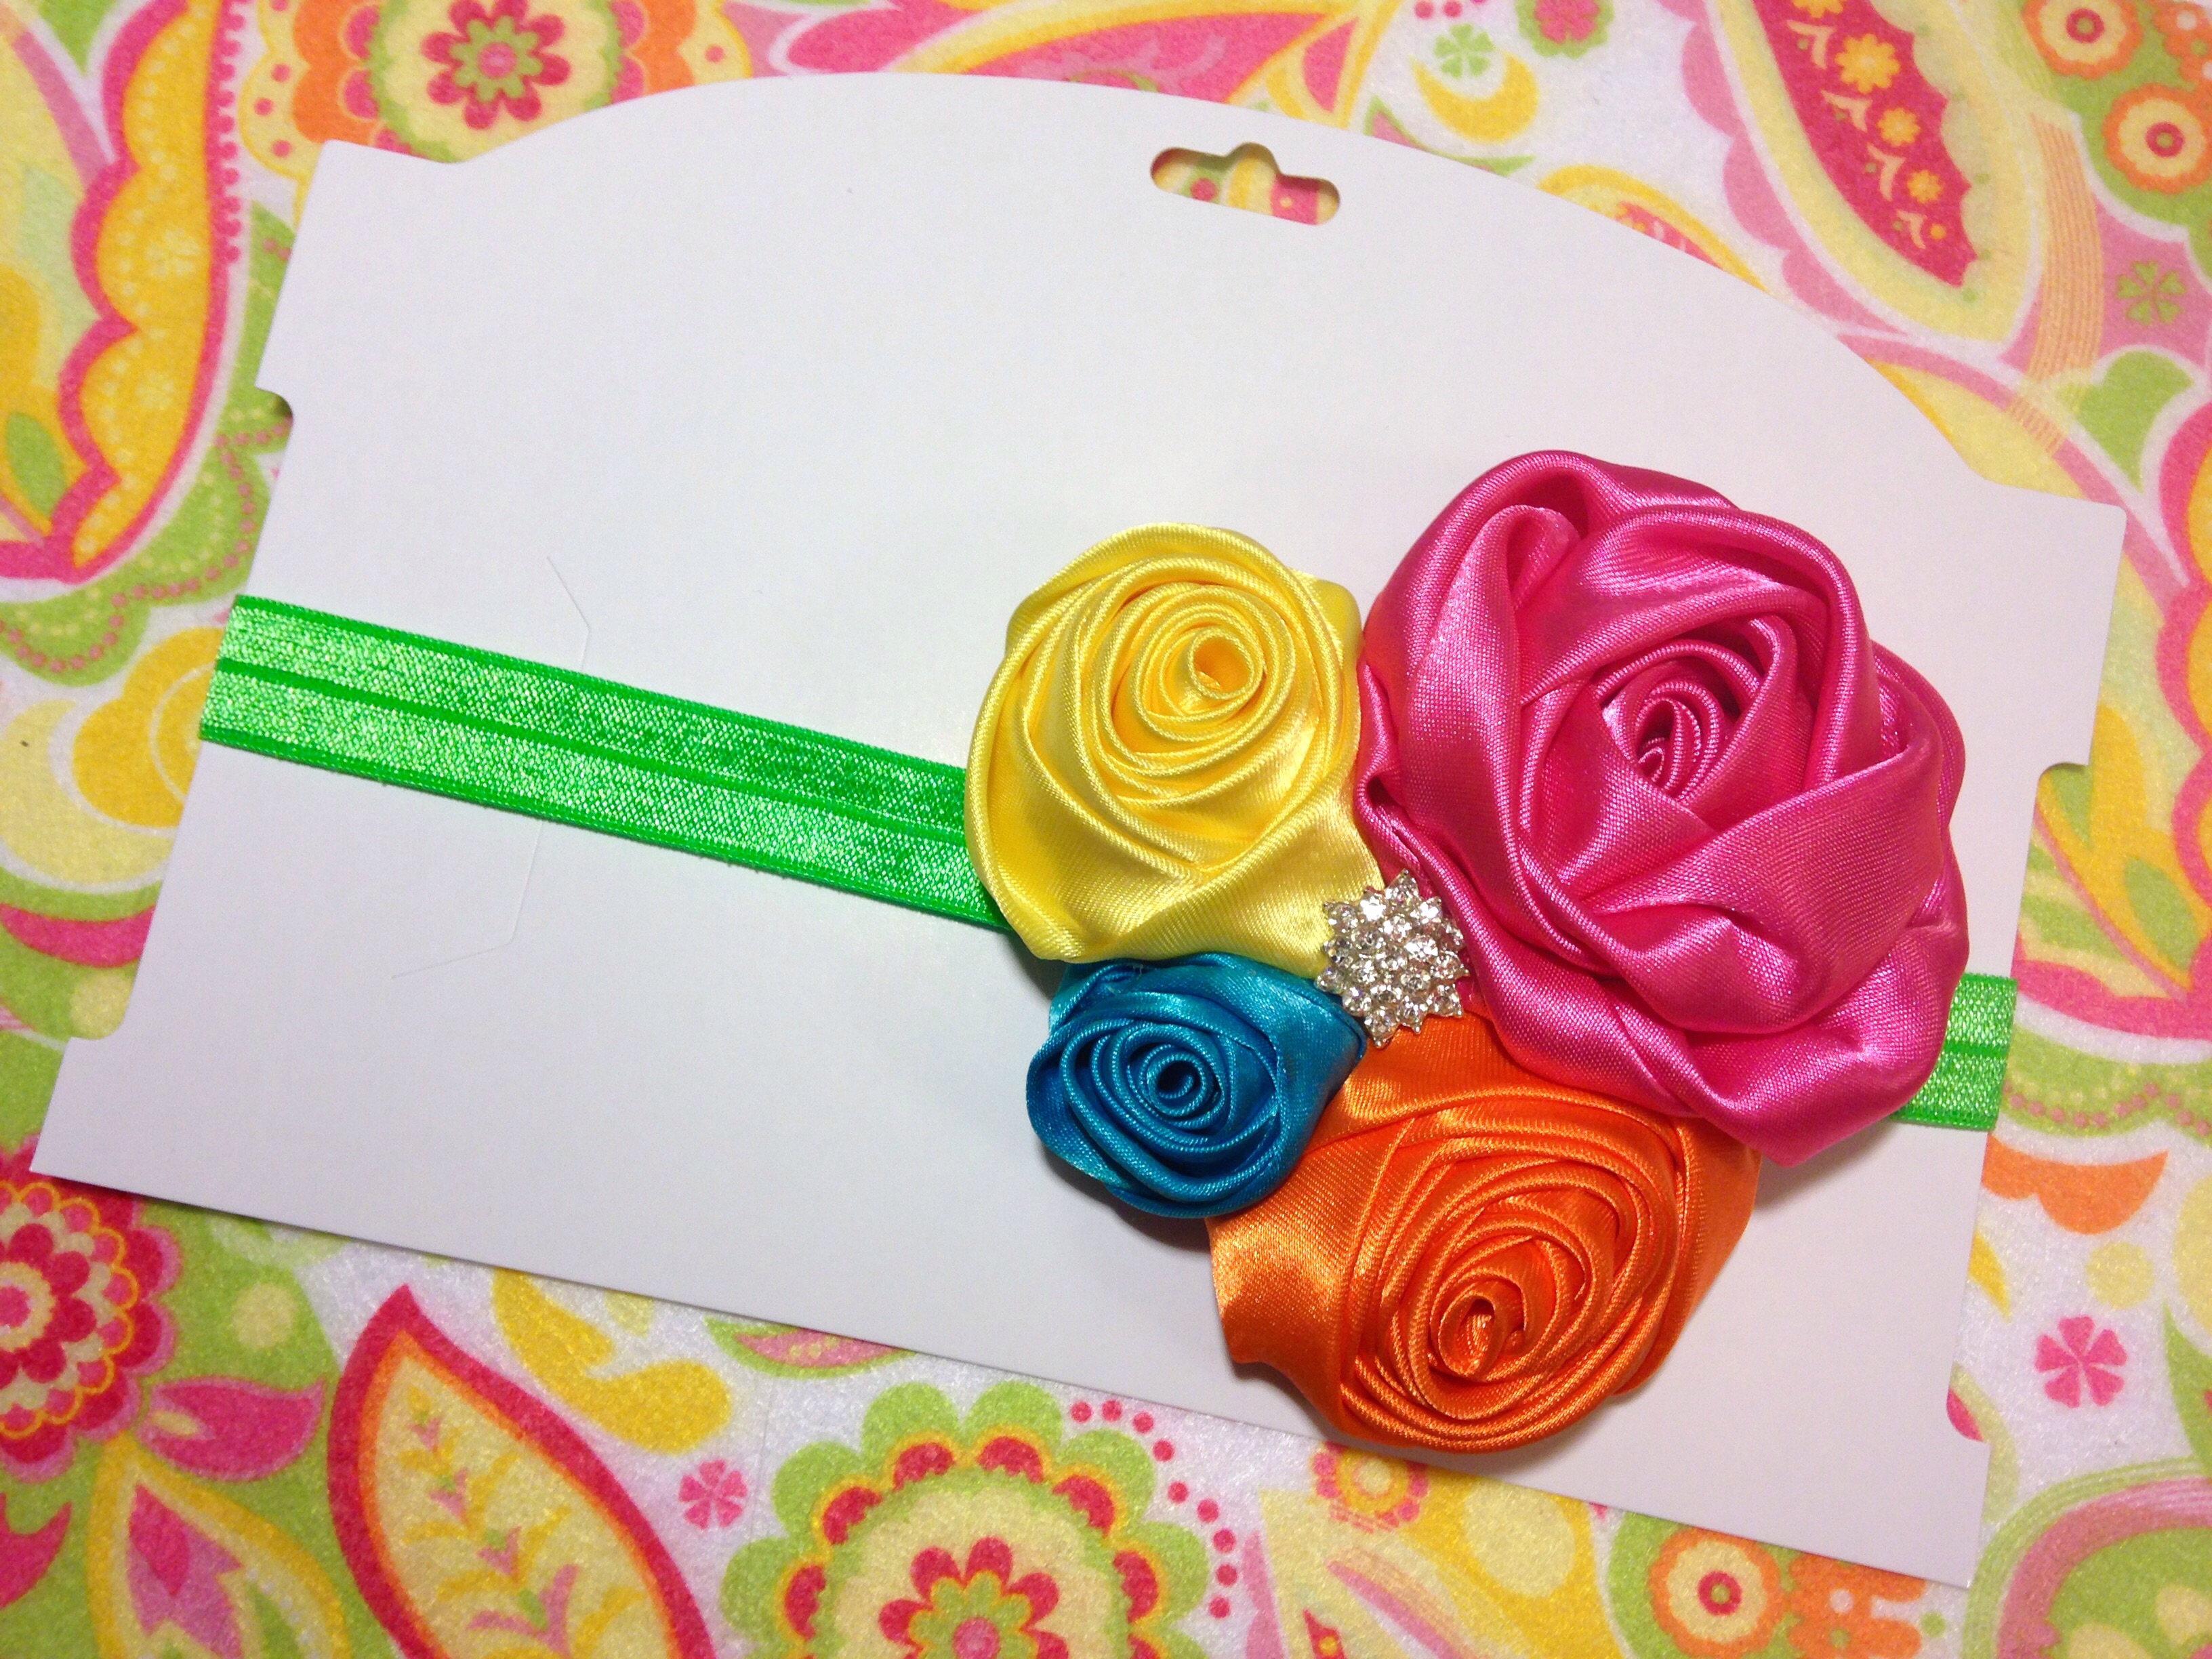 We're finished! Don't forget to slide your beautiful new headband onto one of HBC's headband display cards! I hope you've enjoyed making our adorable, multifunctional, stunning, satin rose headband!
Visit the rest of our blog for more Crafting Tutorials and DIY Instructions!
Loading...

