Contributor post by Danielle at Korker Krazy
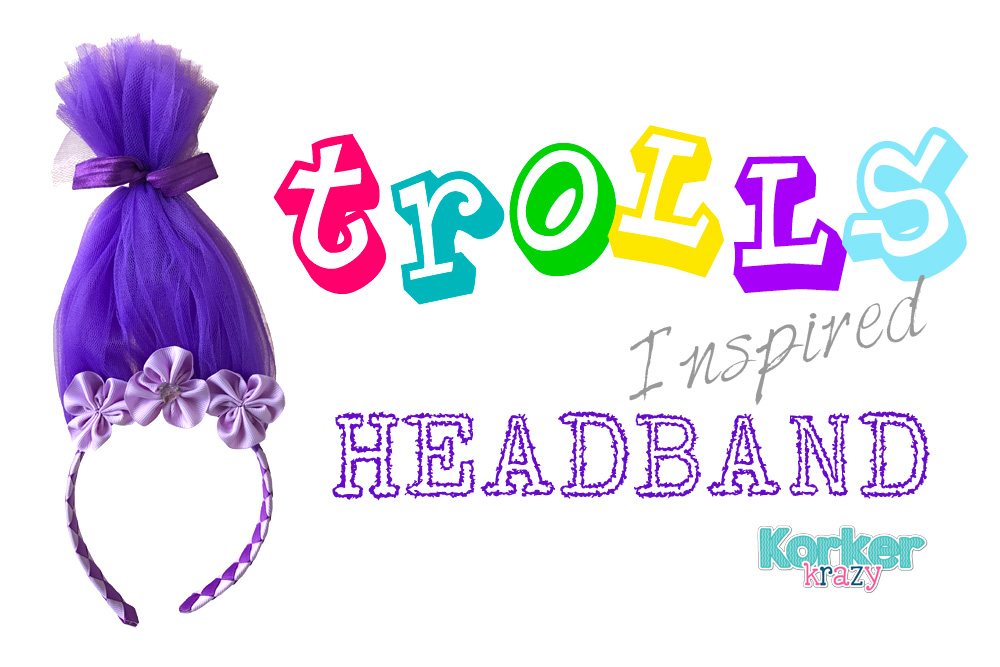
Who else has a little one obsessed with the new Trolls movie?! My little girl just loves it! She loves pretending to be a troll so I thought I would make her this adorable Troll hair headband!
Supplies Needed: Hot Glue Gun & Glue Needle and Thread Scissors/Rotary Cutter Lighter 6" Tulle - Purple Fold Over Elastic - Purple
For the woven headband 1/2" Plastic Headband 3/8" Grosgrain Ribbon in Light Orchid and PurpleFor the flowers 7/8" Grosgrain Ribbon in Light Orchid Rhinestone (Optional)
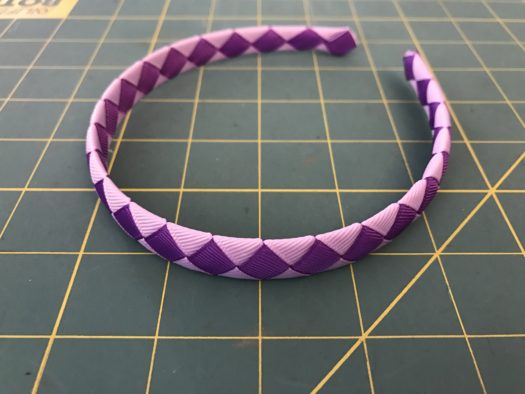
Make your woven headband. You can follow my other tutorial here if you need help making one.
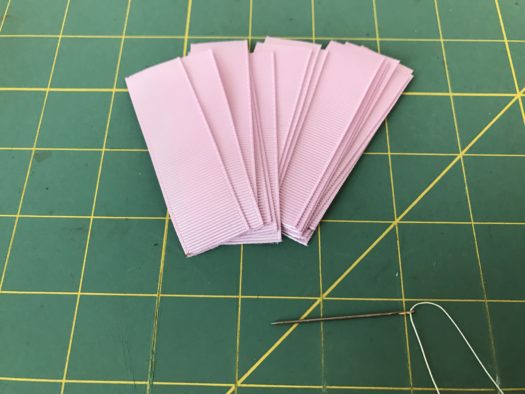
Cut your 7/8" ribbon for your flowers. For each ruffle flower I used 3 pieces of ribbon.
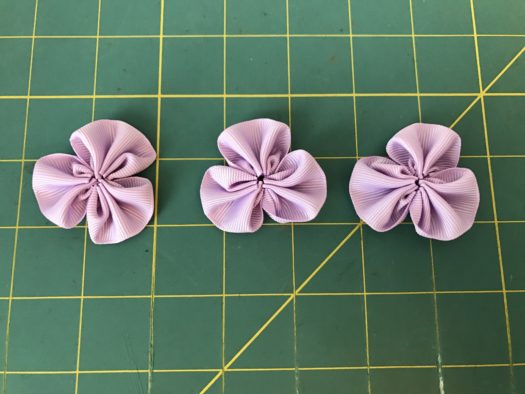
I made three flowers to attach to my troll headband, you can make however many you would like. You can follow my tutorial here for how to make these ruffled ribbon flowers. The only difference is we are just making one layer and these flowers only have three petals.
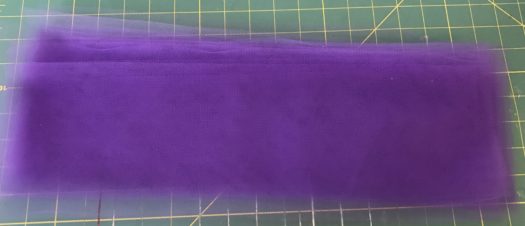
Now we can start on the troll hair! Cut your tulle. You need 20 pieces that are each 18" long.

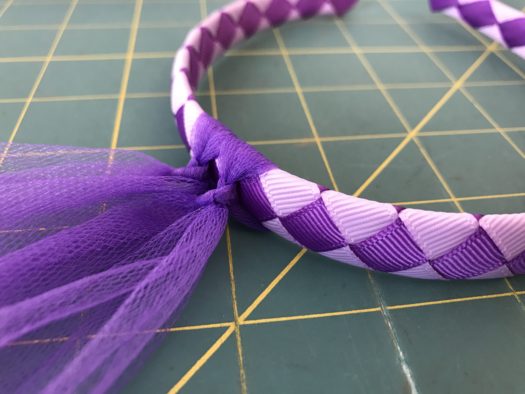
Start wrapping the tulle around the headband. Using one piece of tulle at a time - place the center at the back of the headband.
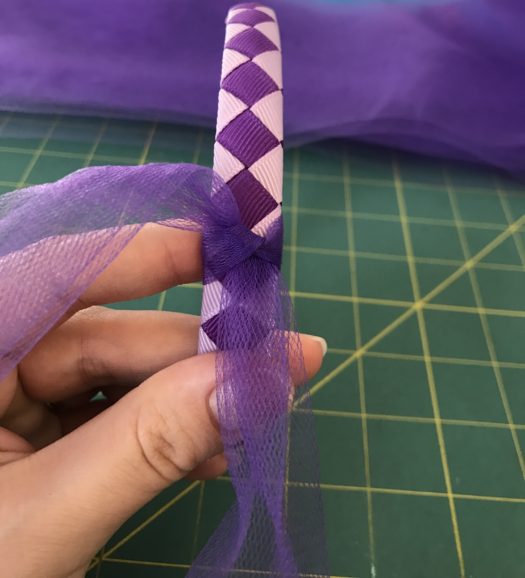
Tie the tulle into a knot. Stretch out both tulle ends and make sure they are even.
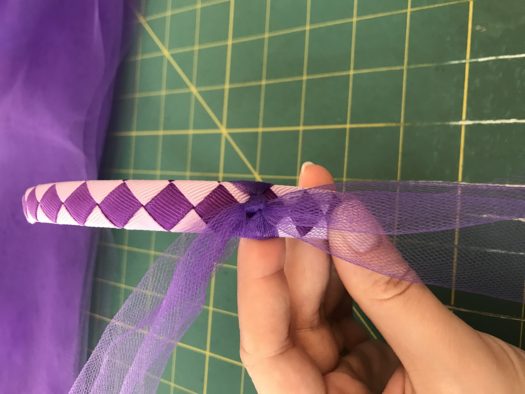
Tie a second knot in the tulle.
Continue adding your pieces of tulle to the headband.
As you continue your headband will start to look like this. Make sure you aren't leaving any big spaces in between the tulle pieces.
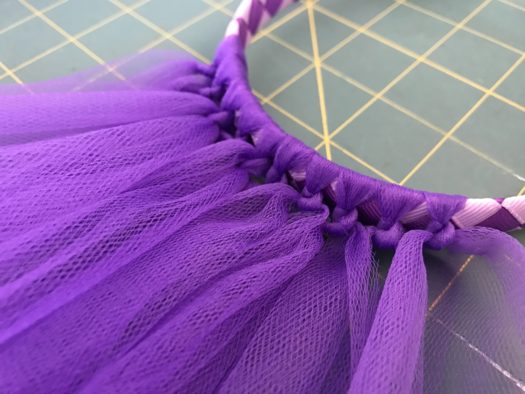
Also make sure you are tying the tulle the same way each time for a uniform look.
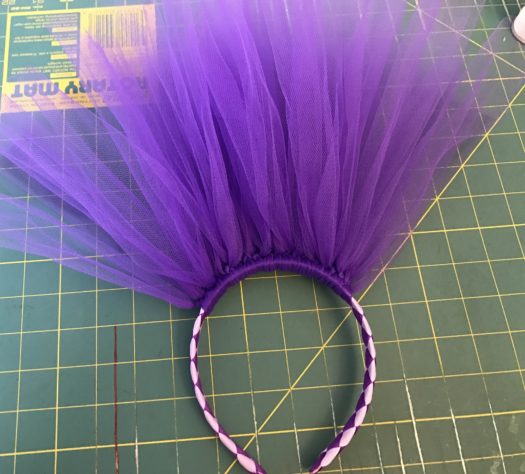
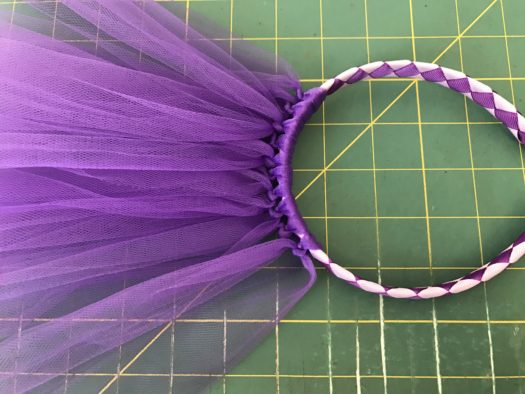
This is what your headband will look like when you are finished. At this point make sure both sides are pretty even - If the tulle goes down farther on one side you can push it up farther on the headband.

Gather your tulle neatly - I "brushed" mine with my fingers to make sure all of the pieces were straight. Tie the tulle at the top with your fold over elastic.
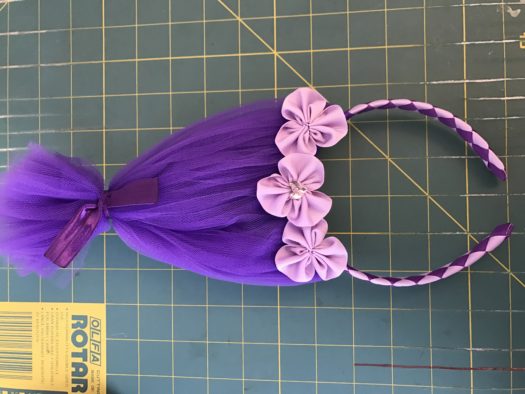
Using hot glue add your flowers onto the tulle.
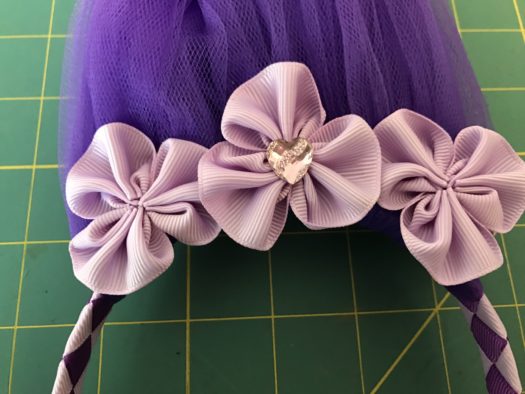
I glued mine right above the headband on the tulle - close to where the knots are. When you glue them make sure you hold each flower down against the tulle for a few seconds.
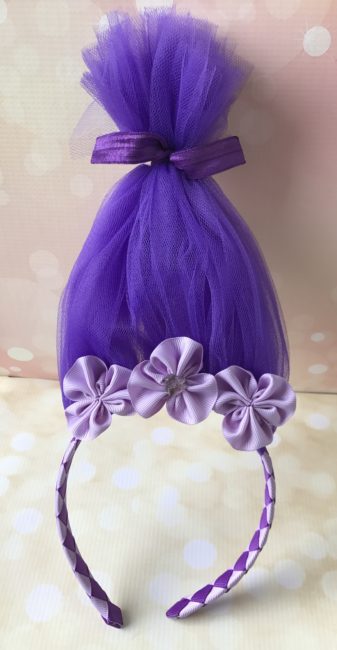
You're all finished! What do you think? I love the way mine turned out and so did my daughter! The great thing about these is how easy you can personalize them. HBC has SO many colors of tulle!
Visit the rest of our blog for more Children's Accessories Tutorials, Crafting Tutorials and DIY Instructions like this Troll-Inspired Headband!
Loading...

