 Contributor post by Brittany
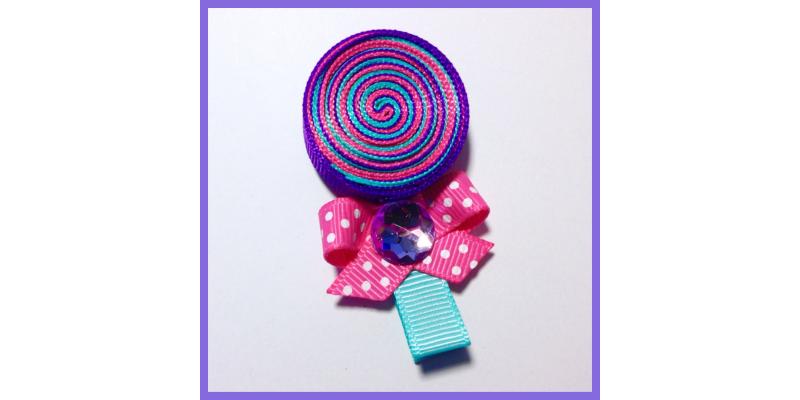
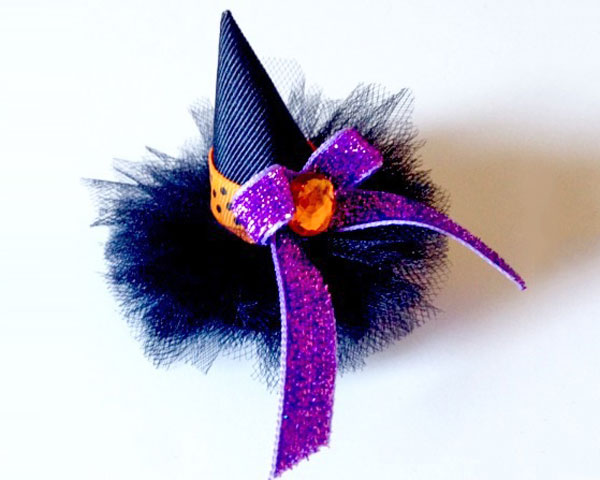
Who's ready for Halloween?! Ghosts & goblins, pumpkins & black cats... today we are making an adorable tiny witch hat! These tiny little treasures are a fun and creative twist to a classic Halloween favorite! This is a must have accessory for little girls of all ages and can be made in so many fun designs, colors and styles! So let's get started!
Contributor post by Brittany
Who's ready for Halloween?! Ghosts & goblins, pumpkins & black cats... today we are making an adorable tiny witch hat! These tiny little treasures are a fun and creative twist to a classic Halloween favorite! This is a must have accessory for little girls of all ages and can be made in so many fun designs, colors and styles! So let's get started!
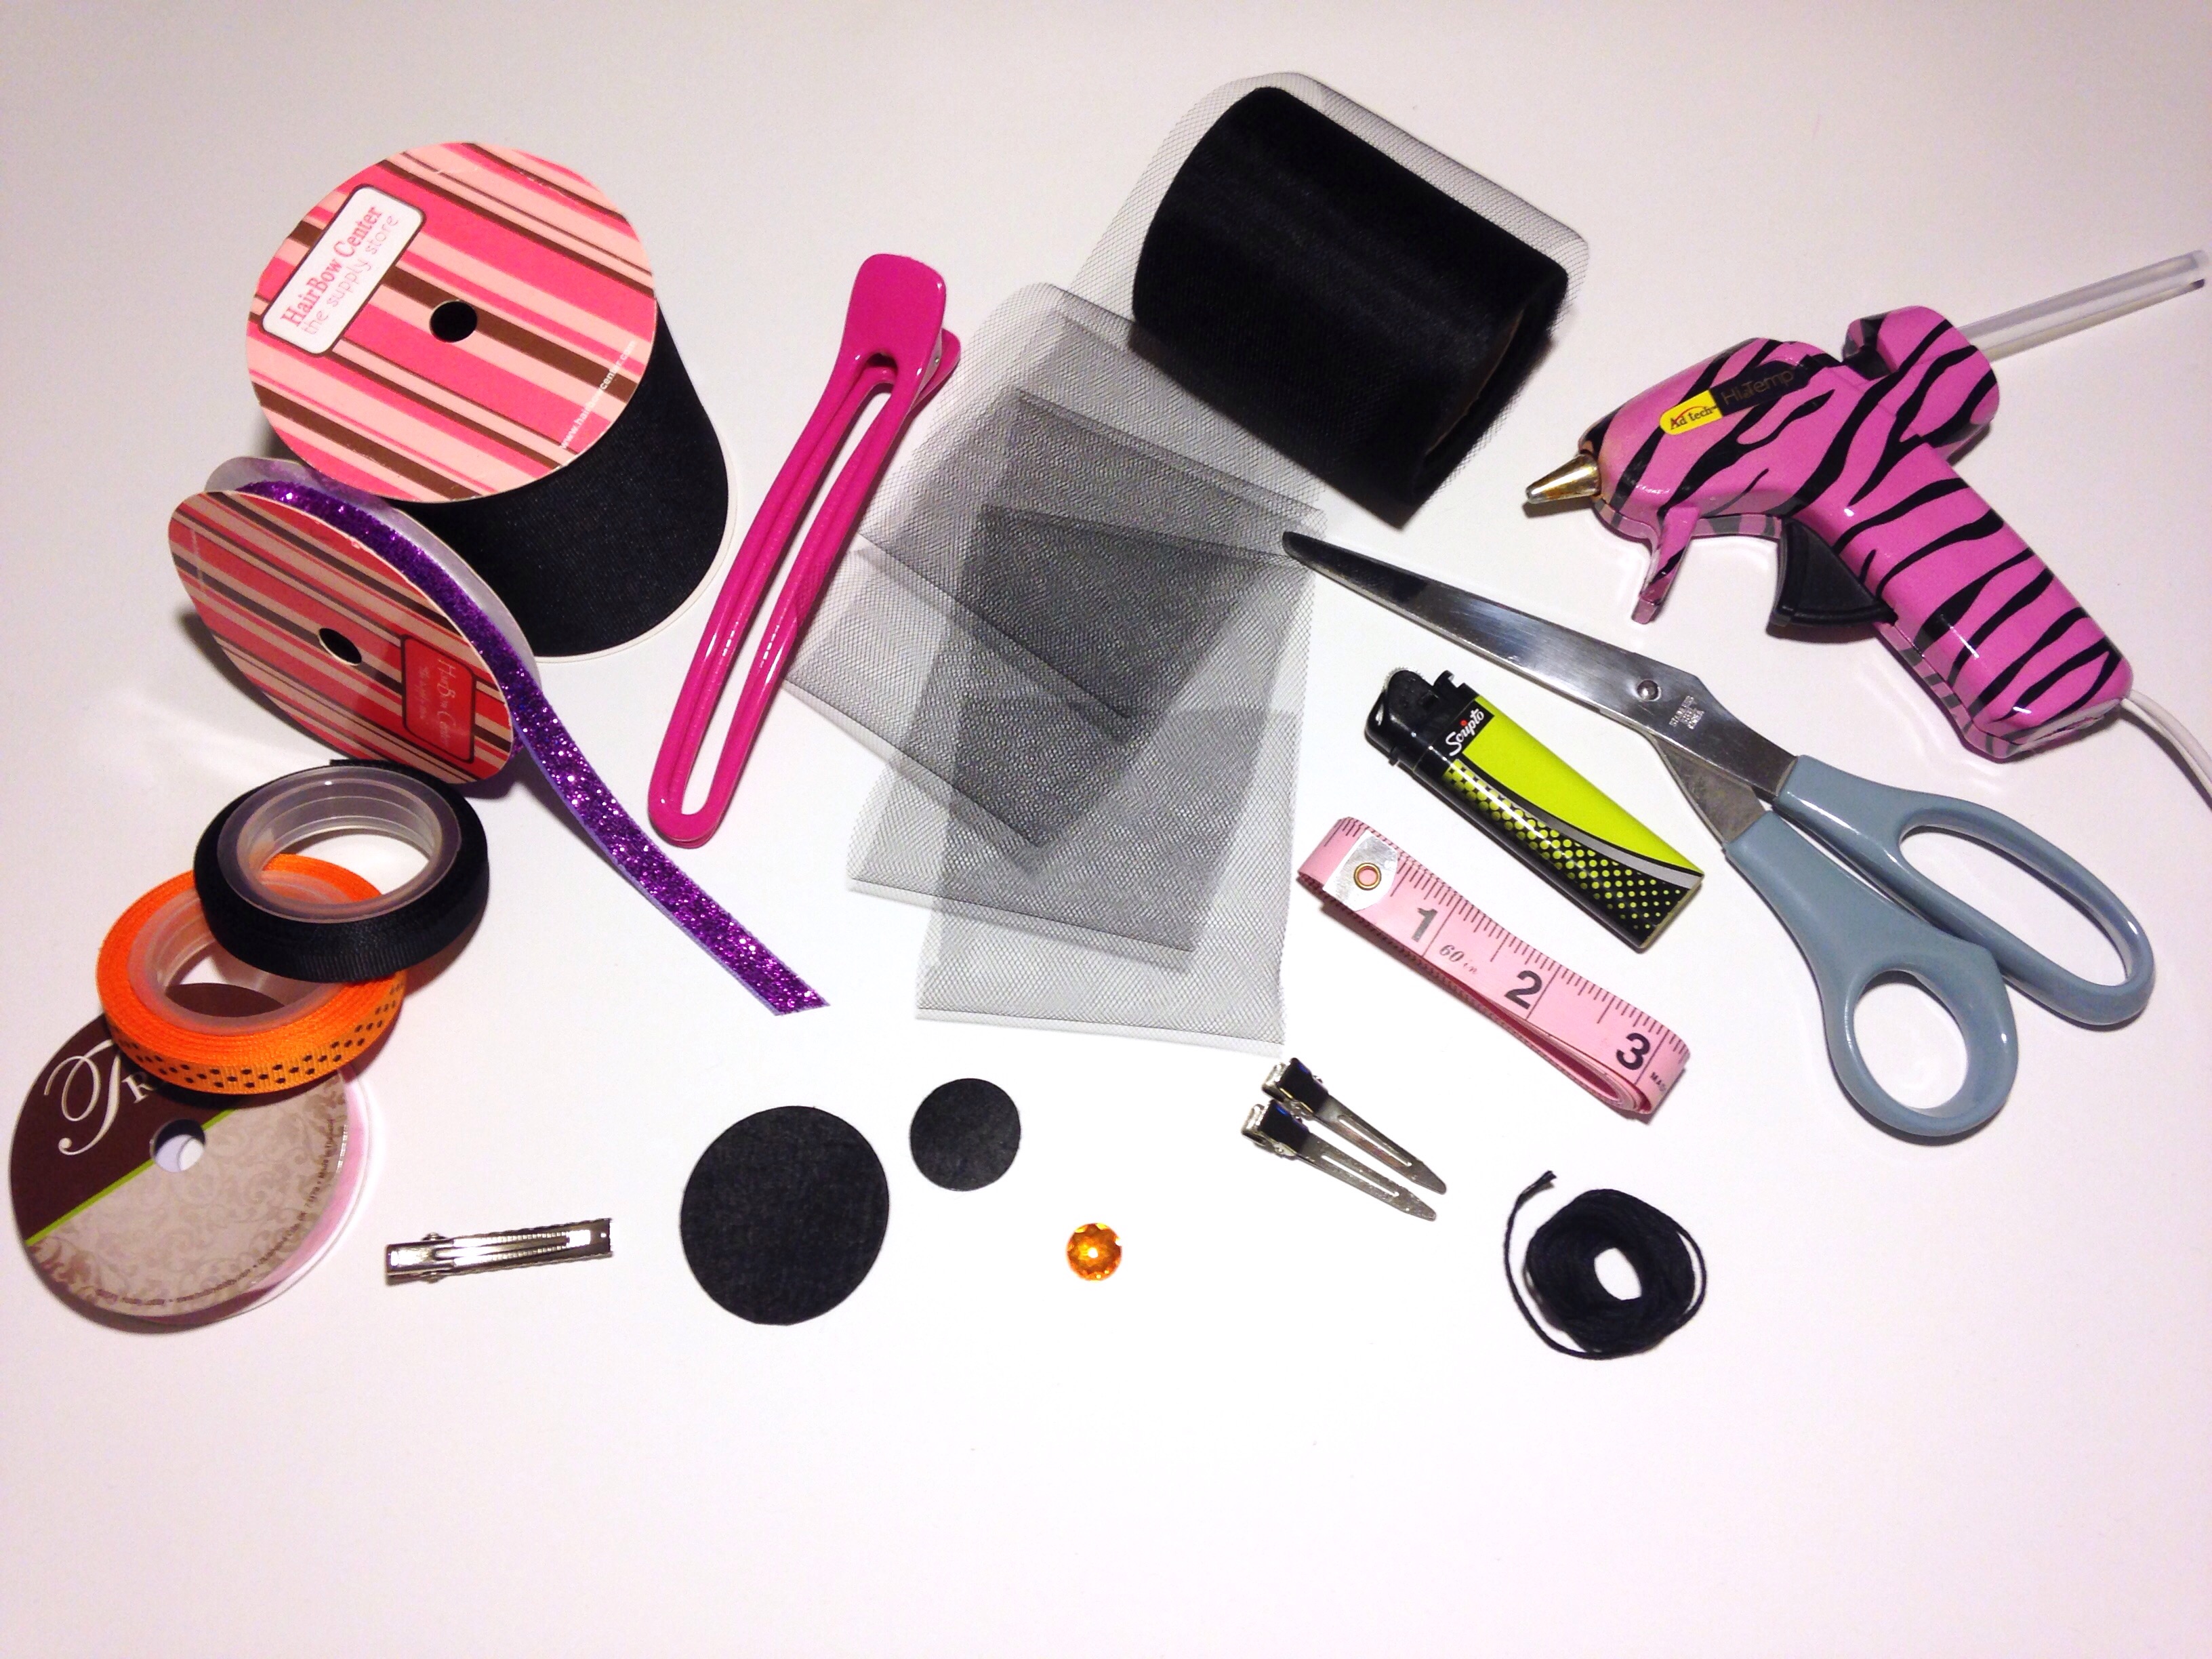 Pictured above are the supplies we will be using today. You will need:
•3" black grosgrain ribbon
•3/8" purple glitter ribbon
•3/8" black grosgrain ribbon
•3/8" tangerine w/black dots ribbon
•circle template (approx 3")
•1.75" alligator clip w/teeth
•large salon clip
•black tulle
•1" black circle felt pad
•1.75" black circle felt pad
•small rhinestone or other embellishment
•extra alligator clips
•thick embroidery thread in black
•measuring tape
•lighter
•scissors
•hot glue gun
Pictured above are the supplies we will be using today. You will need:
•3" black grosgrain ribbon
•3/8" purple glitter ribbon
•3/8" black grosgrain ribbon
•3/8" tangerine w/black dots ribbon
•circle template (approx 3")
•1.75" alligator clip w/teeth
•large salon clip
•black tulle
•1" black circle felt pad
•1.75" black circle felt pad
•small rhinestone or other embellishment
•extra alligator clips
•thick embroidery thread in black
•measuring tape
•lighter
•scissors
•hot glue gun
 We are going to start with the top portion of the witch's hat. I have a super simple method for making a perfect cone using HBC's 3" black grosgrain ribbon! First you will need to cut out your square. Since we are using 3" ribbon we will only need to measure out 3 inches.
 As a guide to cutting out your circle you may want to use something as a template. I happened to have some miscellaneous trim on a spool that was the perfect size for this, but you can use anything you'd like for your own template. For all my beloved crafting masters out there you may not need a template at all if you're comfortable free handing with your scissors. Once you have your circle, you will need to find the center of it. Cut a straight line from the edge of your circle to the very center point as shown below. Then carefully heat seat ALL edges of your circle including the straight line you just cut.
 Carefully begin rolling one side of your ribbon as pictured below.
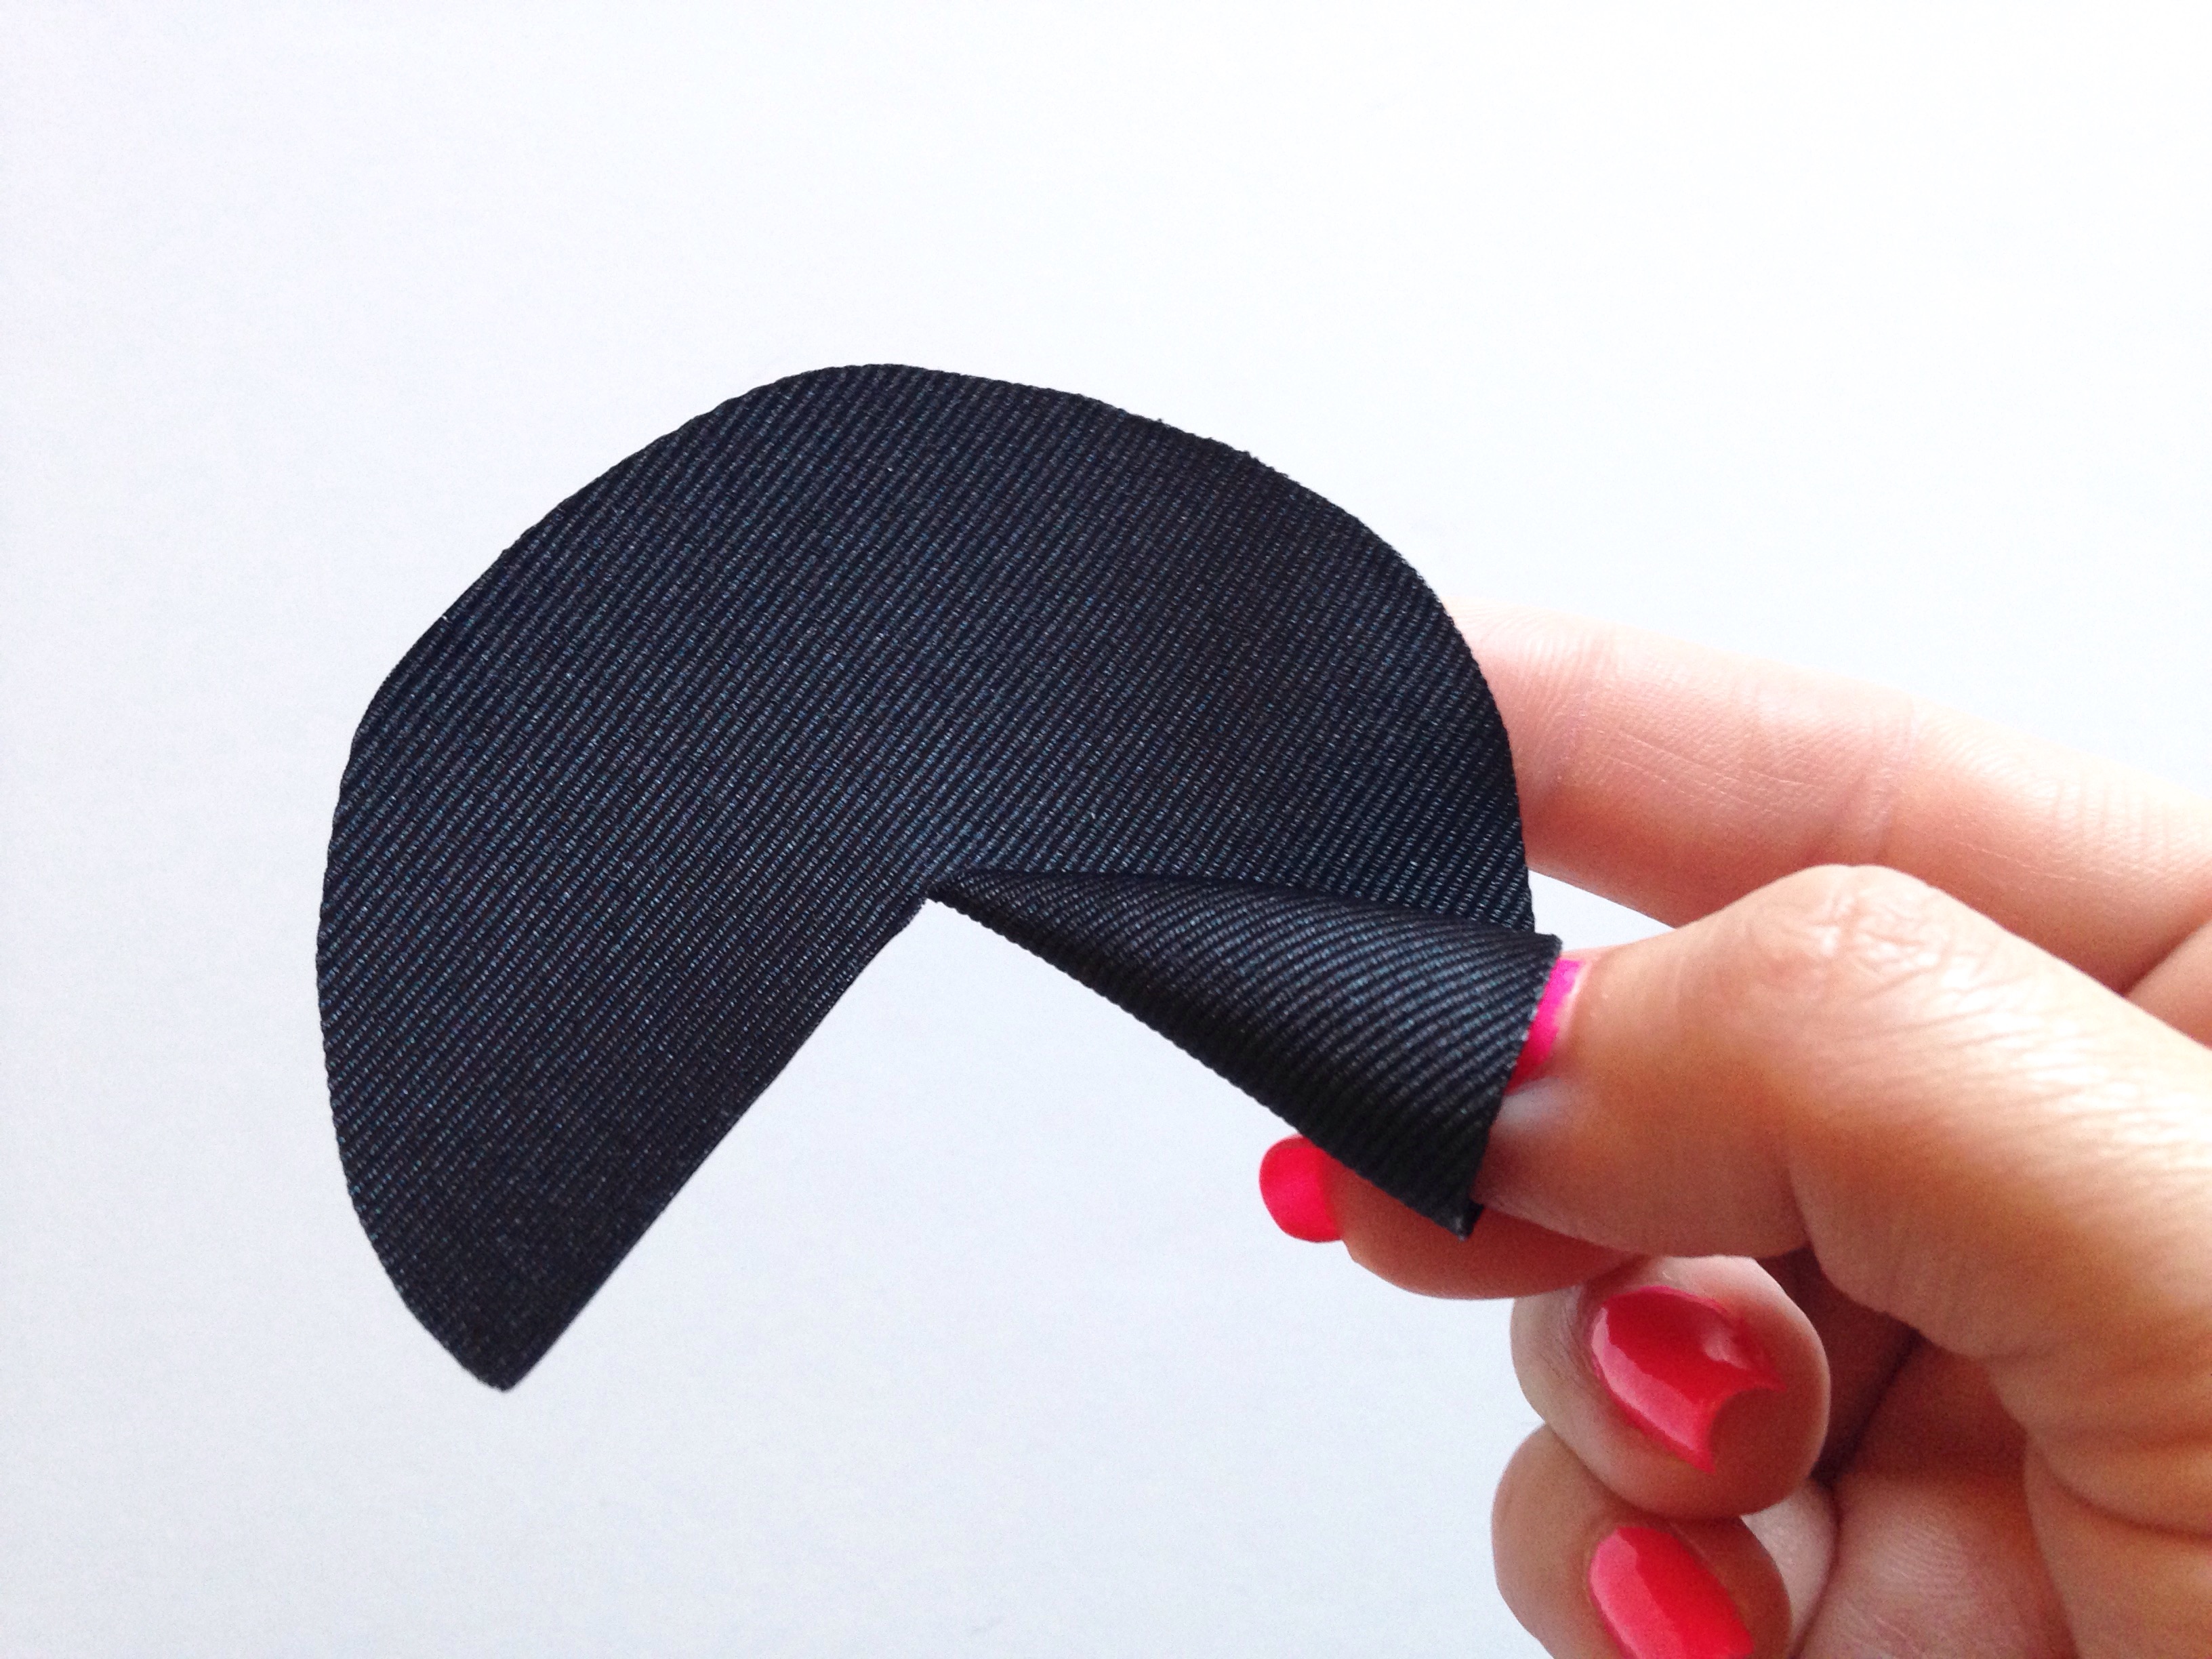 As you continue rolling you will see a perfect little cone starting to form! You can control exactly how skinny or wide your cone is simply by how tight or loose you roll.
 You will notice at the bottom of your cone all the edges do not perfectly go to the bottom. No need to fret! This will be completely covered by our decorative ribbon shortly. If you're happy with the size of your cone, use an alligator clip to hold your edge in place and free your hands. When your hot glue gun is ready you can slide your clip over to serve as an extra hand that will continue to hold your cone's shape as you glue the edge down, or you may remove it completely and hold in place by hand. Do not use too much glue or it will squish out and be messy (not to mention ugly). Just a thin line of glue will do the trick perfectly.
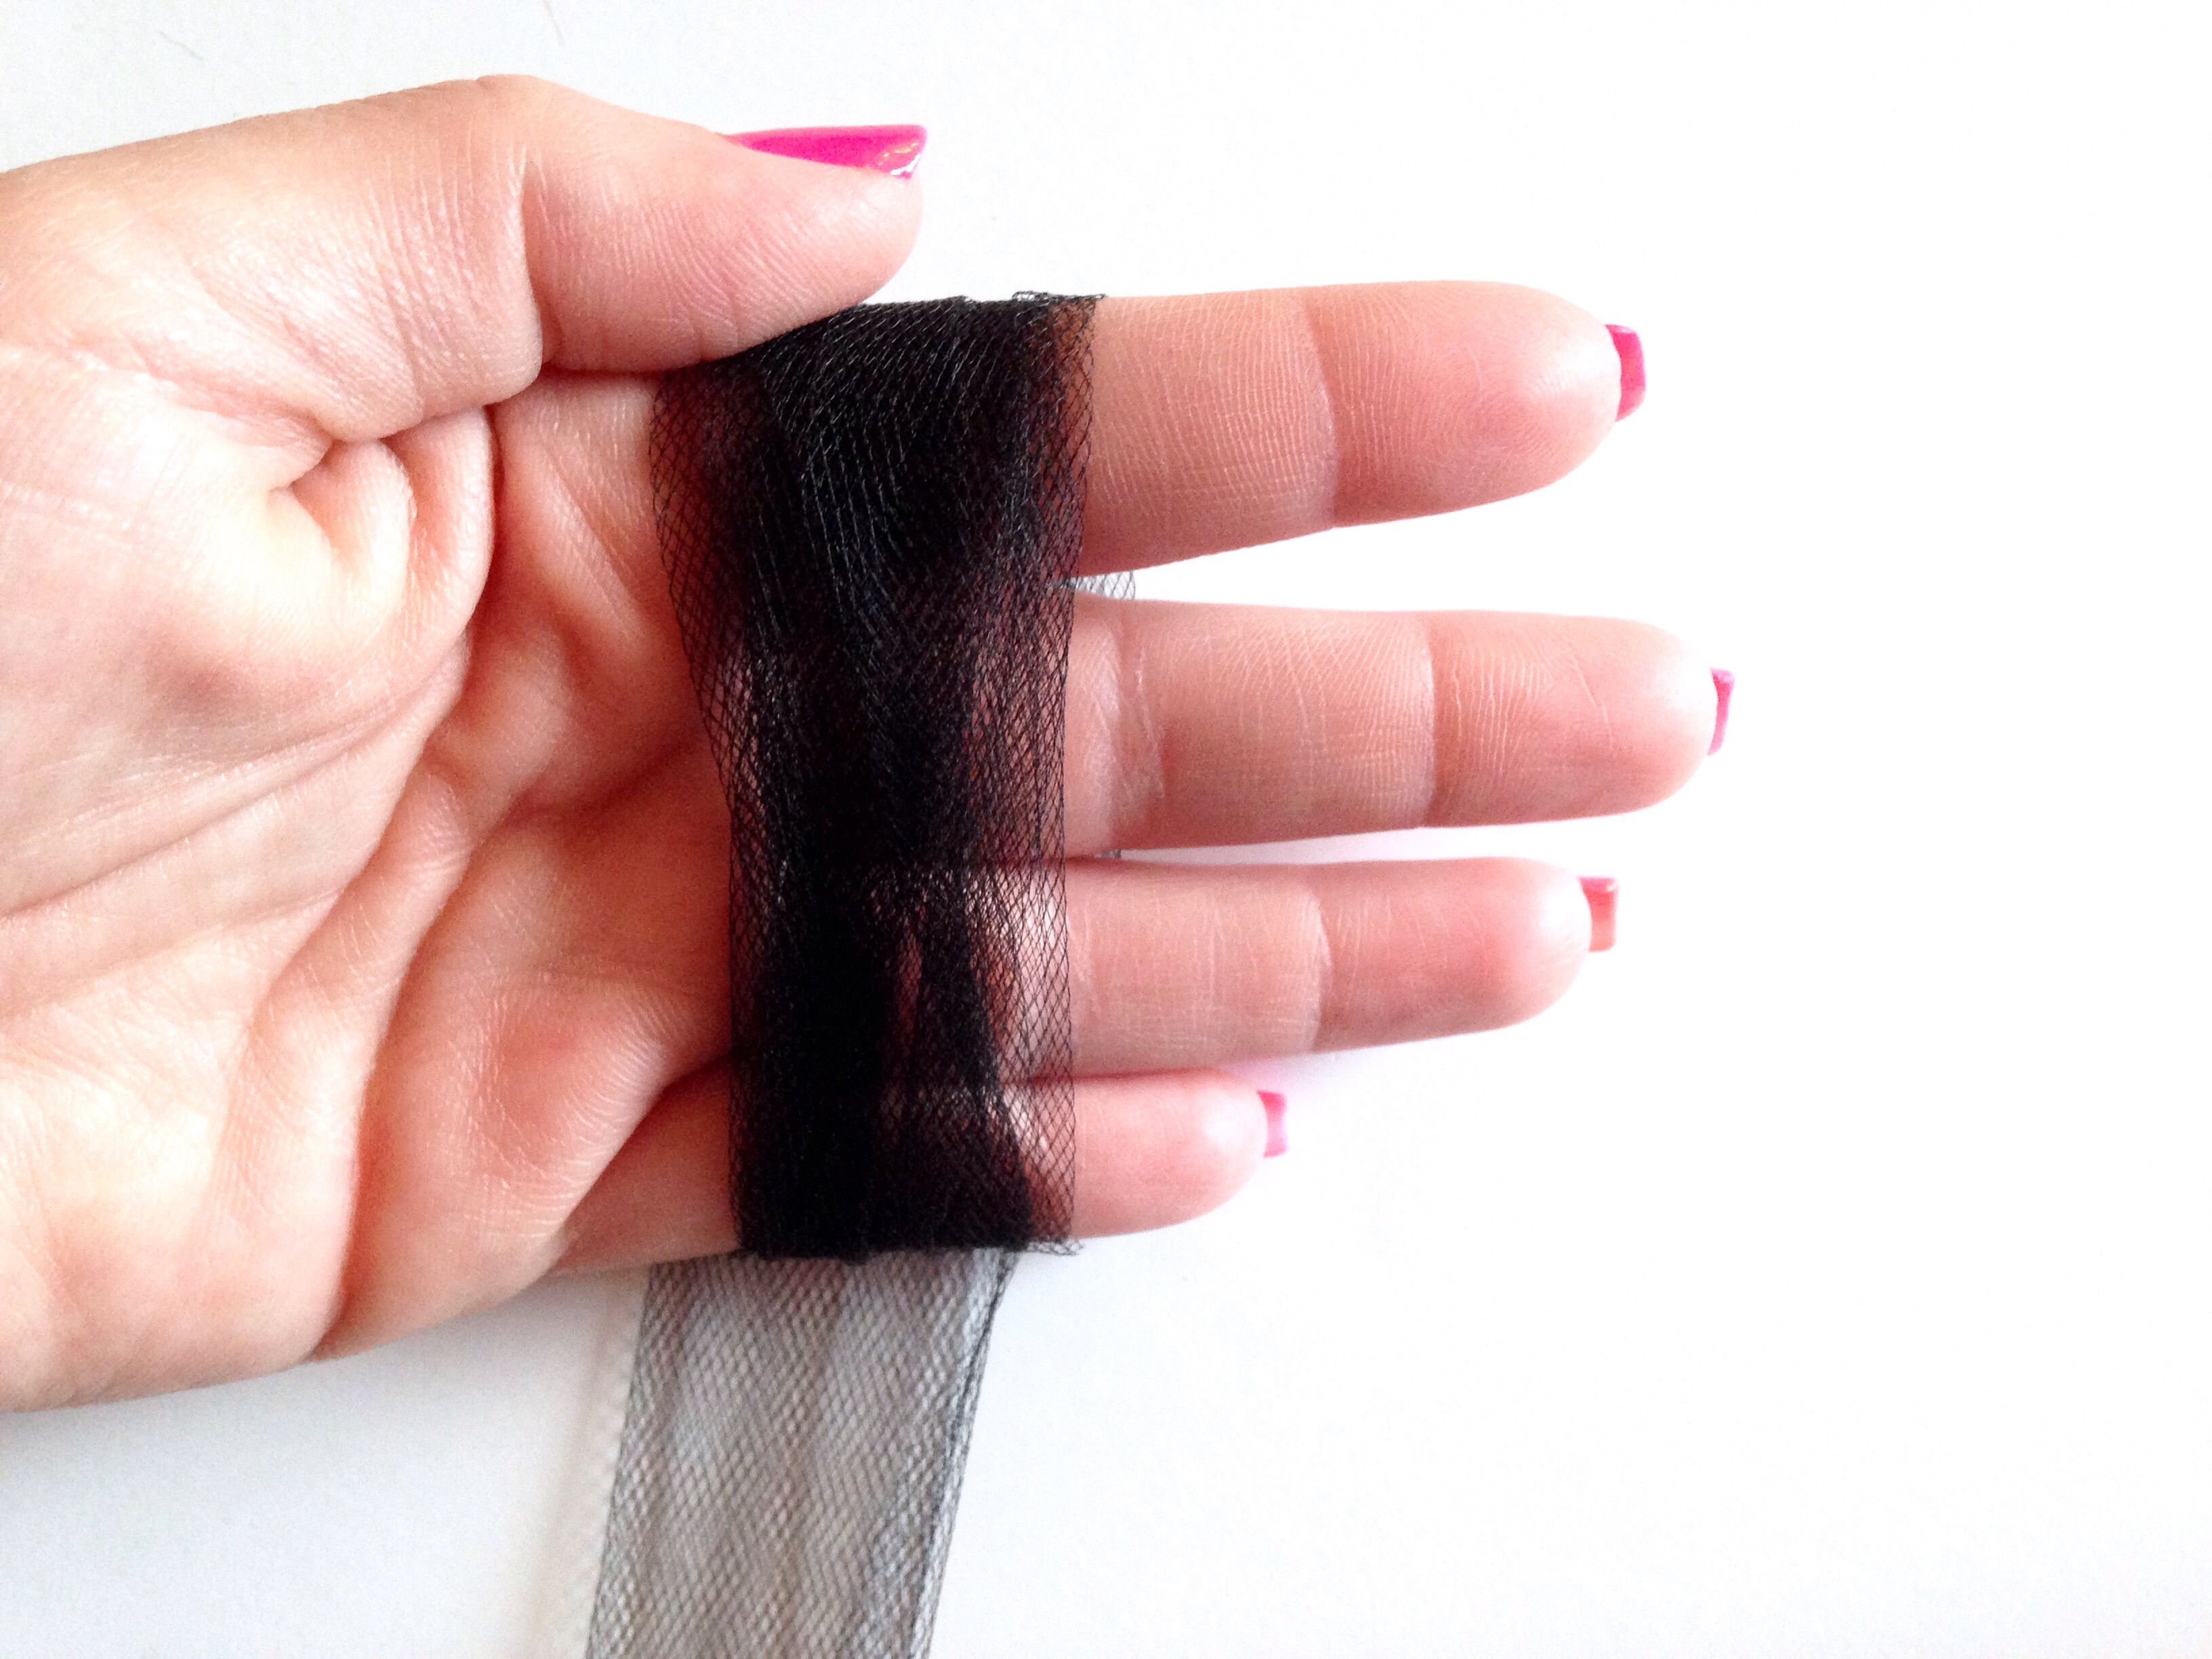
 Next we are making the base of our hat. This can be done in so many unique ways using tons of different materials! I just love the look of tulle for this project so that's what we will be using today. You may use 3" or 6" tulle; either size will achieve the same look. Begin wrapping your tulle around your hand.
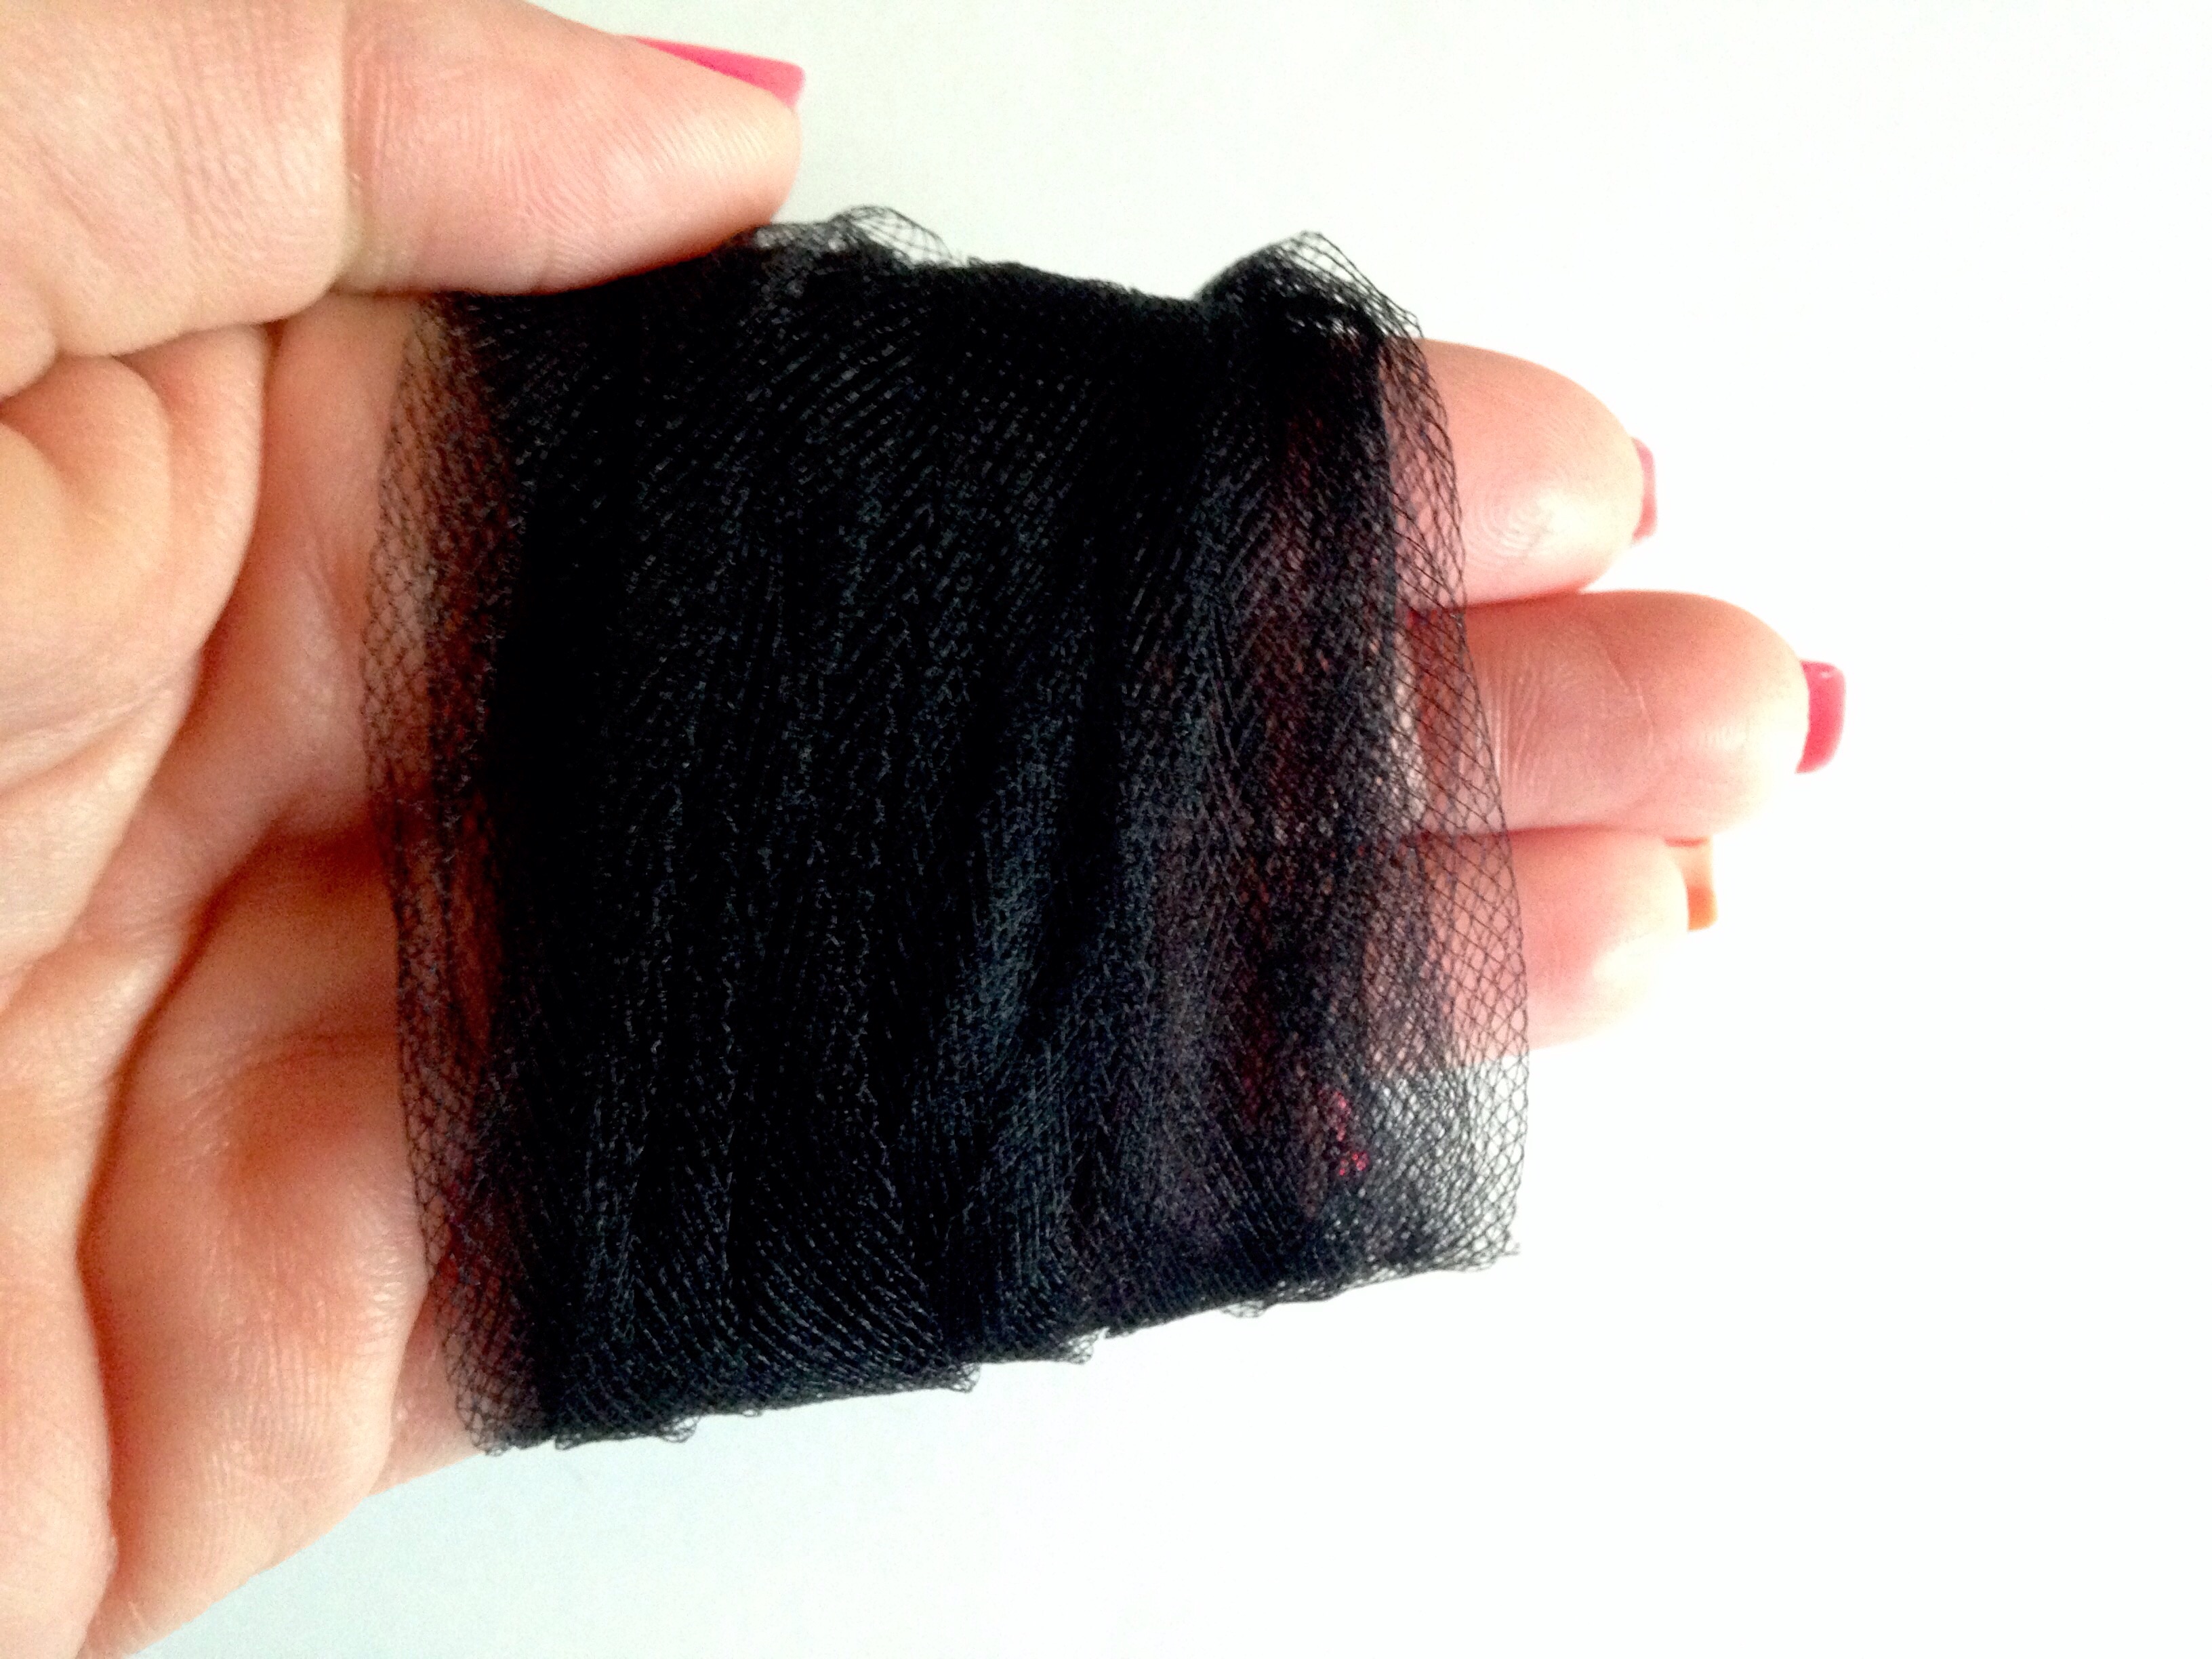
 Continue wrapping around your hand approx 25-30 times or until your desired fullness is achieved. (If you are using 6" tulle you may only need to wrap around approx 12-15 times.) Cut your tulle off at the end.
 For super easy removal that will allow everything to stay in its place, slide a large salon clip onto one side of your tulle.
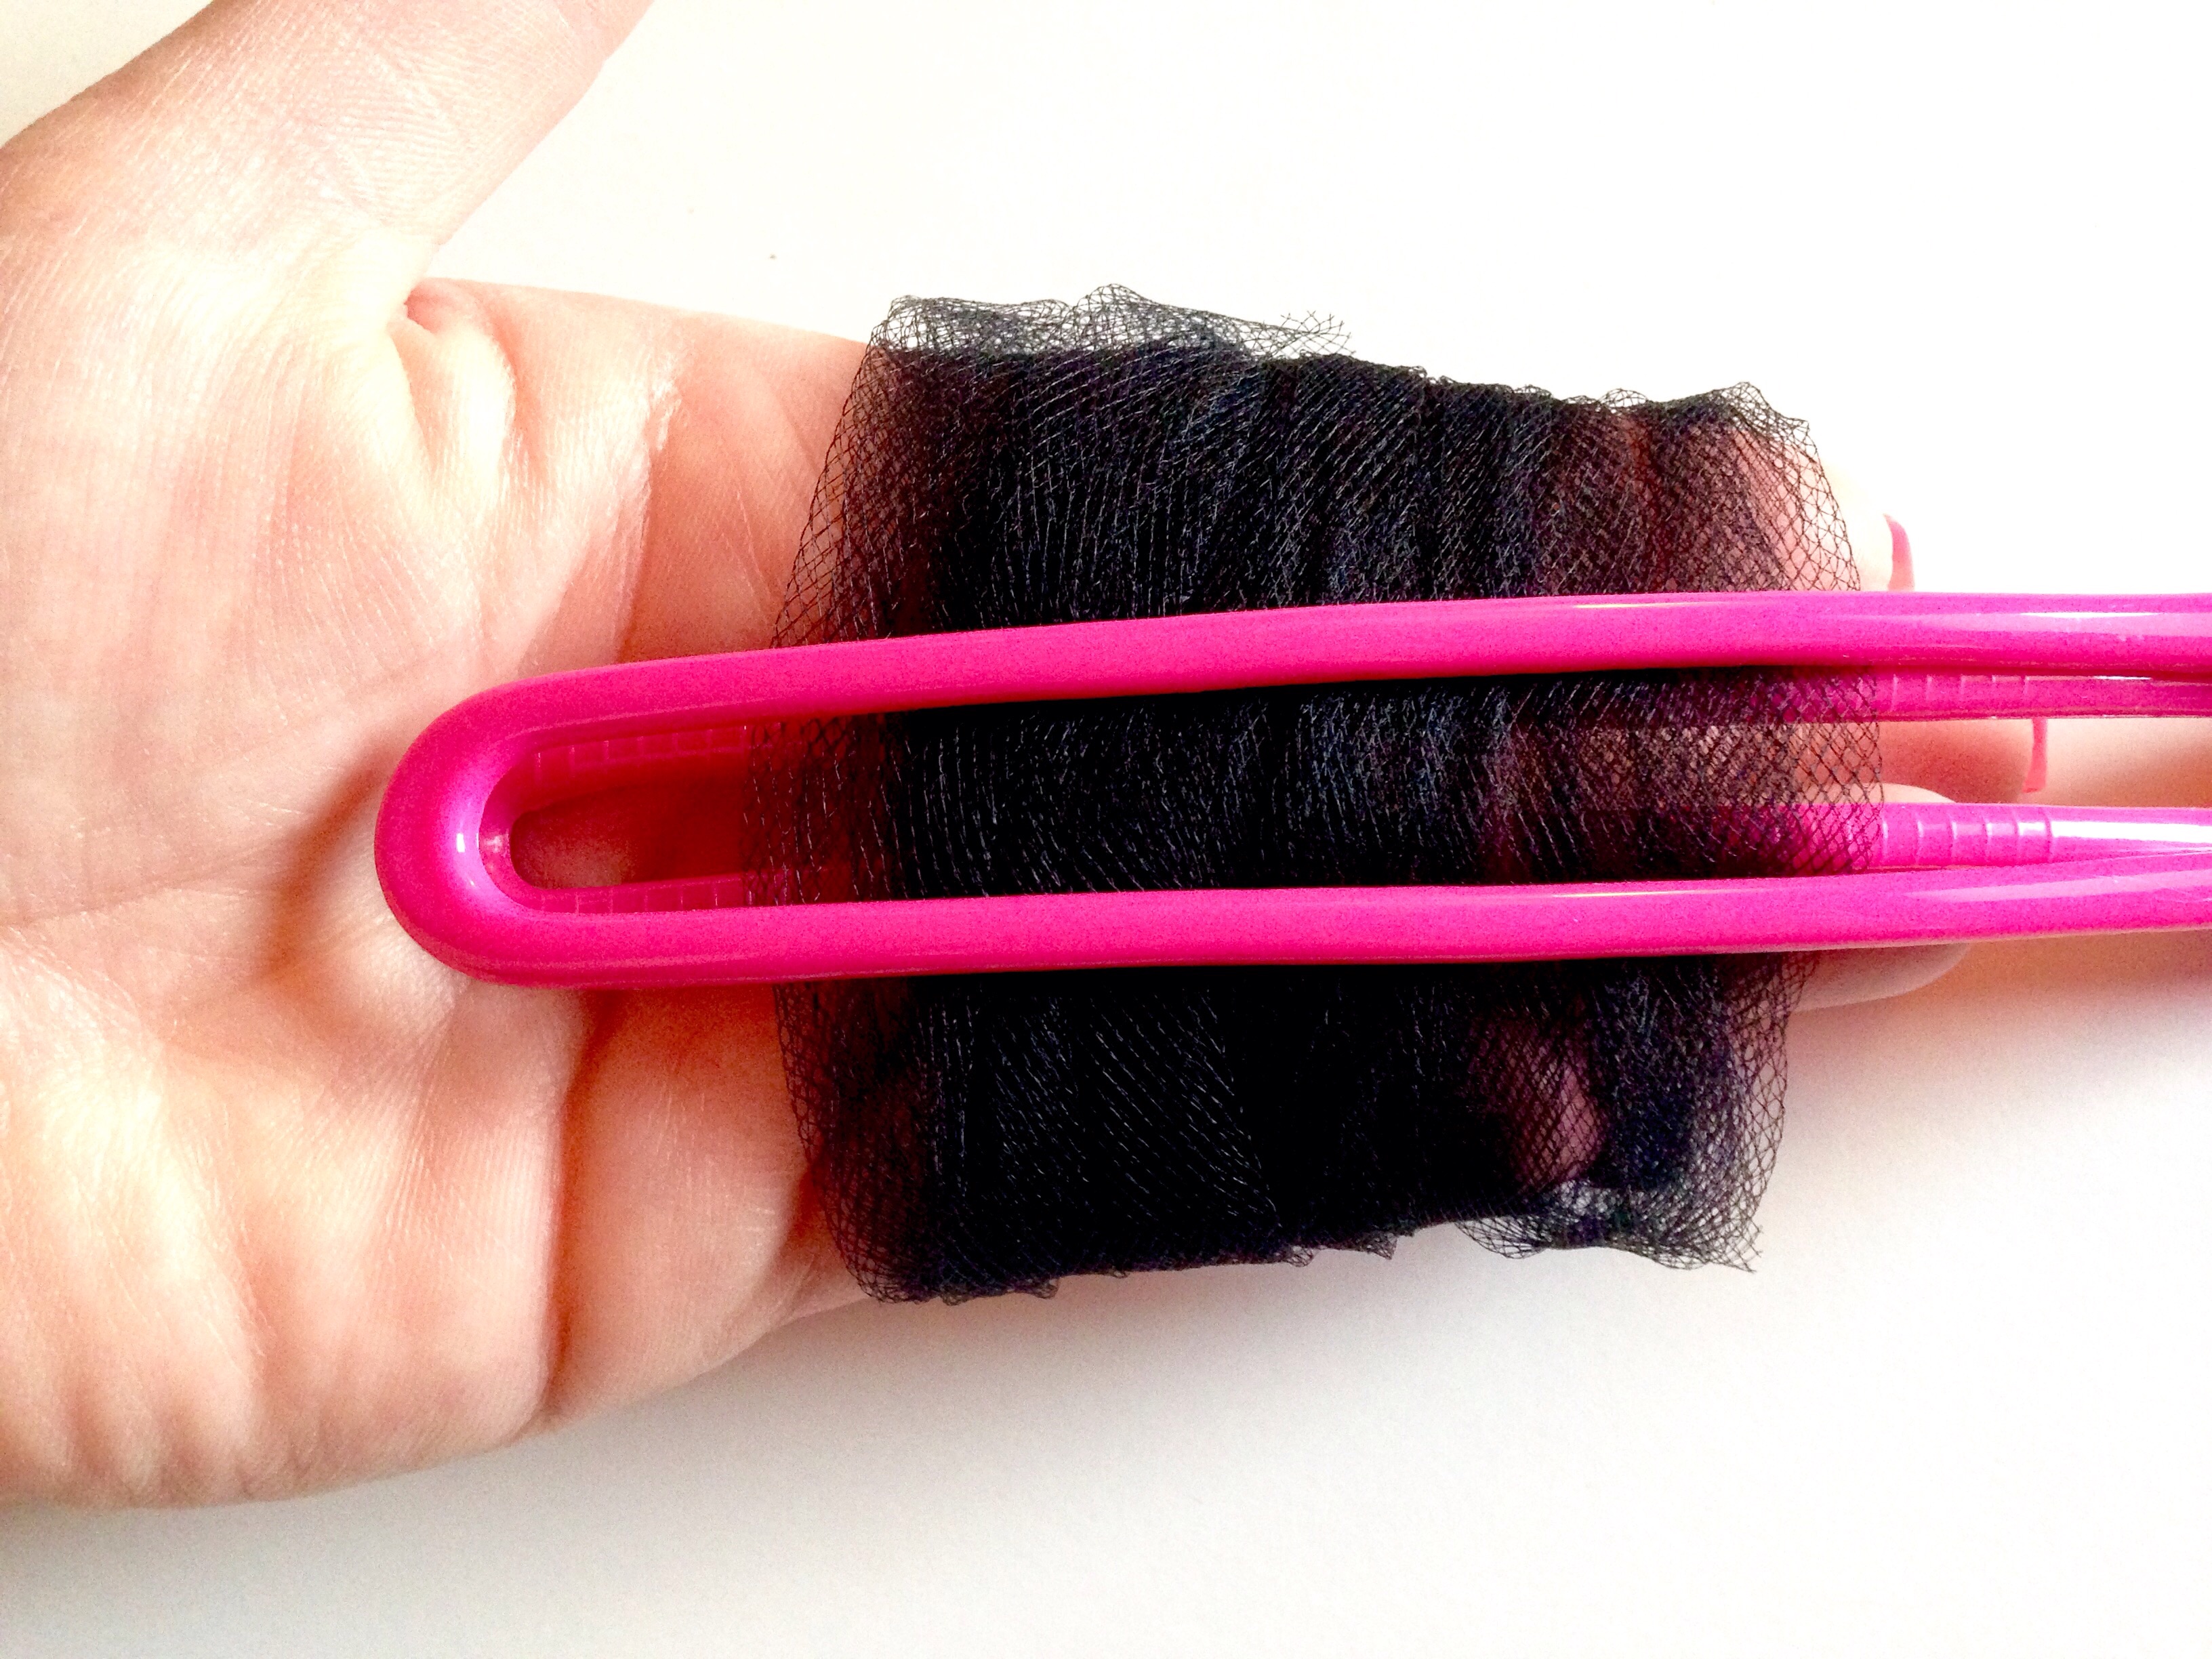 Carefully open your clip back up to allow the entire circle of tulle layers inside. Make sure your clip is centered in the middle. Thread thick black embroidery thread through the hollow spaces of your clip and wrap around your tulle at least twice. Pull extremely tight and make a knot in the center with your thread.
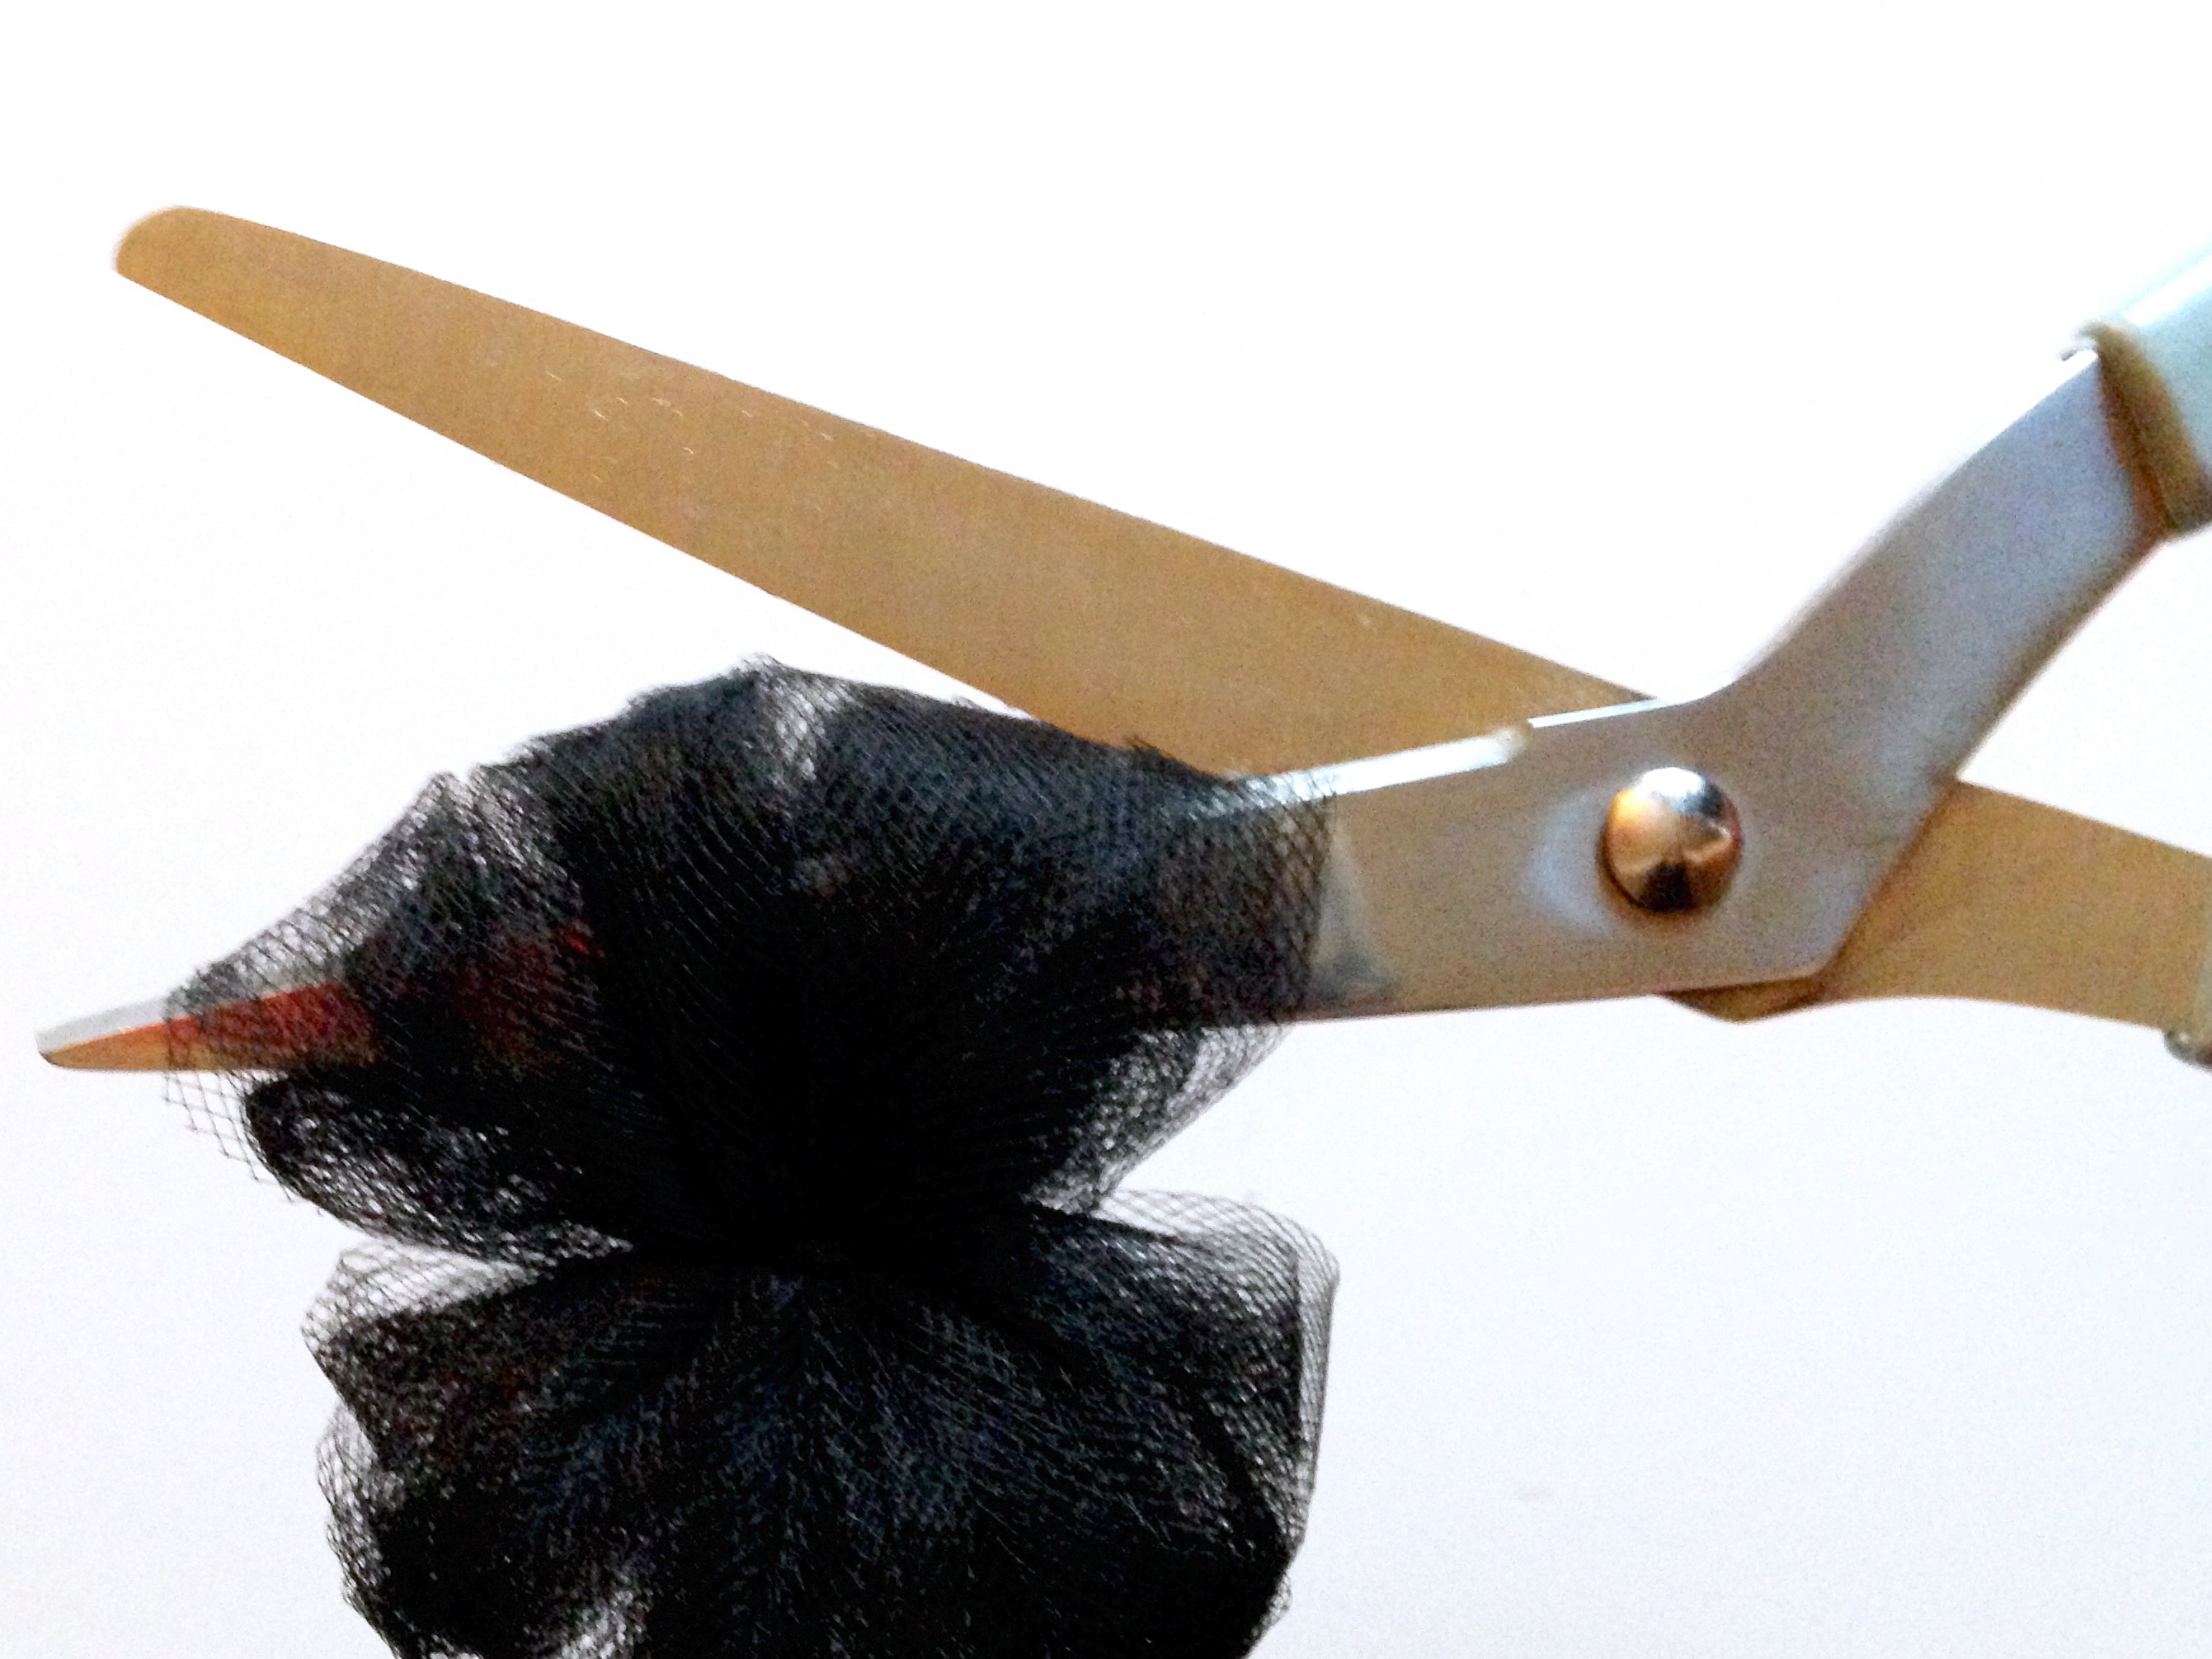
 Remove your clip. Now bring your ends to the other side of your tulle and tie another knot as tight as possible. Trim off your thread ends. Now to open up our ends and make a full circle, carefully slide your scissors inside one end and cut as shown below.
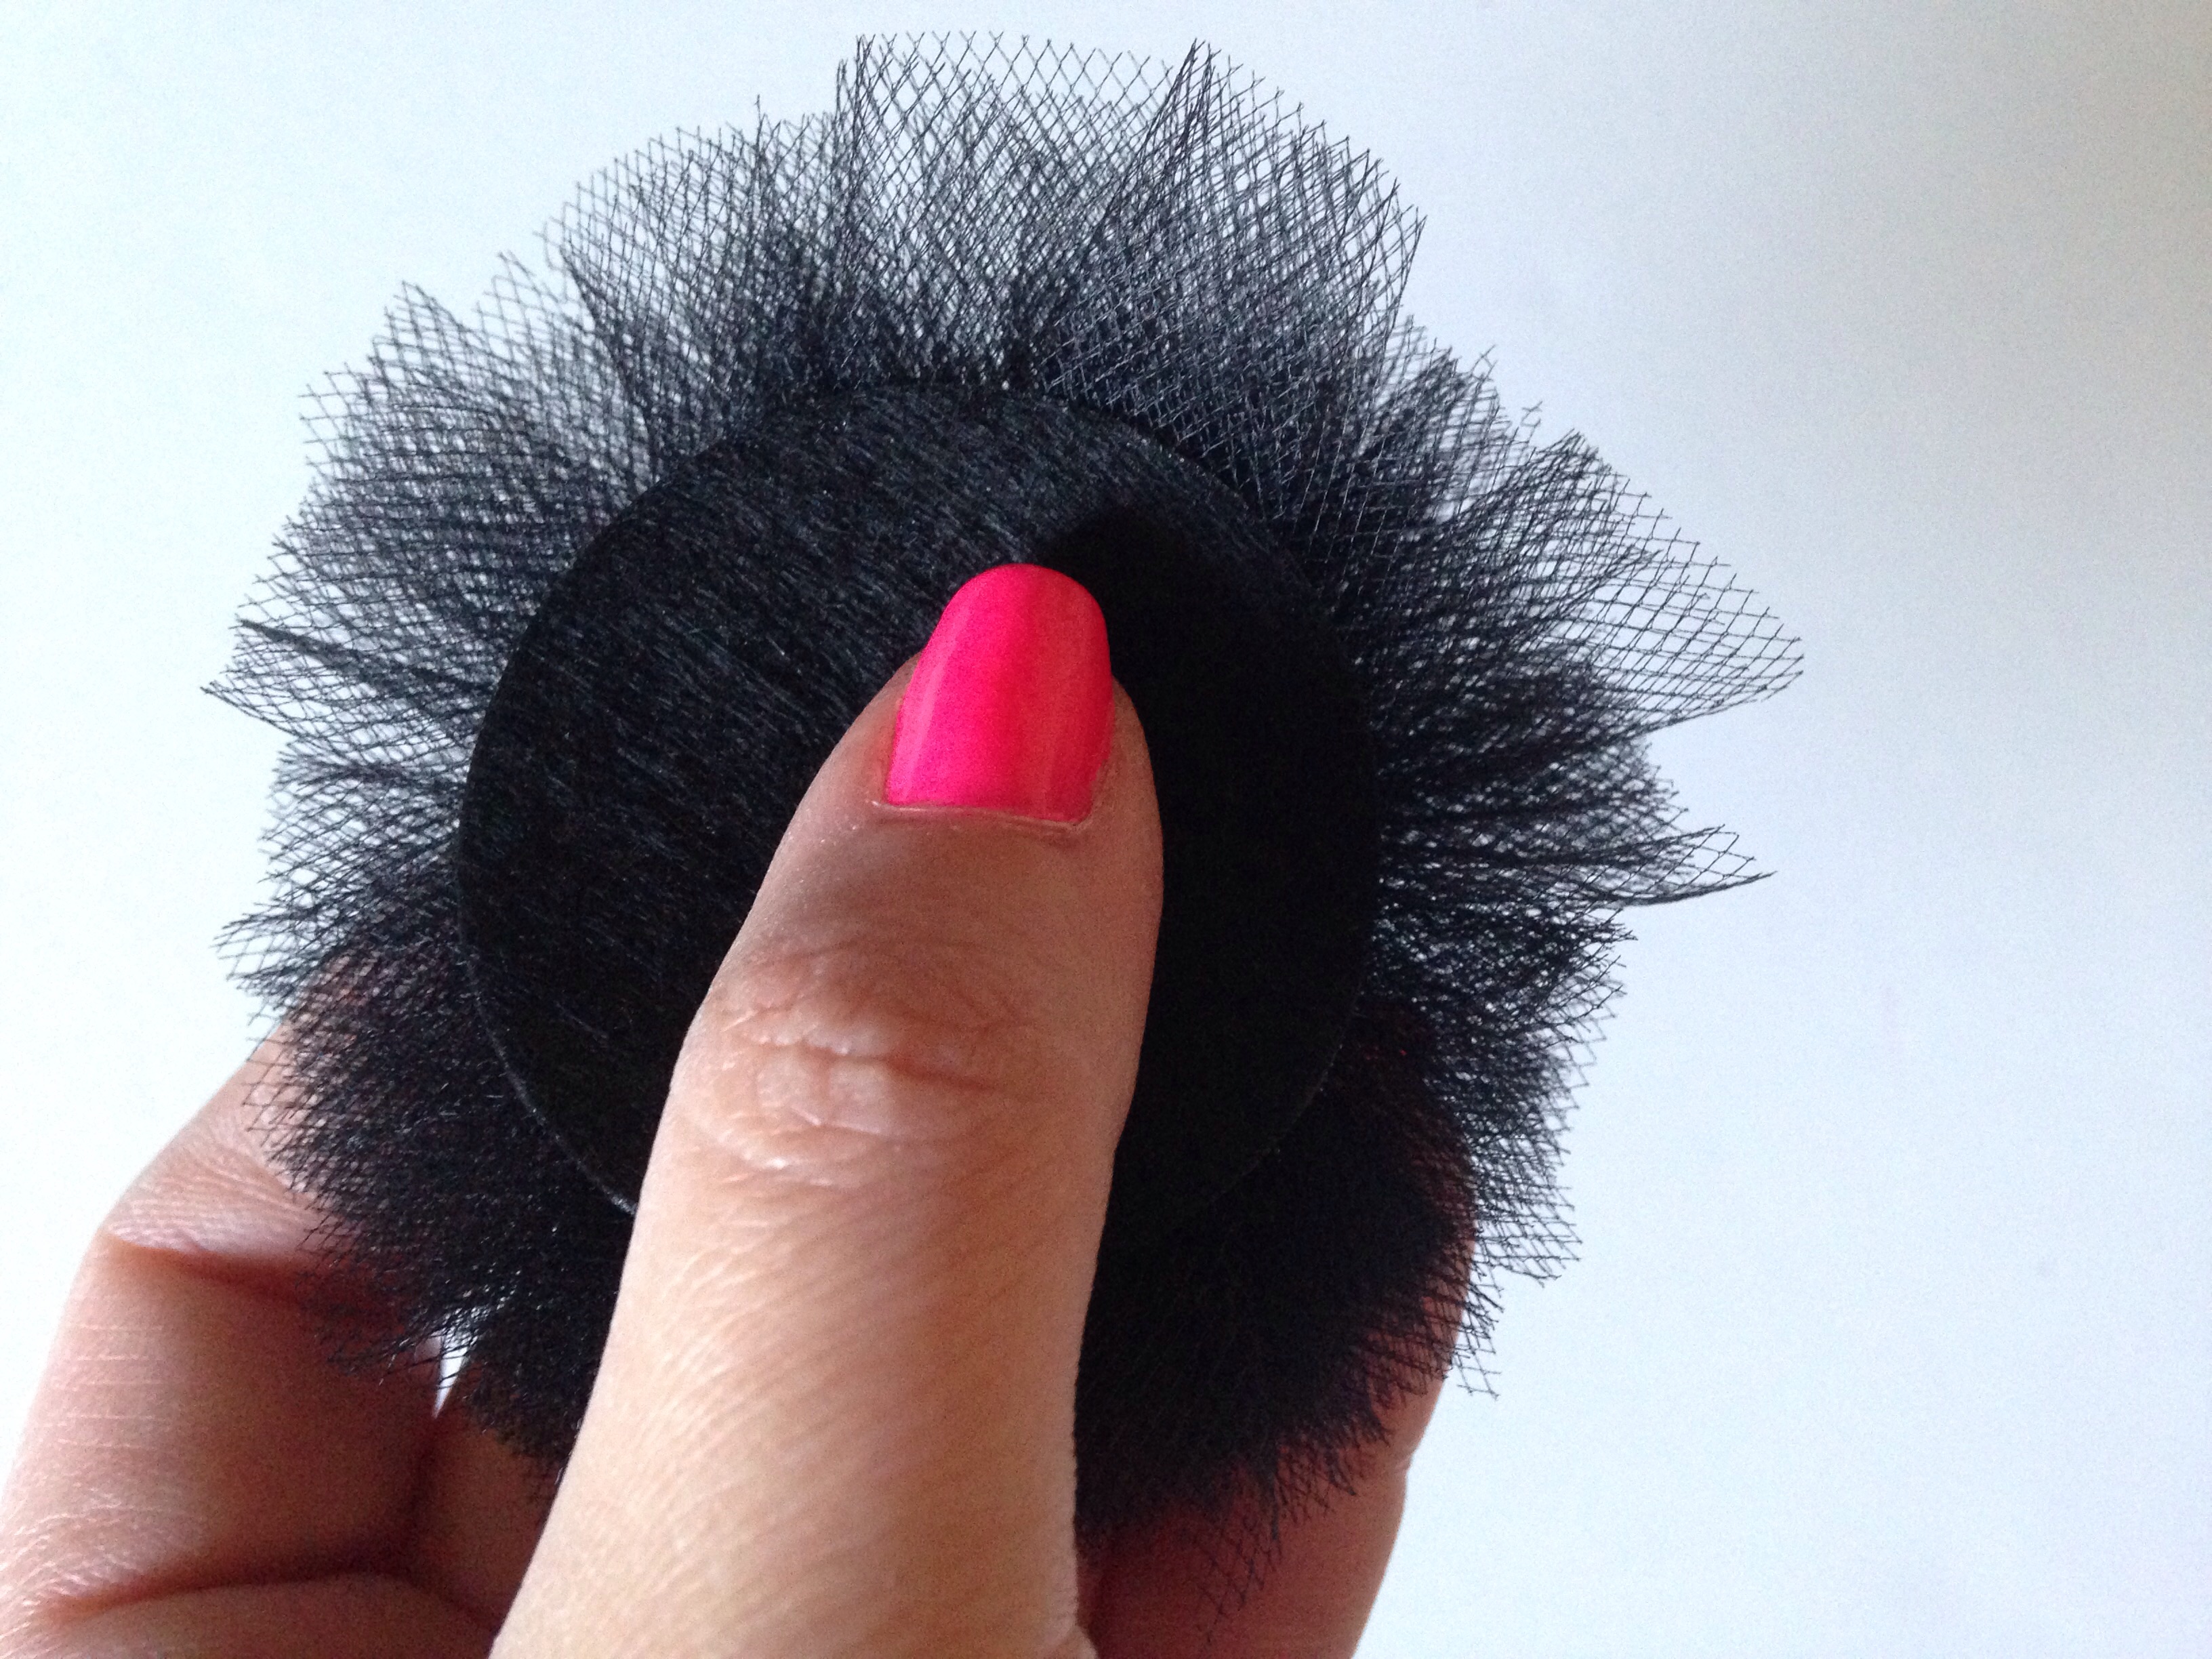
 After both ends have been cut you will have a beautiful fluffy circle of tulle! Fluff up, pull and tug wherever necessary.
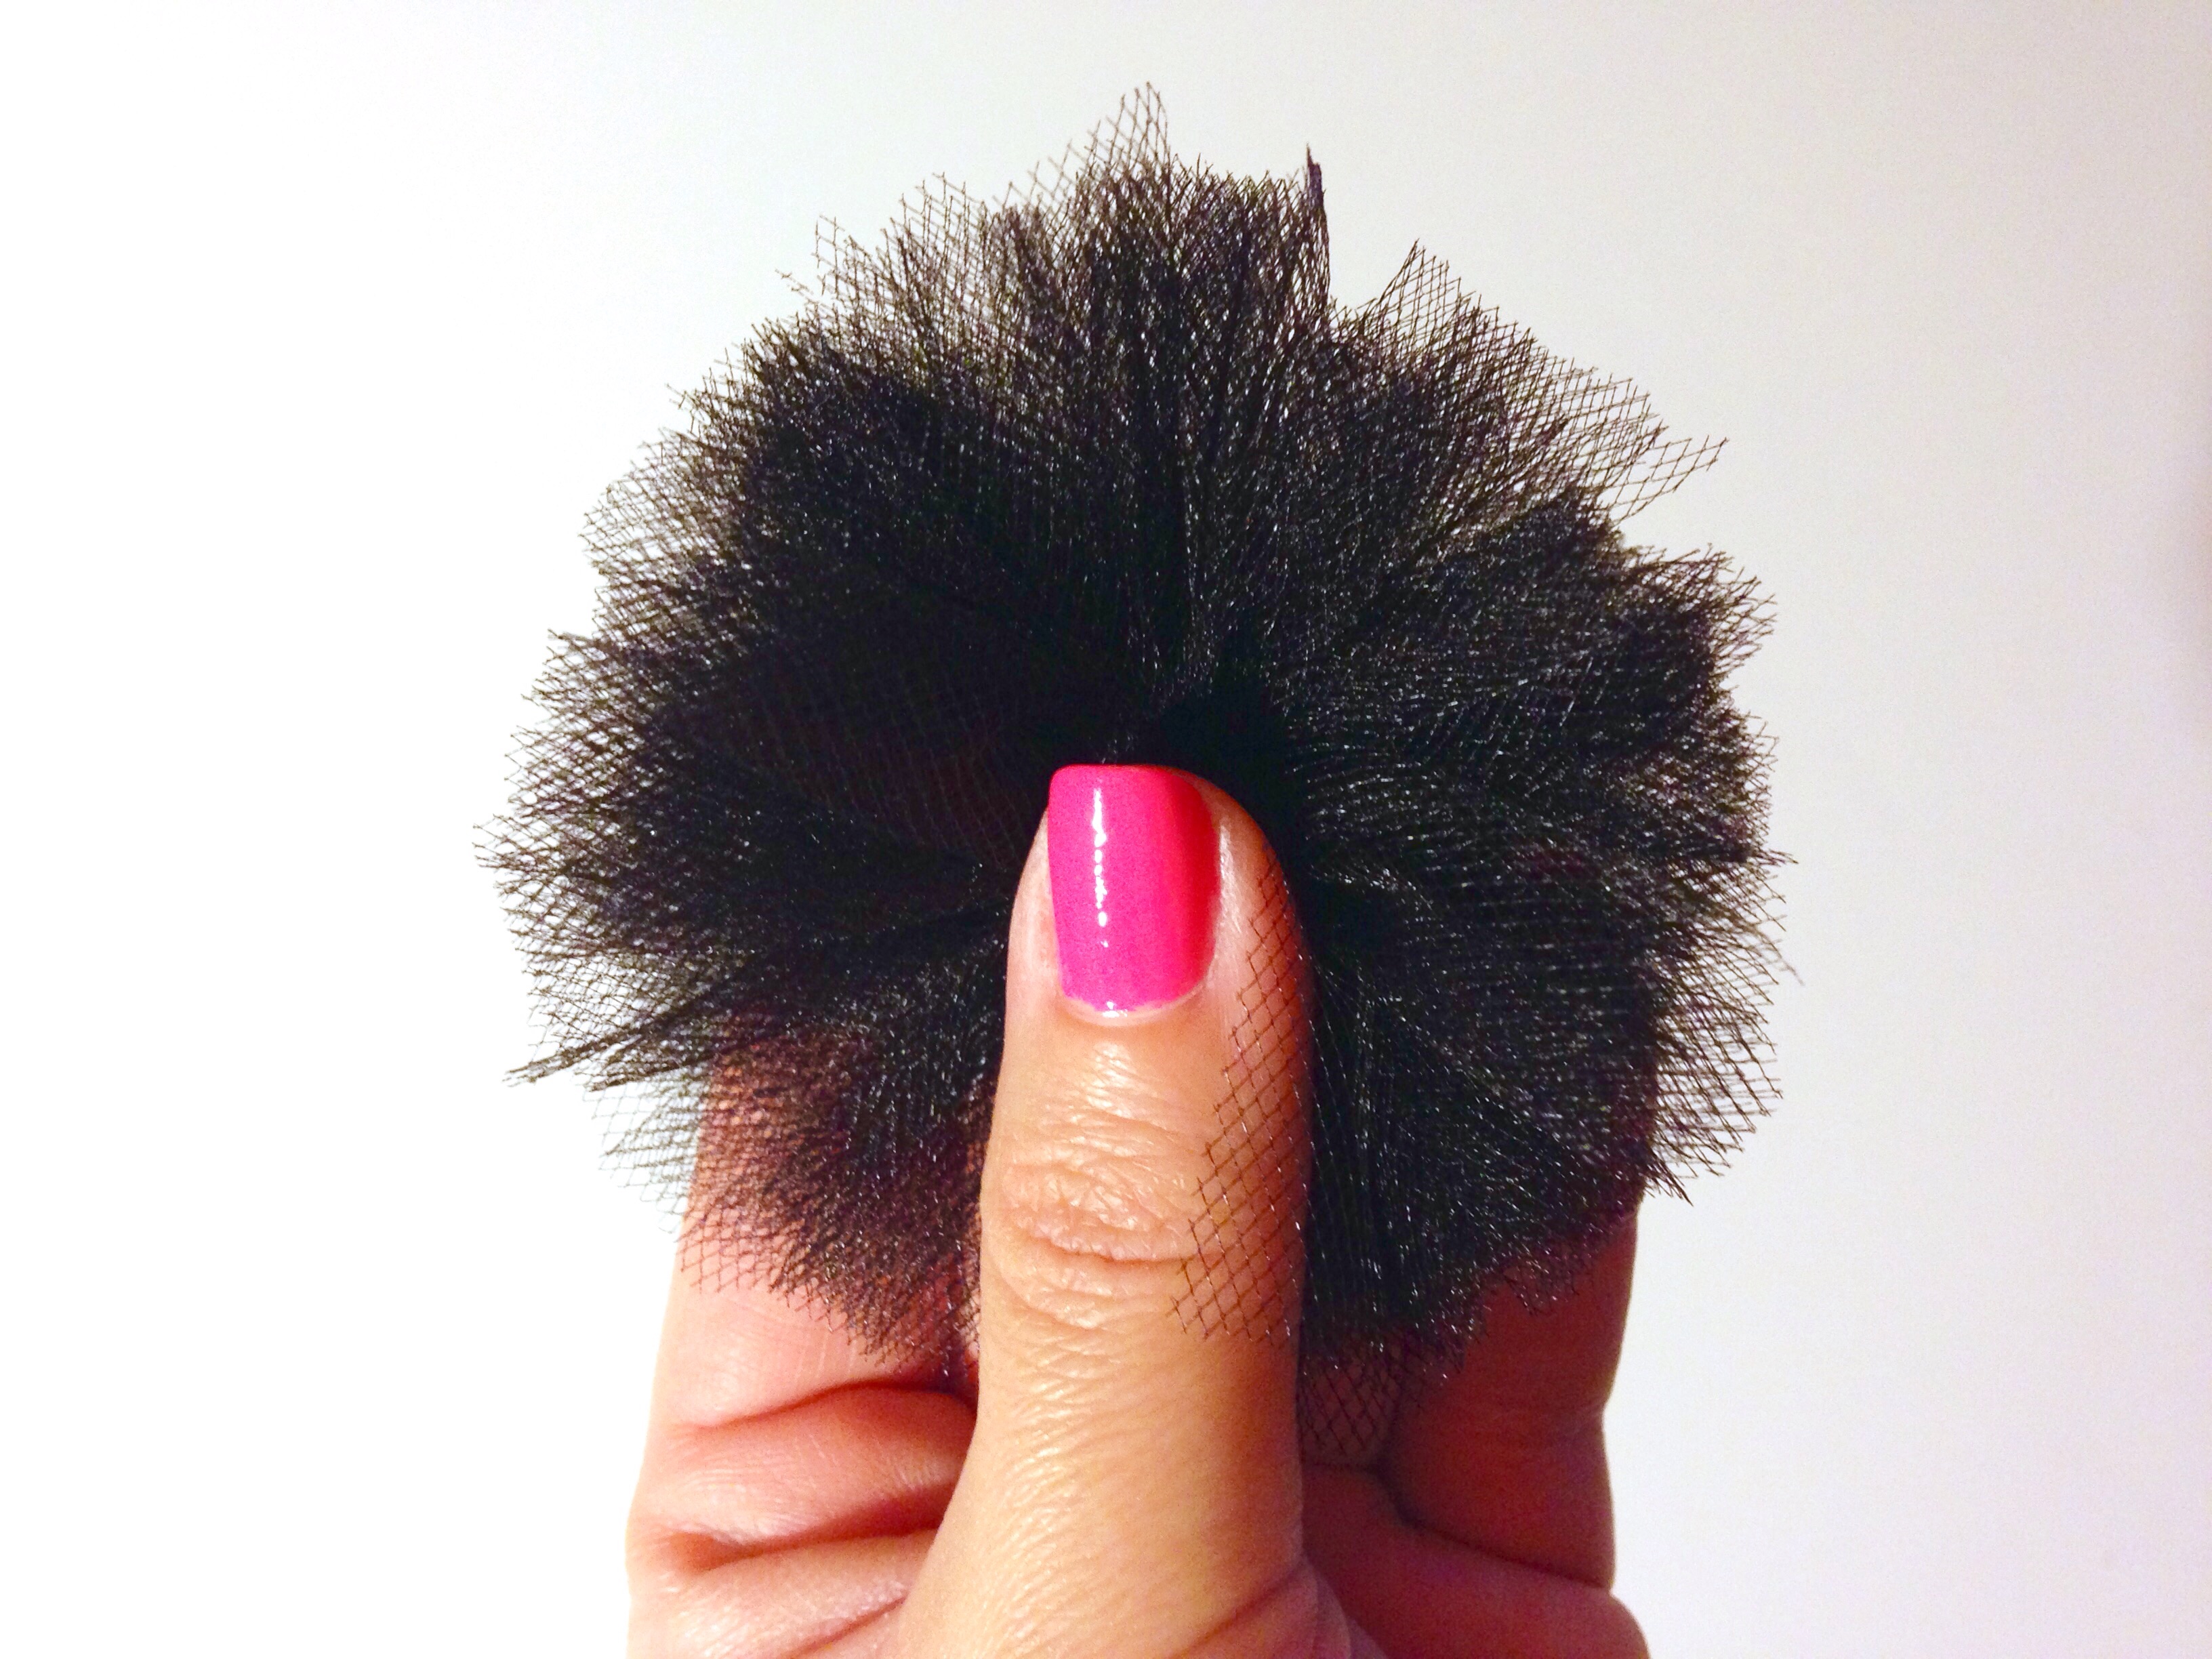 I love my circle exactly as it turned out, but if it does not look proportioned to your cone you may trim it down some. I like to make a few snips here & there to make my edges jagged and rough.
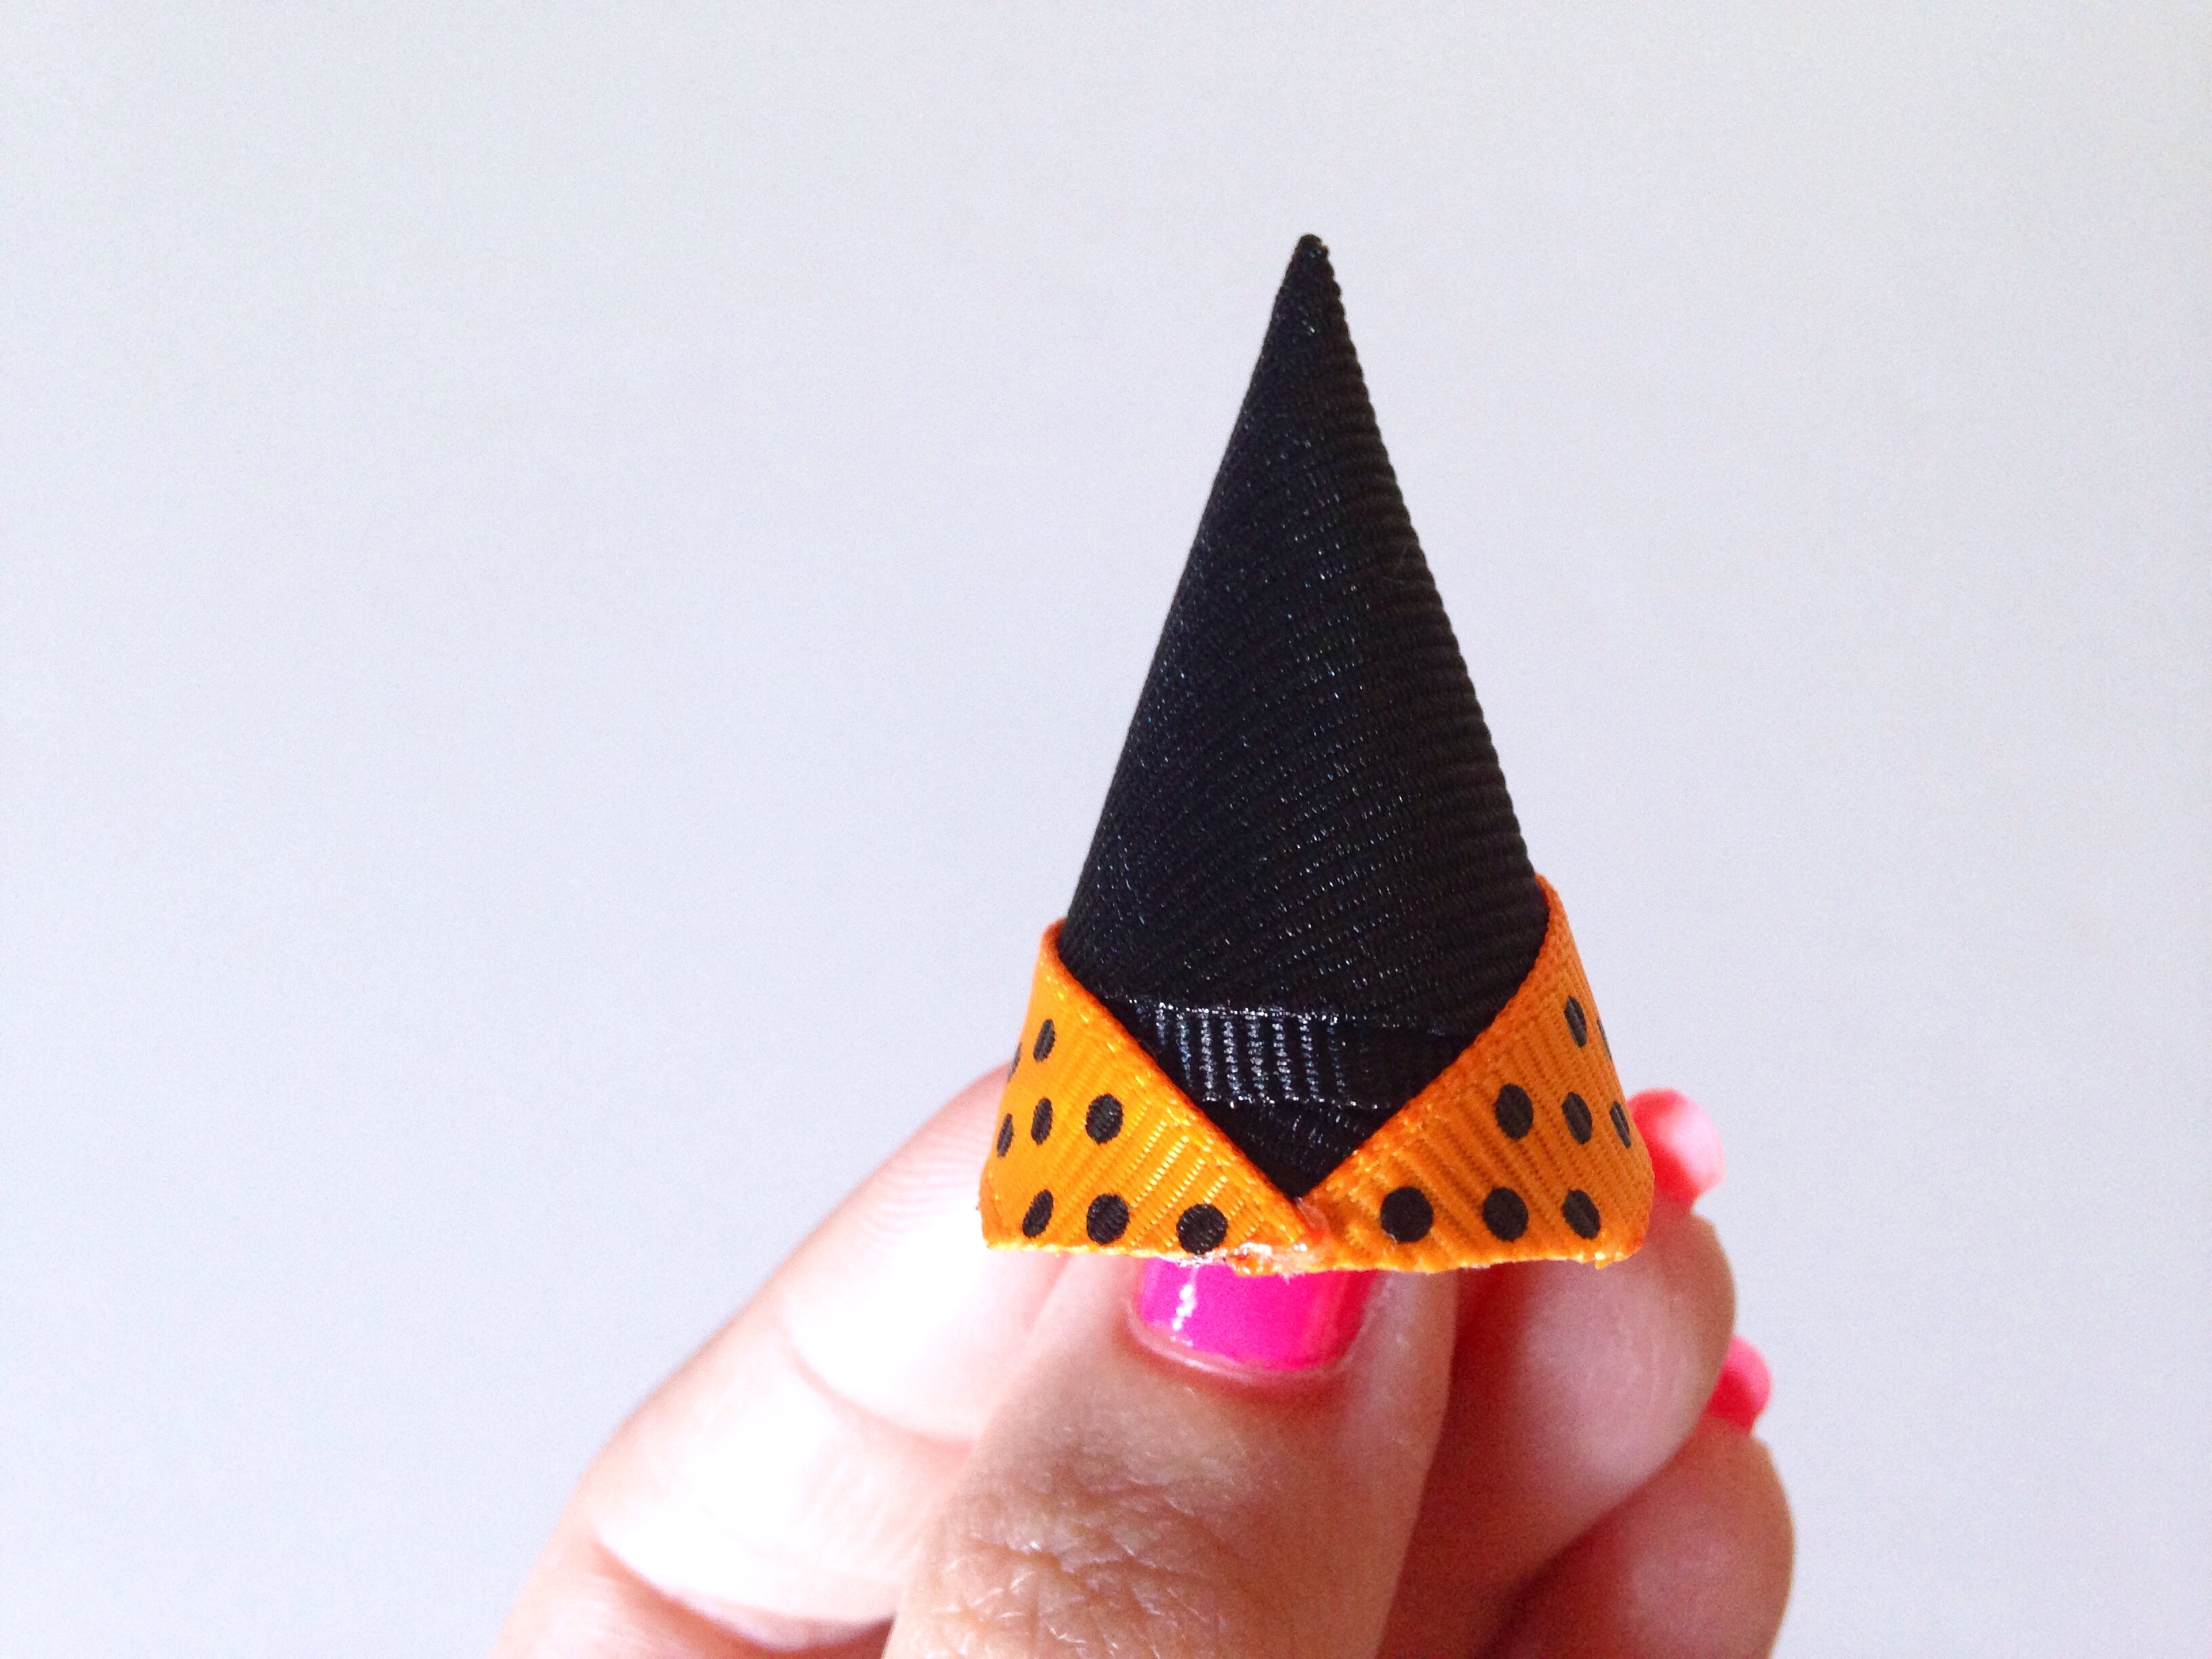
Now we have the 2 main pieces complete for our adorable little hat! This is where it gets really fun! It's time to decorate and add those adorable little finishing touches! HBC has sooooo many perfect options for this project! I absolutely love the 3/8" tangerine with black dots ribbon! Cut a piece 5-6" long. We will not need this much but I prefer having too much rather than not enough in this case. Starting at the seam of your cone, glue the MIDDLE of your ribbon piece slightly above the cone's base. (Do not start at either end of your ribbon! You will see why in just a minute.) This will be the back of your hat.
I love my circle exactly as it turned out, but if it does not look proportioned to your cone you may trim it down some. I like to make a few snips here & there to make my edges jagged and rough.
Now we have the 2 main pieces complete for our adorable little hat! This is where it gets really fun! It's time to decorate and add those adorable little finishing touches! HBC has sooooo many perfect options for this project! I absolutely love the 3/8" tangerine with black dots ribbon! Cut a piece 5-6" long. We will not need this much but I prefer having too much rather than not enough in this case. Starting at the seam of your cone, glue the MIDDLE of your ribbon piece slightly above the cone's base. (Do not start at either end of your ribbon! You will see why in just a minute.) This will be the back of your hat.
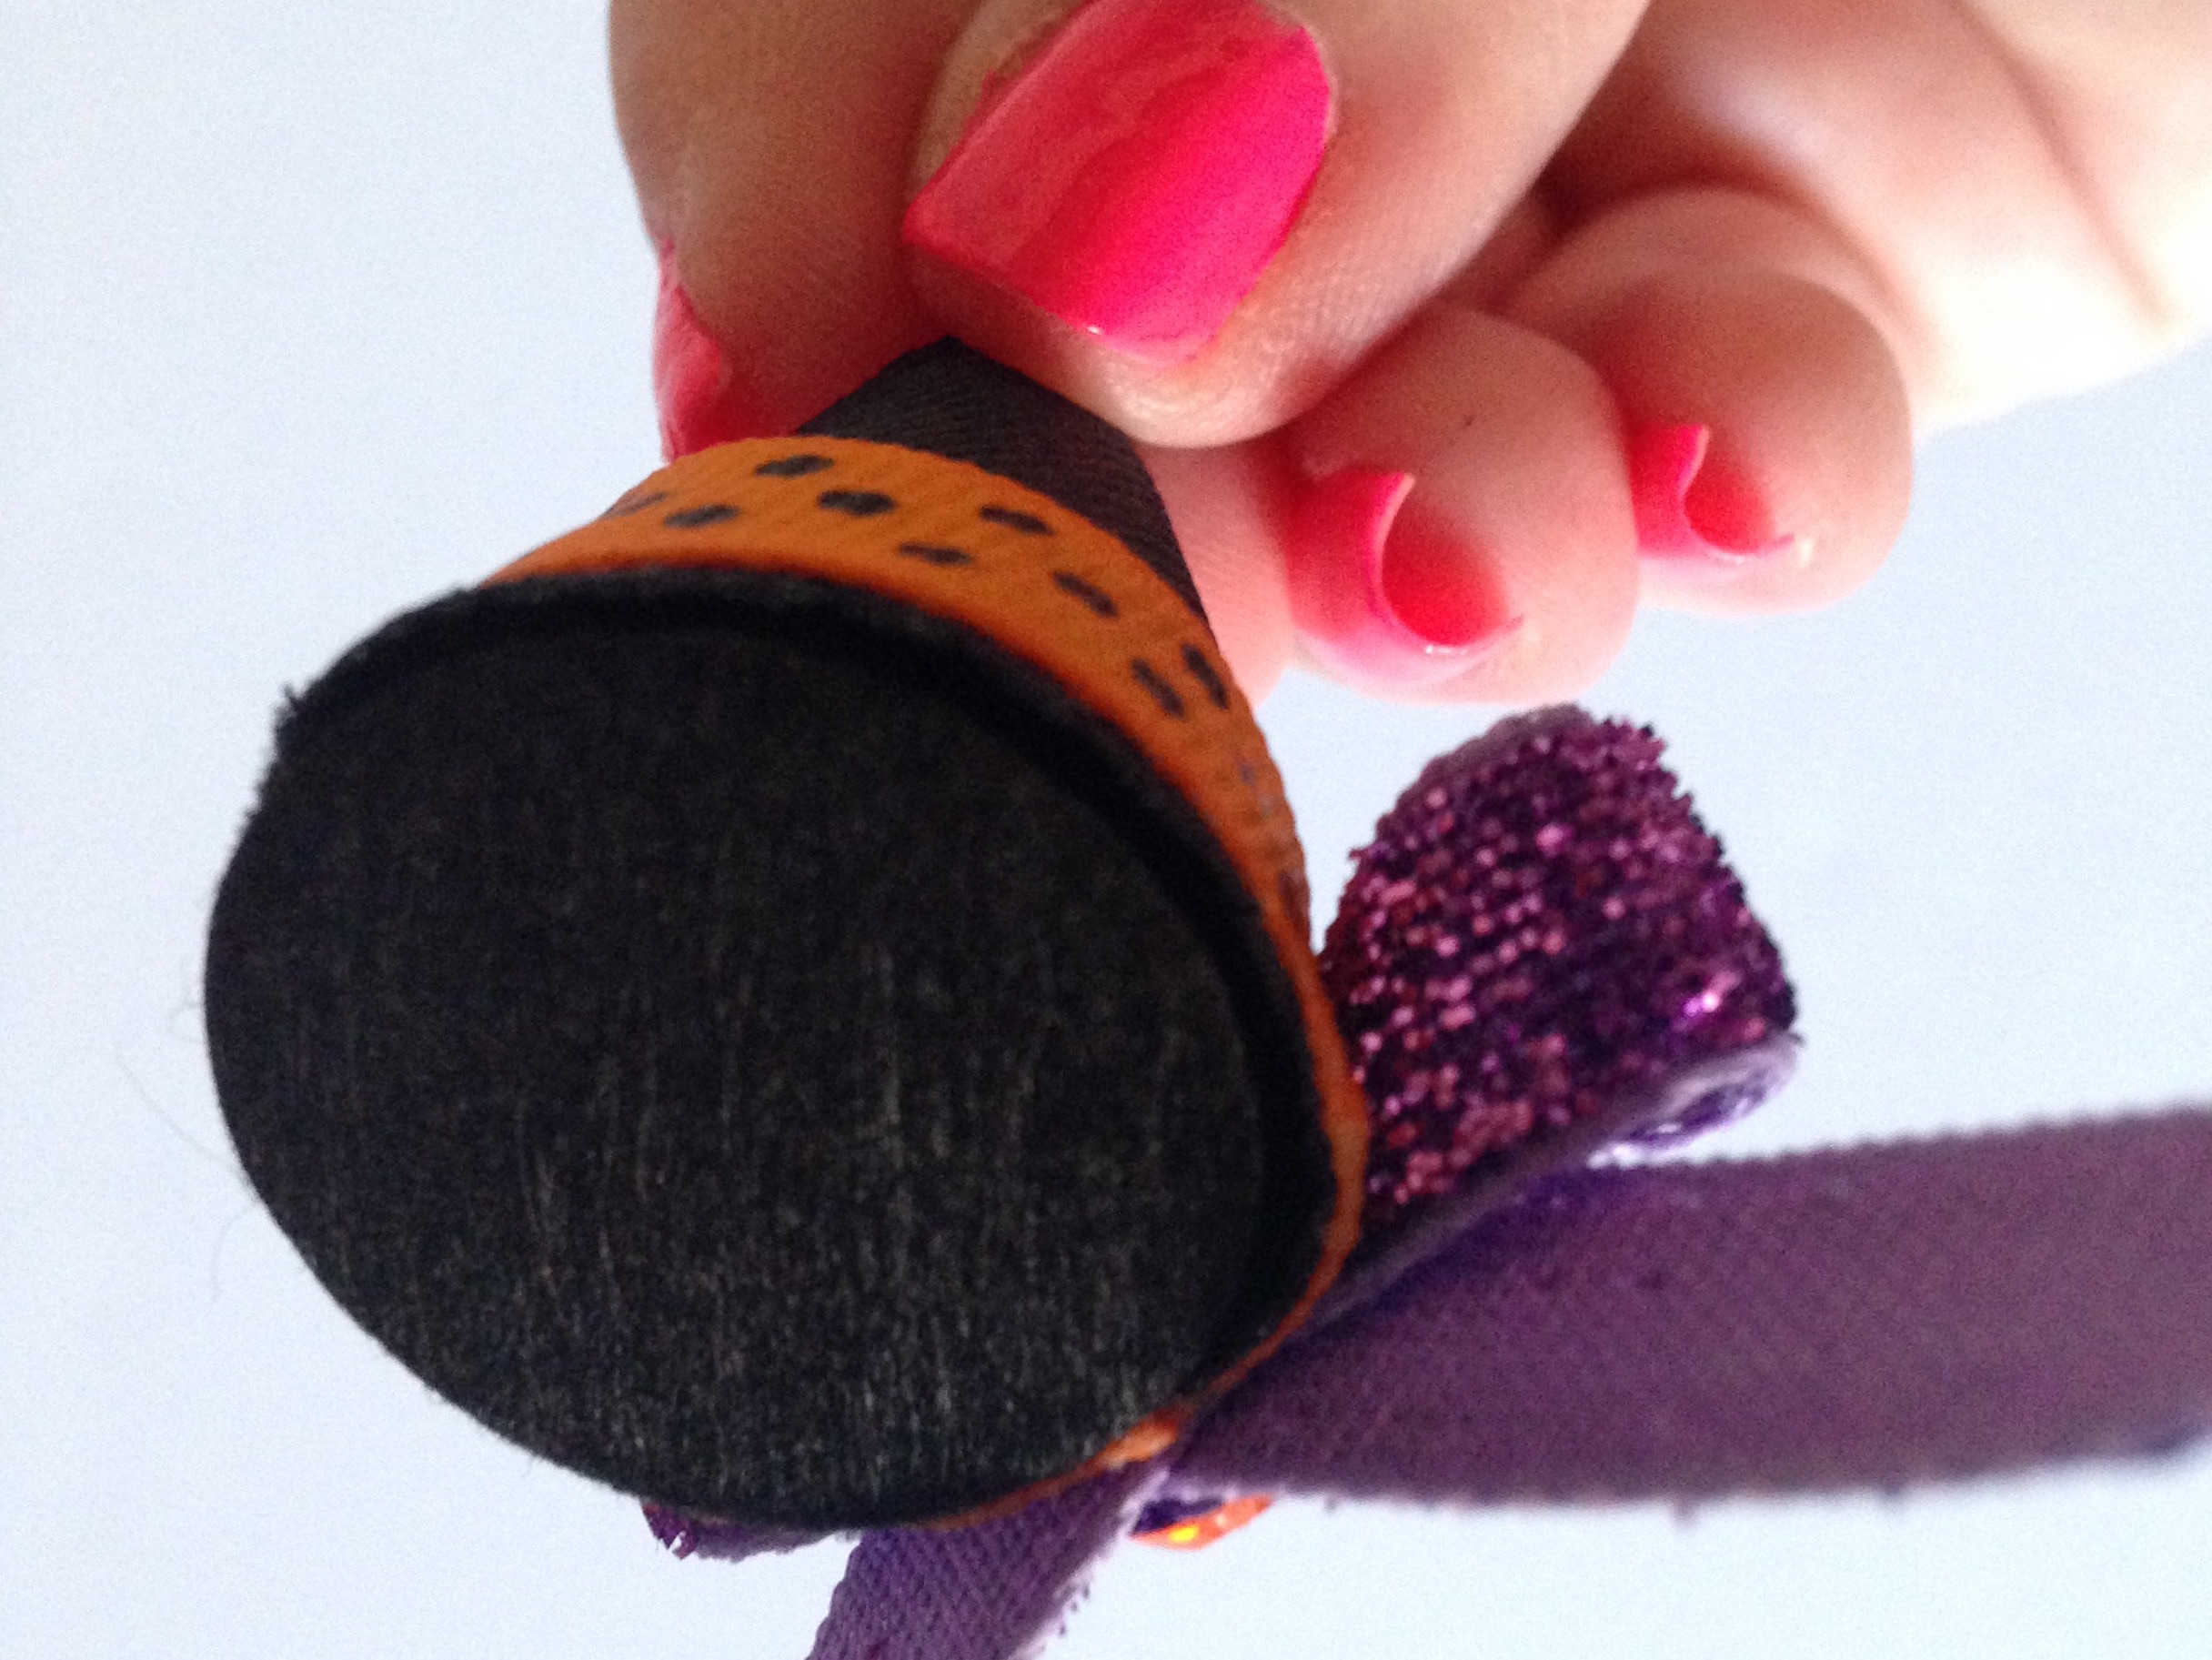
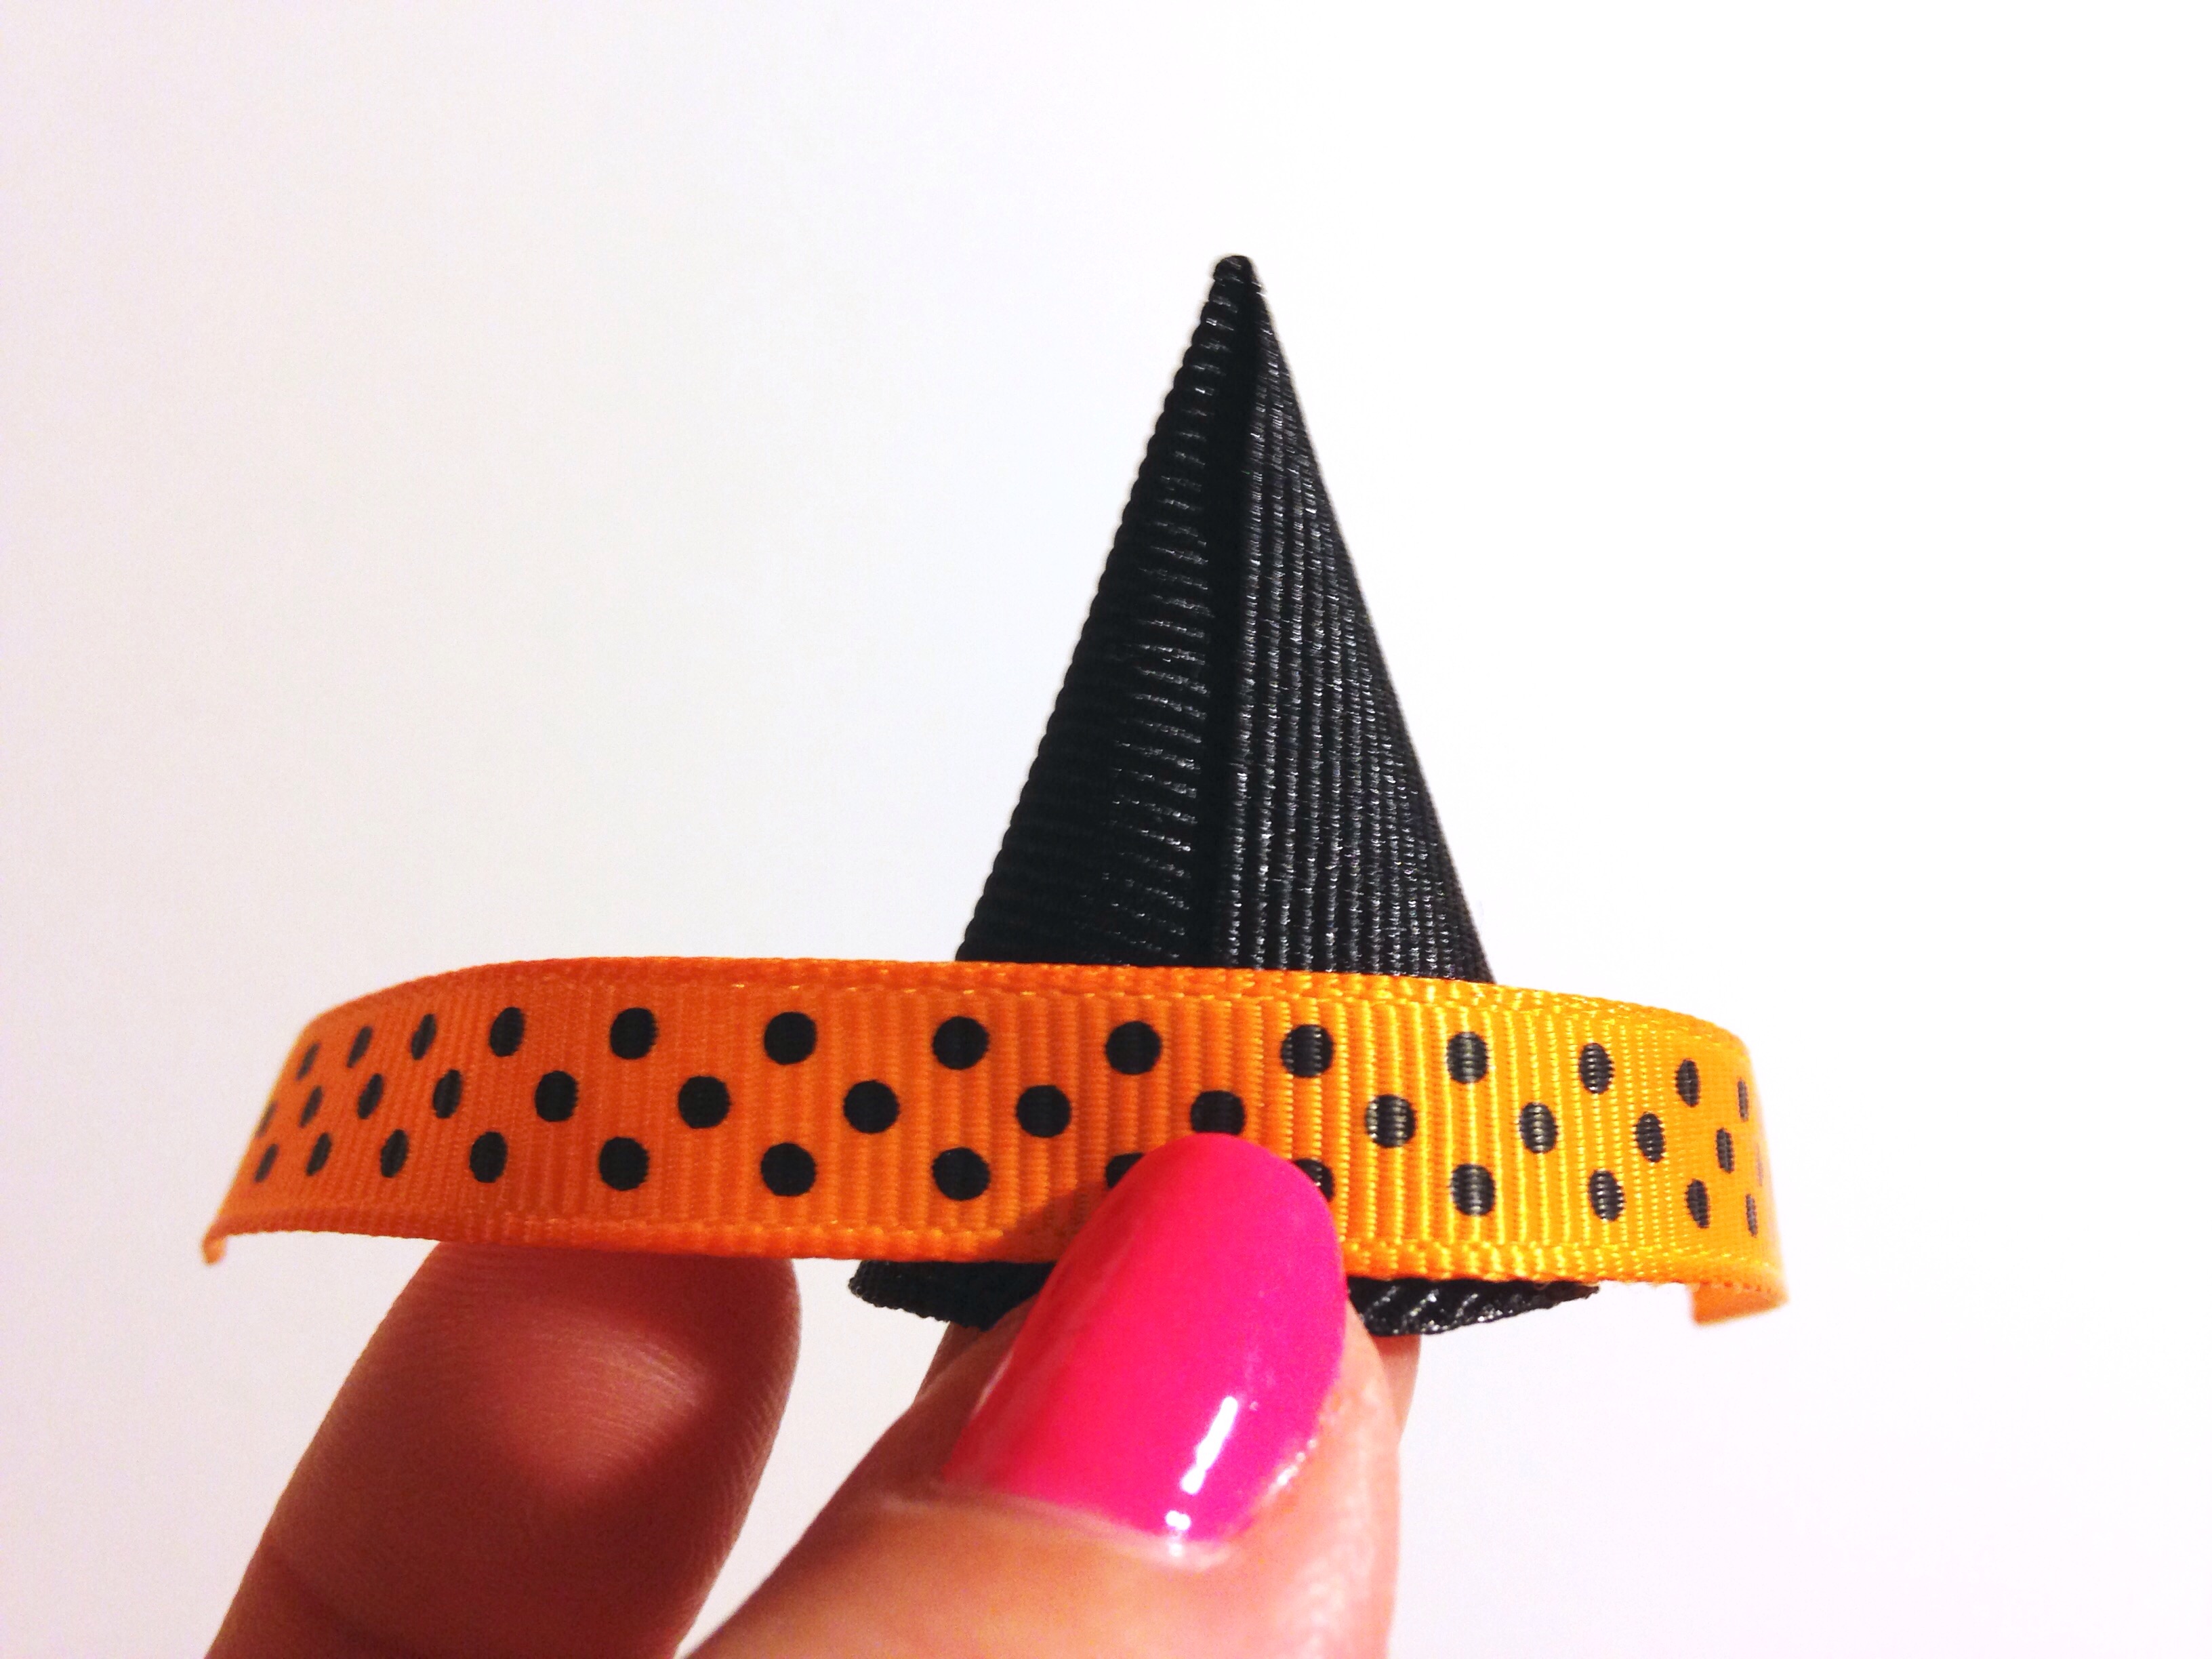 Because of the slant of our cone, you will start to notice your ribbon angling itself down as you glue each side of your ribbon onto your hat. This is why we left a small space at the back of our hat rather that starting the base. If you were to start at the very bottom you would have a much bigger gap to fill in the front of your hat where the ribbon does not fully meet. The space we left in the back will not be noticeable at all up against our black tulle in the finished product. So after you've wrapped your ribbon around to the front as far as it would go and trimmed off your excess, you should have something that looks like this:
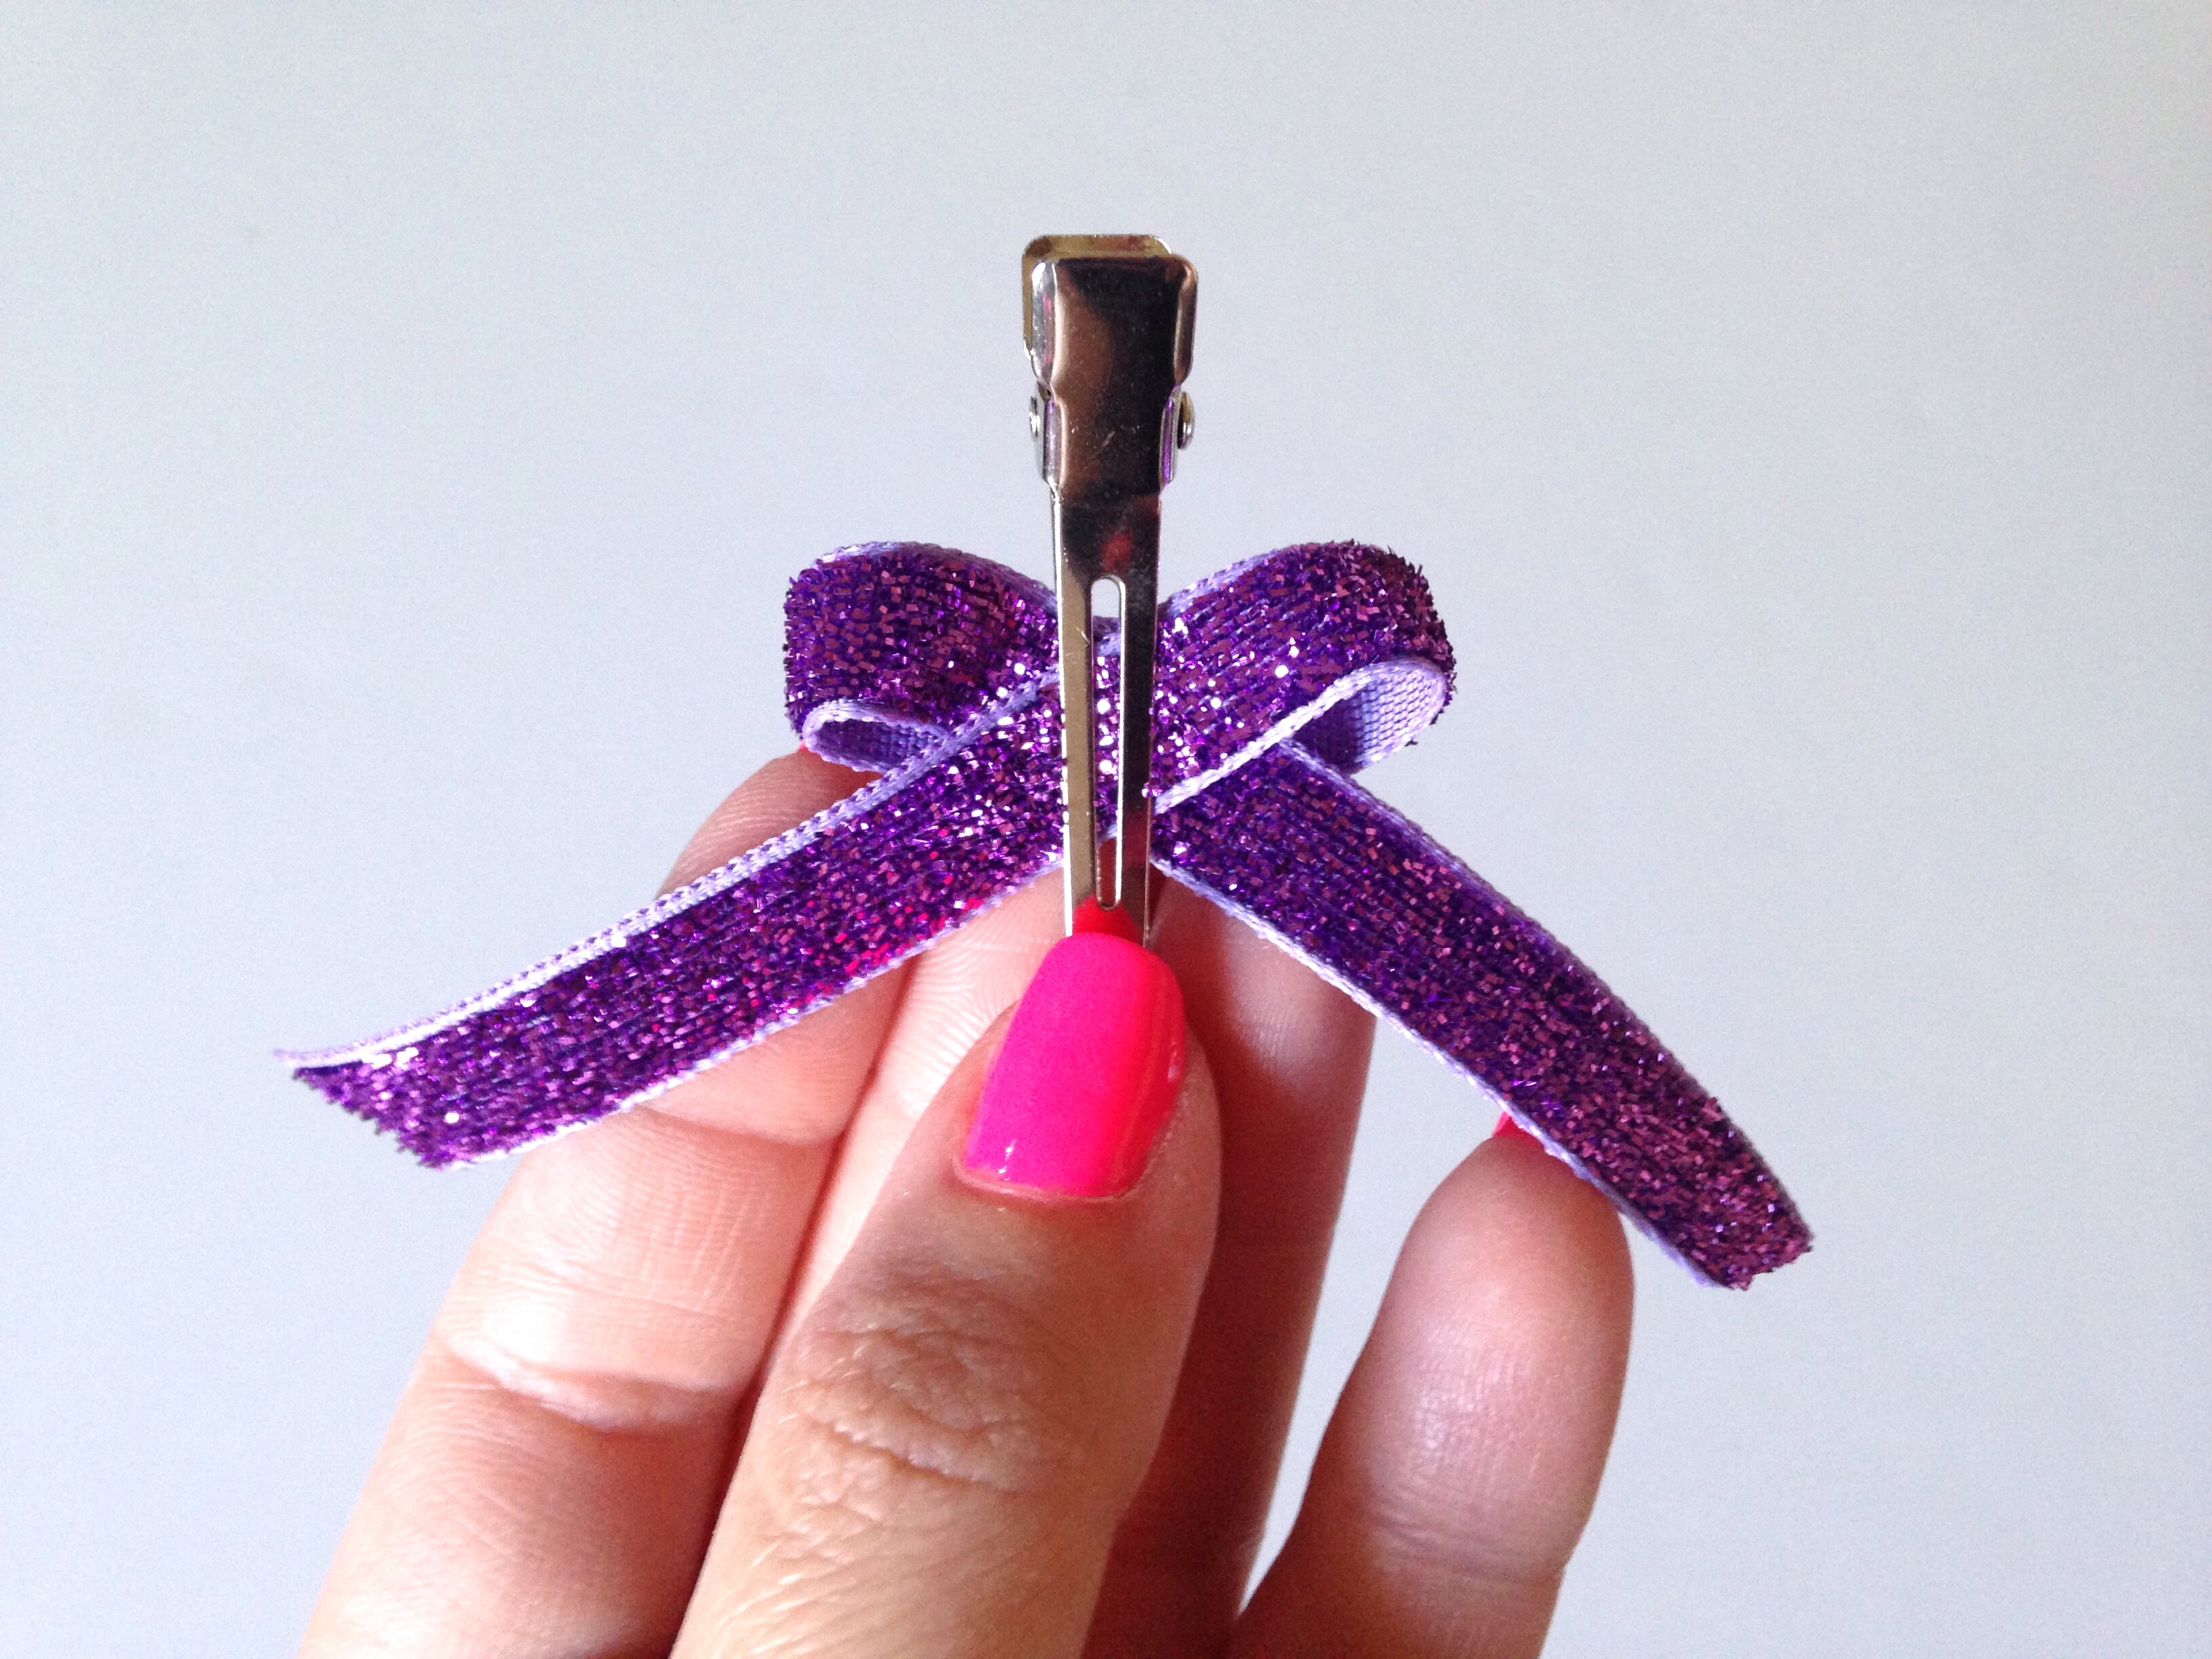
 Don't worry-- the gap will be completely covered and you won't be able to tell it was ever there. So now let's fill the gap with a super cute embellishment! As if you didn't have enough choices on which ribbon to chose already, now we're looking at even MORE options! From coordinating ribbon, a Halloween themed flat back resin, a few small feathers, or a rhinestone (or pearl!) embellishment to choose from, there are so many ways to make your hat super cute & unique! I have chosen a beautiful & super sparkly purple glitter ribbon in 3/8" to make a cute little bow! I am cutting off approx 8" of ribbon to work with. Start by making an awareness symbol with your ribbon as shown below:
 Slide the center of the loop down to the "x" of your overlapping ribbon.
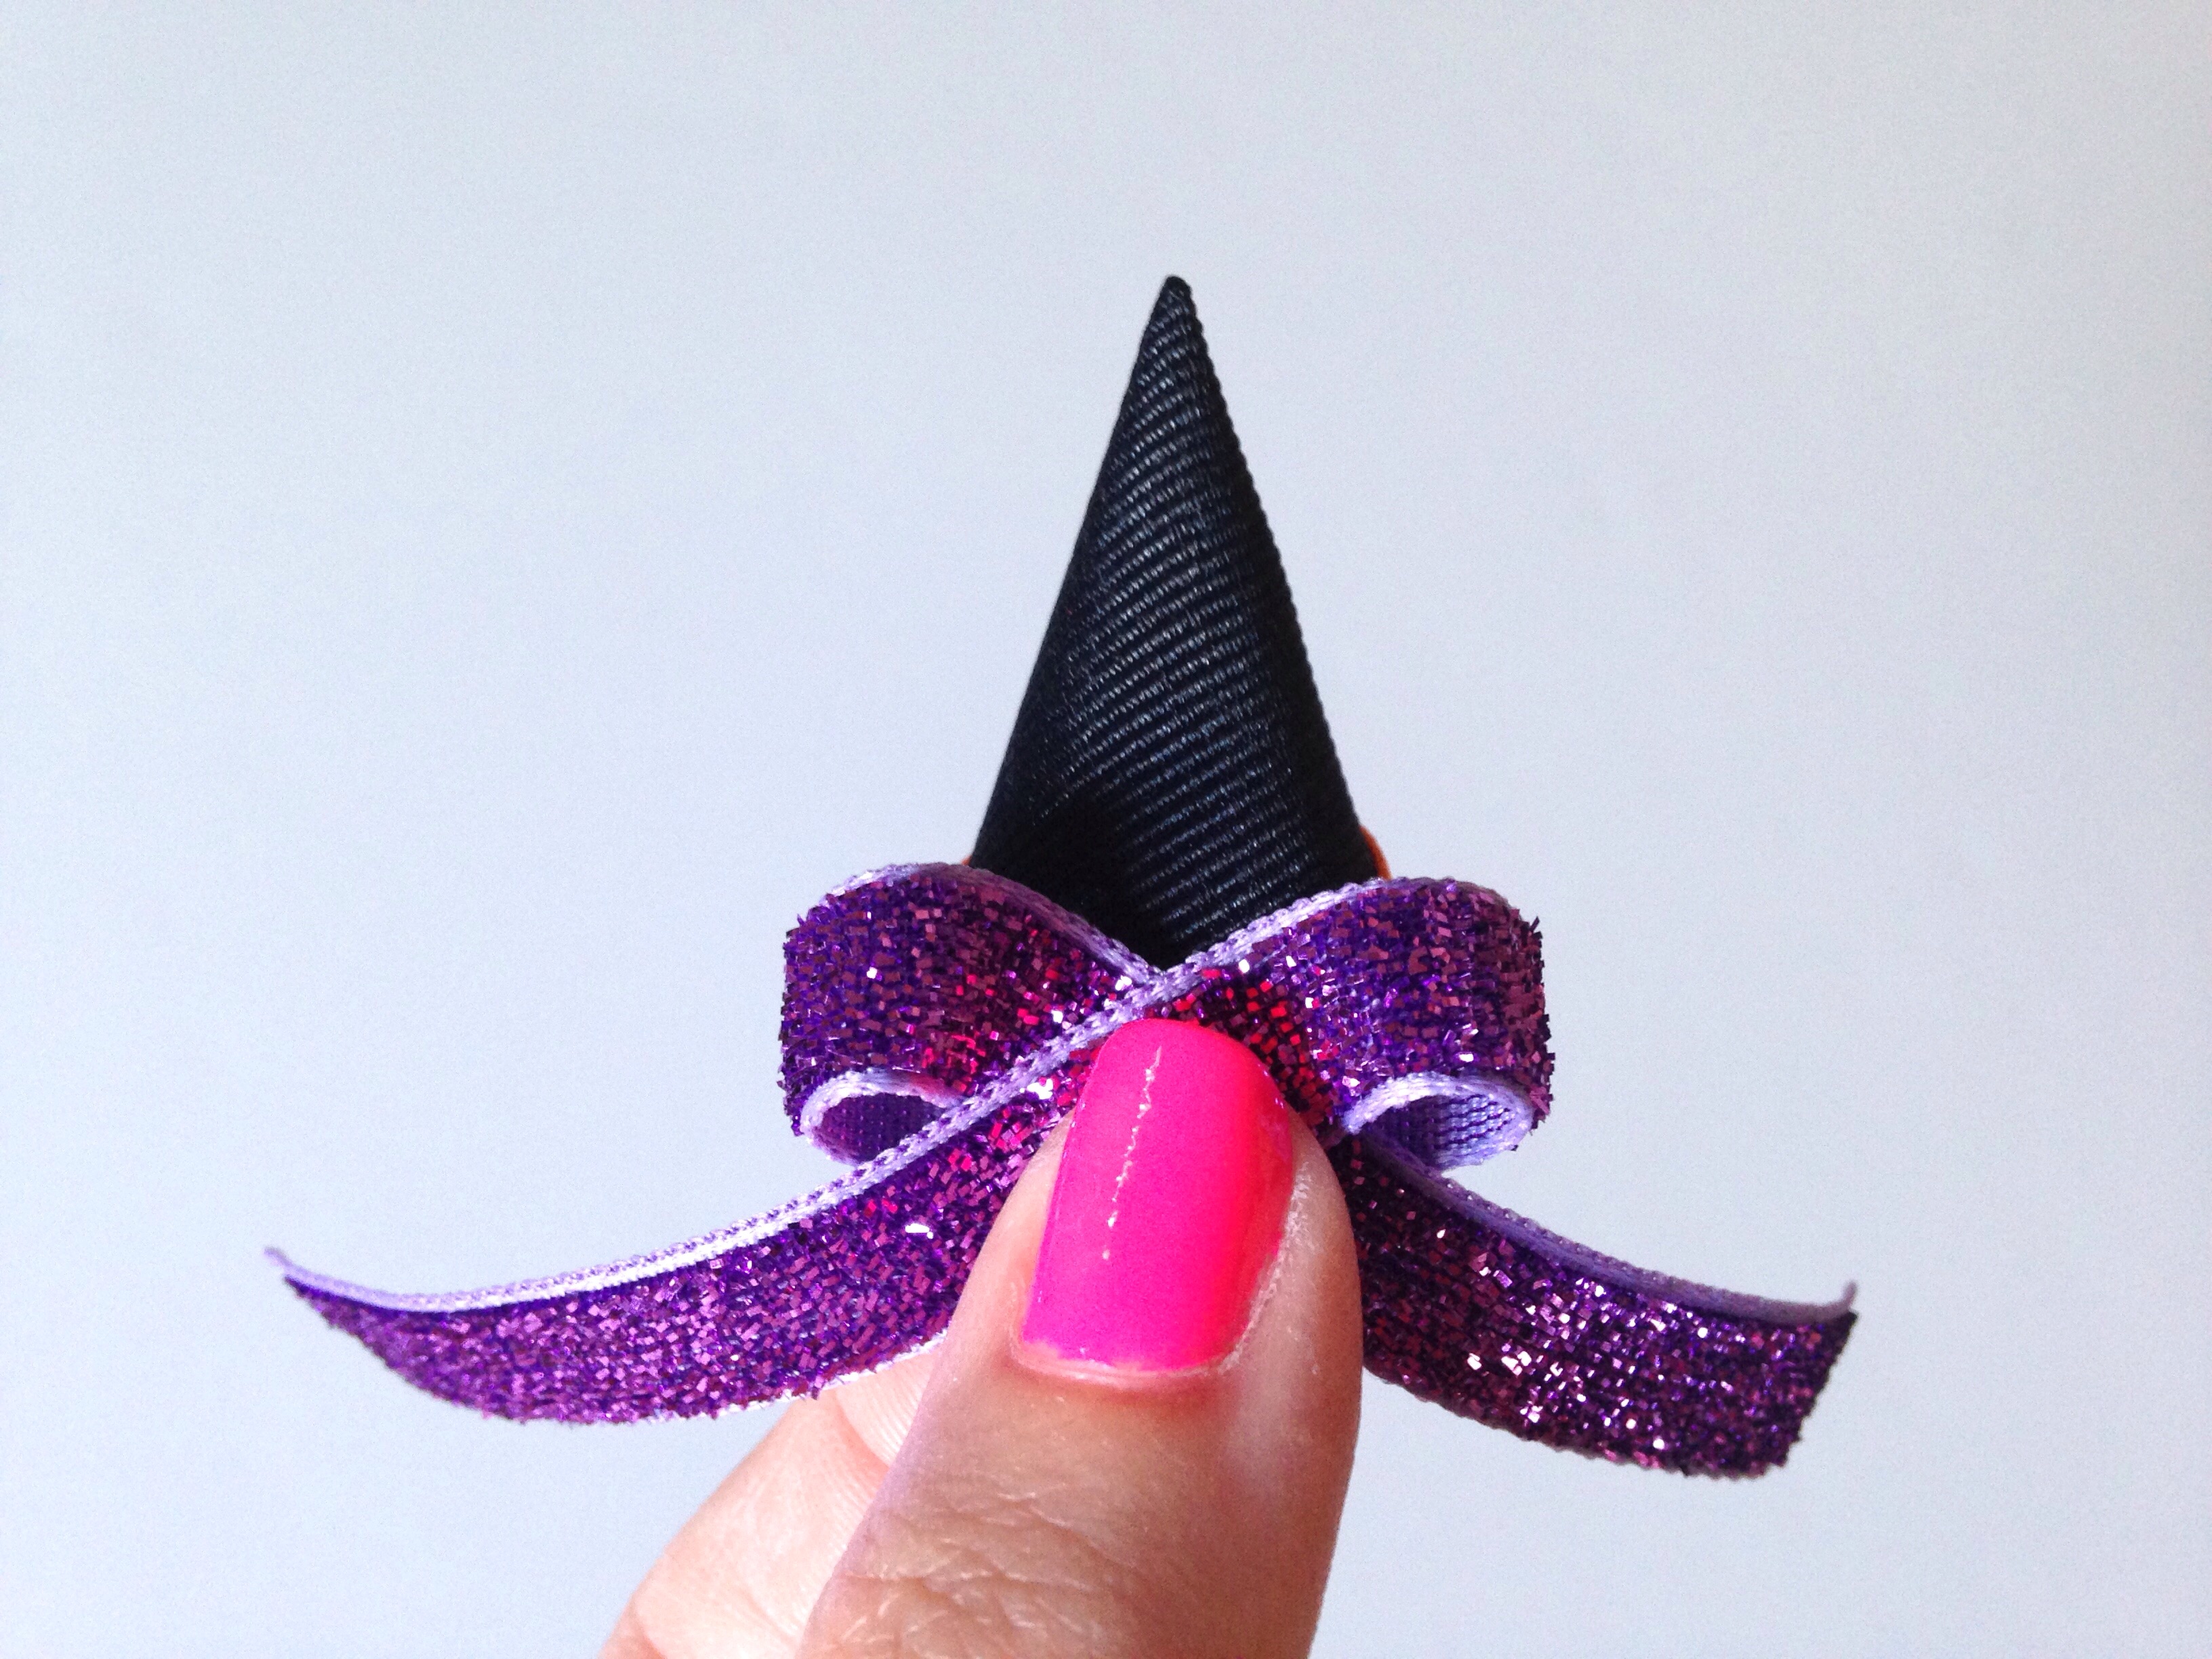
 Now turn your ribbon around to the frontside and check out the super cute (and super easy!) little bow we've just made!
 Make sure your loops are equal in size. I like to hold my bow up to my witch hat to check the sizing. I also make sure my gap is being totally covered by my sparky bow. When you've perfected your bow's size, slide an alligator clip onto the center of your bow.
 Using your our hot glue gun, add a small dab of glue between each layer of ribbon in the center. Use your alligator clip to hold the other layers together as you glue. Now add hot glue to the backside of your bow and press onto the cone of your hat. You may want to trim the ends to make smaller tails for your bow. Since I am going with an oversized bow on my hat I also wanted longer tails as well. So I am keeping mine long!
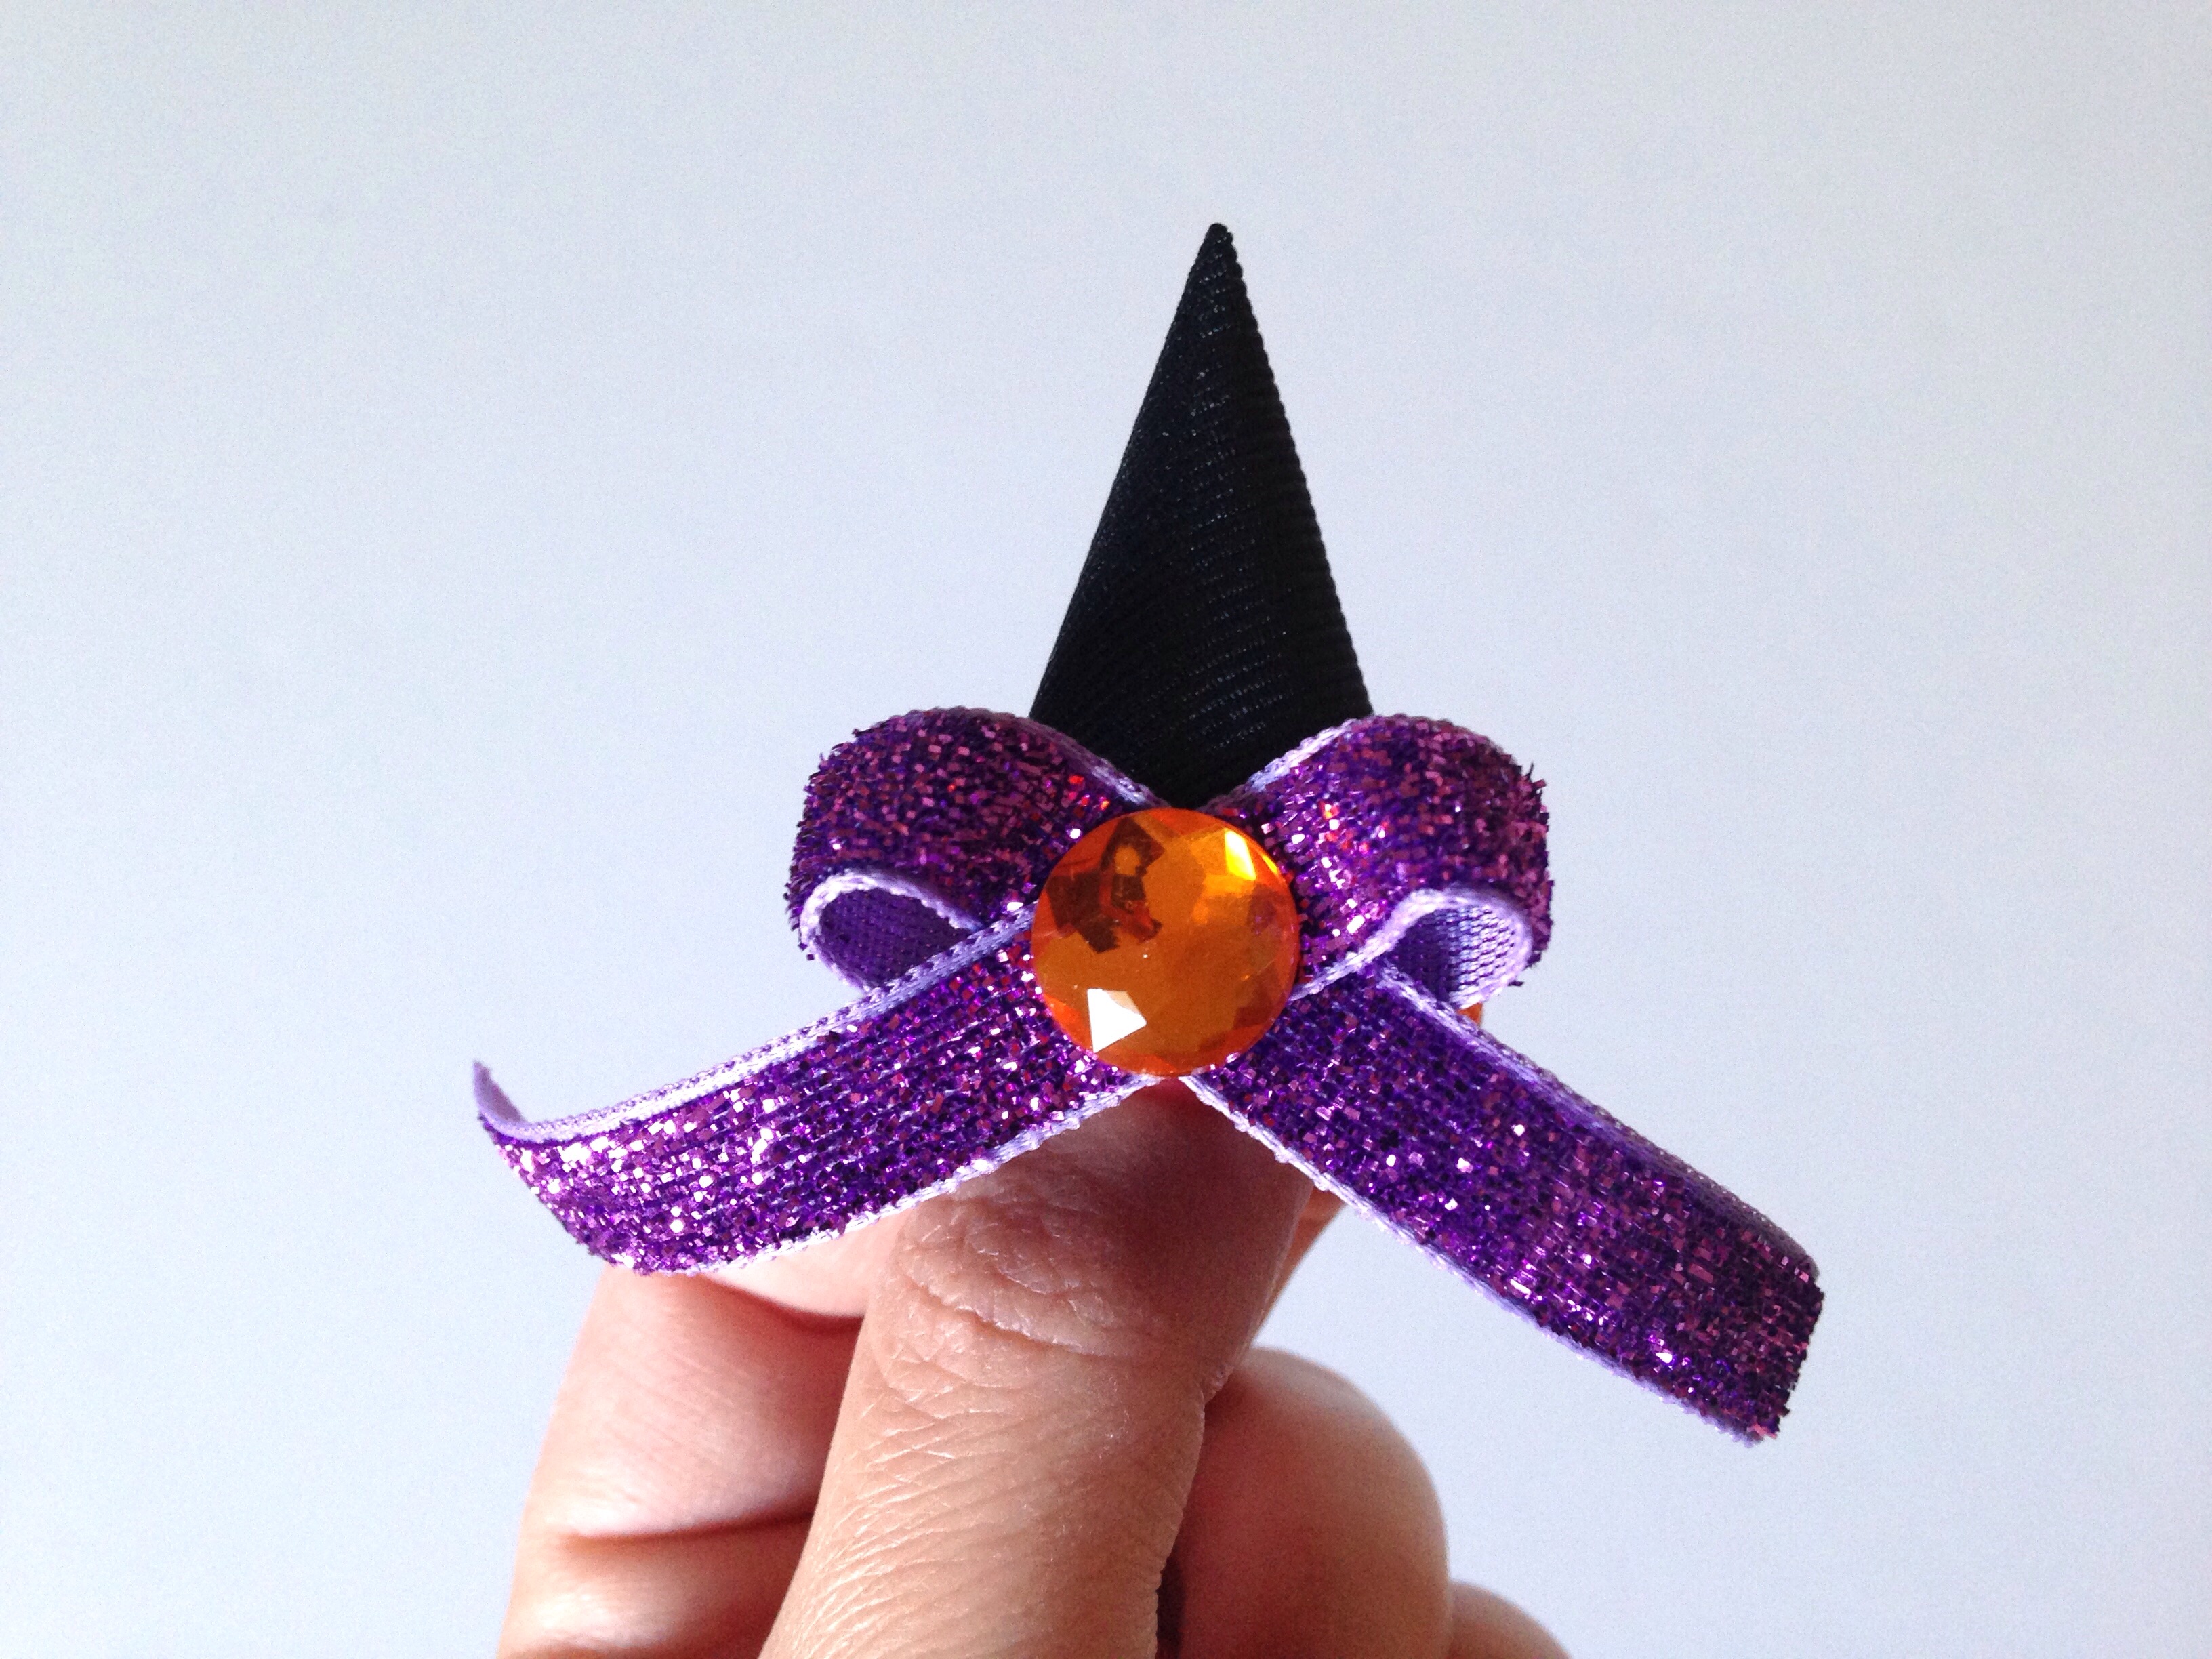
 To finish off my bow I am adding a small orange rhinestone to the center.
 Now let's assemble our hat! For a stronger and more secure hold, carefully glue the edges of your cone onto a 1" black felt pad.
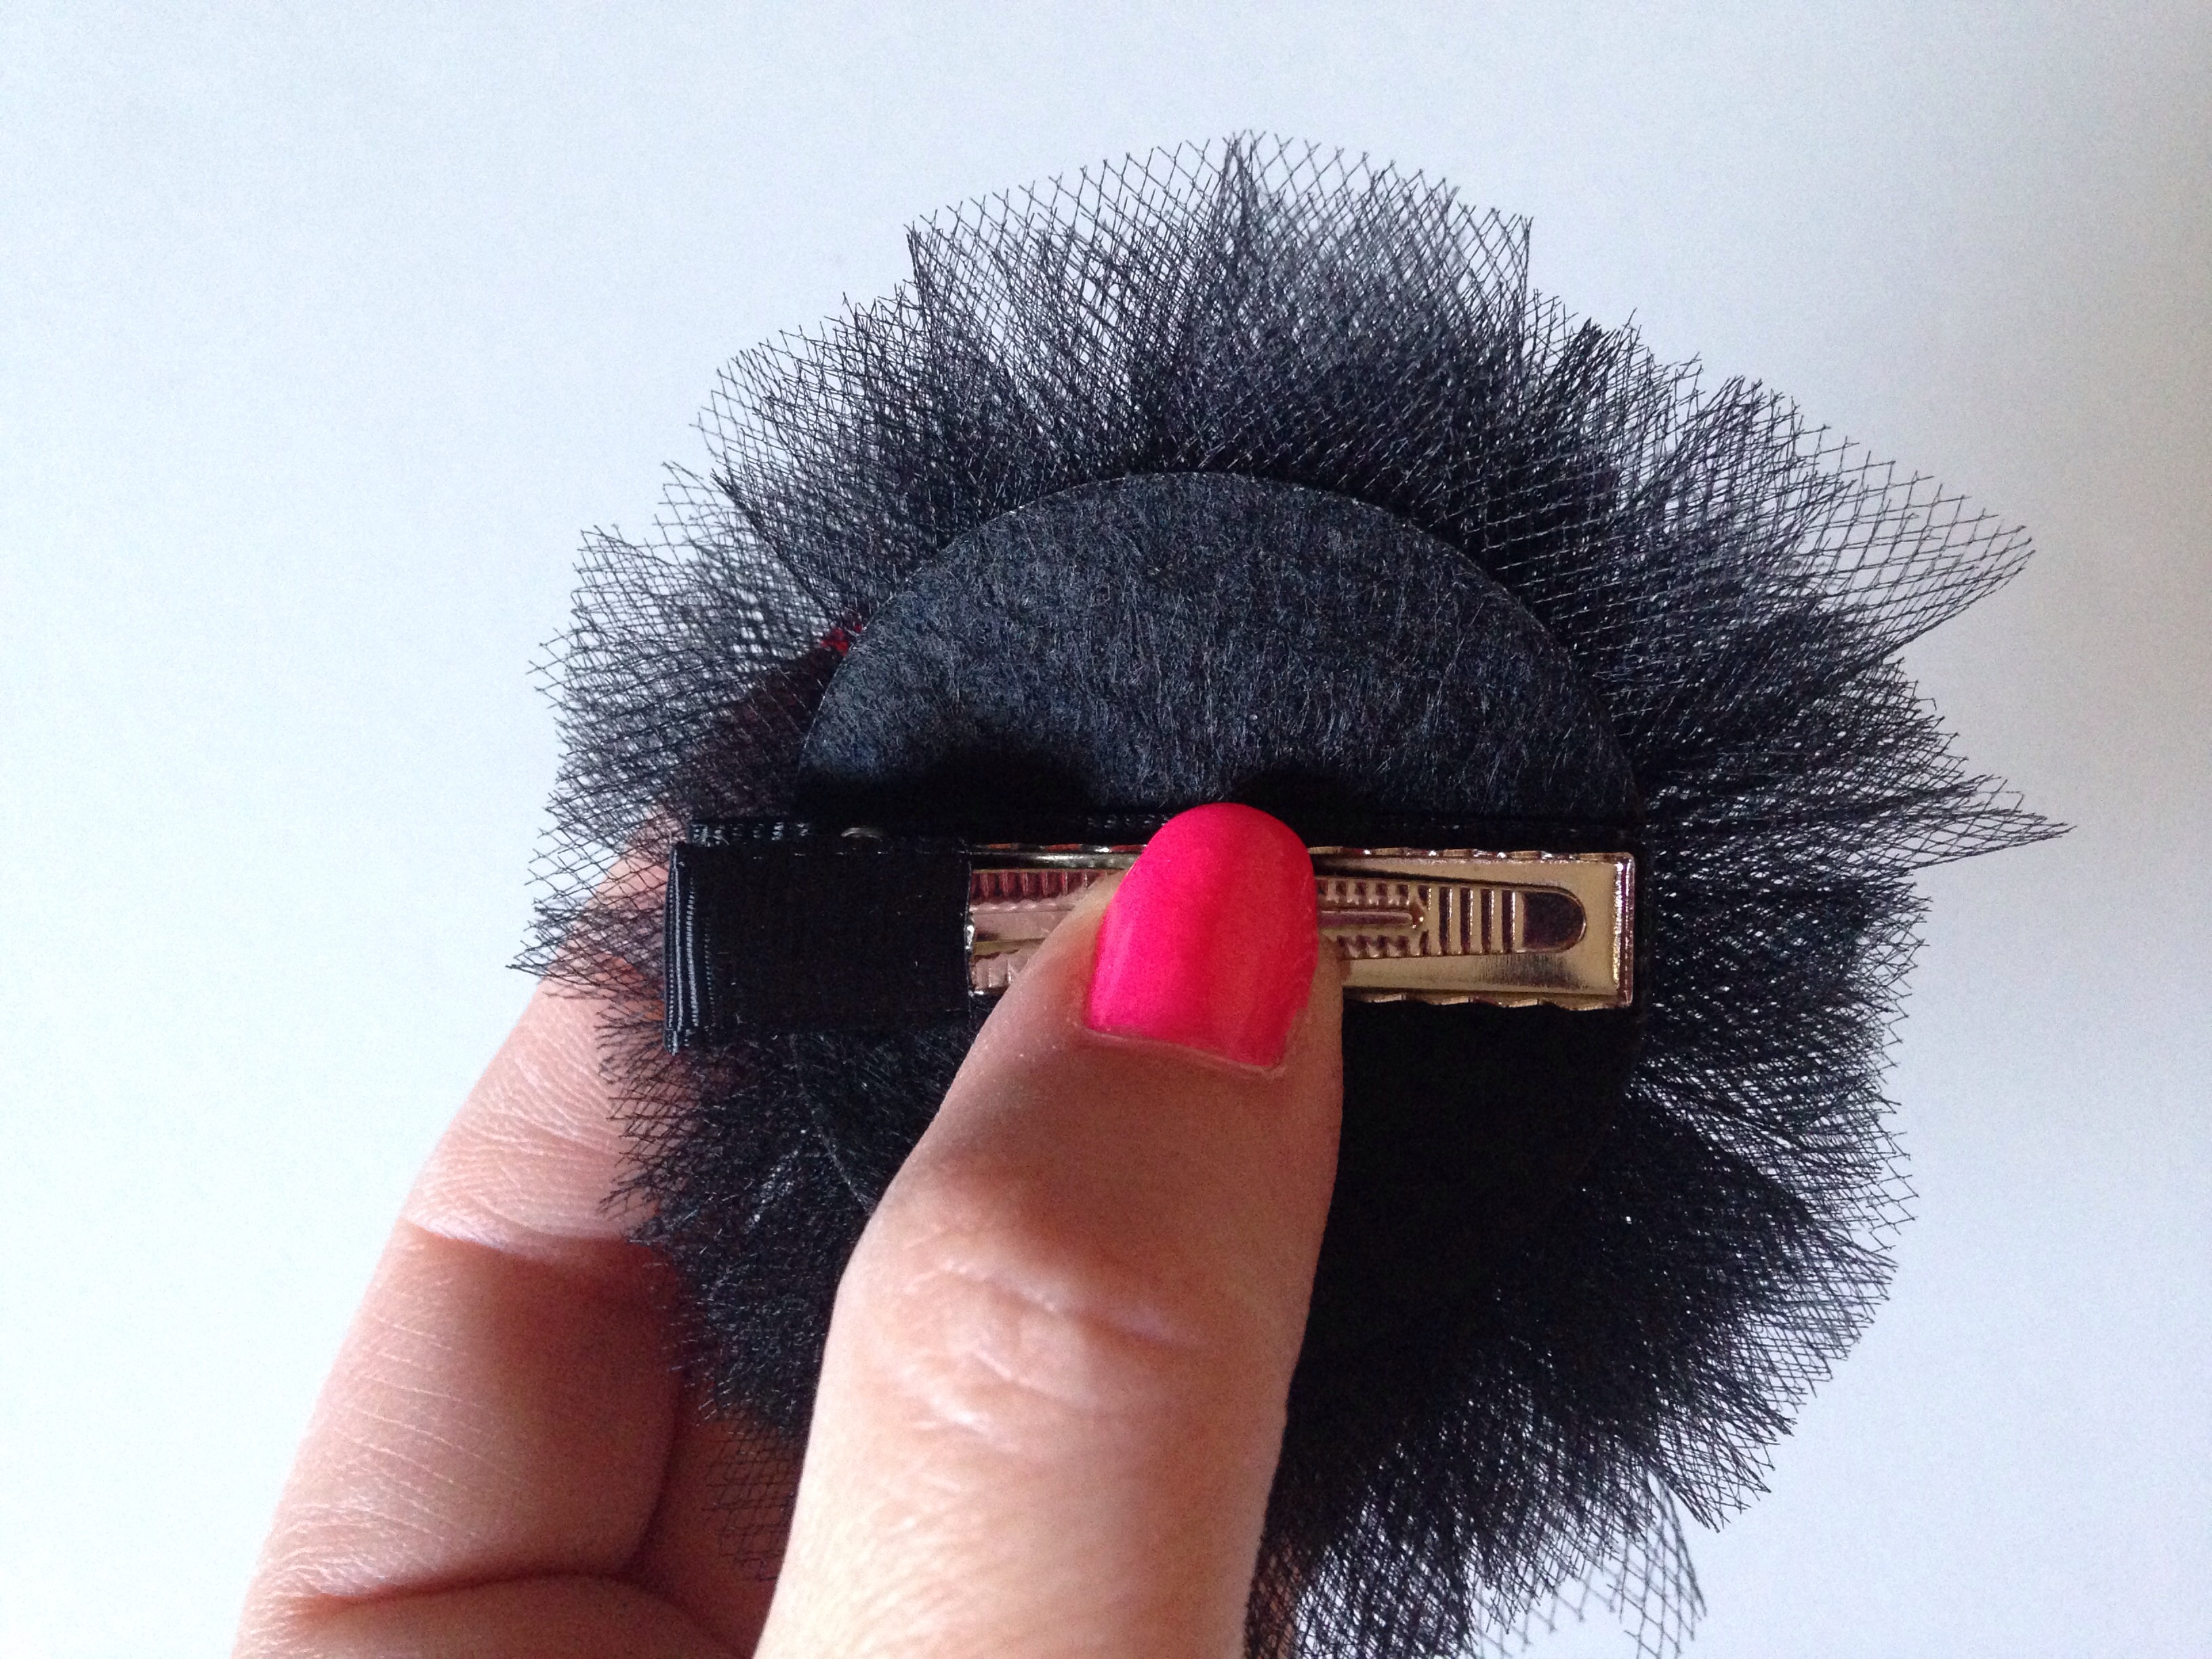
 Glue your 1 3/4" black felt pad onto the backside of your tulle circle. This will make a much better surface to apply your clip.
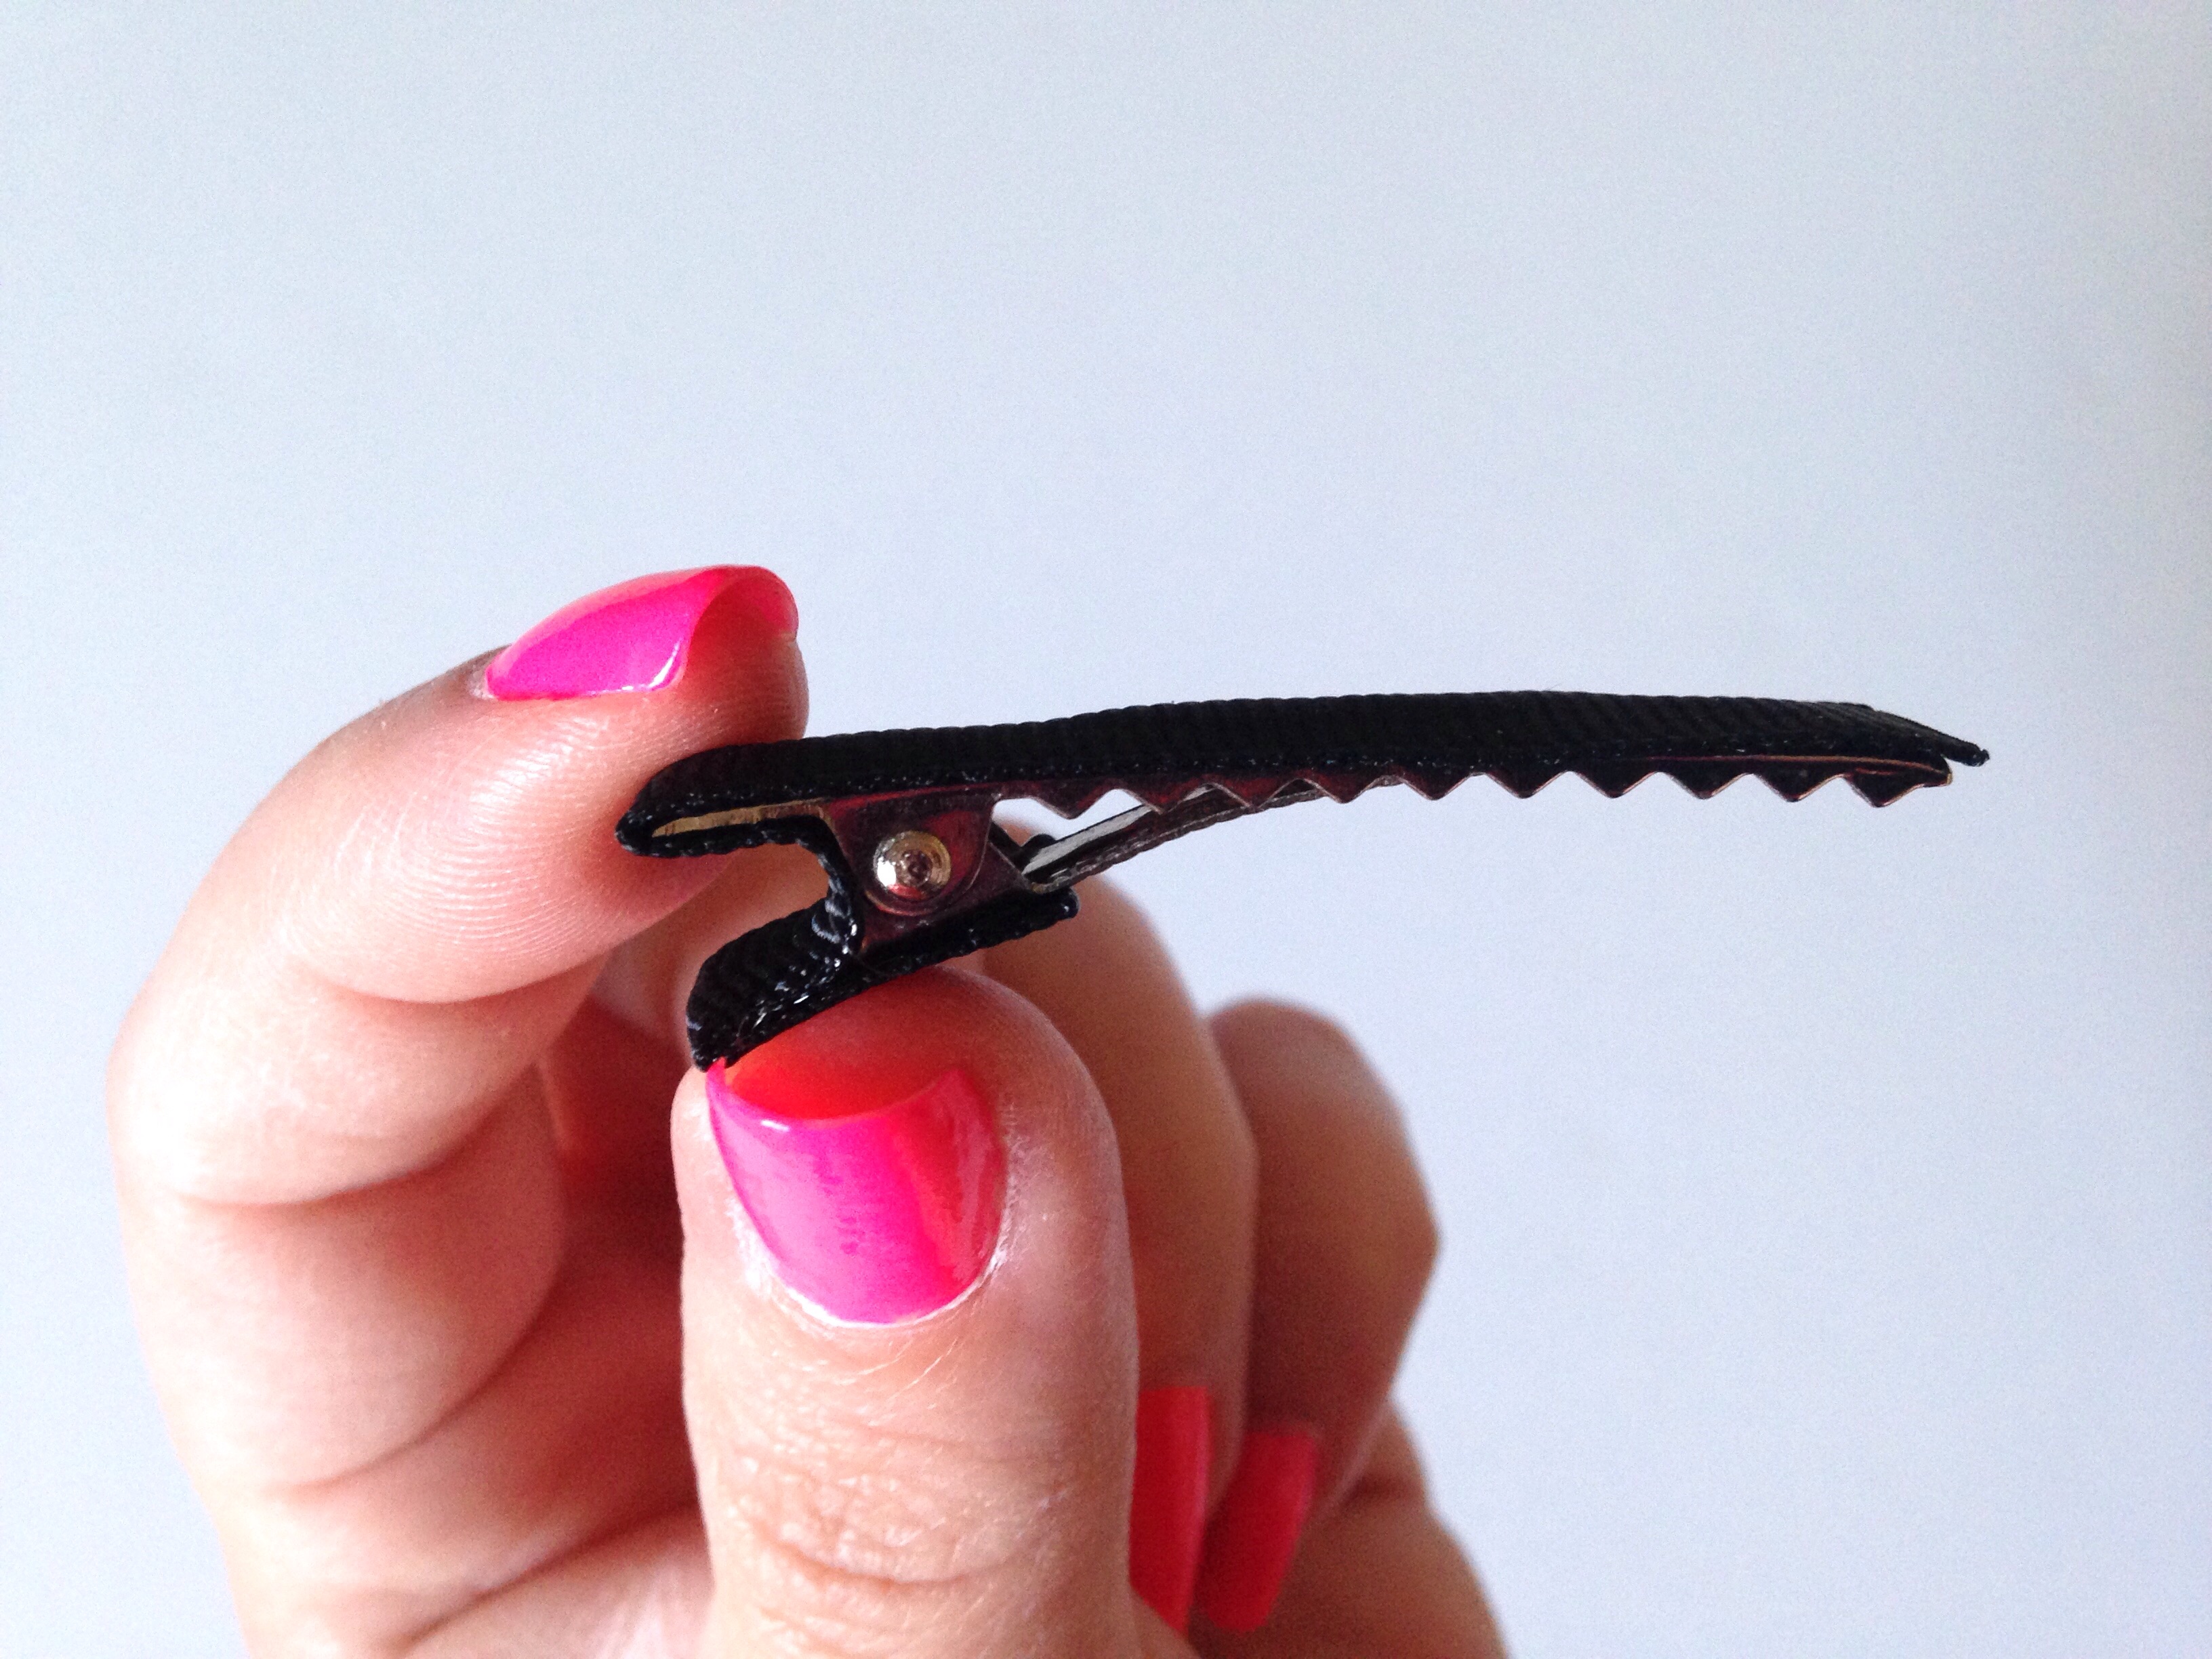
 I like to partially line my alligator clip so it will not be seen as much underneath. You will need about 3" of black 3/8" ribbon for this. I have chosen to use HBC's 1.75" alligator clip with teeth. It's flat and solid surface on top makes for perfect adhesure to the felt pad.
 Glue your partially lined clip in the center of your felt pad. This is much easier to do now before adding the top of our witch's hat.
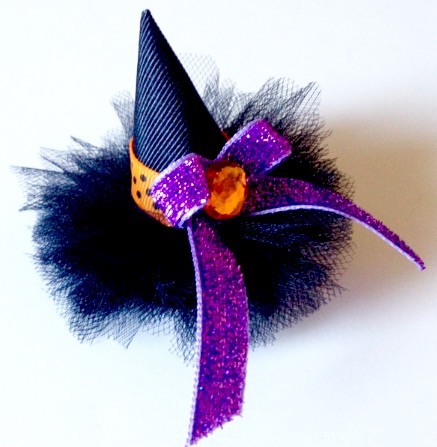
 Now let's glue our two perfect little pieces together to form one super cute witch hat! Your little darling will absolutely love wearing her unique and festive Halloween hair clippie! Don't be surprised when all her friends ask for one, too! :) Have a happy and safe Halloween!!
Visit the rest of our blog for more Crafting Tutorials and DIY Instructions!
Loading...

