 Contributor post by Brittany
Ready to size up from your tots small hair bows? Or maybe you just love BIG bows no matter your darling's age! No matter the reasoning behind your passion for big bows, you definitely won't want to miss this post! Today we will be making my most popular, #1 selling, customer's all time favorite large boutique hair bow! So let's gather up our supplies and get started!
Contributor post by Brittany
Ready to size up from your tots small hair bows? Or maybe you just love BIG bows no matter your darling's age! No matter the reasoning behind your passion for big bows, you definitely won't want to miss this post! Today we will be making my most popular, #1 selling, customer's all time favorite large boutique hair bow! So let's gather up our supplies and get started!
 Supplies will you will need:
• 2.25" grosgrain ribbon in any color (I am using Neon Yellow)
• 7/8" grosgrain ribbon in same color
• lighter or wood burning tool for heat sealing ribbon ends
• 1.75" alligator clip (or any size you prefer)
• scissors
• wire or your preferred material for securing center of bow
• hot glue gun
• measuring tape or ruler
Supplies will you will need:
• 2.25" grosgrain ribbon in any color (I am using Neon Yellow)
• 7/8" grosgrain ribbon in same color
• lighter or wood burning tool for heat sealing ribbon ends
• 1.75" alligator clip (or any size you prefer)
• scissors
• wire or your preferred material for securing center of bow
• hot glue gun
• measuring tape or ruler
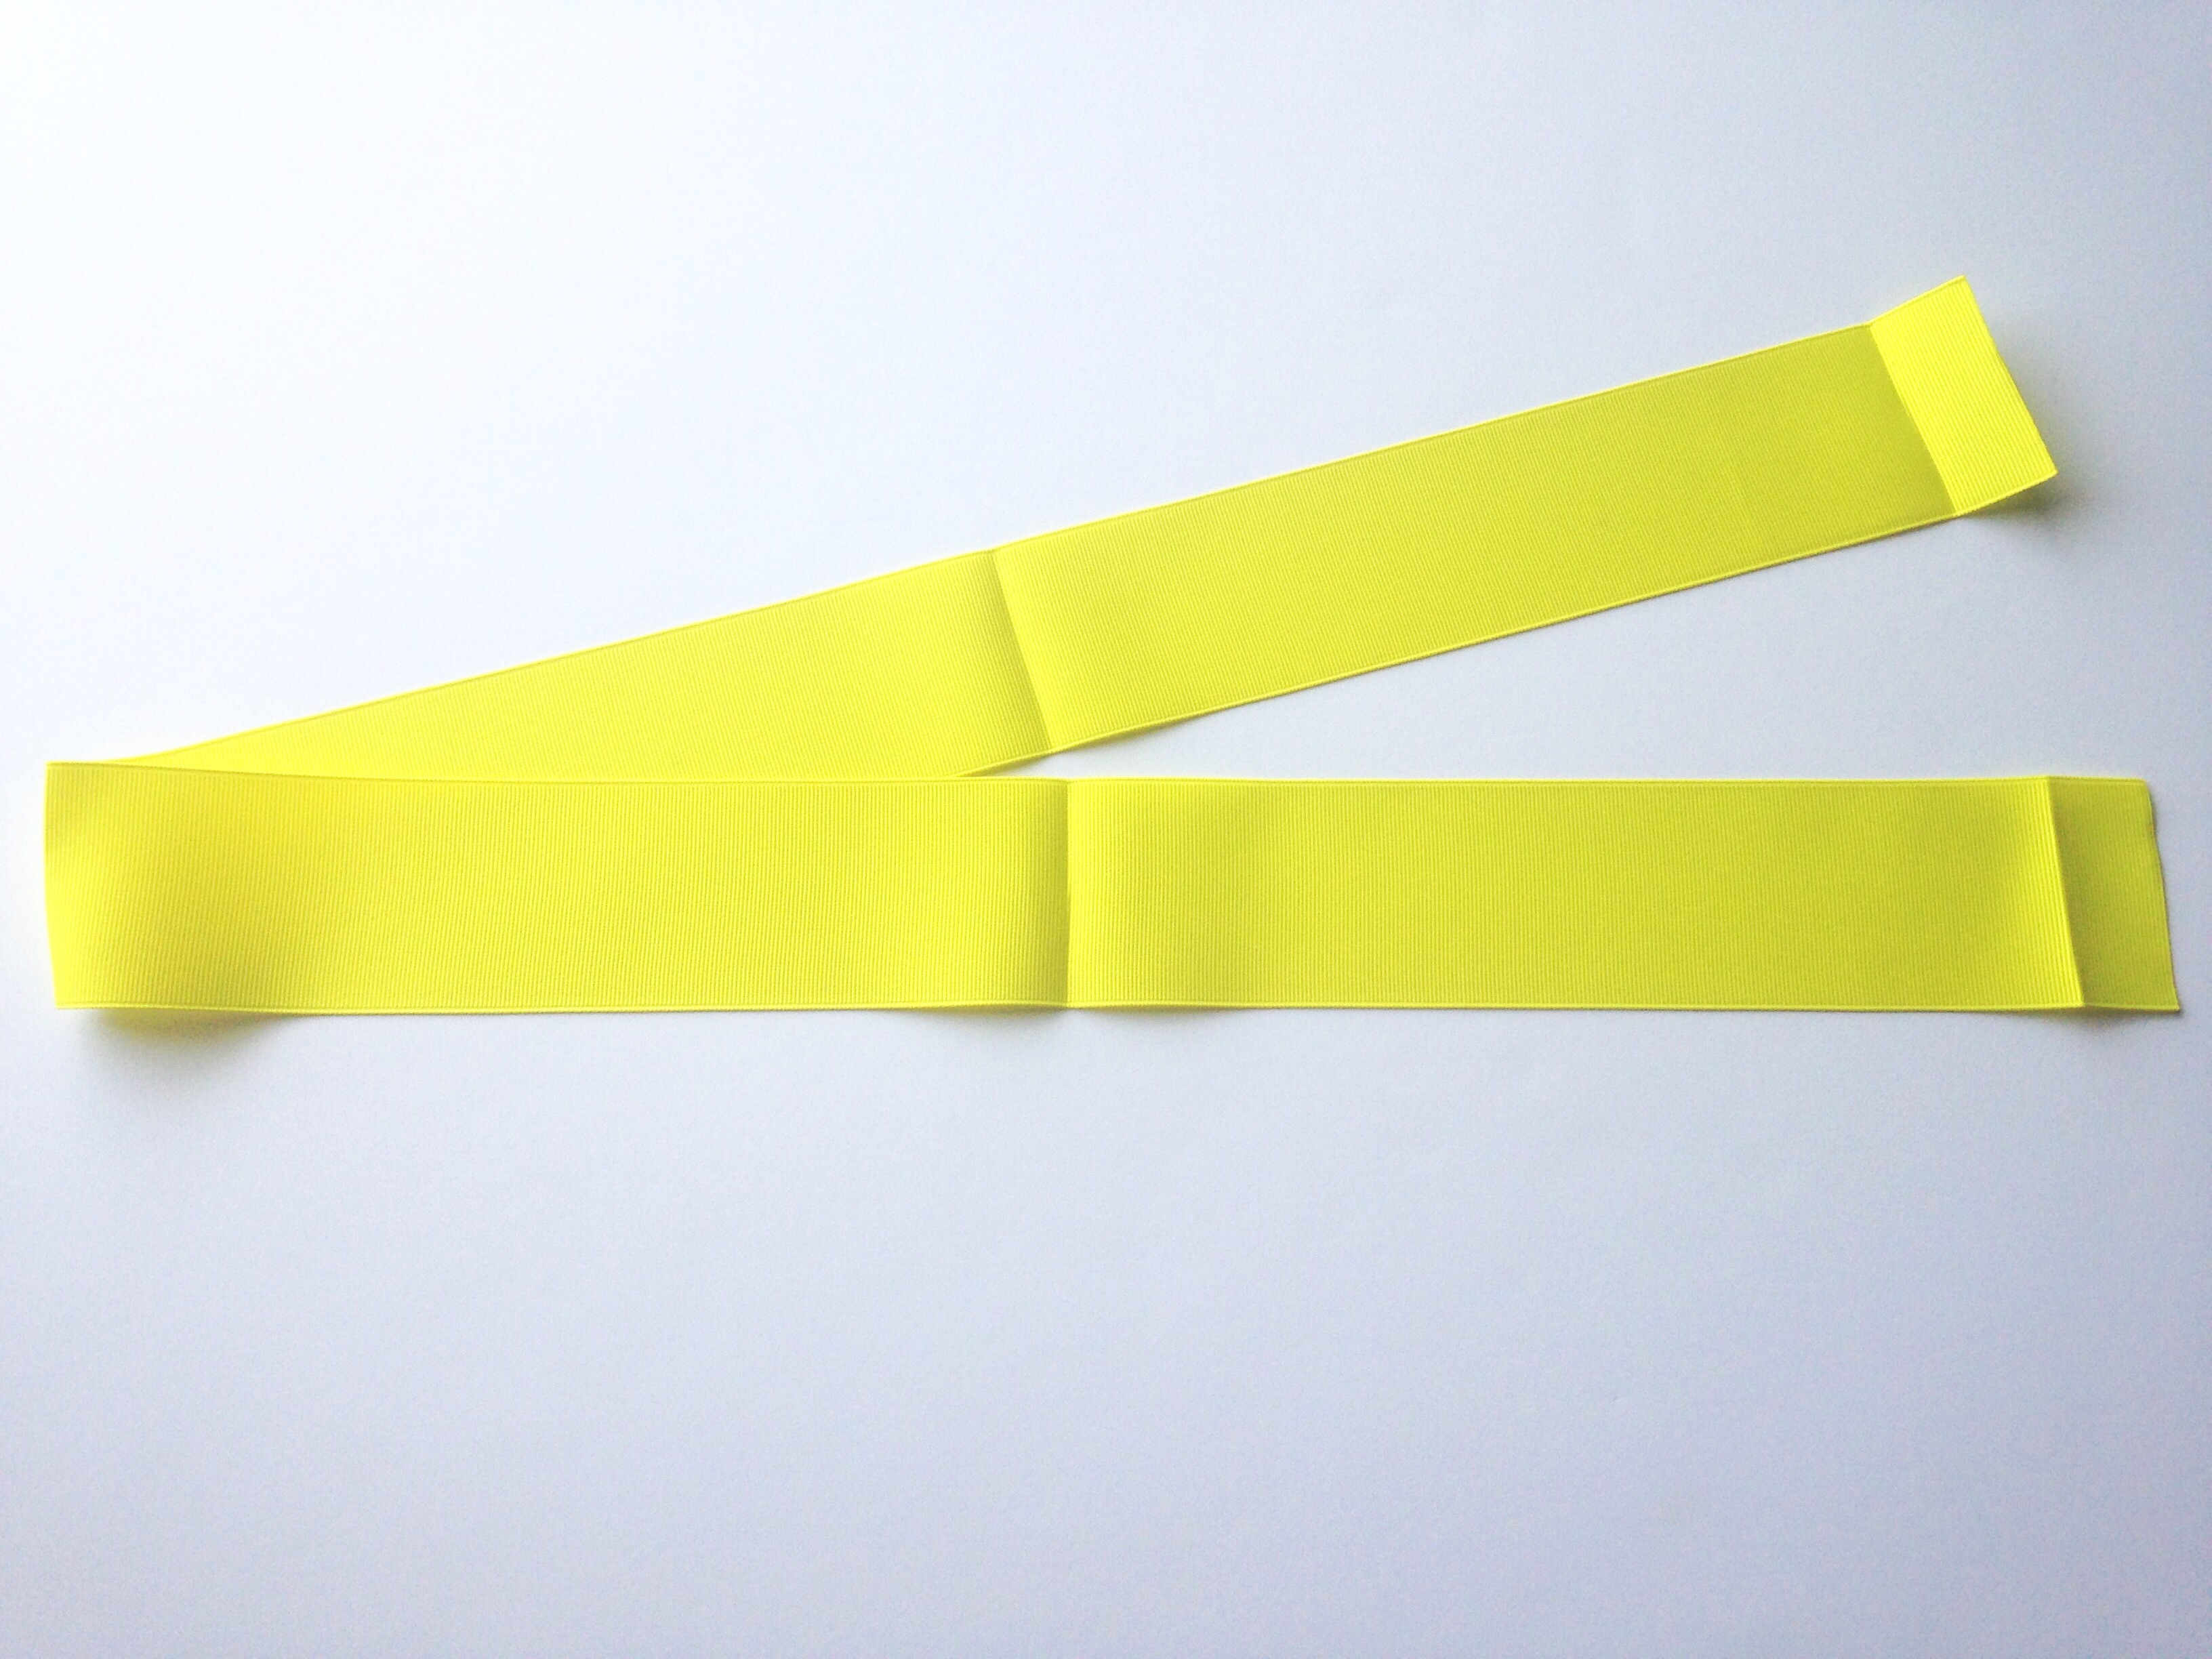
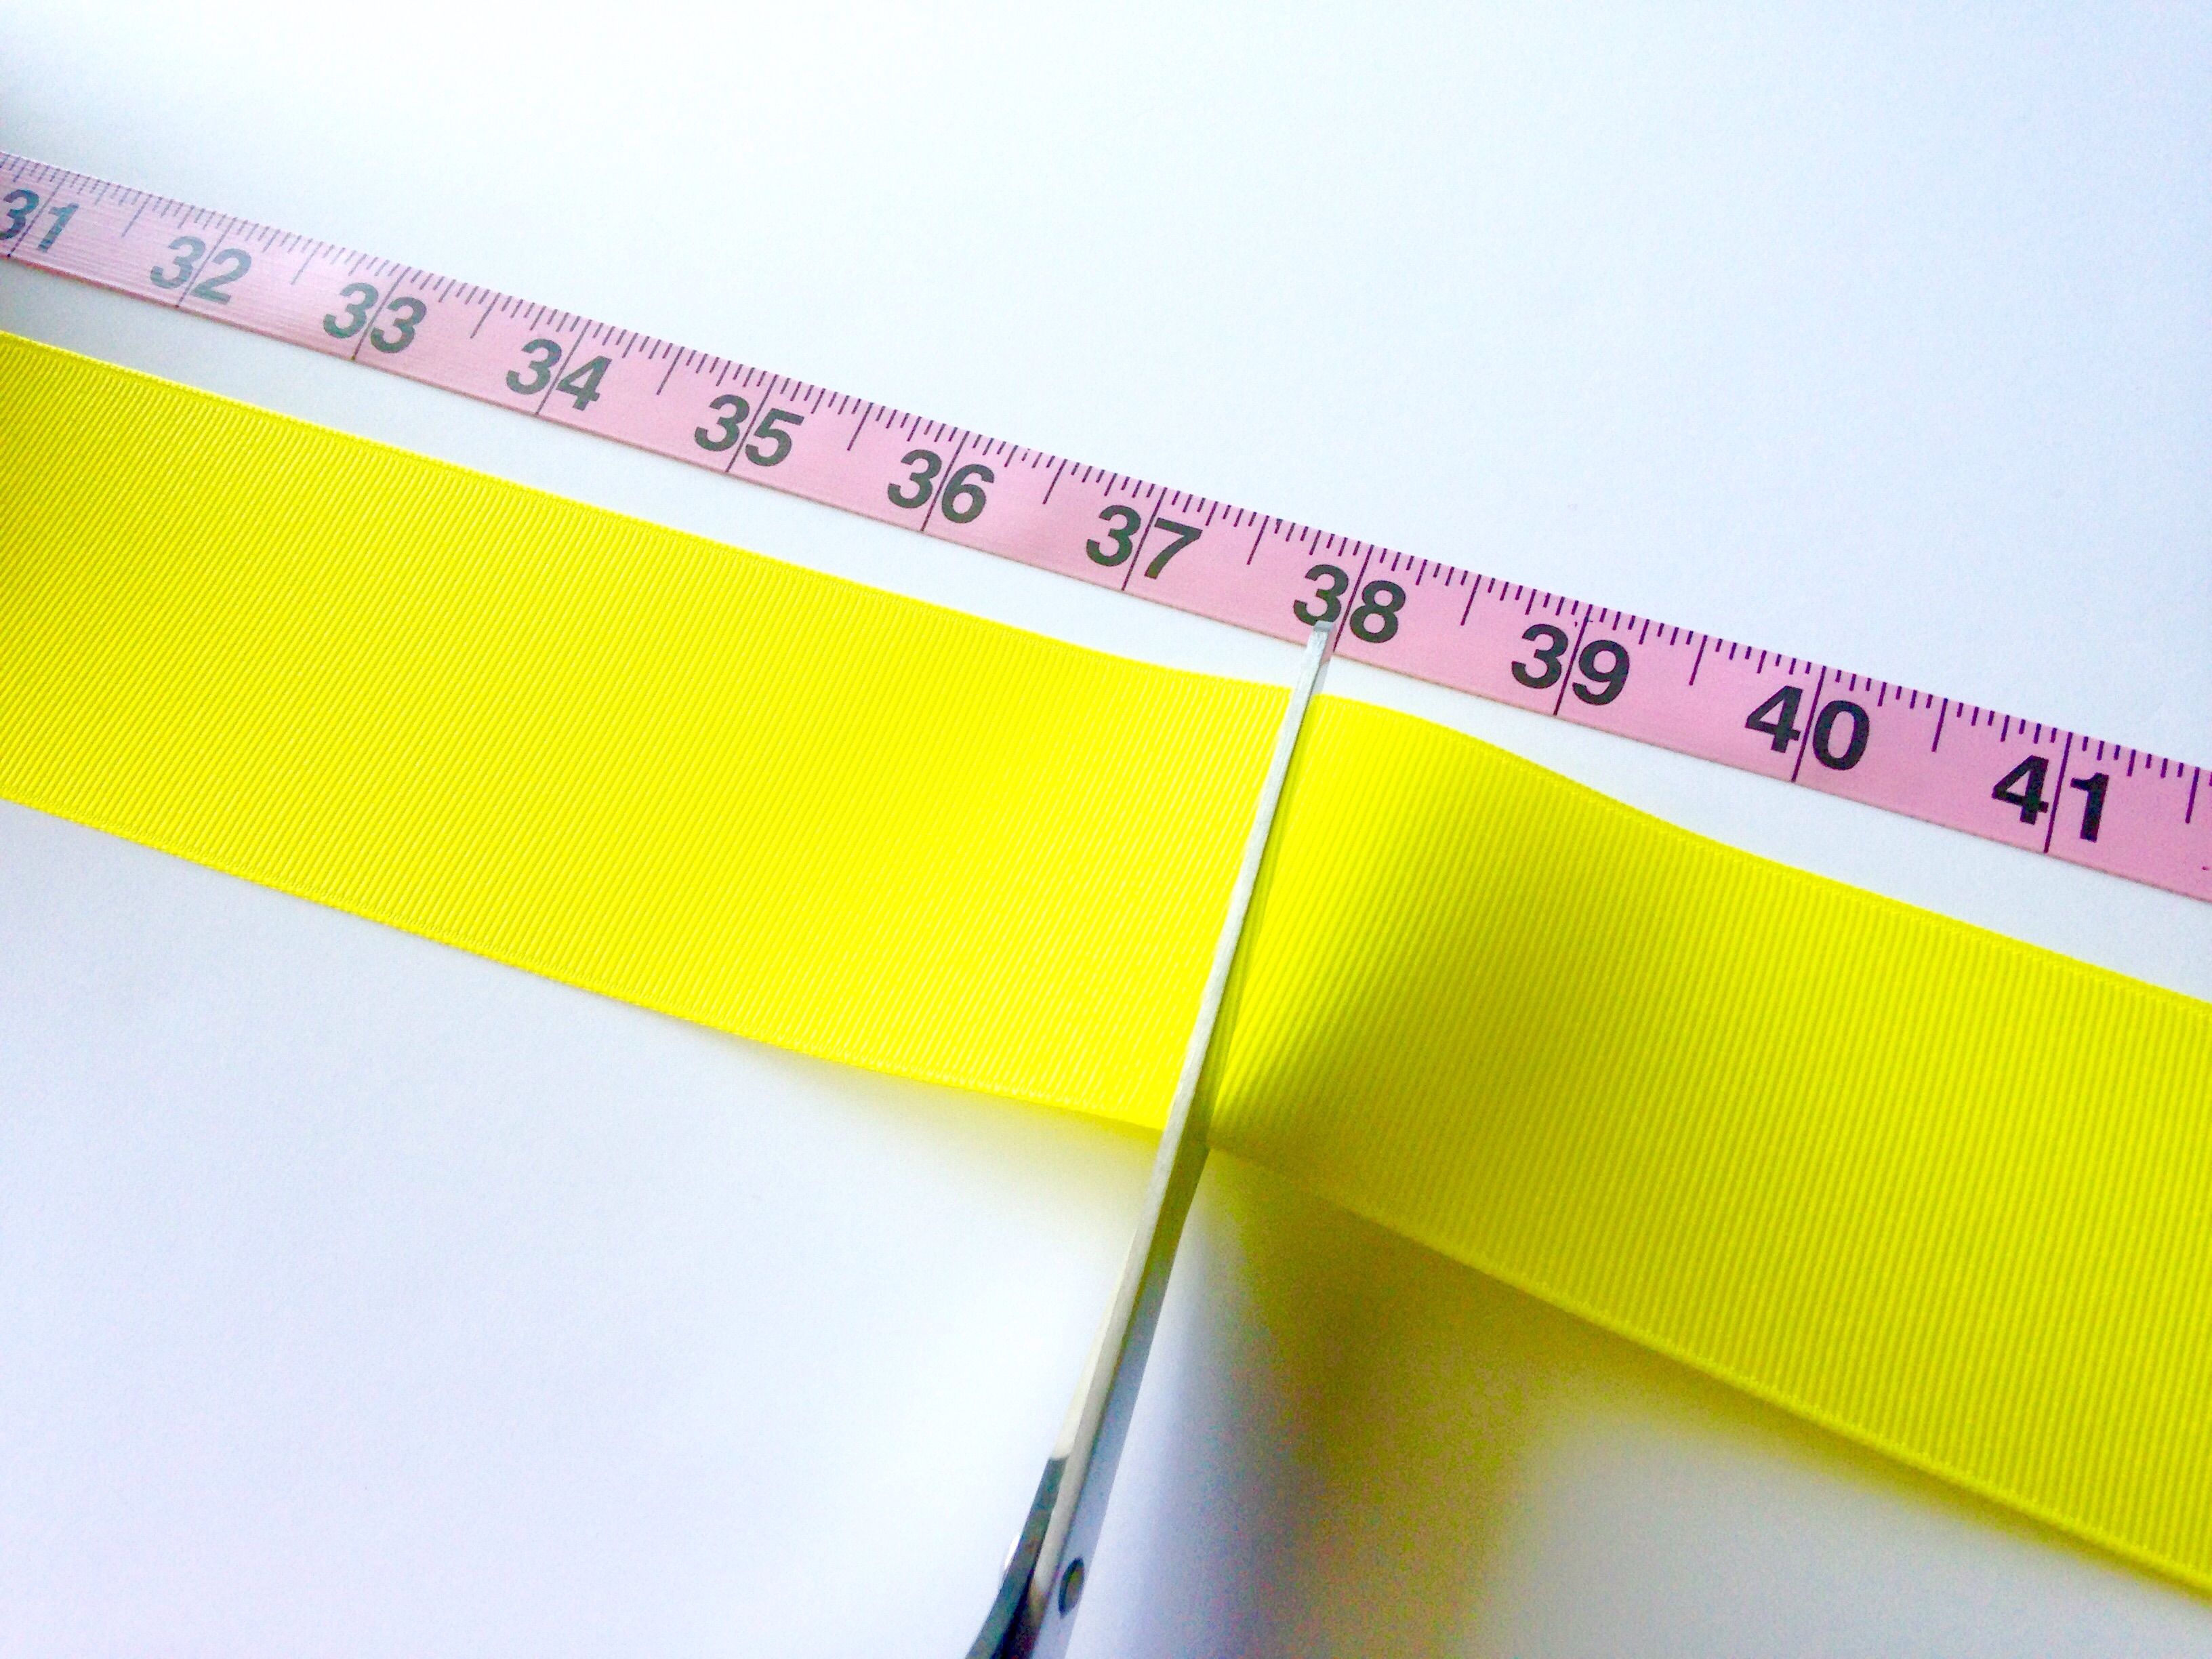 First you will need to measure 38" of your 2.25" grosgrain ribbon. Heat seal both ends using your lighter or wood burning tool. Now we can begin folding our ribbon to make creases that serve as a super easy guide line to follow while constructing this big bow!
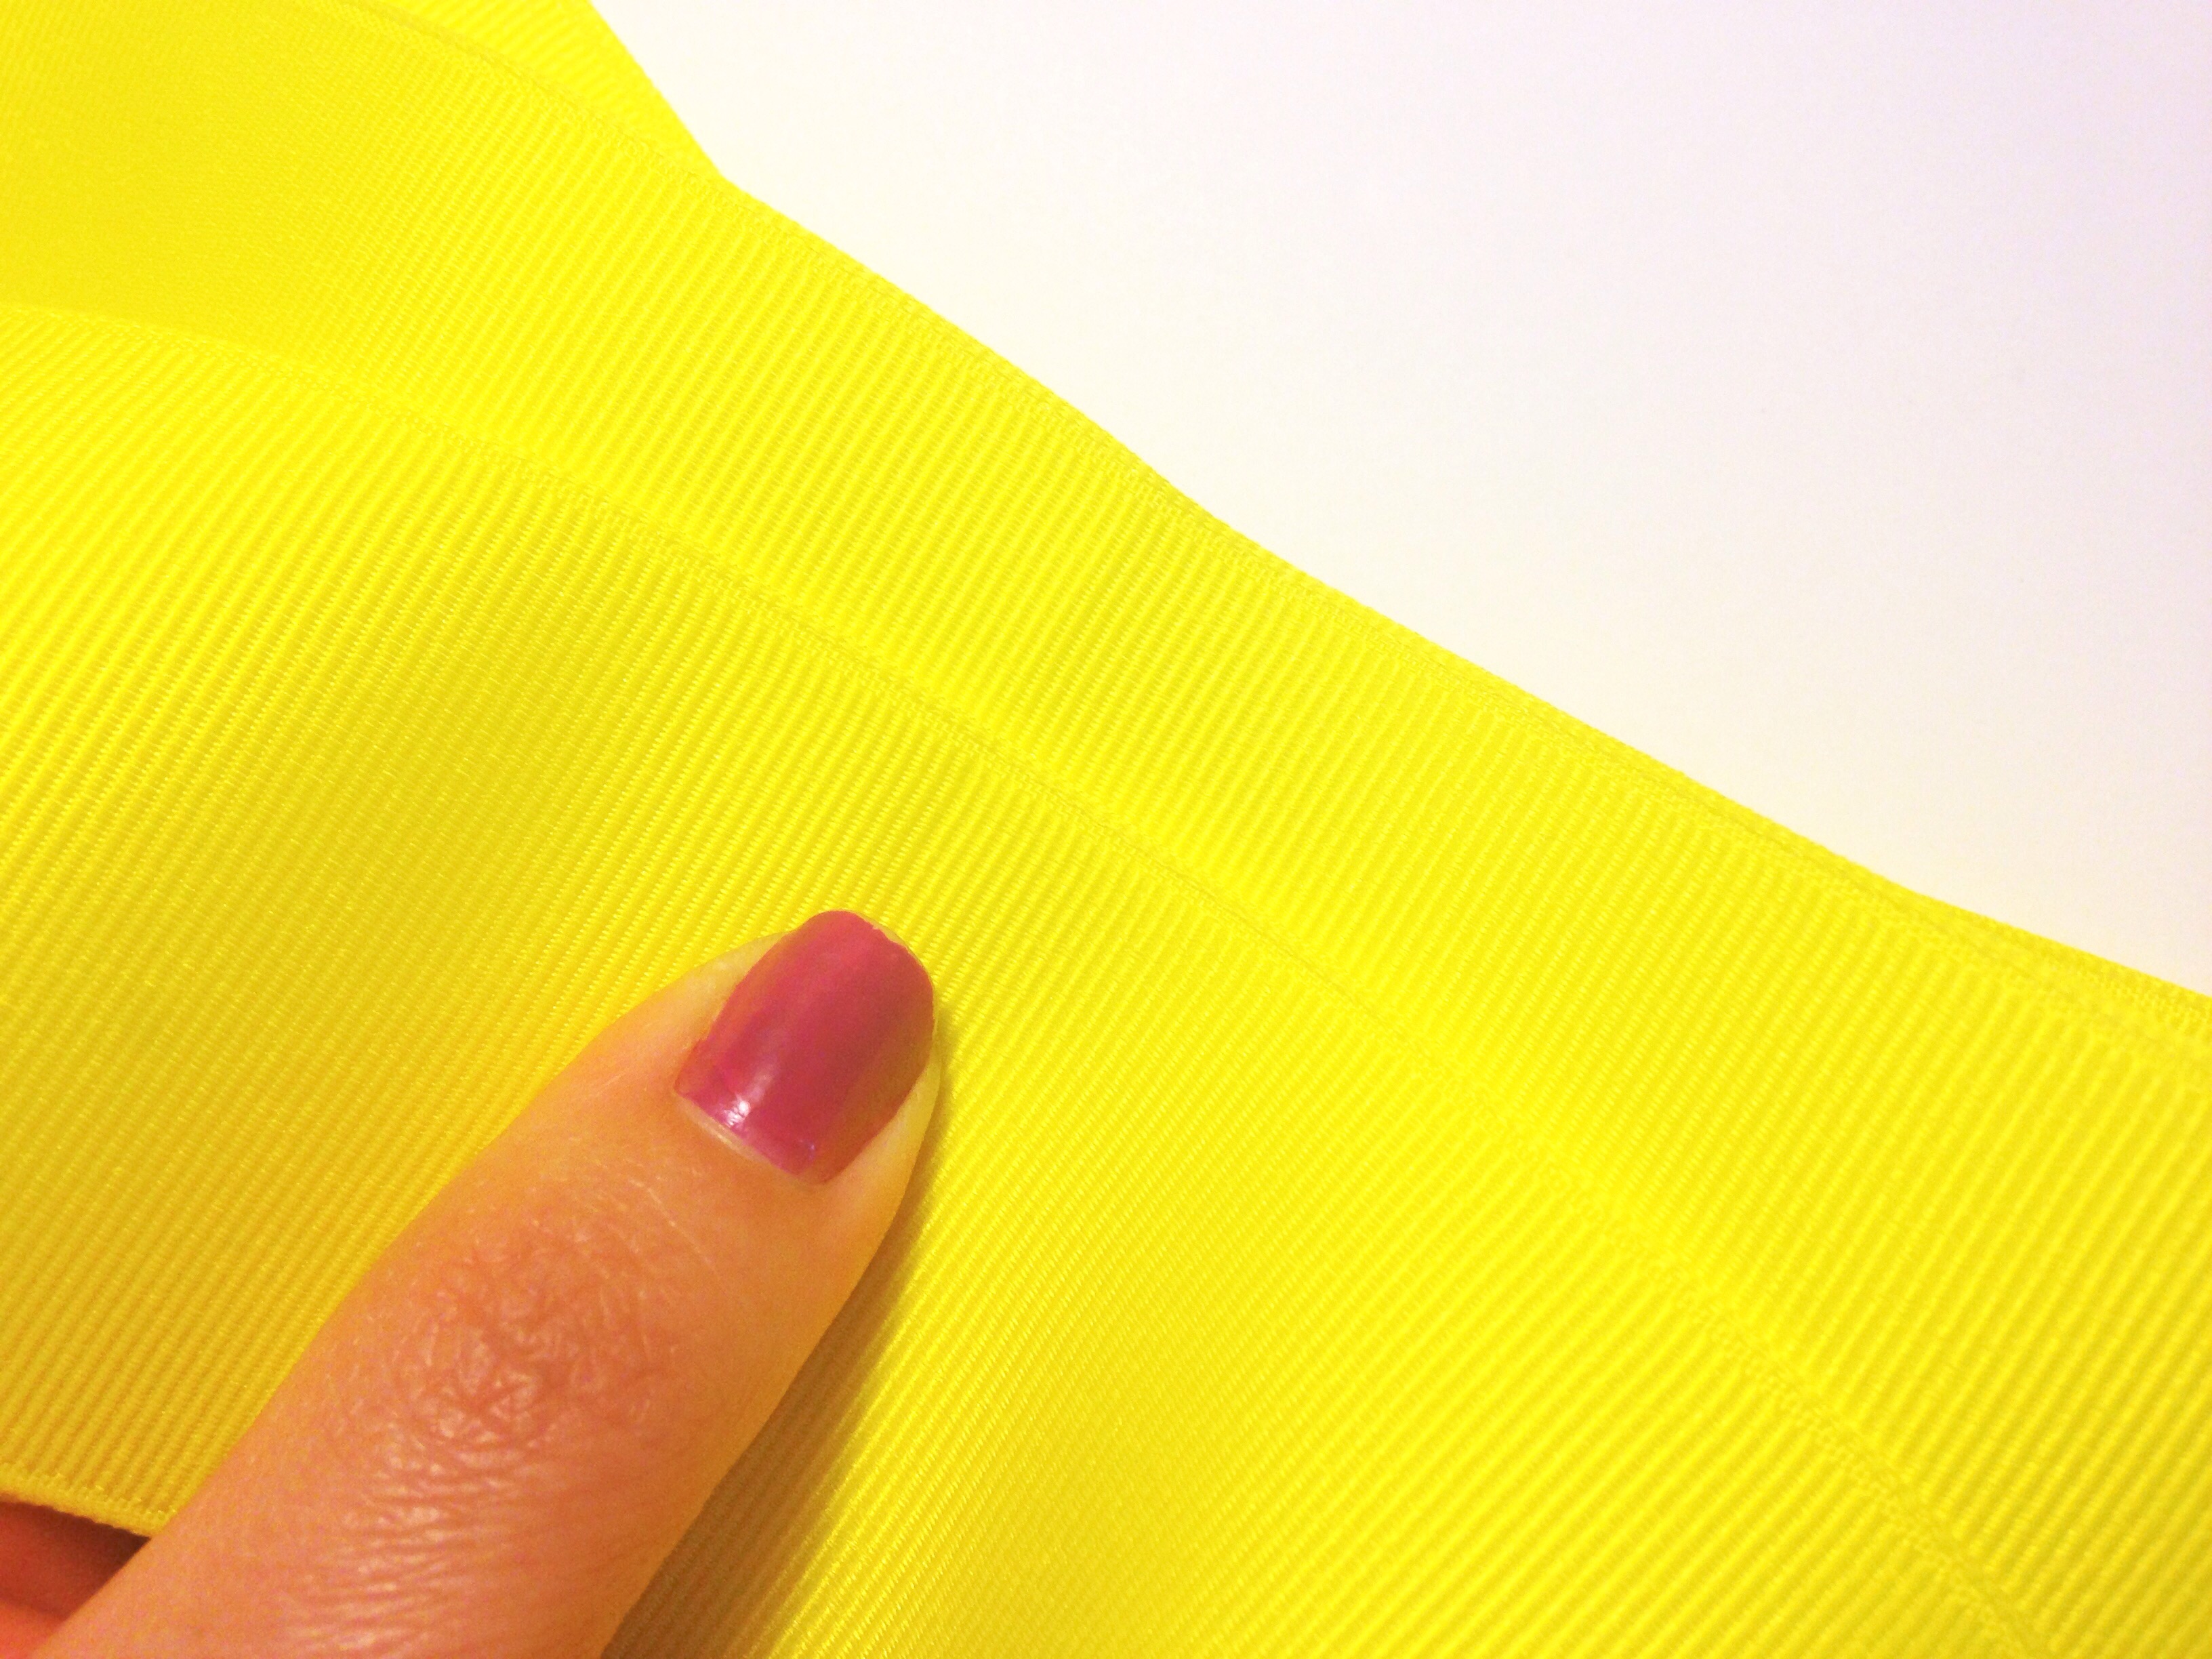
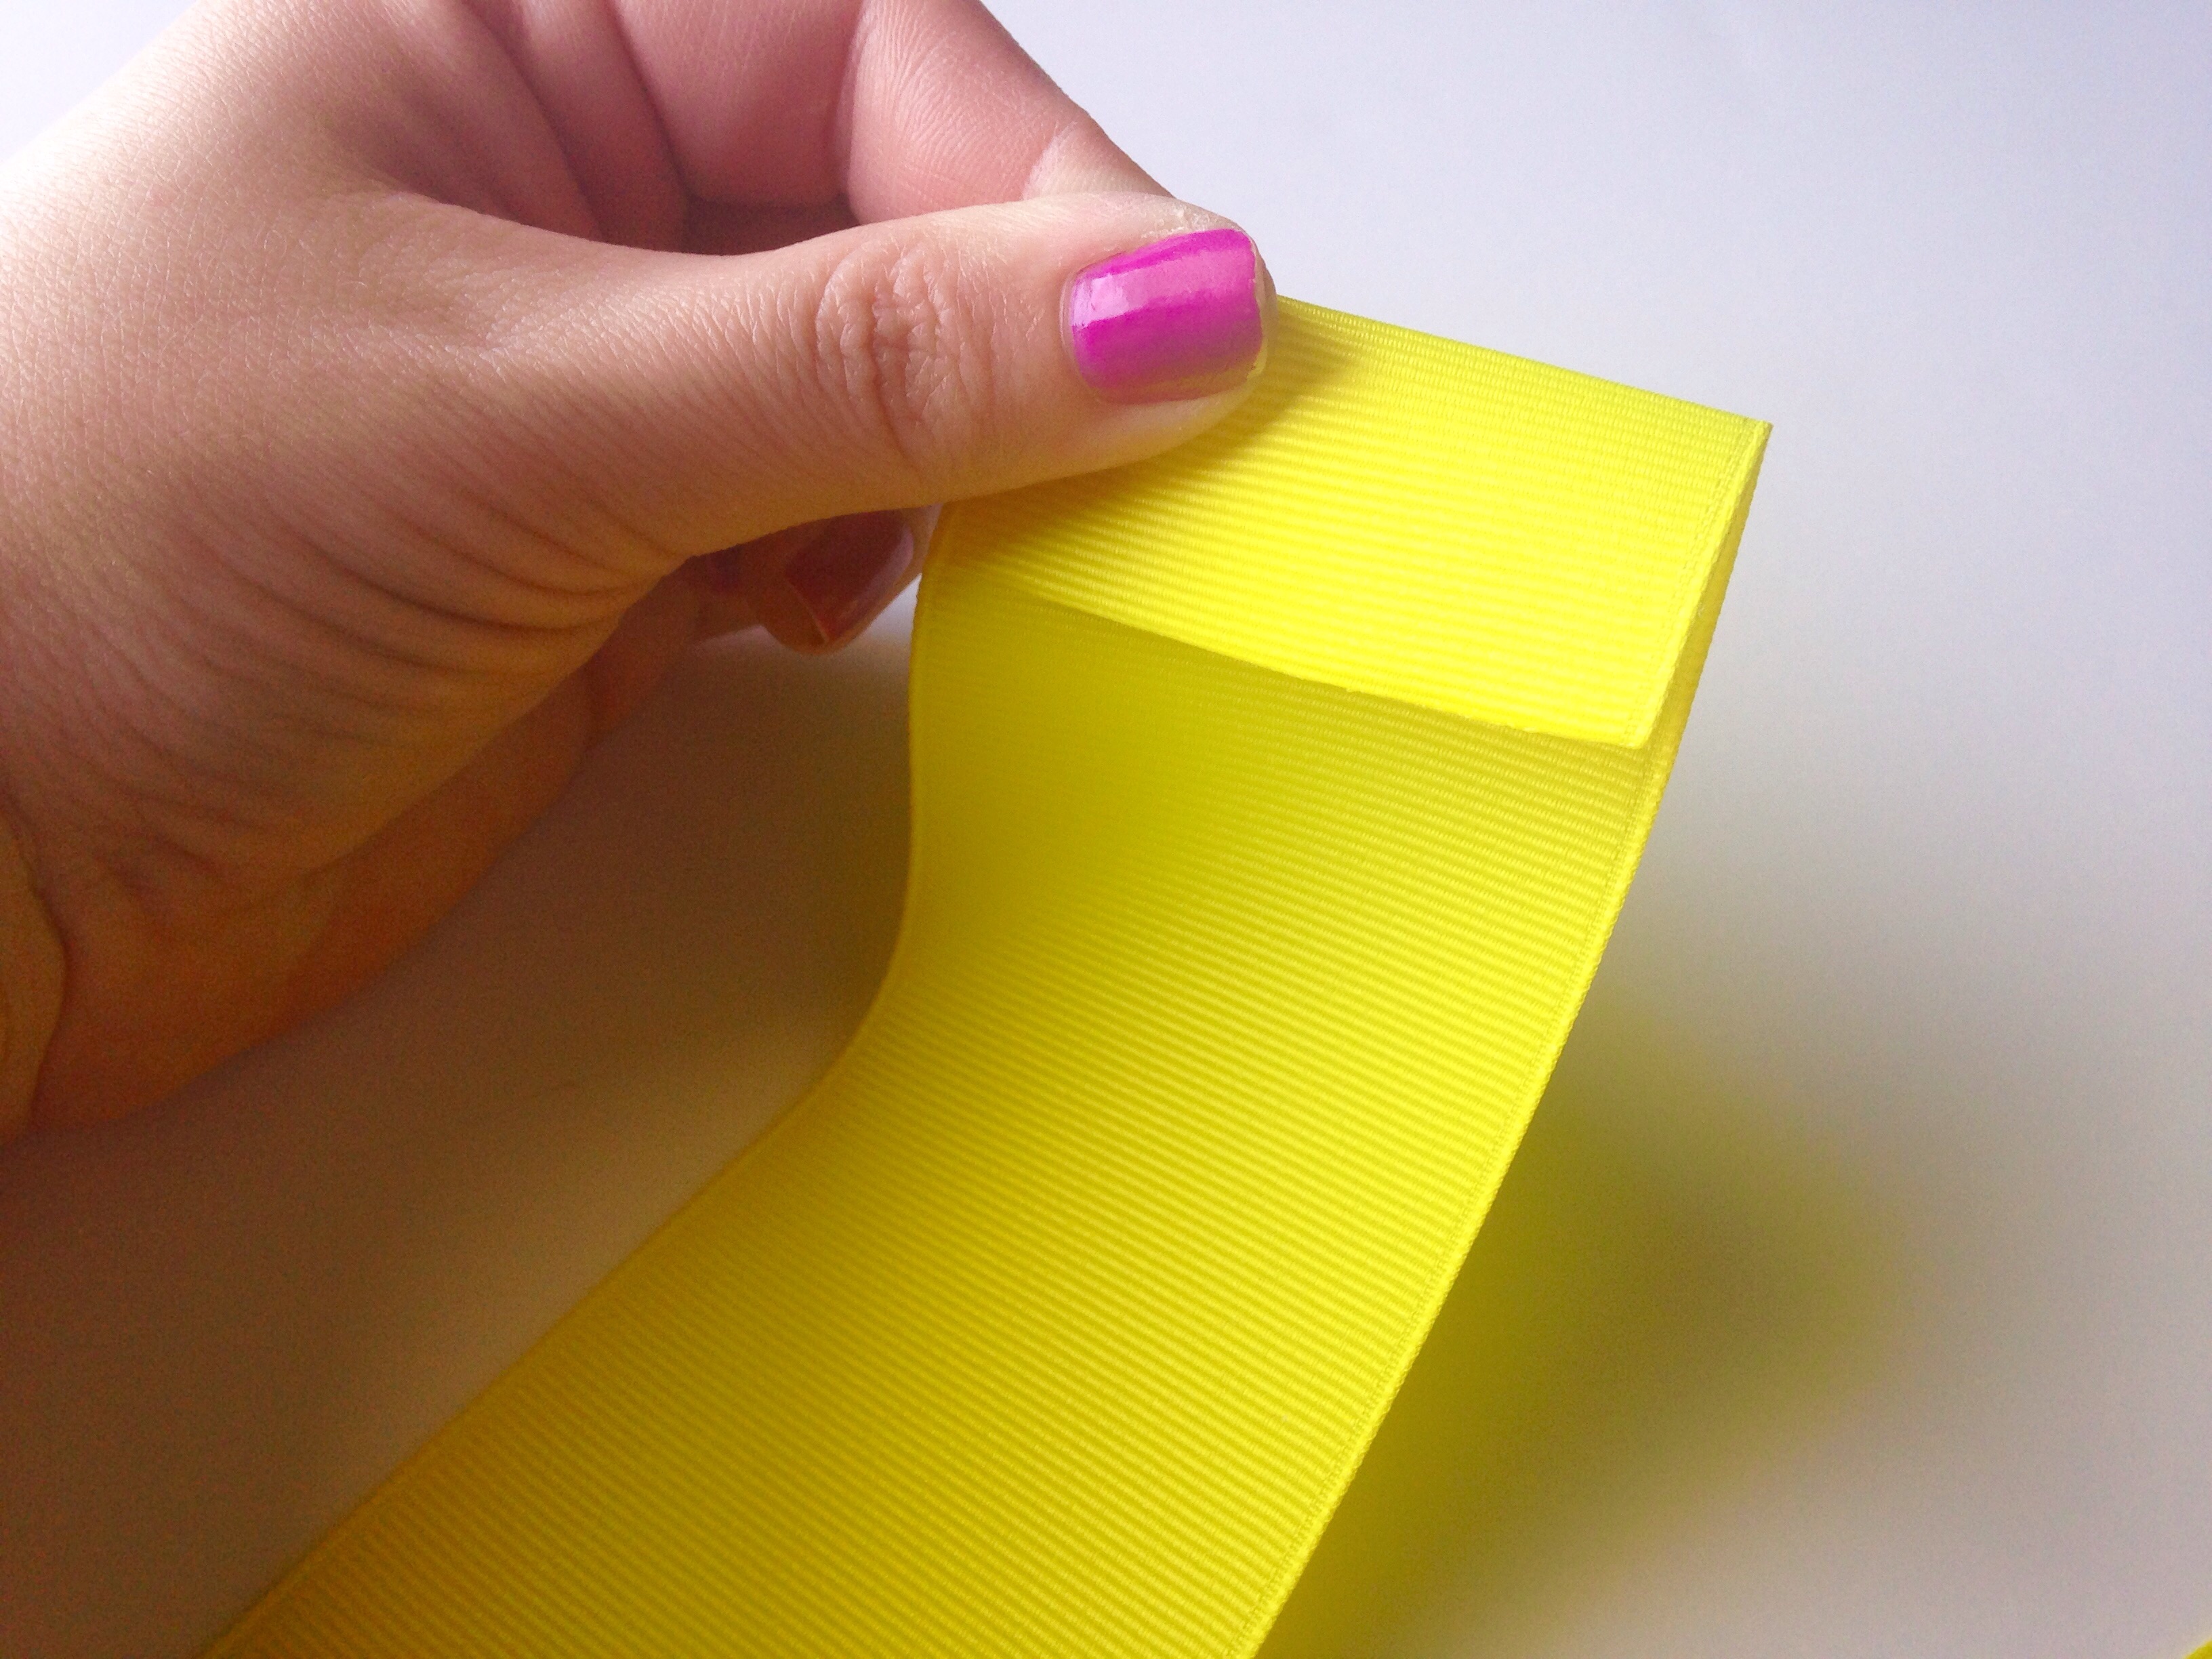 Our first crease will be on the ends of our ribbon. Start with one end and fold down approx 1". Do the same for each end. Some ribbon makes creases easier than others, but the main point of doing this is so you can see these lines later. So make sure you can always see each line after unfolding your ribbon. If your line isn't visible enough feel free to try again and press down a little harder.
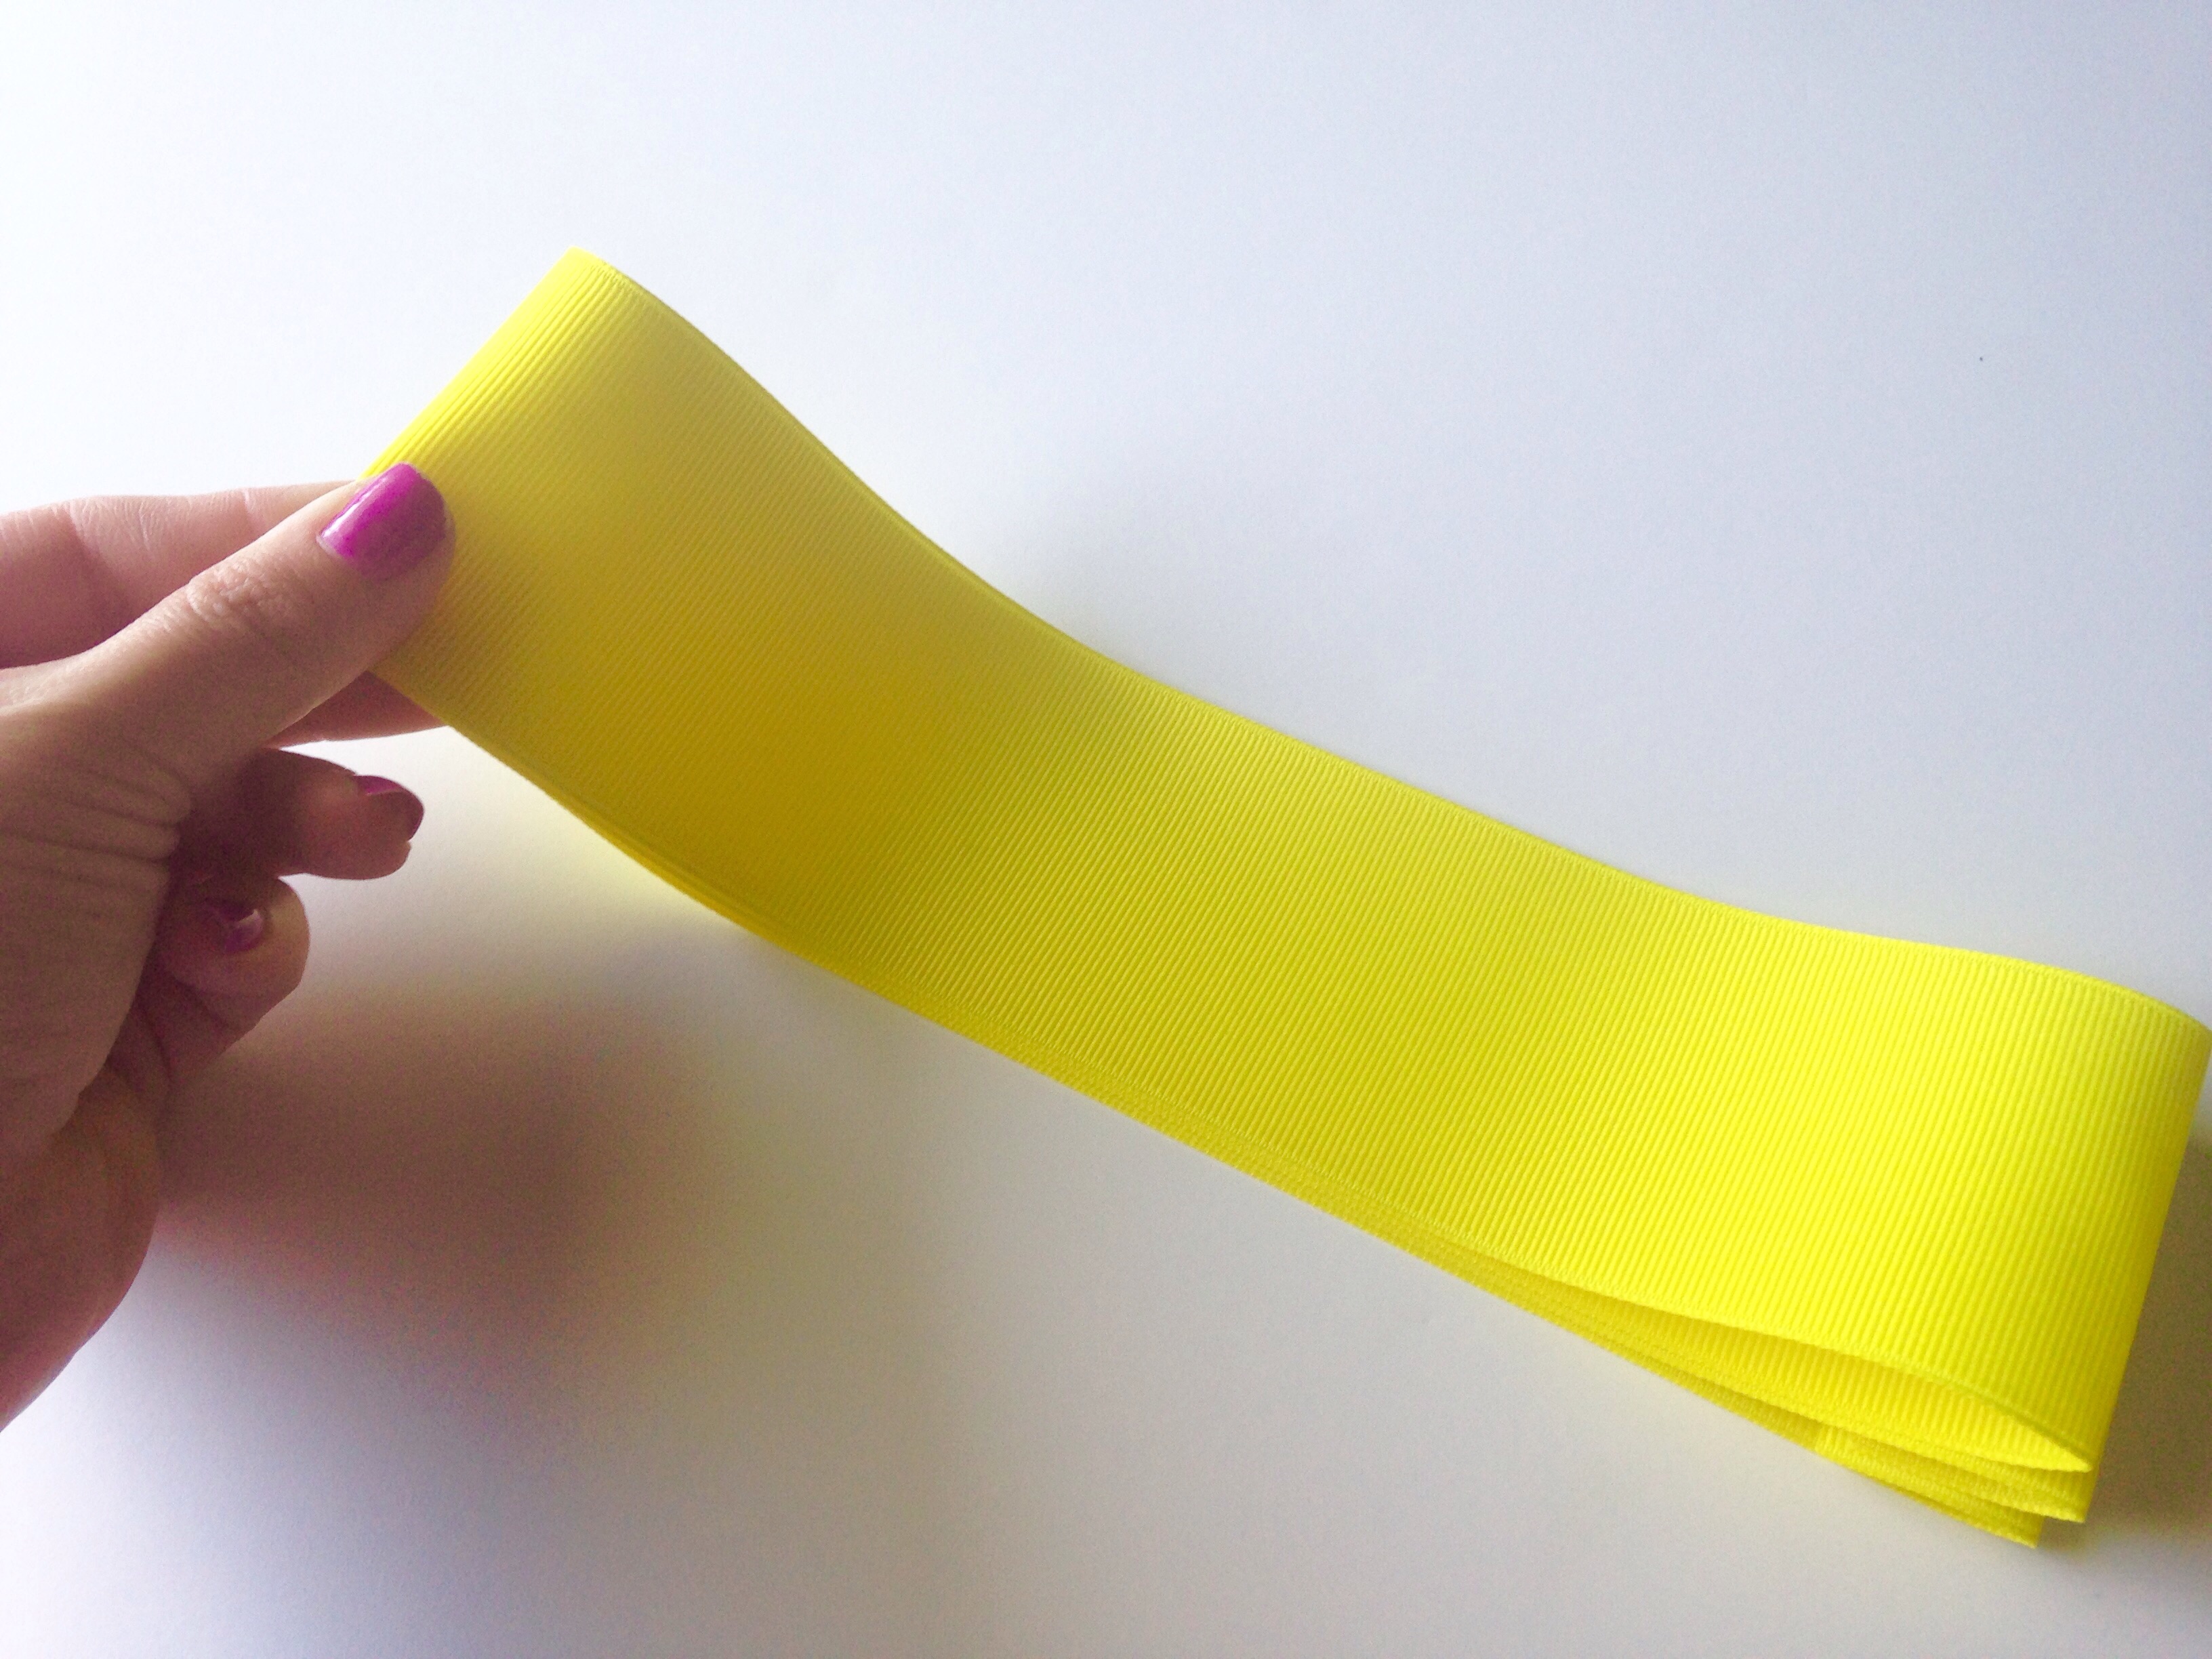 With your ends still folded down from our first set of creases, fold your entire length of ribbon in half and make another crease. Fold in half one more time and crease again. When you unfold your ribbon you should have 5 creases that look like this:
 Now we're ready to begin constructing this big beautiful bow!
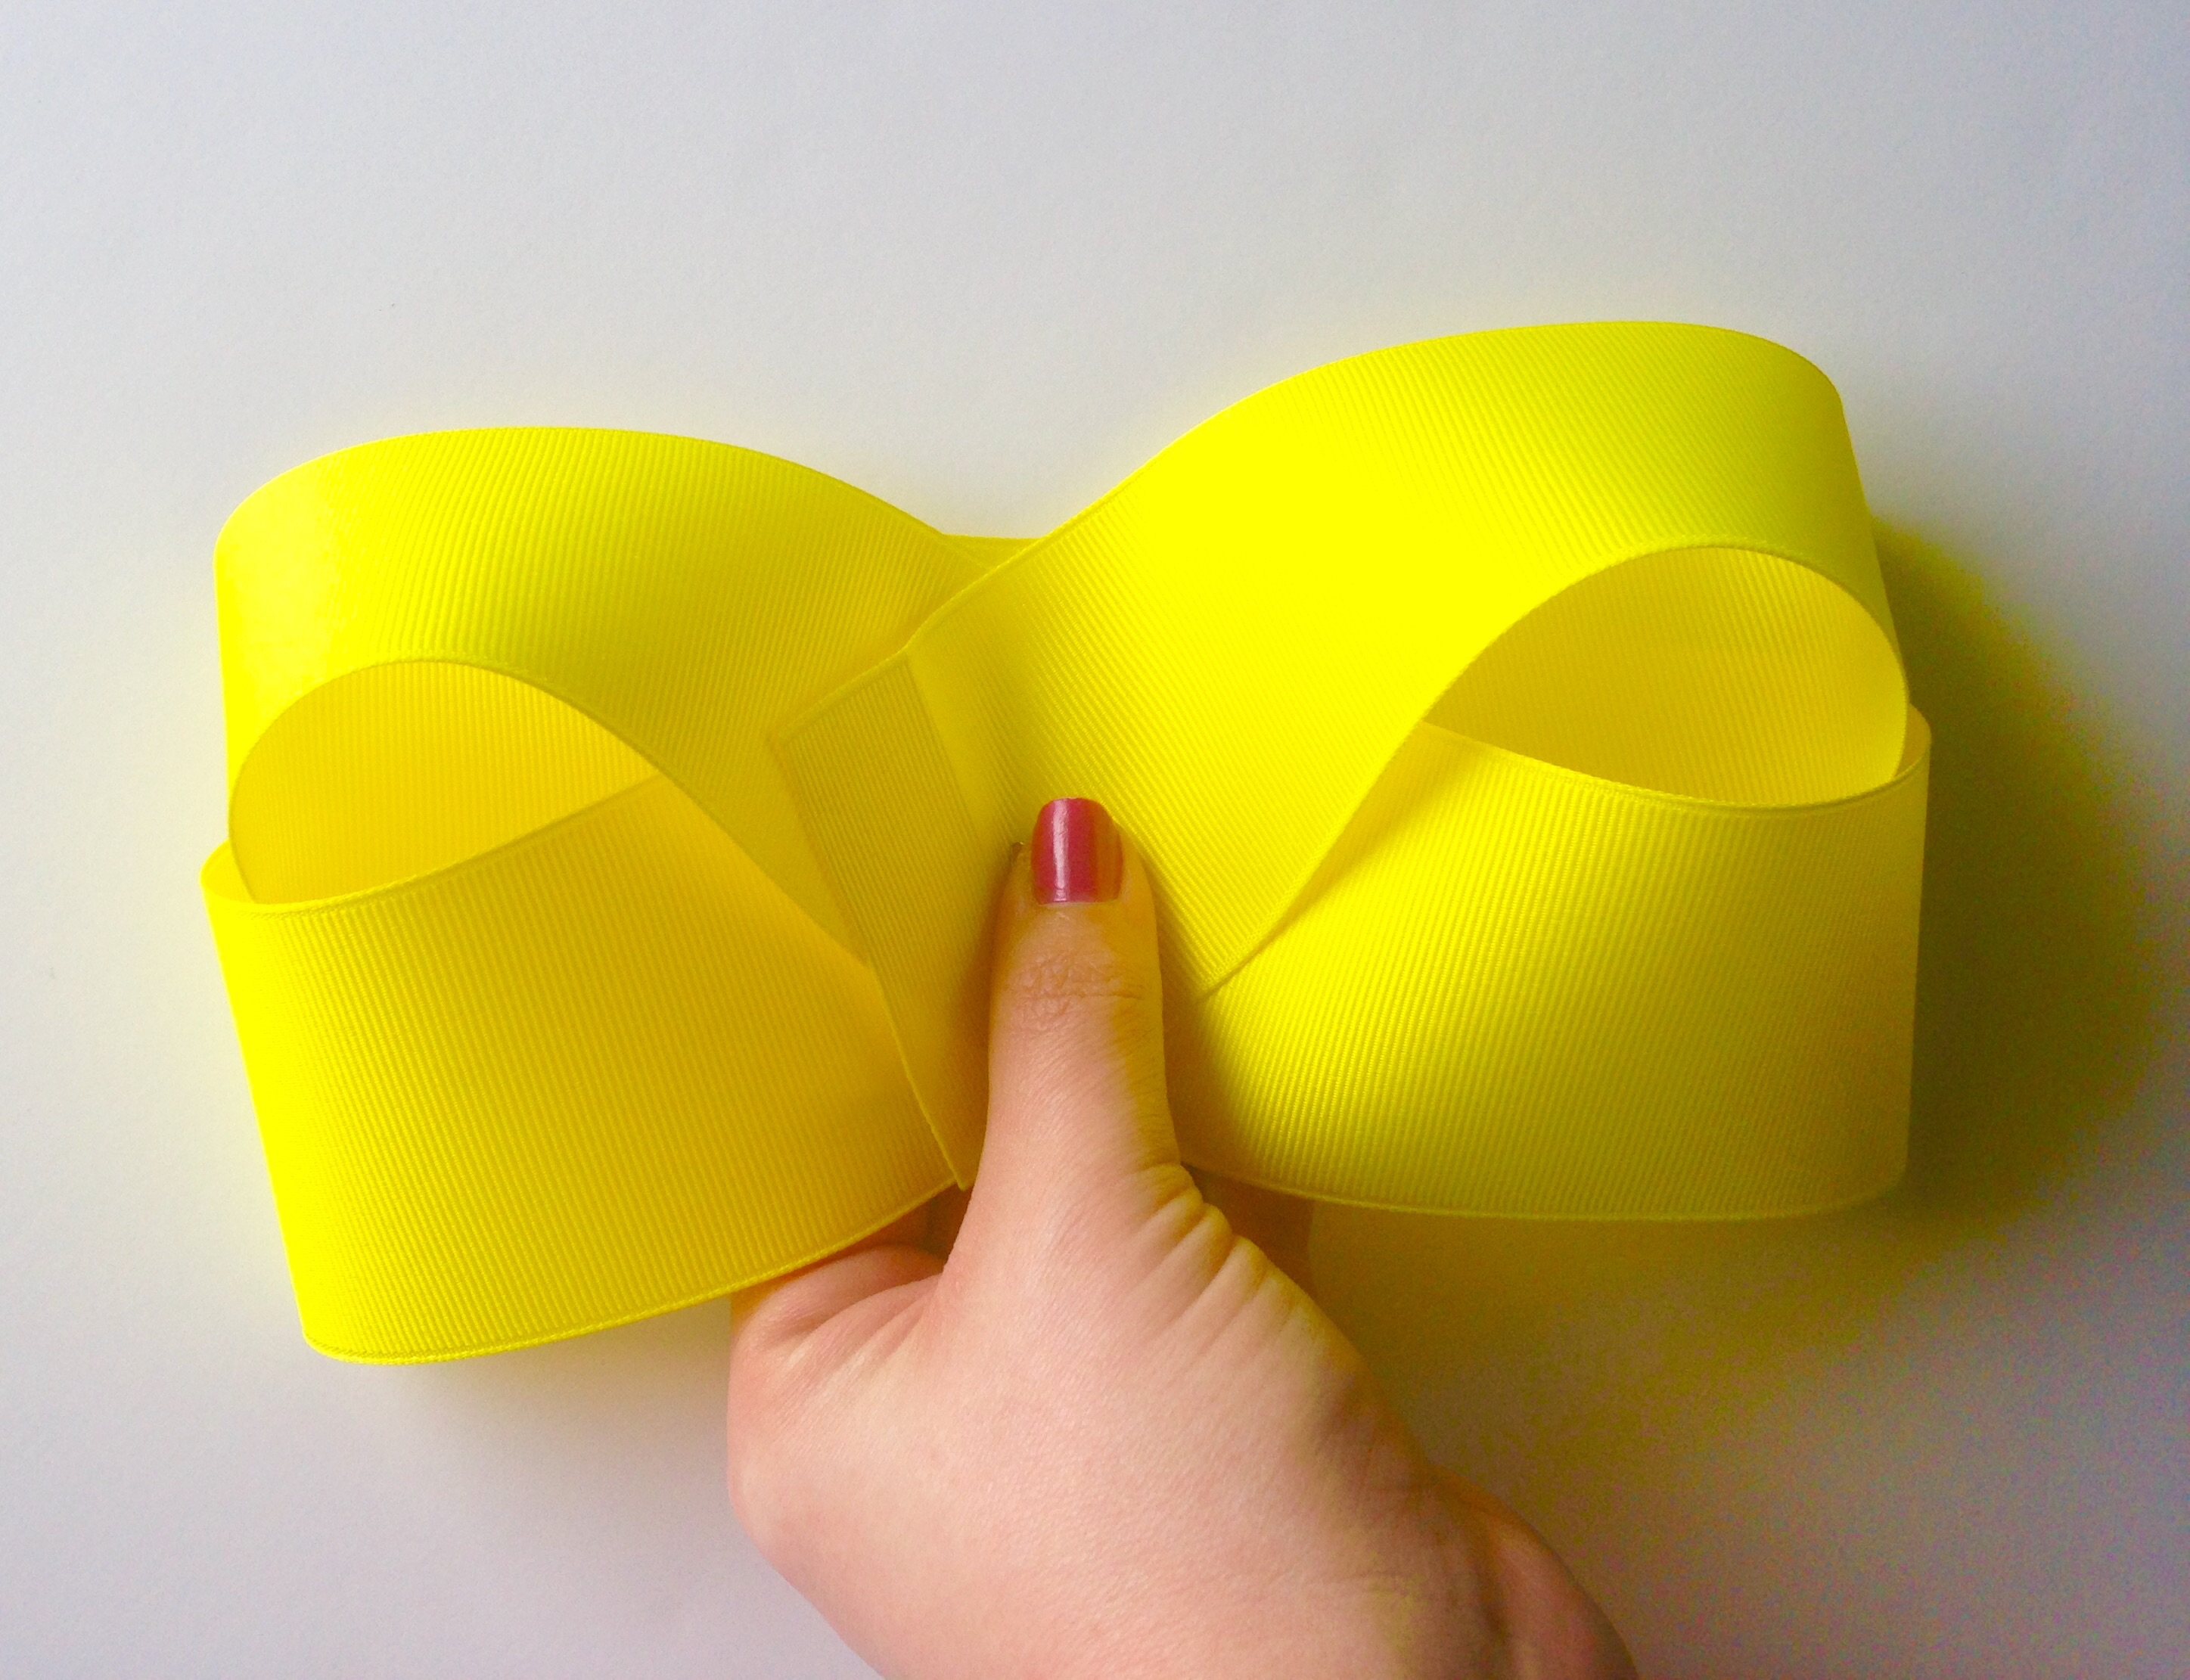
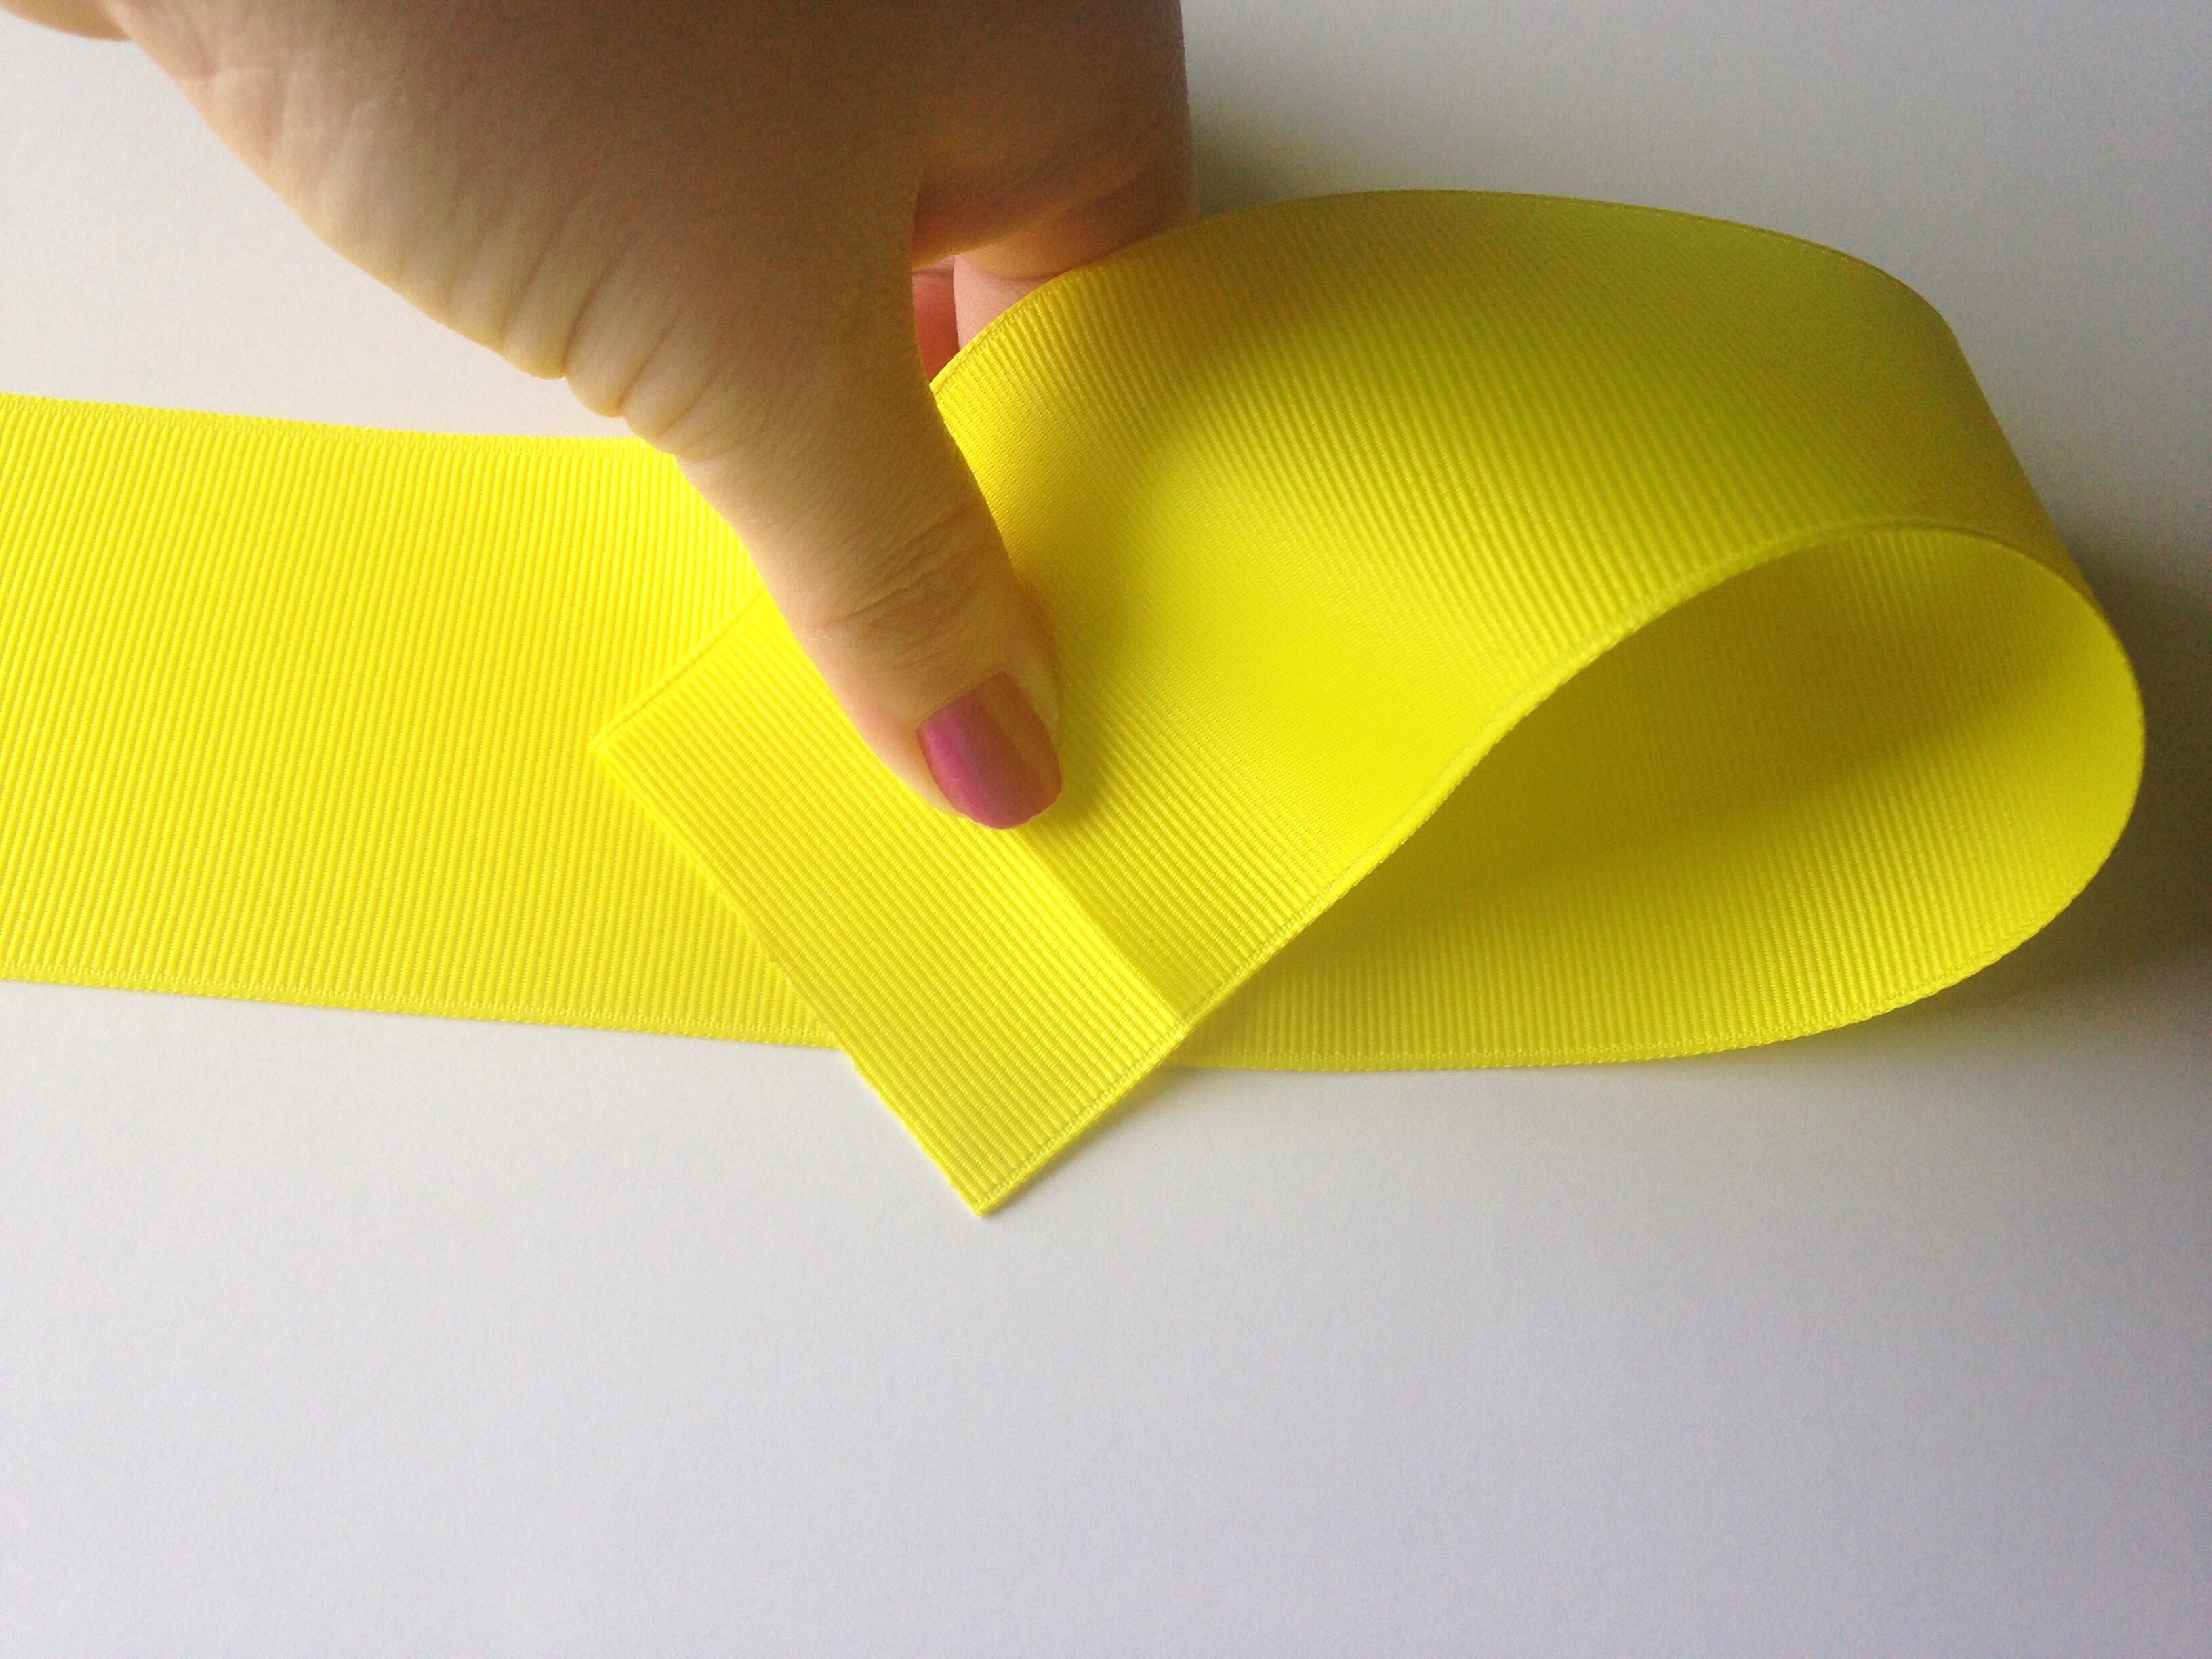 You may start at either end of your ribbon because they should be exactly the same. Locate your first two creases. Put your thumb in the middle of your first crease and bring it to middle of your second crease to form an "X".
 Locate your third crease and place it ontop of your second crease forming another "x". It is very important to always keep your thumb firmly in place at all times! This will insure a secure hold so your ribbon does not move around and misshape your loops.
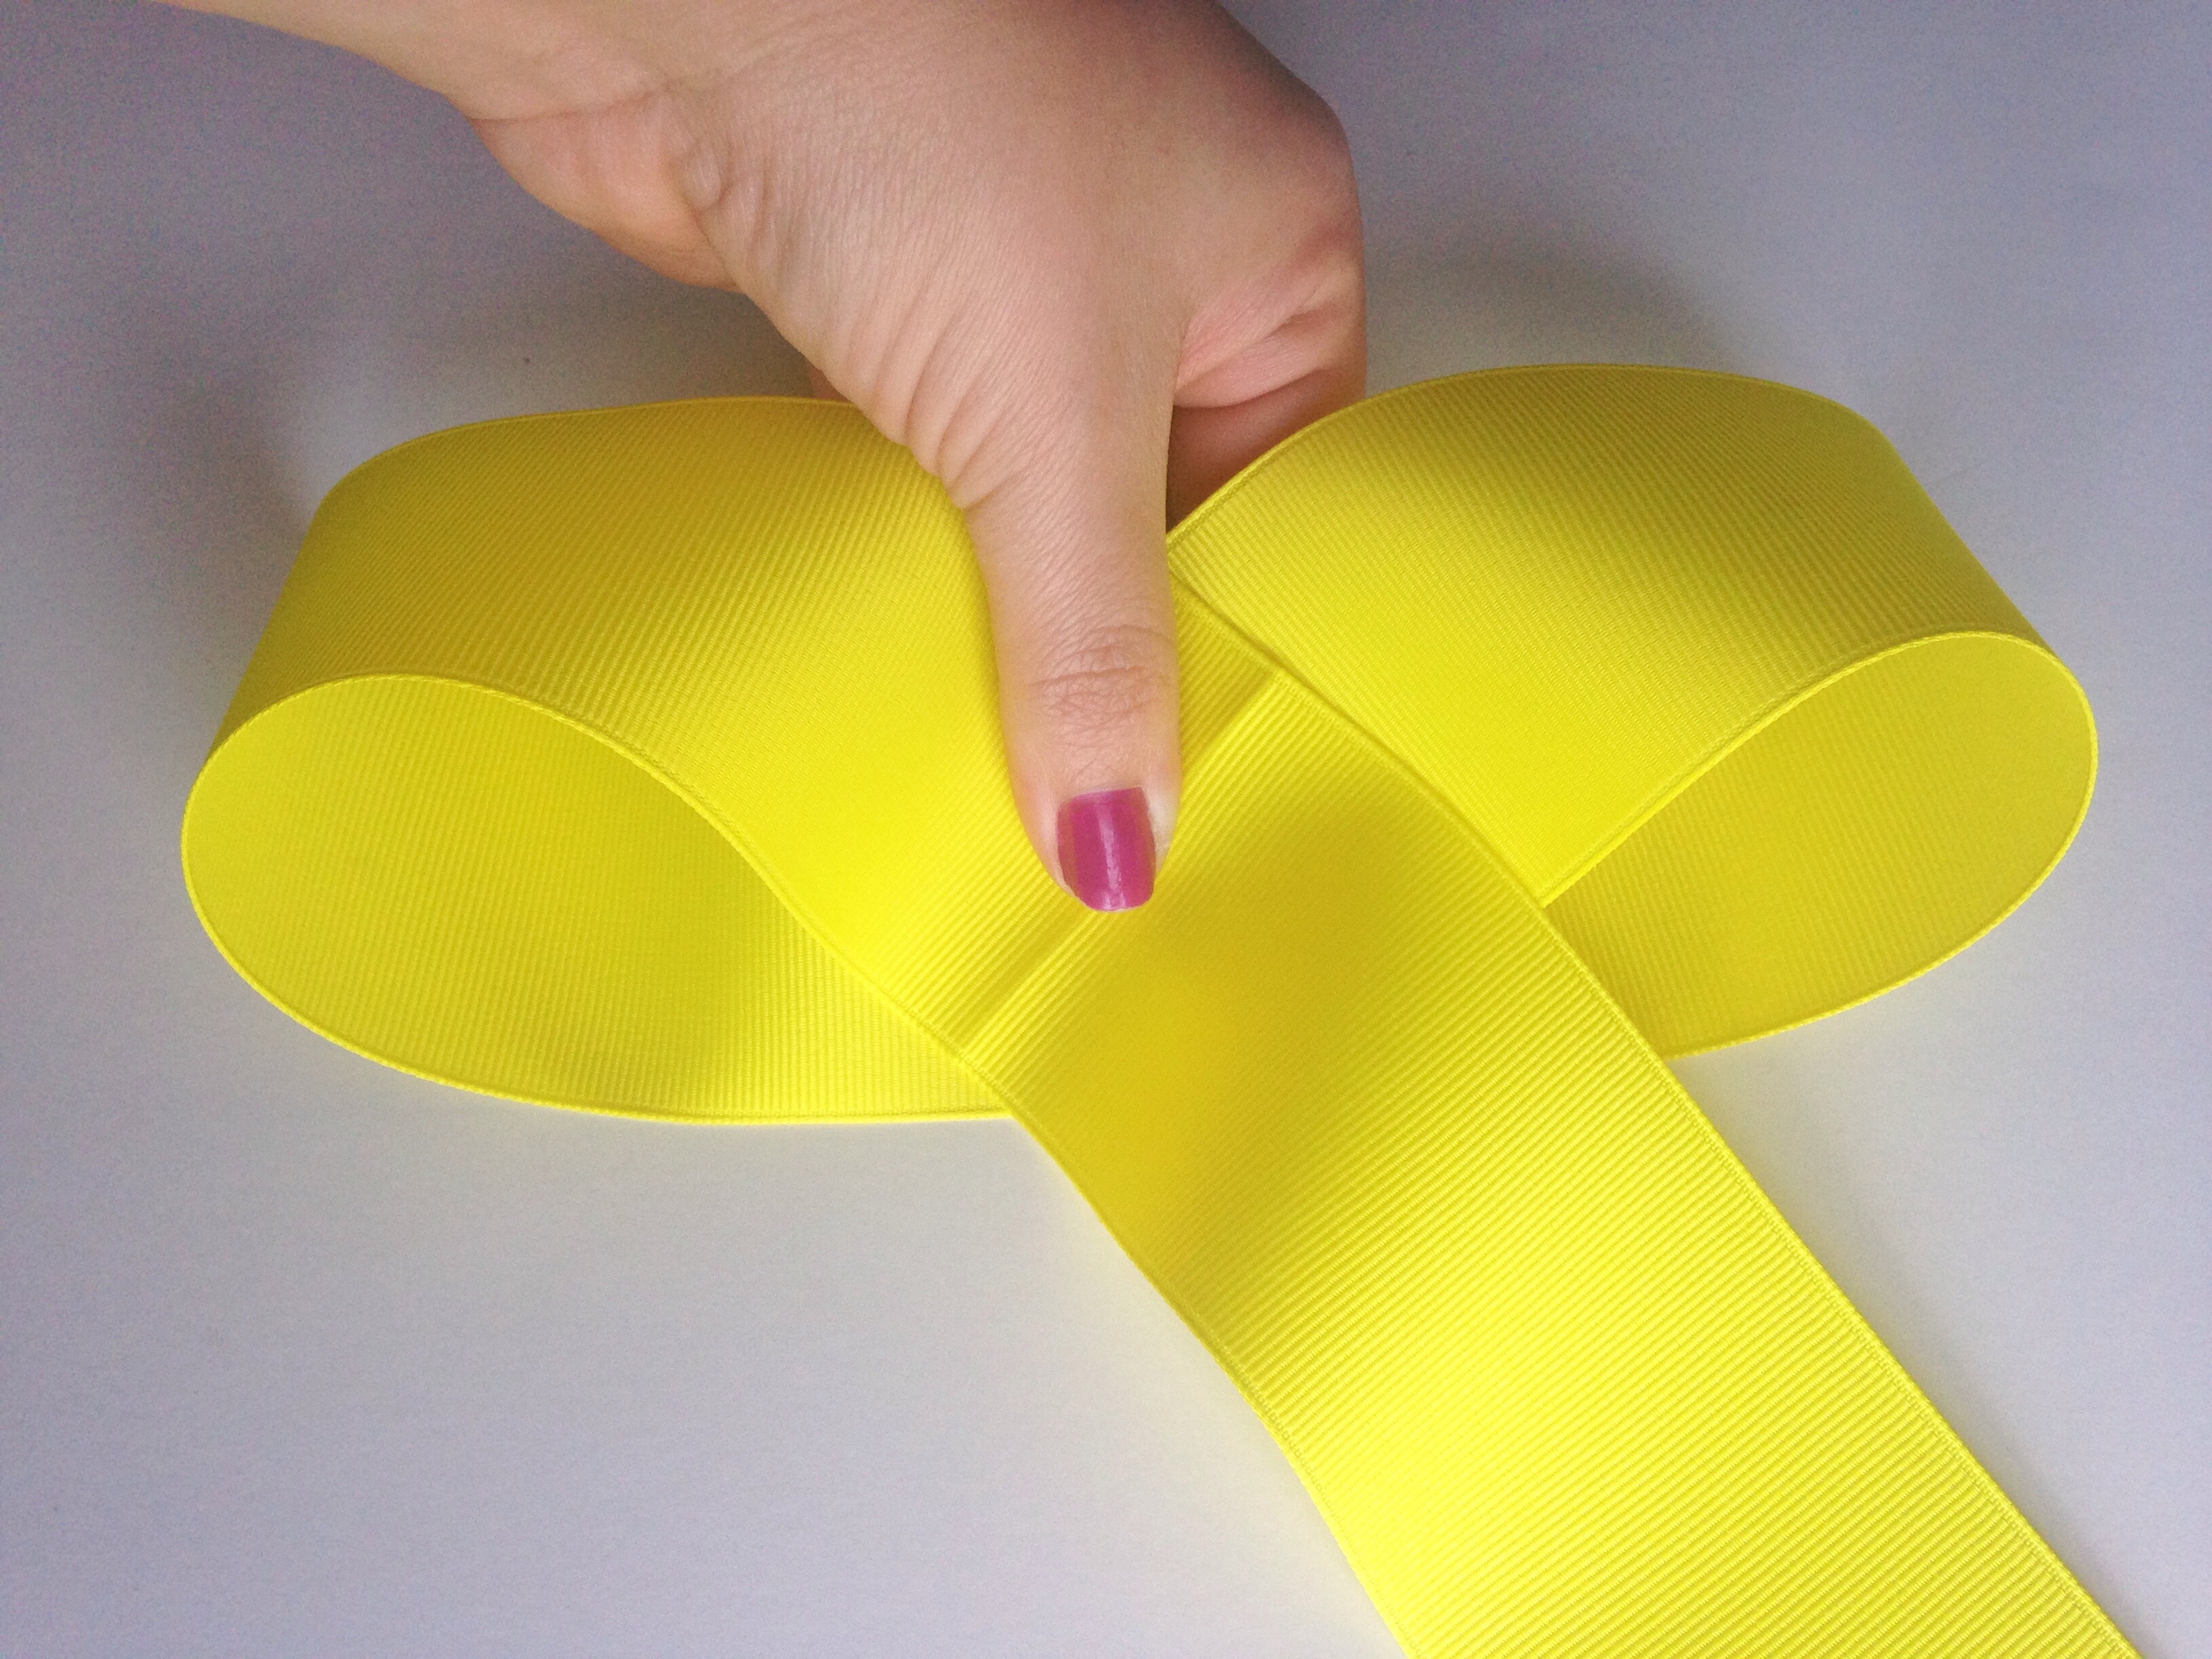
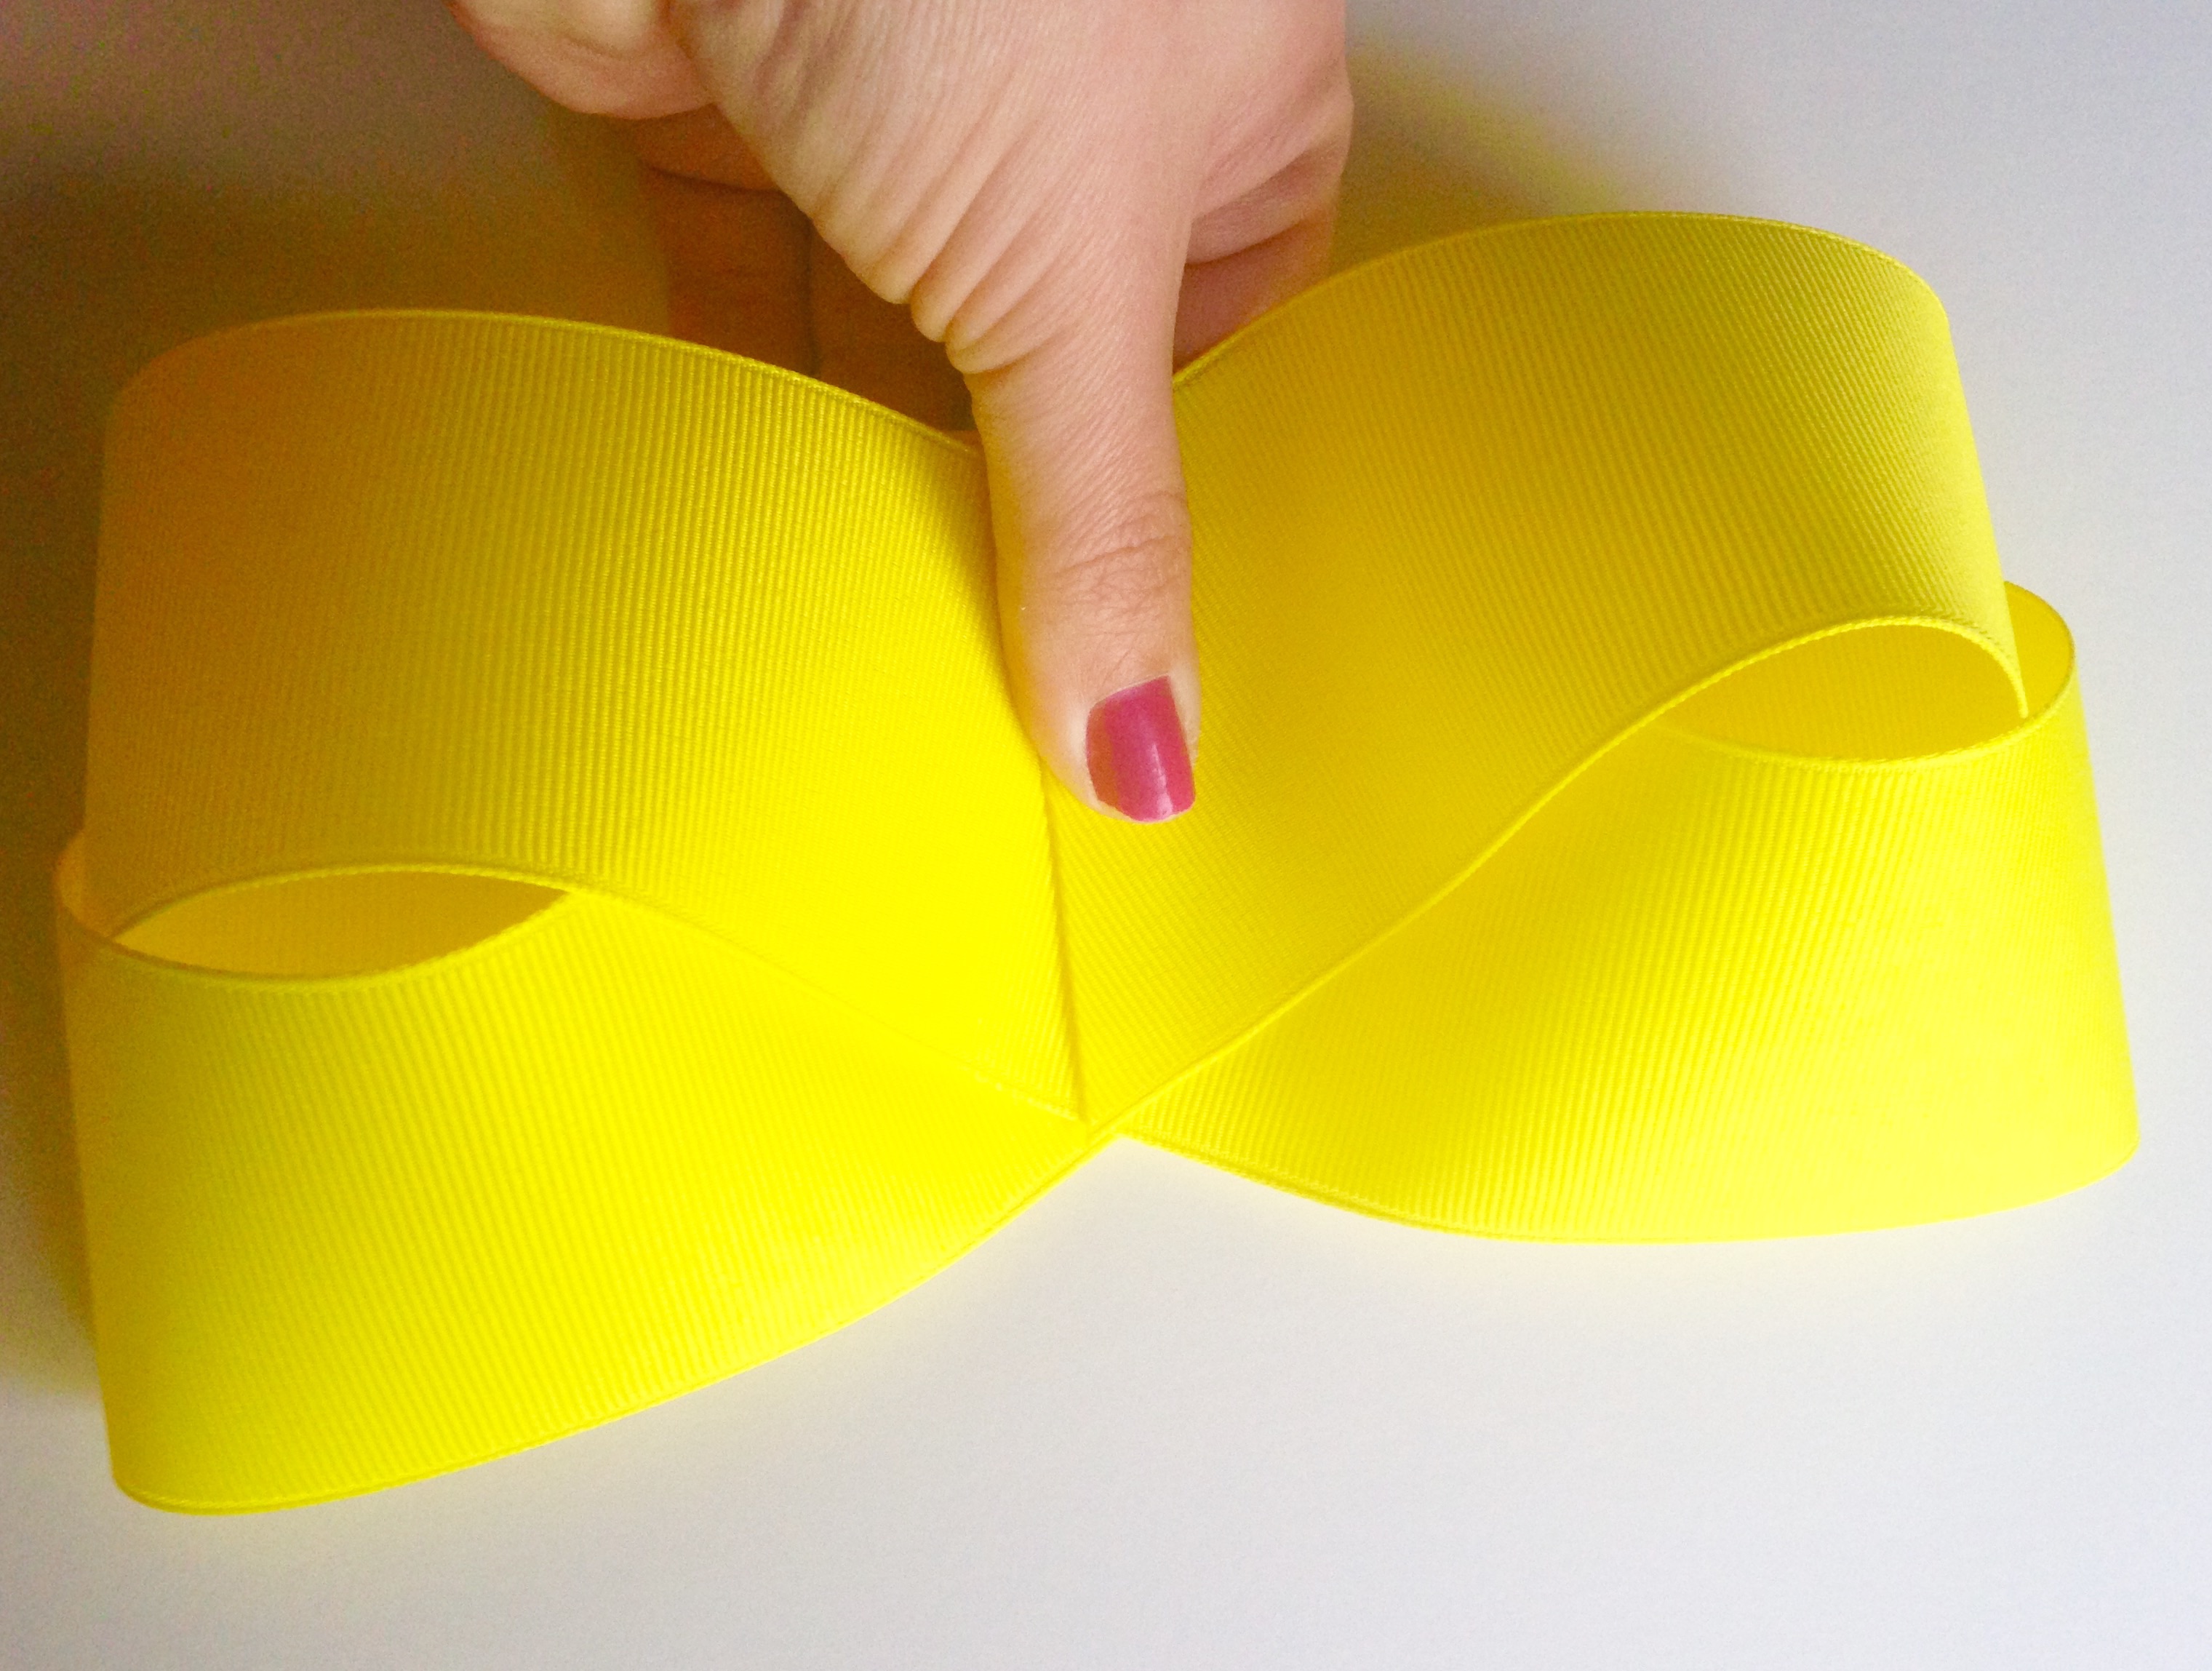
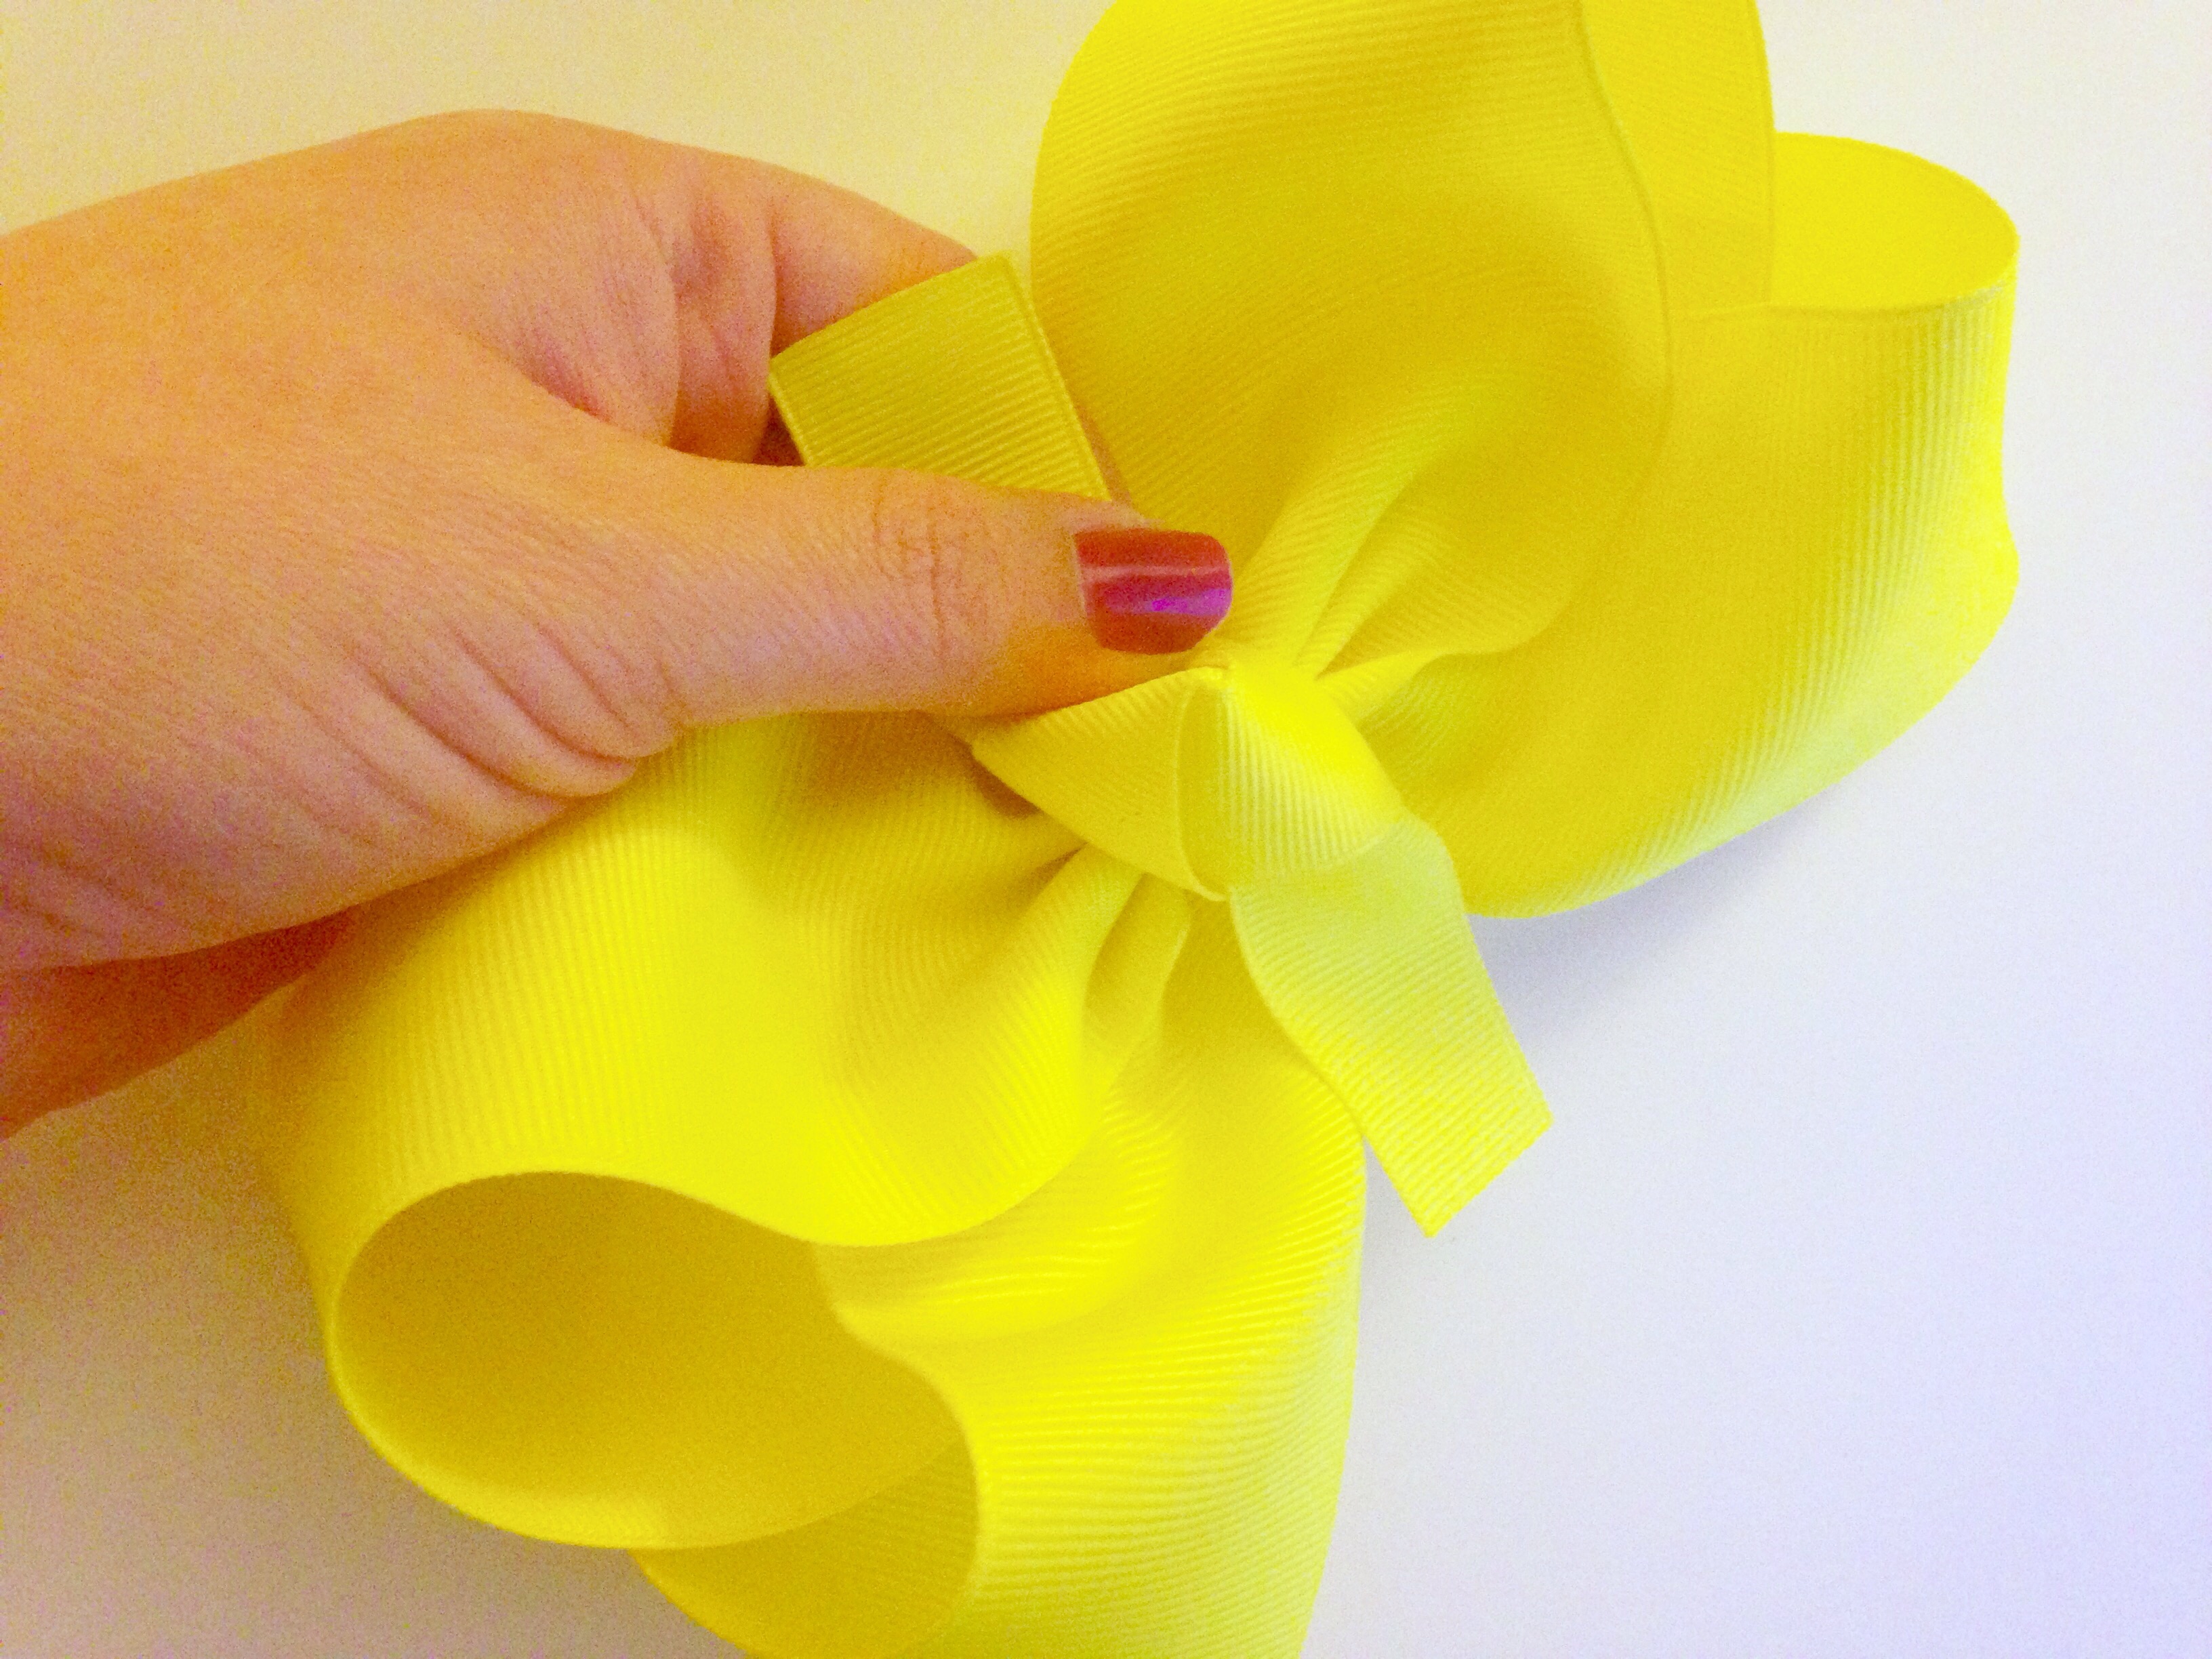
 With the bottom half of your bow formed it's time to create your top loops! Take the next section of your ribbon and loop it around & down to create this loop. There will be 3 layers visible under your thumb, and your ribbon will slide between the 2nd & 3rd layer (directly ontop of the crease that you see on the backside layer).
 Above is what the backside of your bow should look like. Note the creases lining up directly above my finger.
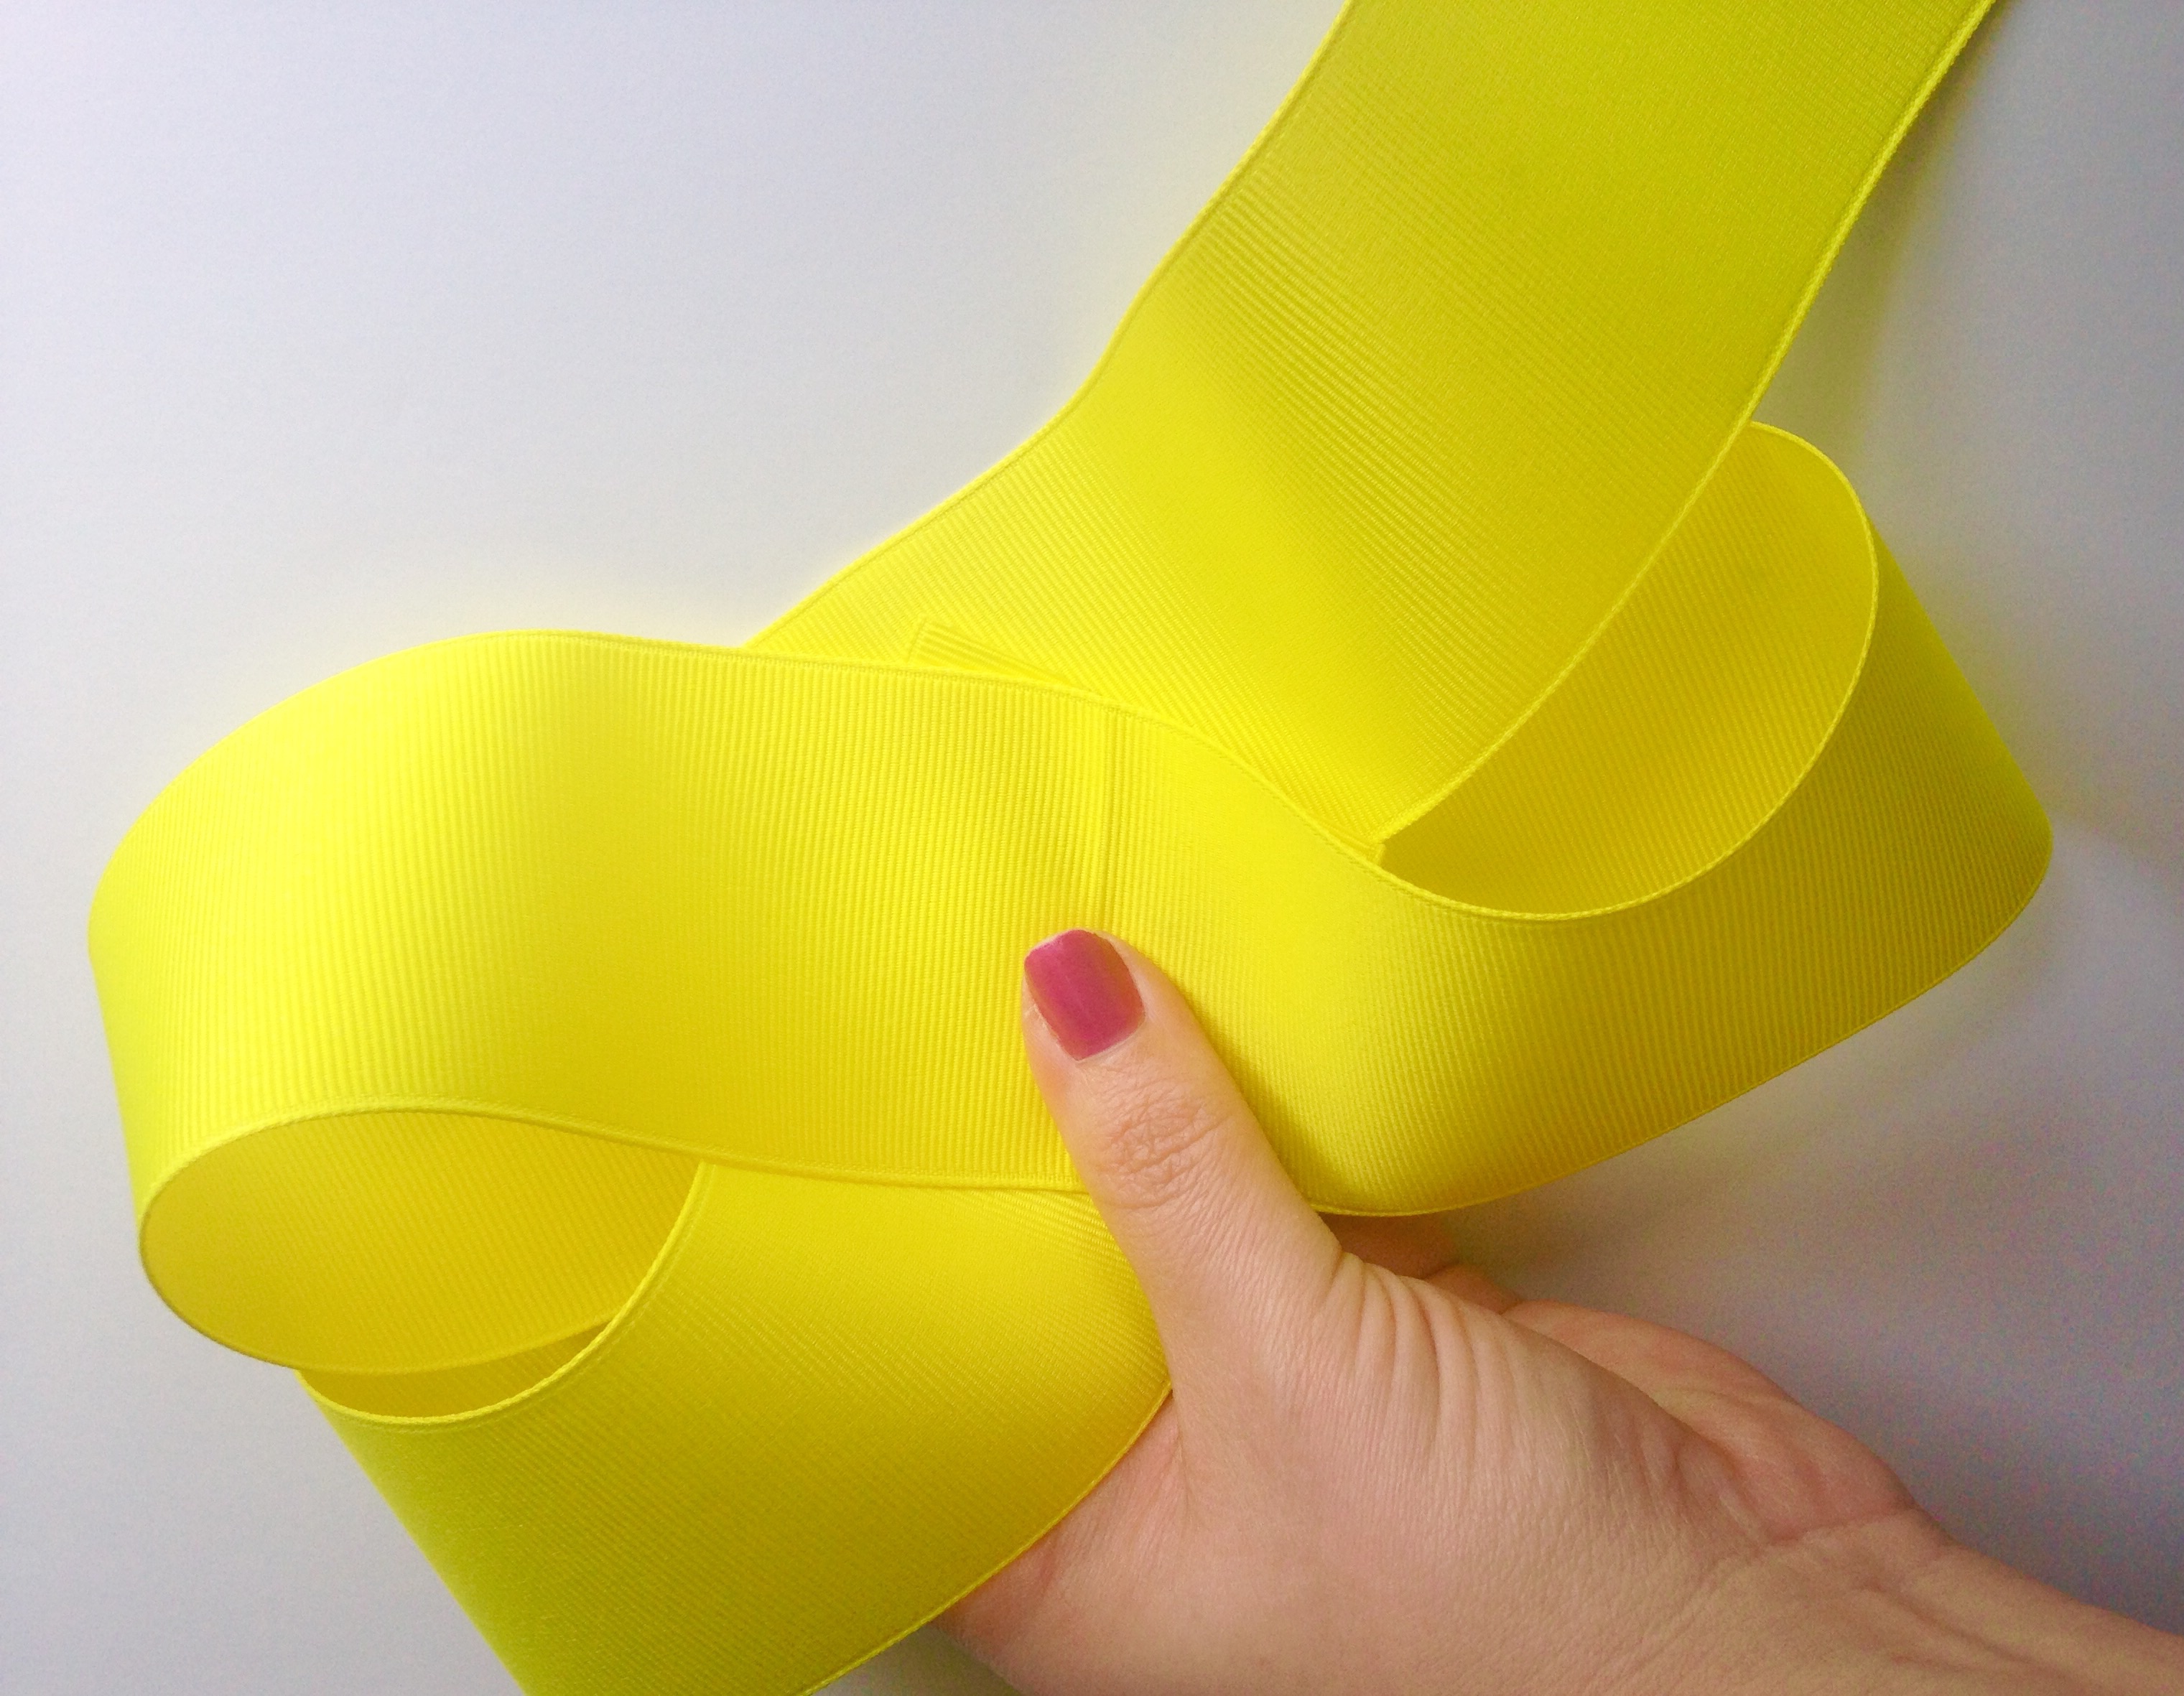
 Bring your last crease up and around to form your final loop, placing it once again on top of the center crease. Your ribbon should be in line with the ribbon directly across from it (your bottom left loop). For future reference additional ribbon could be used here if you wanted tails on your bow. But today we are trimming this end off to make a nice & neat, seamless appearance for our bow.
 At this time you will need to check your loops and make sure they are all equal in size and adjust if necessary. We're almost done!
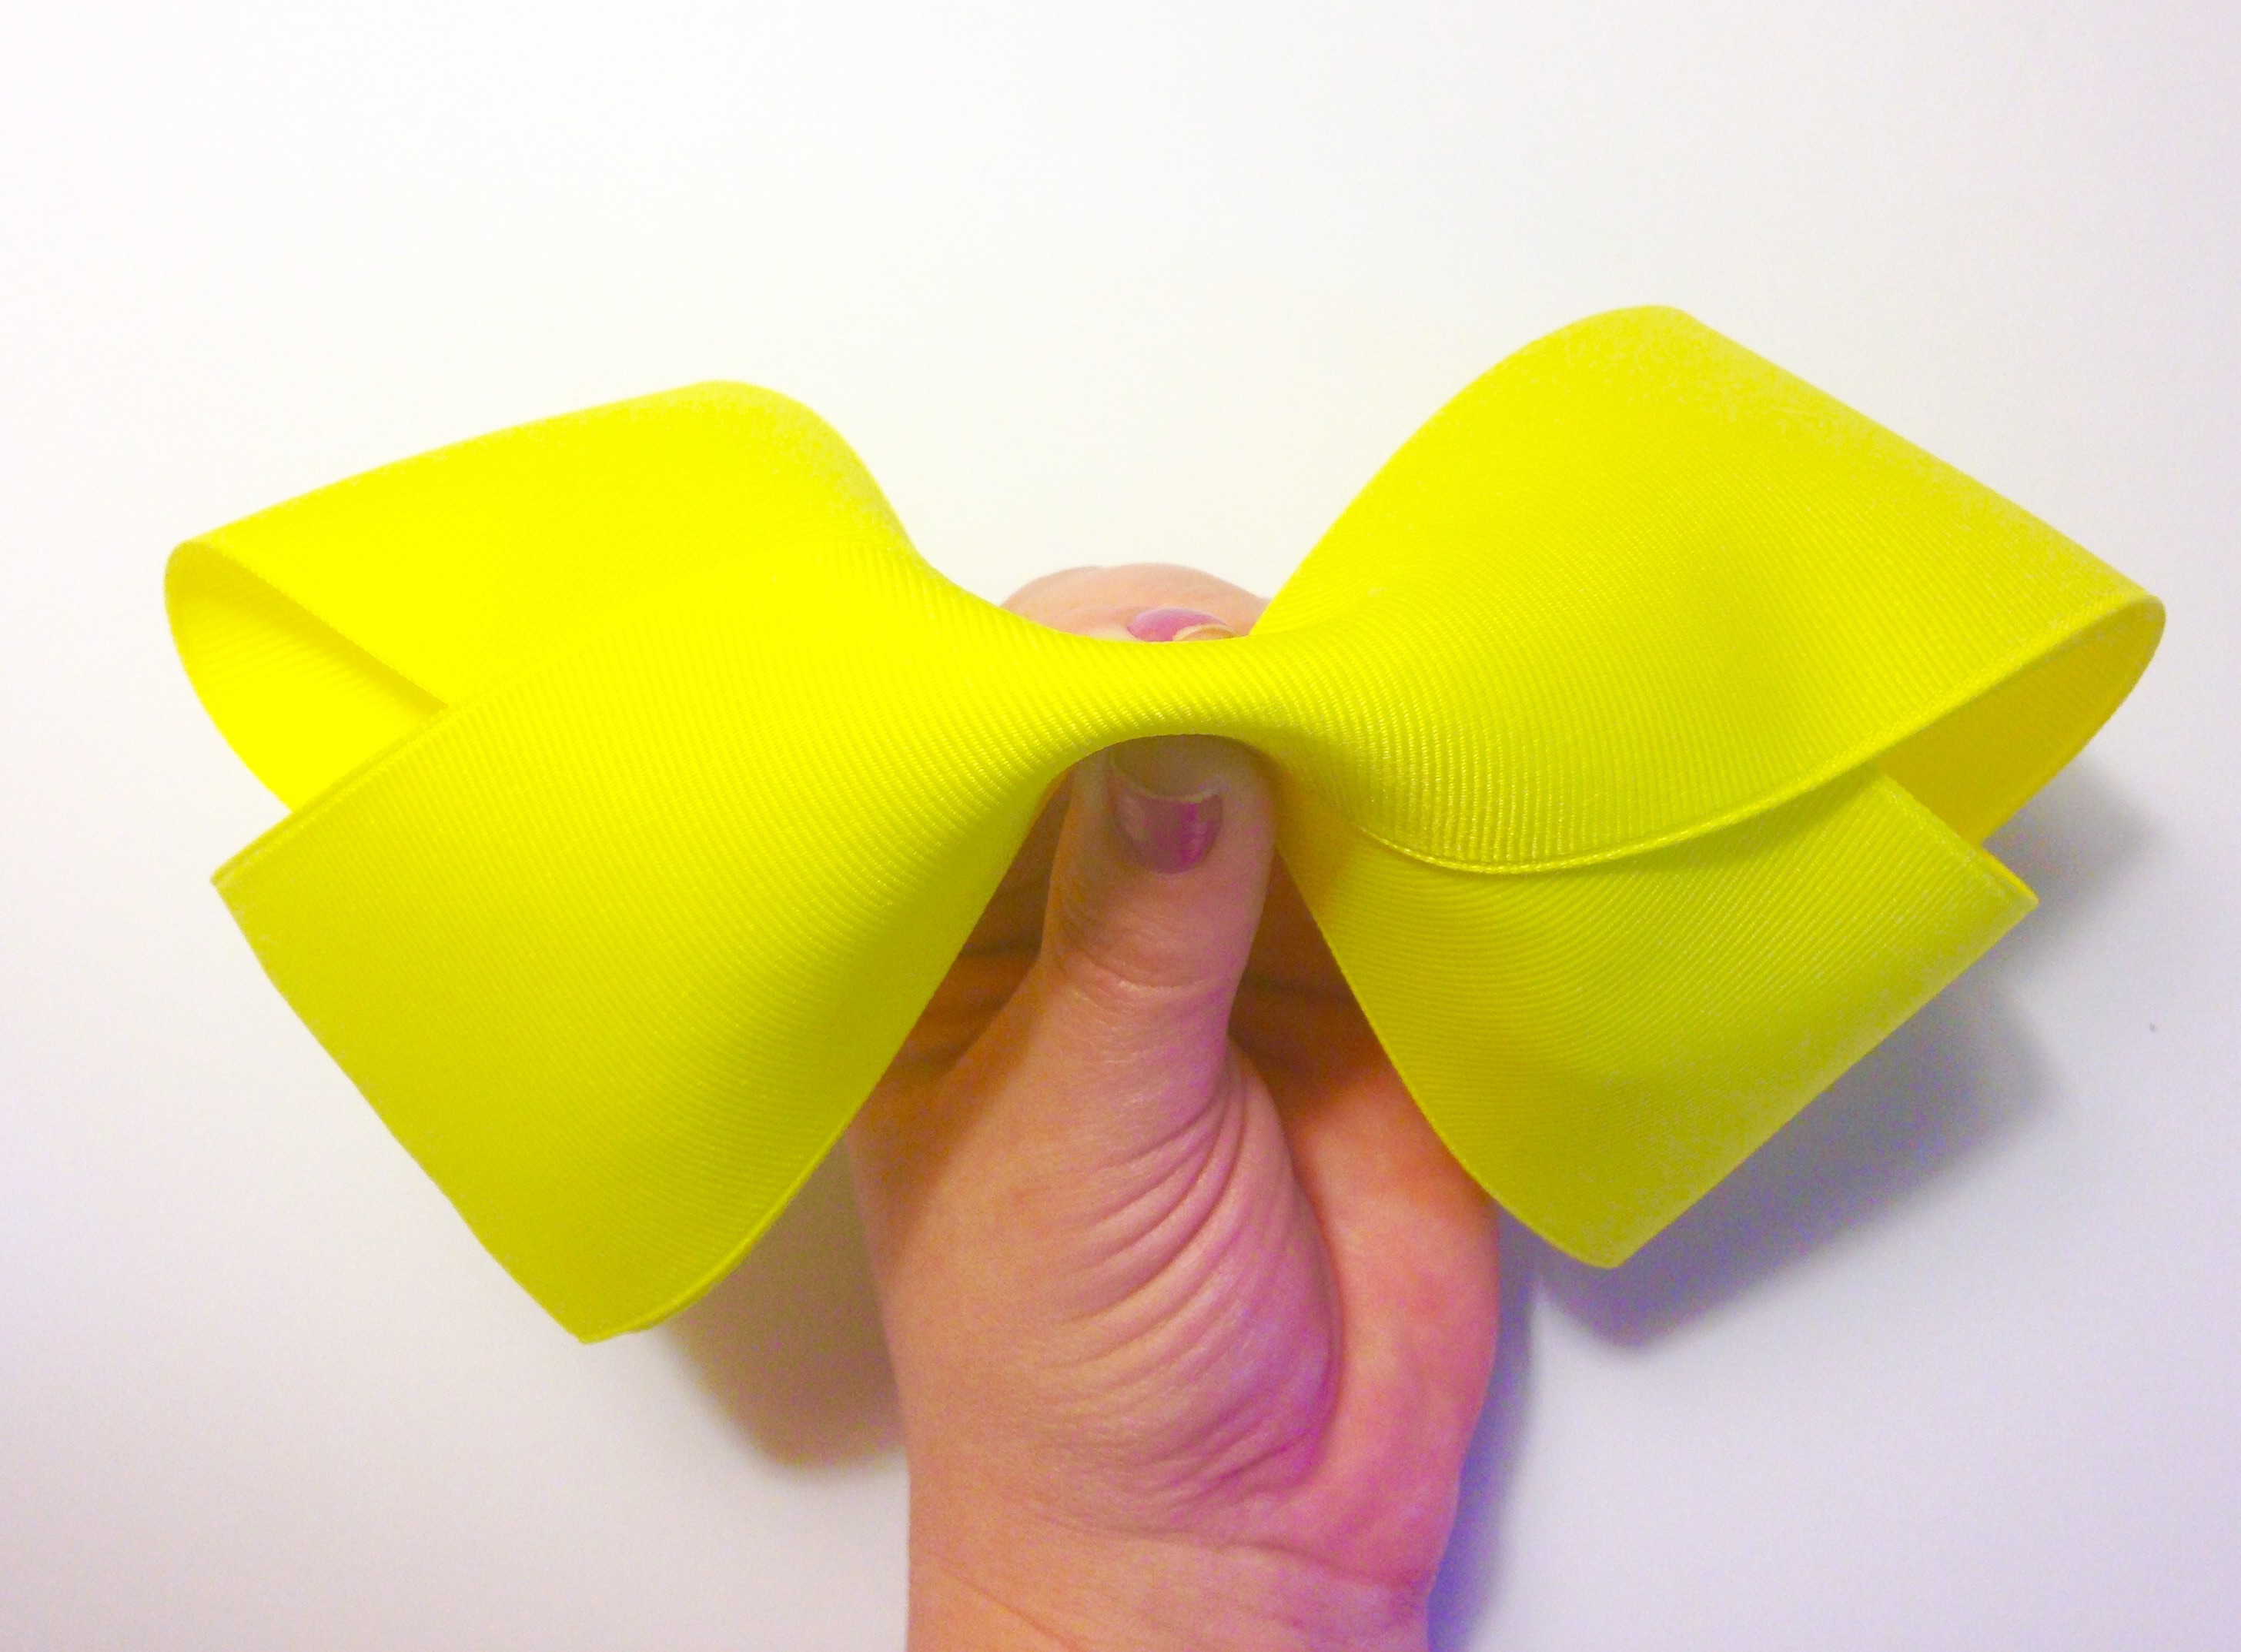 Next we are making an accordian fold down the center of our bow. First I have folded the center of my bow in half.
 Fold each of those sides back up & down once more to create a total of 3 folds down the center.
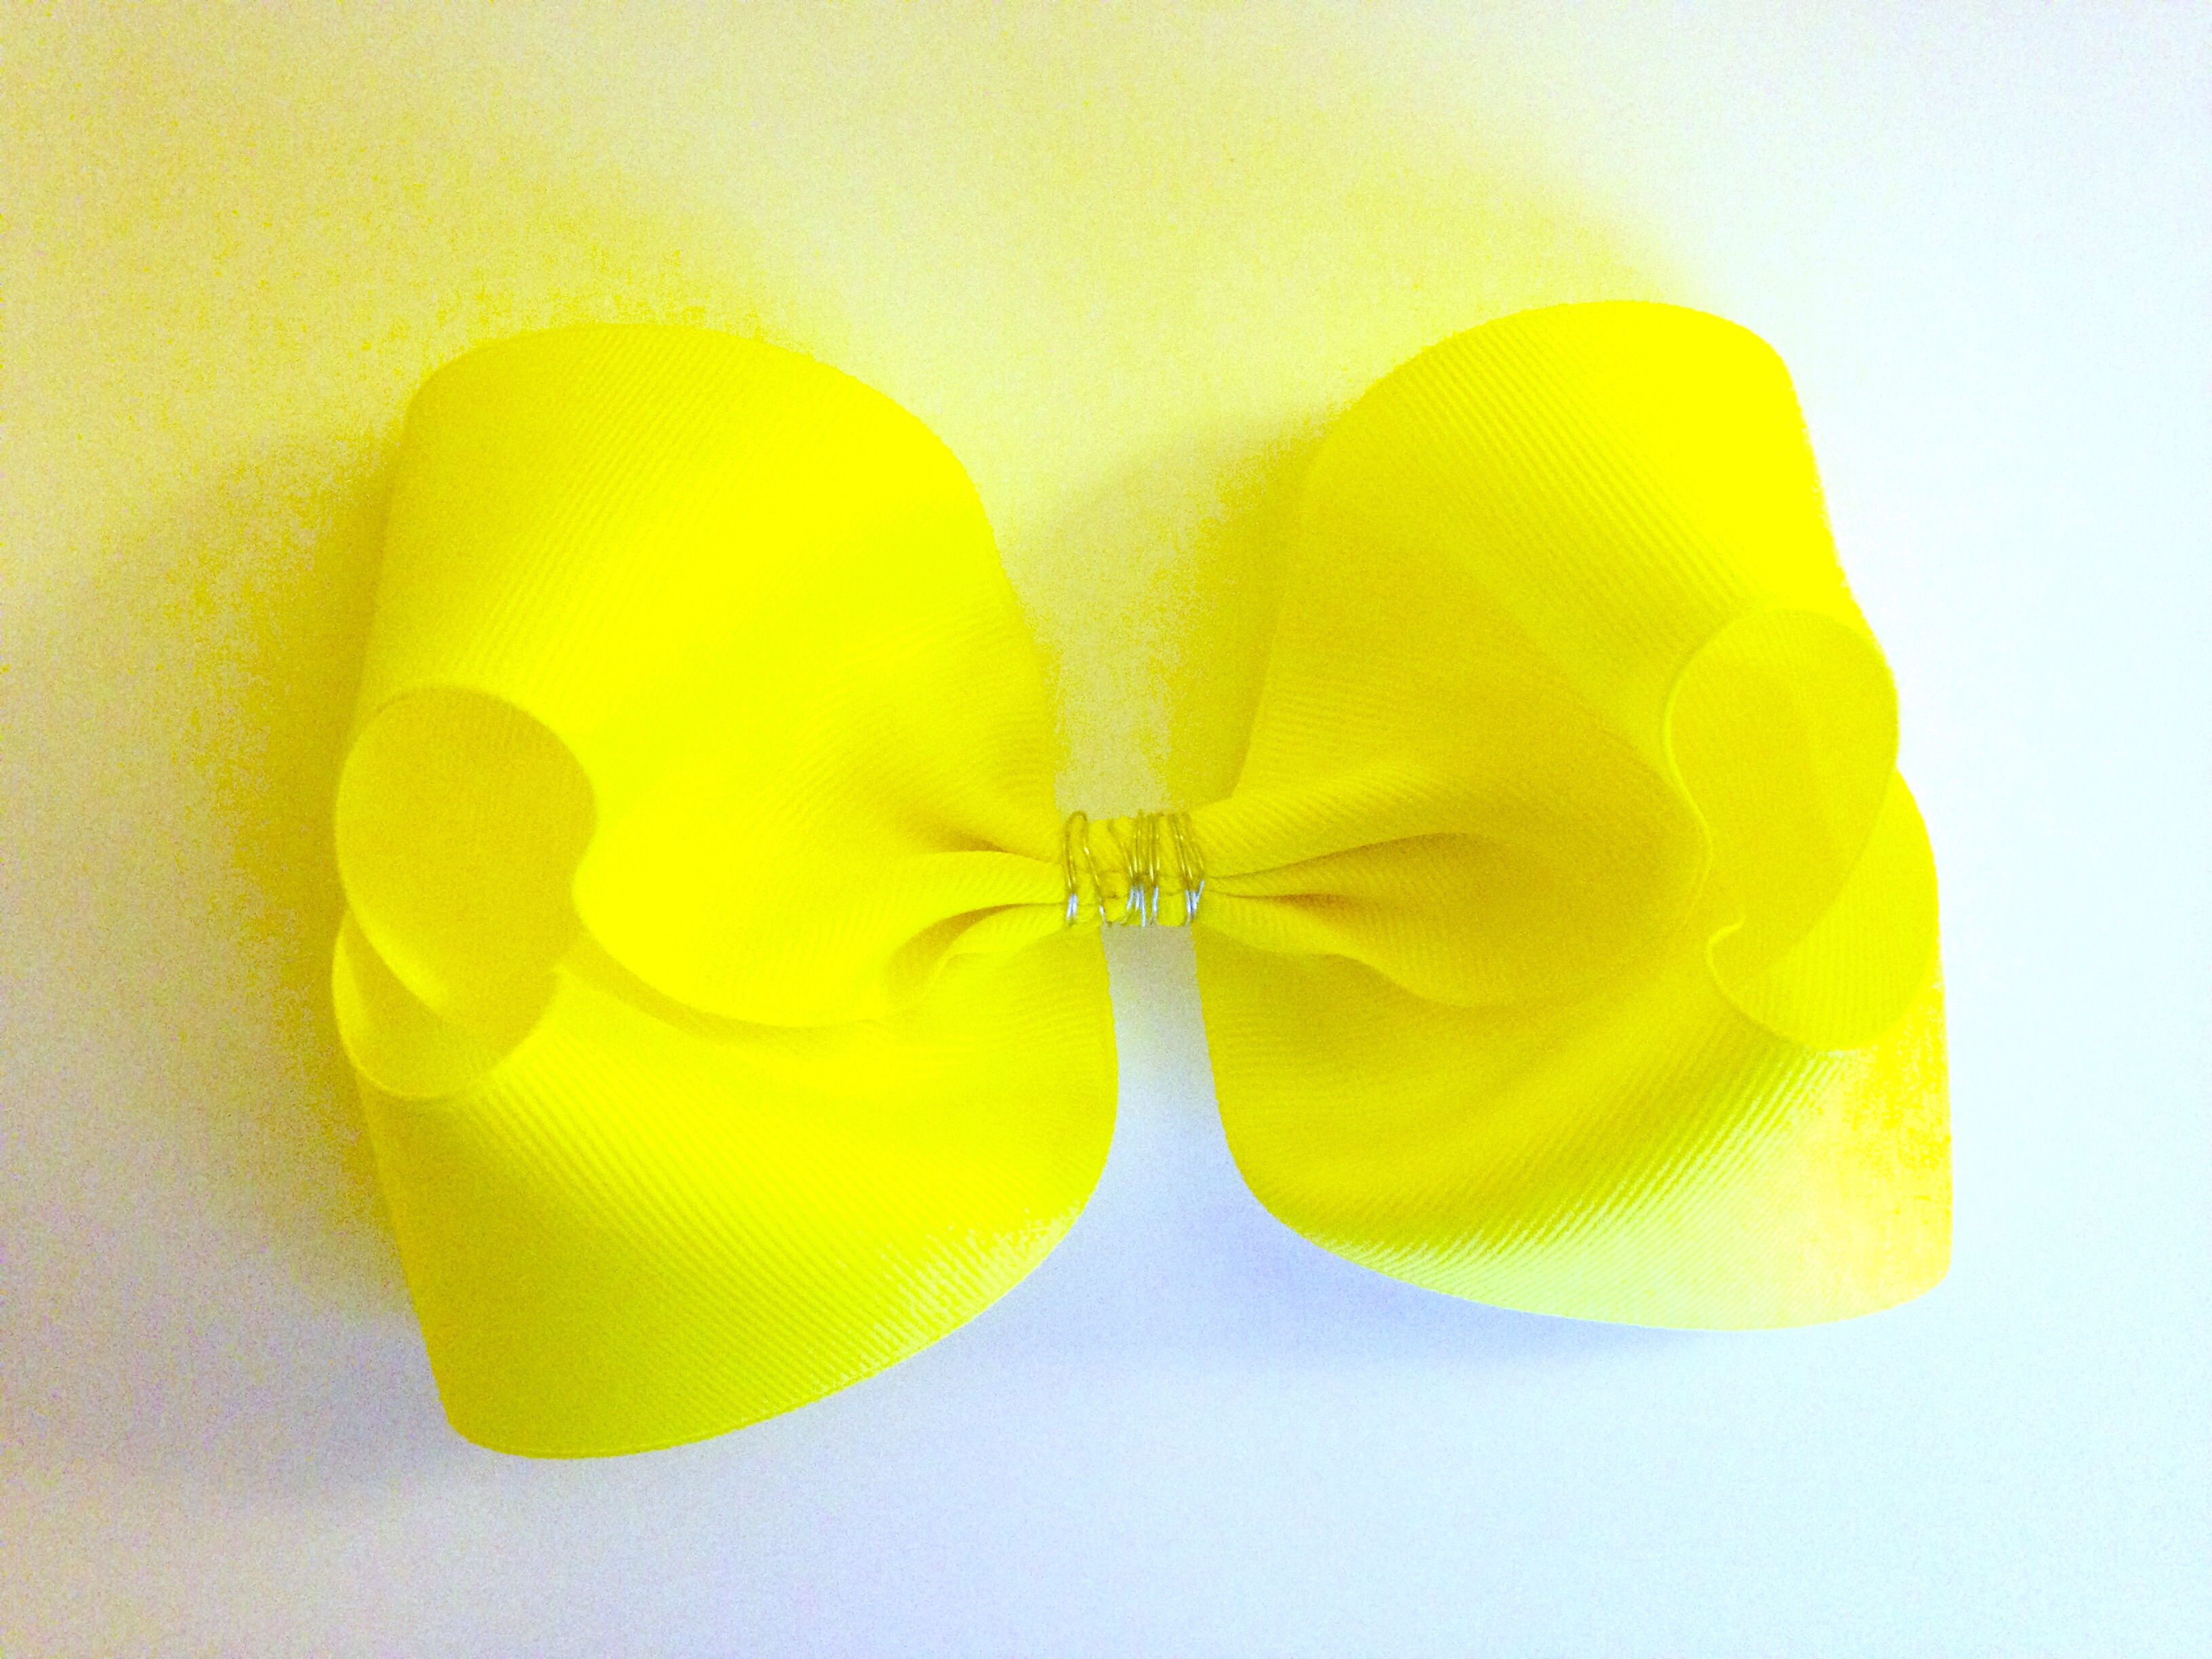 Secure the center of your bow with wire or whatever your preference may be. Make sure you have a very tight hold so every layer stays perfectly folded and in place. Now perk those loops back up and fluff your bow up nice & pretty!
 Now we are using our 7/8" Neon Yellow coordinating ribbon for the center of our bow. This only takes a few inches of ribbon. Tie your ribbon into an attractive knot to be placed in the very center of your bow. I place a small amount of glue on my bow and then put my knot into place. To make sure my center wrap always stays in place nicely I continue with hot glue all the way around to the back. Don't forget to add your alligator clip to the back!
 Above is what the back of my bow looks like! Now we have created a simple yet beautiful big girl hair bow! My finished bow measures approx 6" with its loops proudly standing approx 3" tall! What a perfect sized bow! I hope you have enjoyed this post! Now you can get busy making one in every single color... Because I promise you, having just one will not be enough! :)
Visit the rest of our blog for more Crafting Tutorials and DIY Instructions!
Loading...

