Contributor post by Danielle at Korker Krazy
Bun wraps are a popular item right now! These are so cute for older girls and the possibilities are endless with these!
Supplies Needed:
3/8" Grosgrain Ribbon I'm using aqua and lavender Alligator clips Hot Glue and Glue Gun Flowers and Embellishments (Optional)
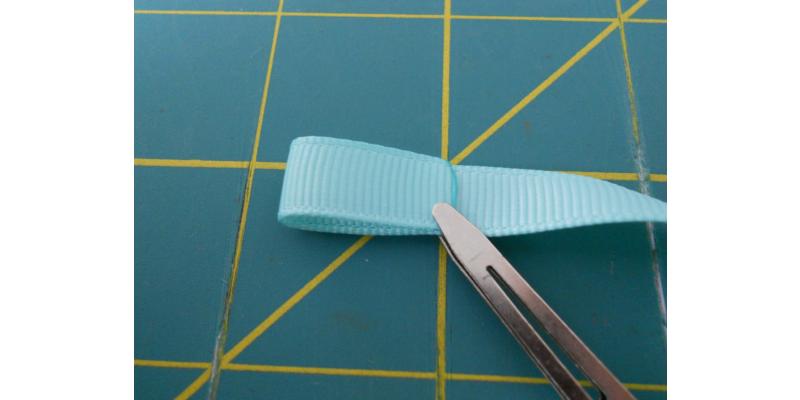
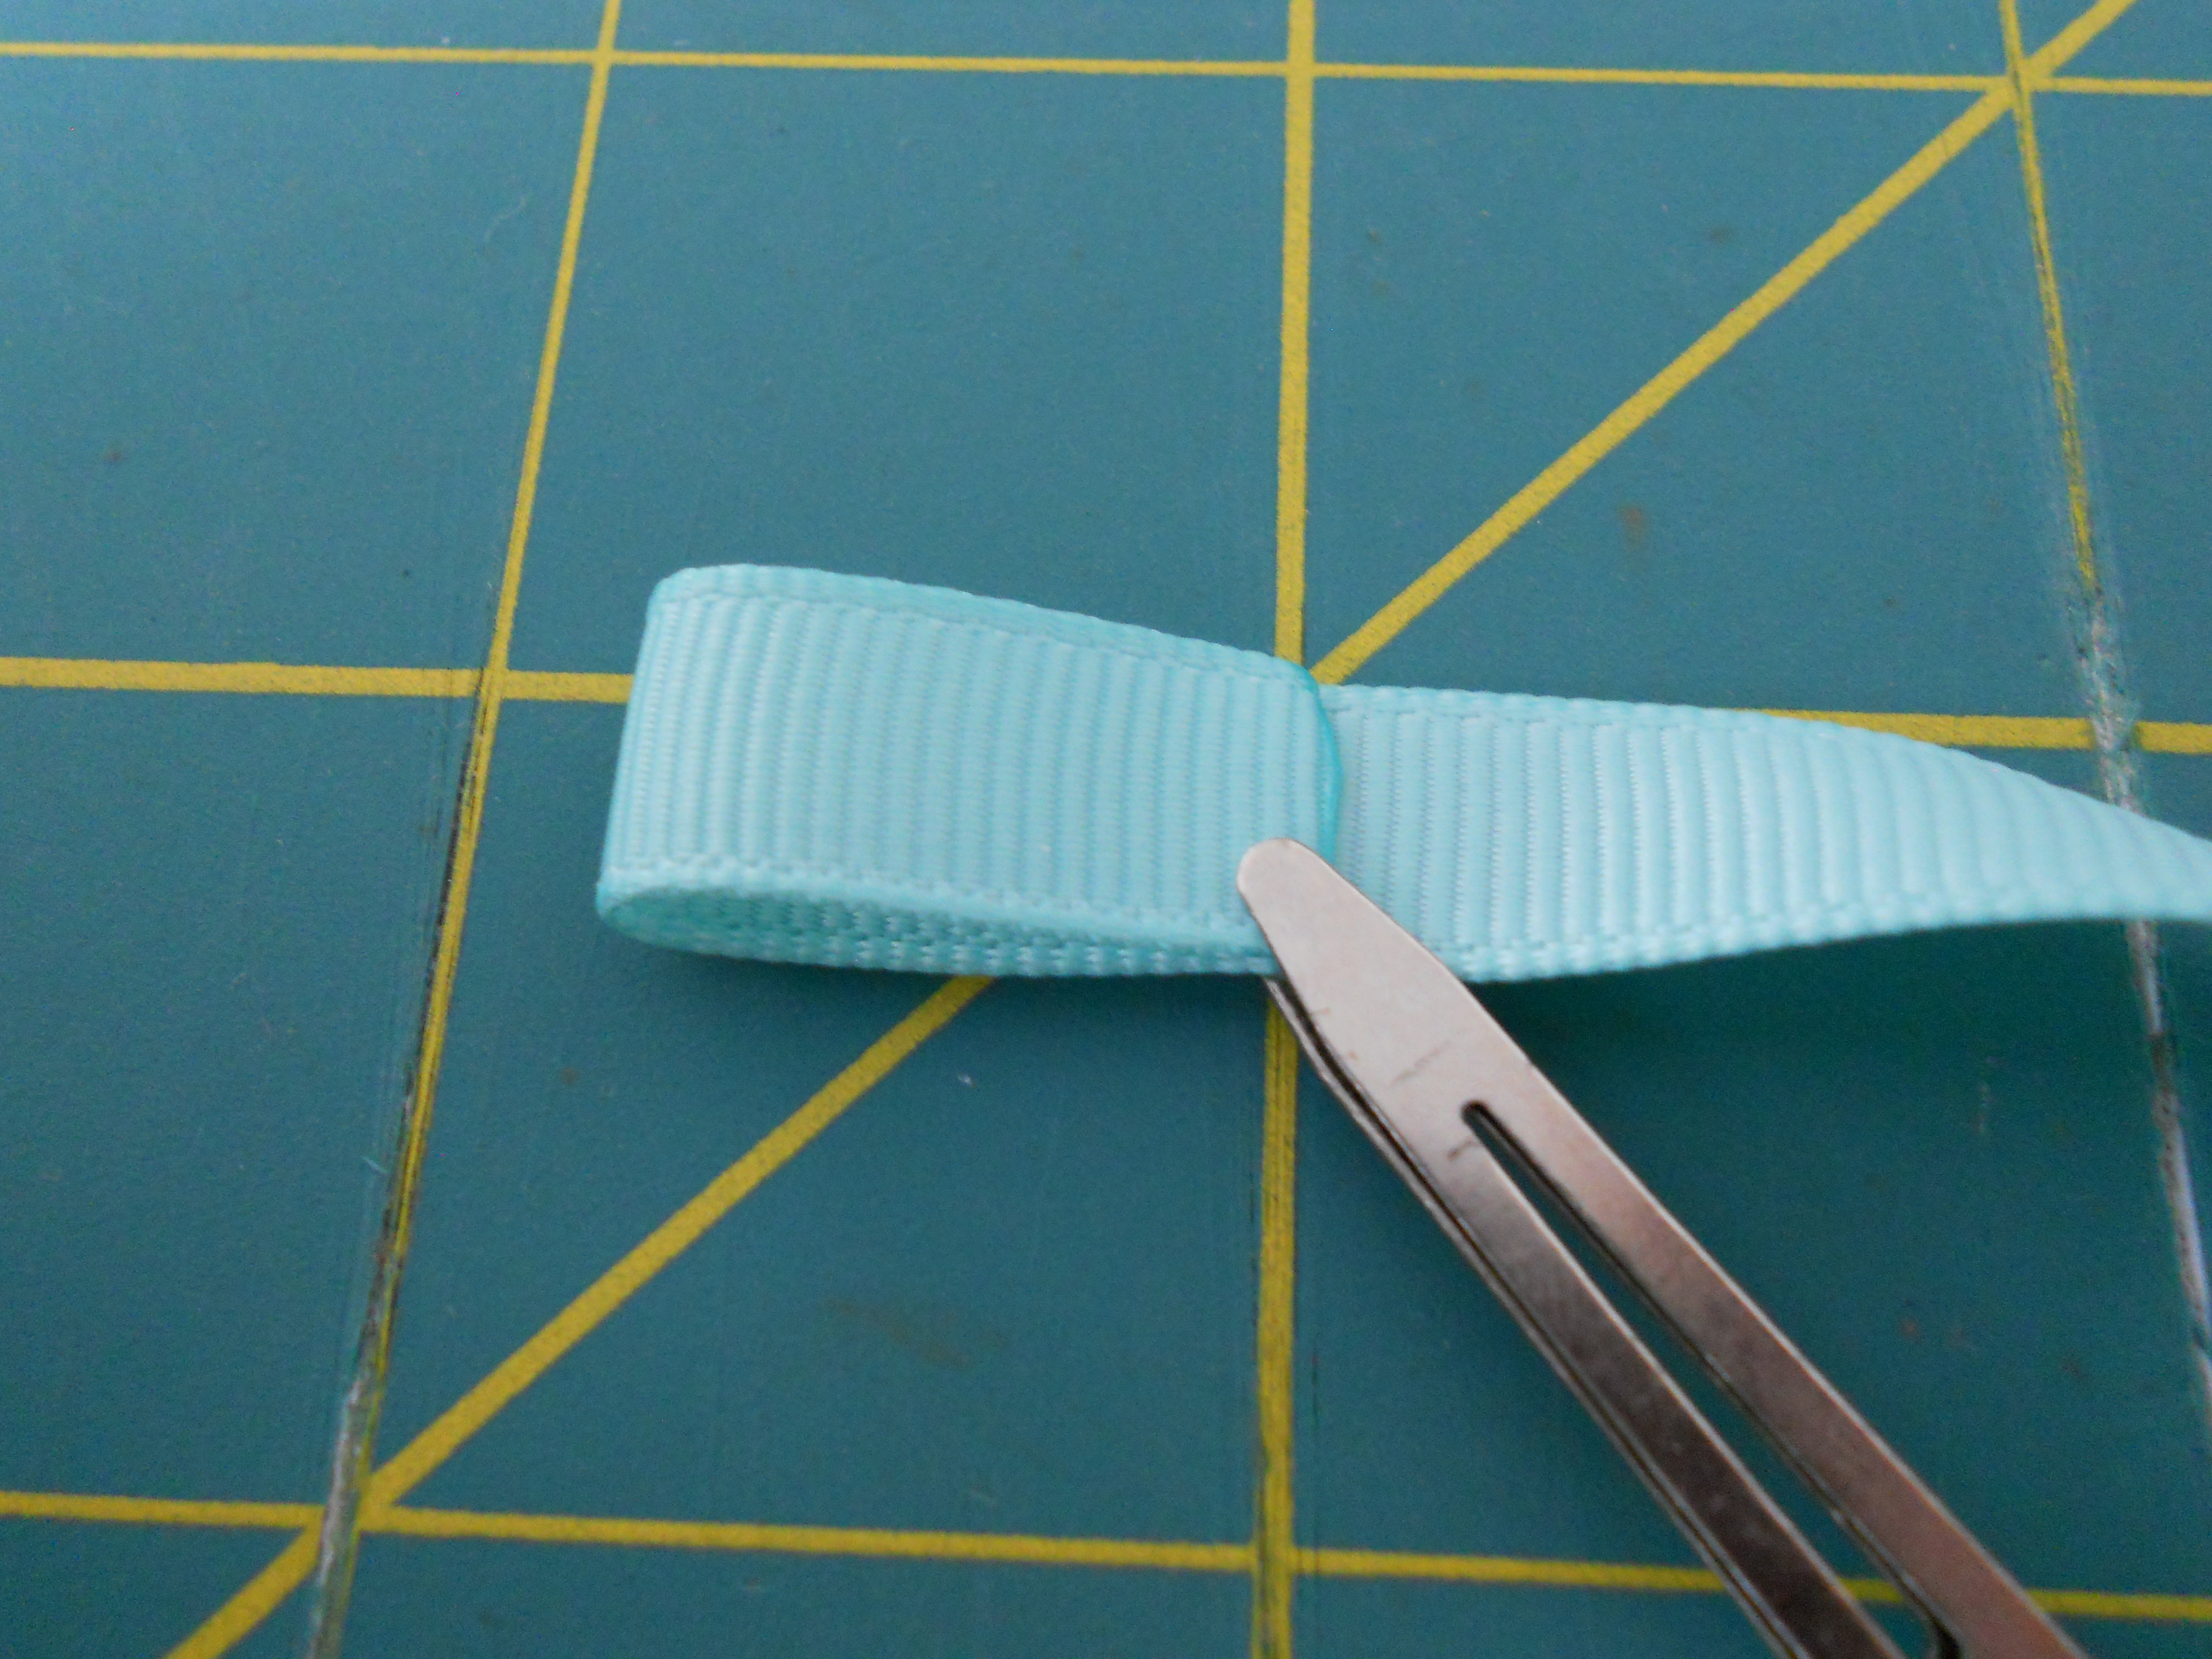
First select two colors and cut 40" of each color. I am using aqua and lavender as my two colors. Now we are going to form loops on one end of each ribbon. Take the end of your ribbon and fold it over approximately 3/4". Place a small amount of hot glue on the very end and glue it down. We want the ribbon to have an open loop so don't glue the entire piece down. Do the same thing with your other ribbon color.

Now we are going to start braiding the ribbons together. First, here are a few helpful tips. Start with the side you glued facing up towards you. If you are using a ribbon that has a print on one side make sure the print is facing down.
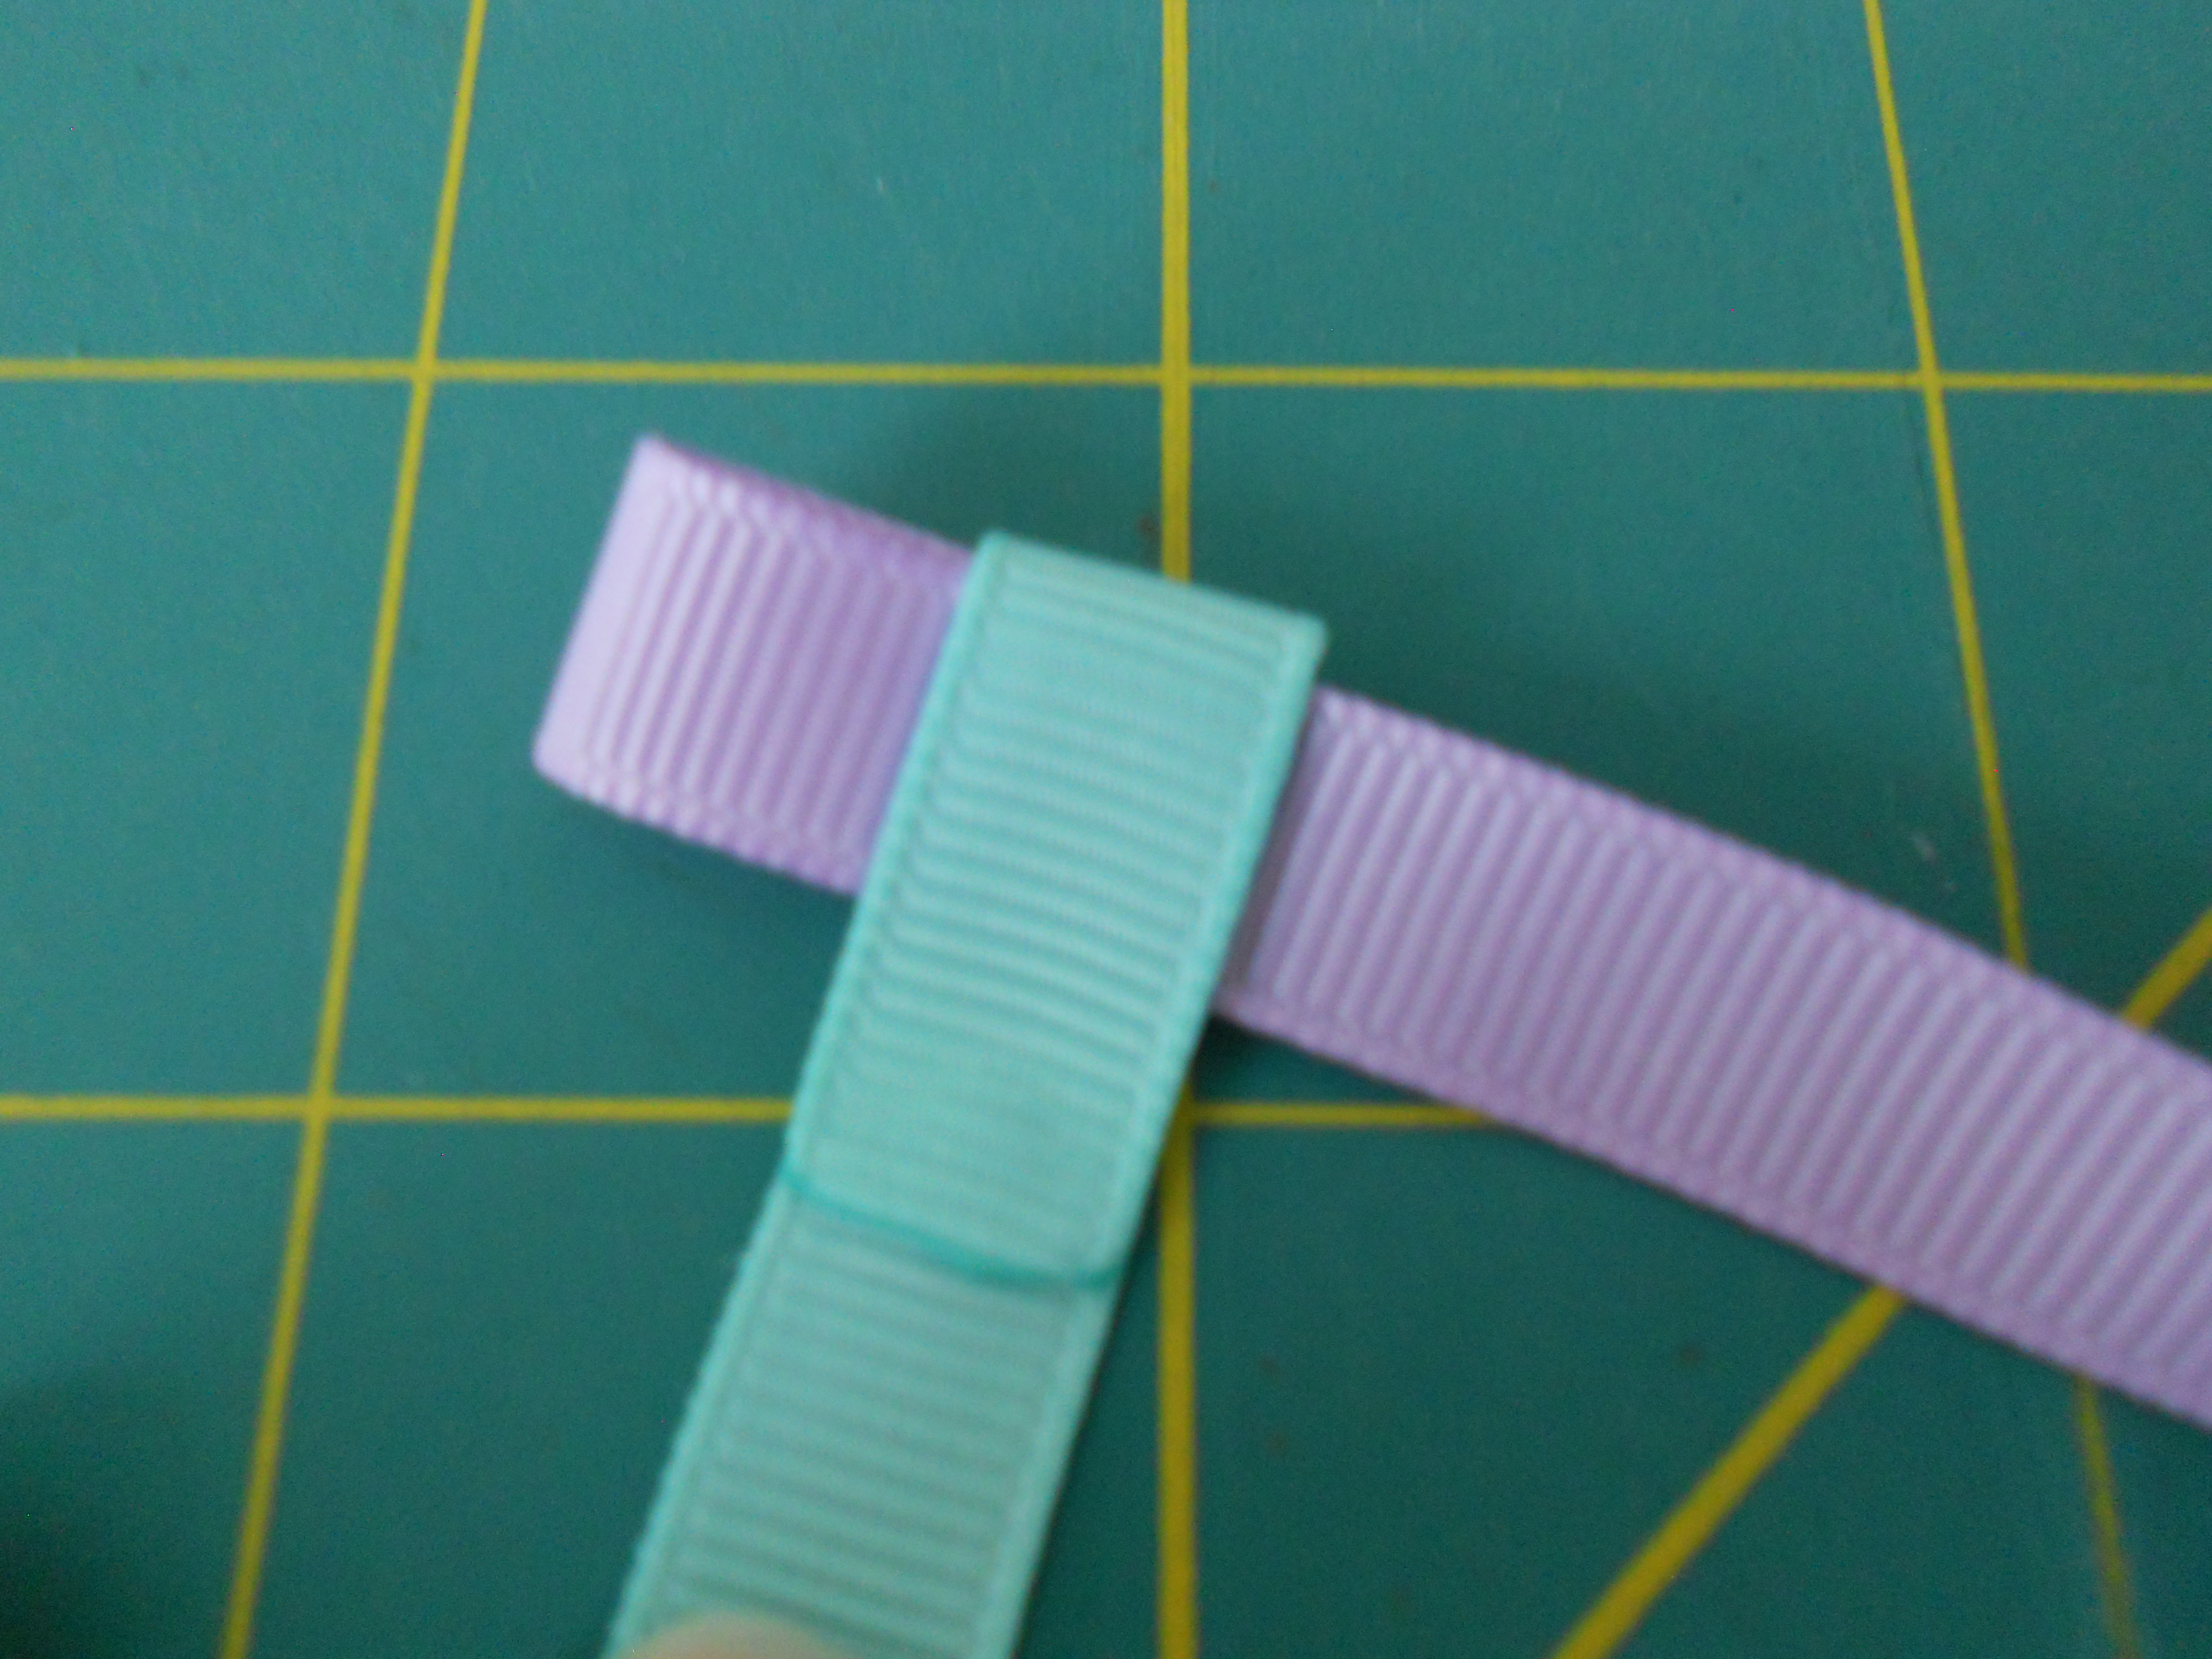
My right ribbon is lavender, my left ribbon is aqua.
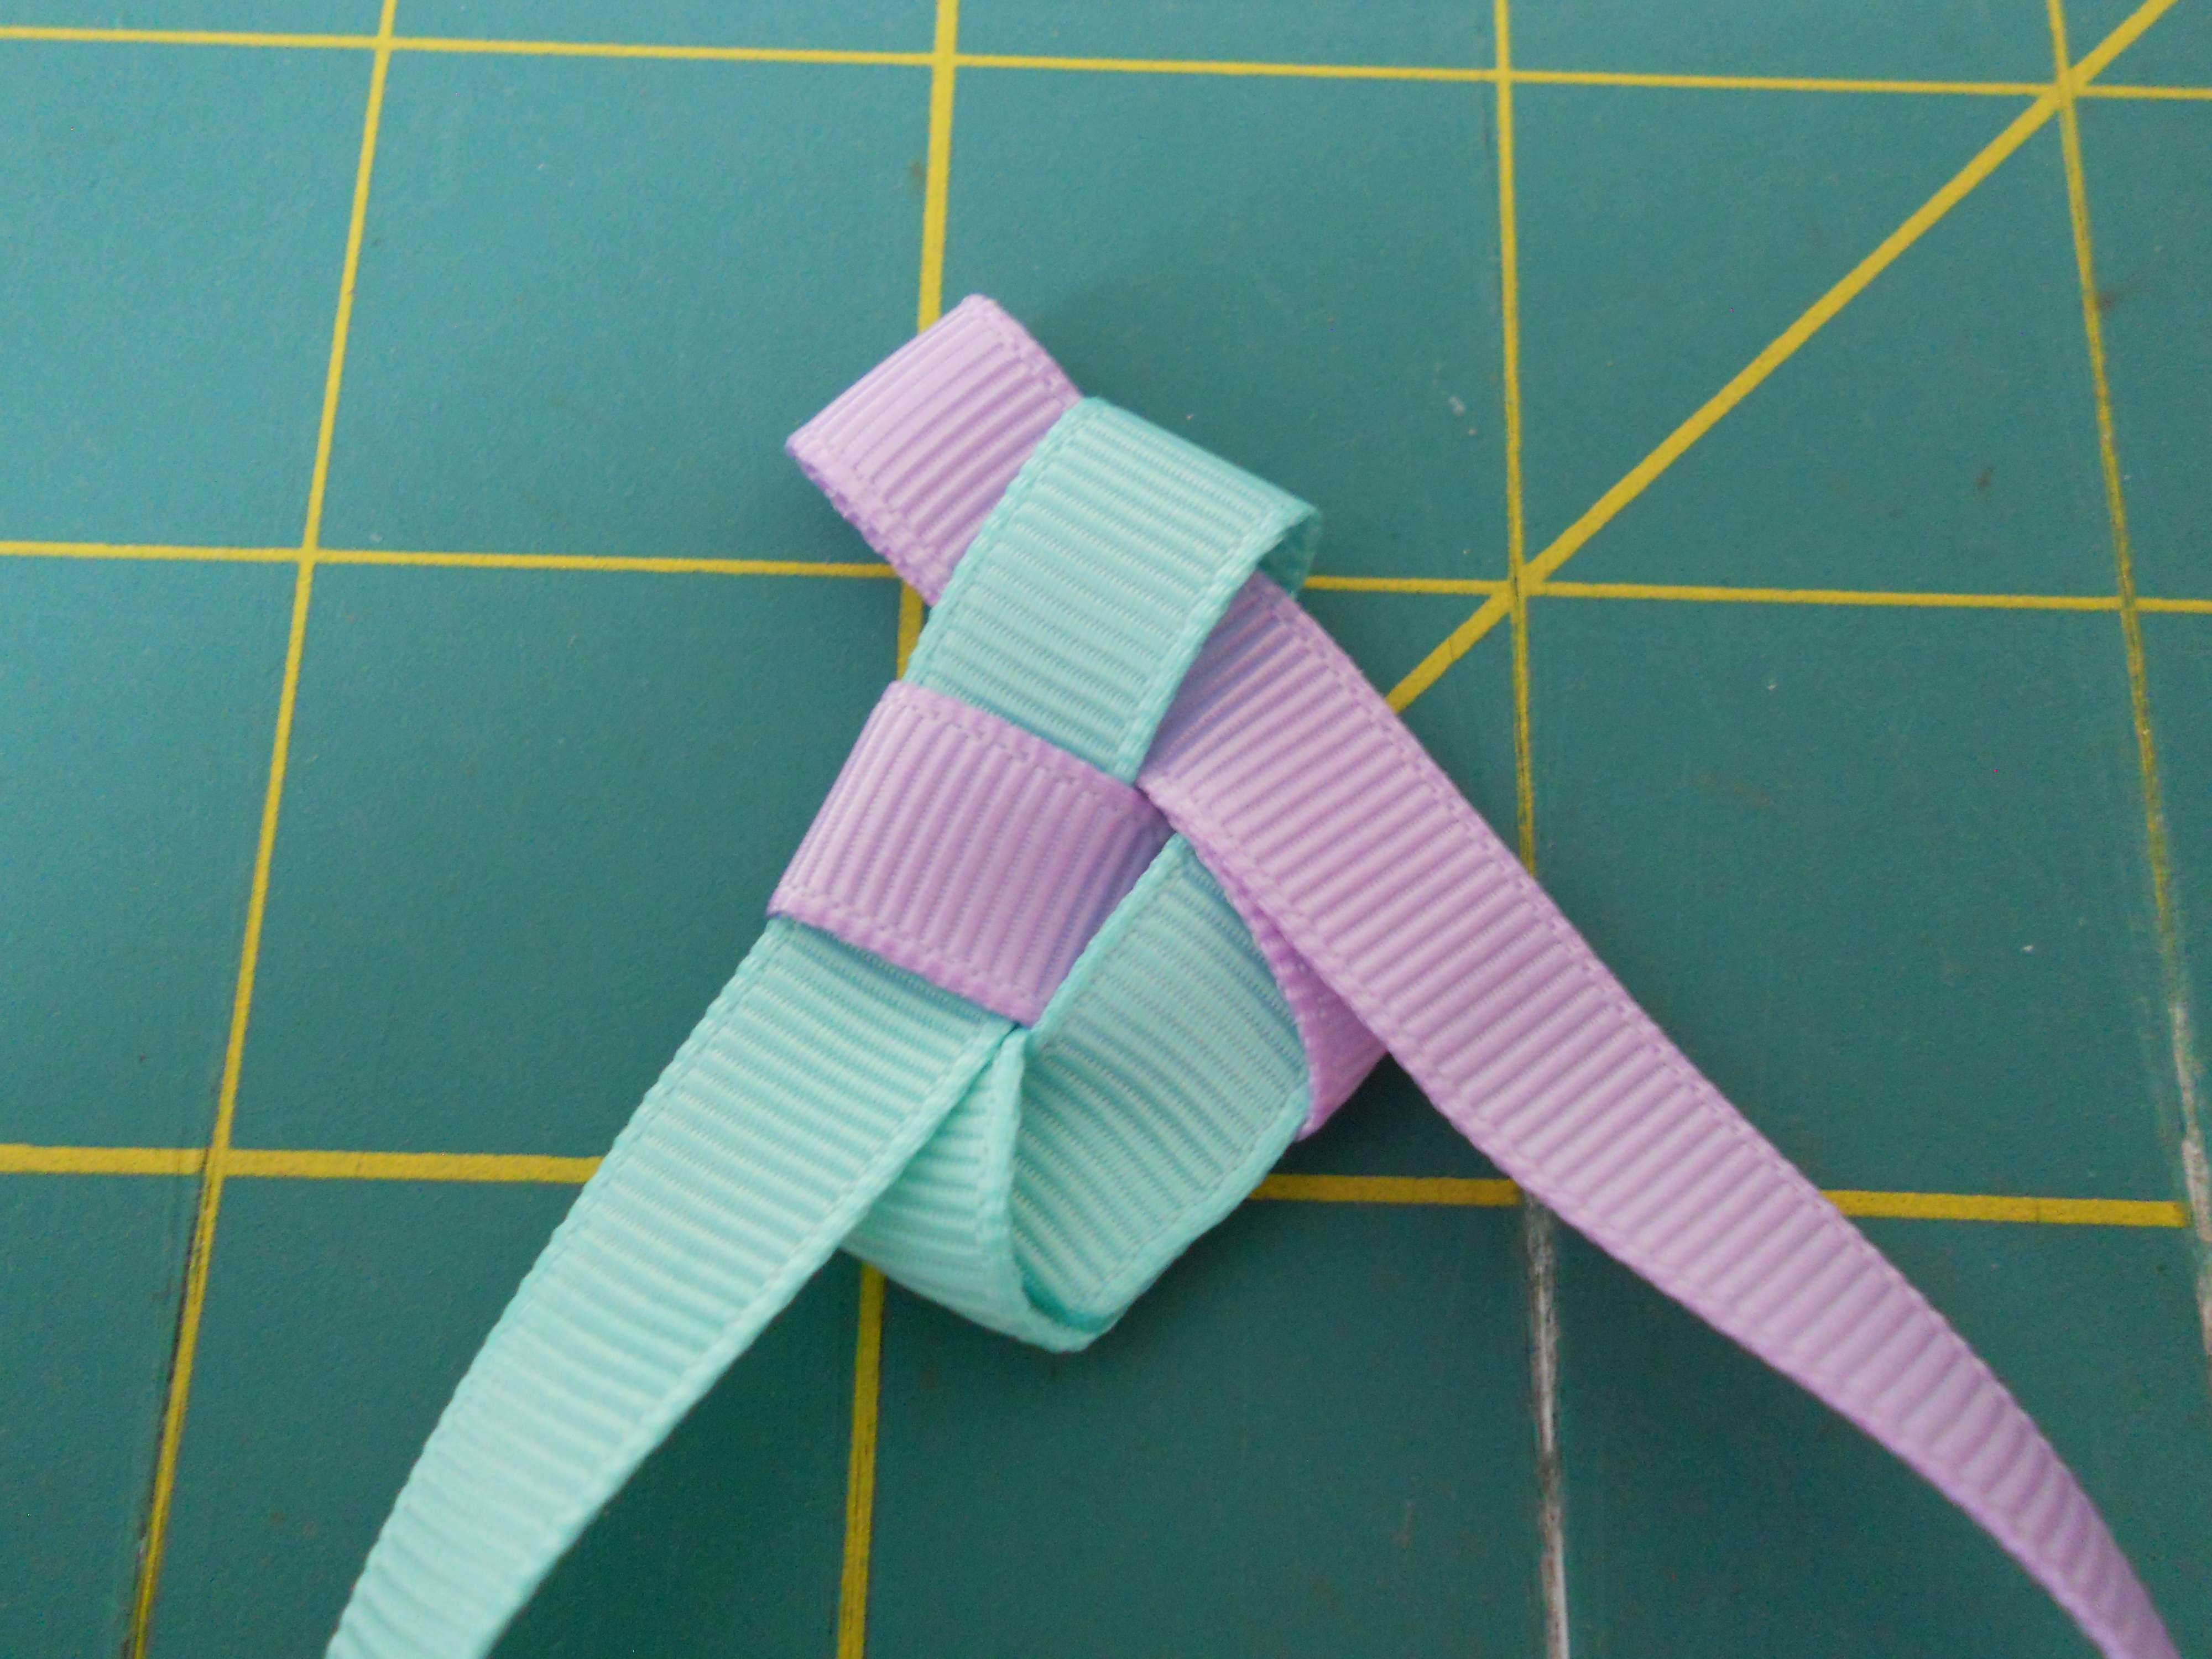
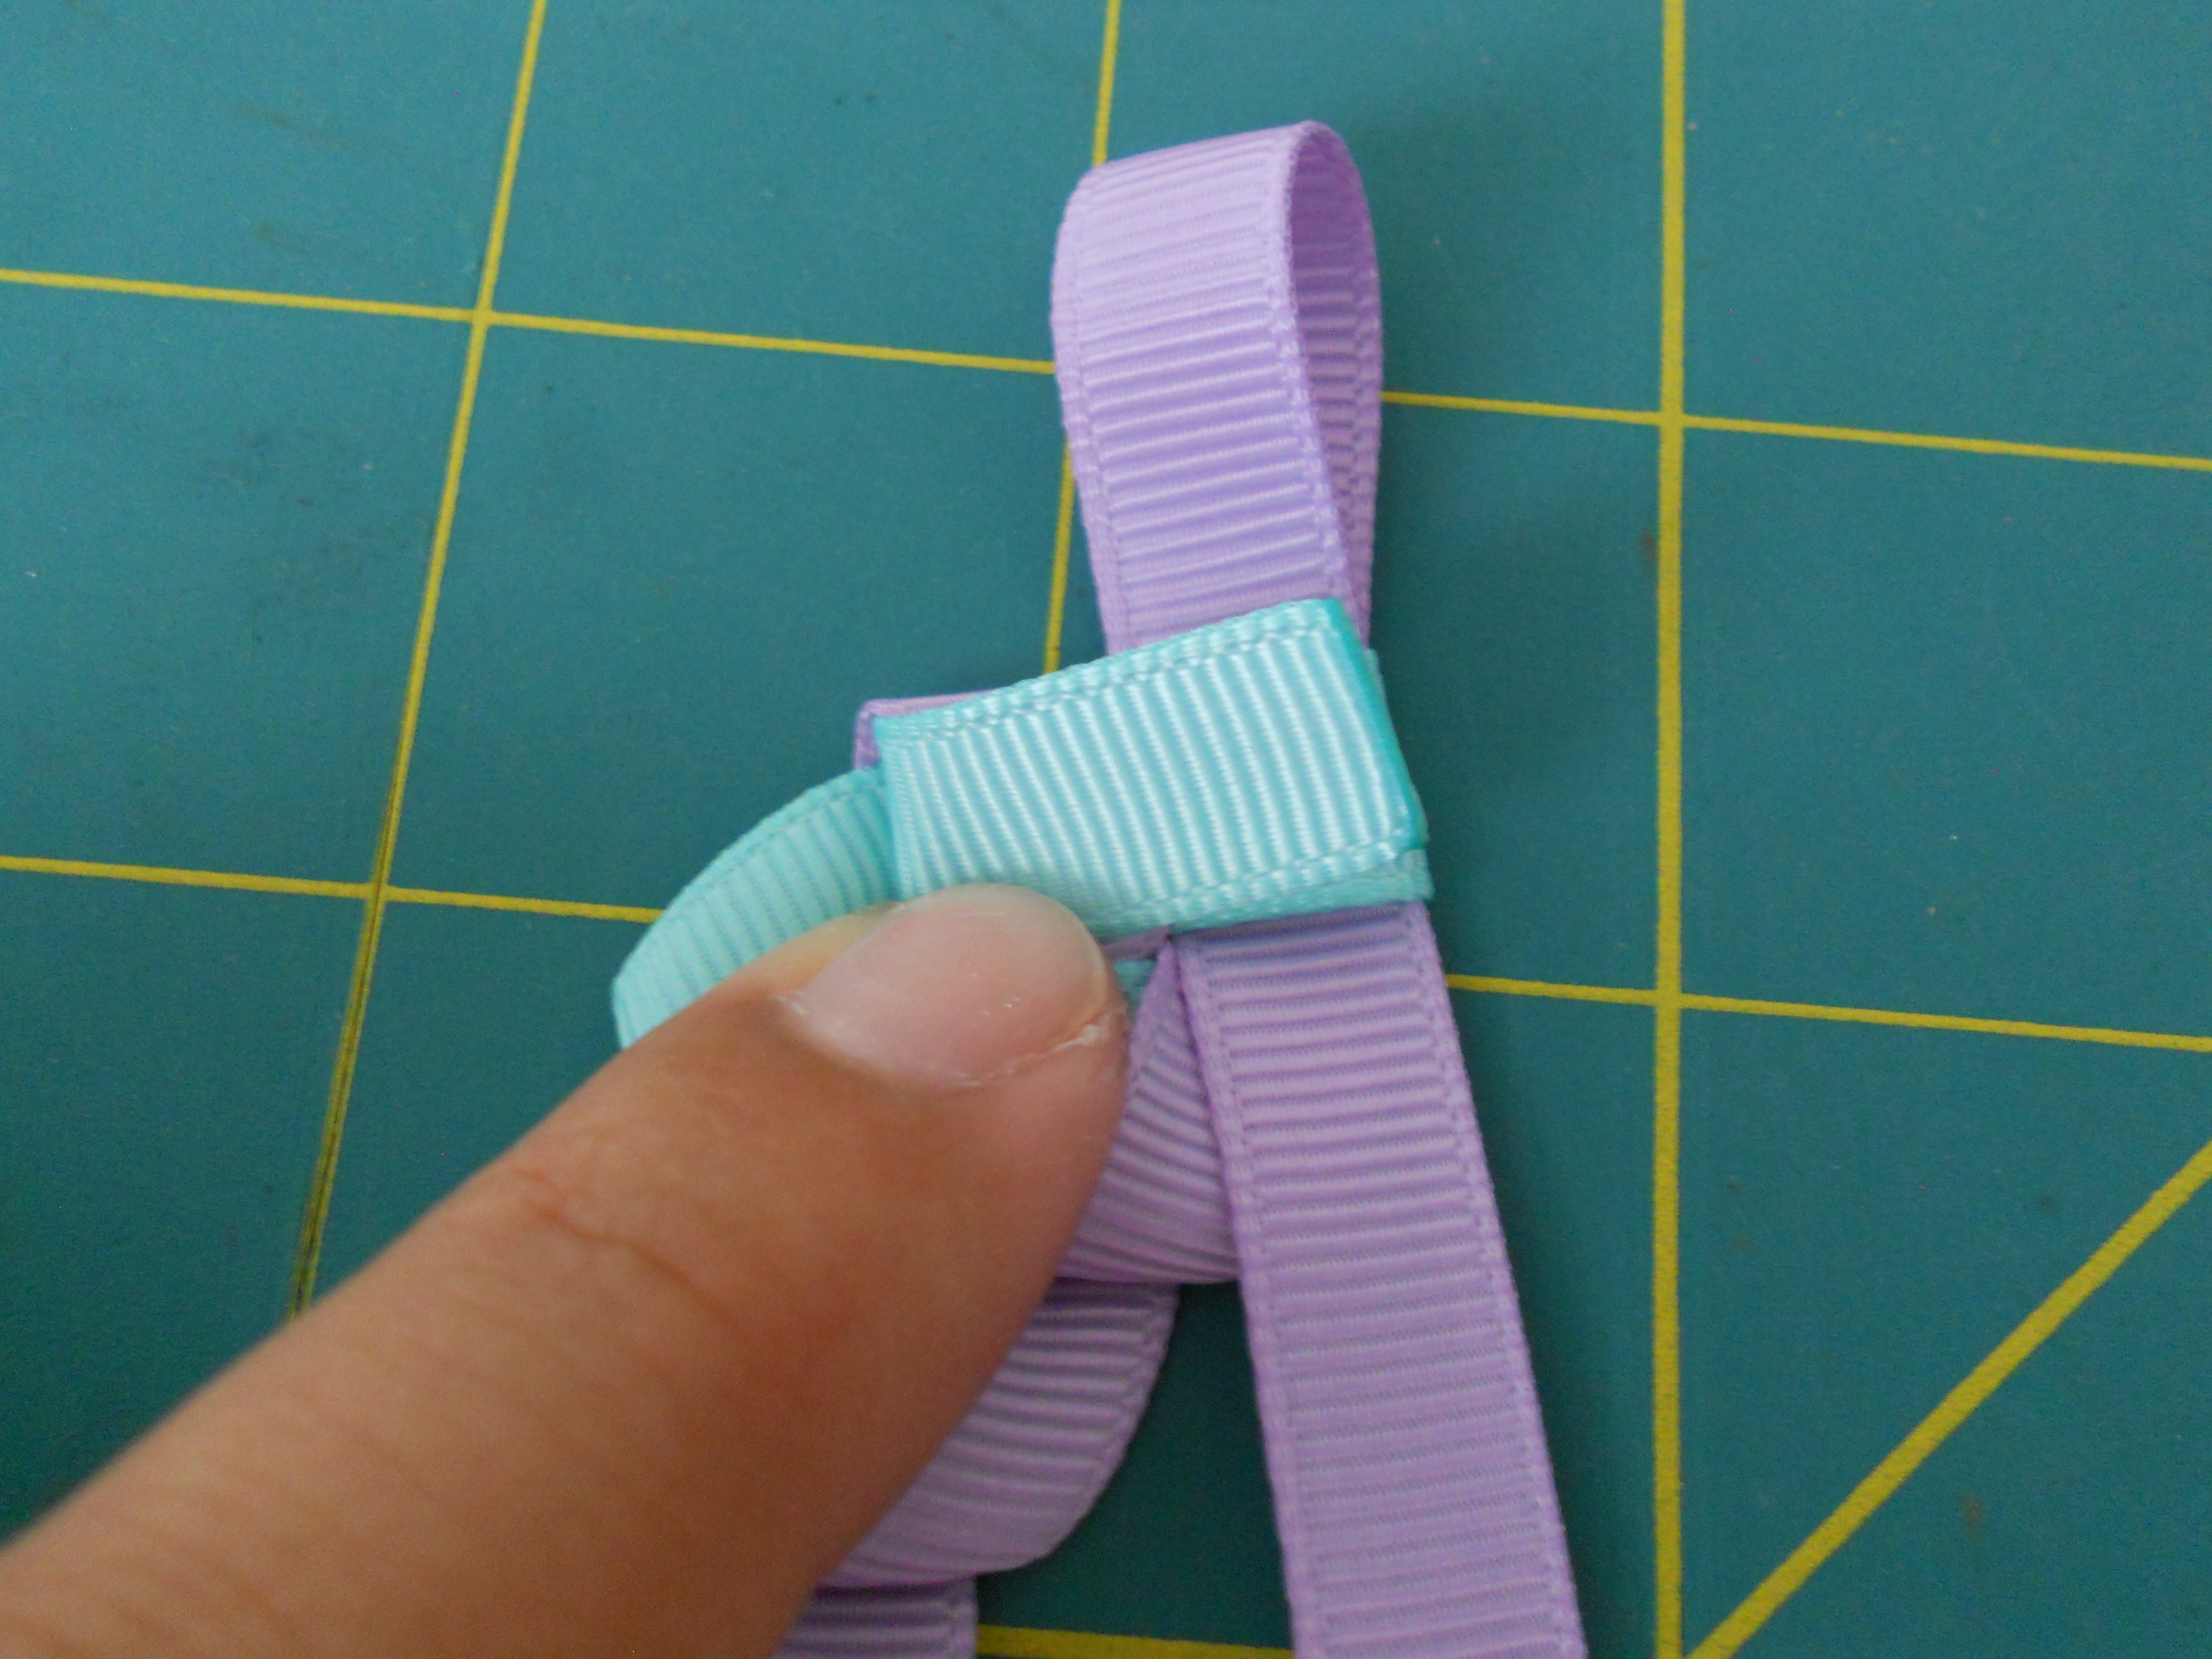
Step 1: Place your right ribbon through the loop of the left ribbon.
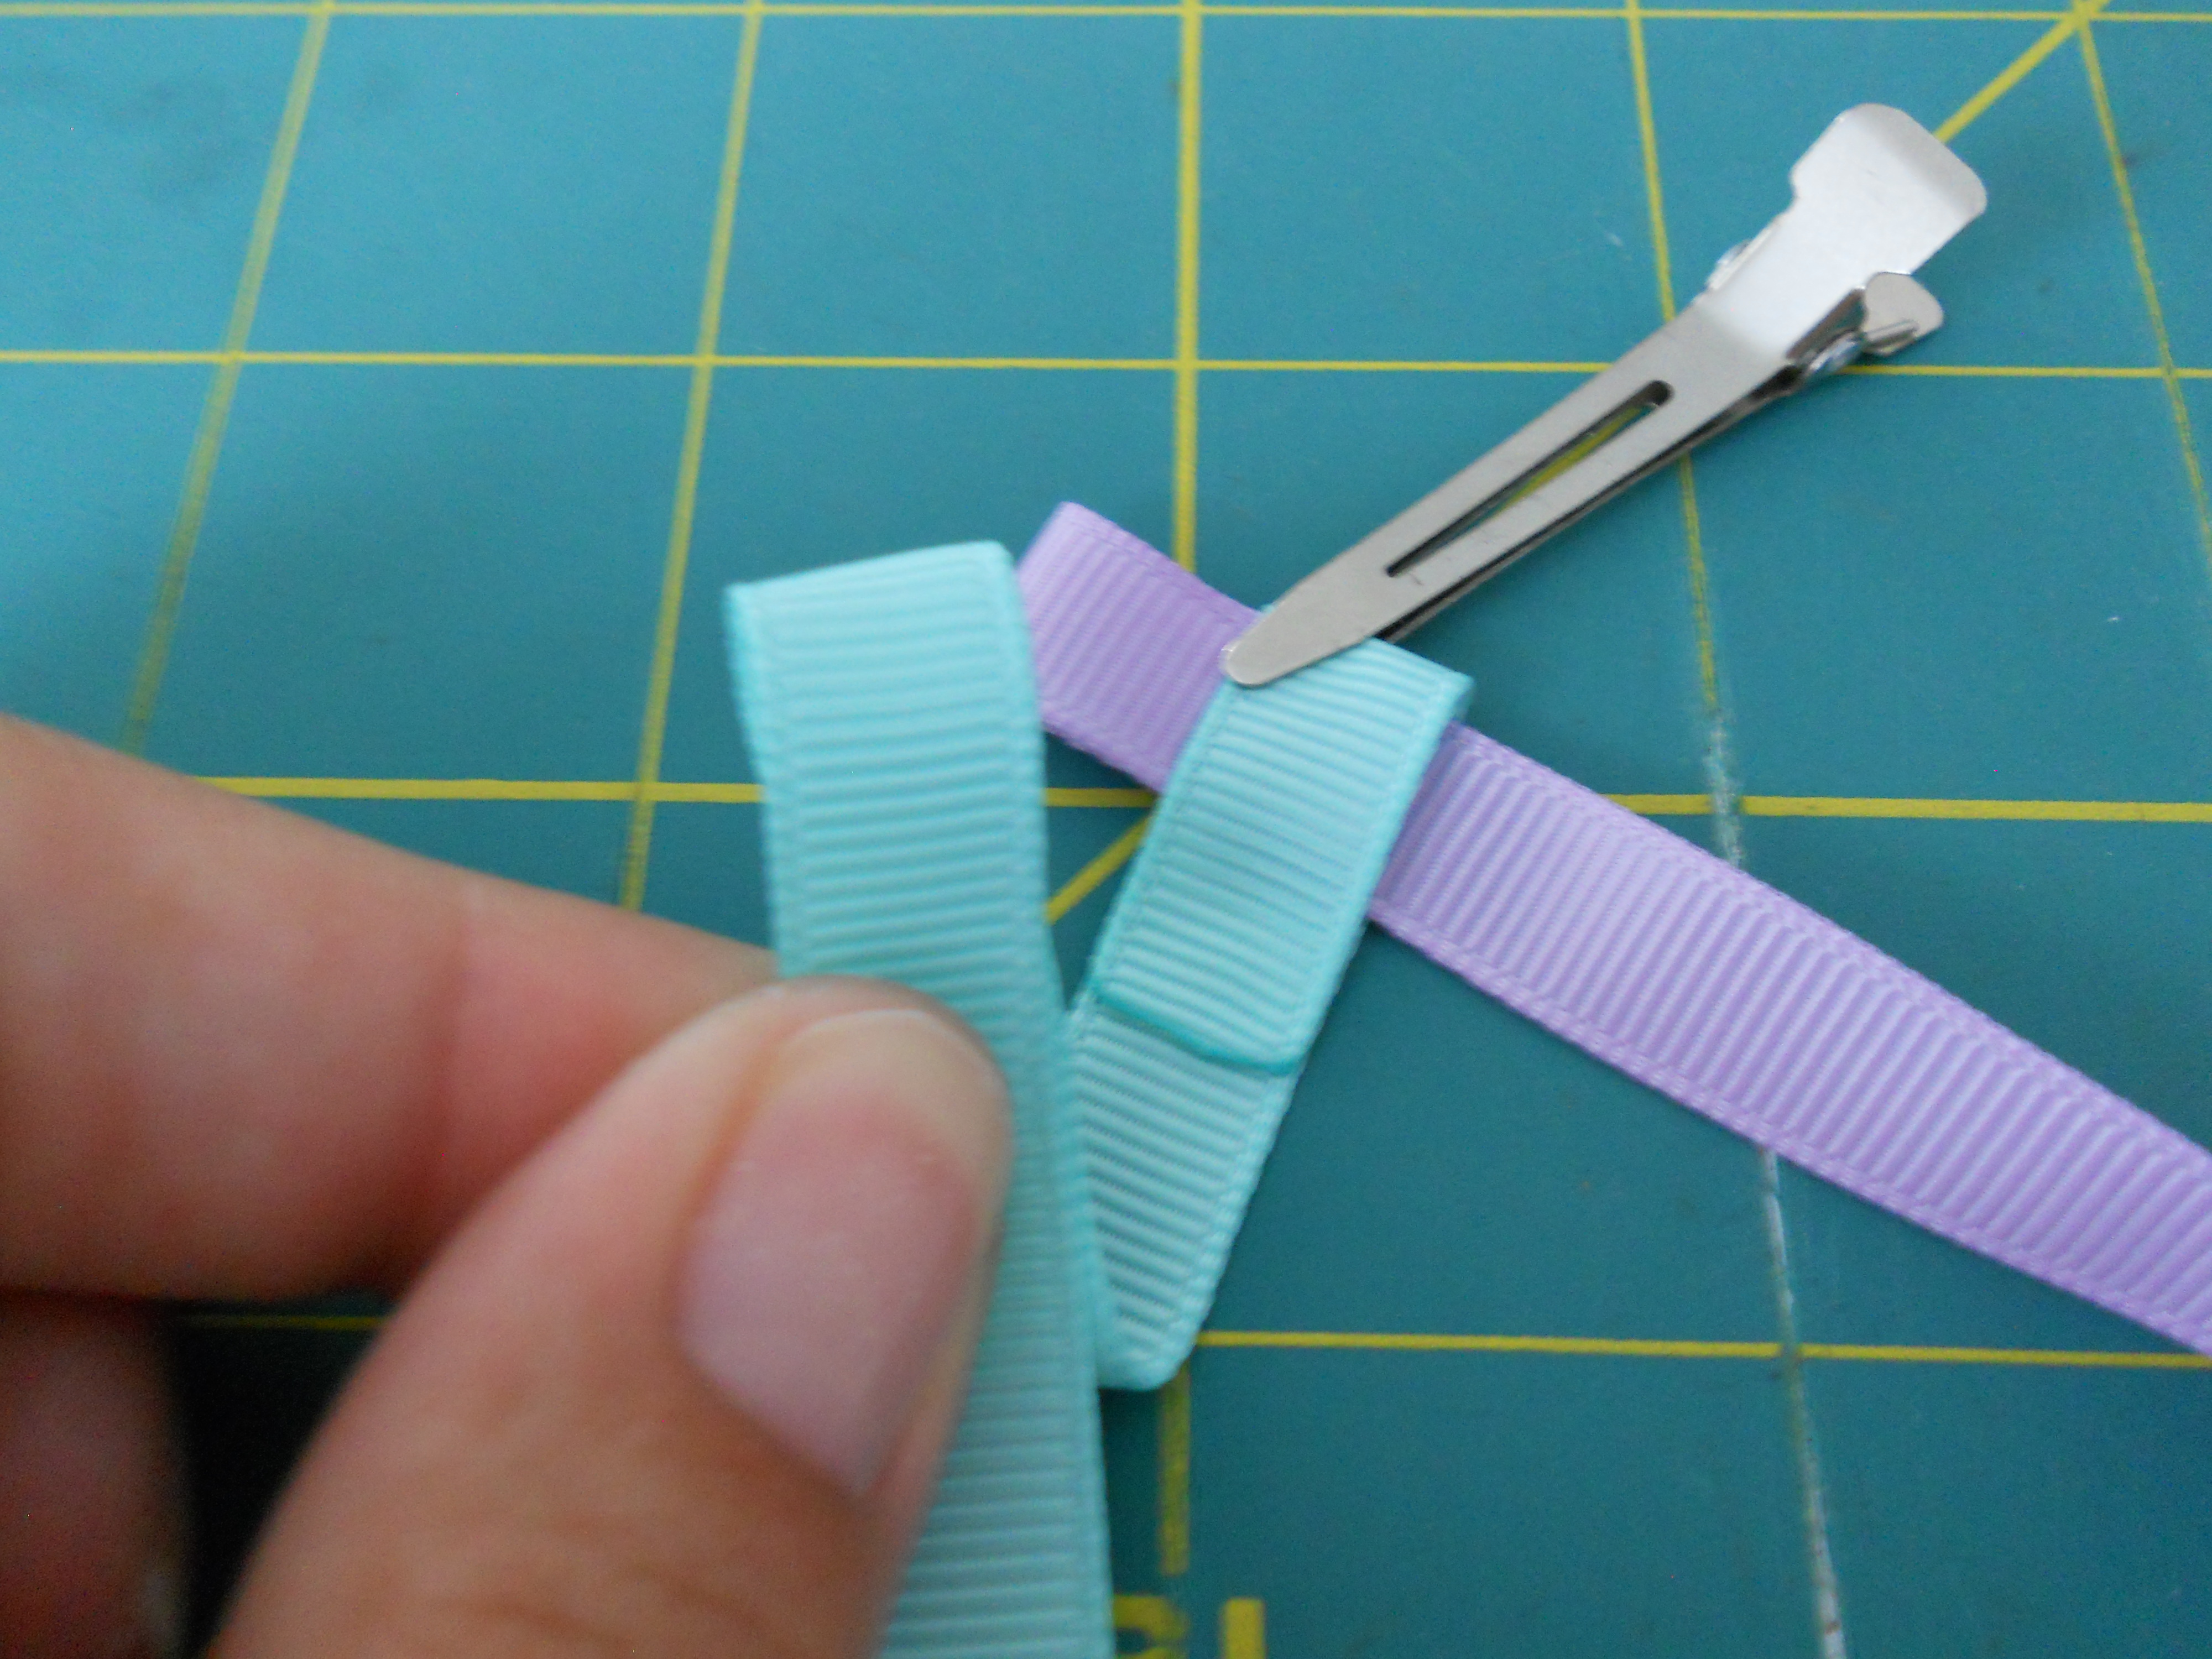
Step 2: Form a loop with your left ribbon and slide it through the loop of your right ribbon.
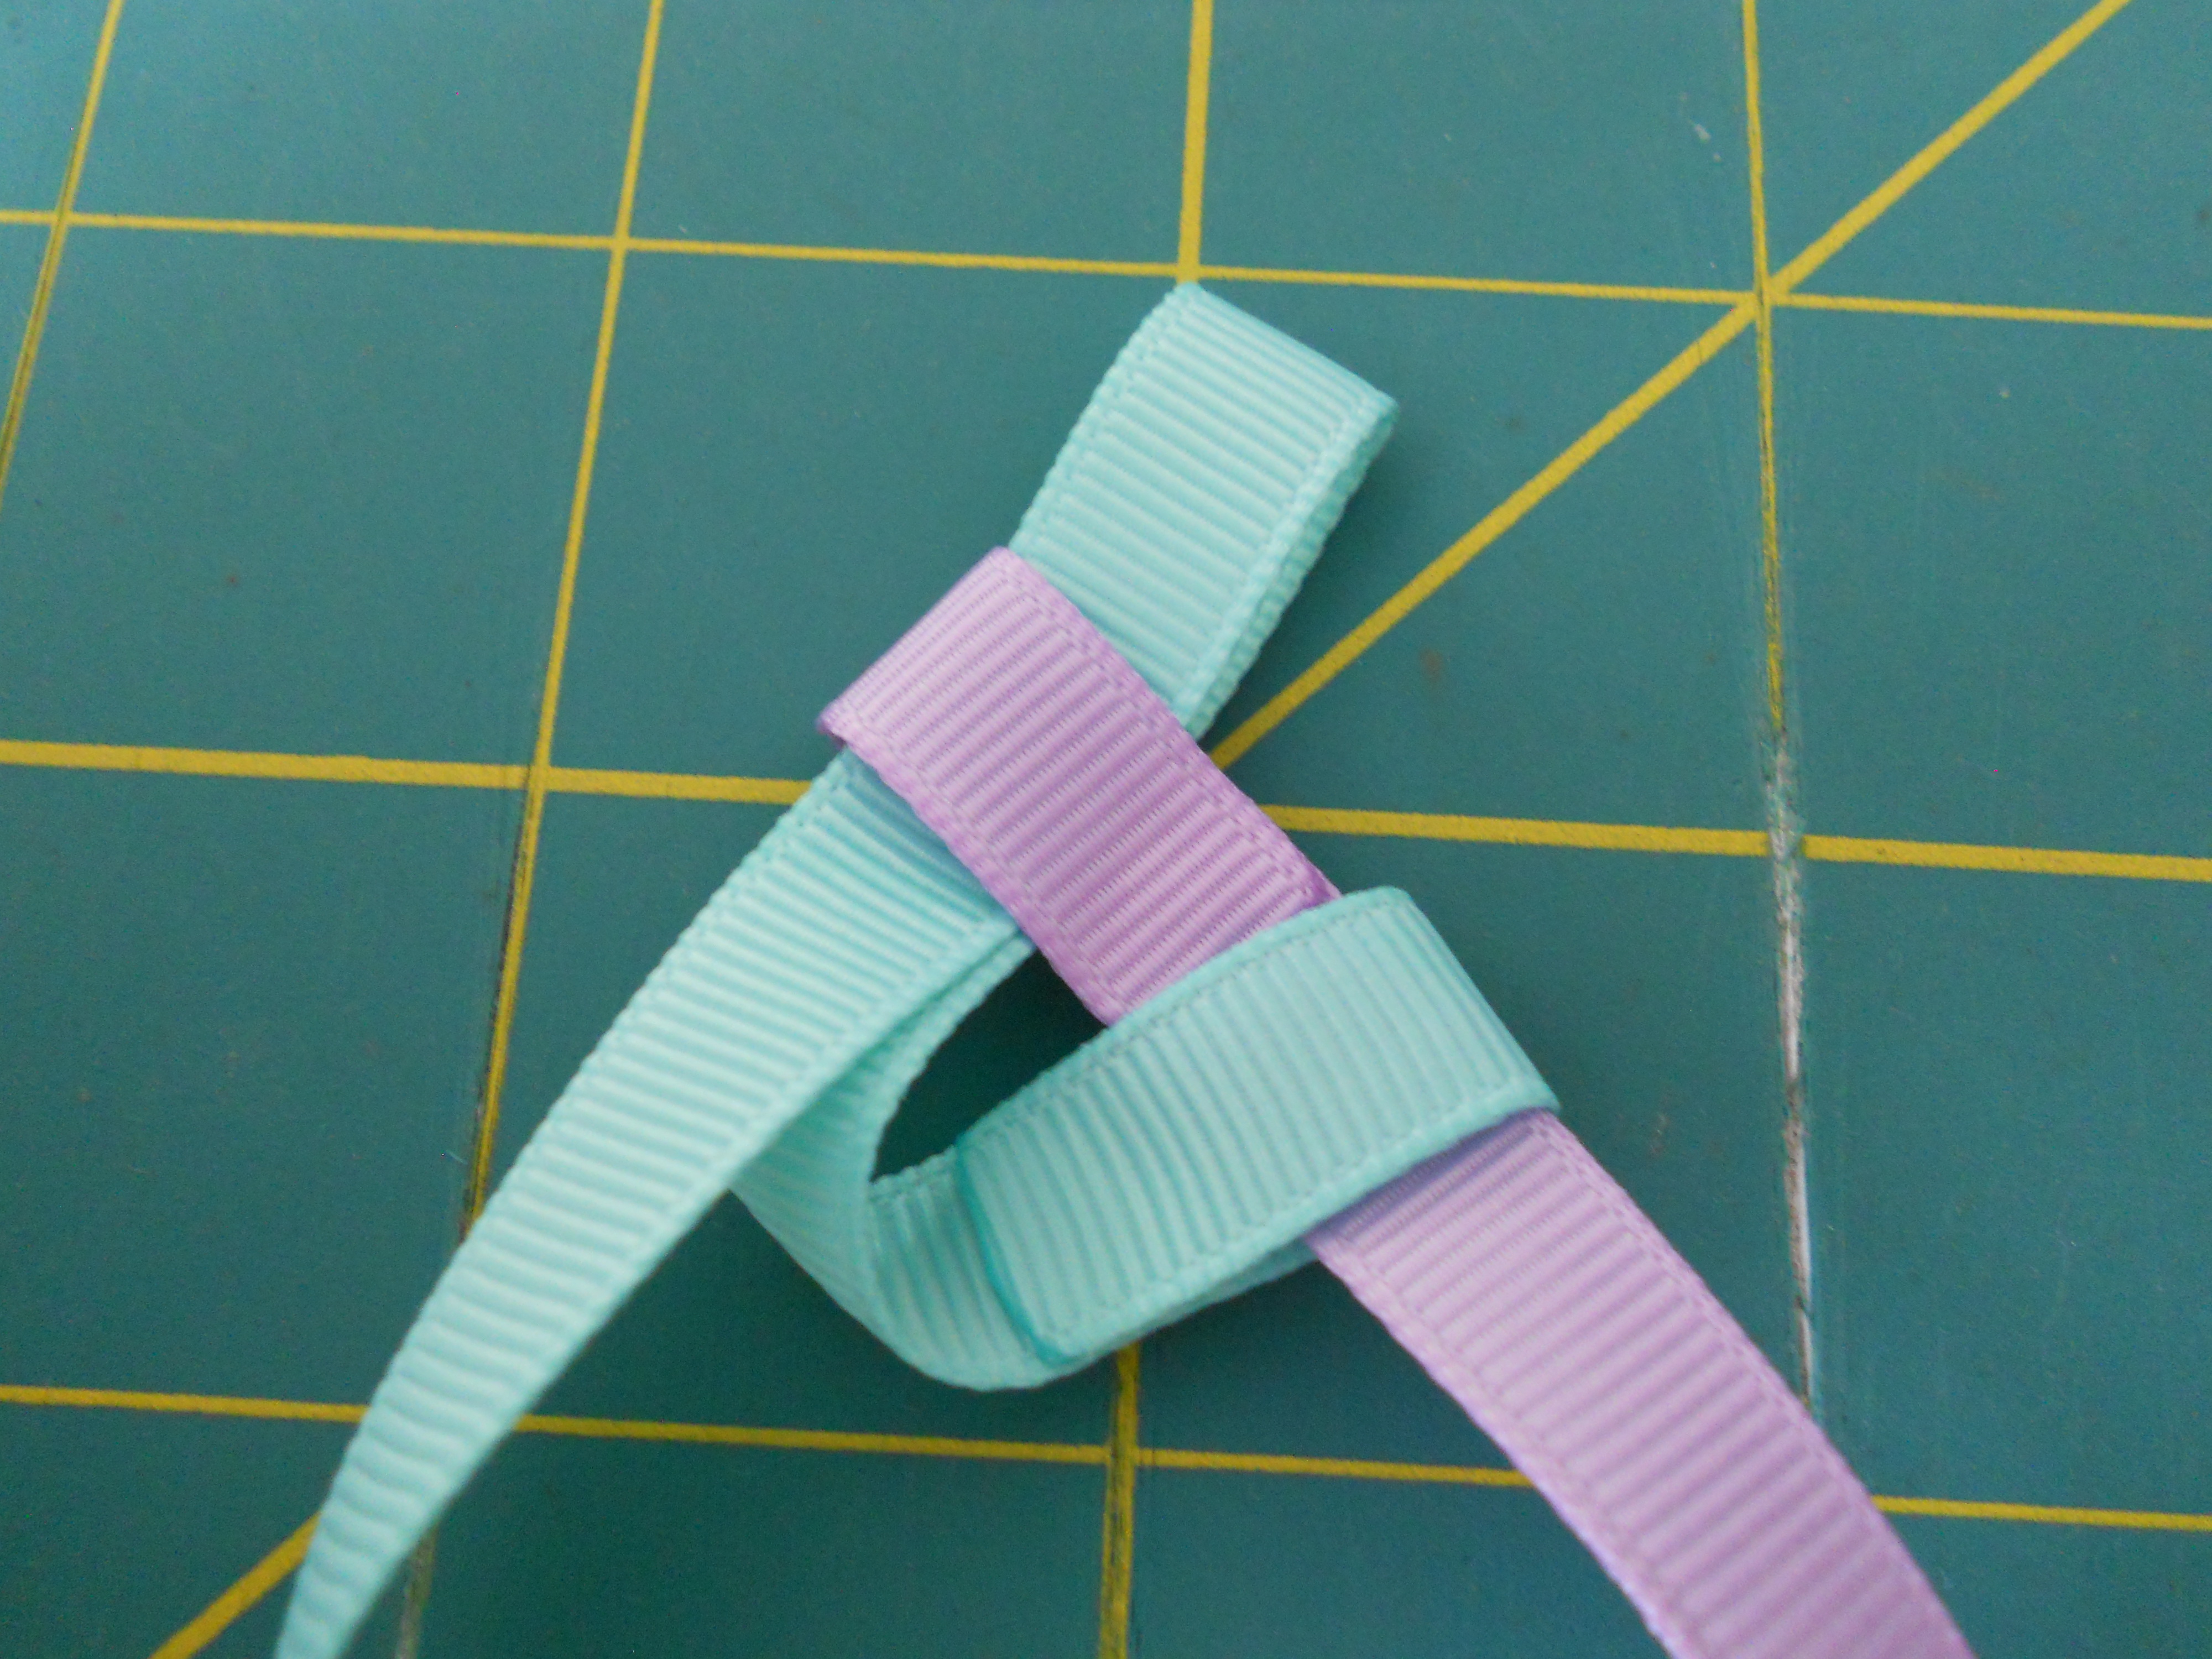
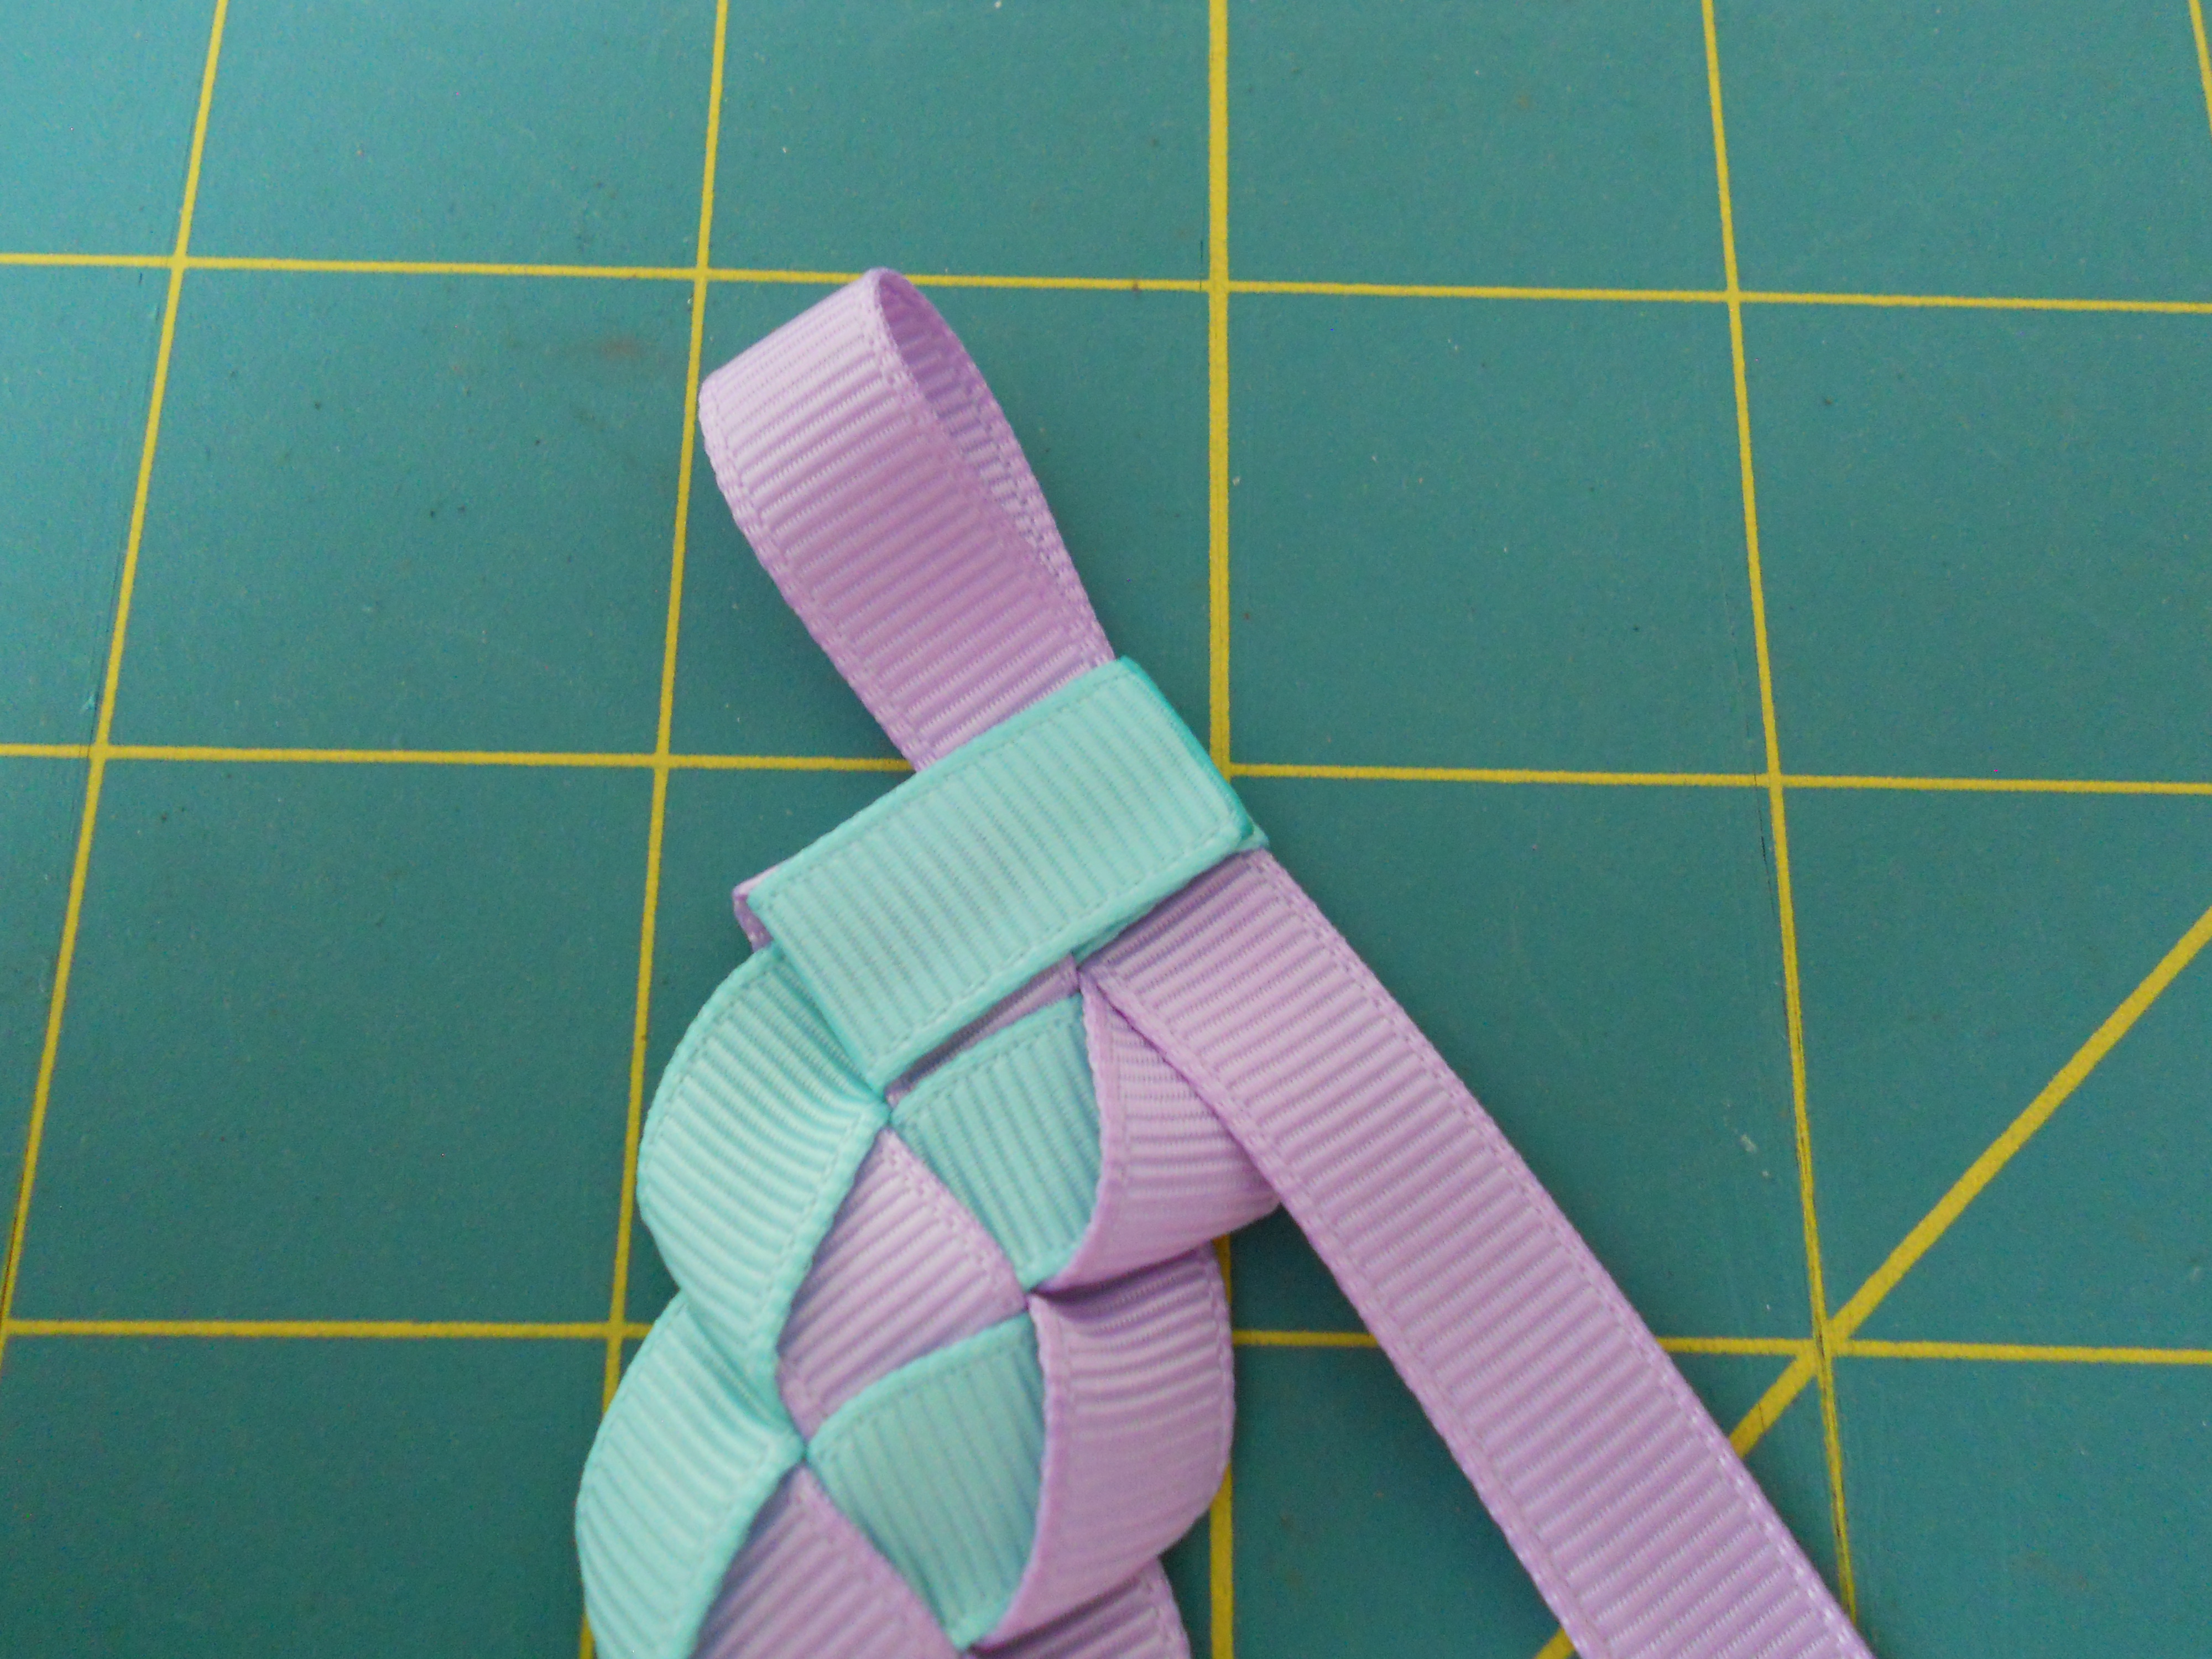
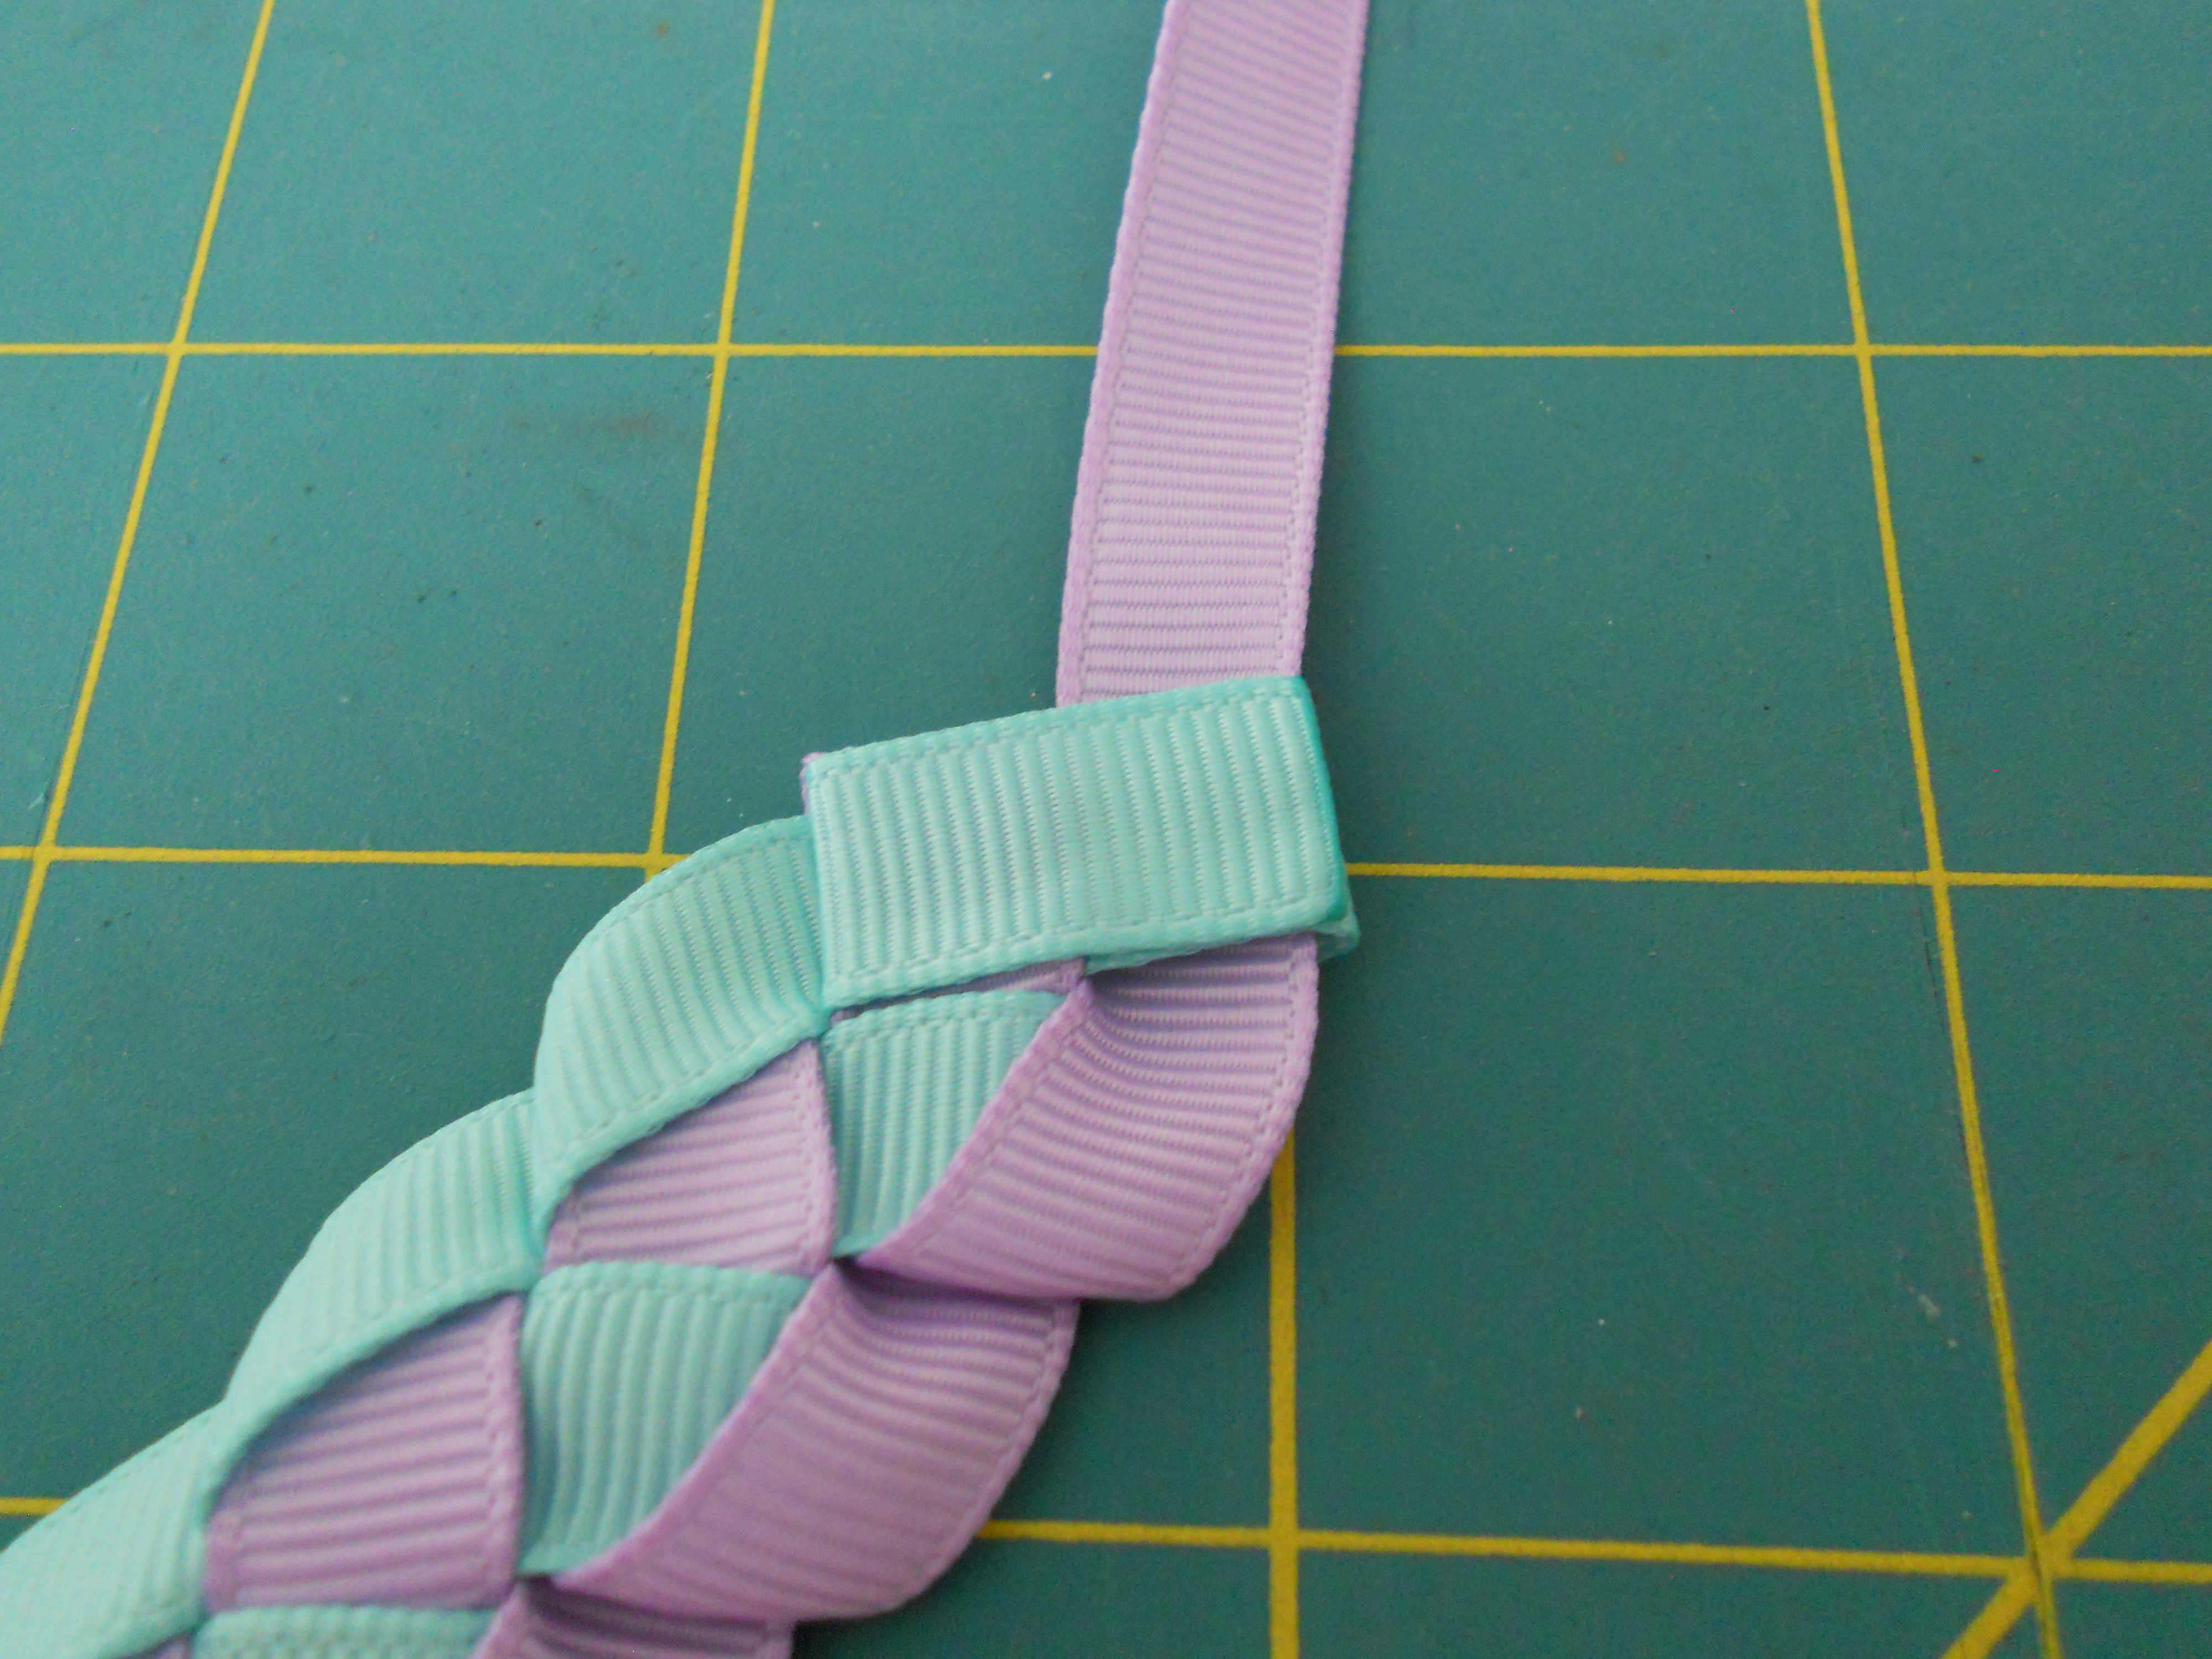
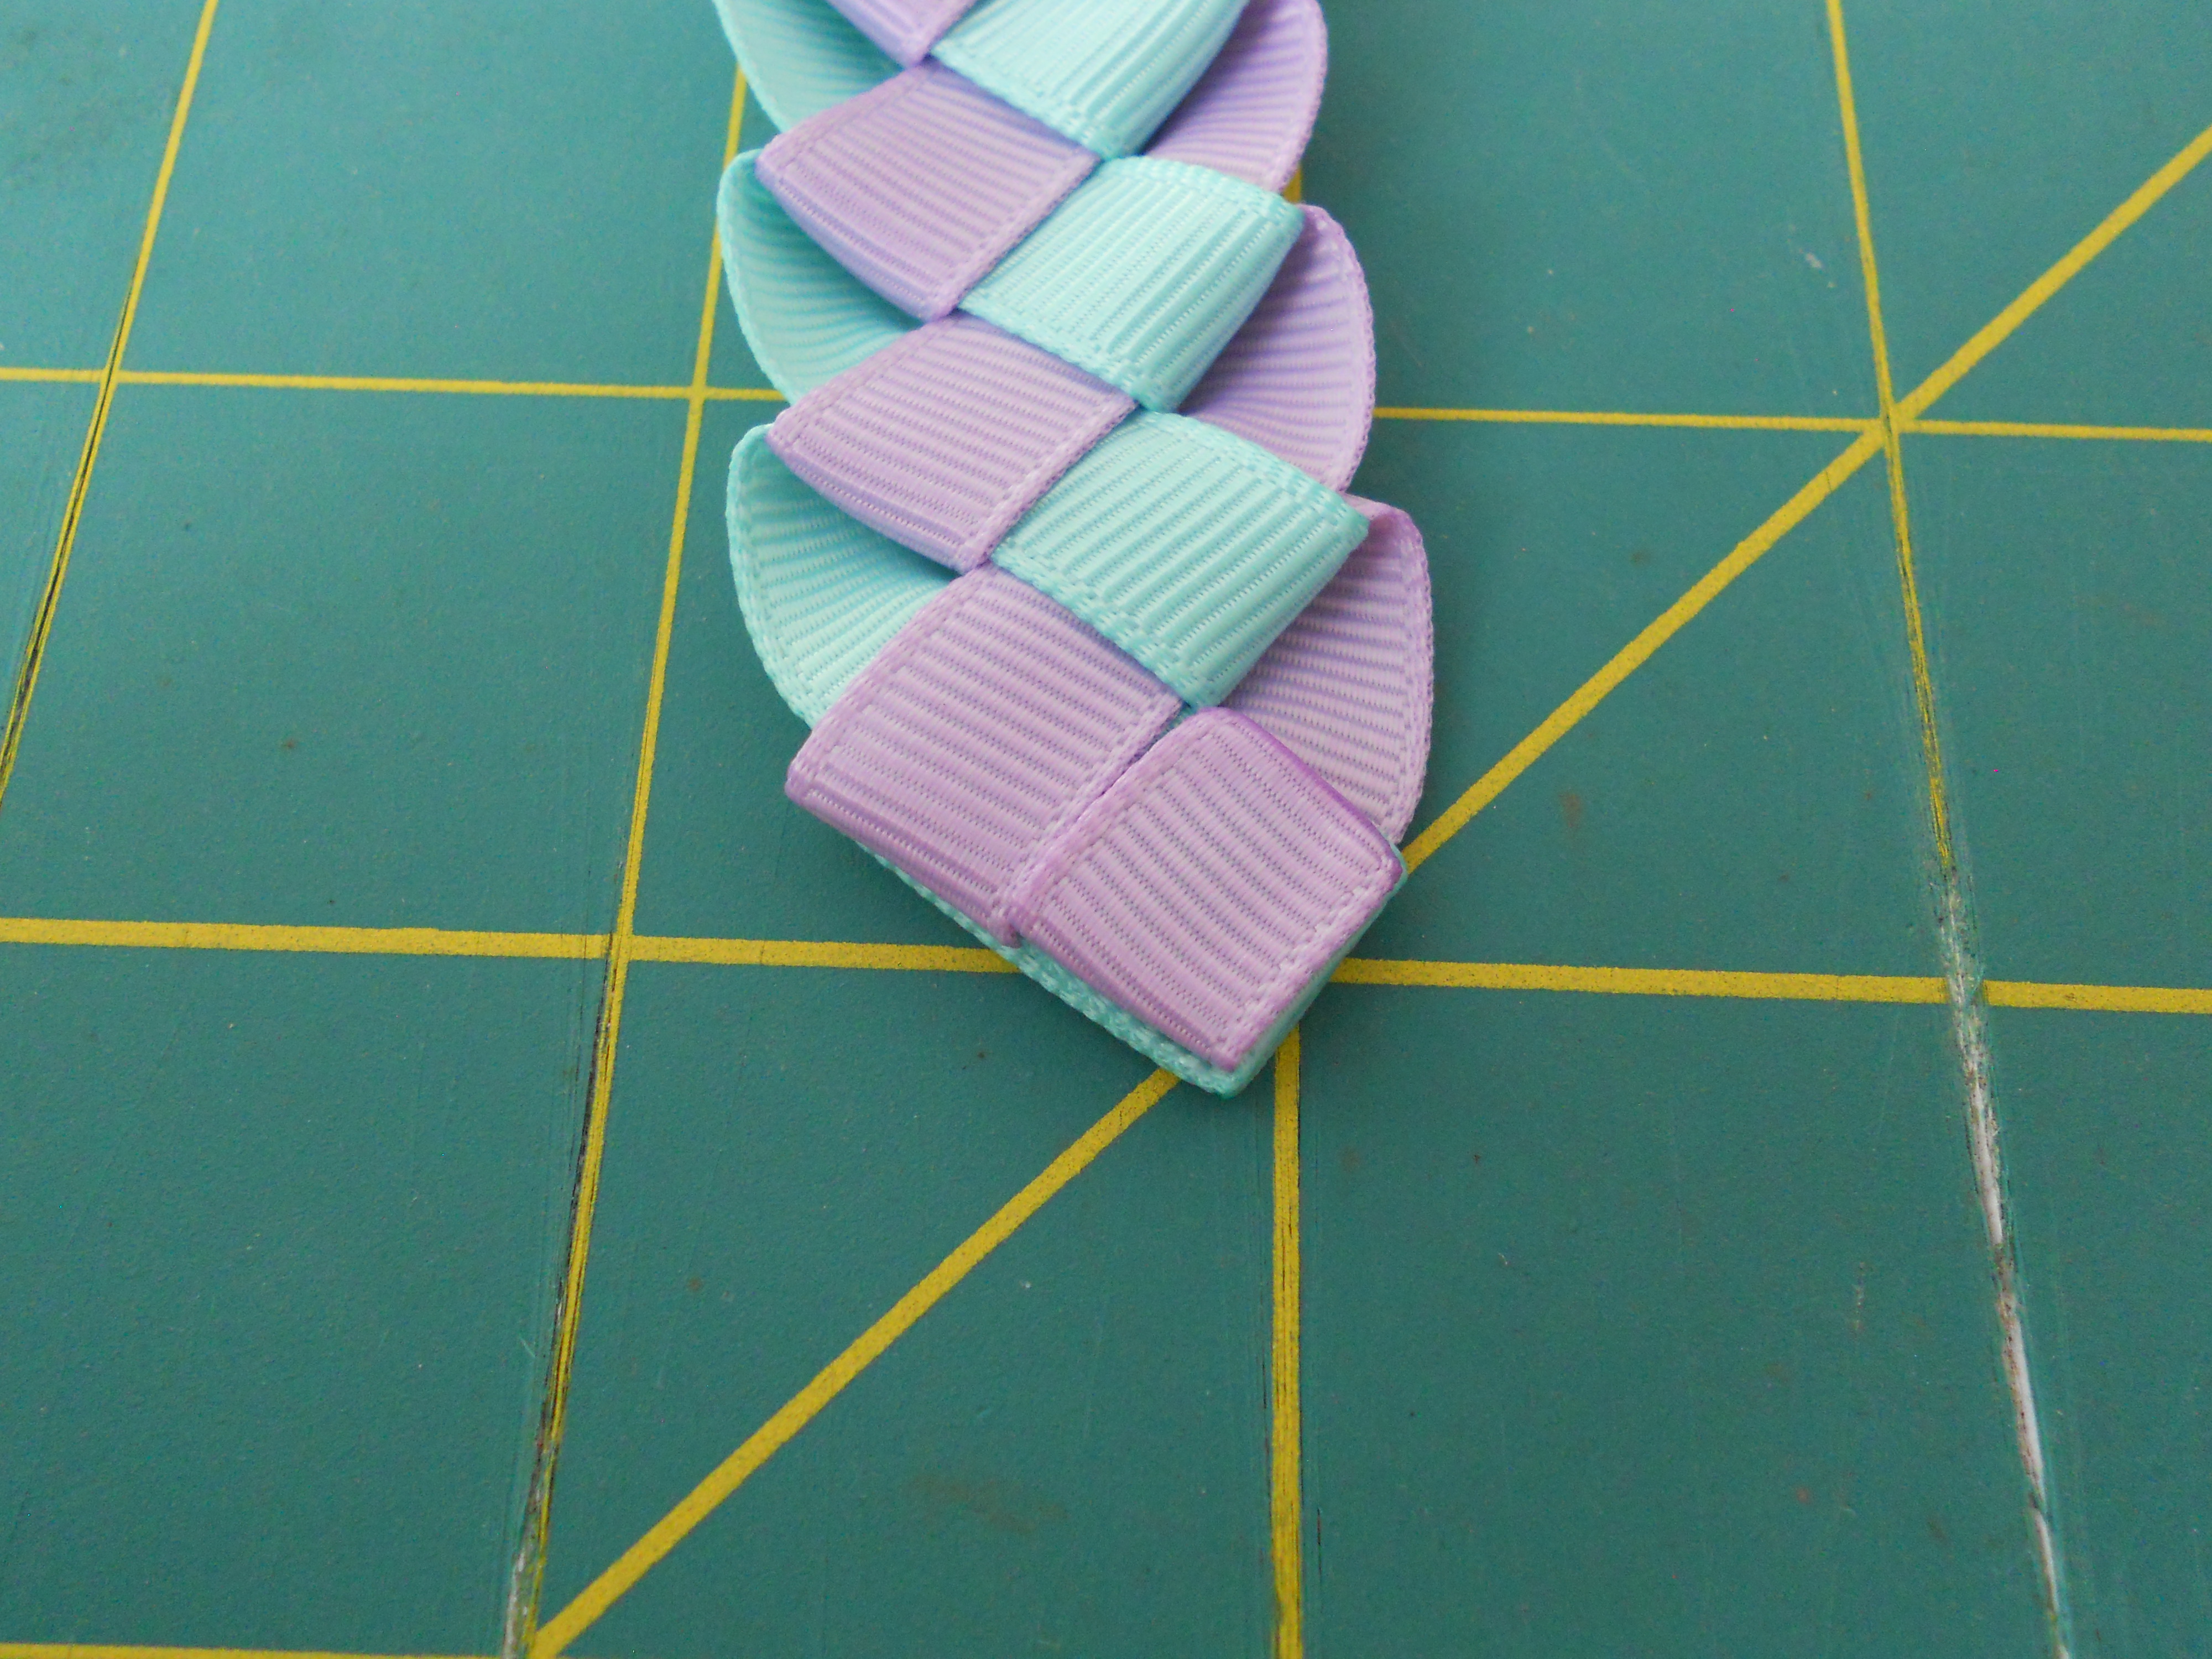
Step 3: Form a loop with your right ribbon and slide it through the loop of your left ribbon. After each loop is made pull the ribbon gently to "tighten" up the braid. You don't want the ribbon really tight but it shouldn't be loose either.
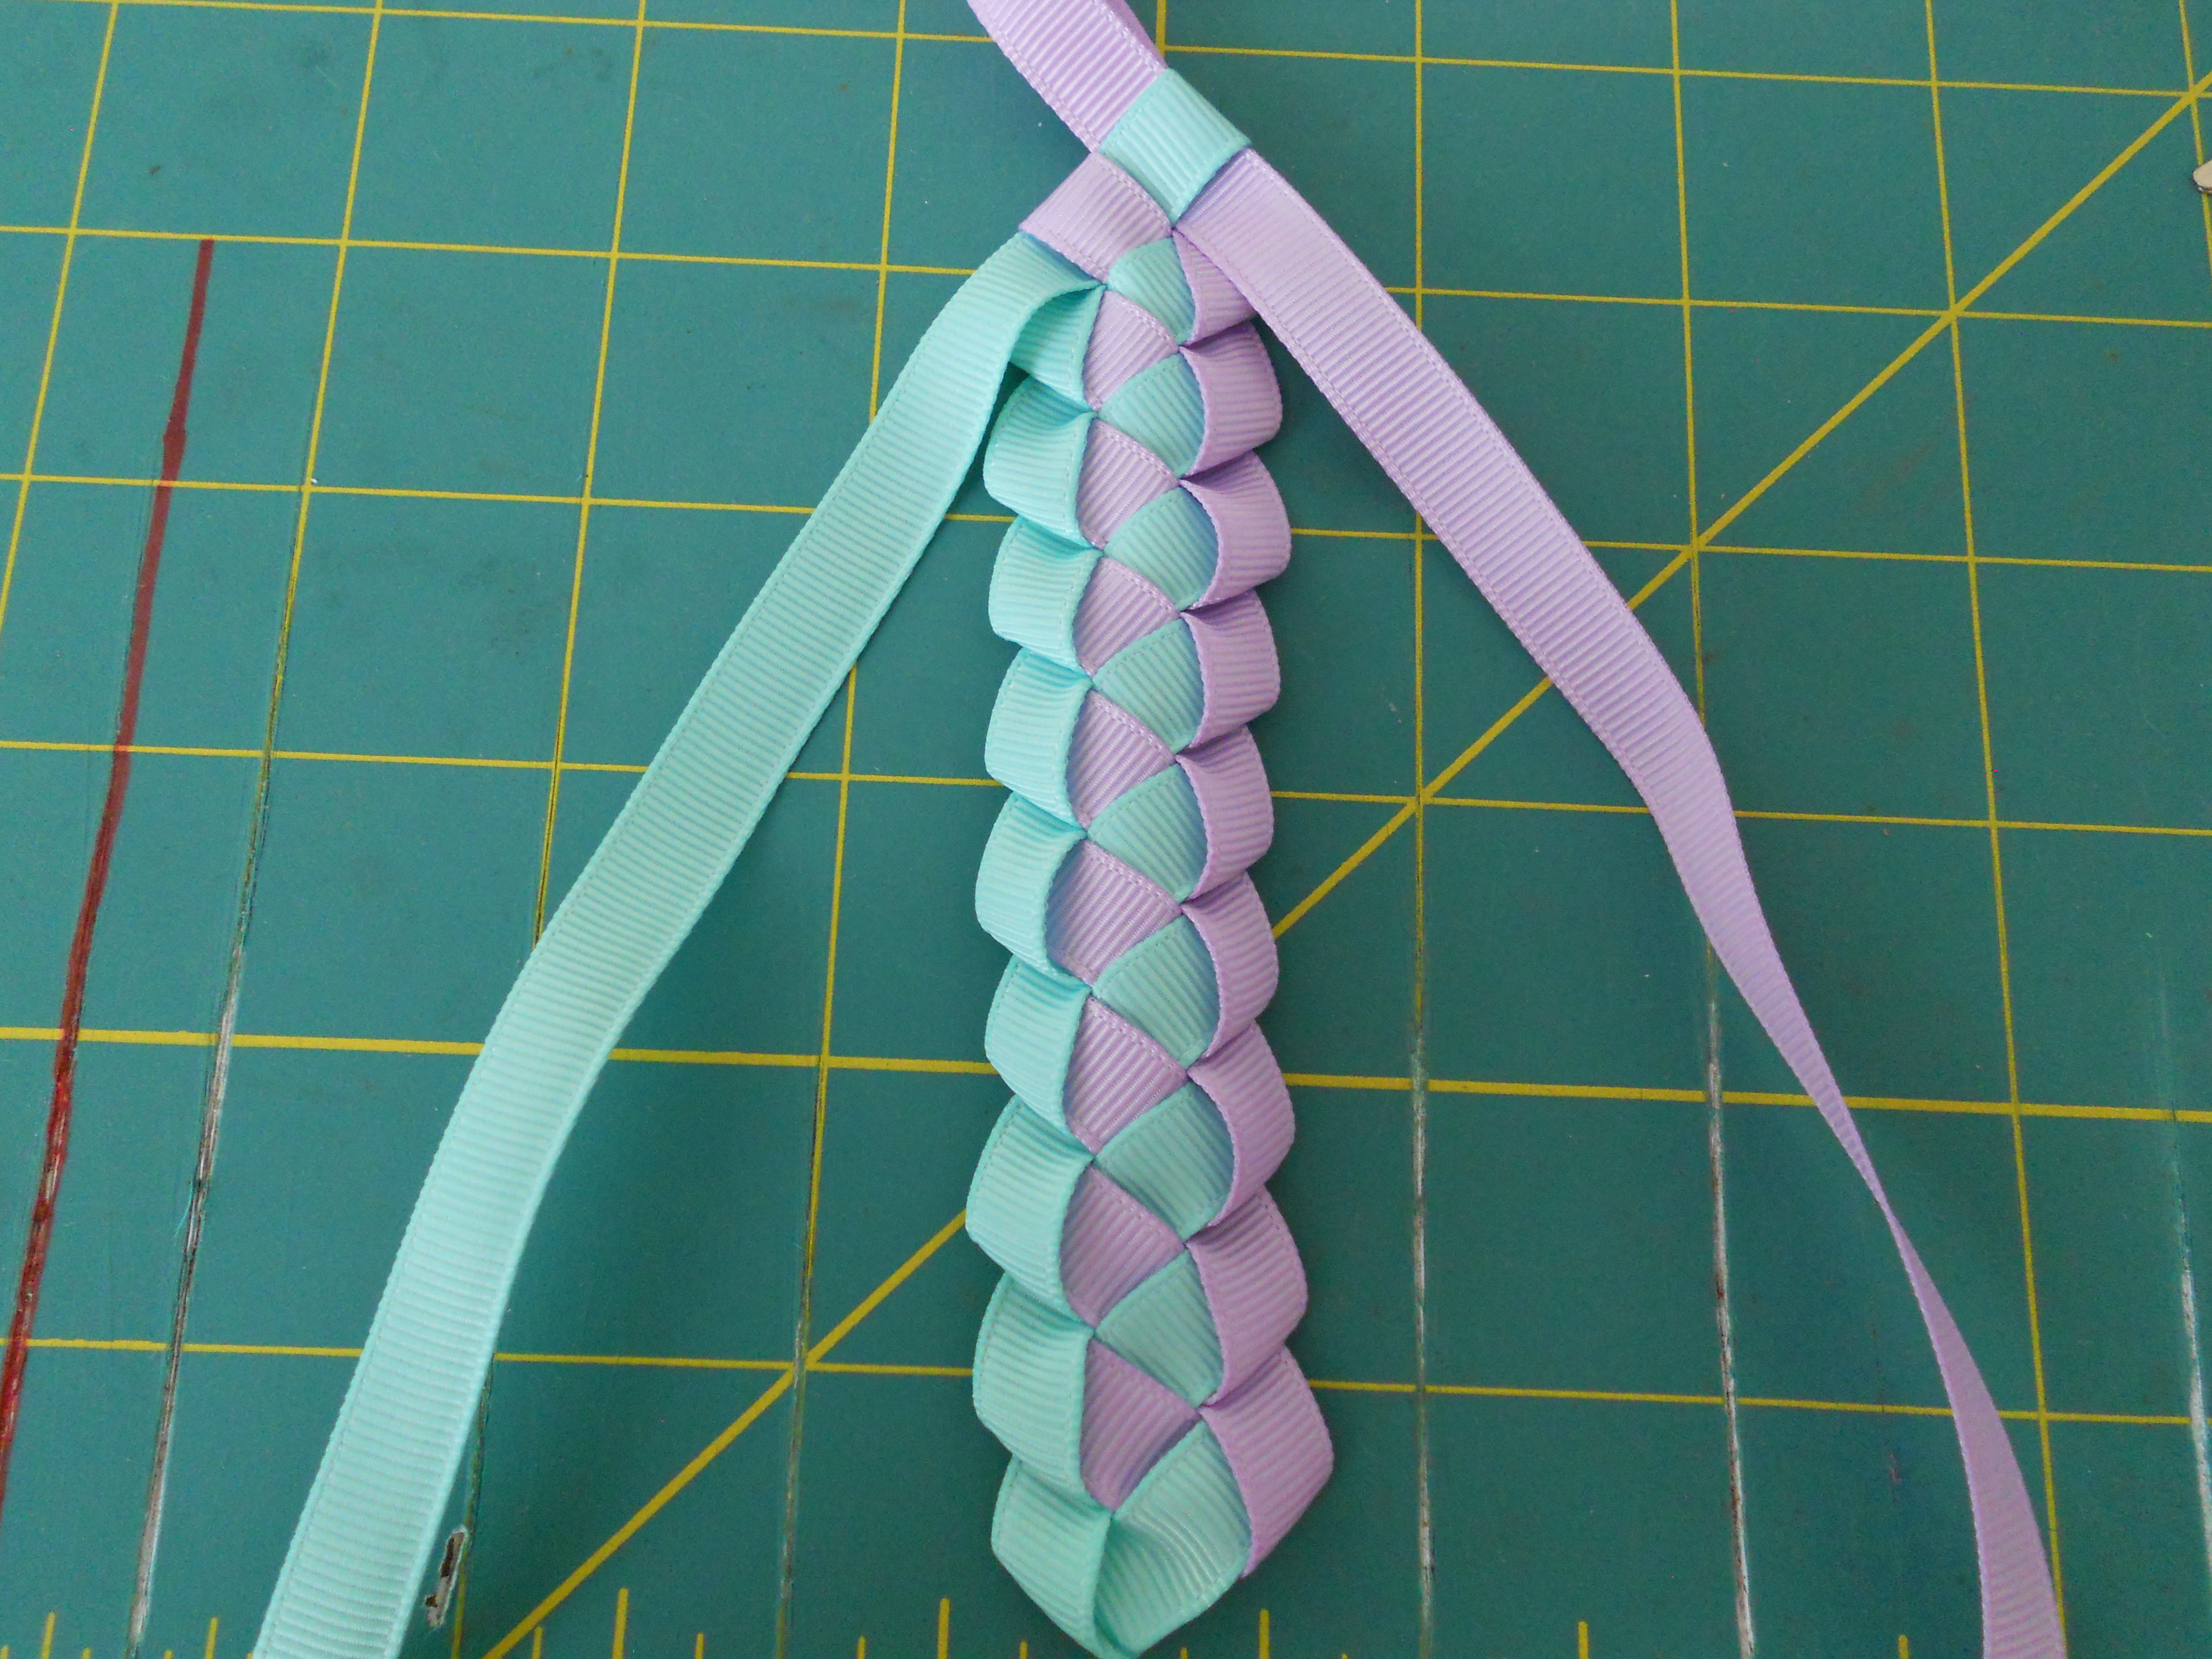
After you slide each loop through make sure the piece is big enough for the next loop.
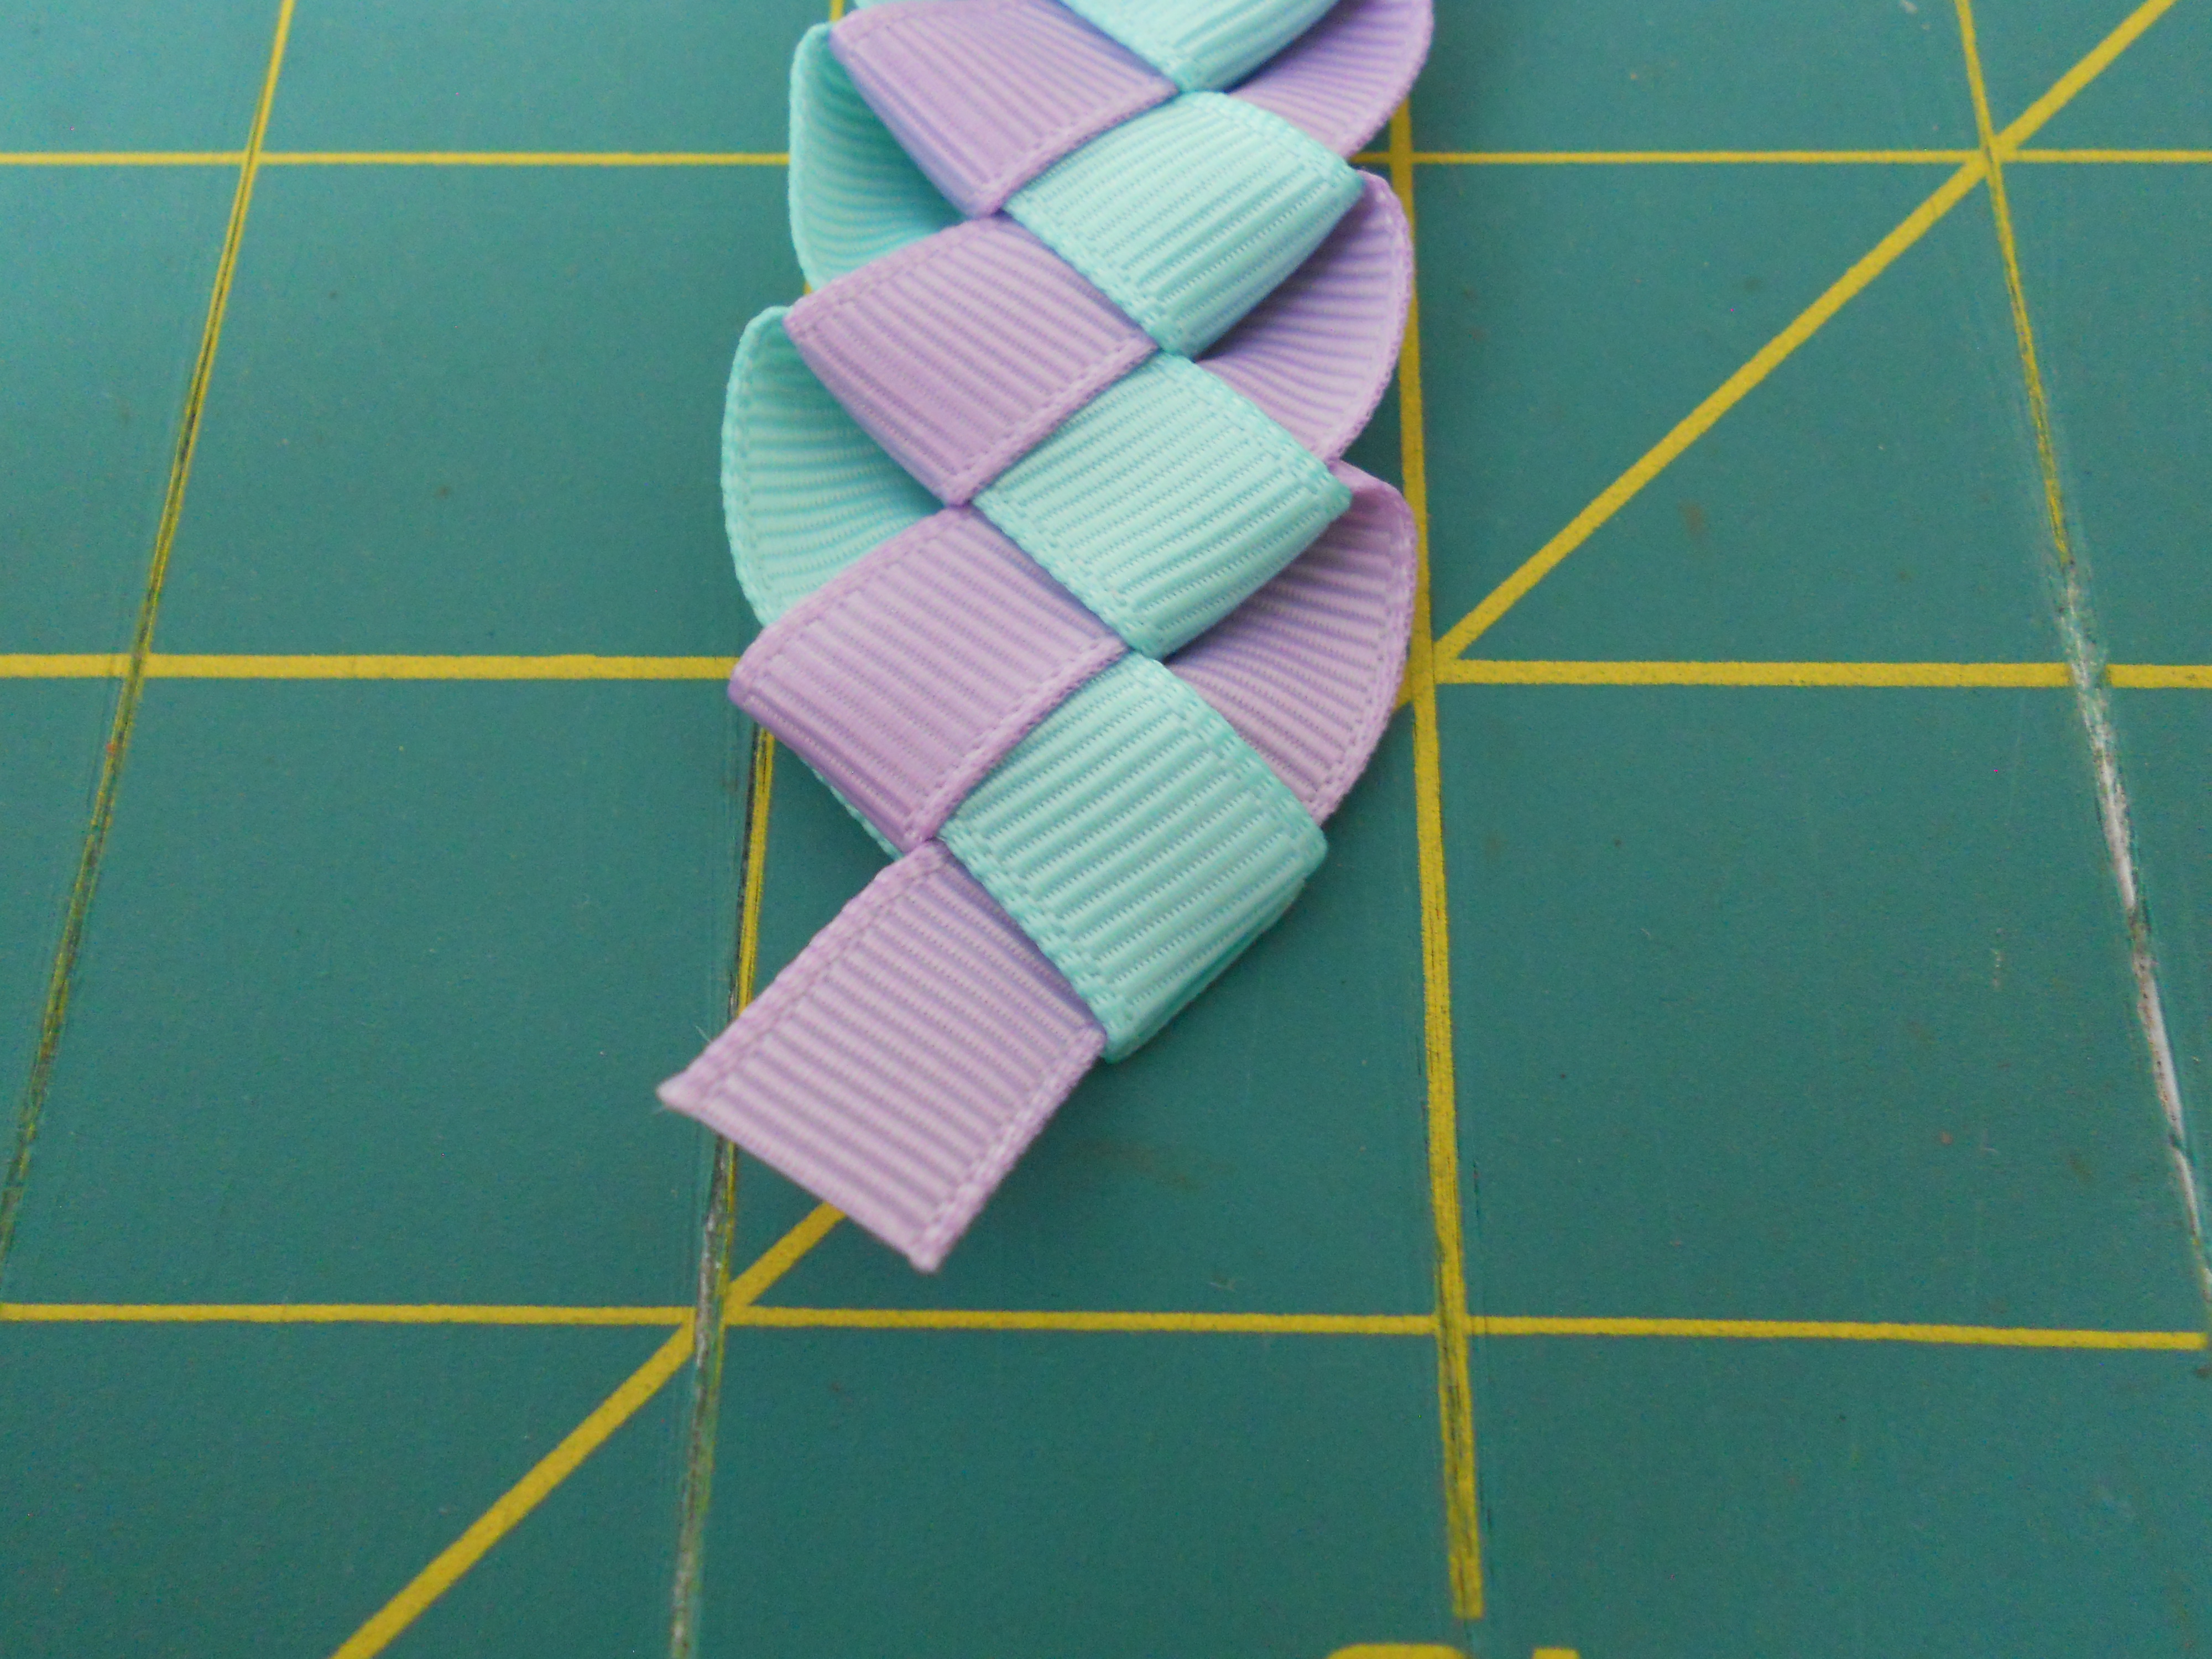
Step 4: Continue the same pattern until your bun wrap is the length you would like to make it. I'm making mine 8" long.

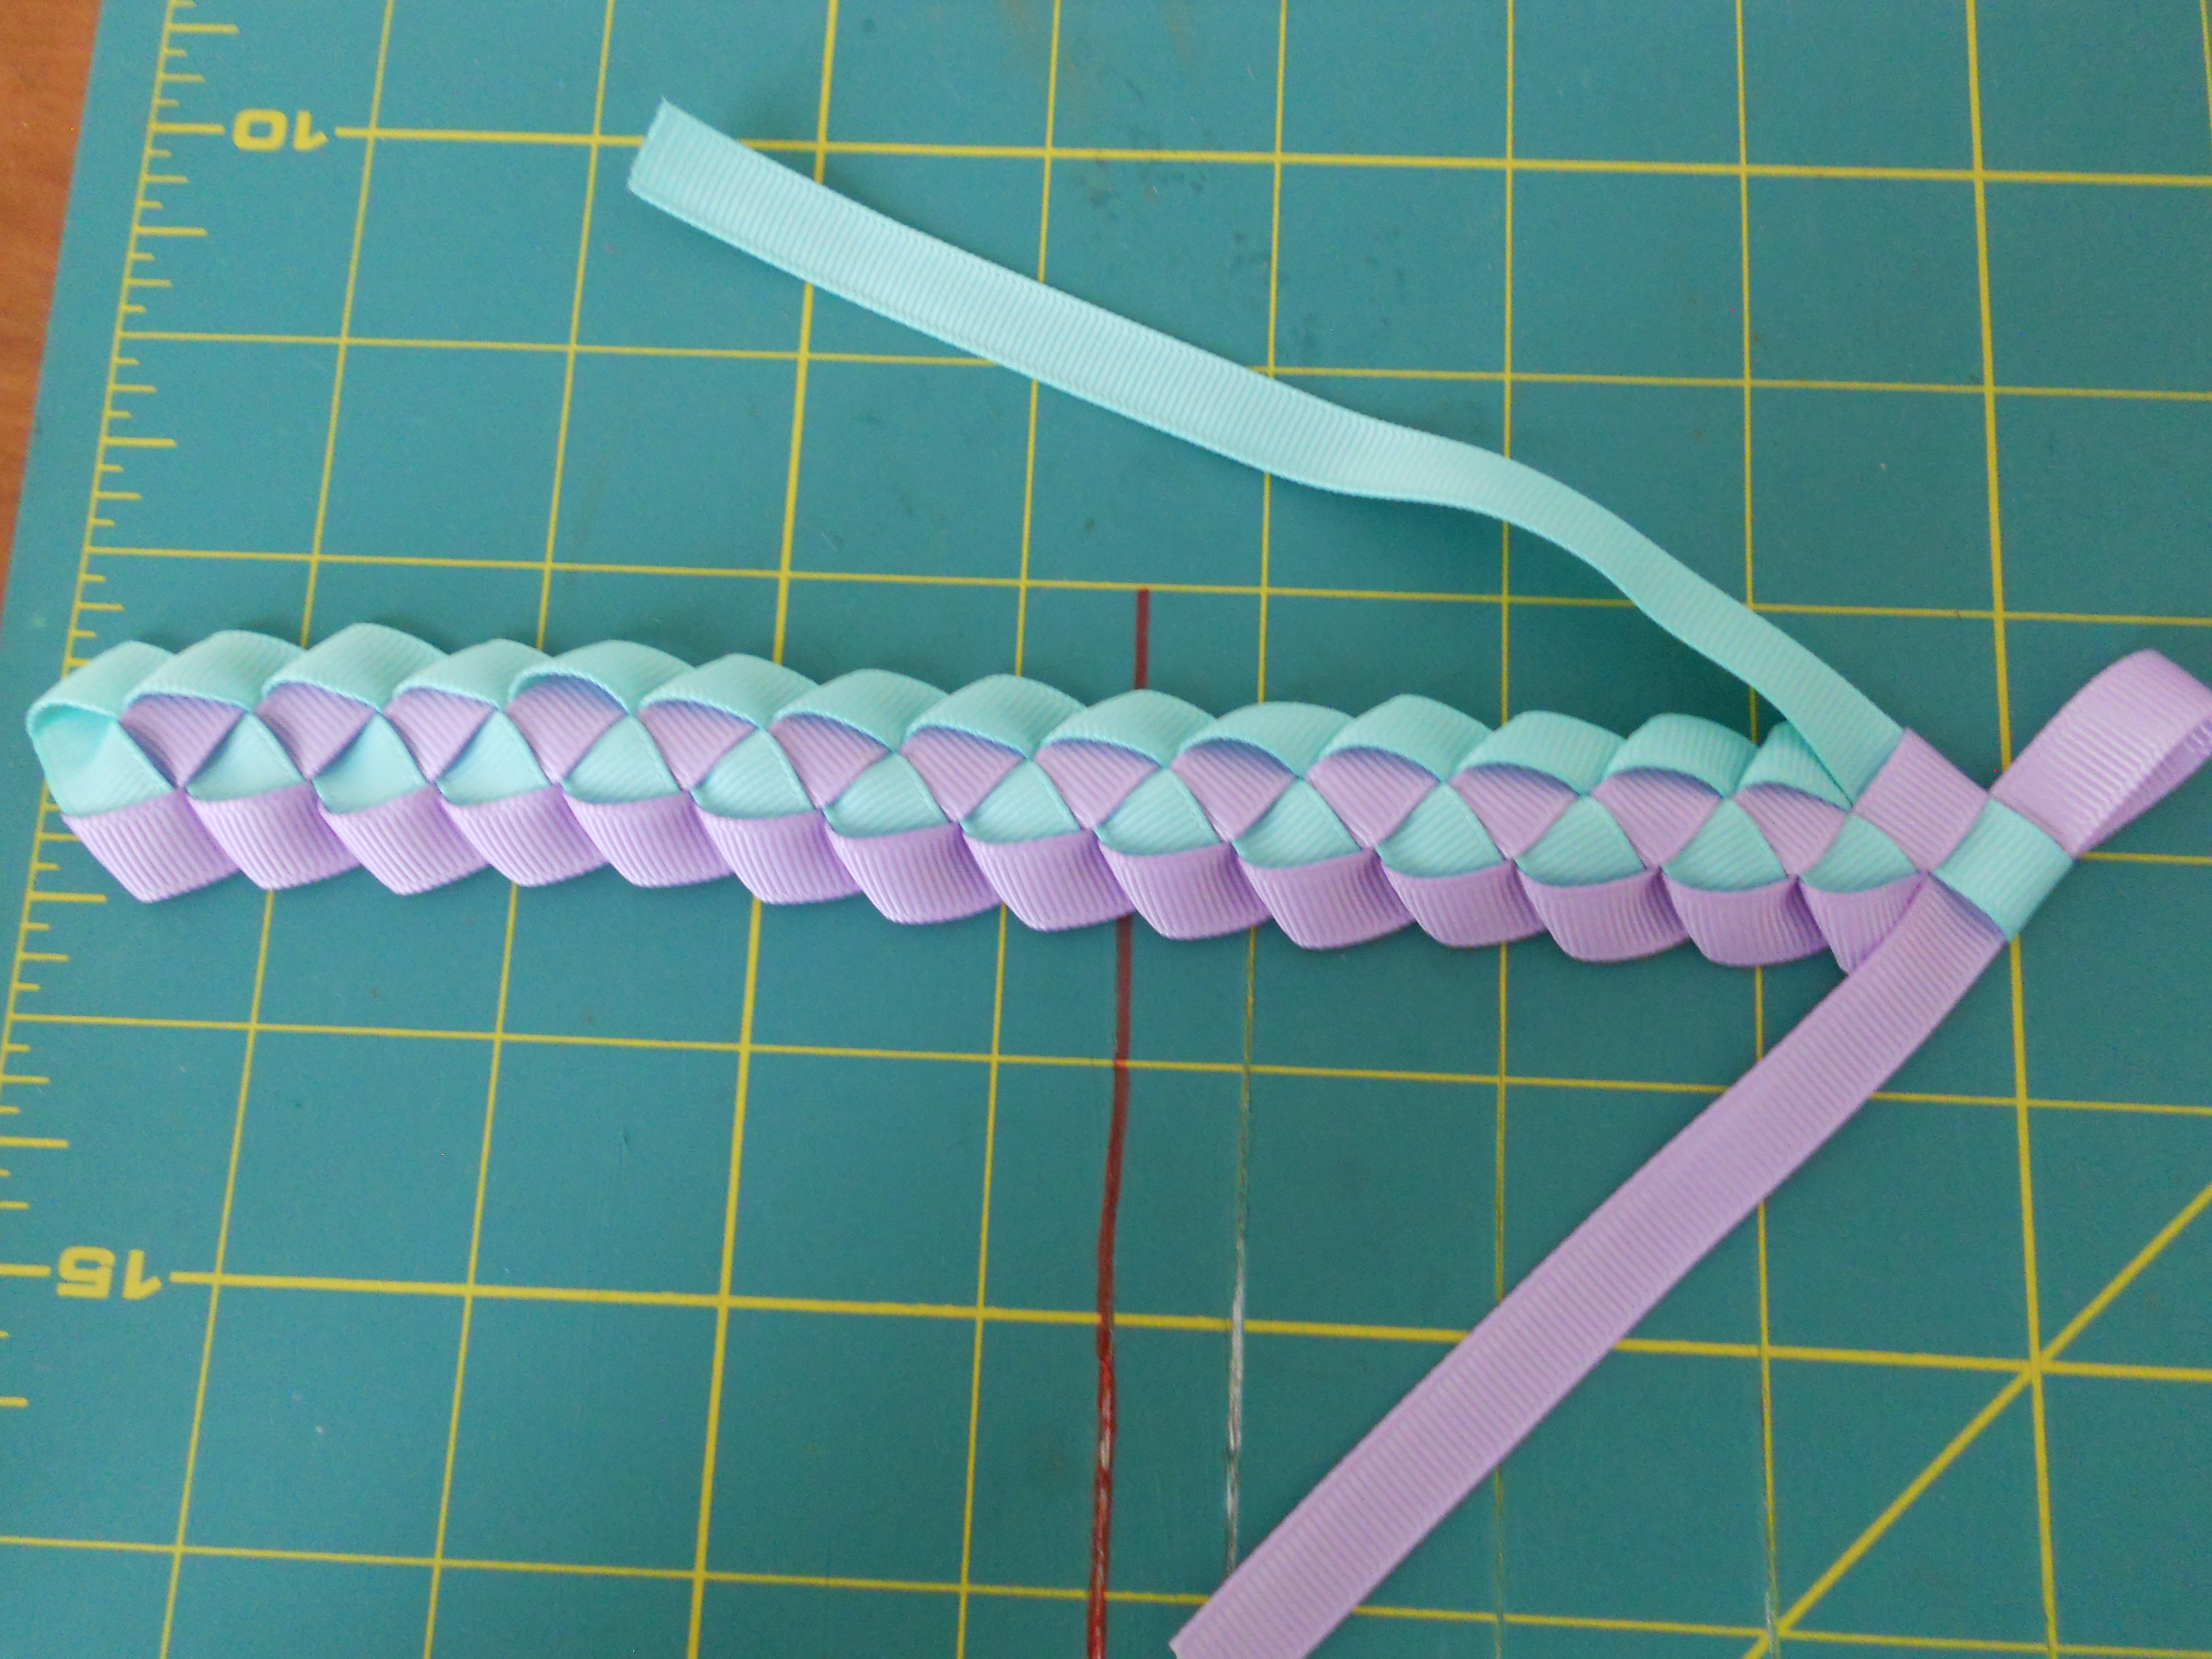
After you have reached the length you want your bun wrap to be we are going to cut and glue the ends down. I like to finish mine with the right loop at the top.
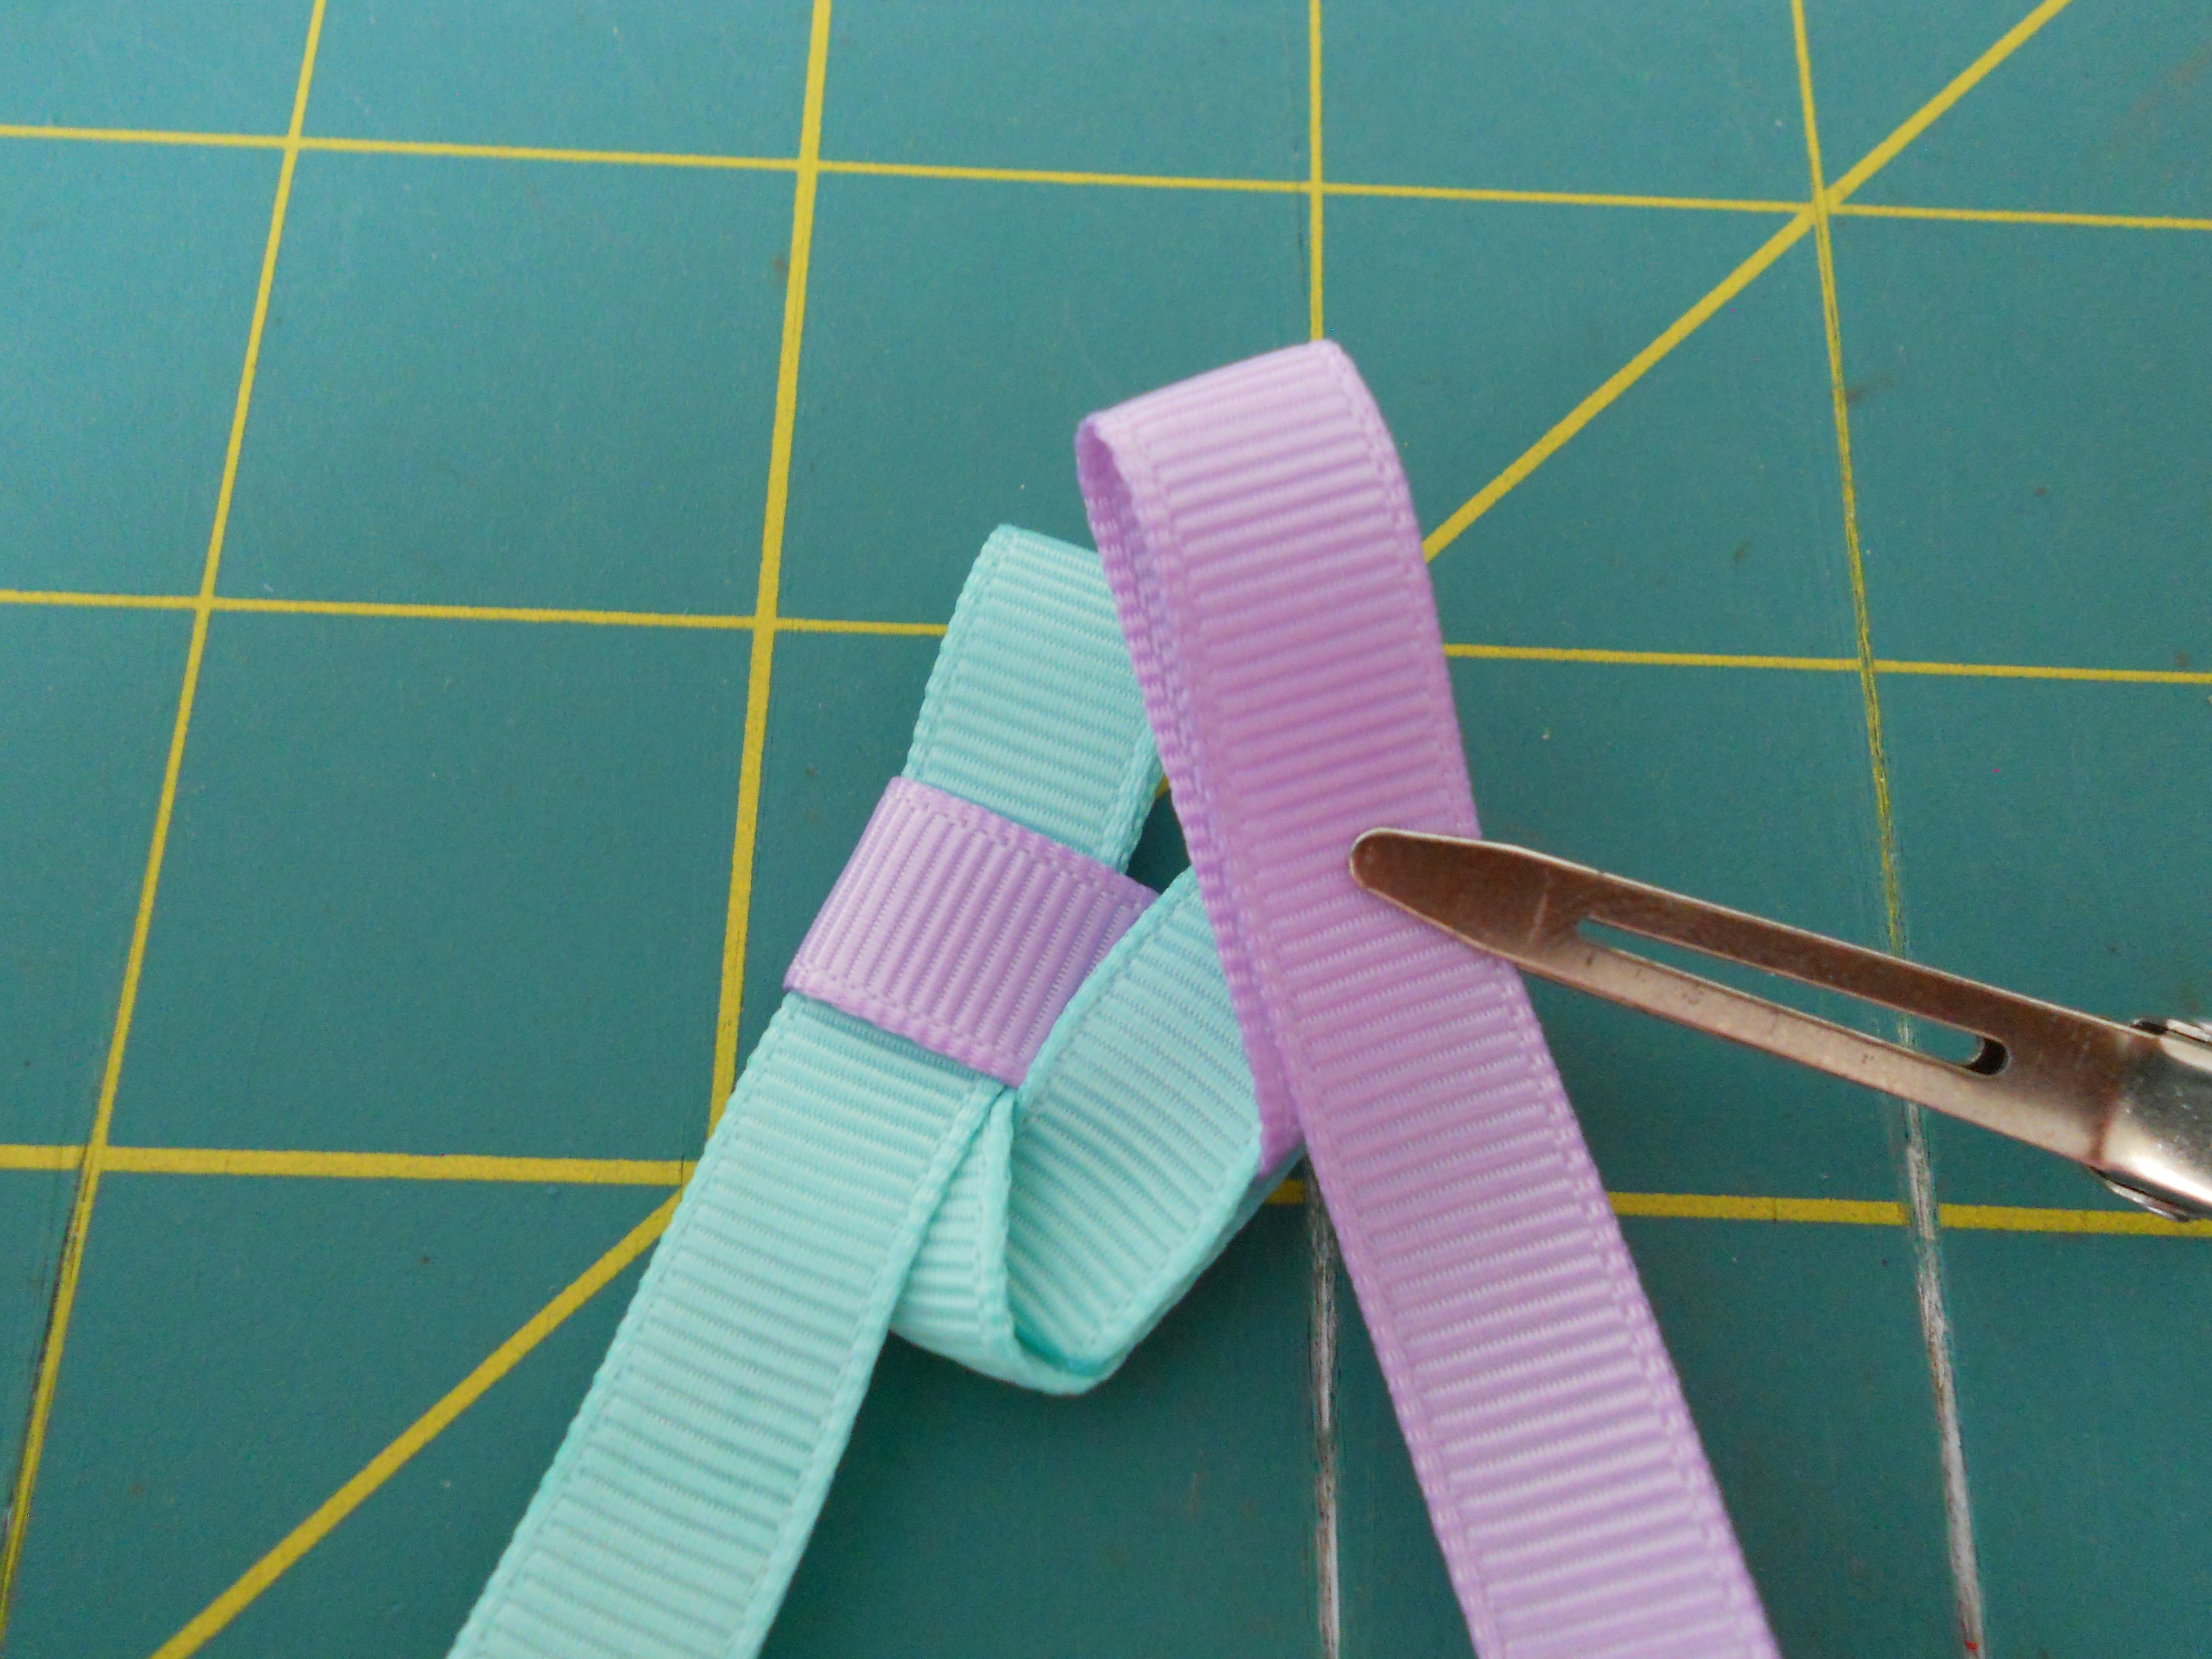
Step 5: Fold your left ribbon back over the wrap and cut it evenly with the end.
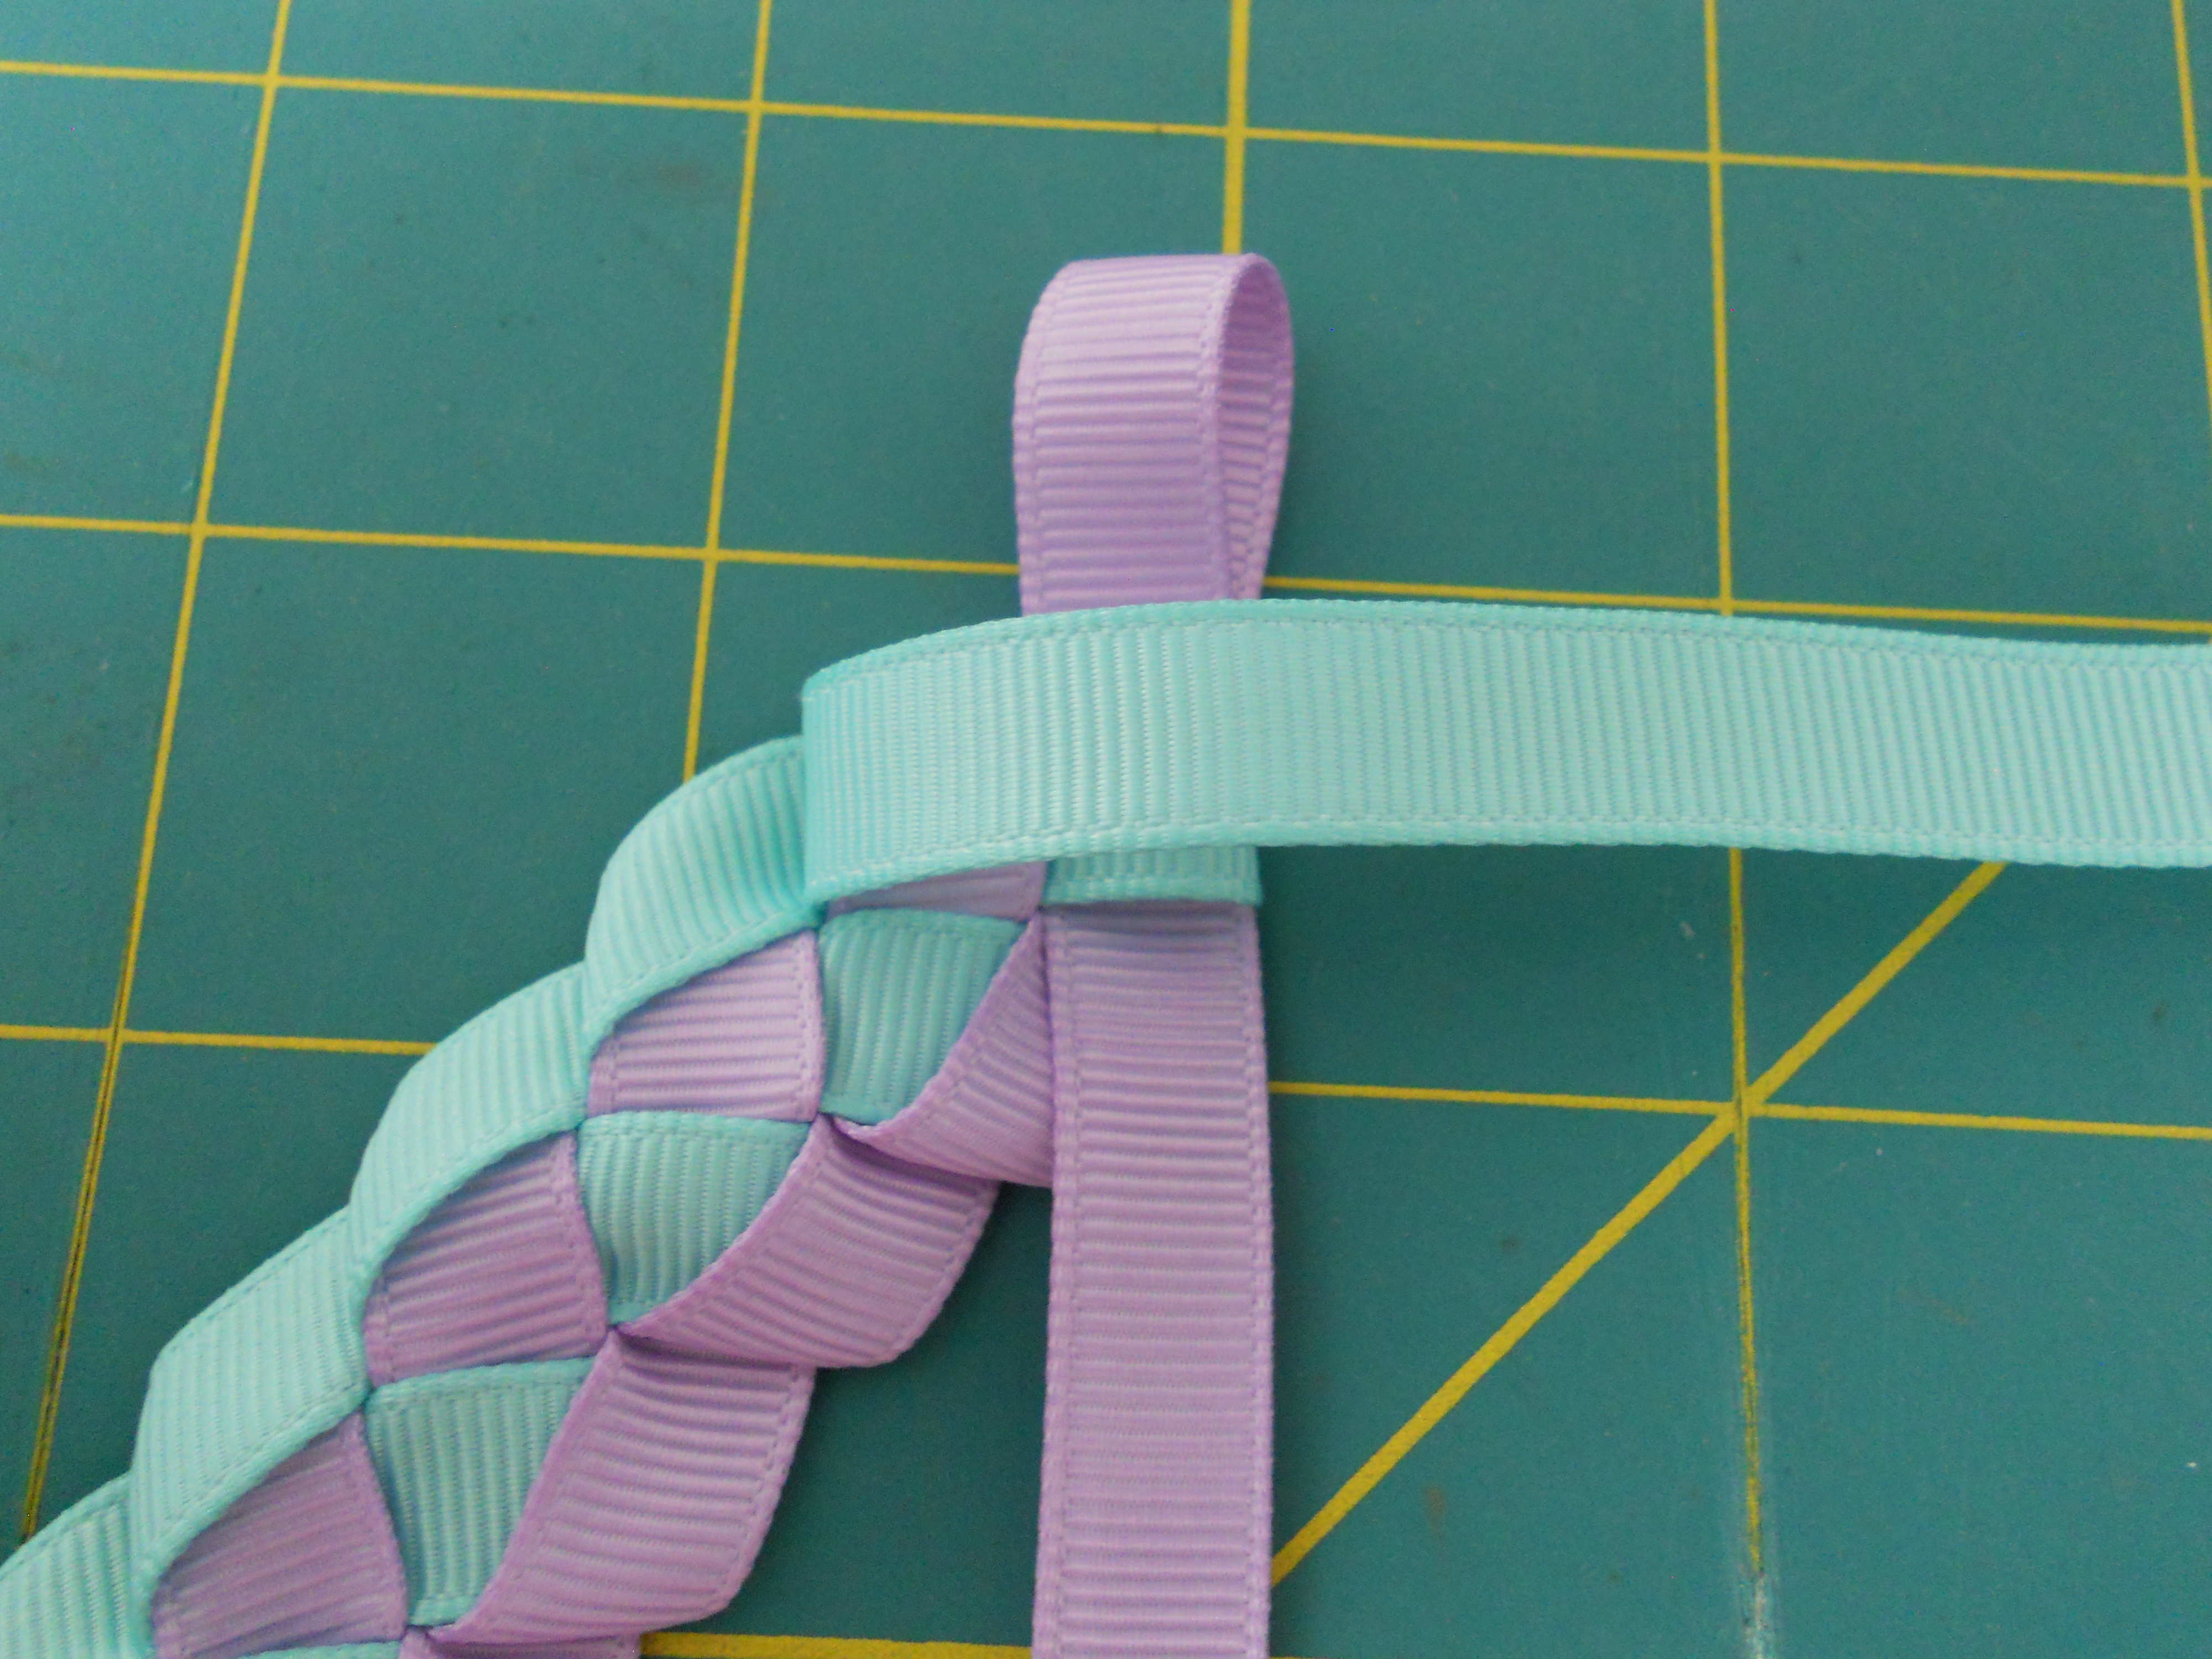
Step 6: Heat seal the end you cut and hot glue it to the wrap. Pull the last ribbon all the way through - now this piece is just straight without any loops.
Step 7: Flip your bun wrap over, measure the length you need for the lavender piece of ribbon to be even with the ribbon on the back. Cut and heat seal the ribbon end and glue it down to the wrap.
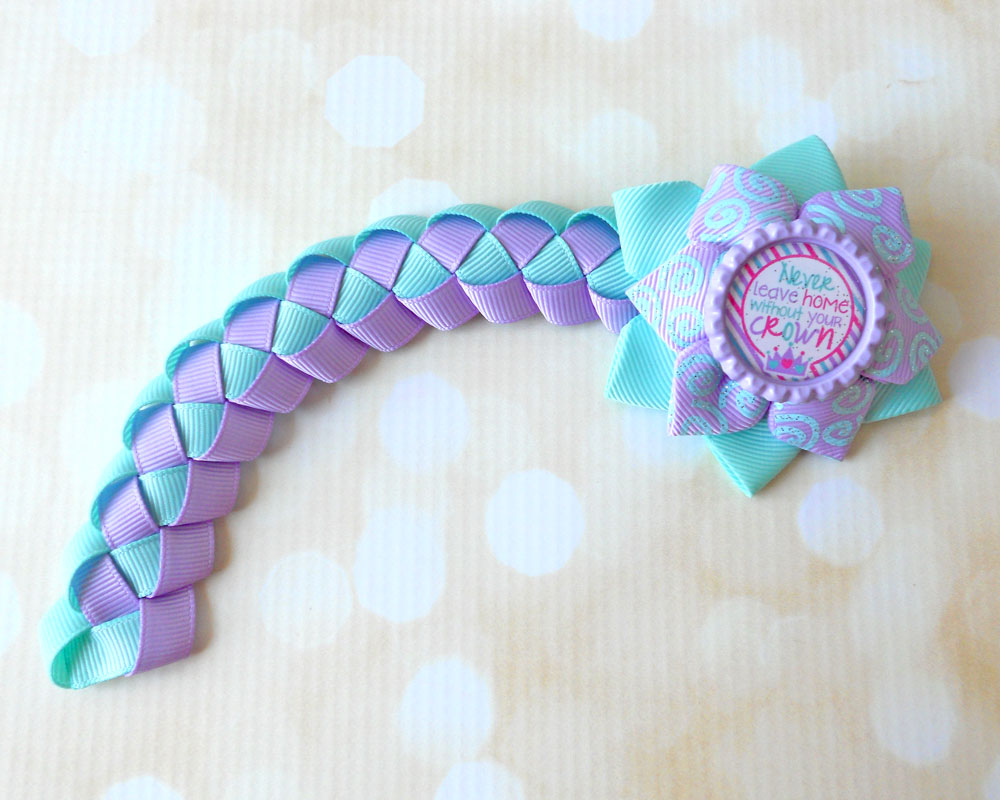
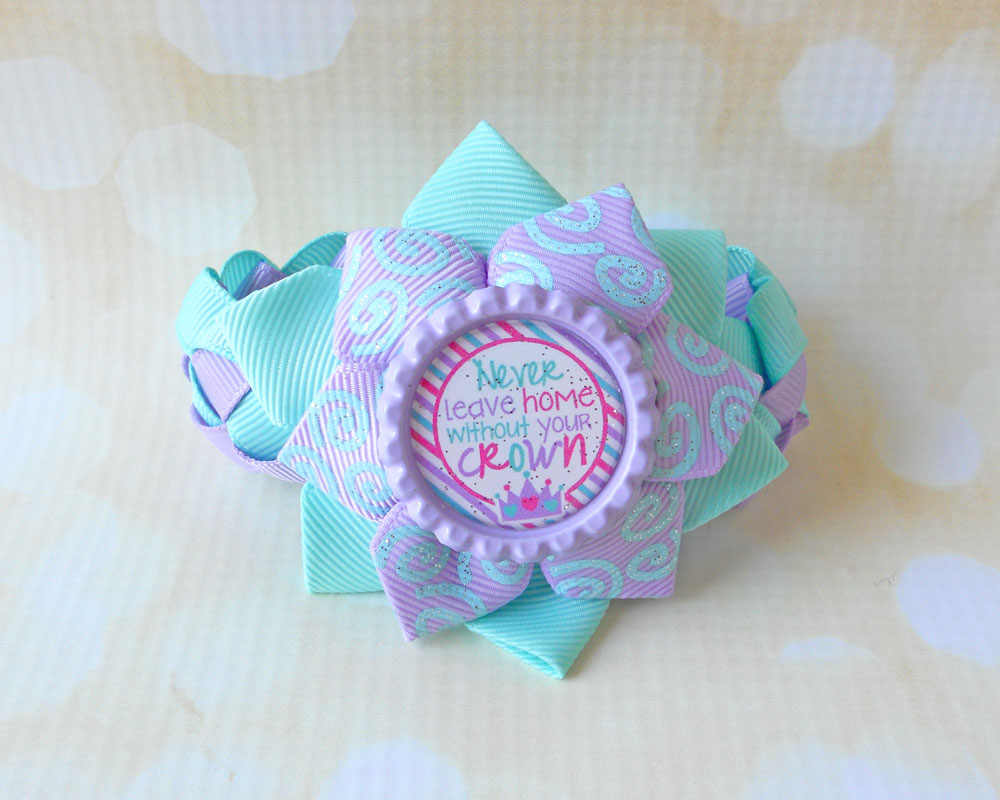
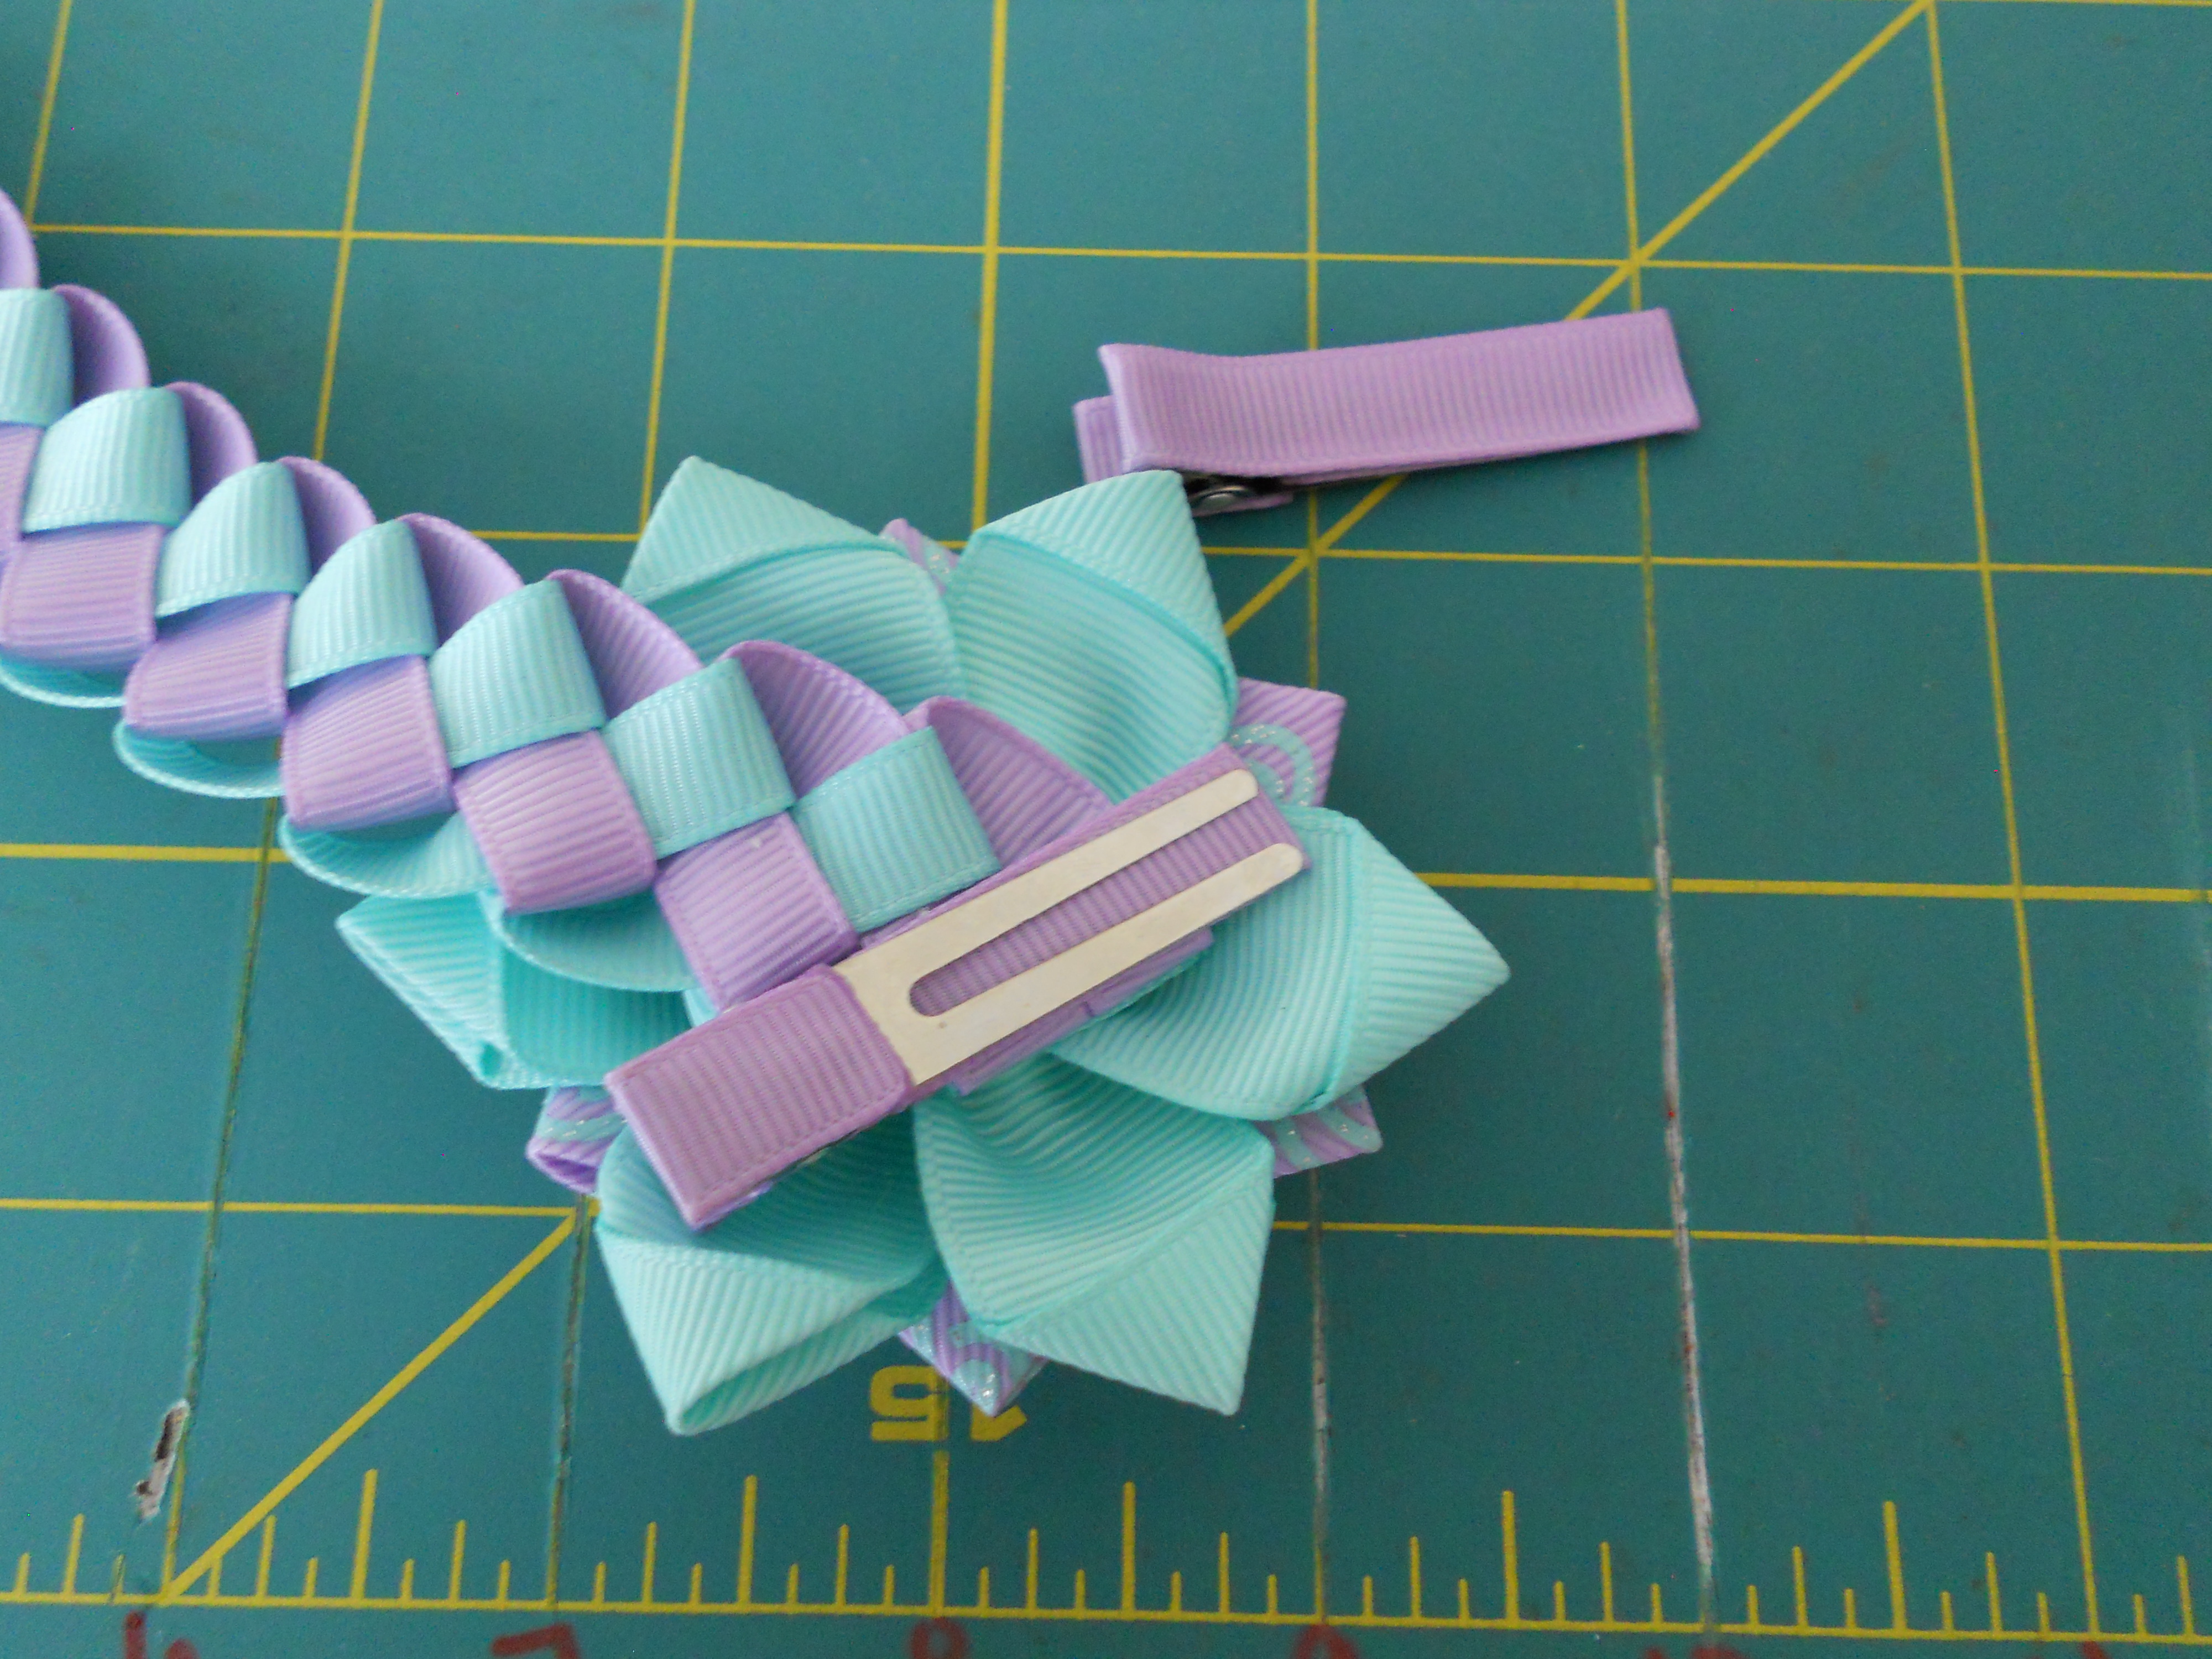
Your bun wrap is all finished! Now you just need to accessorize with your choice of flowers or bows! I made a ribbon flower using another tutorial found here at HBC!

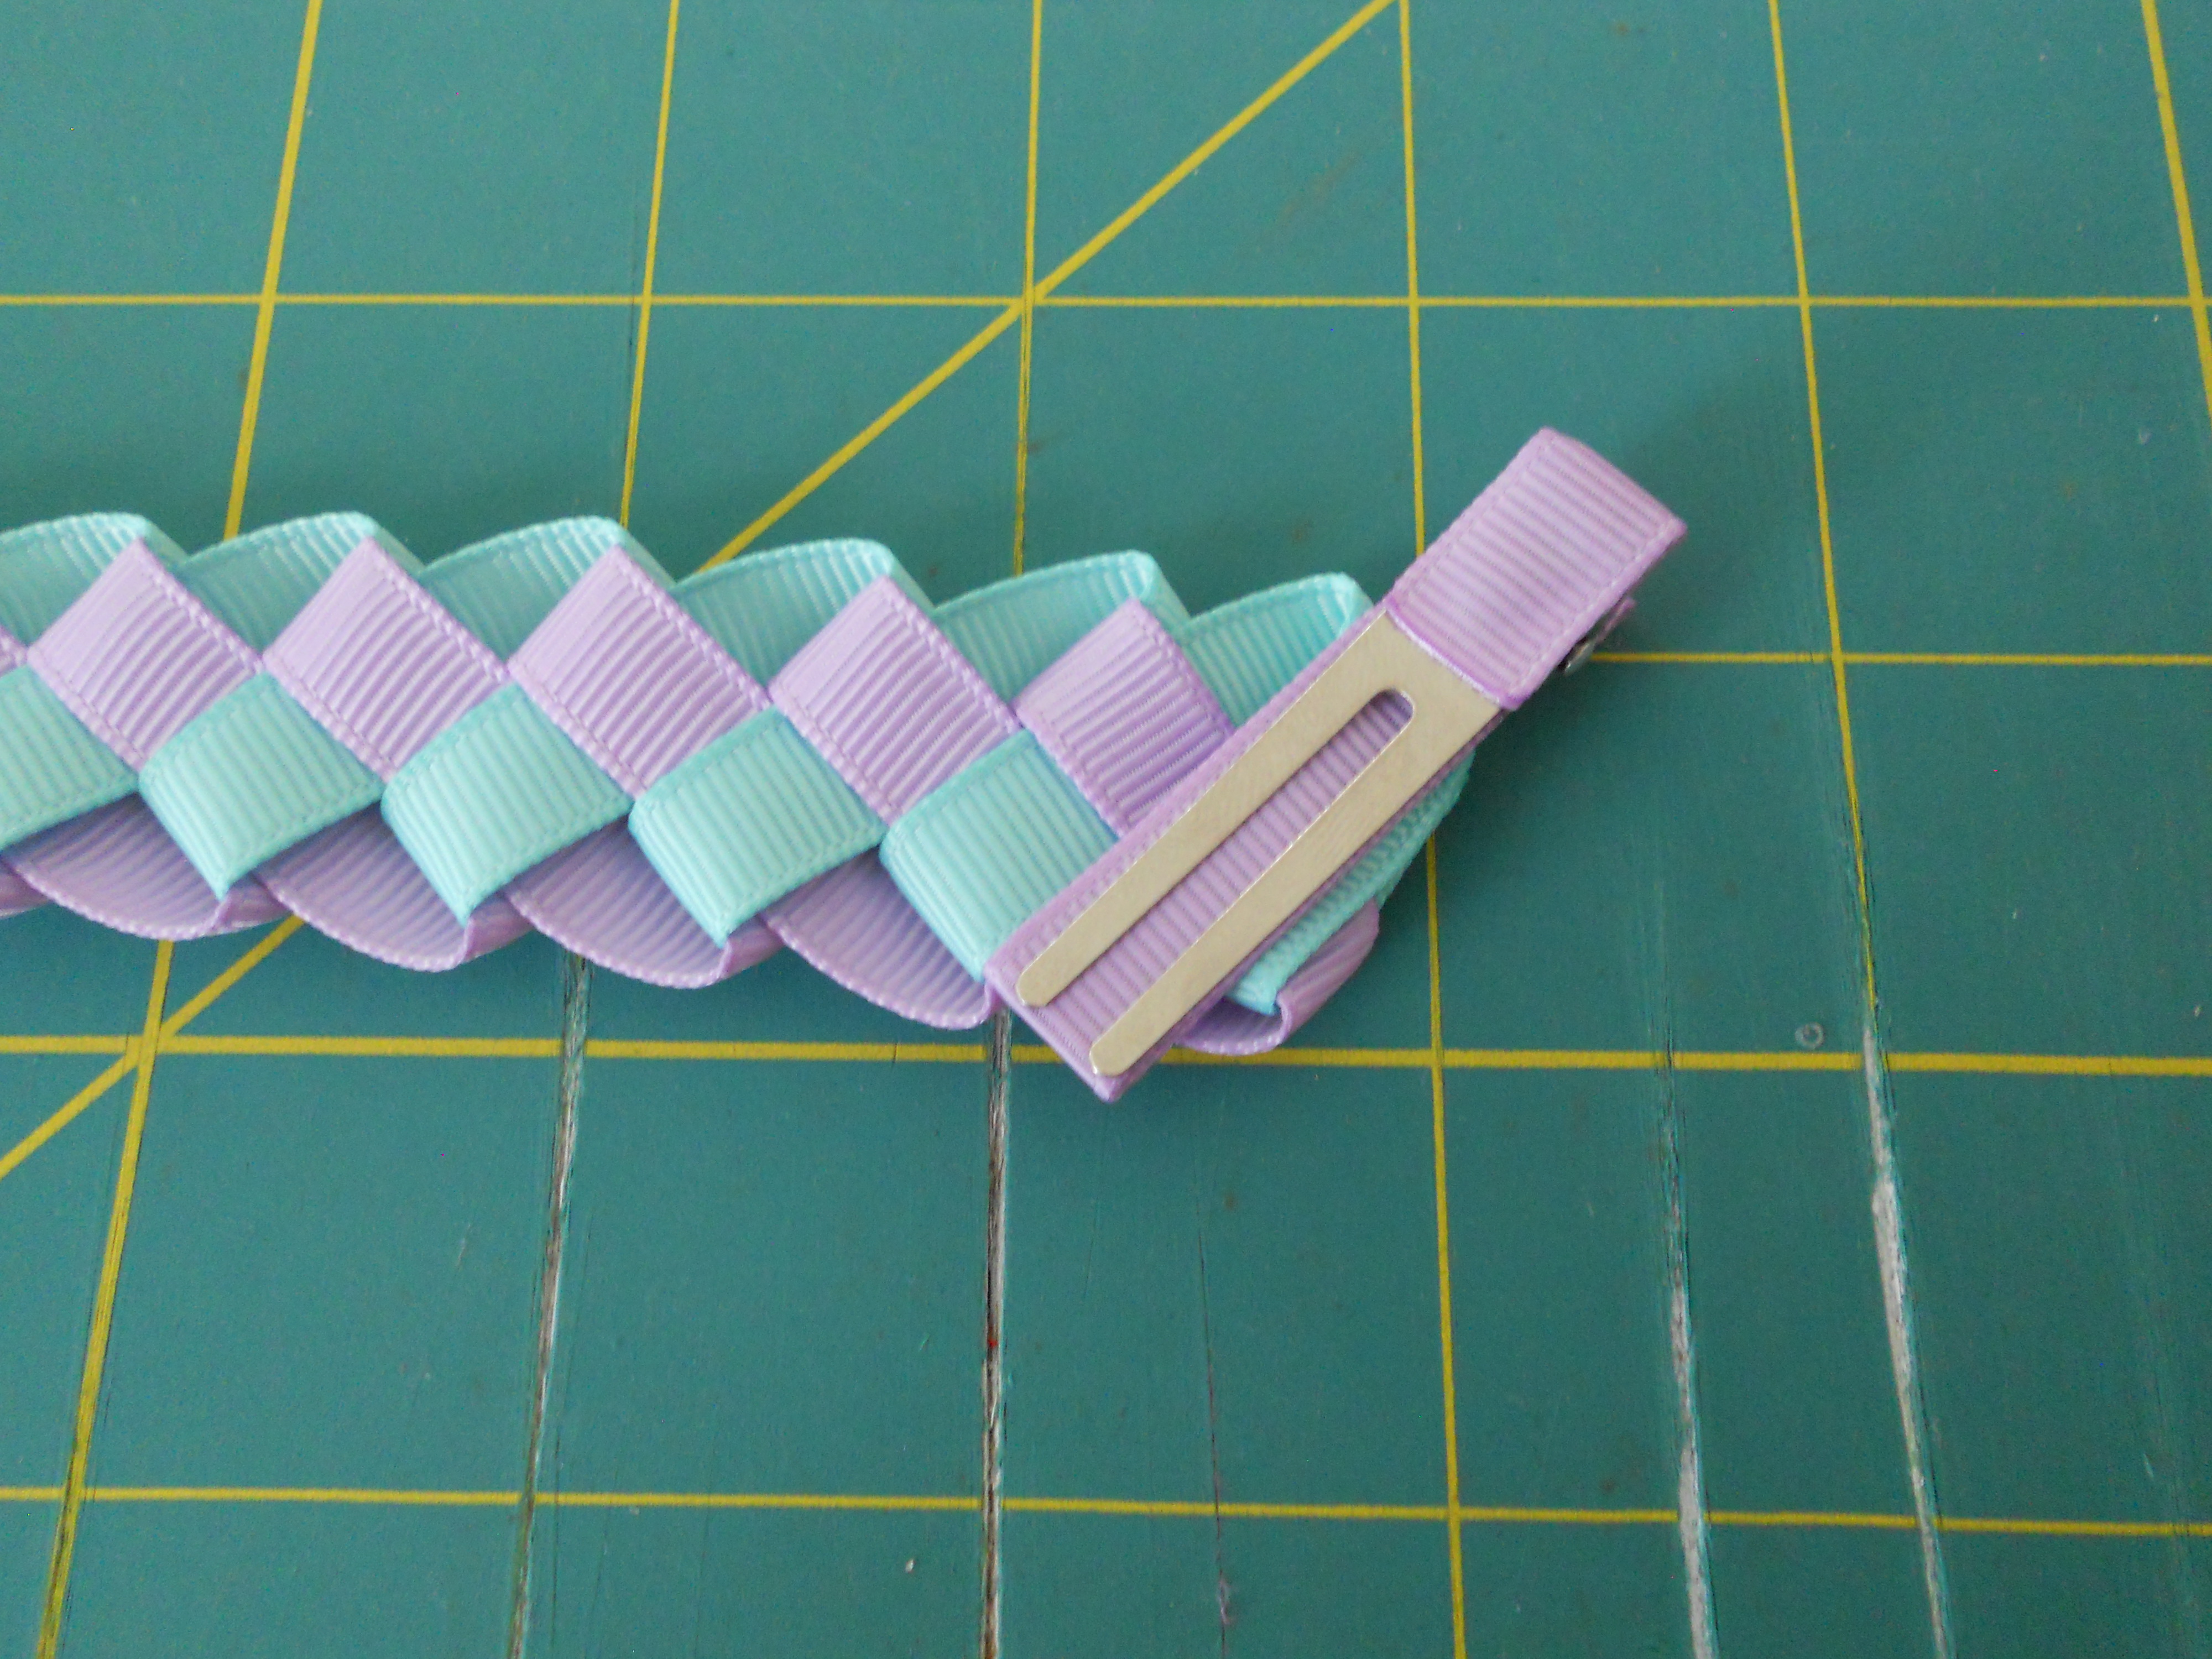
Finish your bun wrap by adding alligator clips on the bottom!
I just love the look of these! I'd love to see what creative bun wraps you come up with!

Visit the rest of our blog for more Crafting Tutorials and DIY Instructions!
Loading...

