Contributor post by Danielle at Korker Krazy
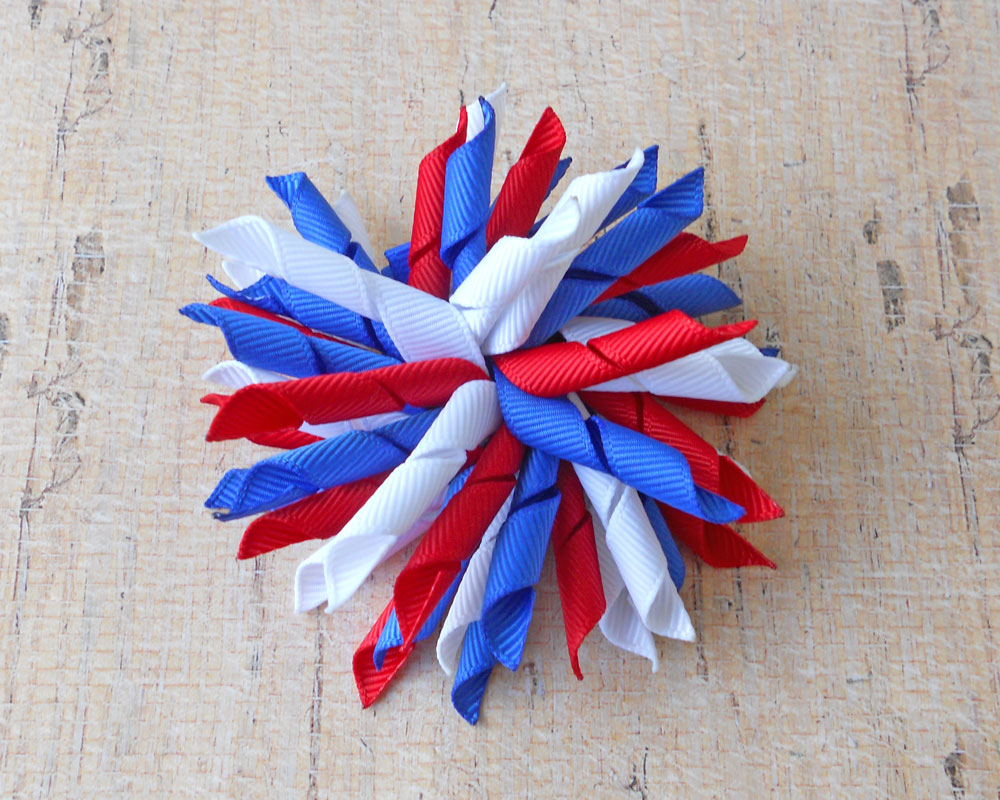
July 4th is just around the corner and it's time to think red, white, and blue, fireworks, picnics, and of course, patriotic hair-bows! I love korker bows for the 4th because they look like little fireworks!
Supplies Needed: 3/8" Grosgrain Ribbon in Red, Royal and White Needle & Thread Hot Glue Gun & Glue 12" x 3/16" Wooden Dowels Clothespins Scissors Alligator Clip
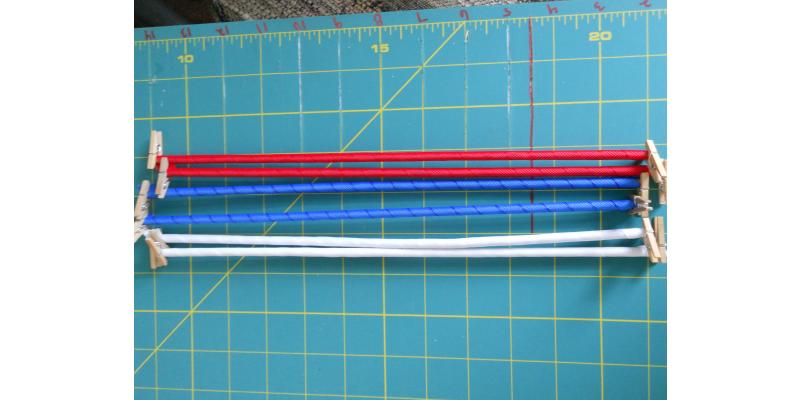
Step 1: Wrap your 3/8" ribbon around the wooden dowels tightly, securing each end with a clothespin. To make one 3.5" korker bow you will need six 12" korker pieces. I'm making 2 red, 2 white and 2 blue korker pieces.
Step 2: Place your wrapped dowels on a baking tray and bake for 25 minutes at 245 degrees. You do not need to spray anything on the ribbon! Once they are finished baking remove the pan from the oven and allow the ribbon to cool completely before removing it from the dowels. Now you have six 12" korker pieces.
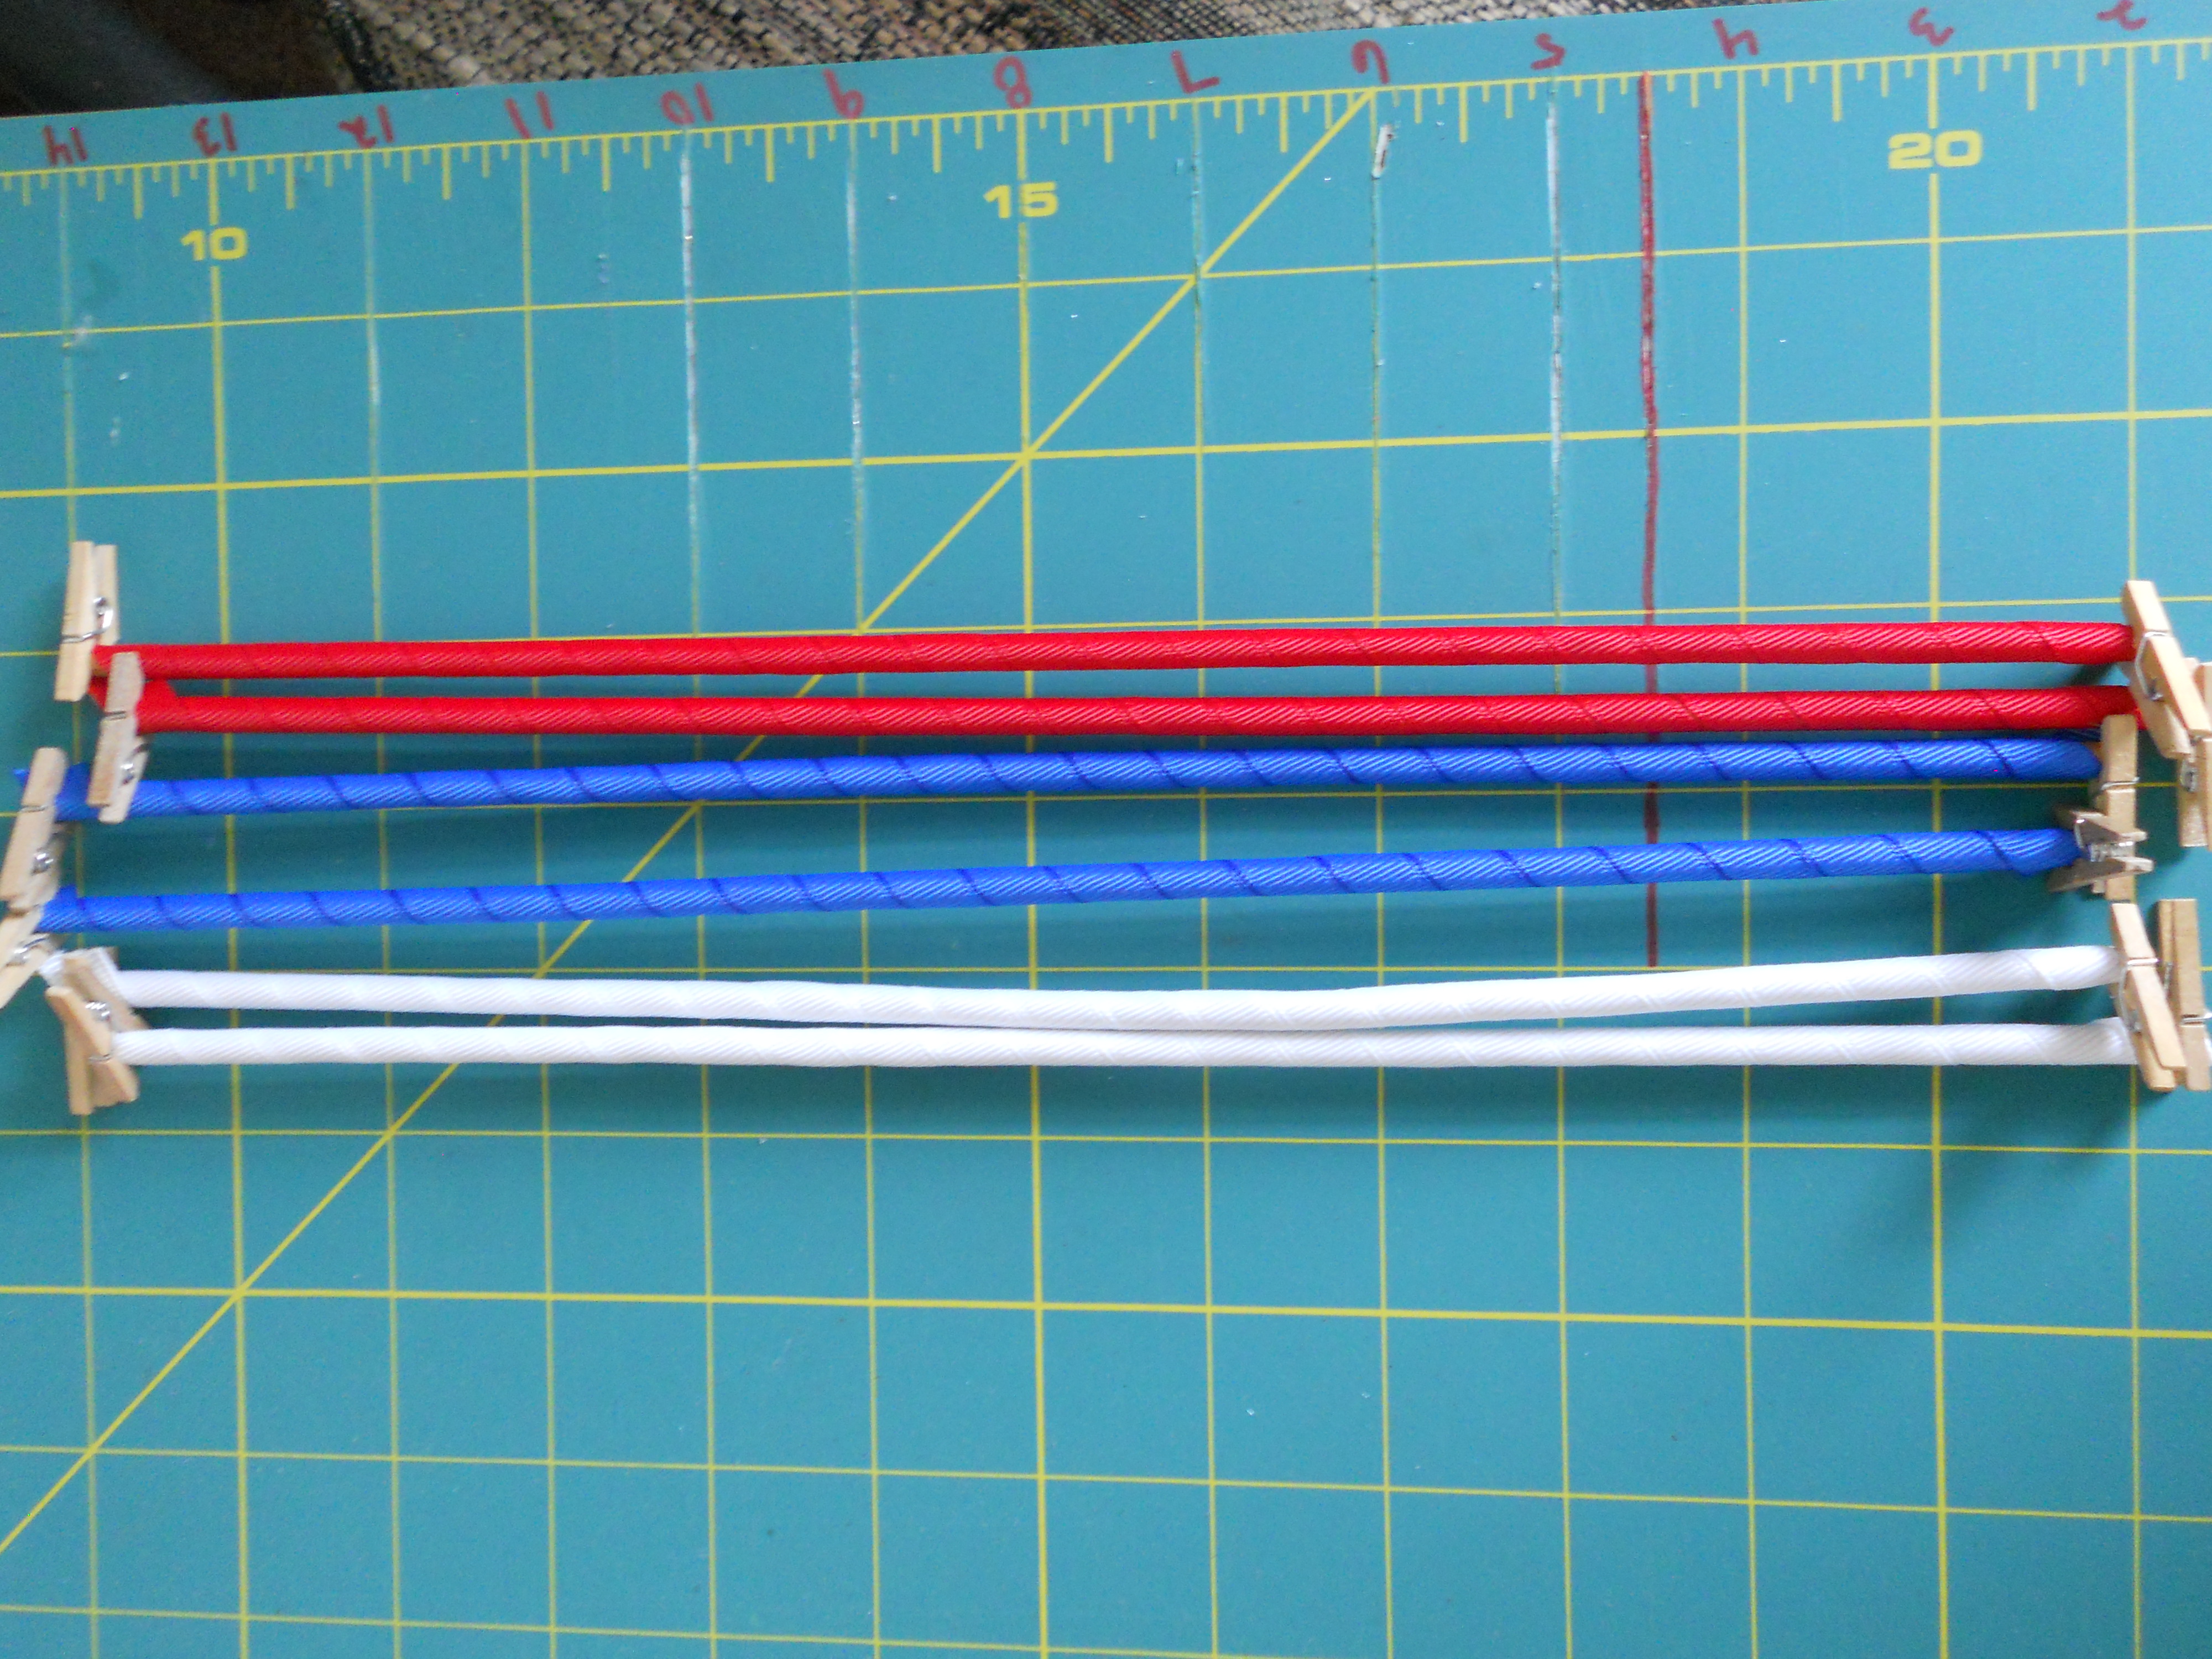
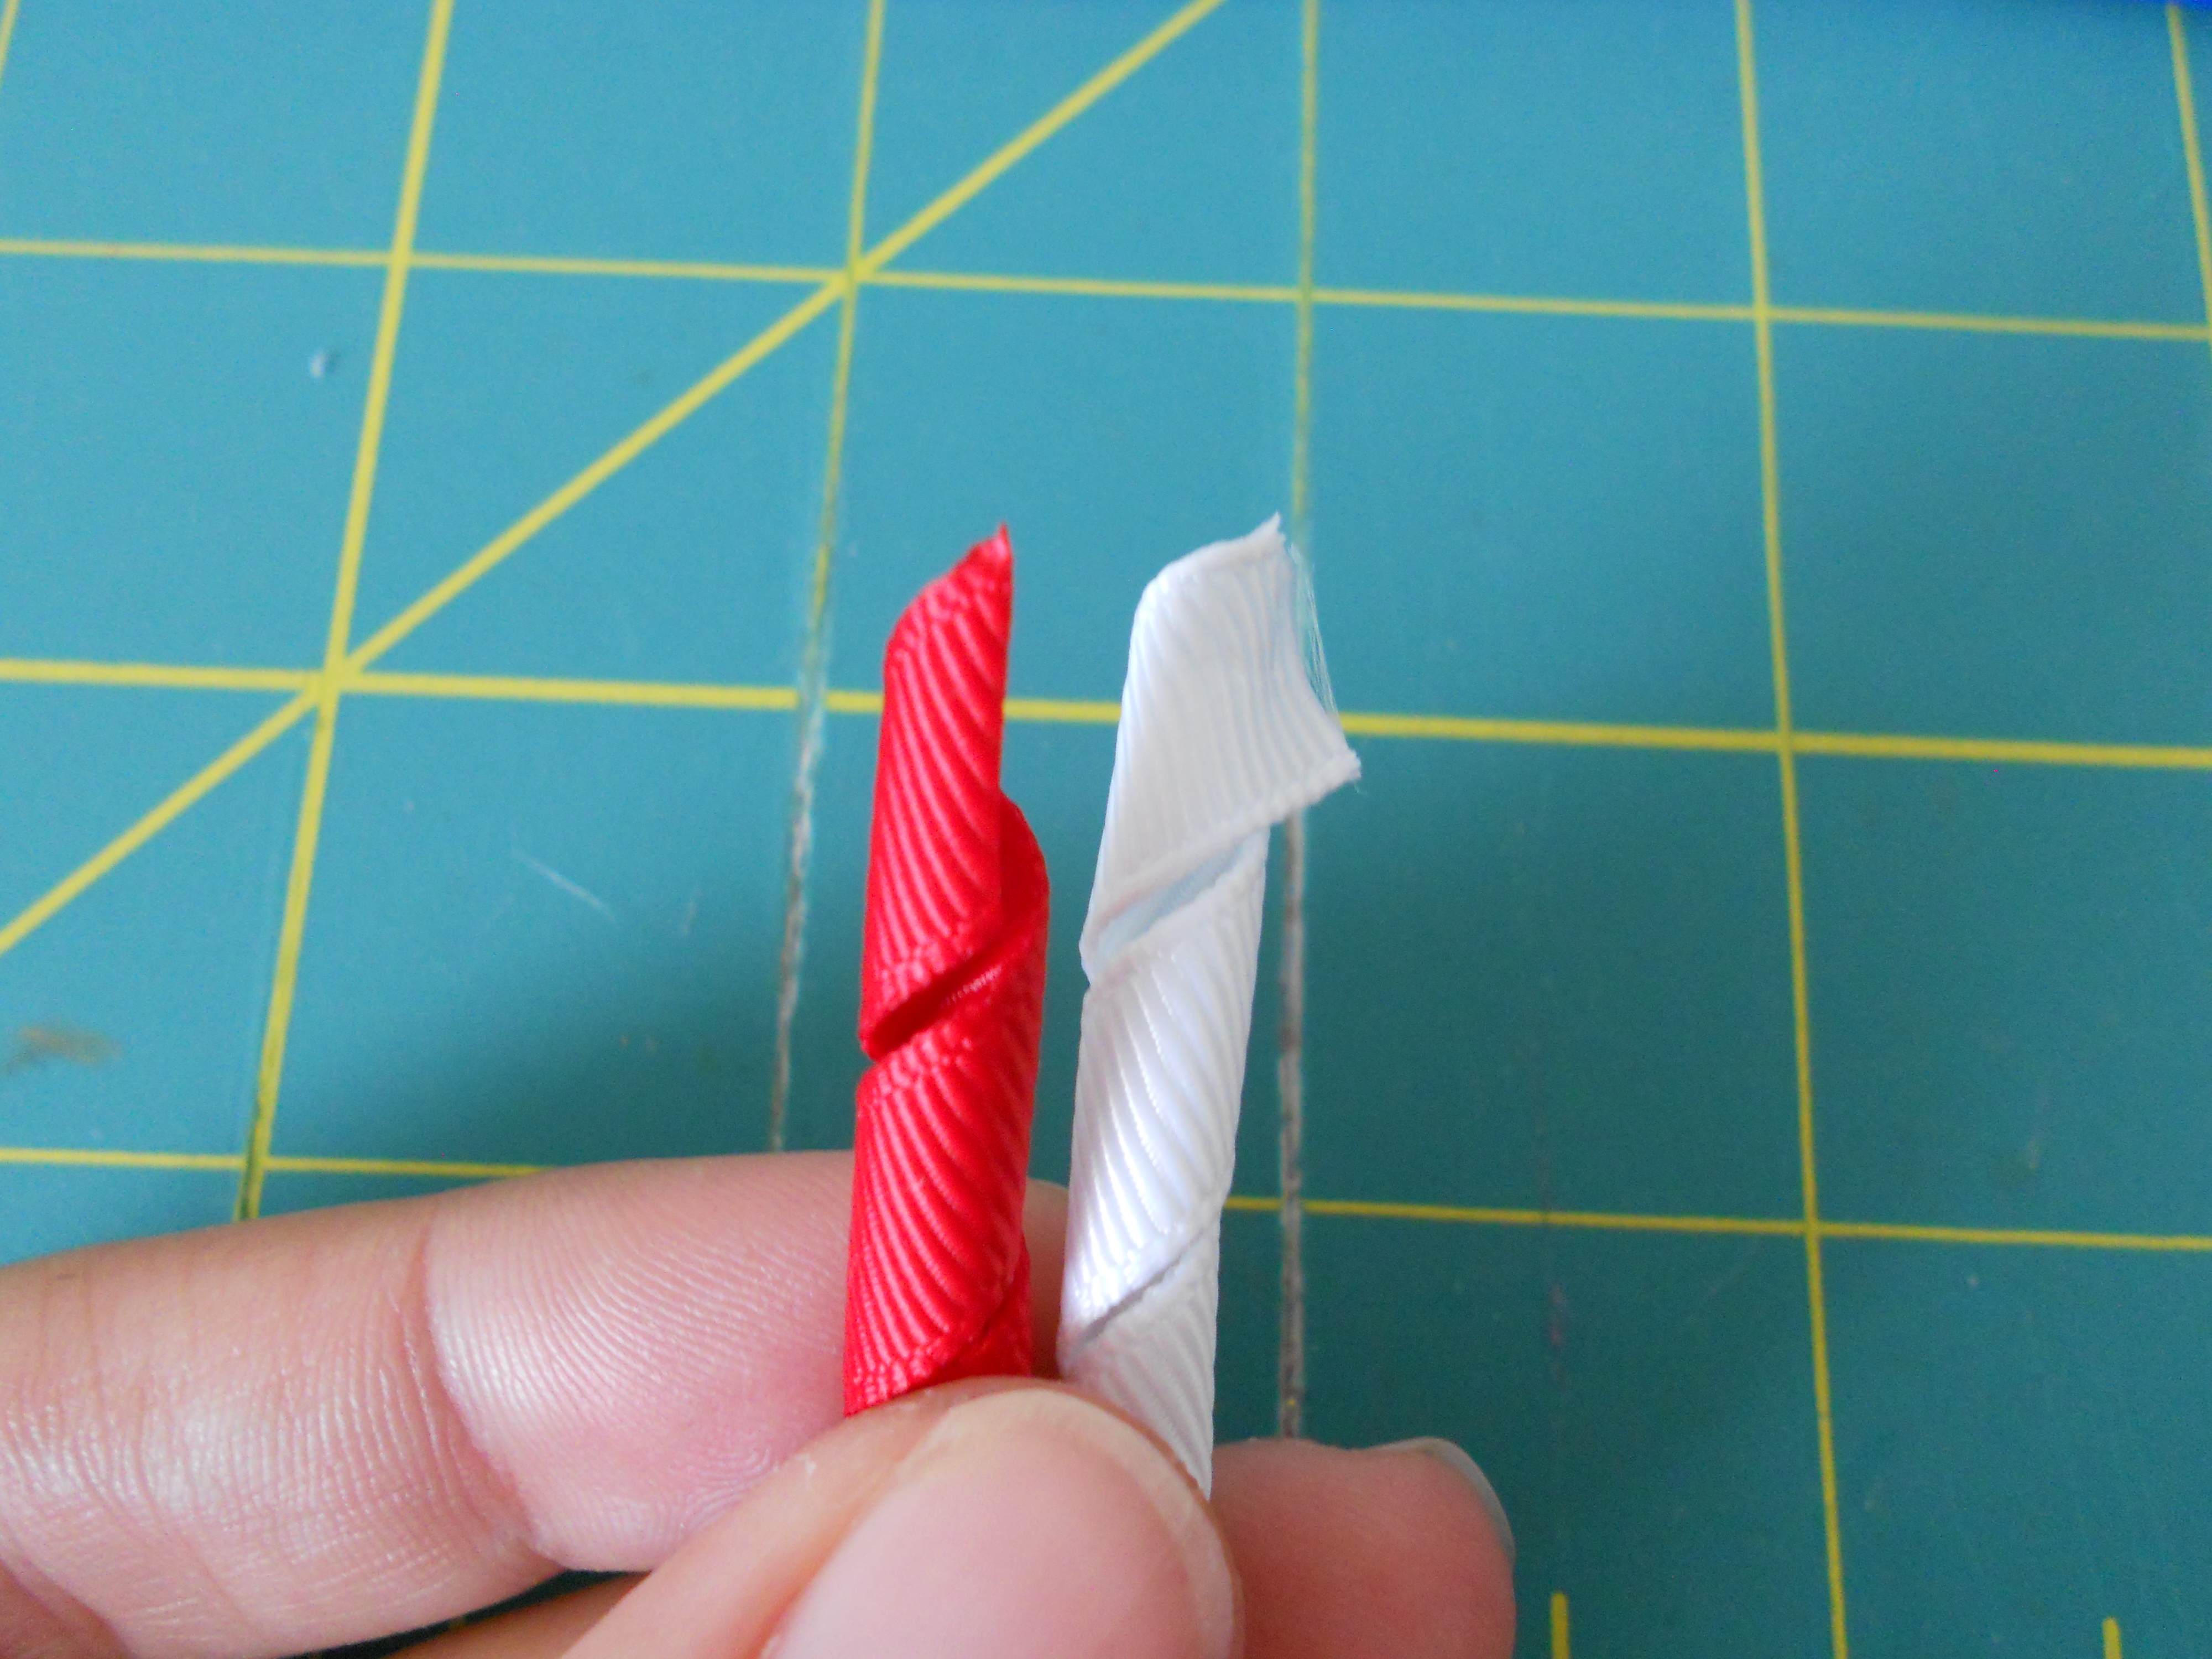
Step 3: Trim all ribbon ends with scissors. I trim my ends at an angle making sure all cuts are facing the same way. The left piece is after I cut it, the right is before cutting.
Step 4: Cut each 12" piece in half. You now have 12 6" pieces.

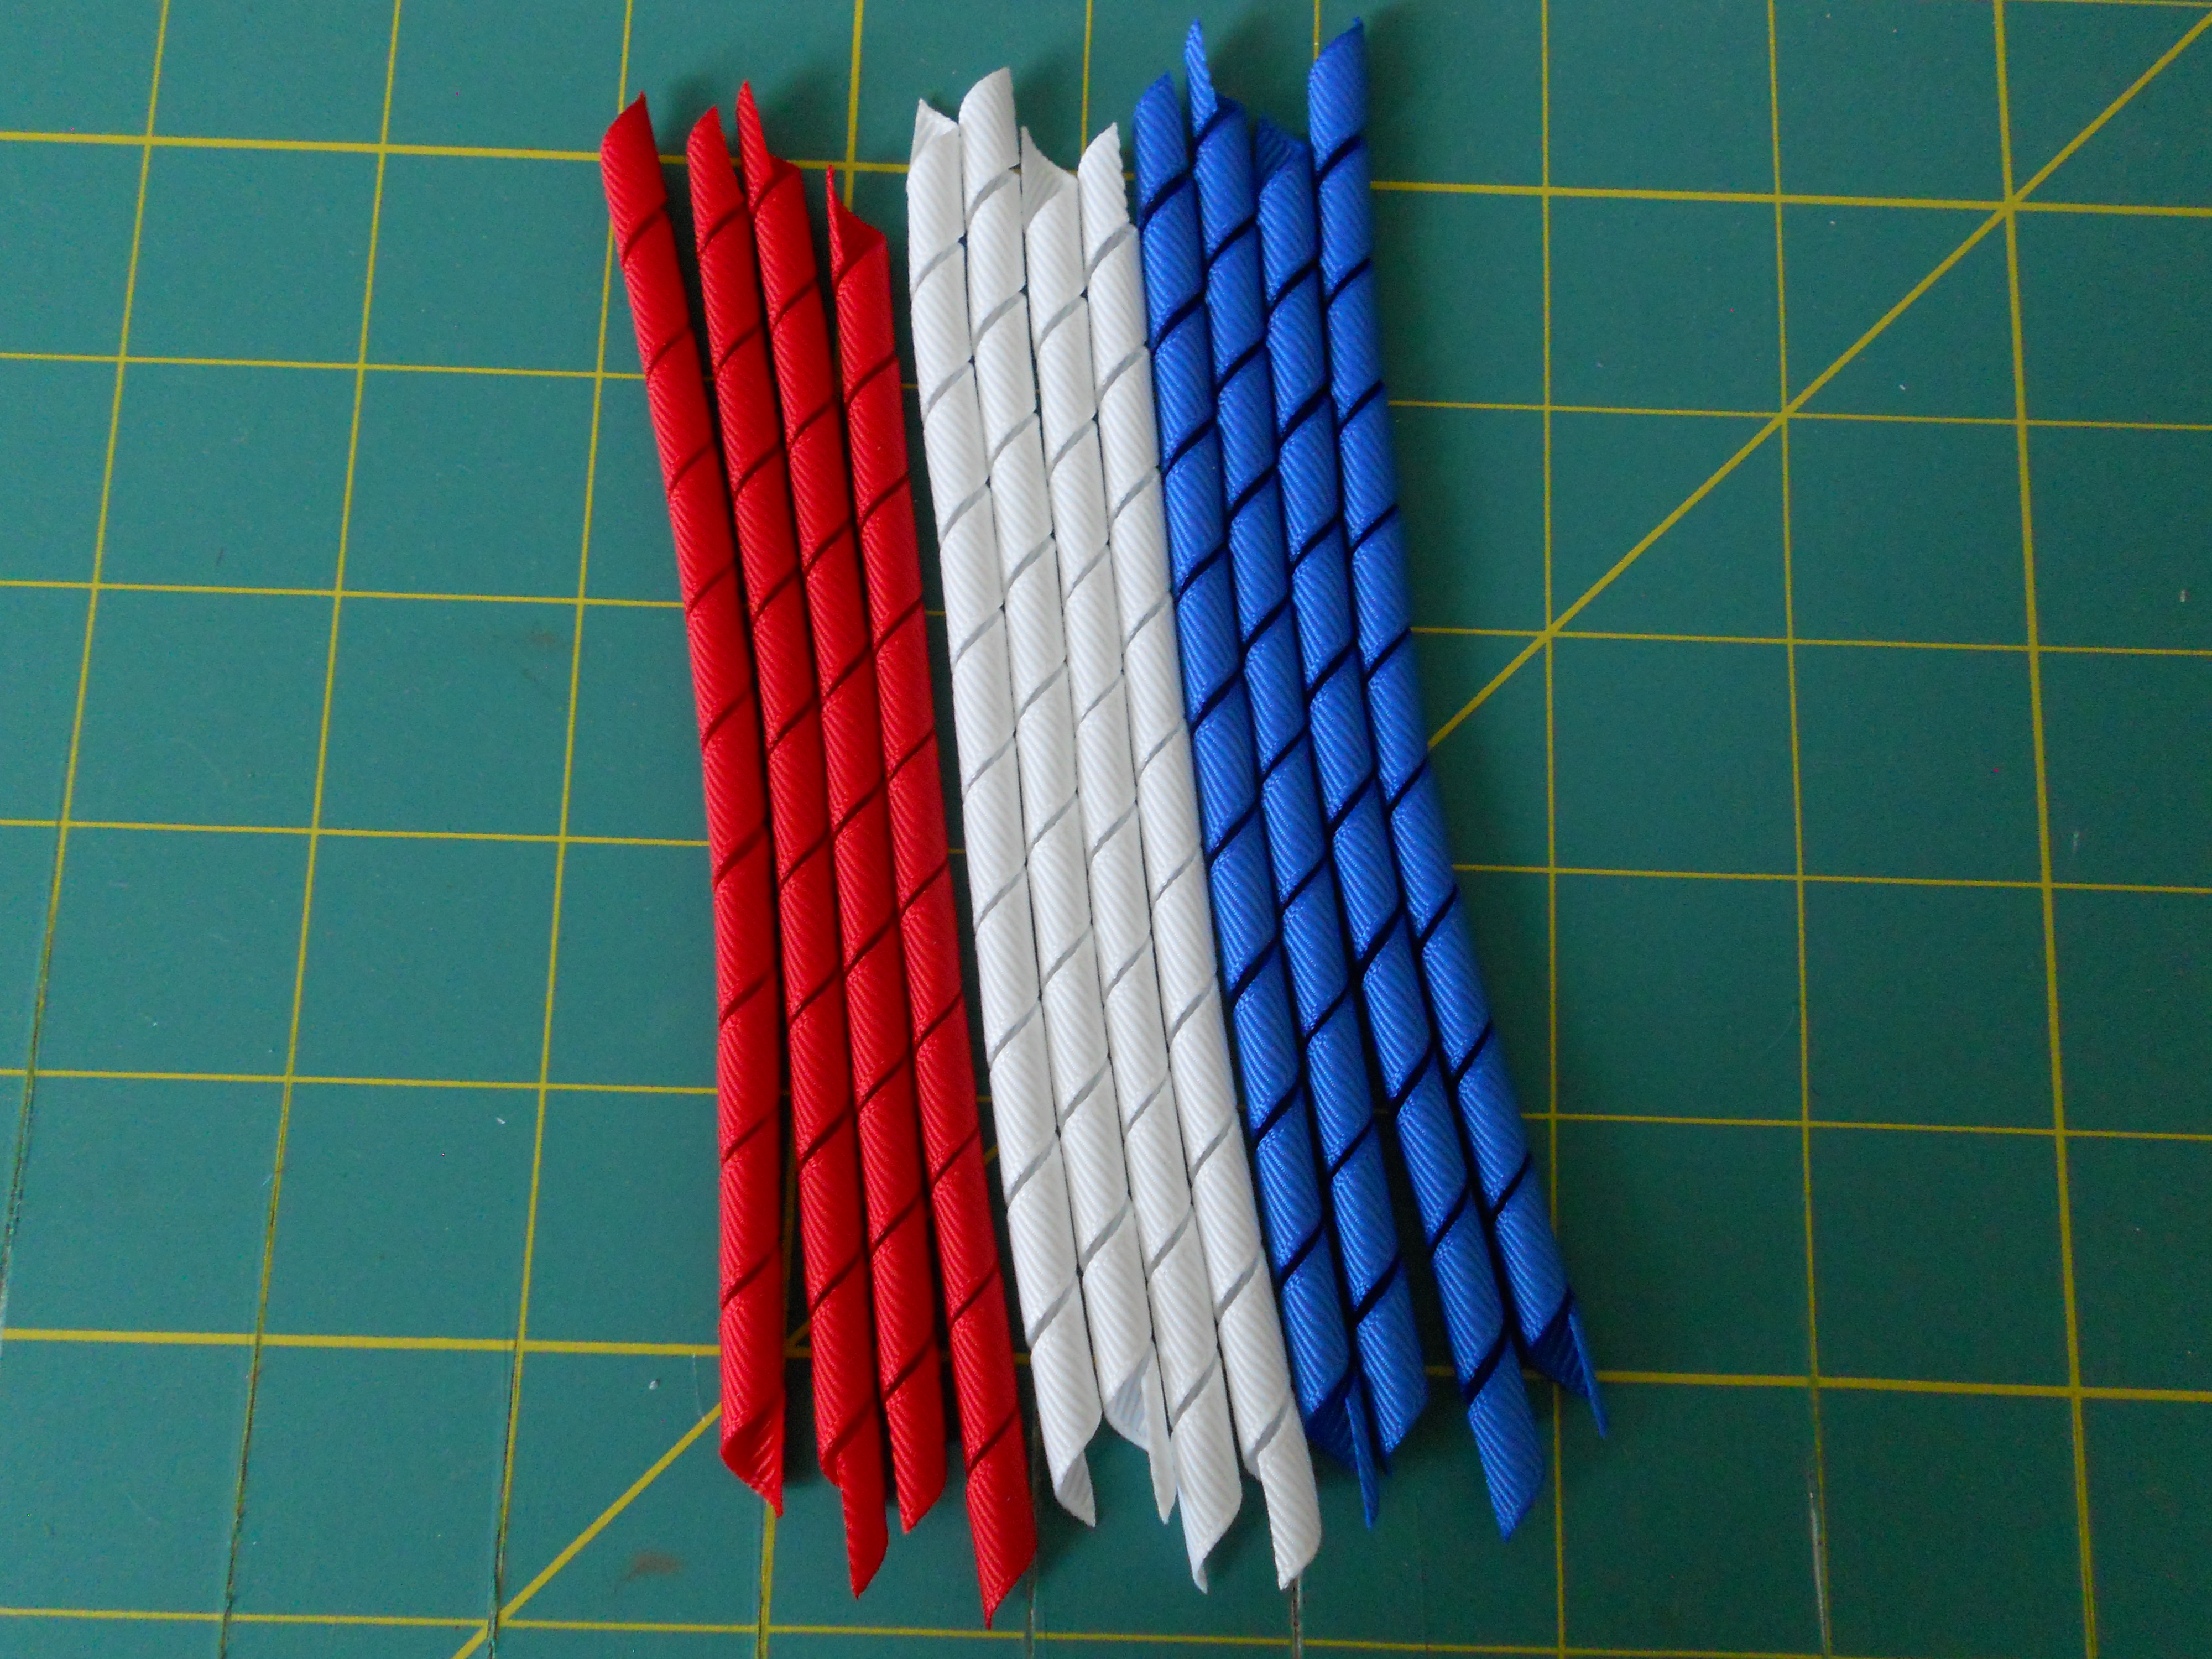
Step 5: Cut each 6" piece in half again. You now have 24 3" pieces.
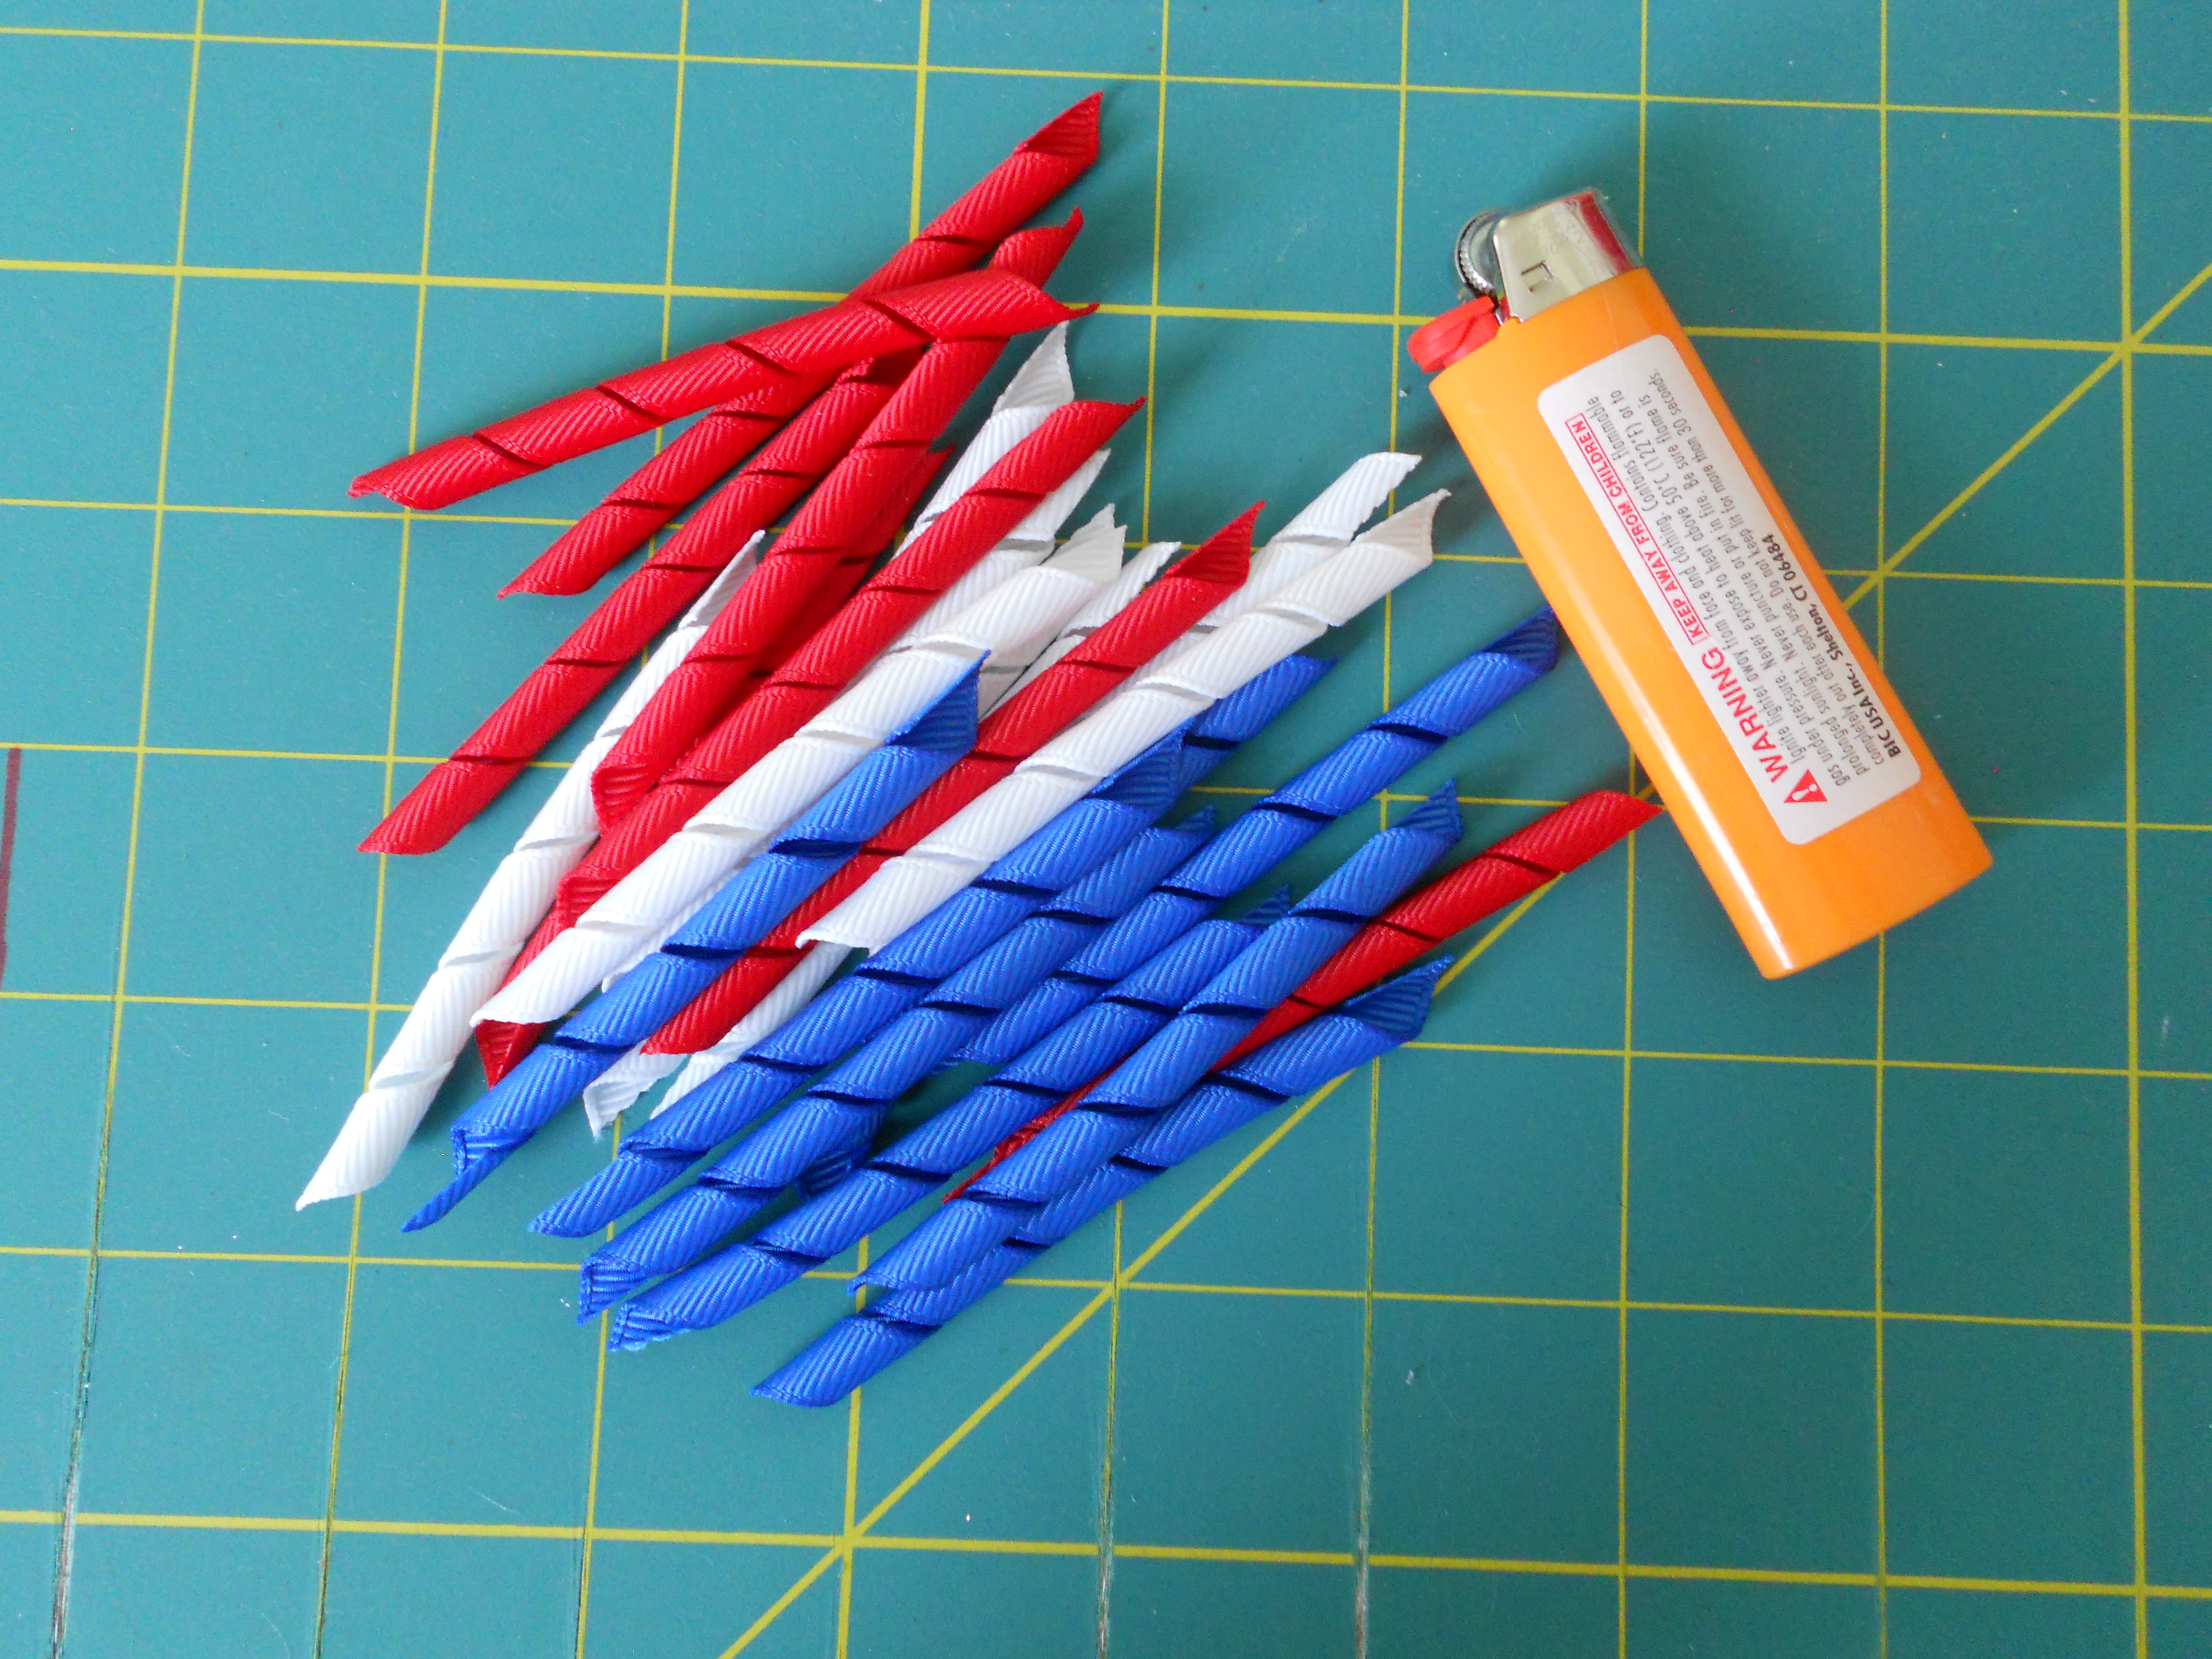
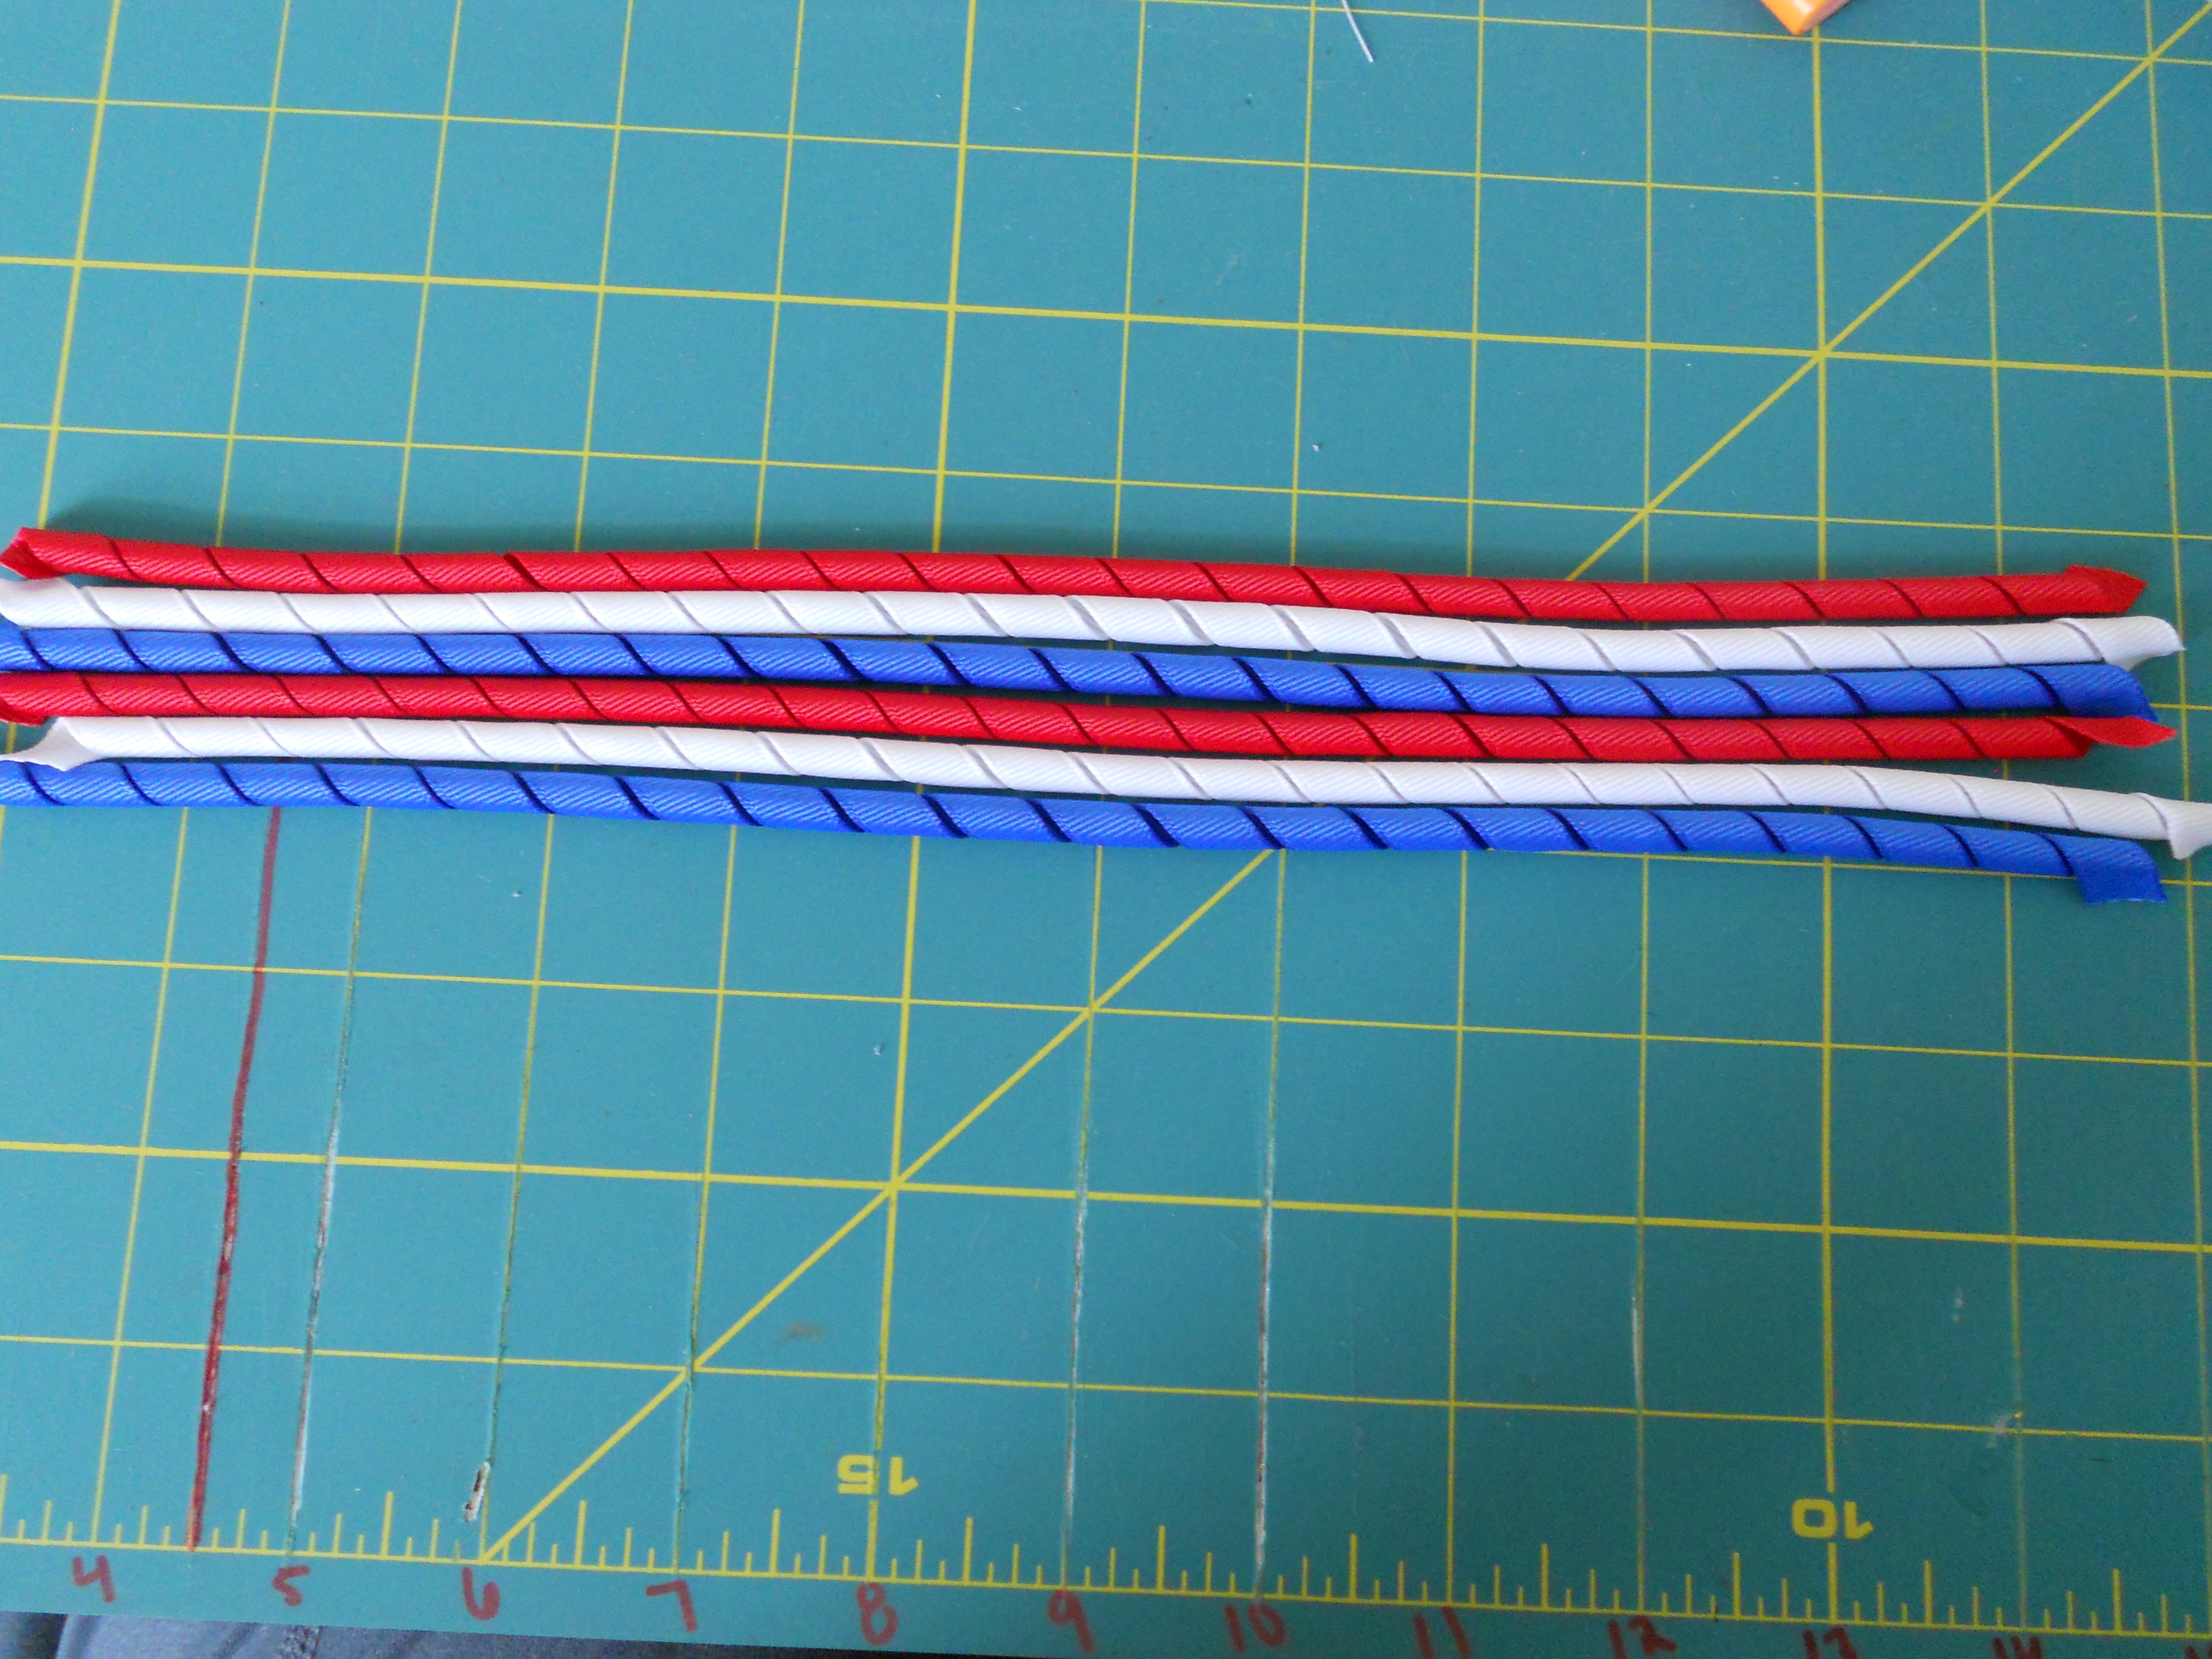
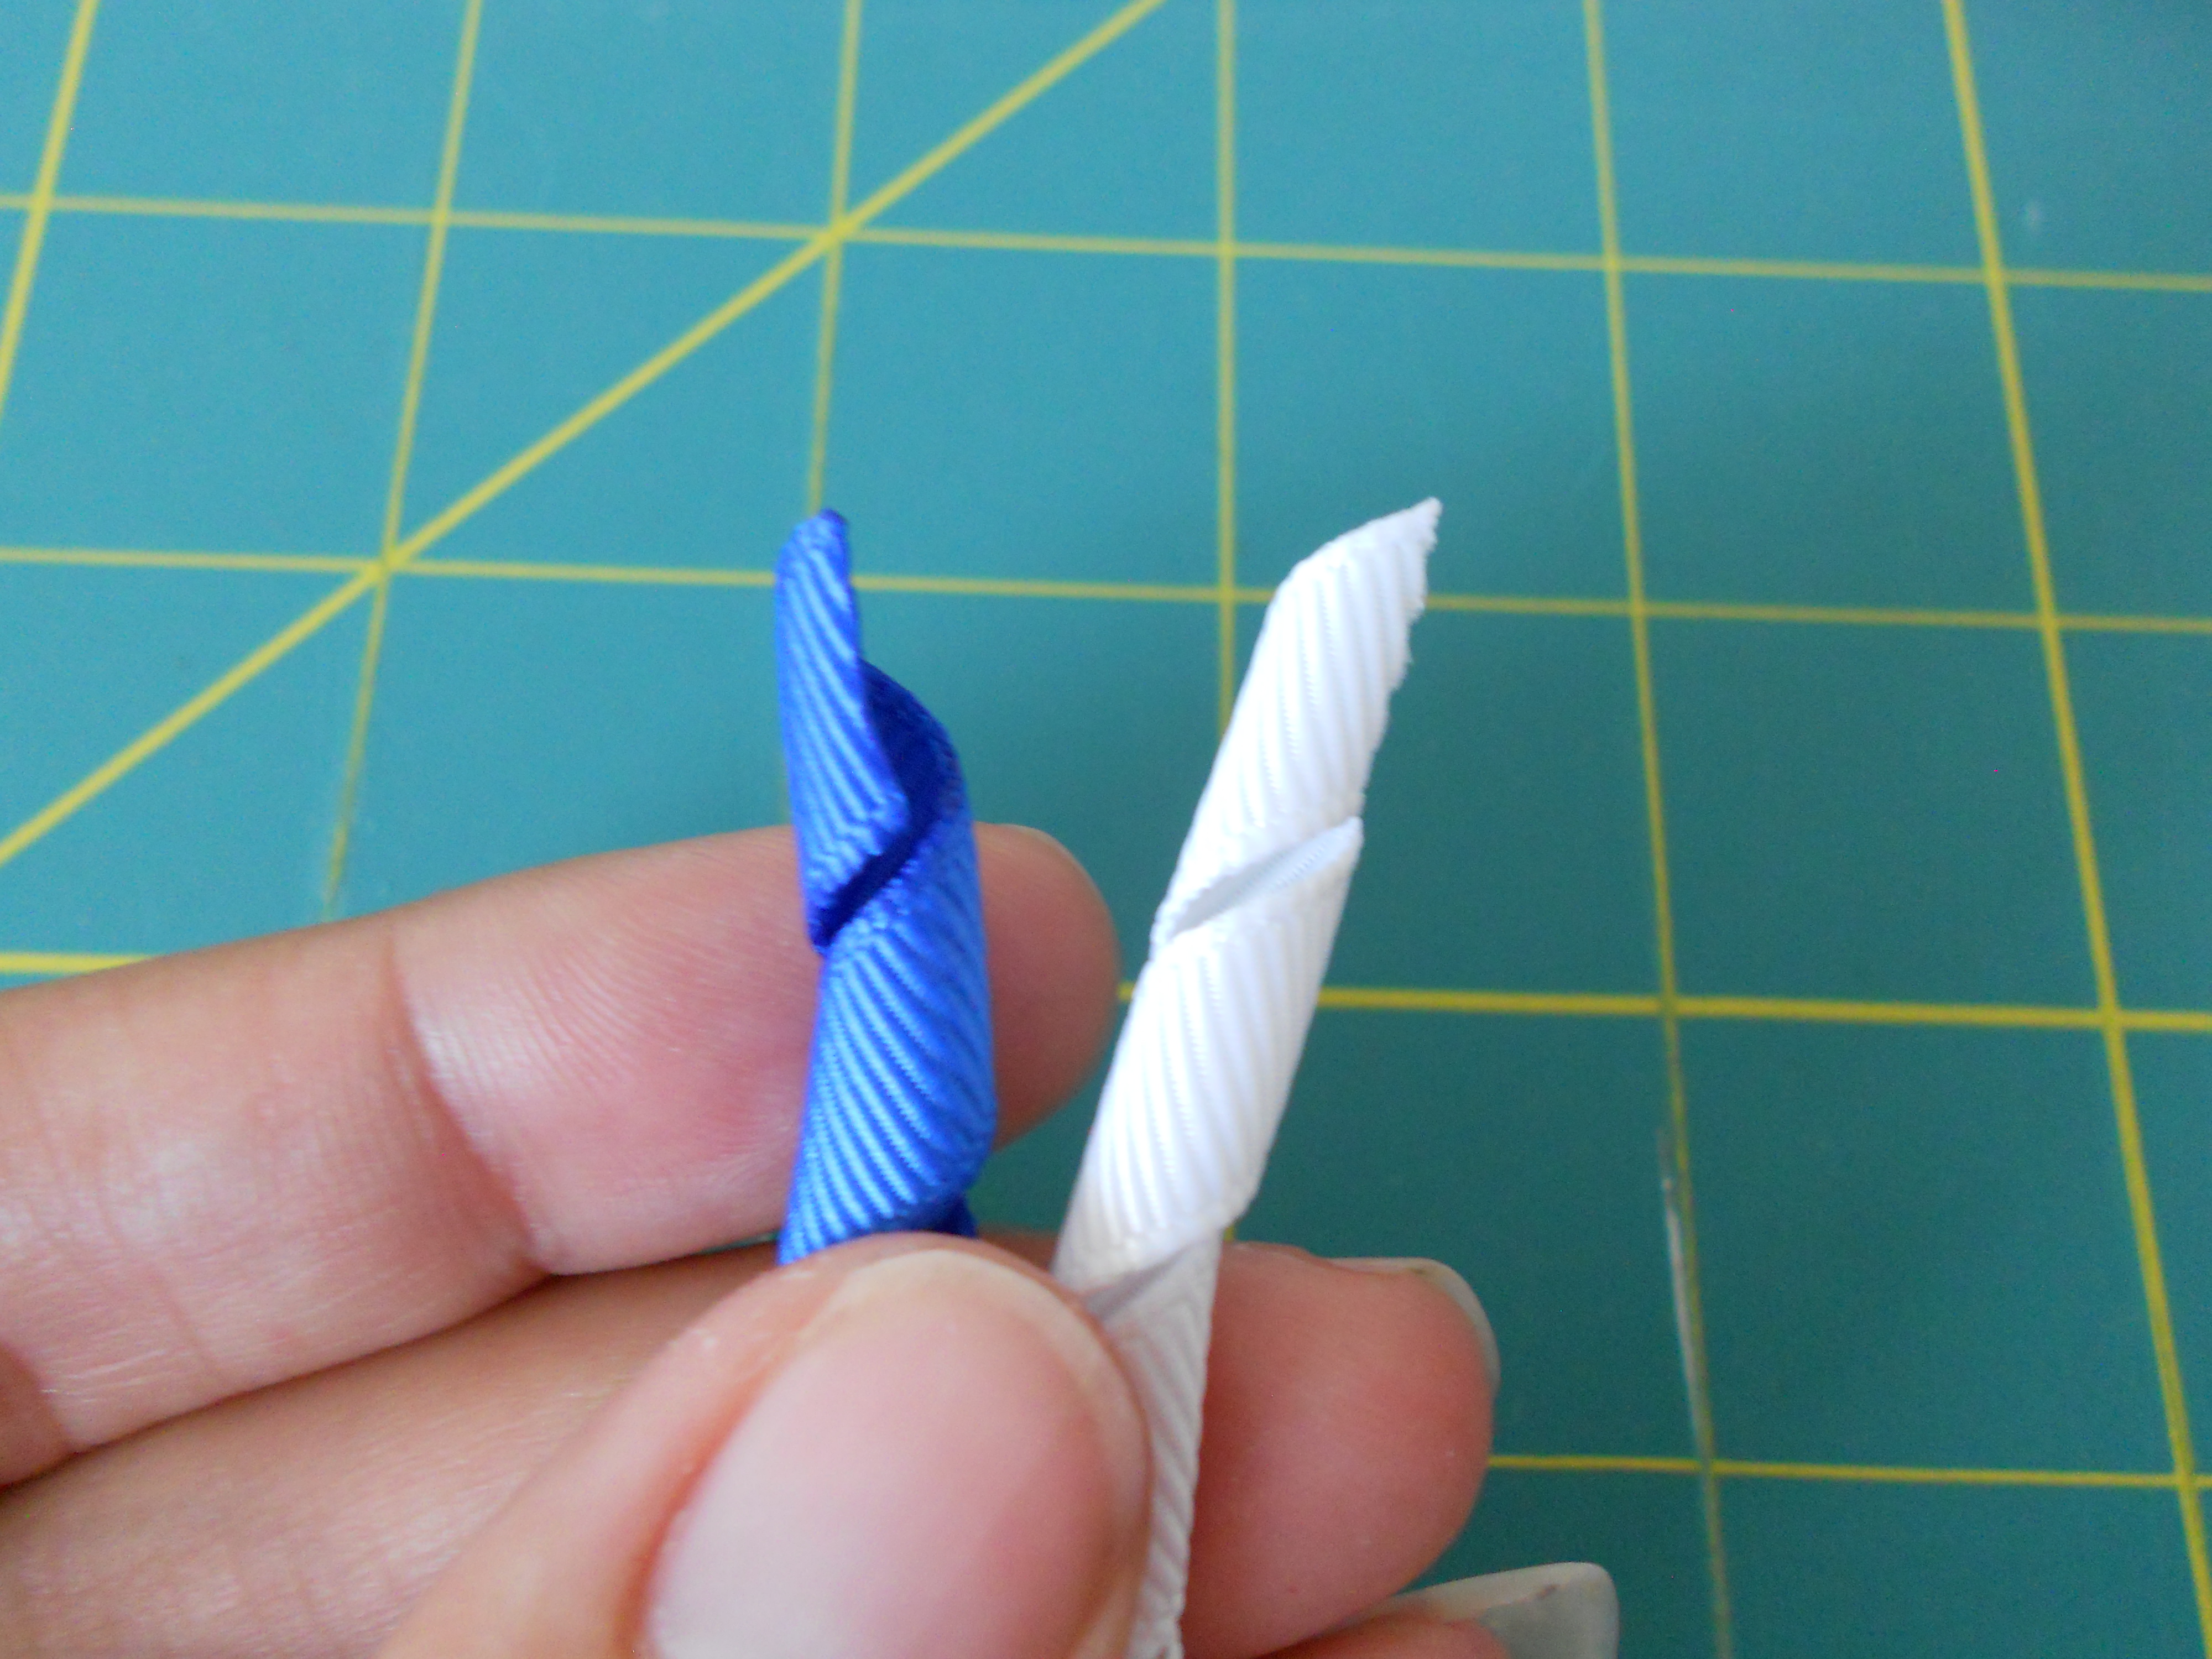
Step 6: Heat seal every end with your lighter. You can do this by lightly running the lighter along the edge. This step prevents fraying and is essential for the finished product. The blue ribbon on the left is after heat sealing, the white ribbon on the right is before heat sealing. You can clearly see the difference!
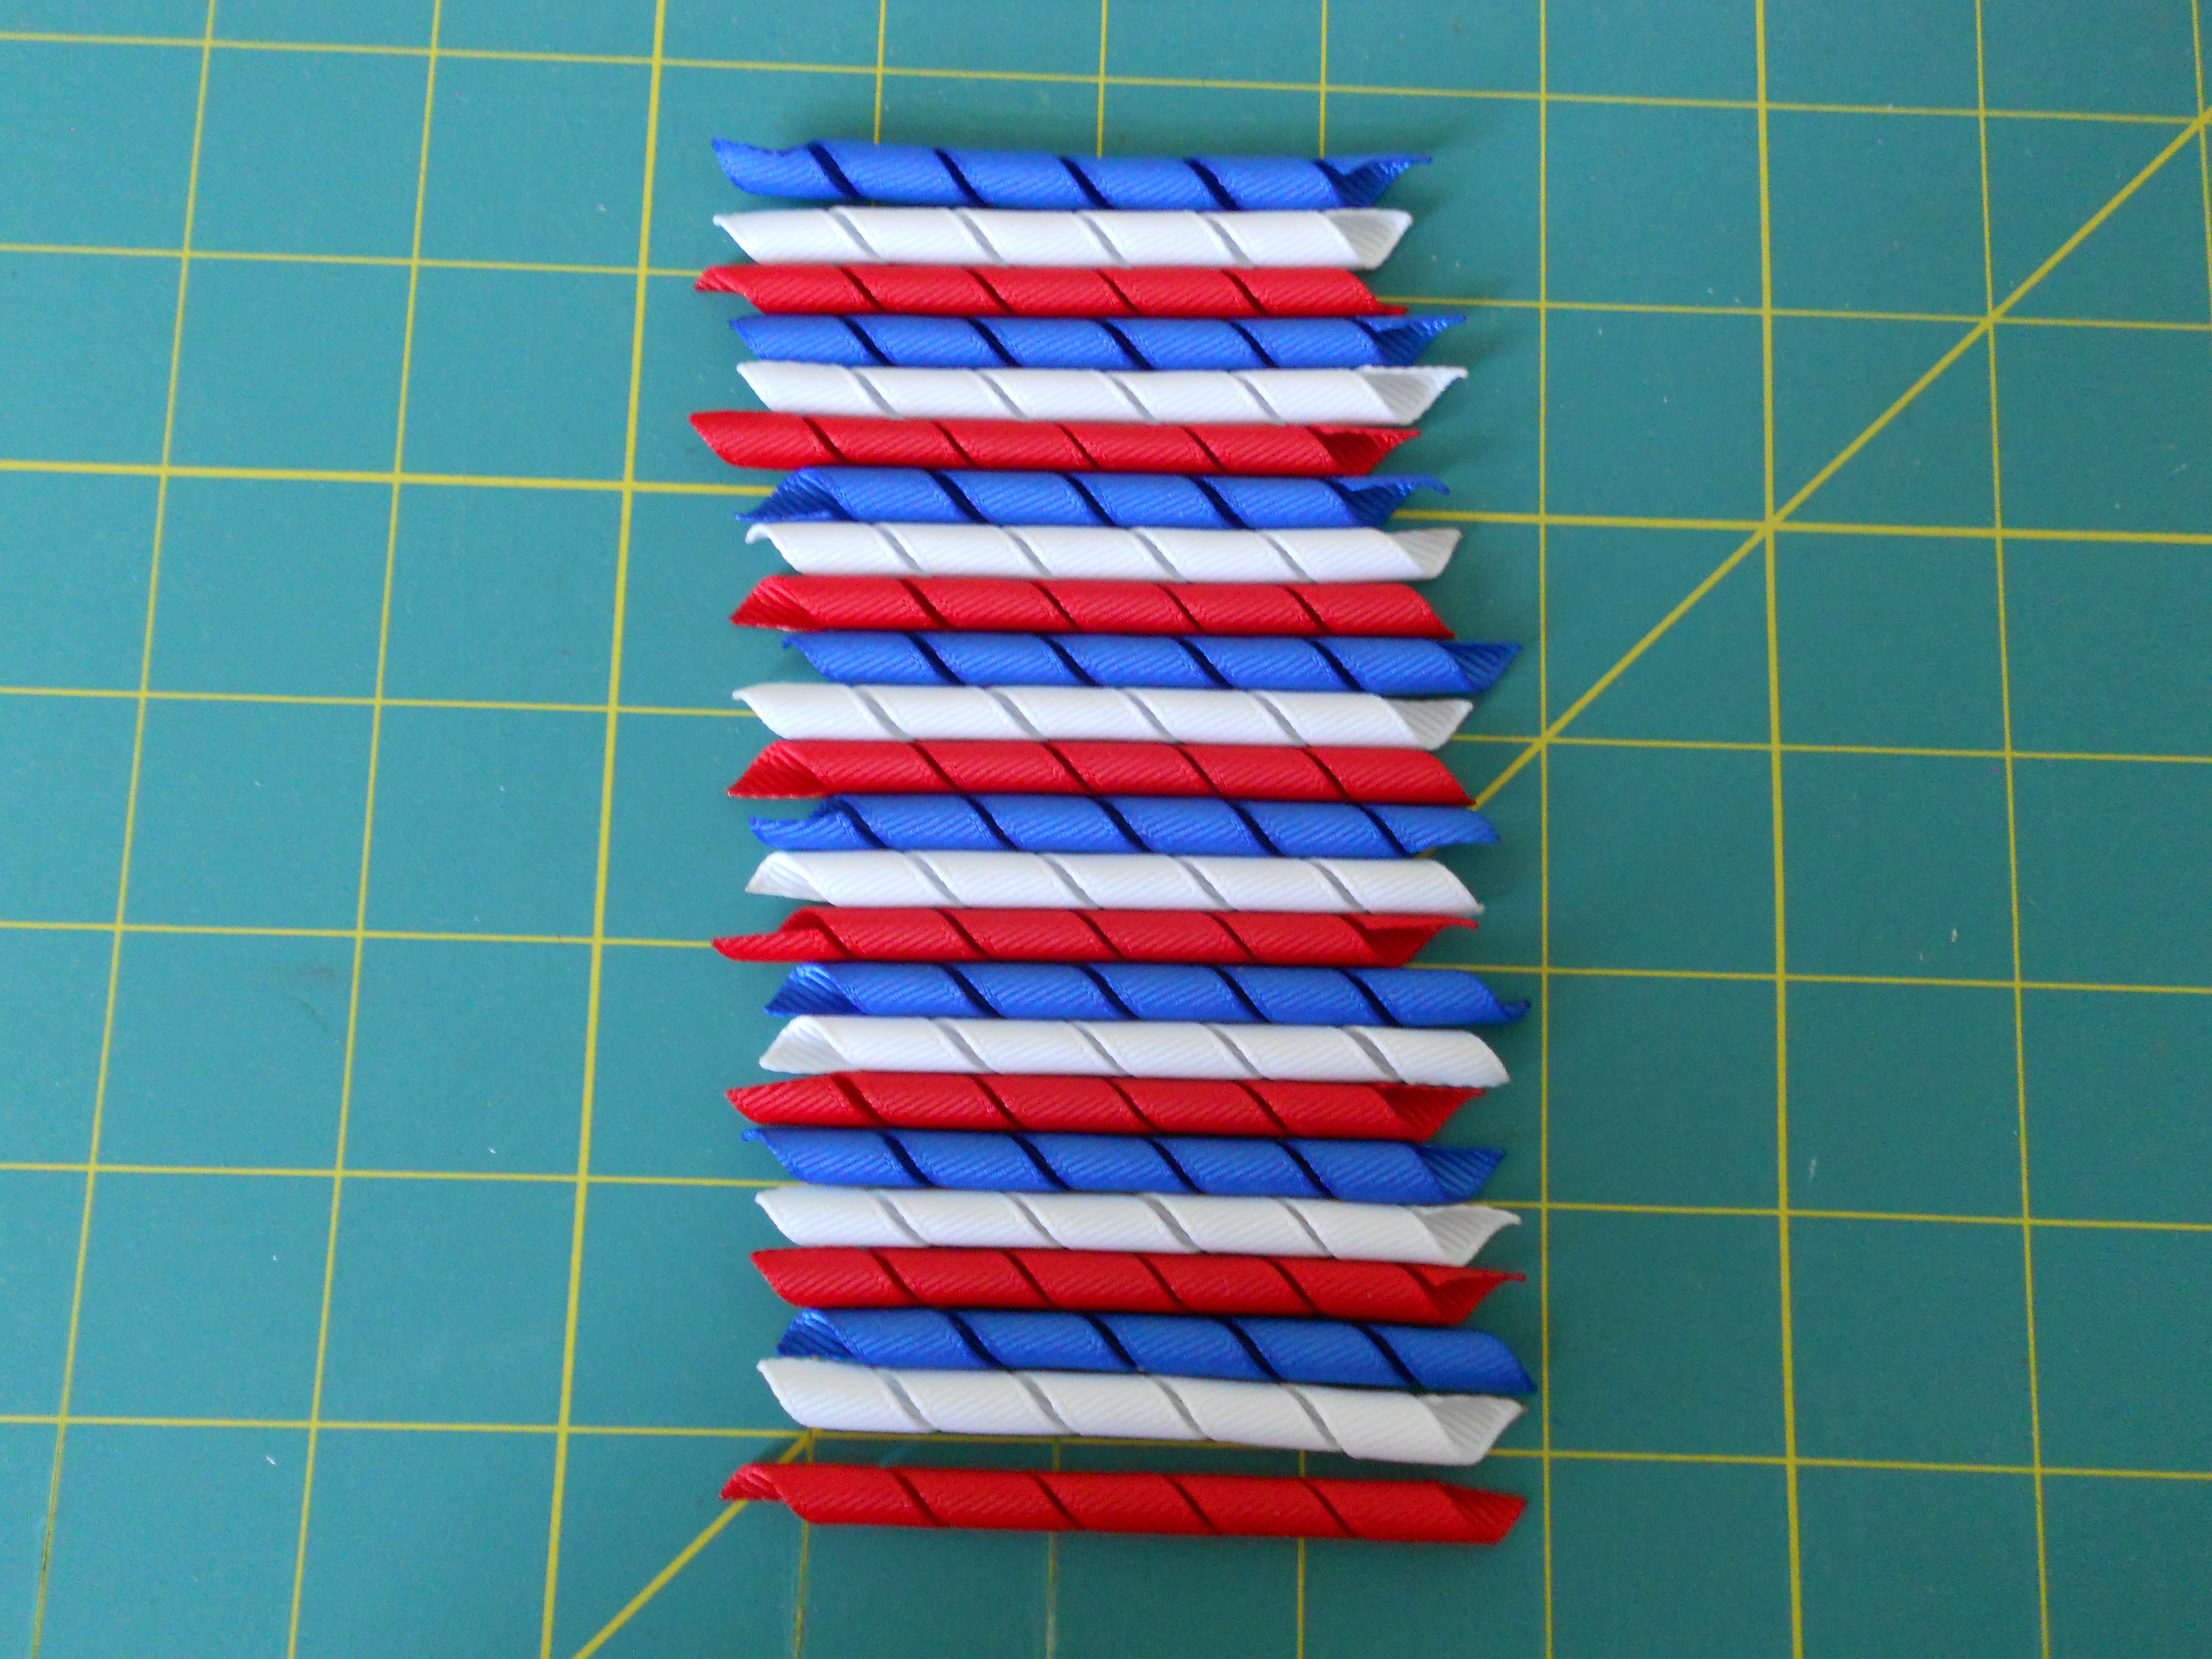
Step 7: Line up your korker pieces in the pattern you want for your bow, thread your needle. My pattern is red, white, blue.
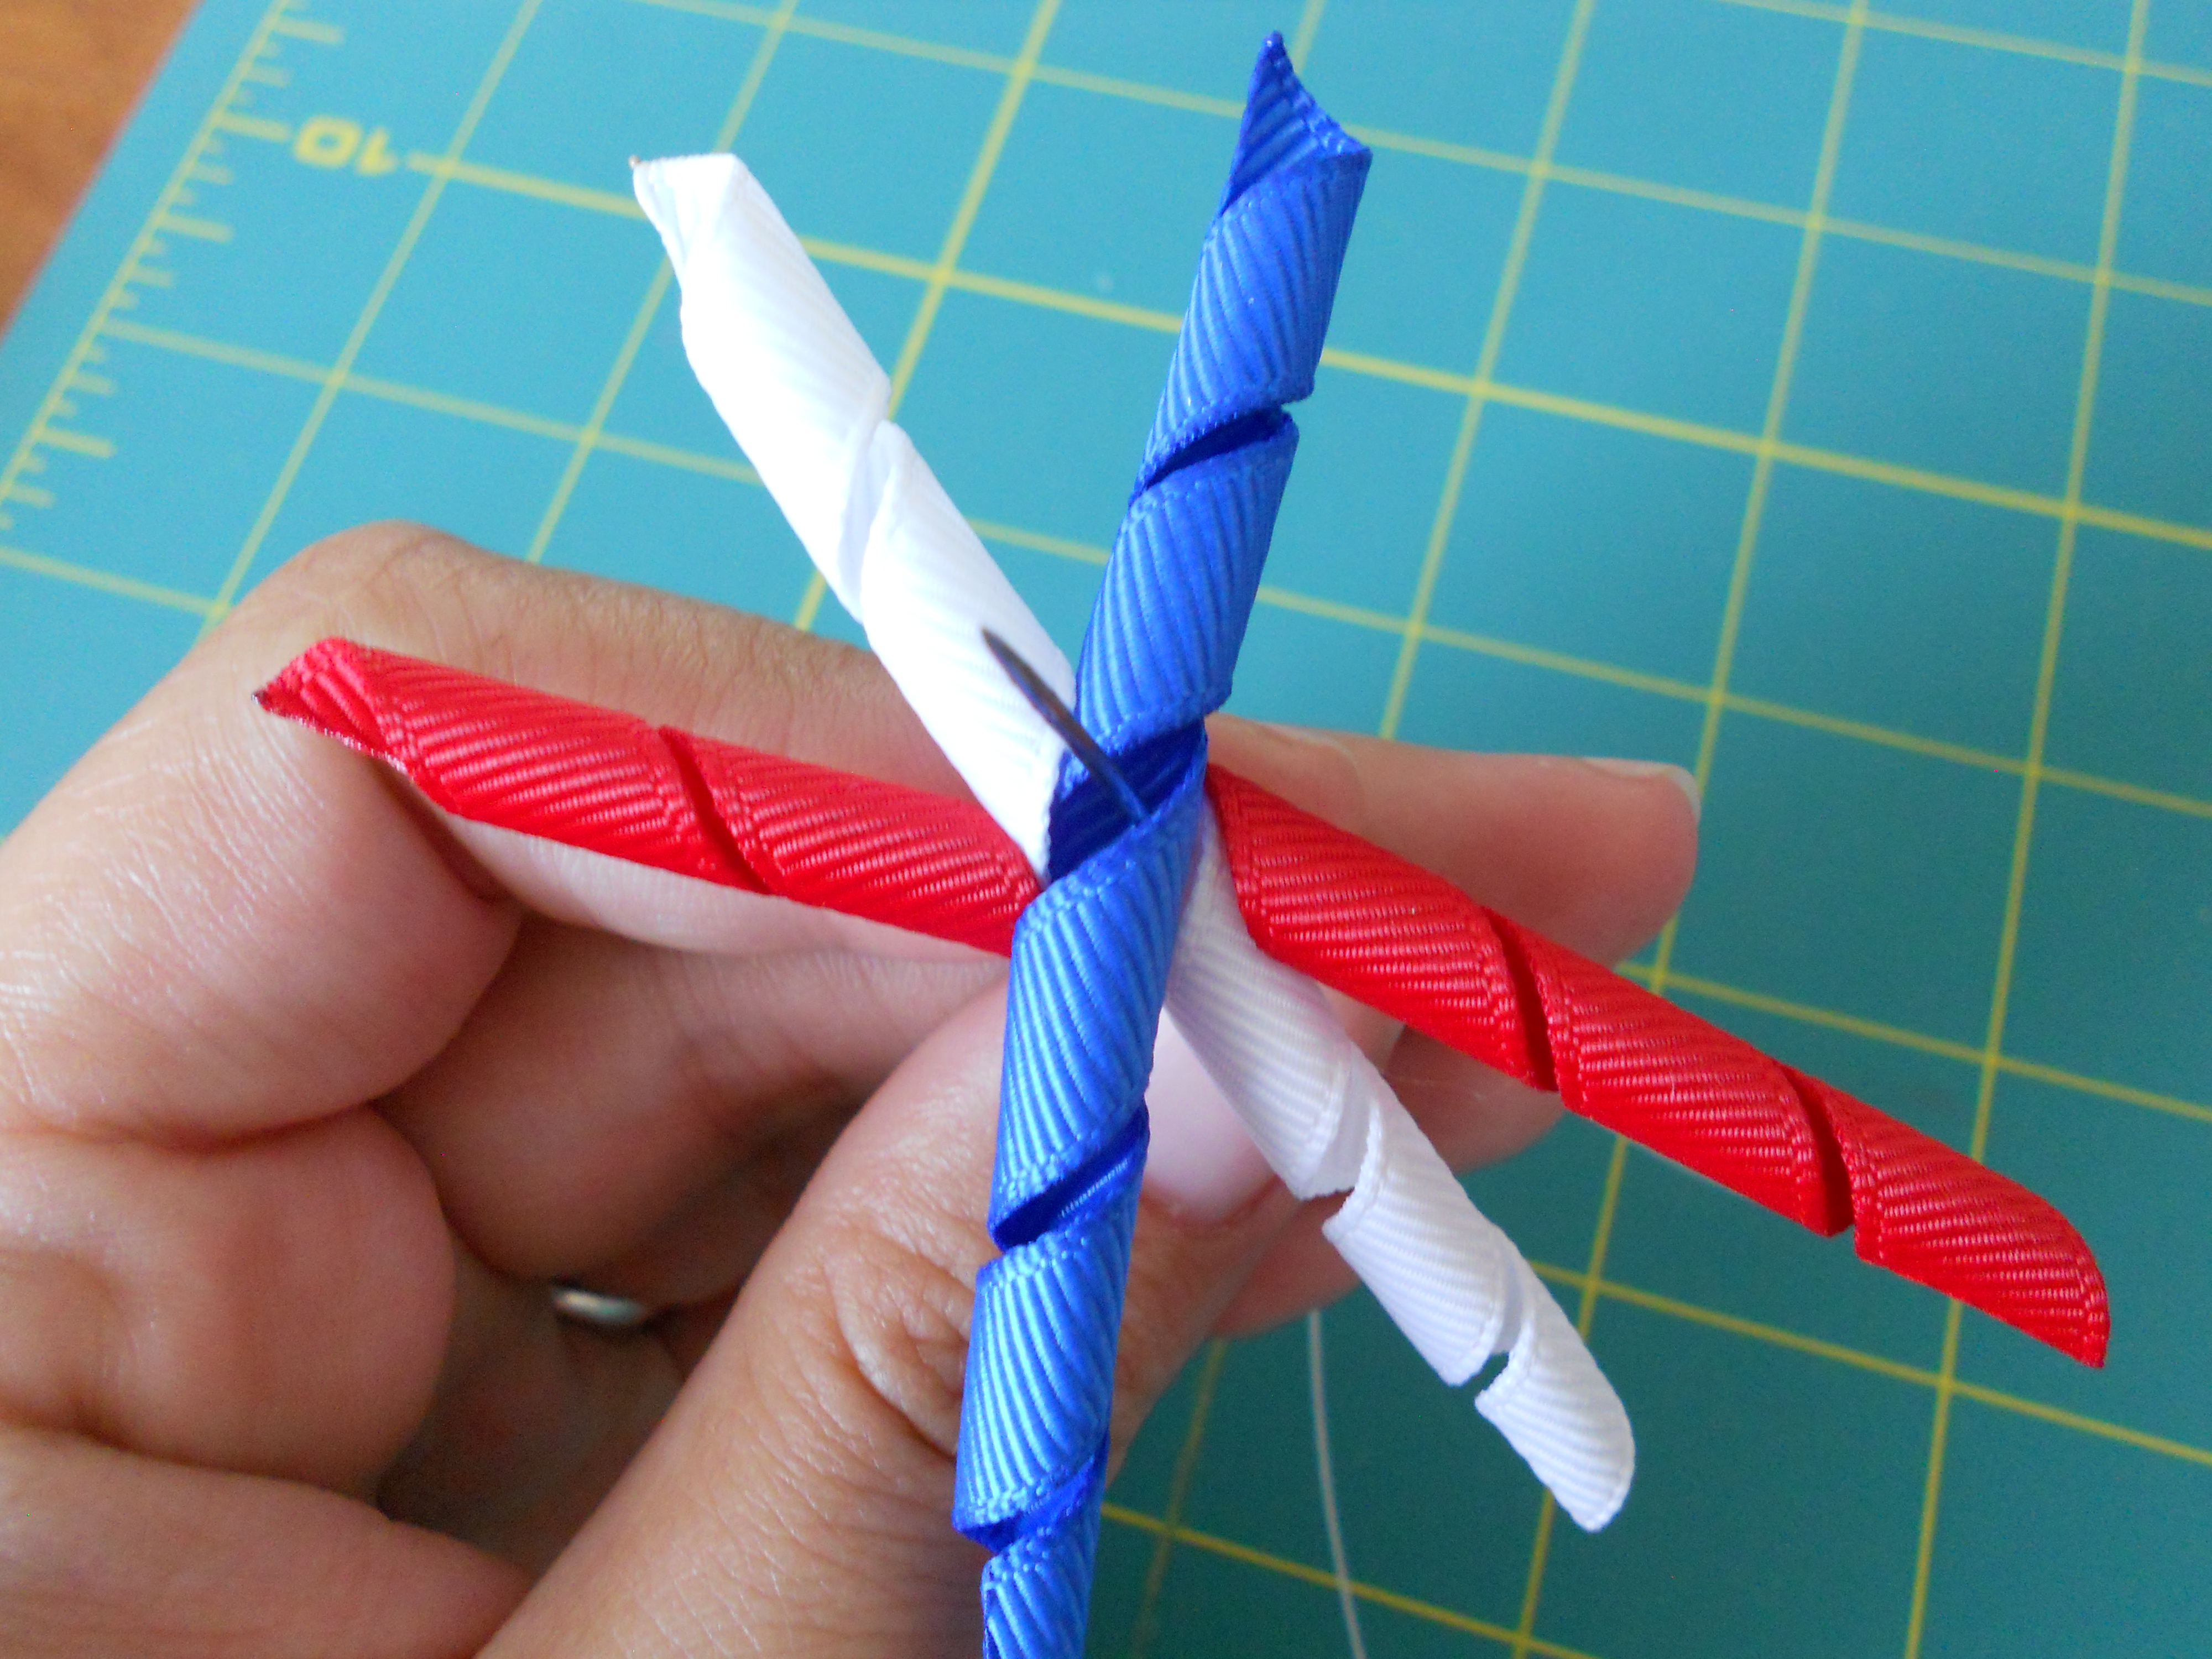
Step 8: Thread each korker piece onto your needle. Stack all of the pieces on top of each other making sure the centers are touching. Keep adding pieces one at a time until you have used all 24 pieces. Leave the korker pieces on the needle until the very end.
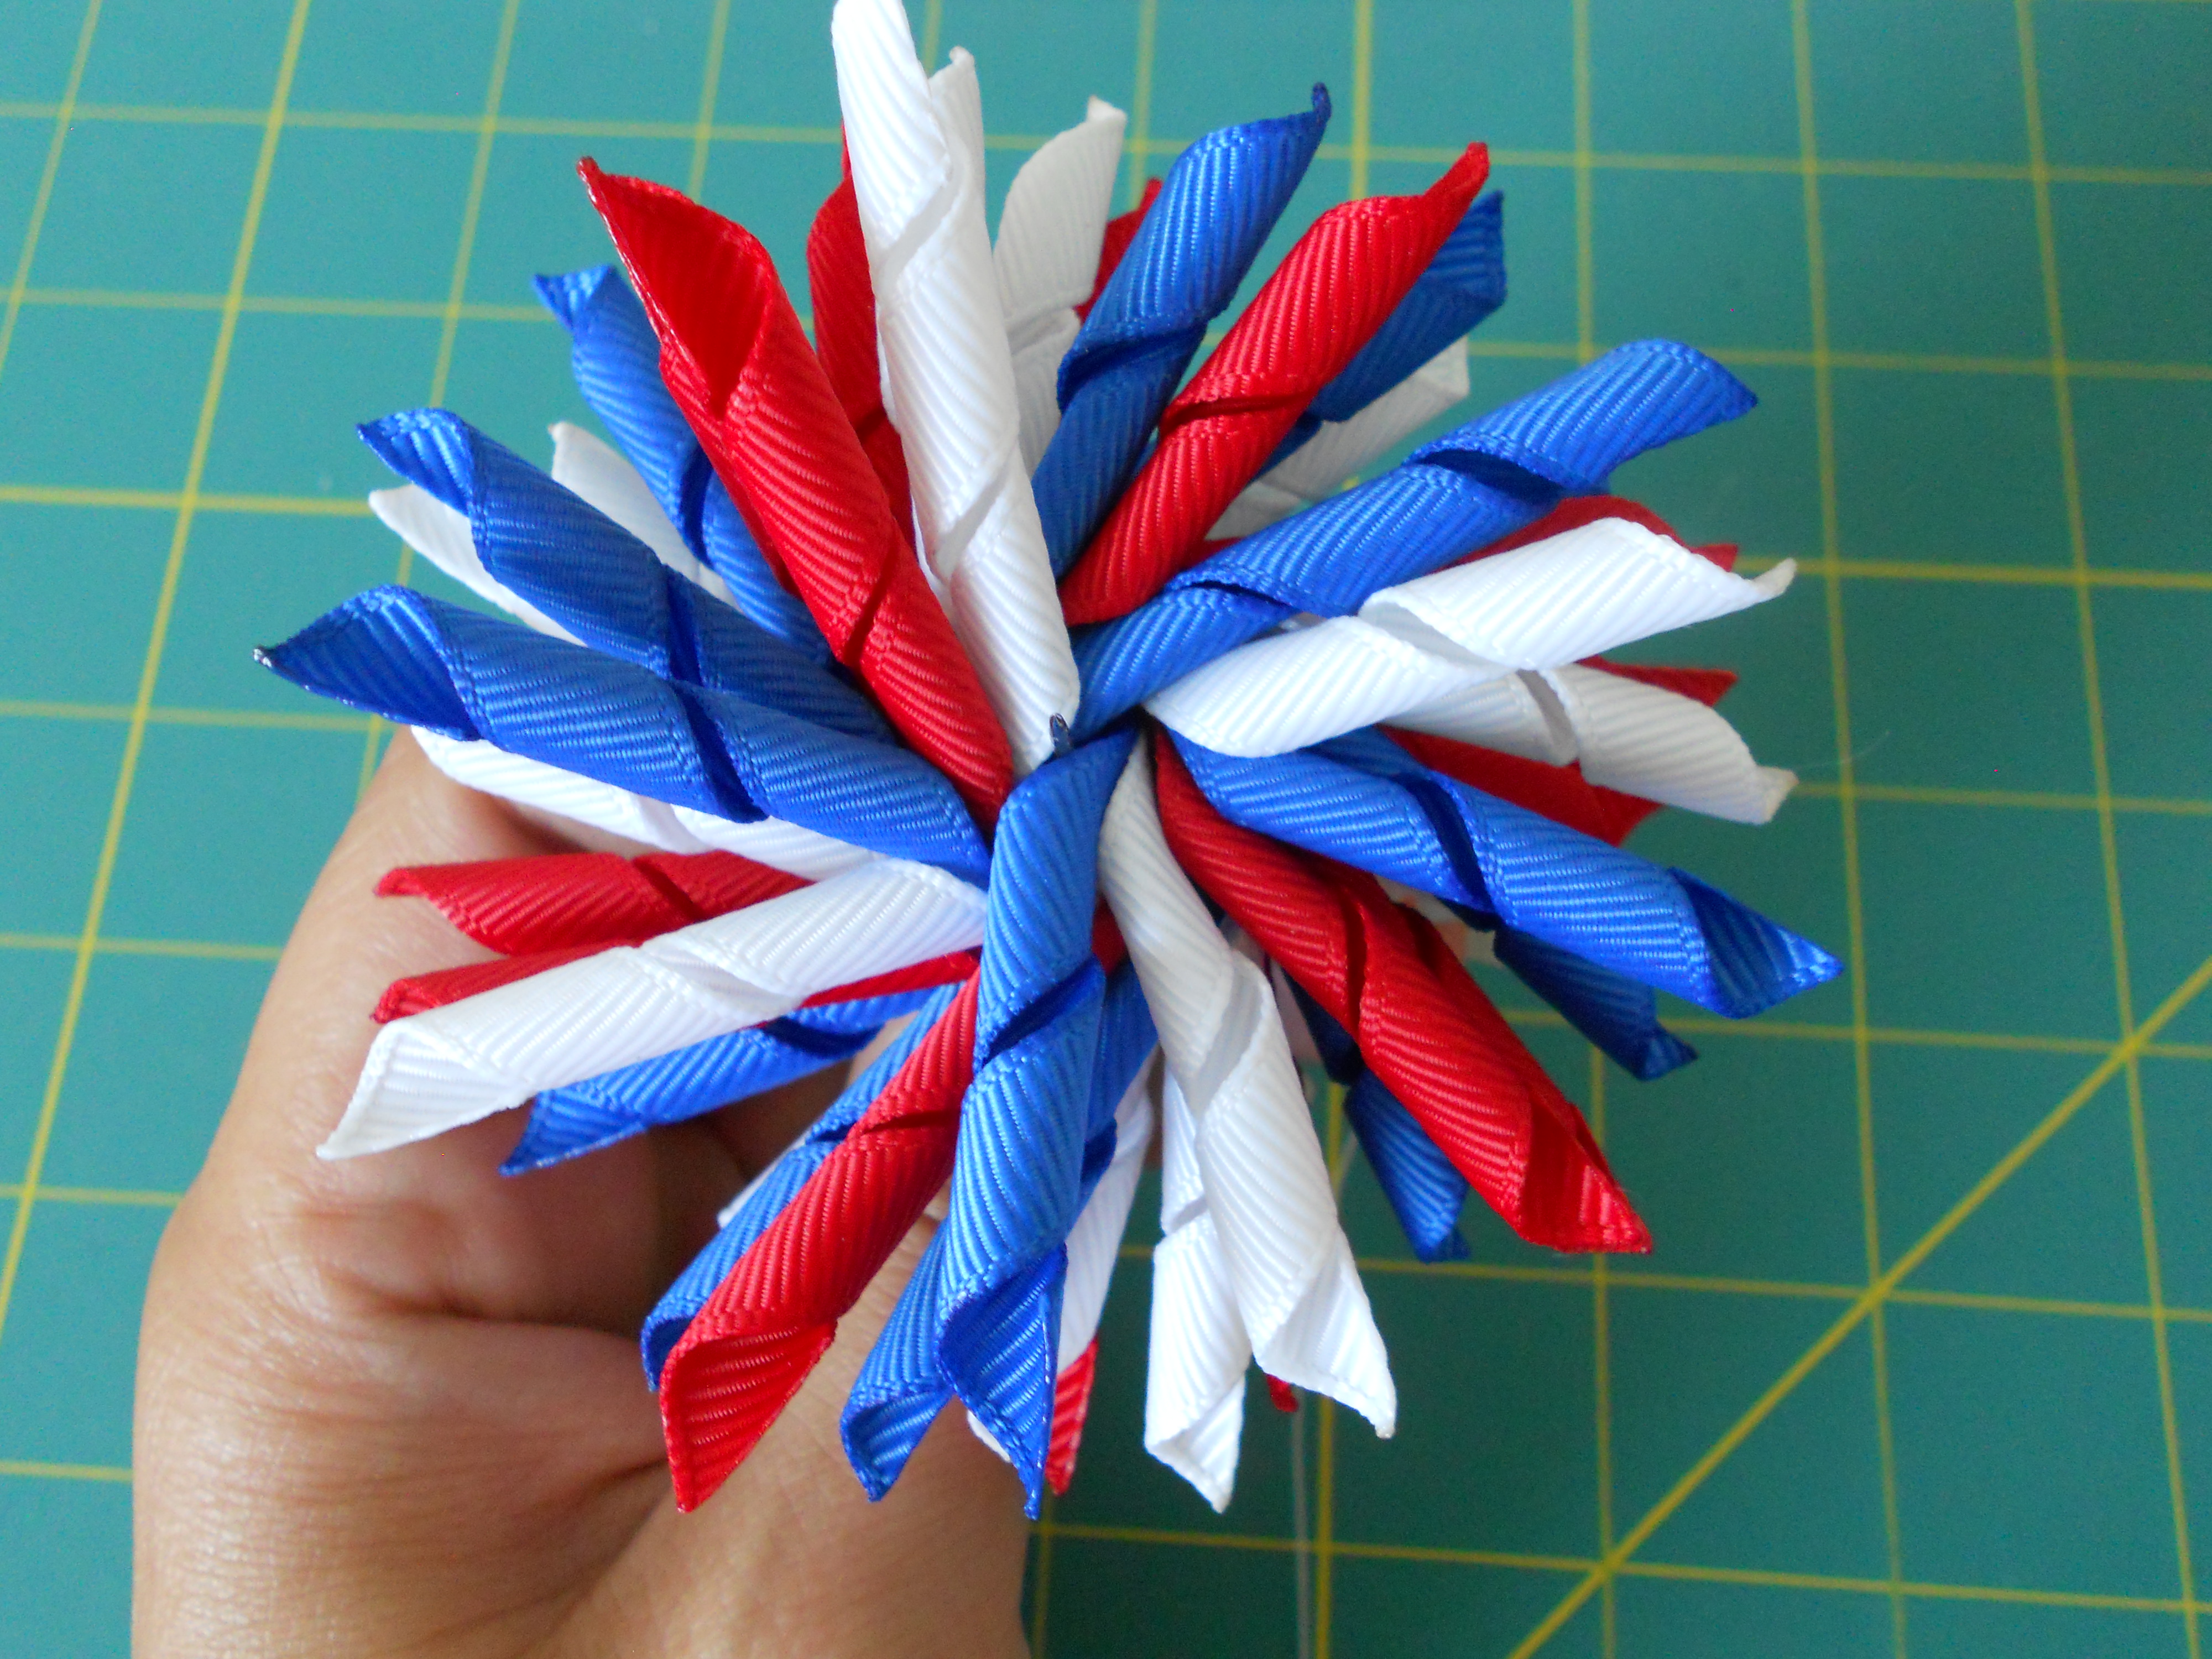
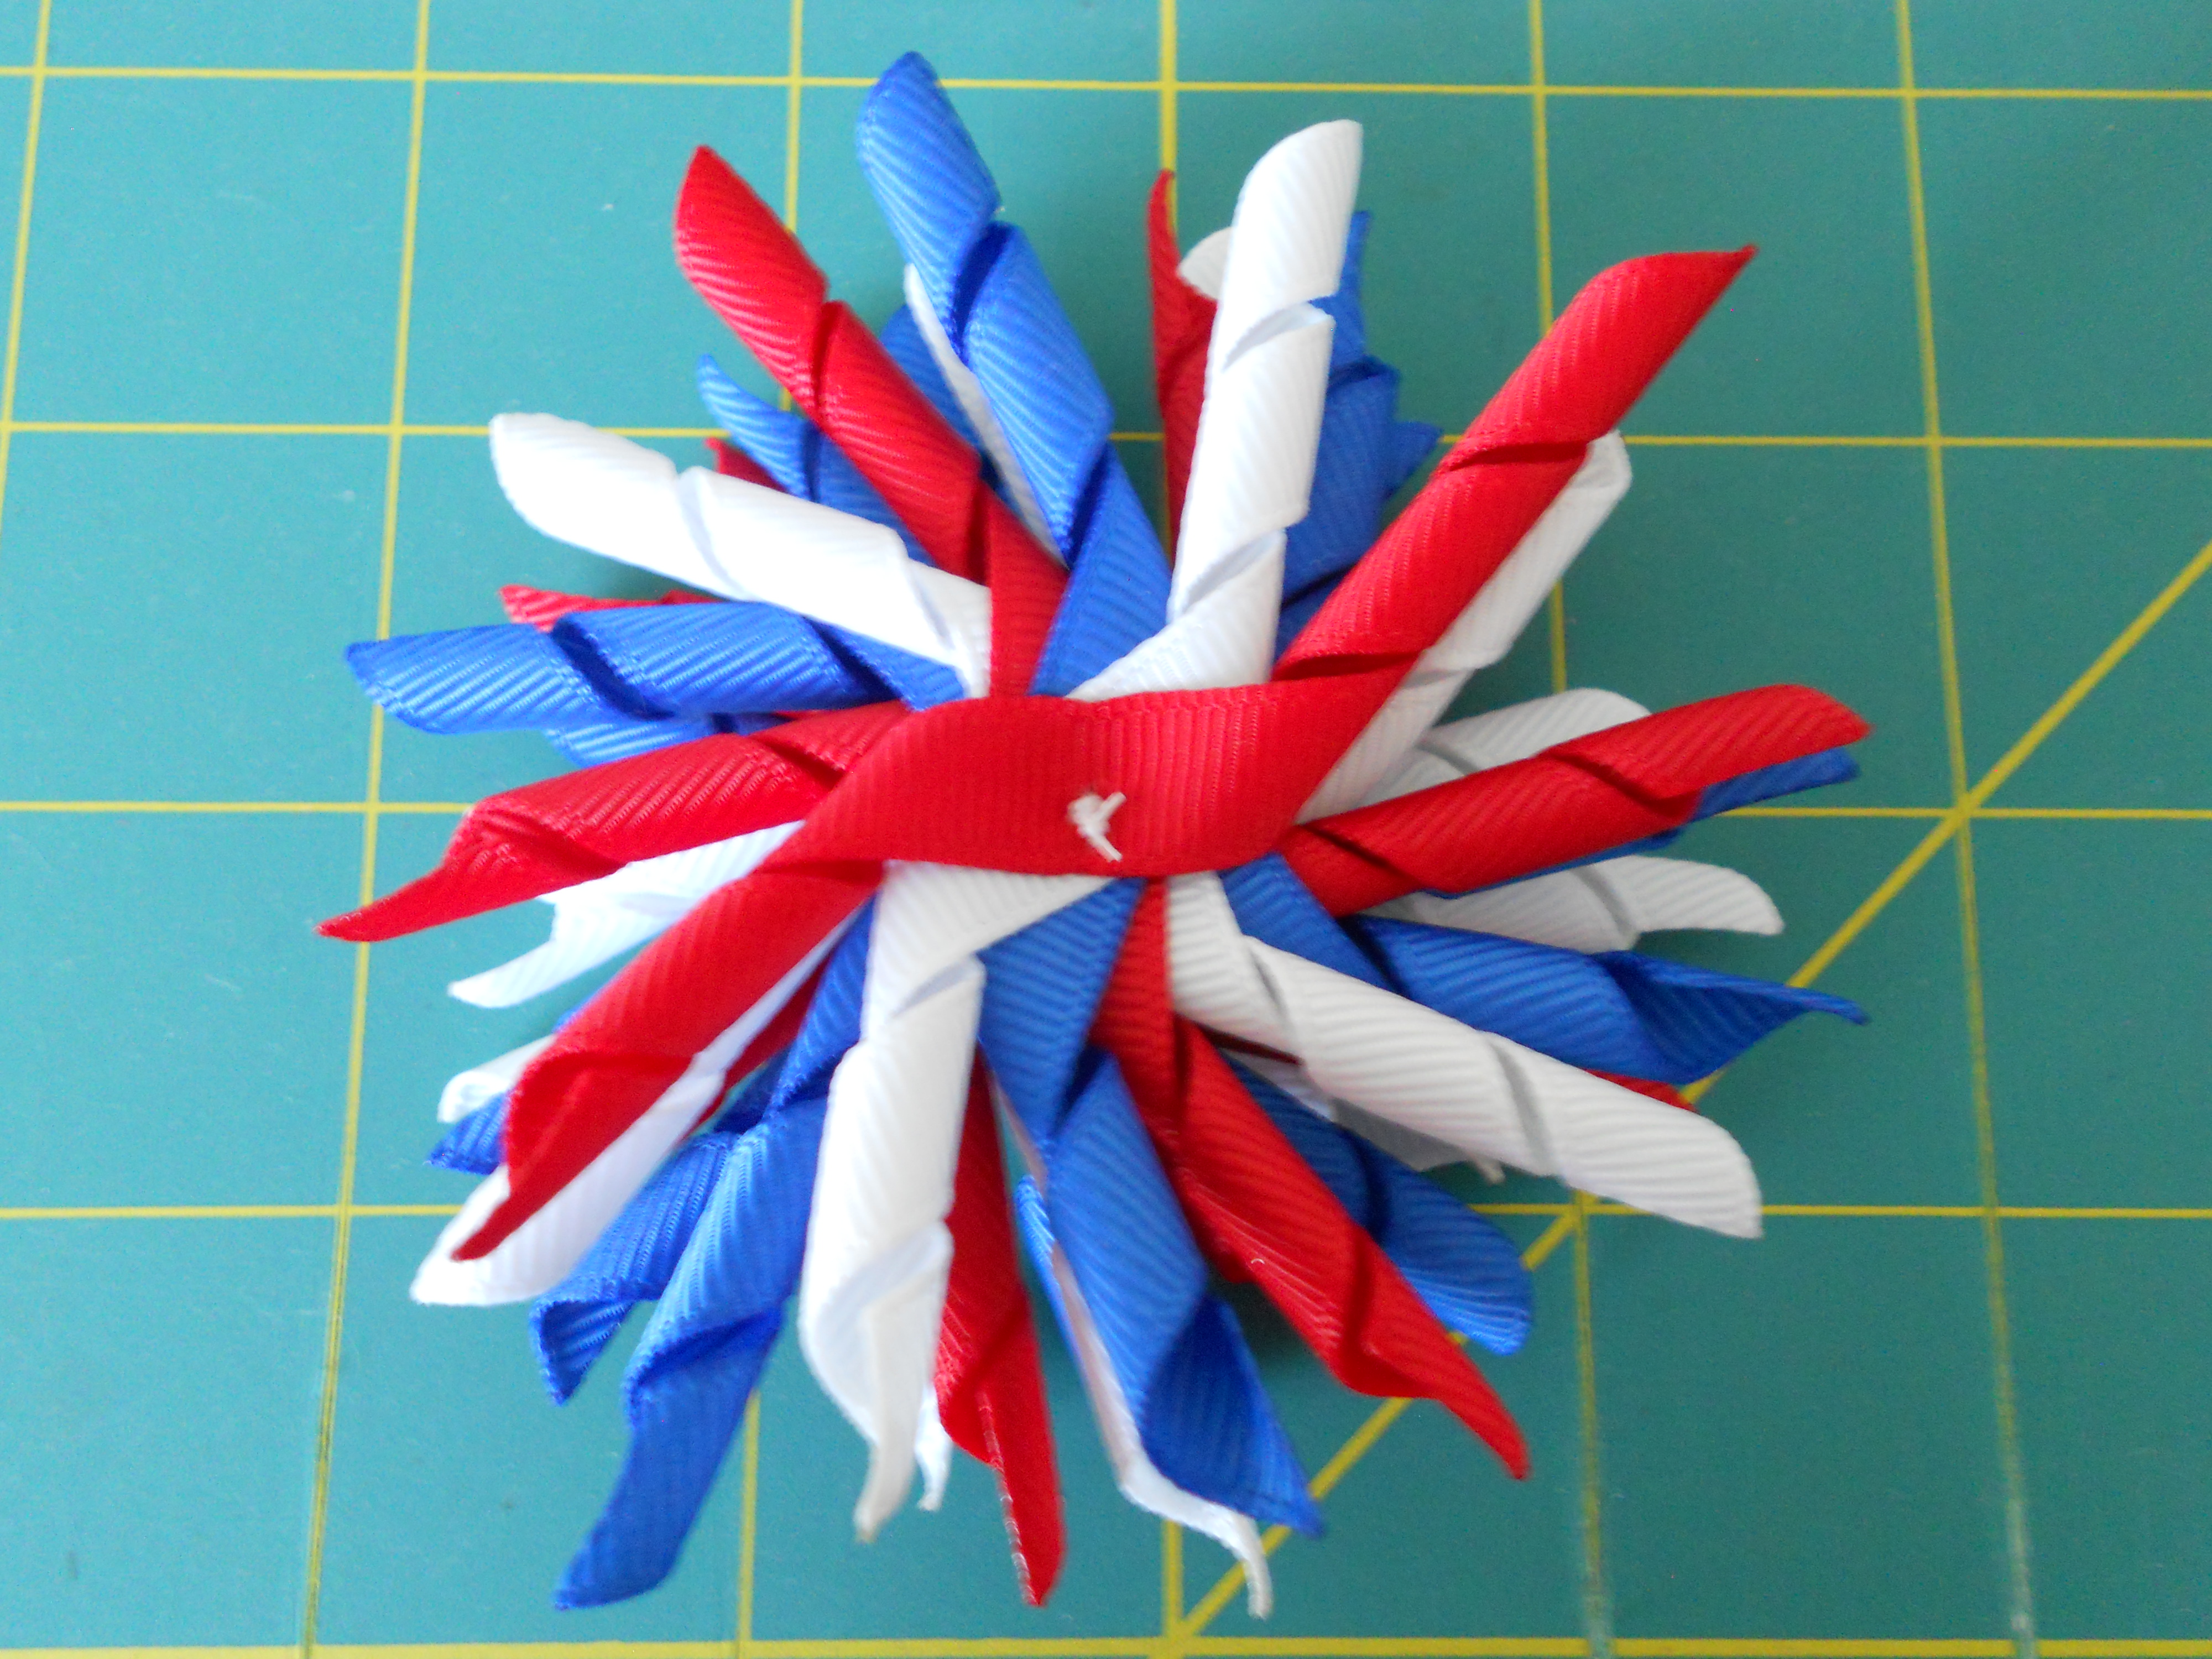
Step 9: Hold the center of your bow and thread your needle through the center of your bow several times and tie off in the back.
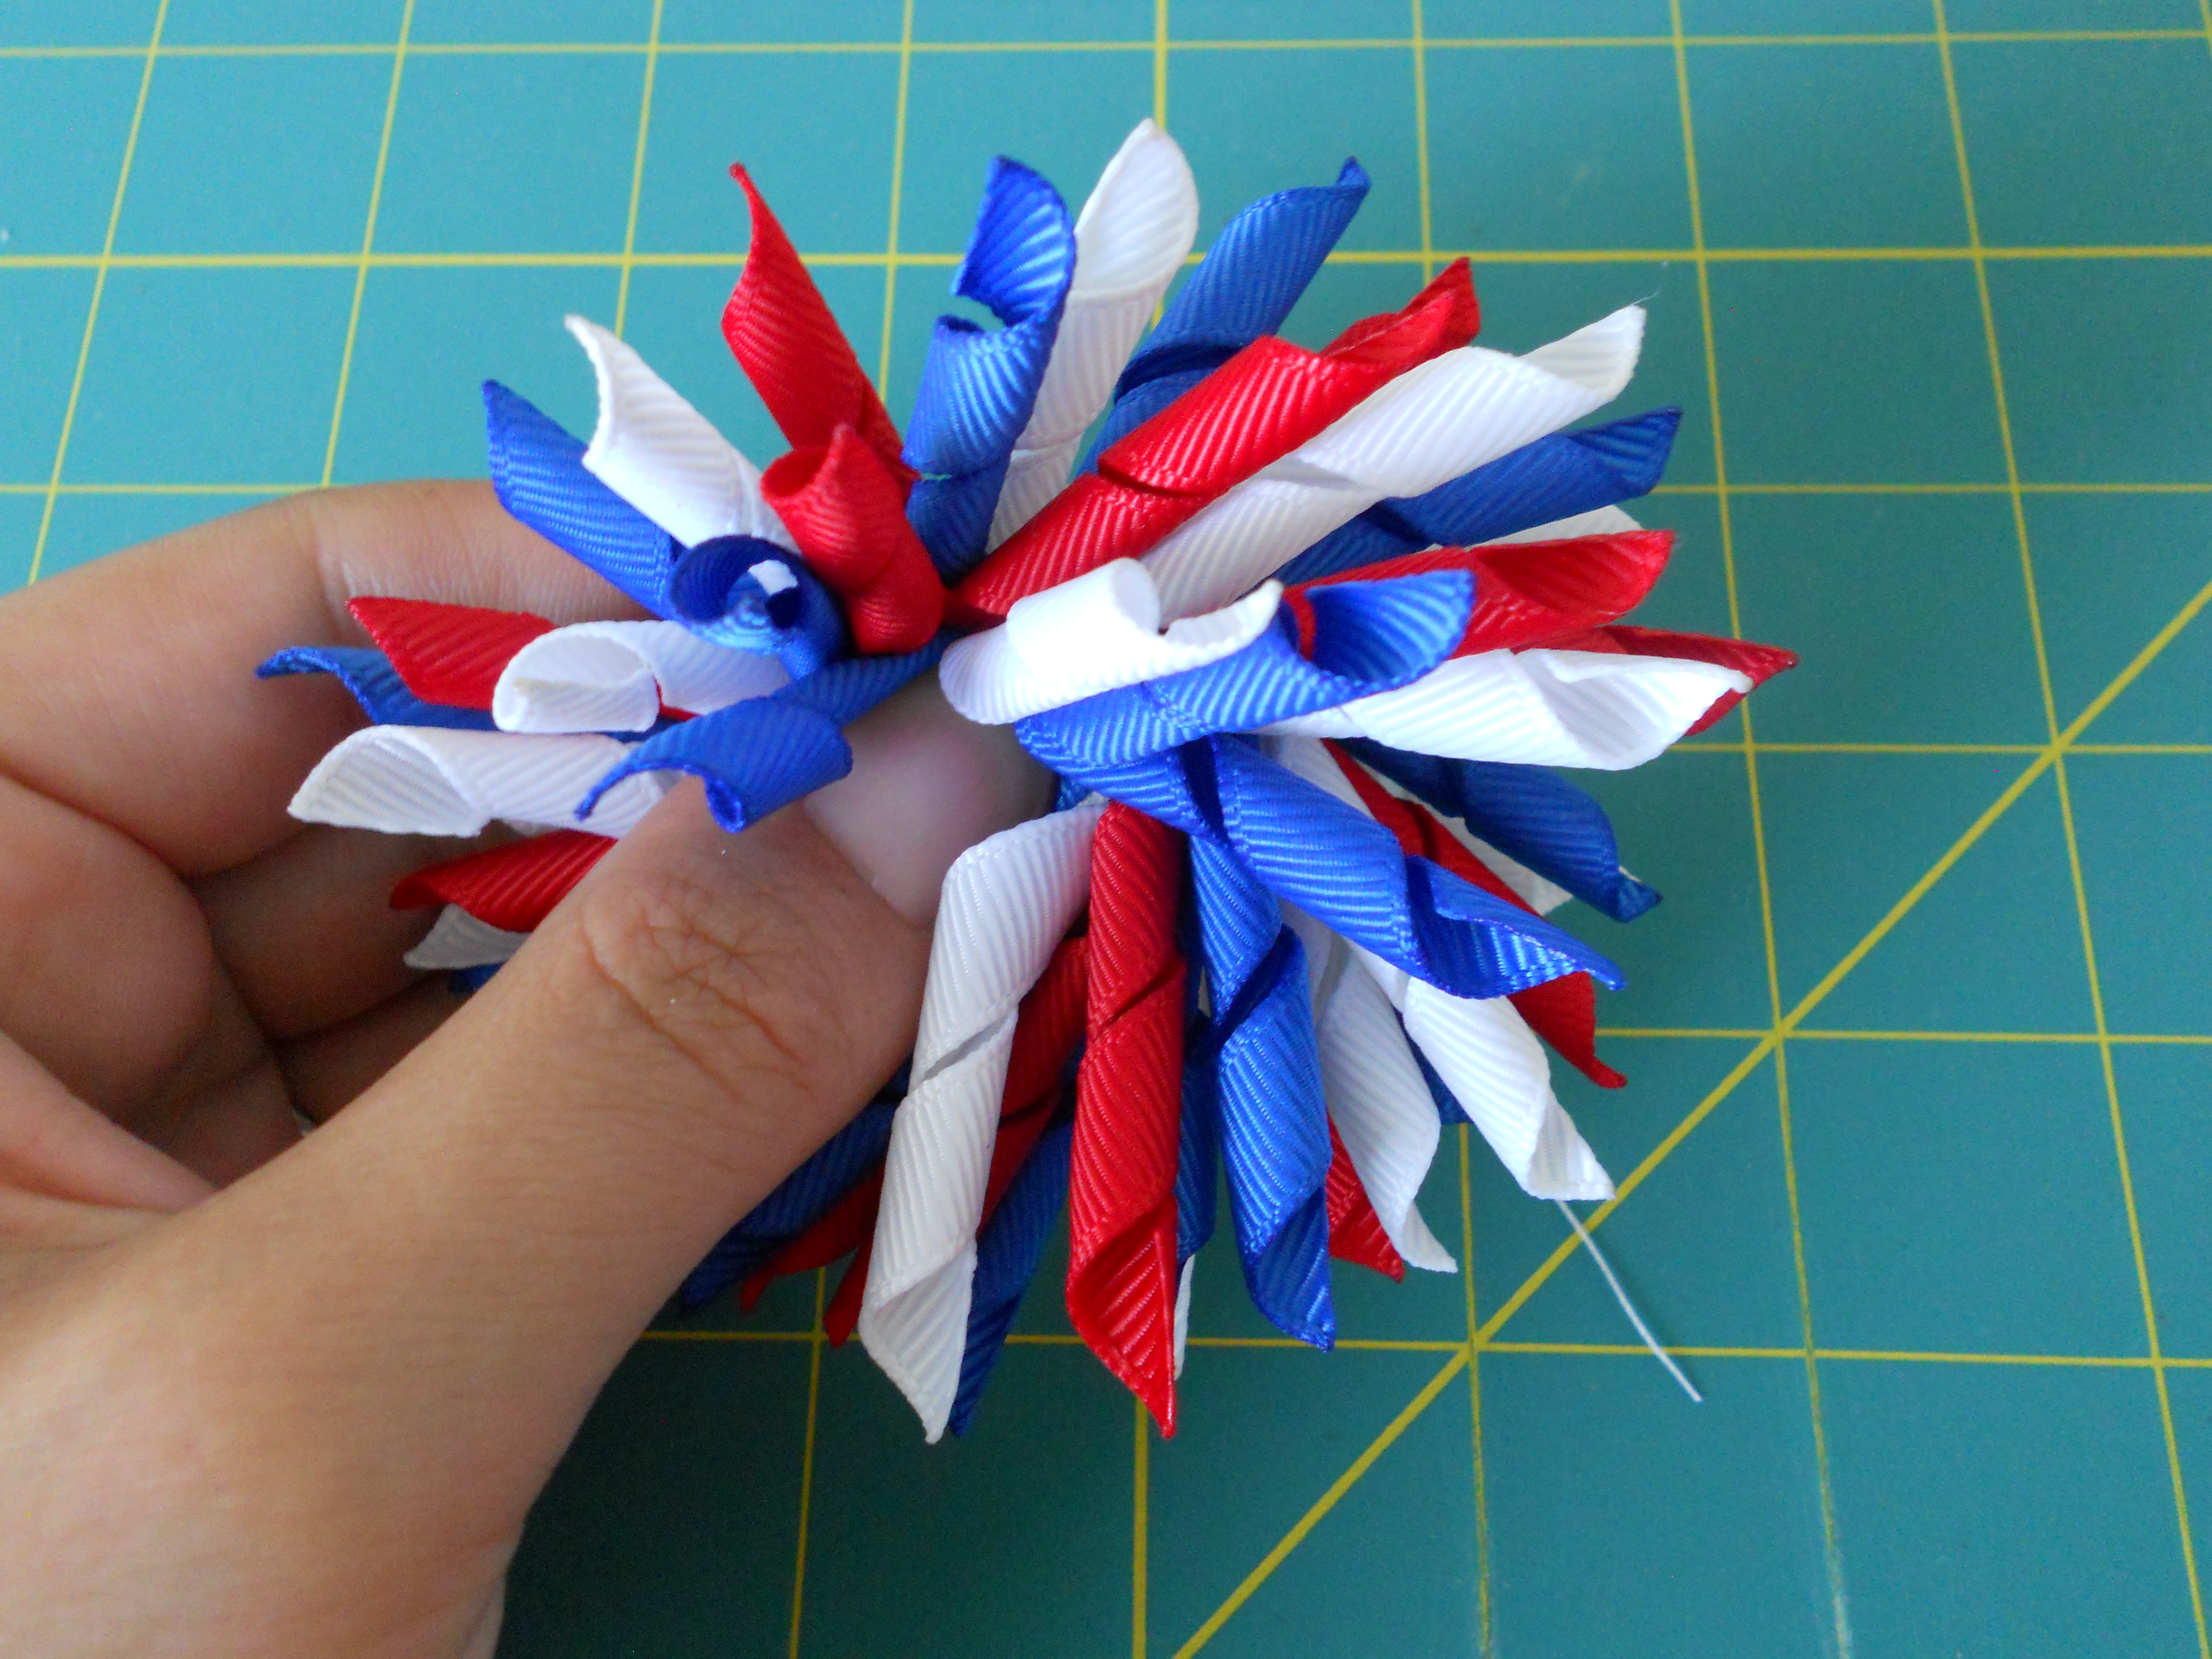
Step 10: (Optional) Spray your finished bow with stiffener and glitter spray. Let the bow dry for a few hours.
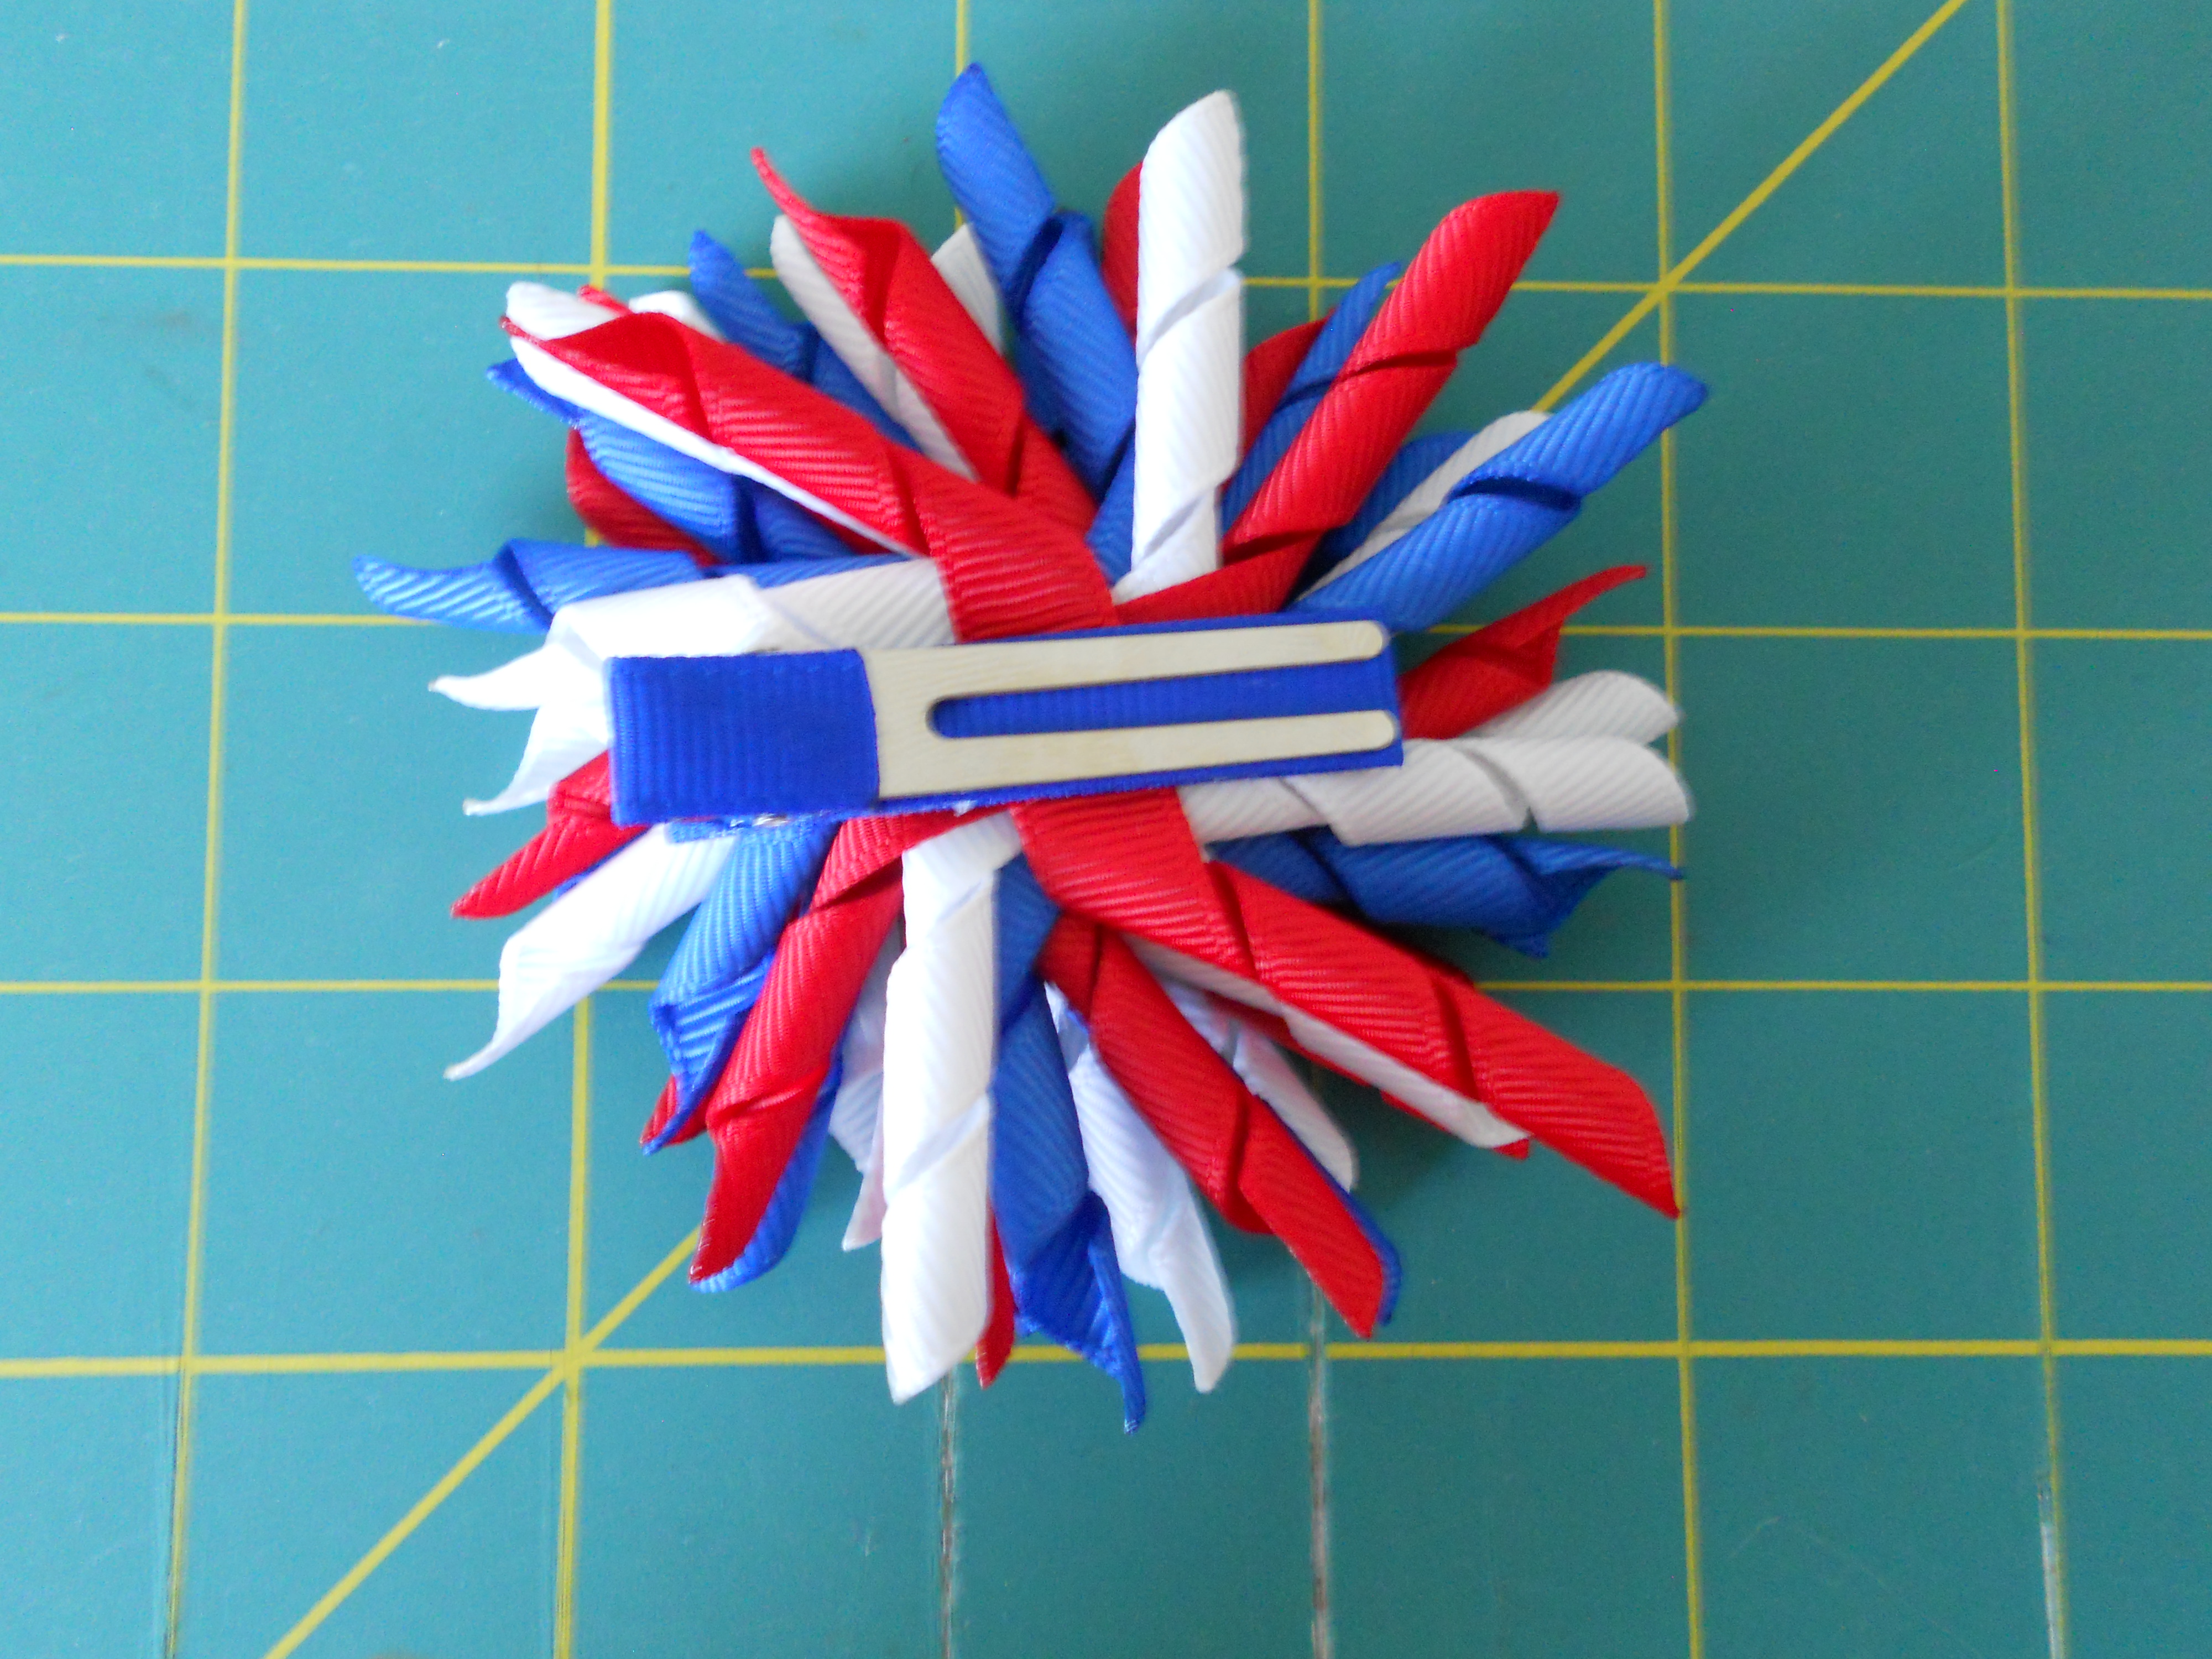
Step 11: Line your alligator clip and glue it to the back of the bow.
I love making korker bows! They do take more work than other bows but they are so cute! These bows are also great for adding as an accessory to a woven headband.
Check out my woven headband tutorial here.
Visit the rest of our blog for more Crafting Tutorials and DIY Instructions!
Loading...

