![]()
contributor post by Danielle
Hi, Danielle here from Korker Krazy! Now that you've seen my tutorial on how to make a woven headband I'm going to show you how to make a chevron pattern!
Supplies needed for this tutorial: 3/8" Grosgrain Ribbon I'm using light blue (305) and pink (150) 1/2" Plastic Headband Blank Alligator Clip Scissors Lighter Hot glue gun and Glue Sticks
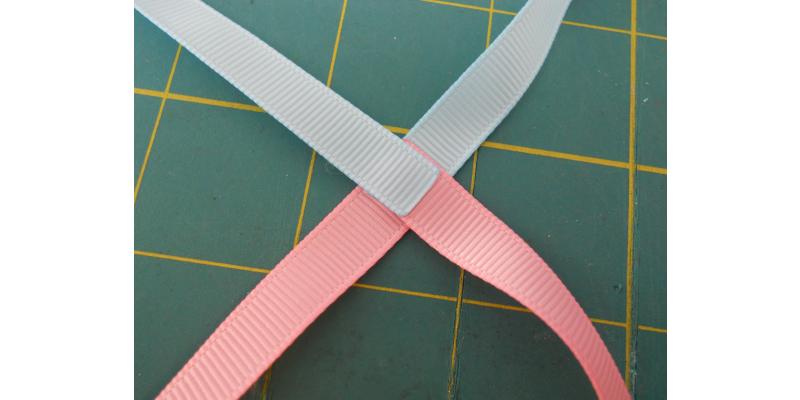
For the chevron pattern we are only going to use two different colors of ribbon. Cut 4 - 24" strips of 3/8" ribbon. Heat seal all ribbon ends. Glue two ends together to make one continuous piece. I glued each light blue strip to a pink strip. Now glue one strip on top of the other to make an "x".
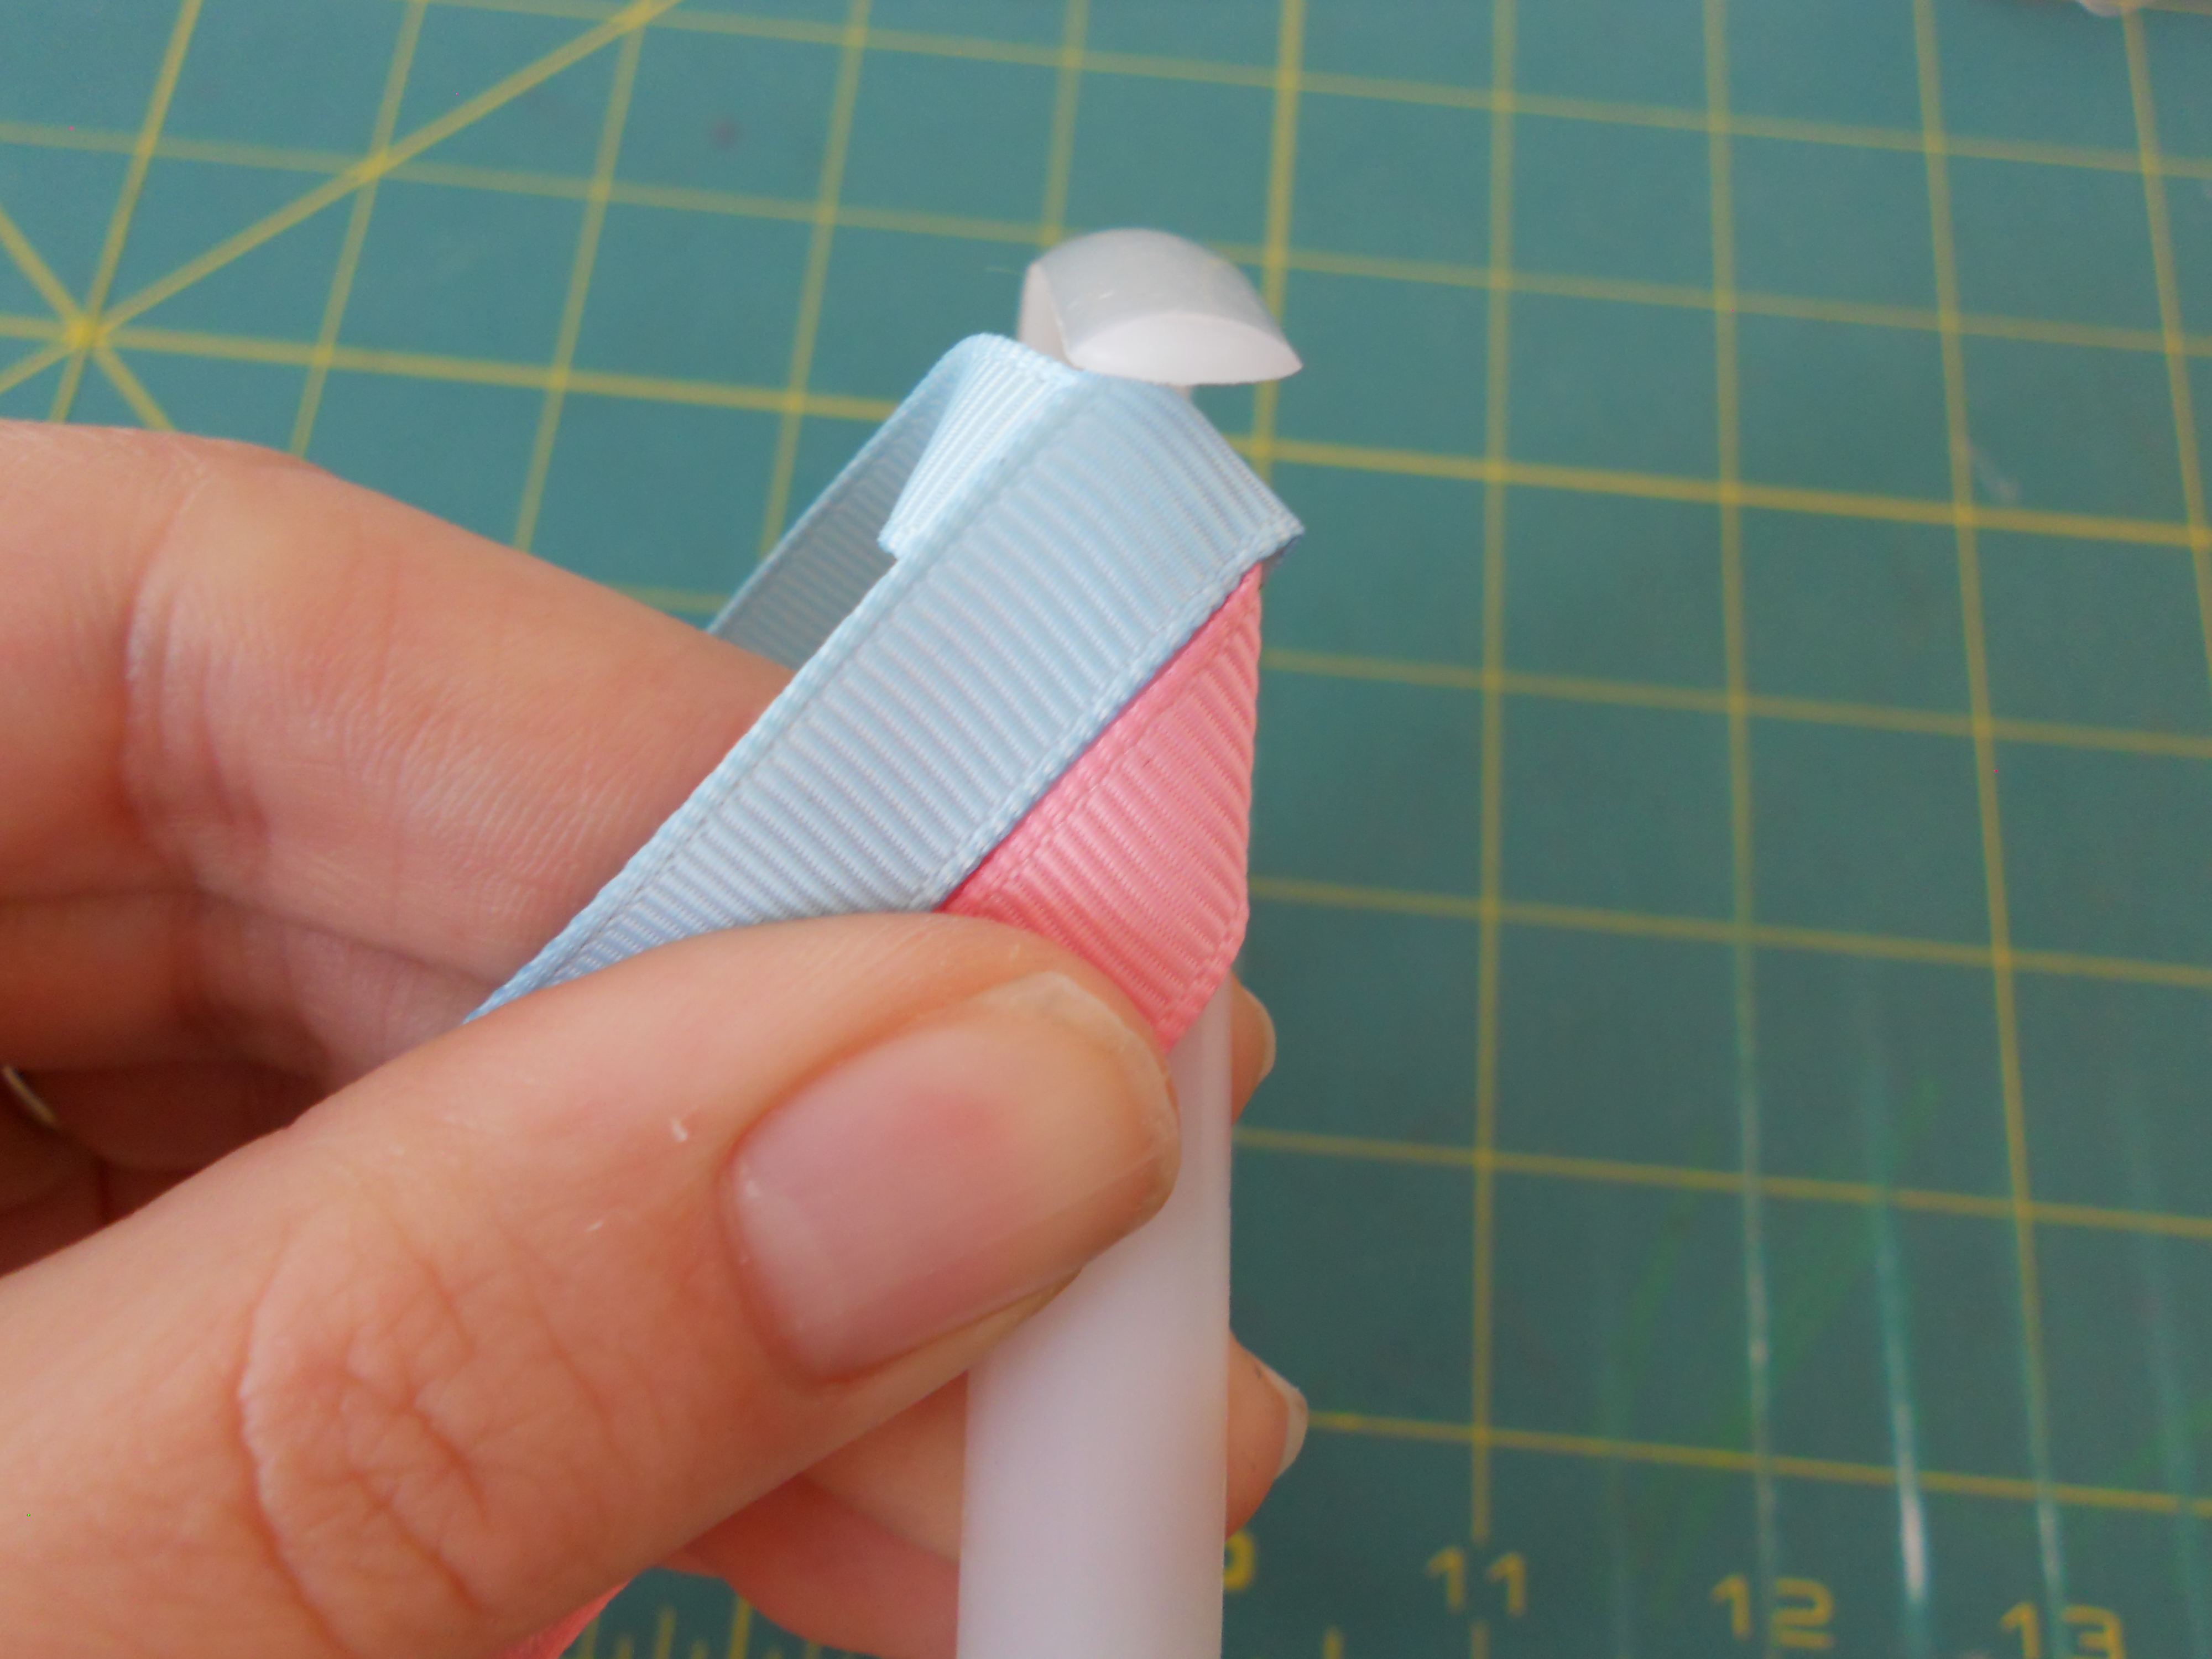
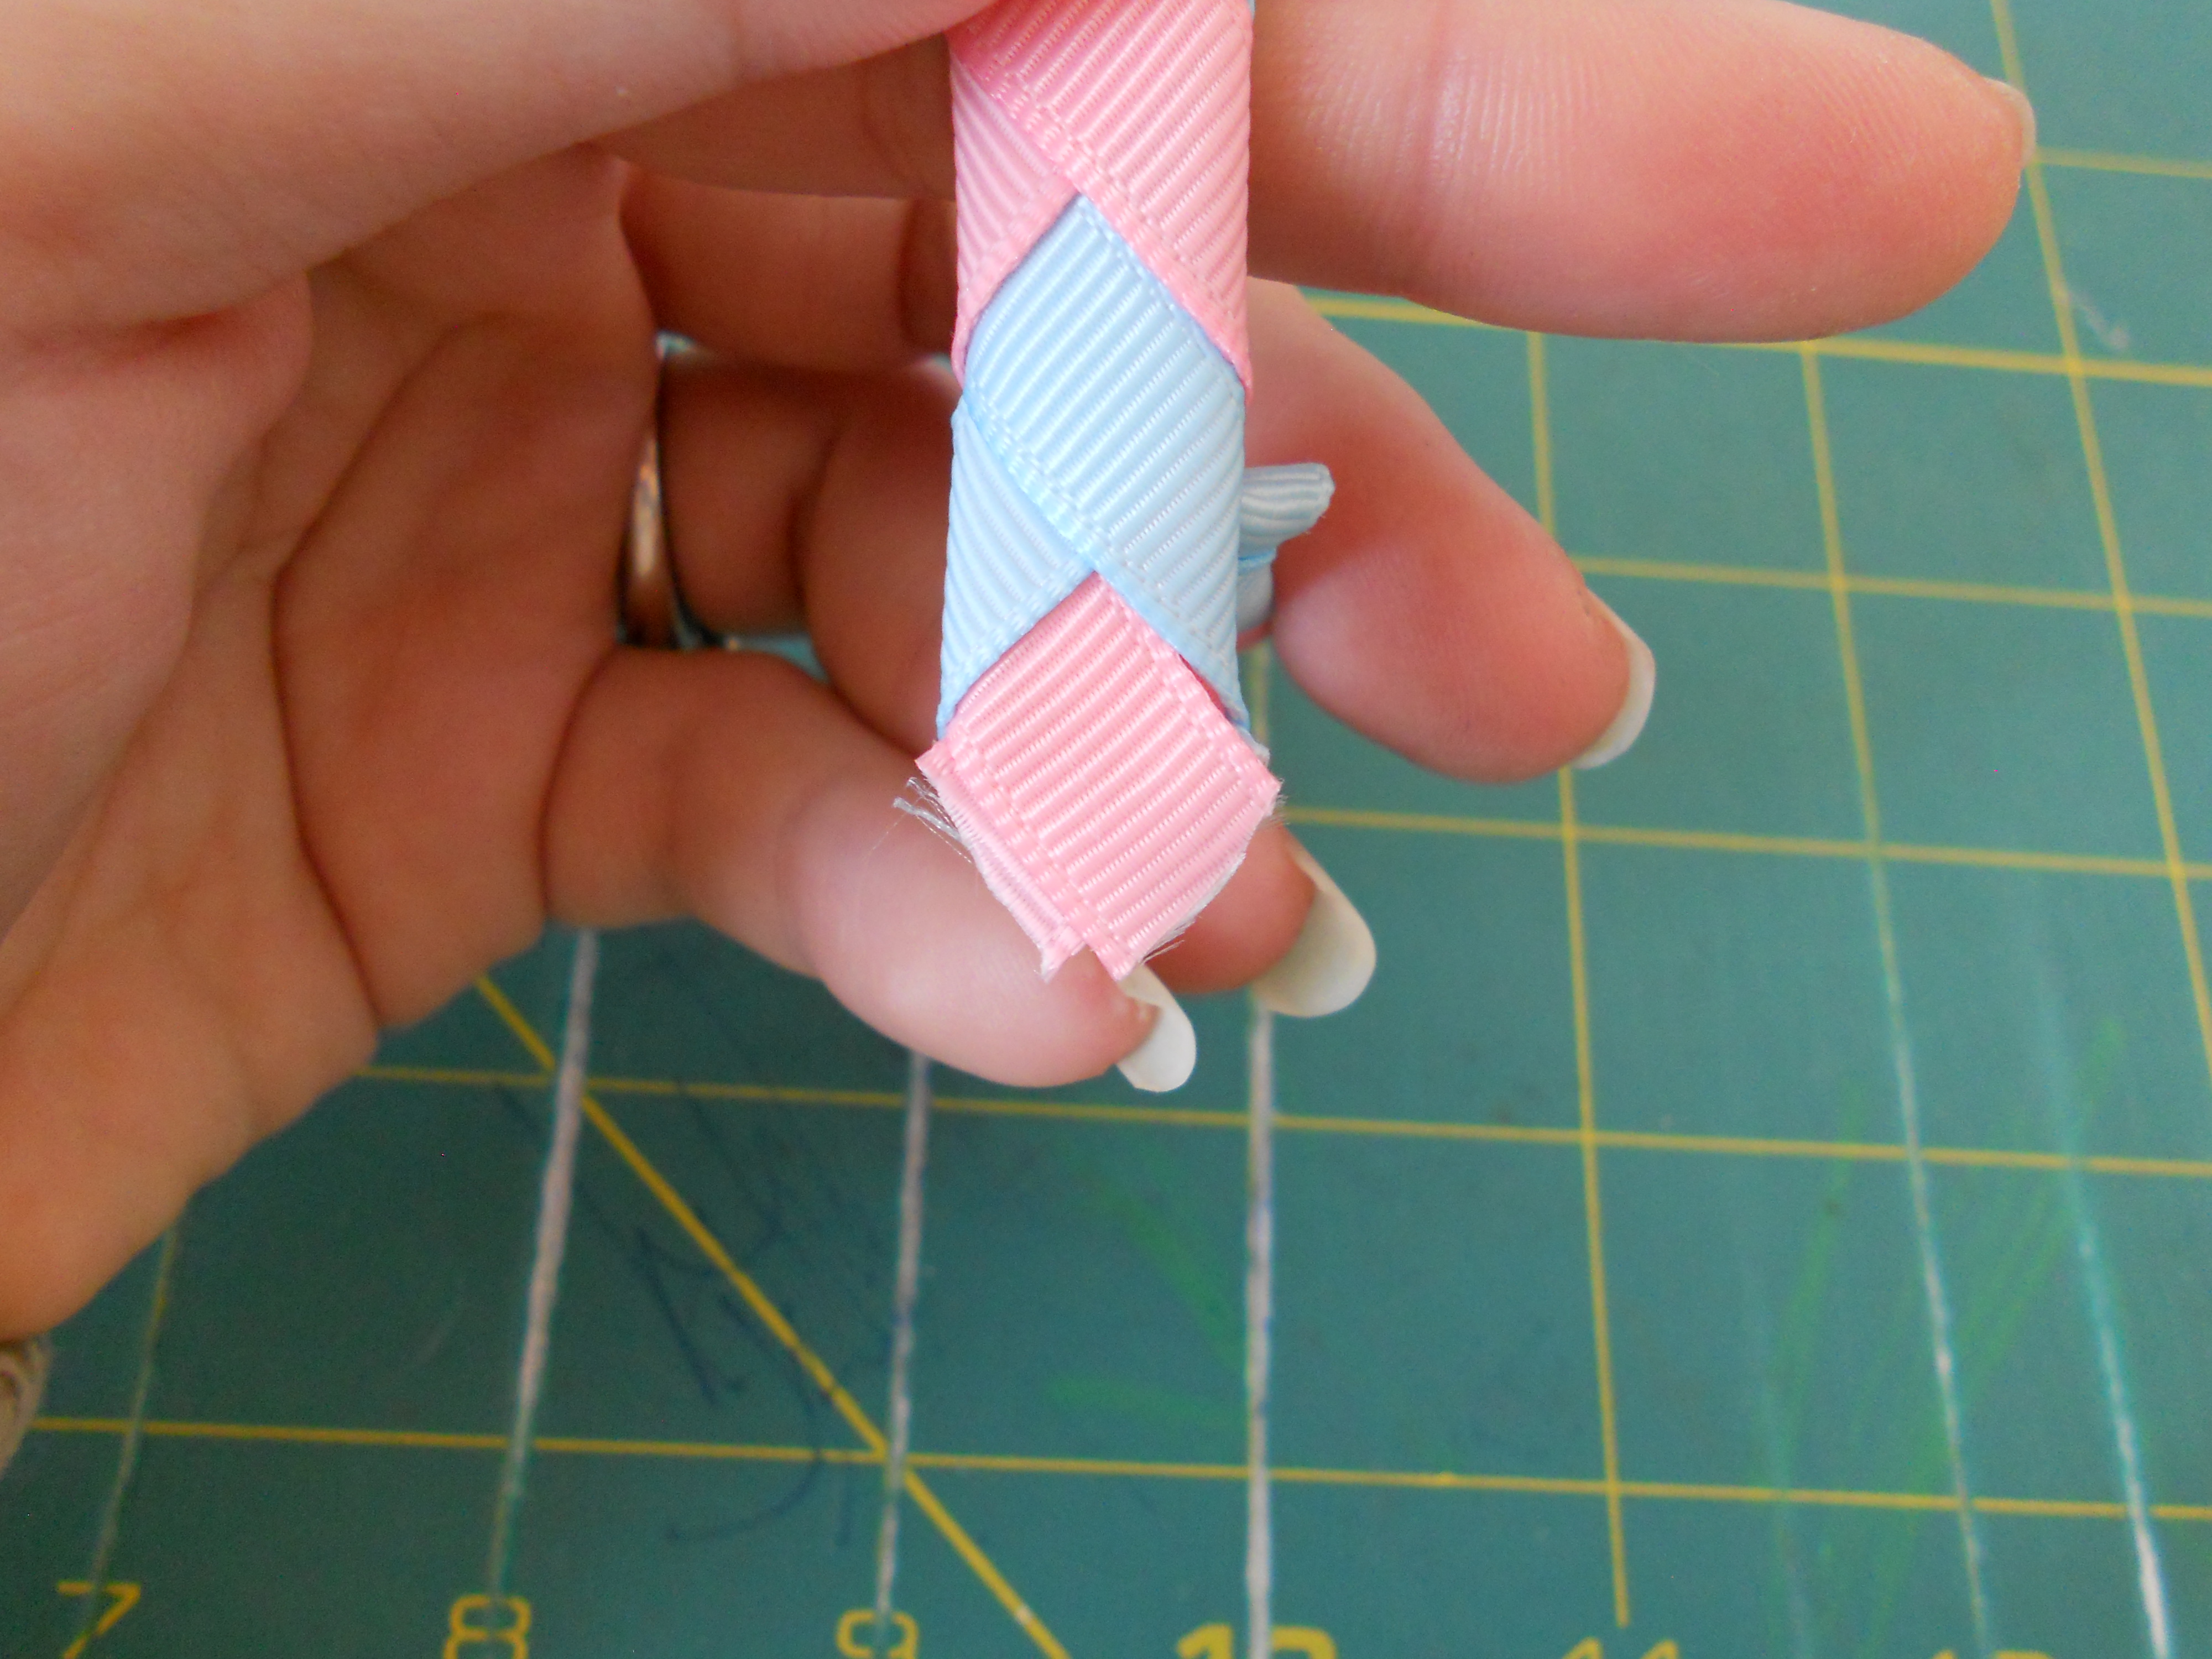
Decide which color you want to start with. I'm starting with light blue on the top. For this pattern your matching colors need to be side by side. So, I have both light blue on the top and both pink are on the bottom.
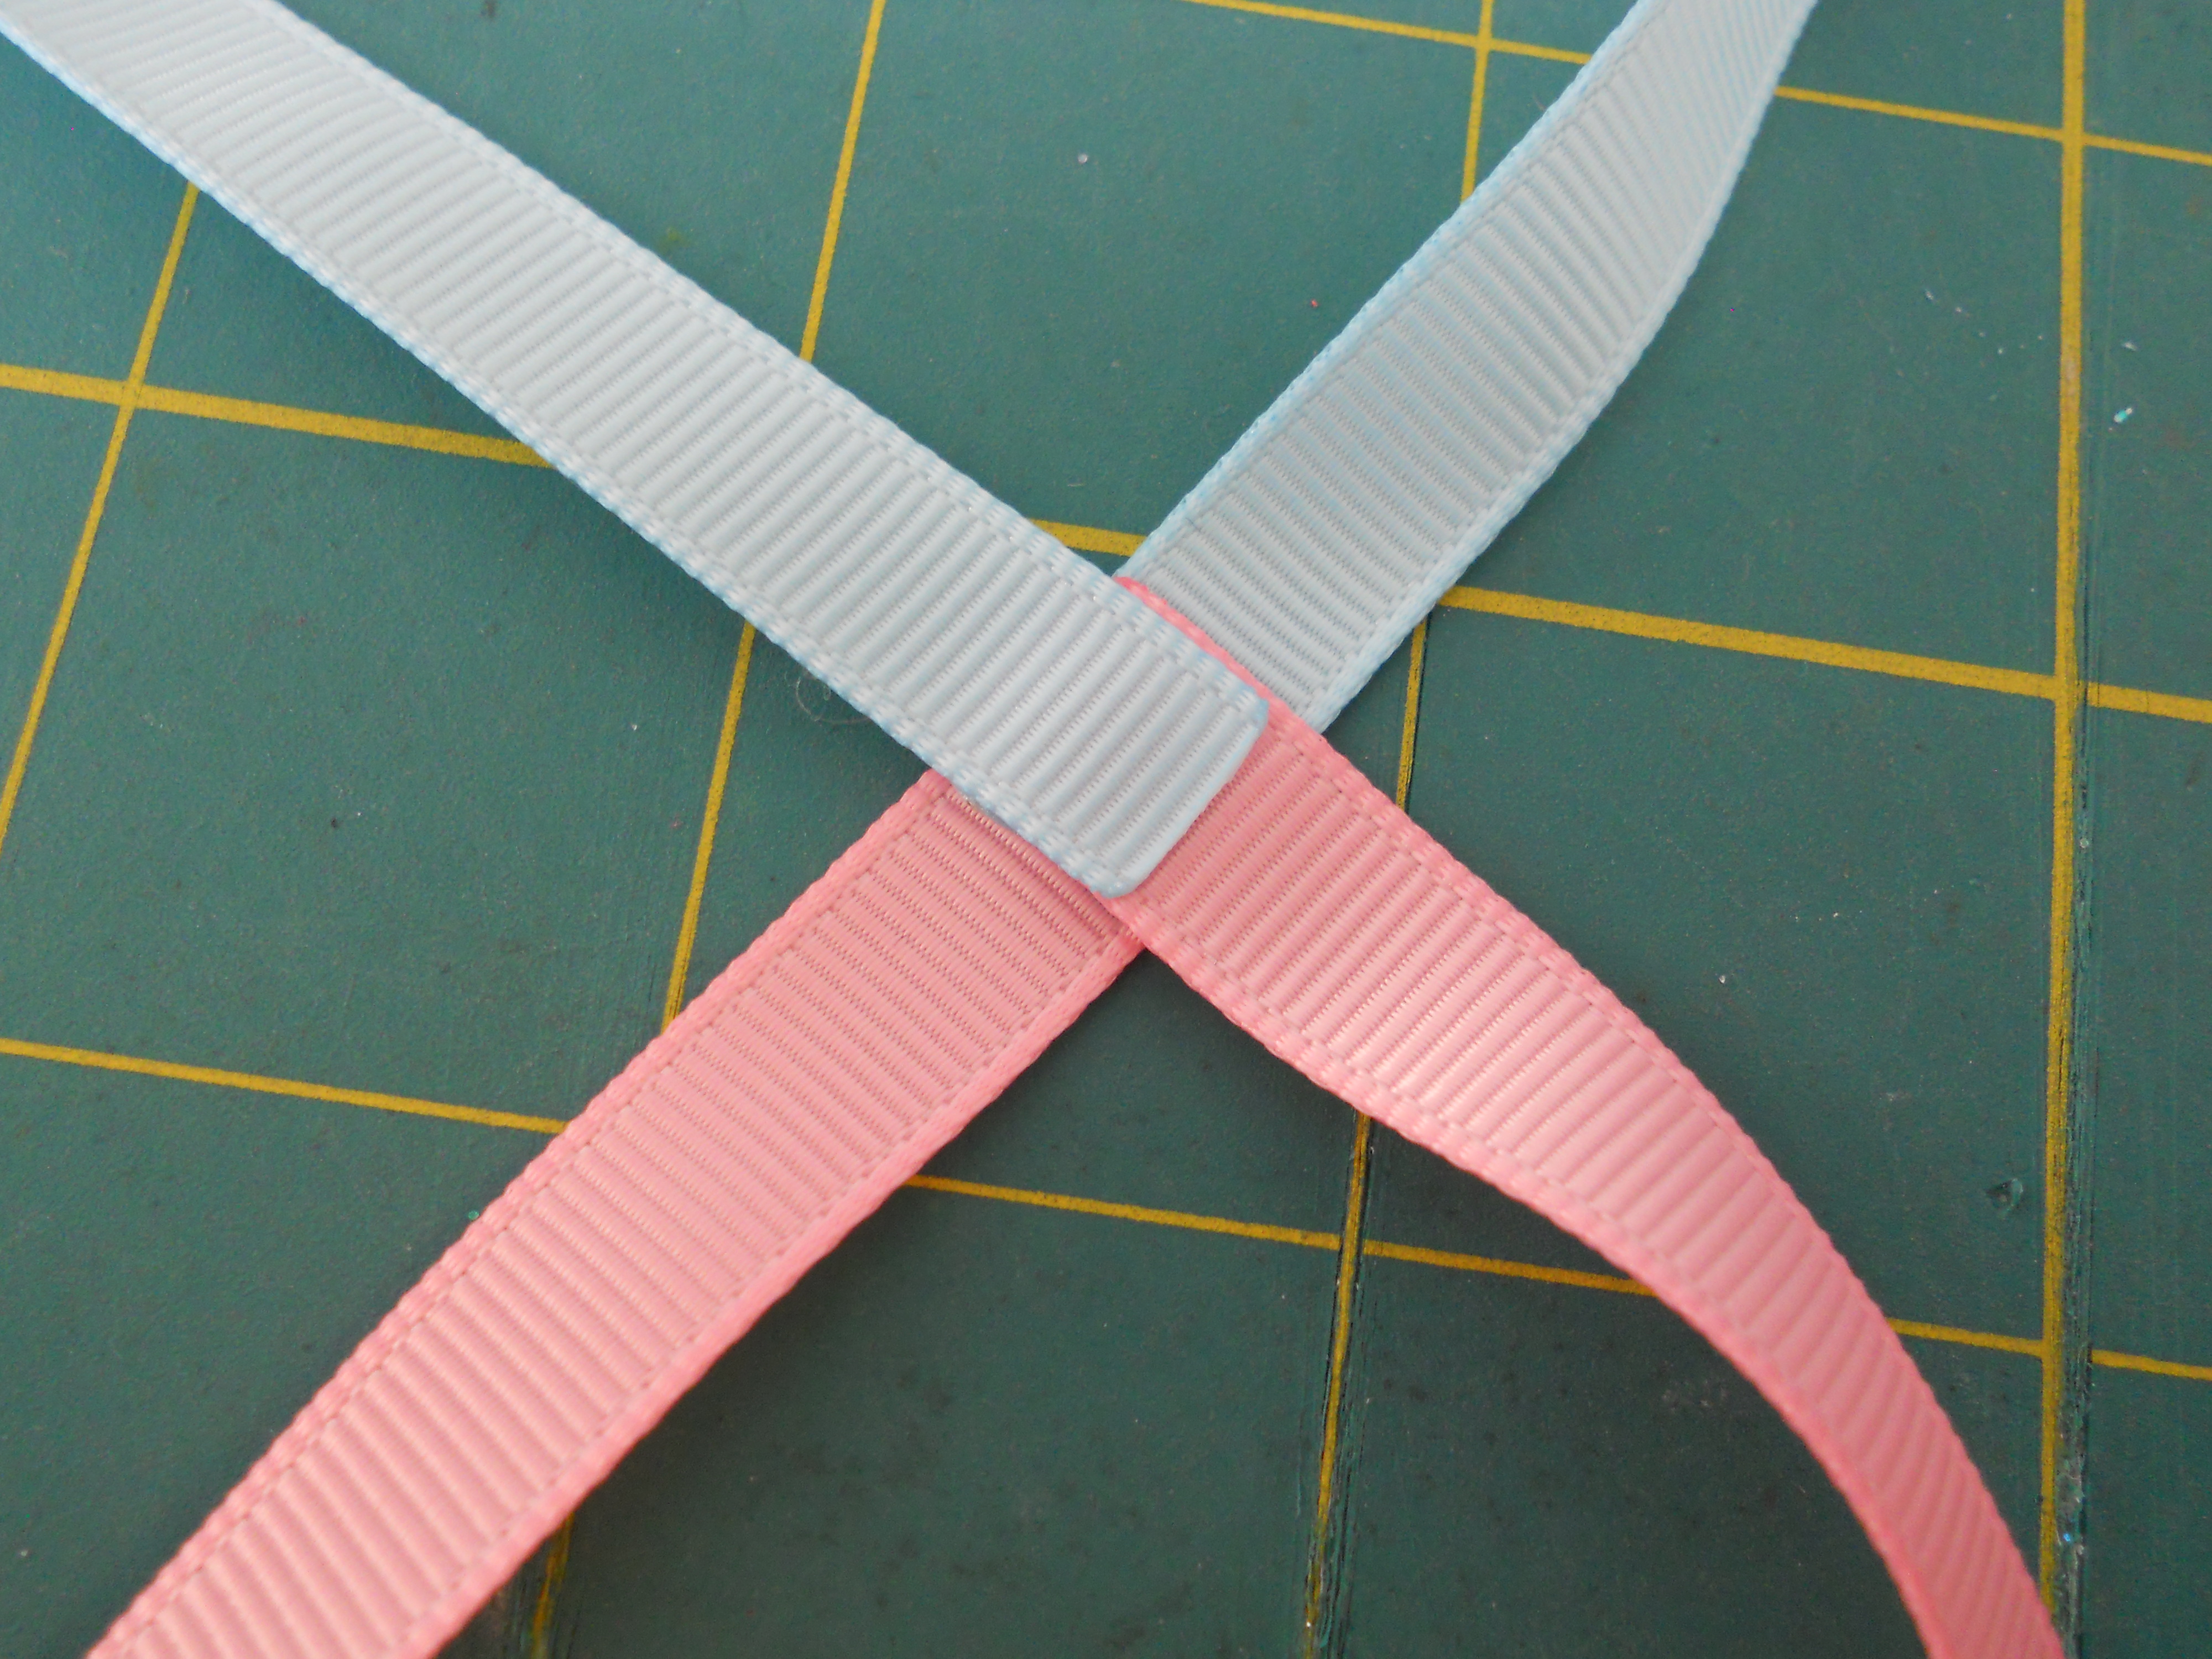
Step 1: Fold your top right ribbon (light blue) across the headband. Step 2: Fold your bottom right ribbon (pink) across the headband.
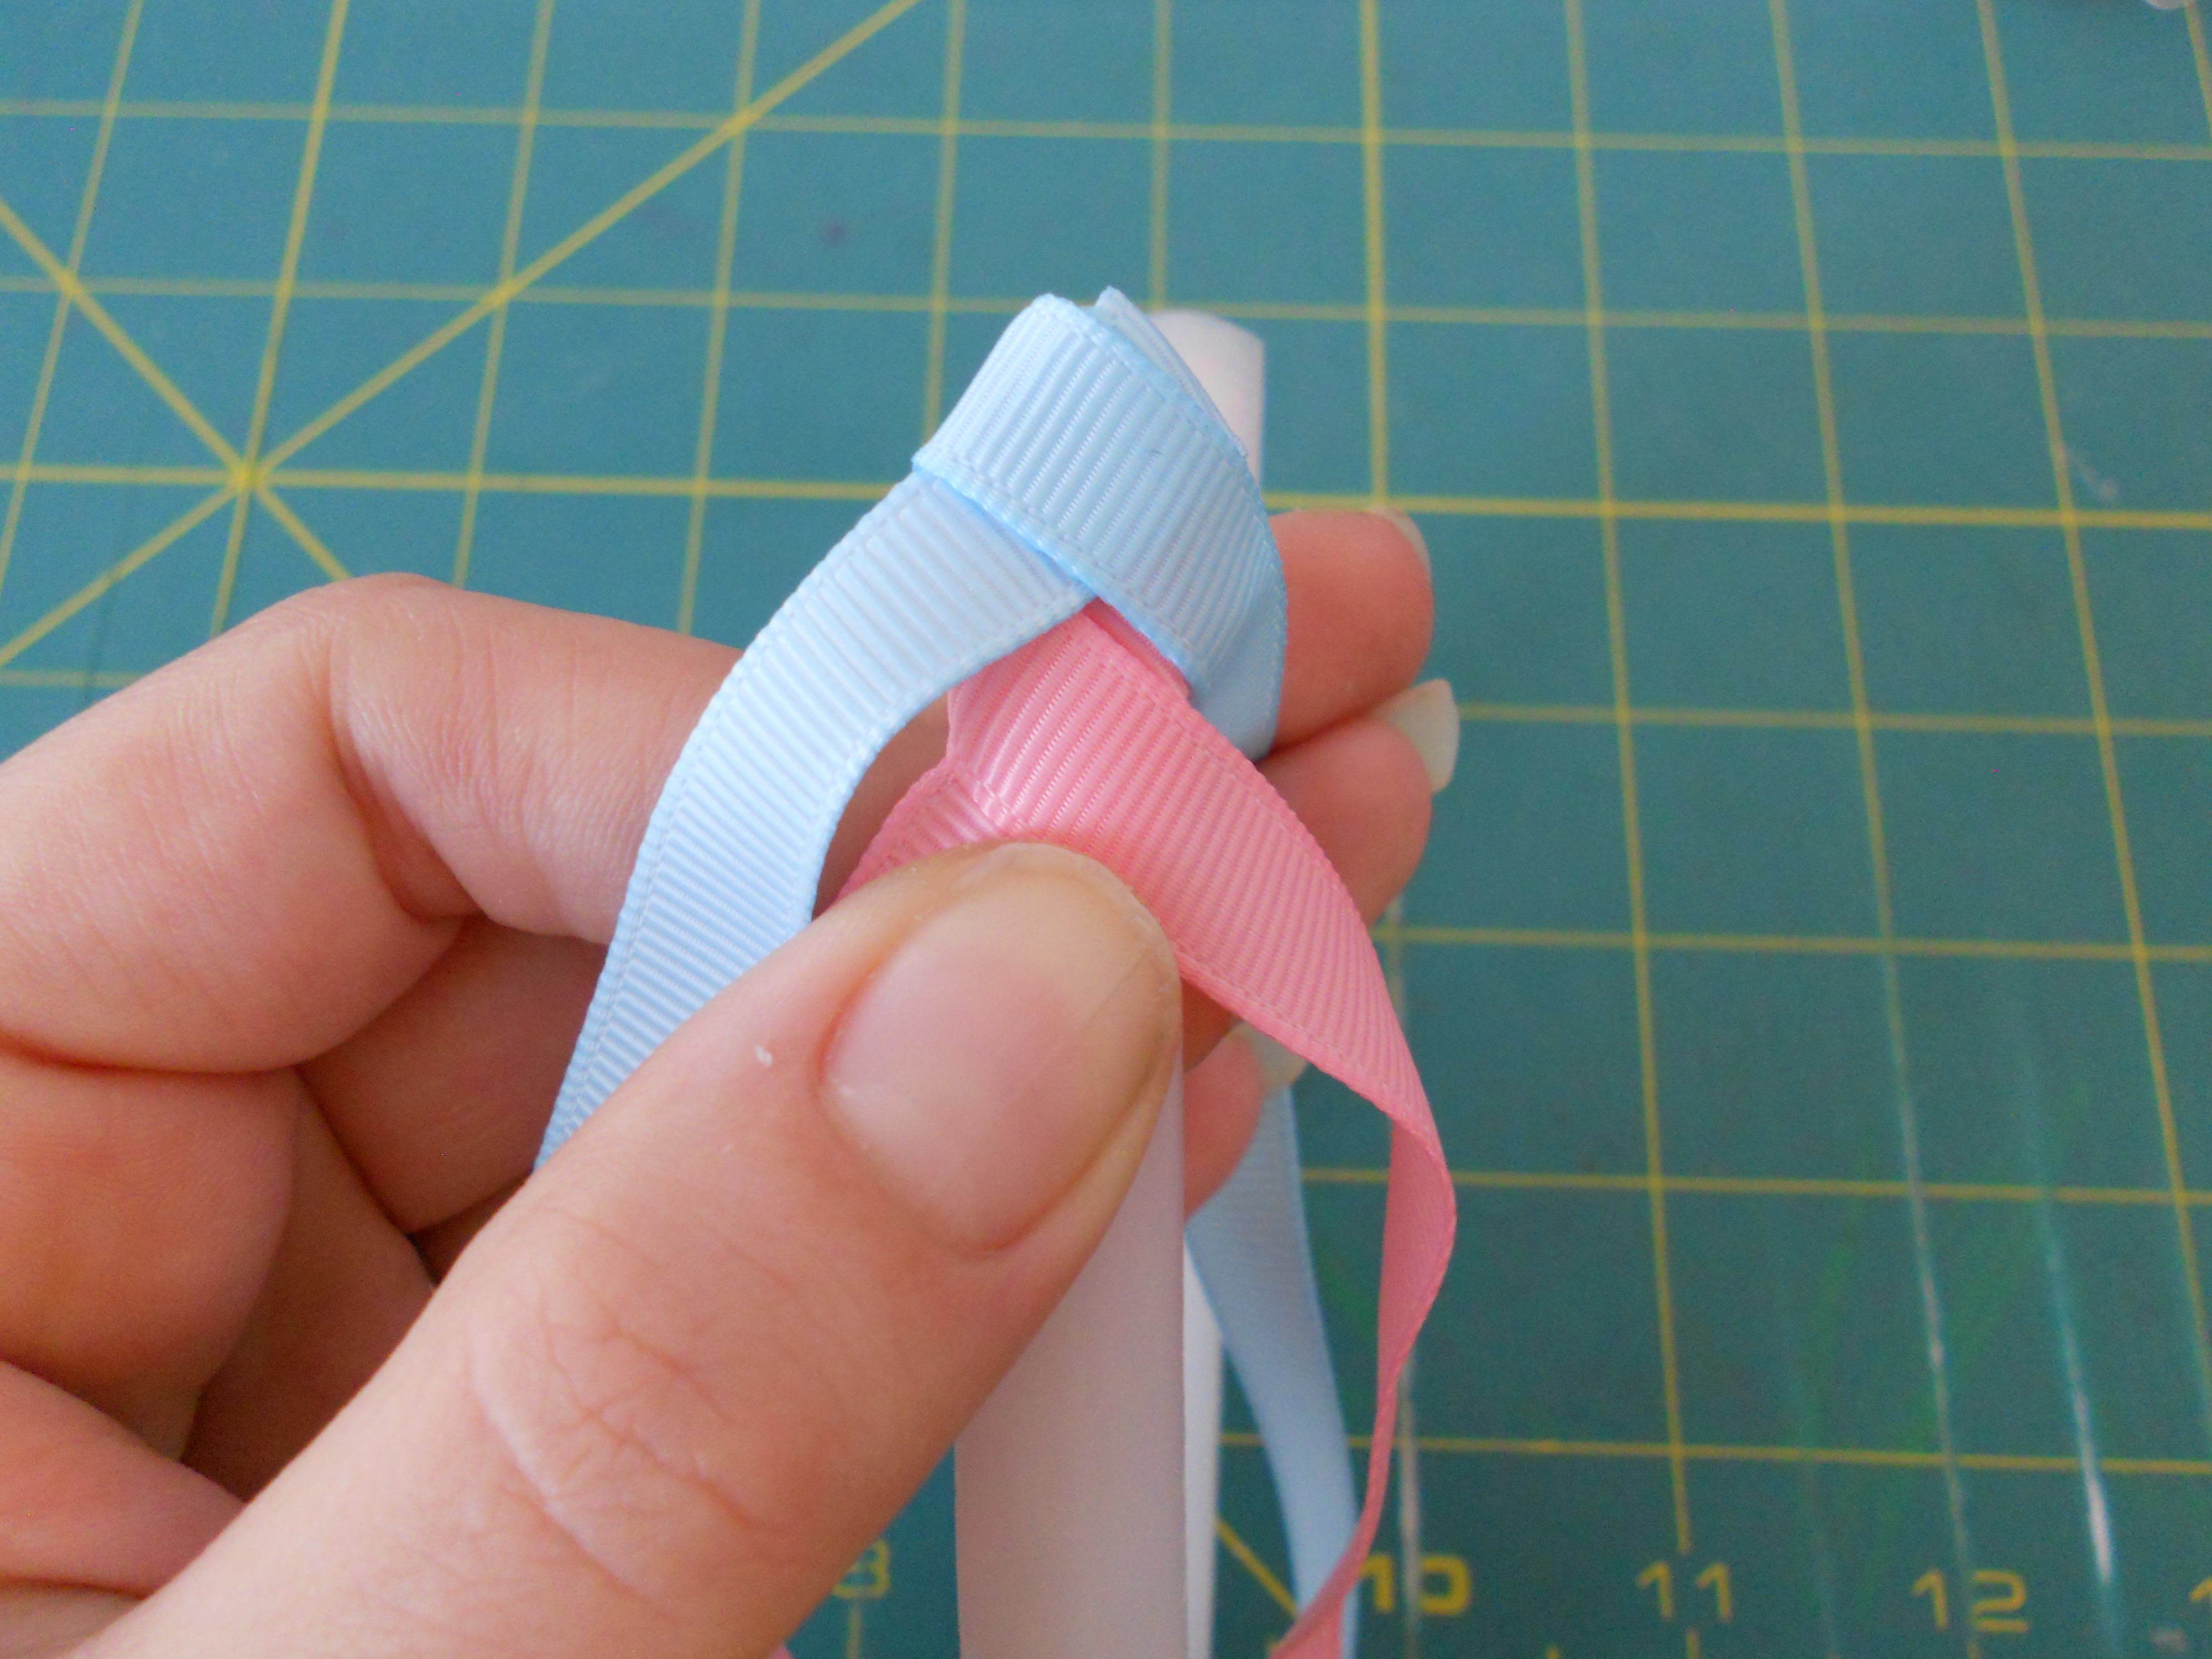
Step 3: Fold your top left ribbon across the headband (light blue). Step 4: Fold your bottom left ribbon across the headband (pink). Make sure you fold this ribbon in between the headband and the light blue ribbon above it.

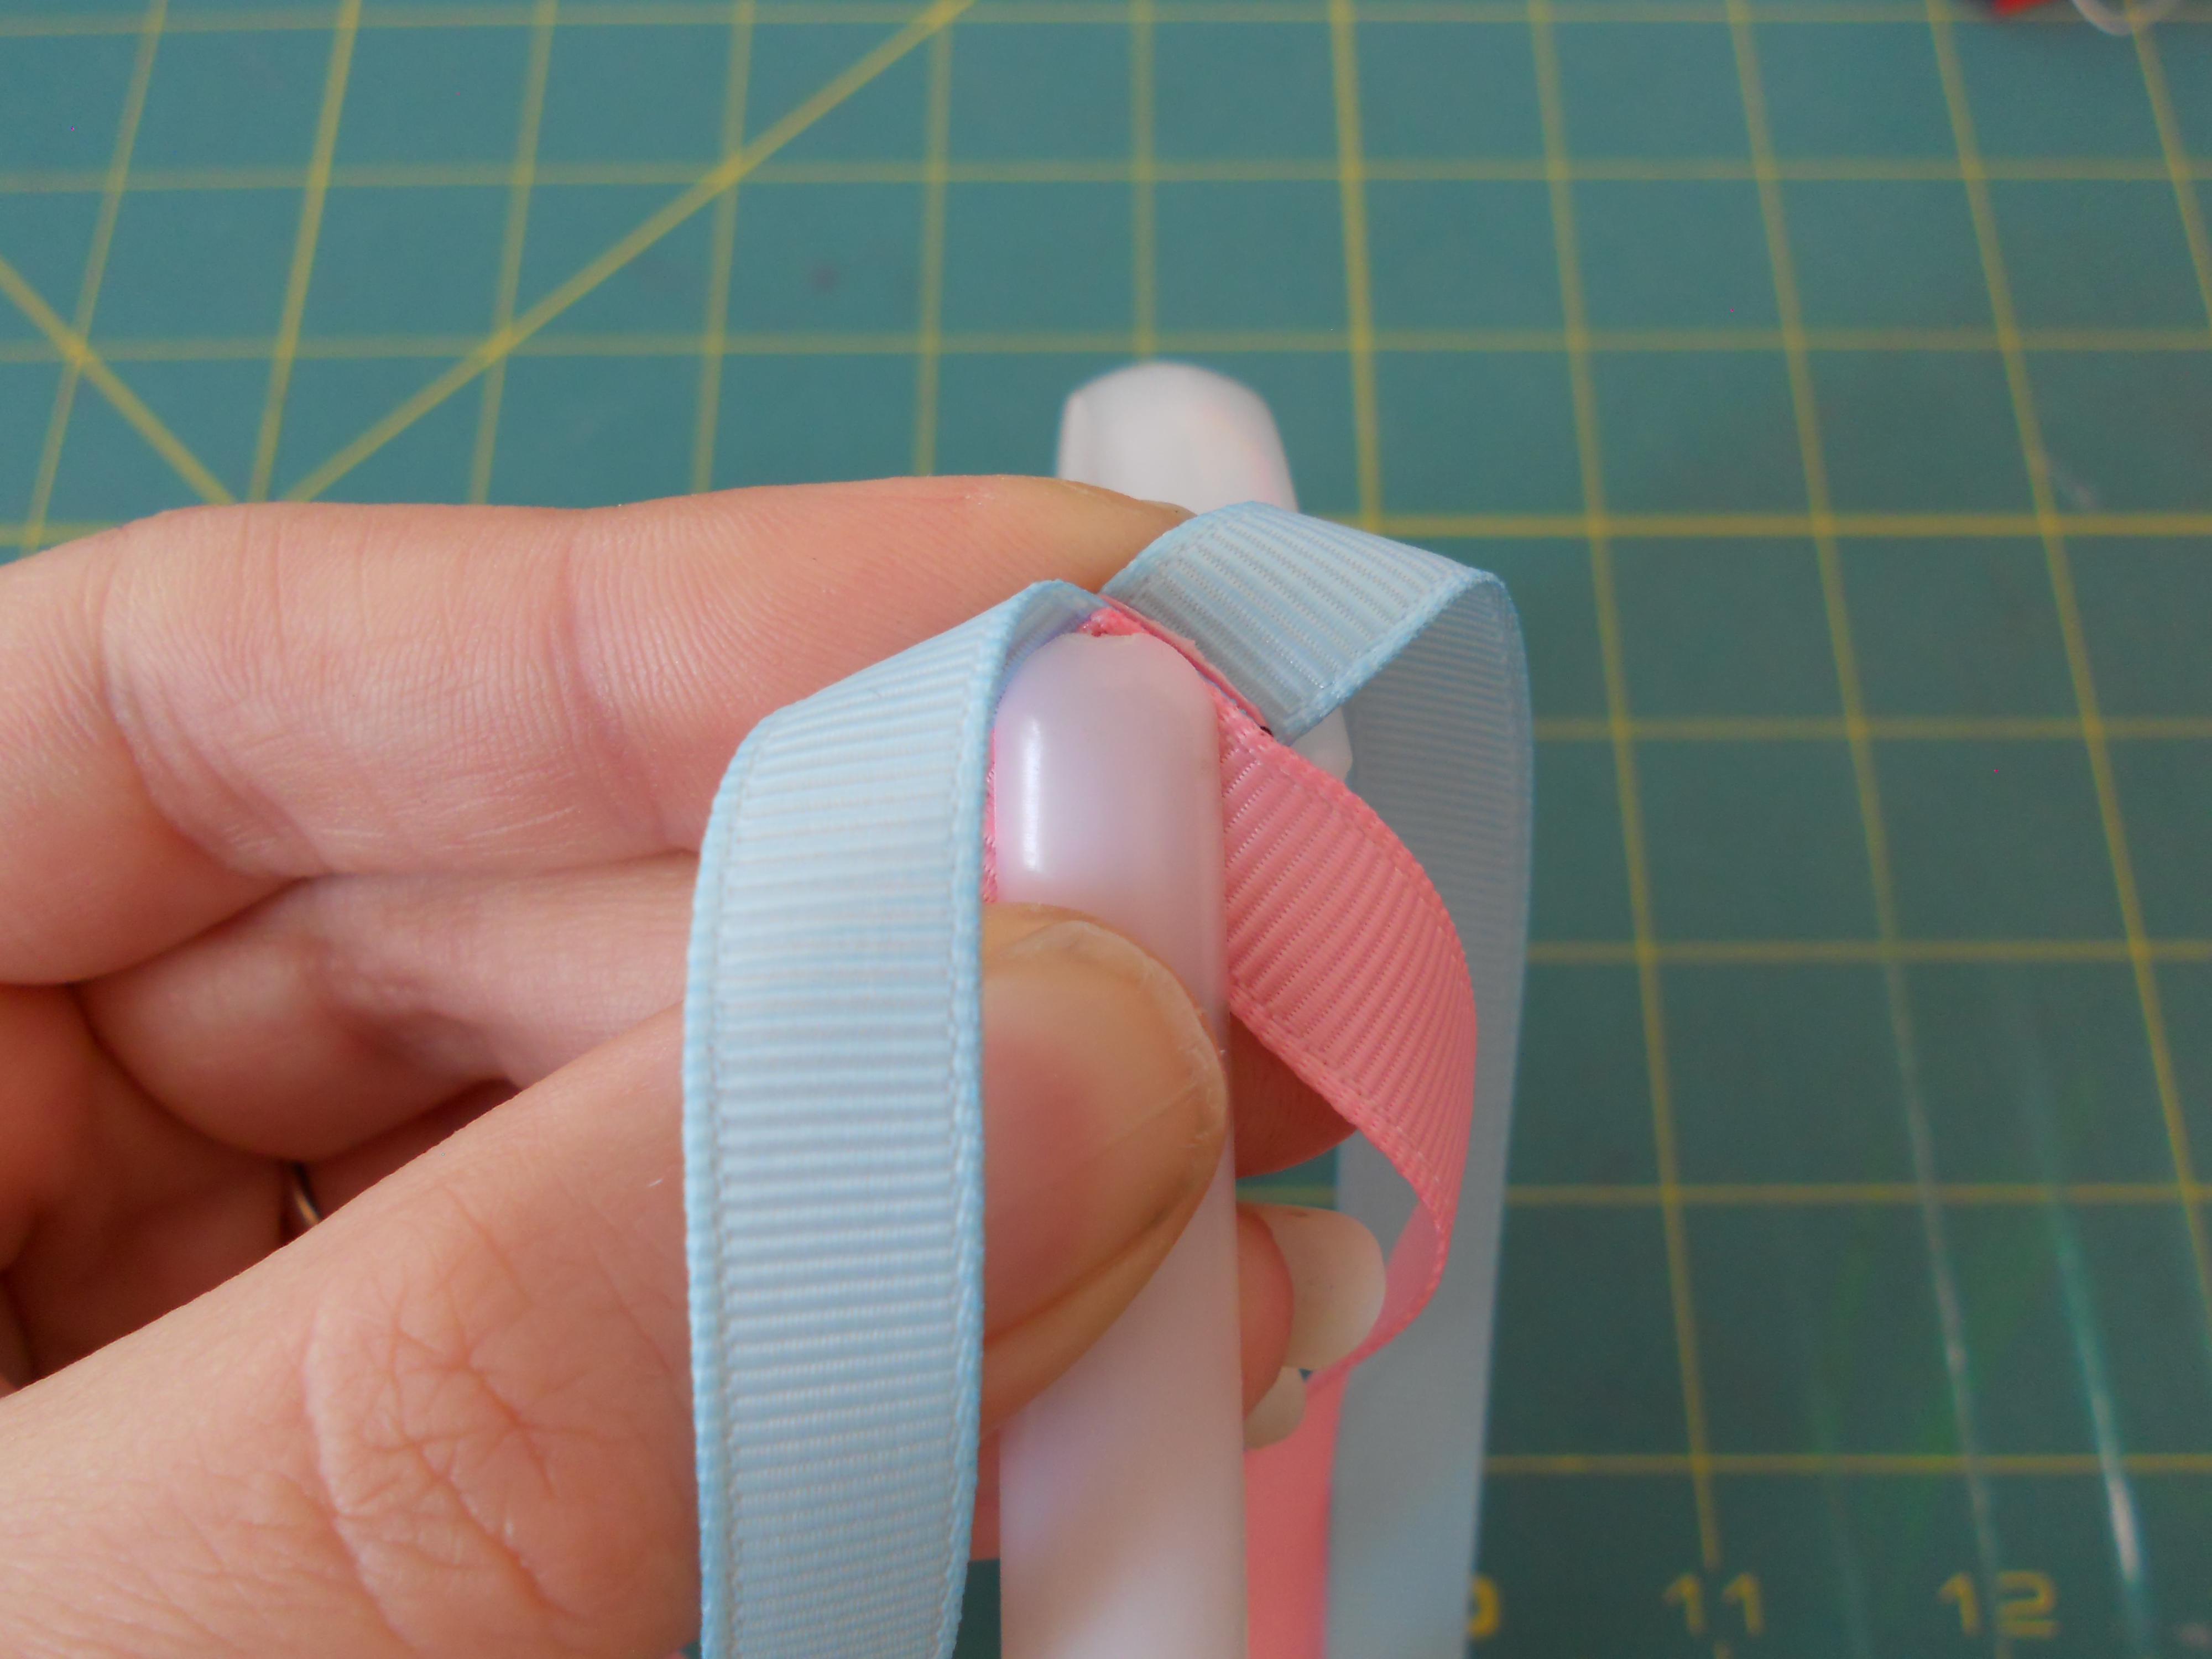
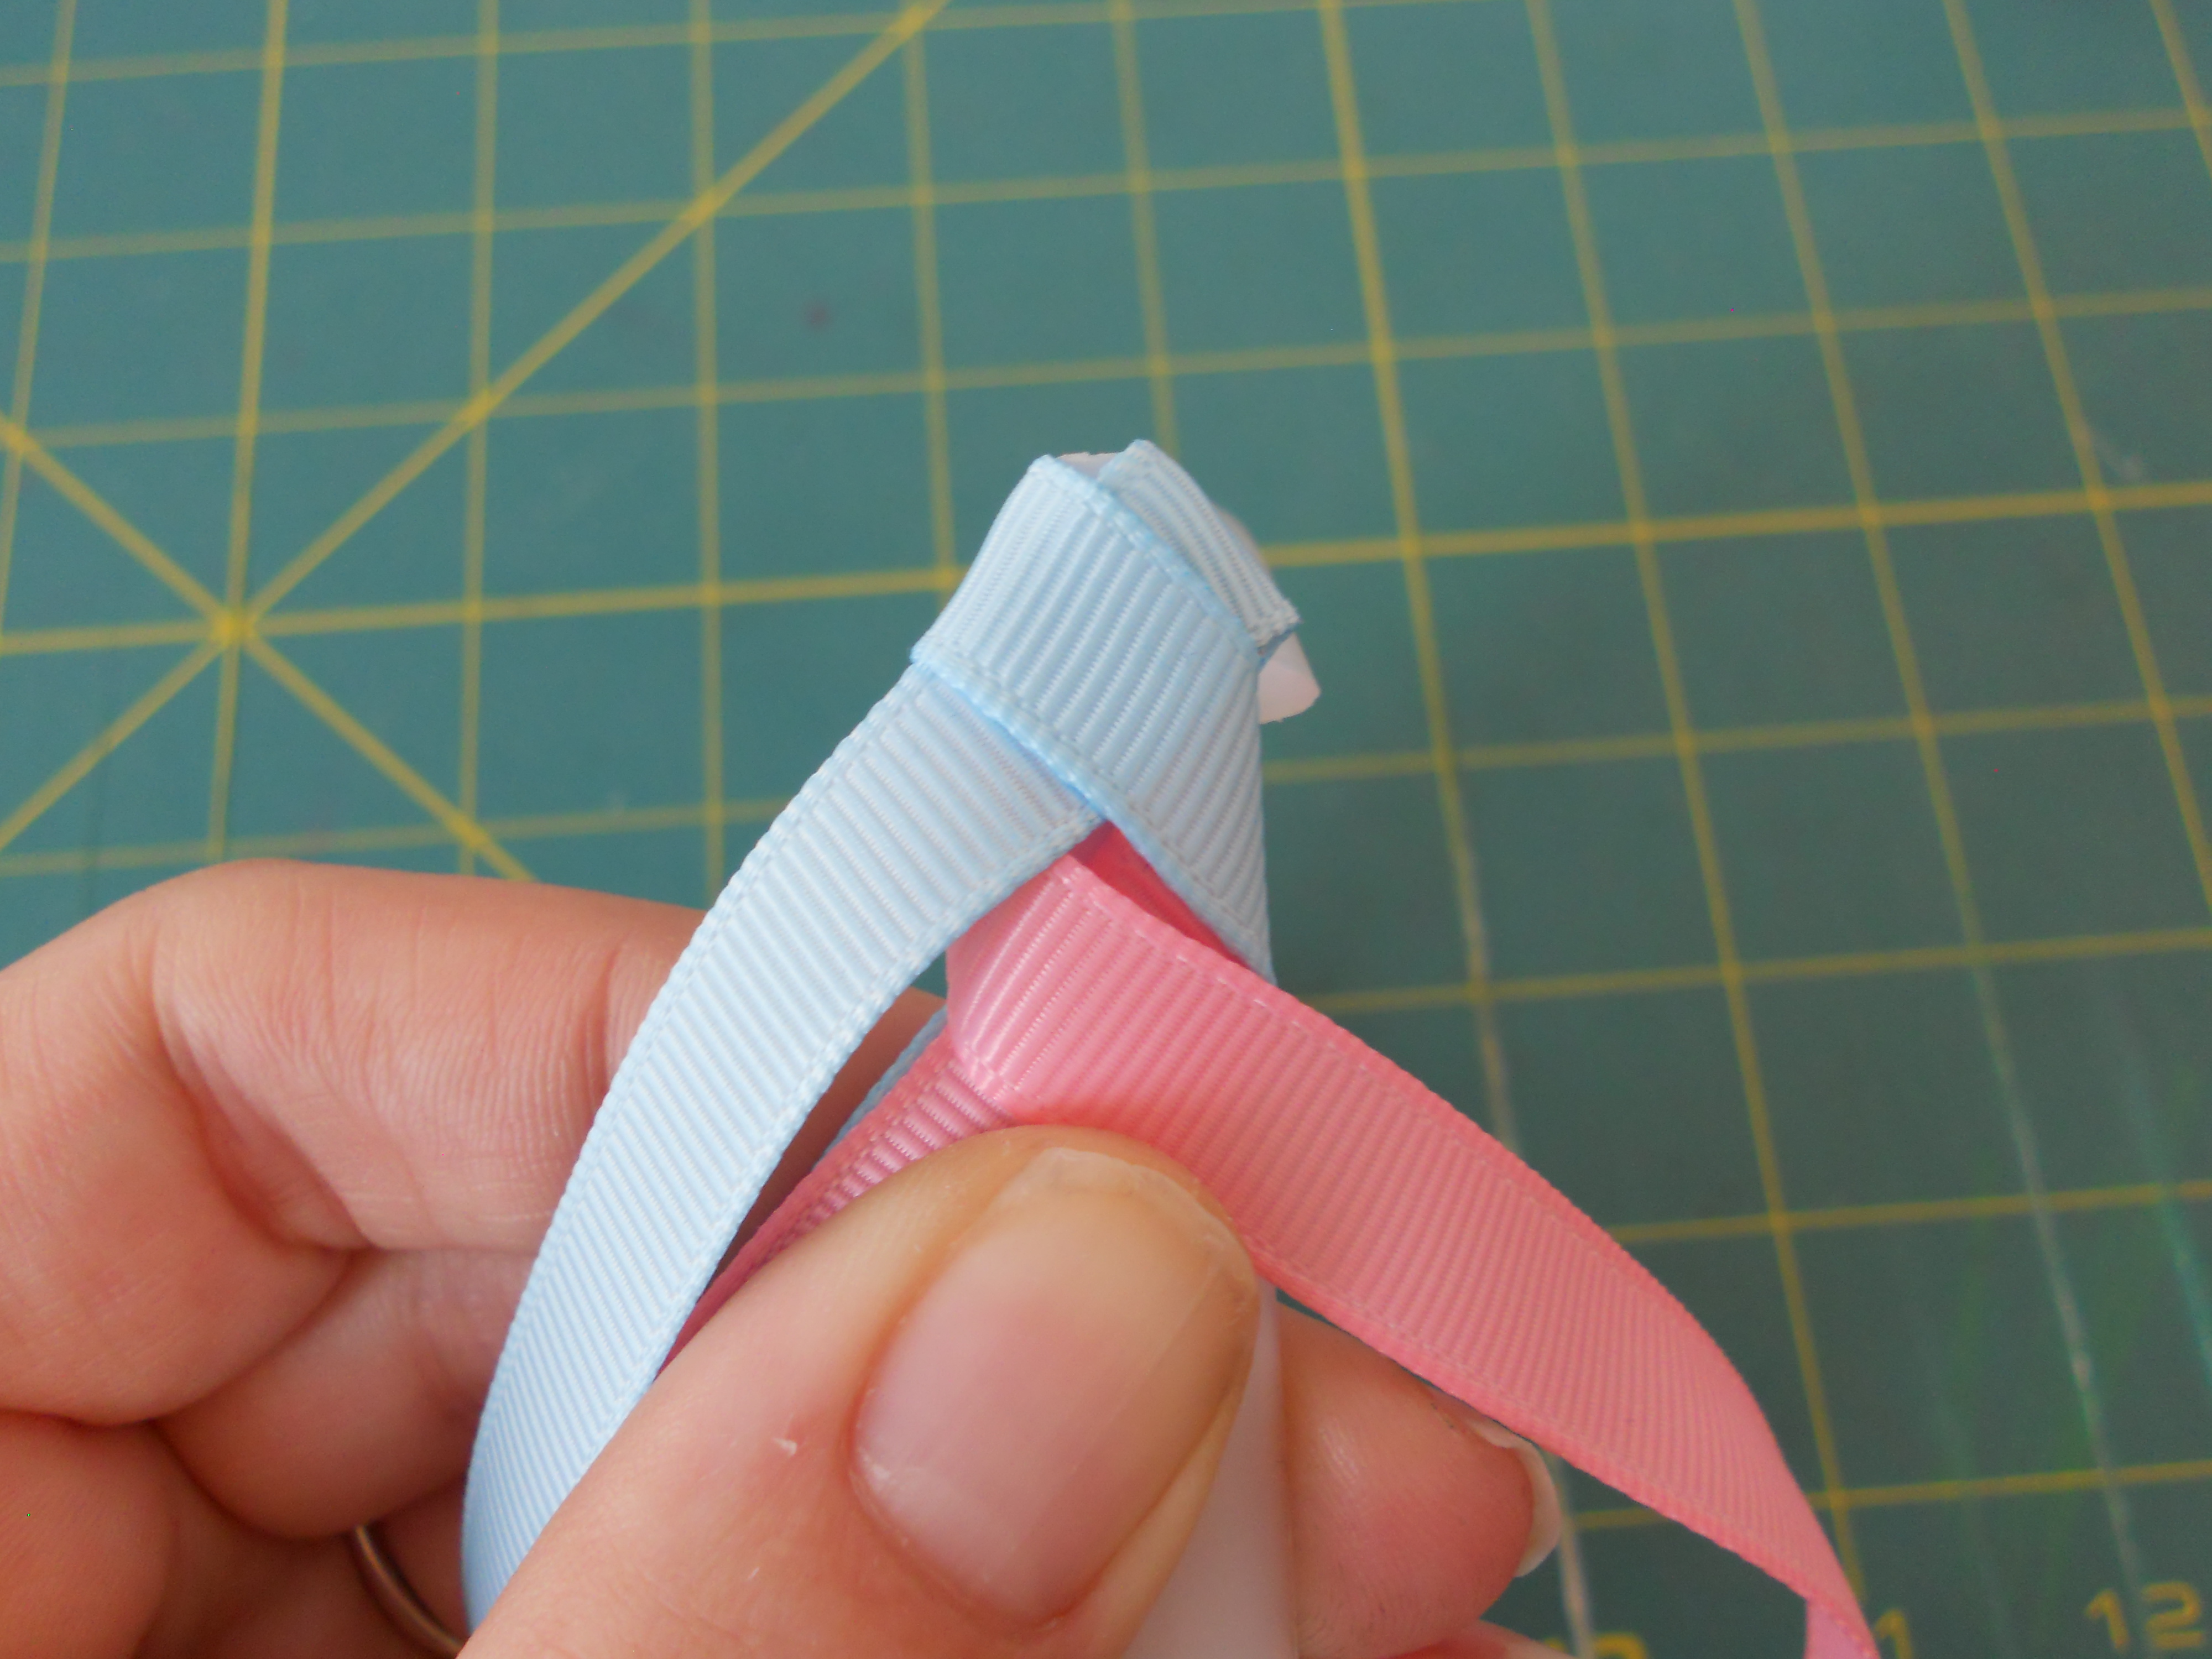
Step 5: Fold your top right ribbon behind the headband (light blue). Step 6: Fold your top left ribbon behind the headband (light blue). Now your ribbon pieces should be lined up pretty evenly and pink will be on the top with the light blue ribbons behind it.

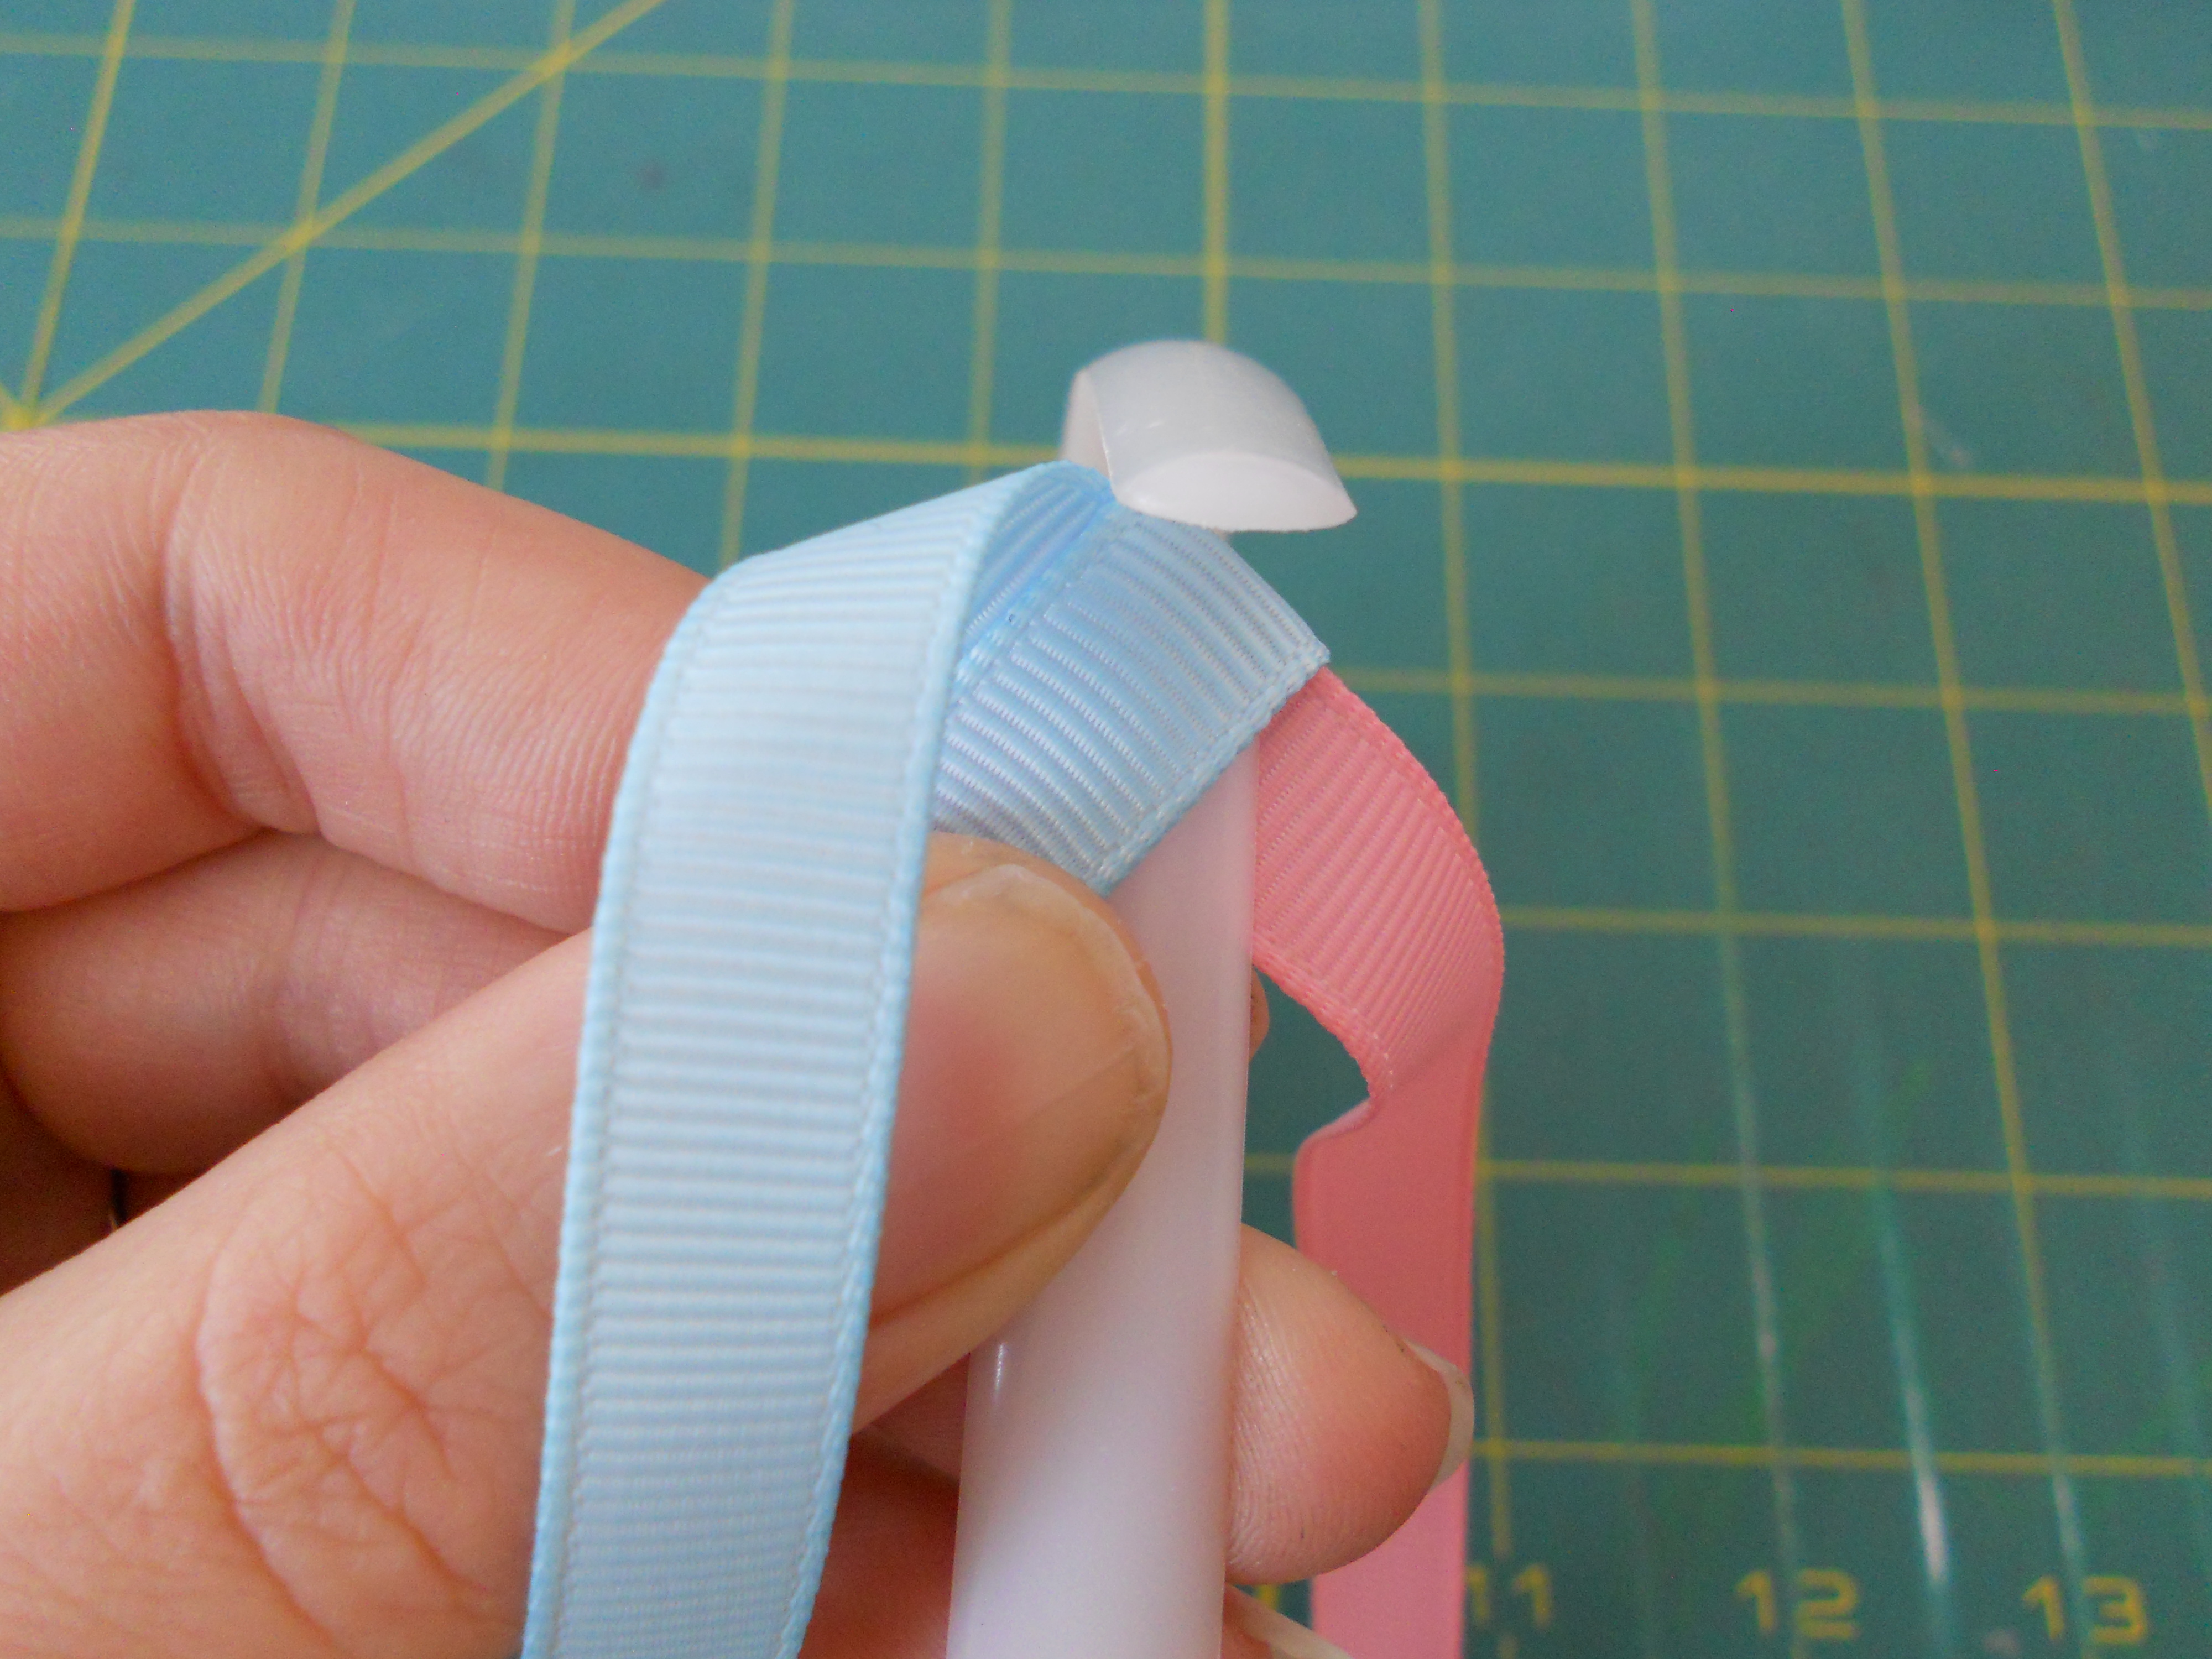
Step 7: Continue the pattern by folding the light blue ribbon on the right side between the pink ribbon and above it and the headband.
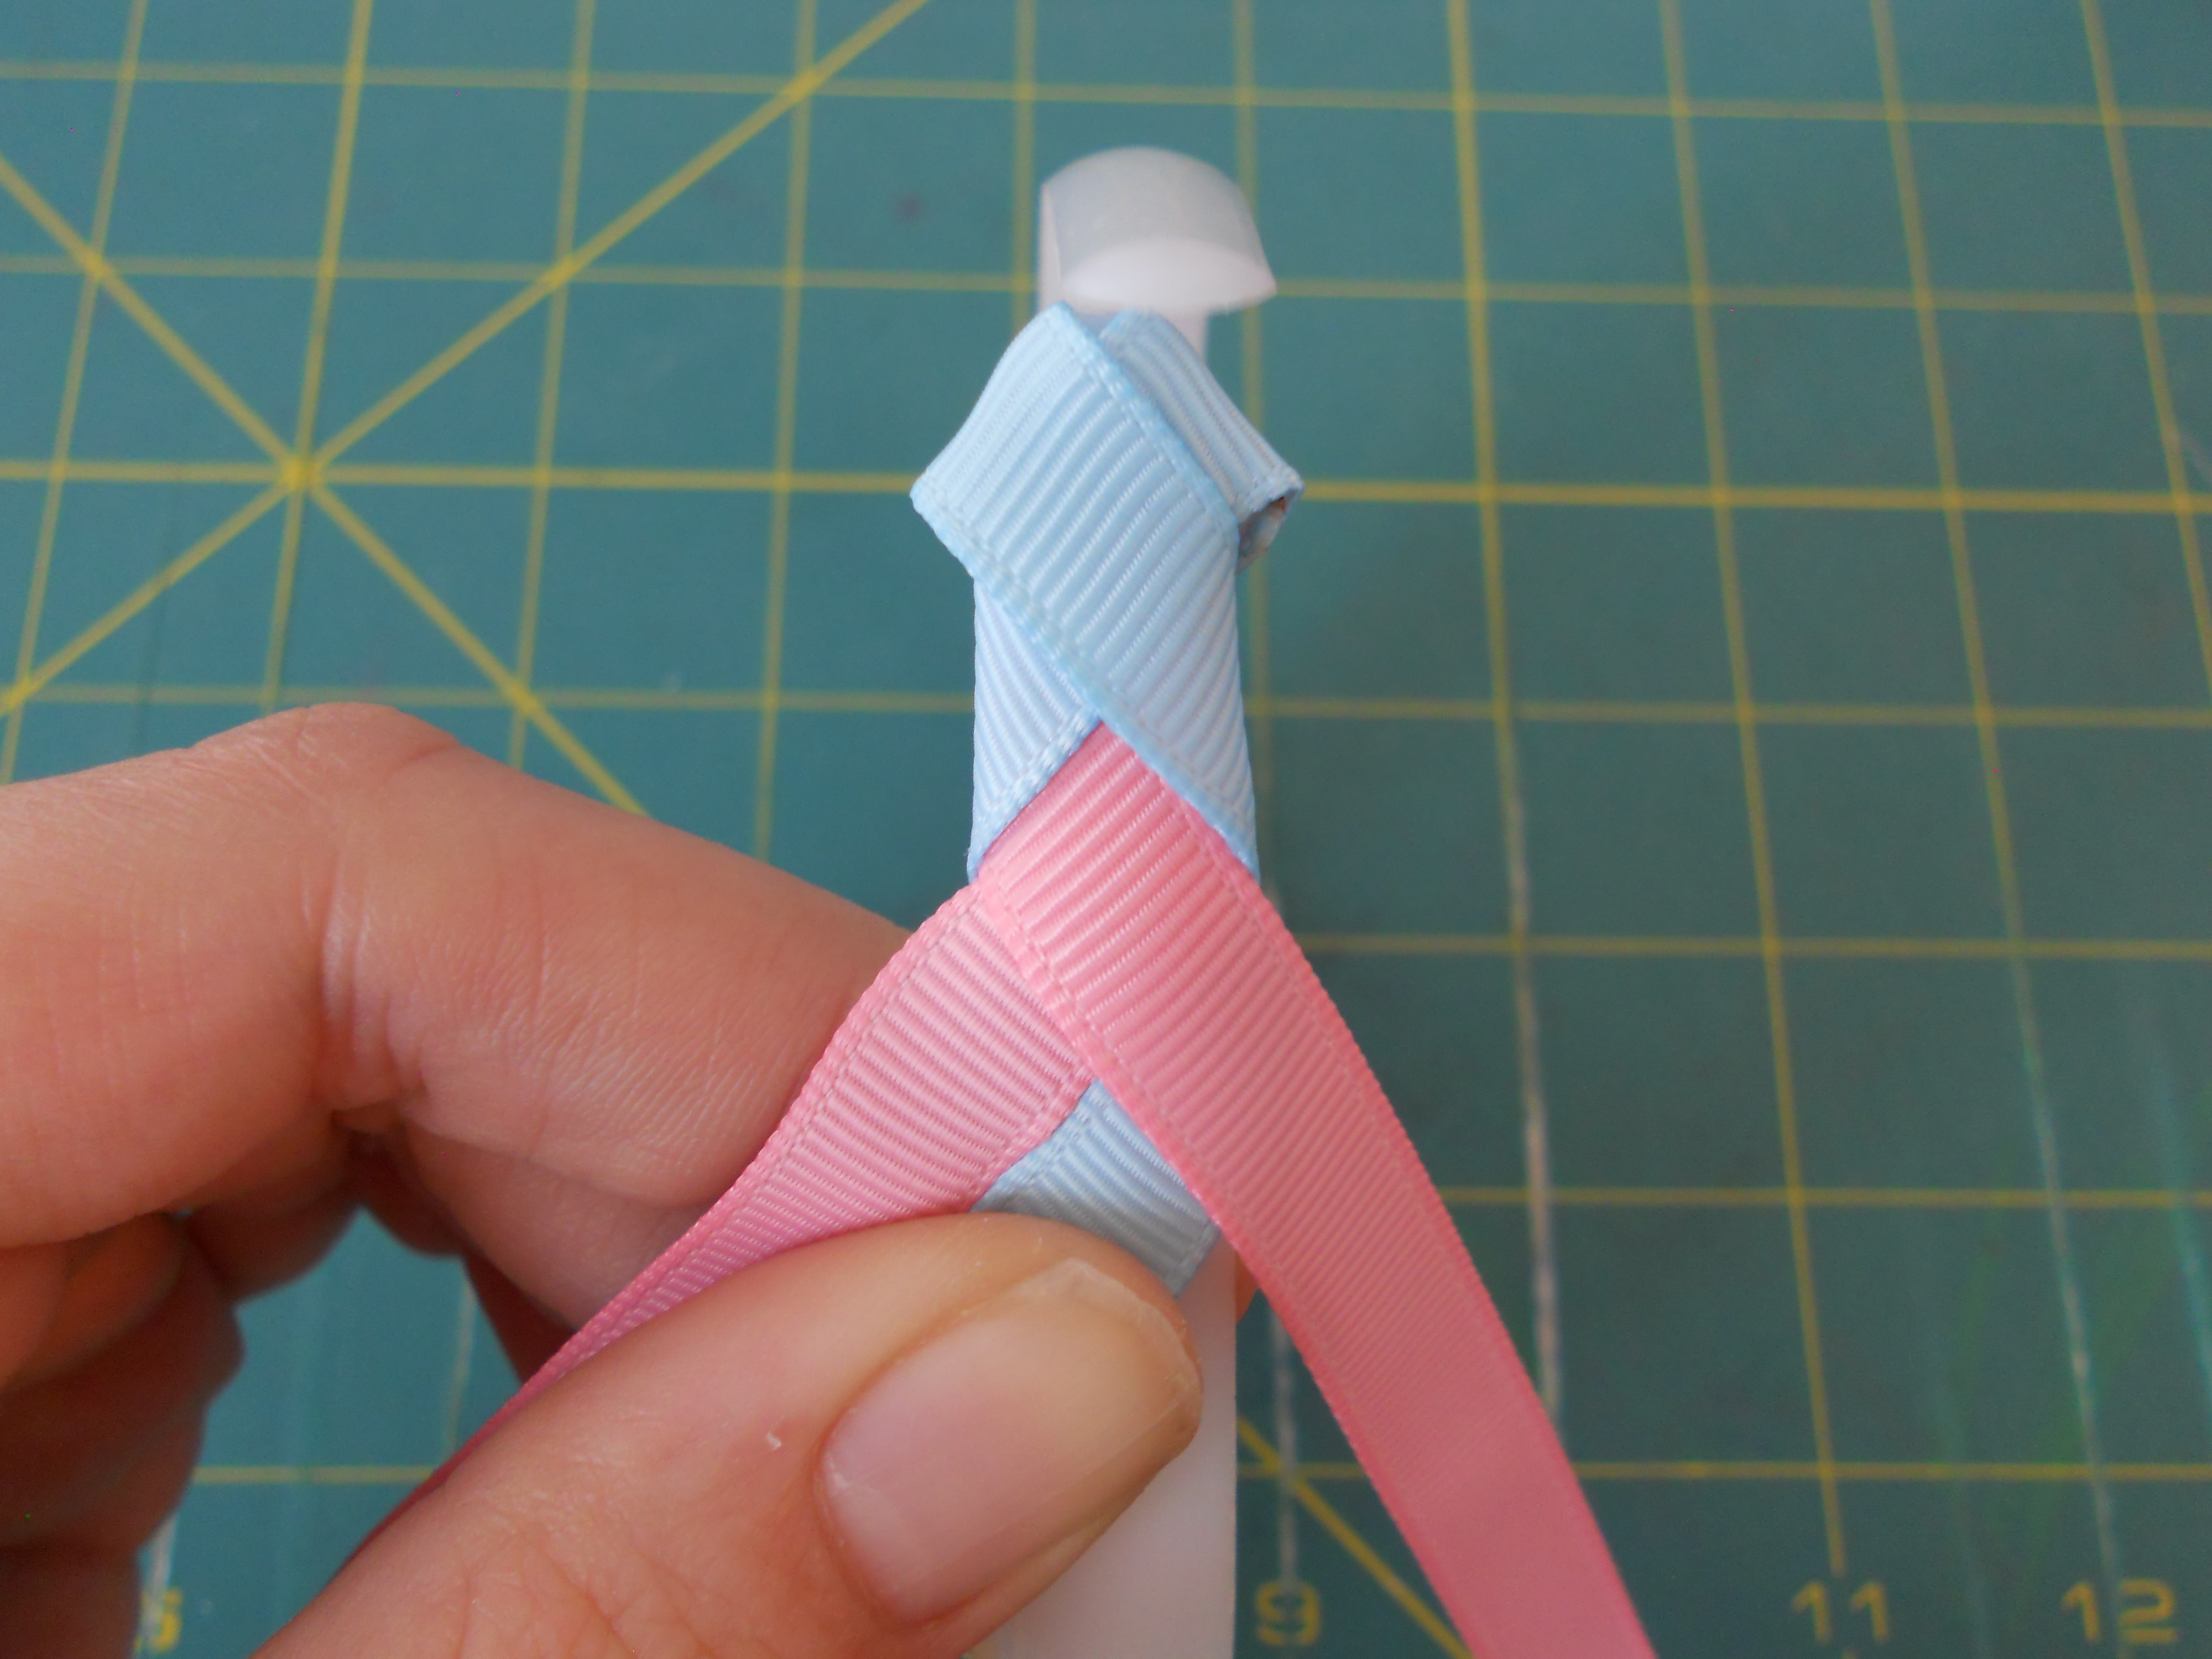
Continue weaving the headband following the same steps as listed. It's important to hold the ribbon tightly as you weave to achieve the desired look. After you complete a few rows use your alligator clip to hold the ribbon in place.
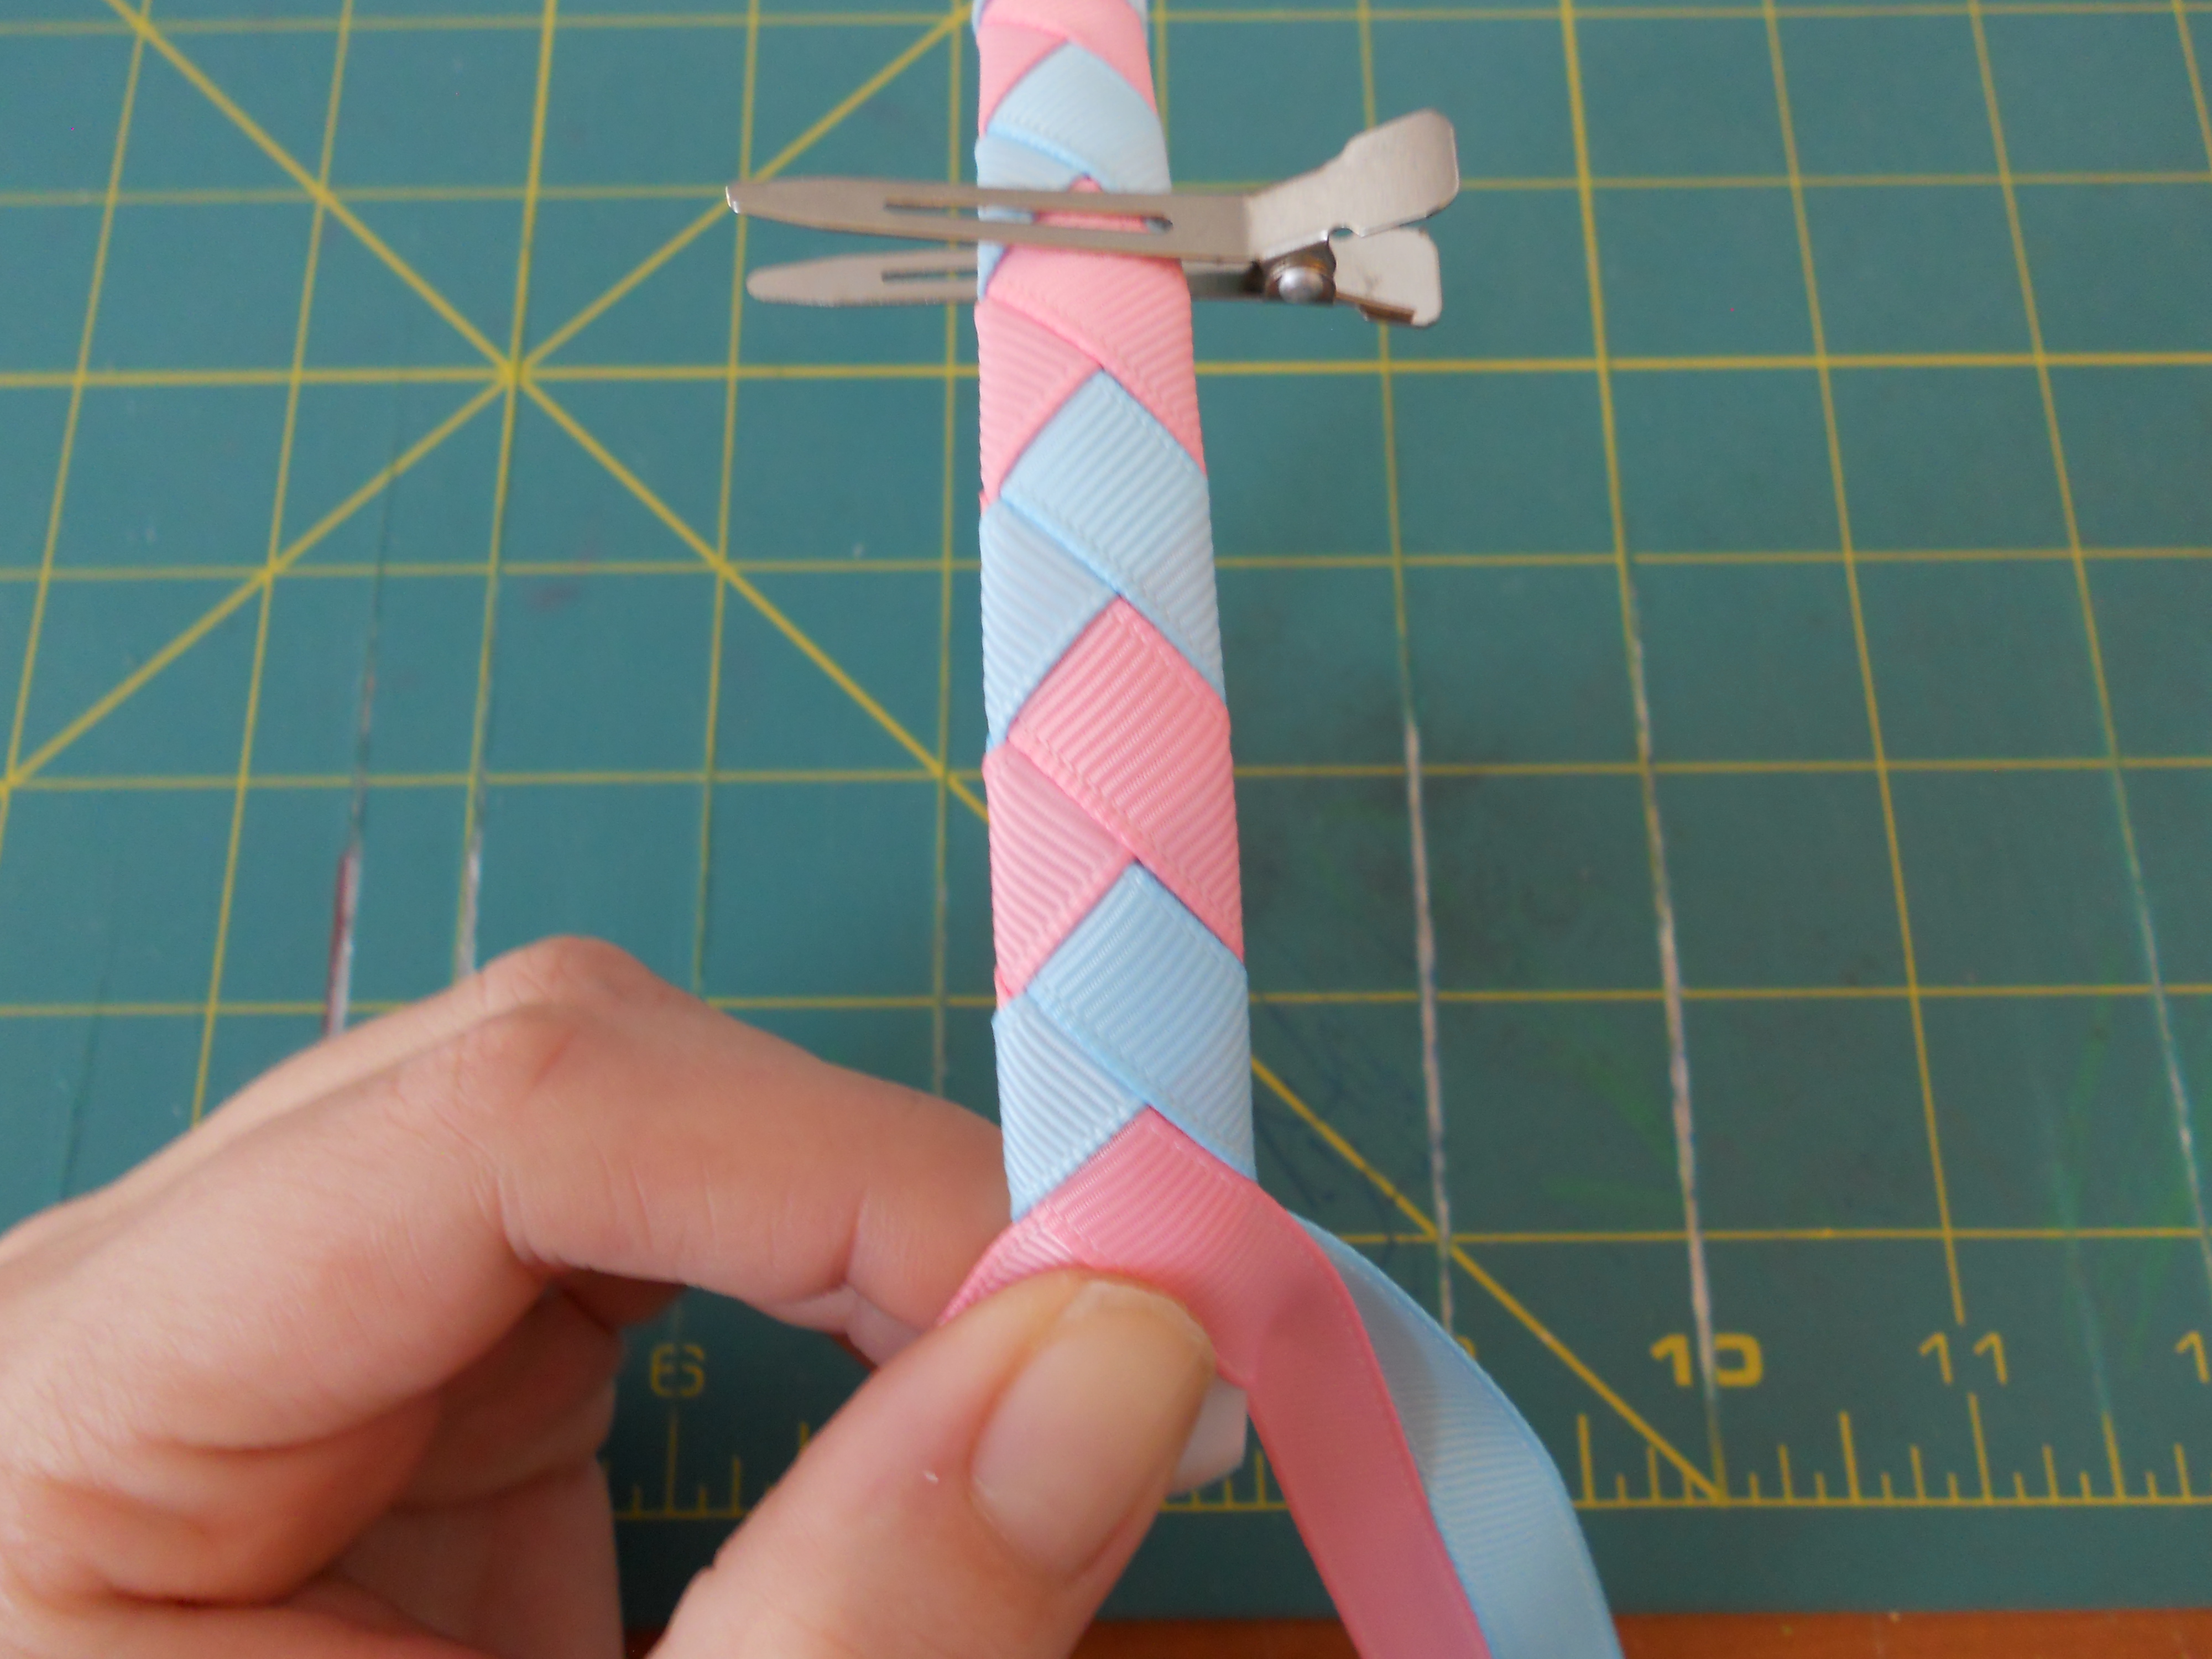
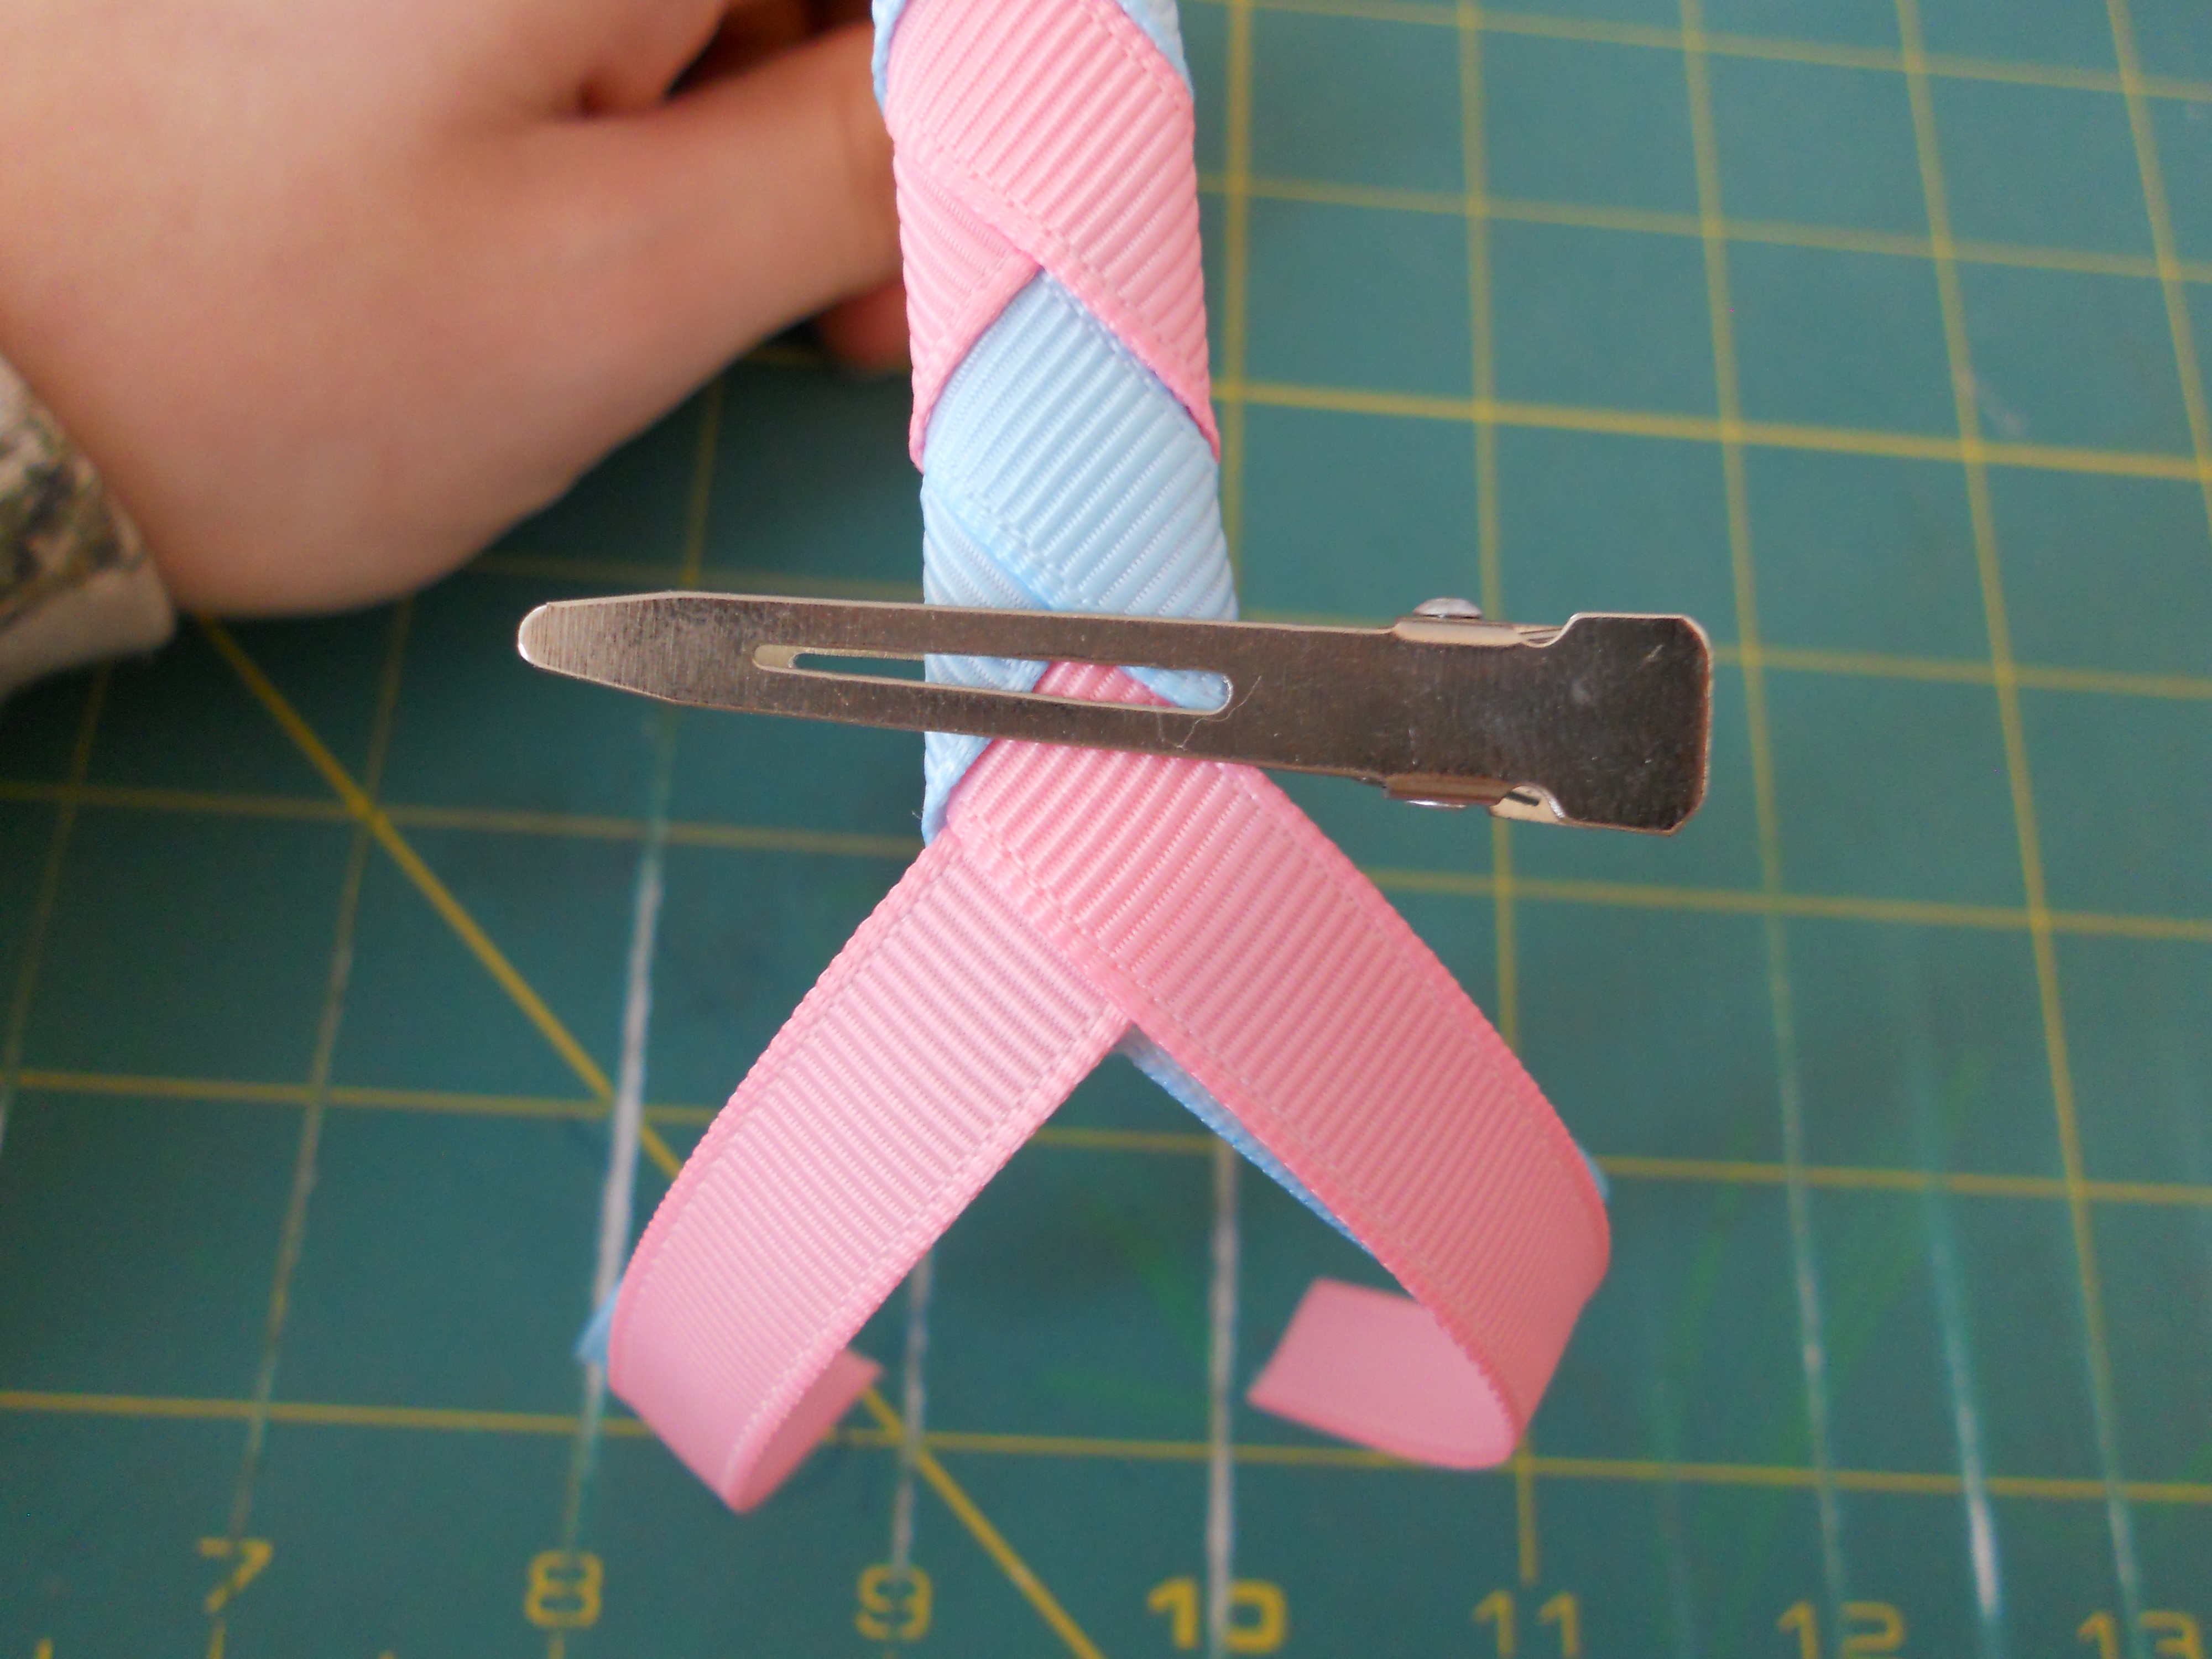
Move your alligator clip down as you go along. When you come to the end of your headband clip it down.
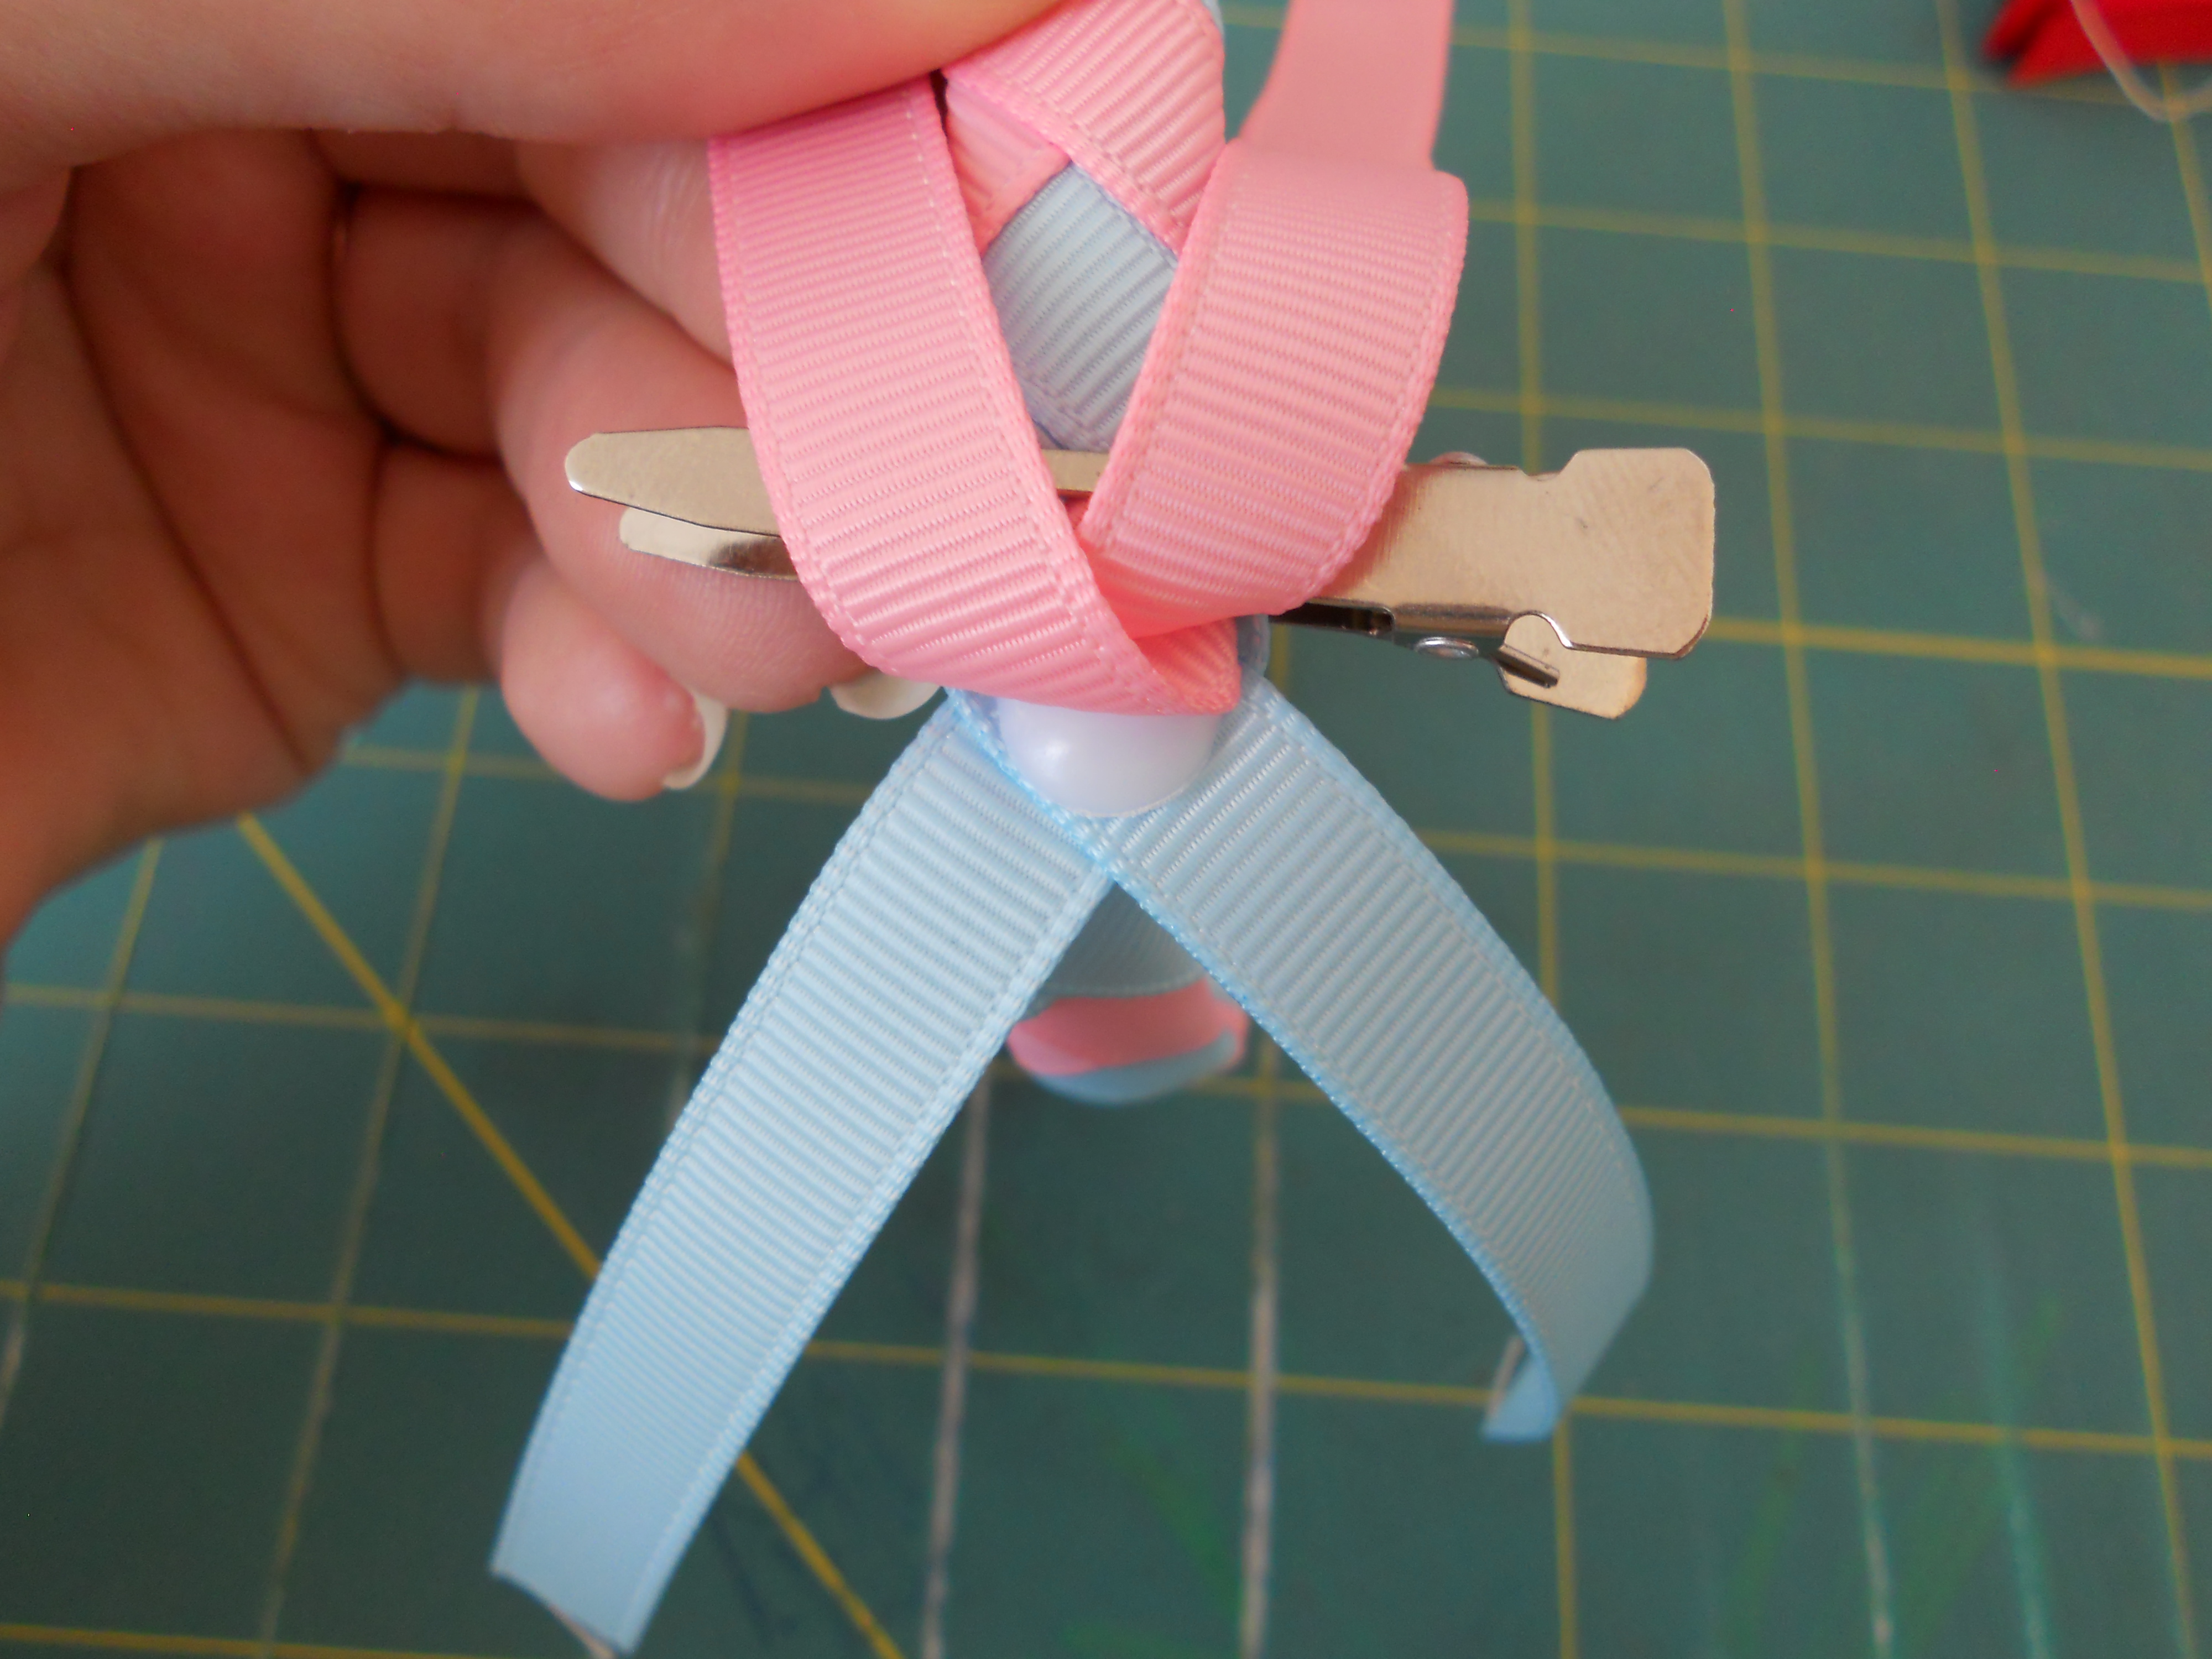
Step 8: Glue your inside ribbons down to the headband. Pull down tightly on the ribbon as you glue so it stays in place.
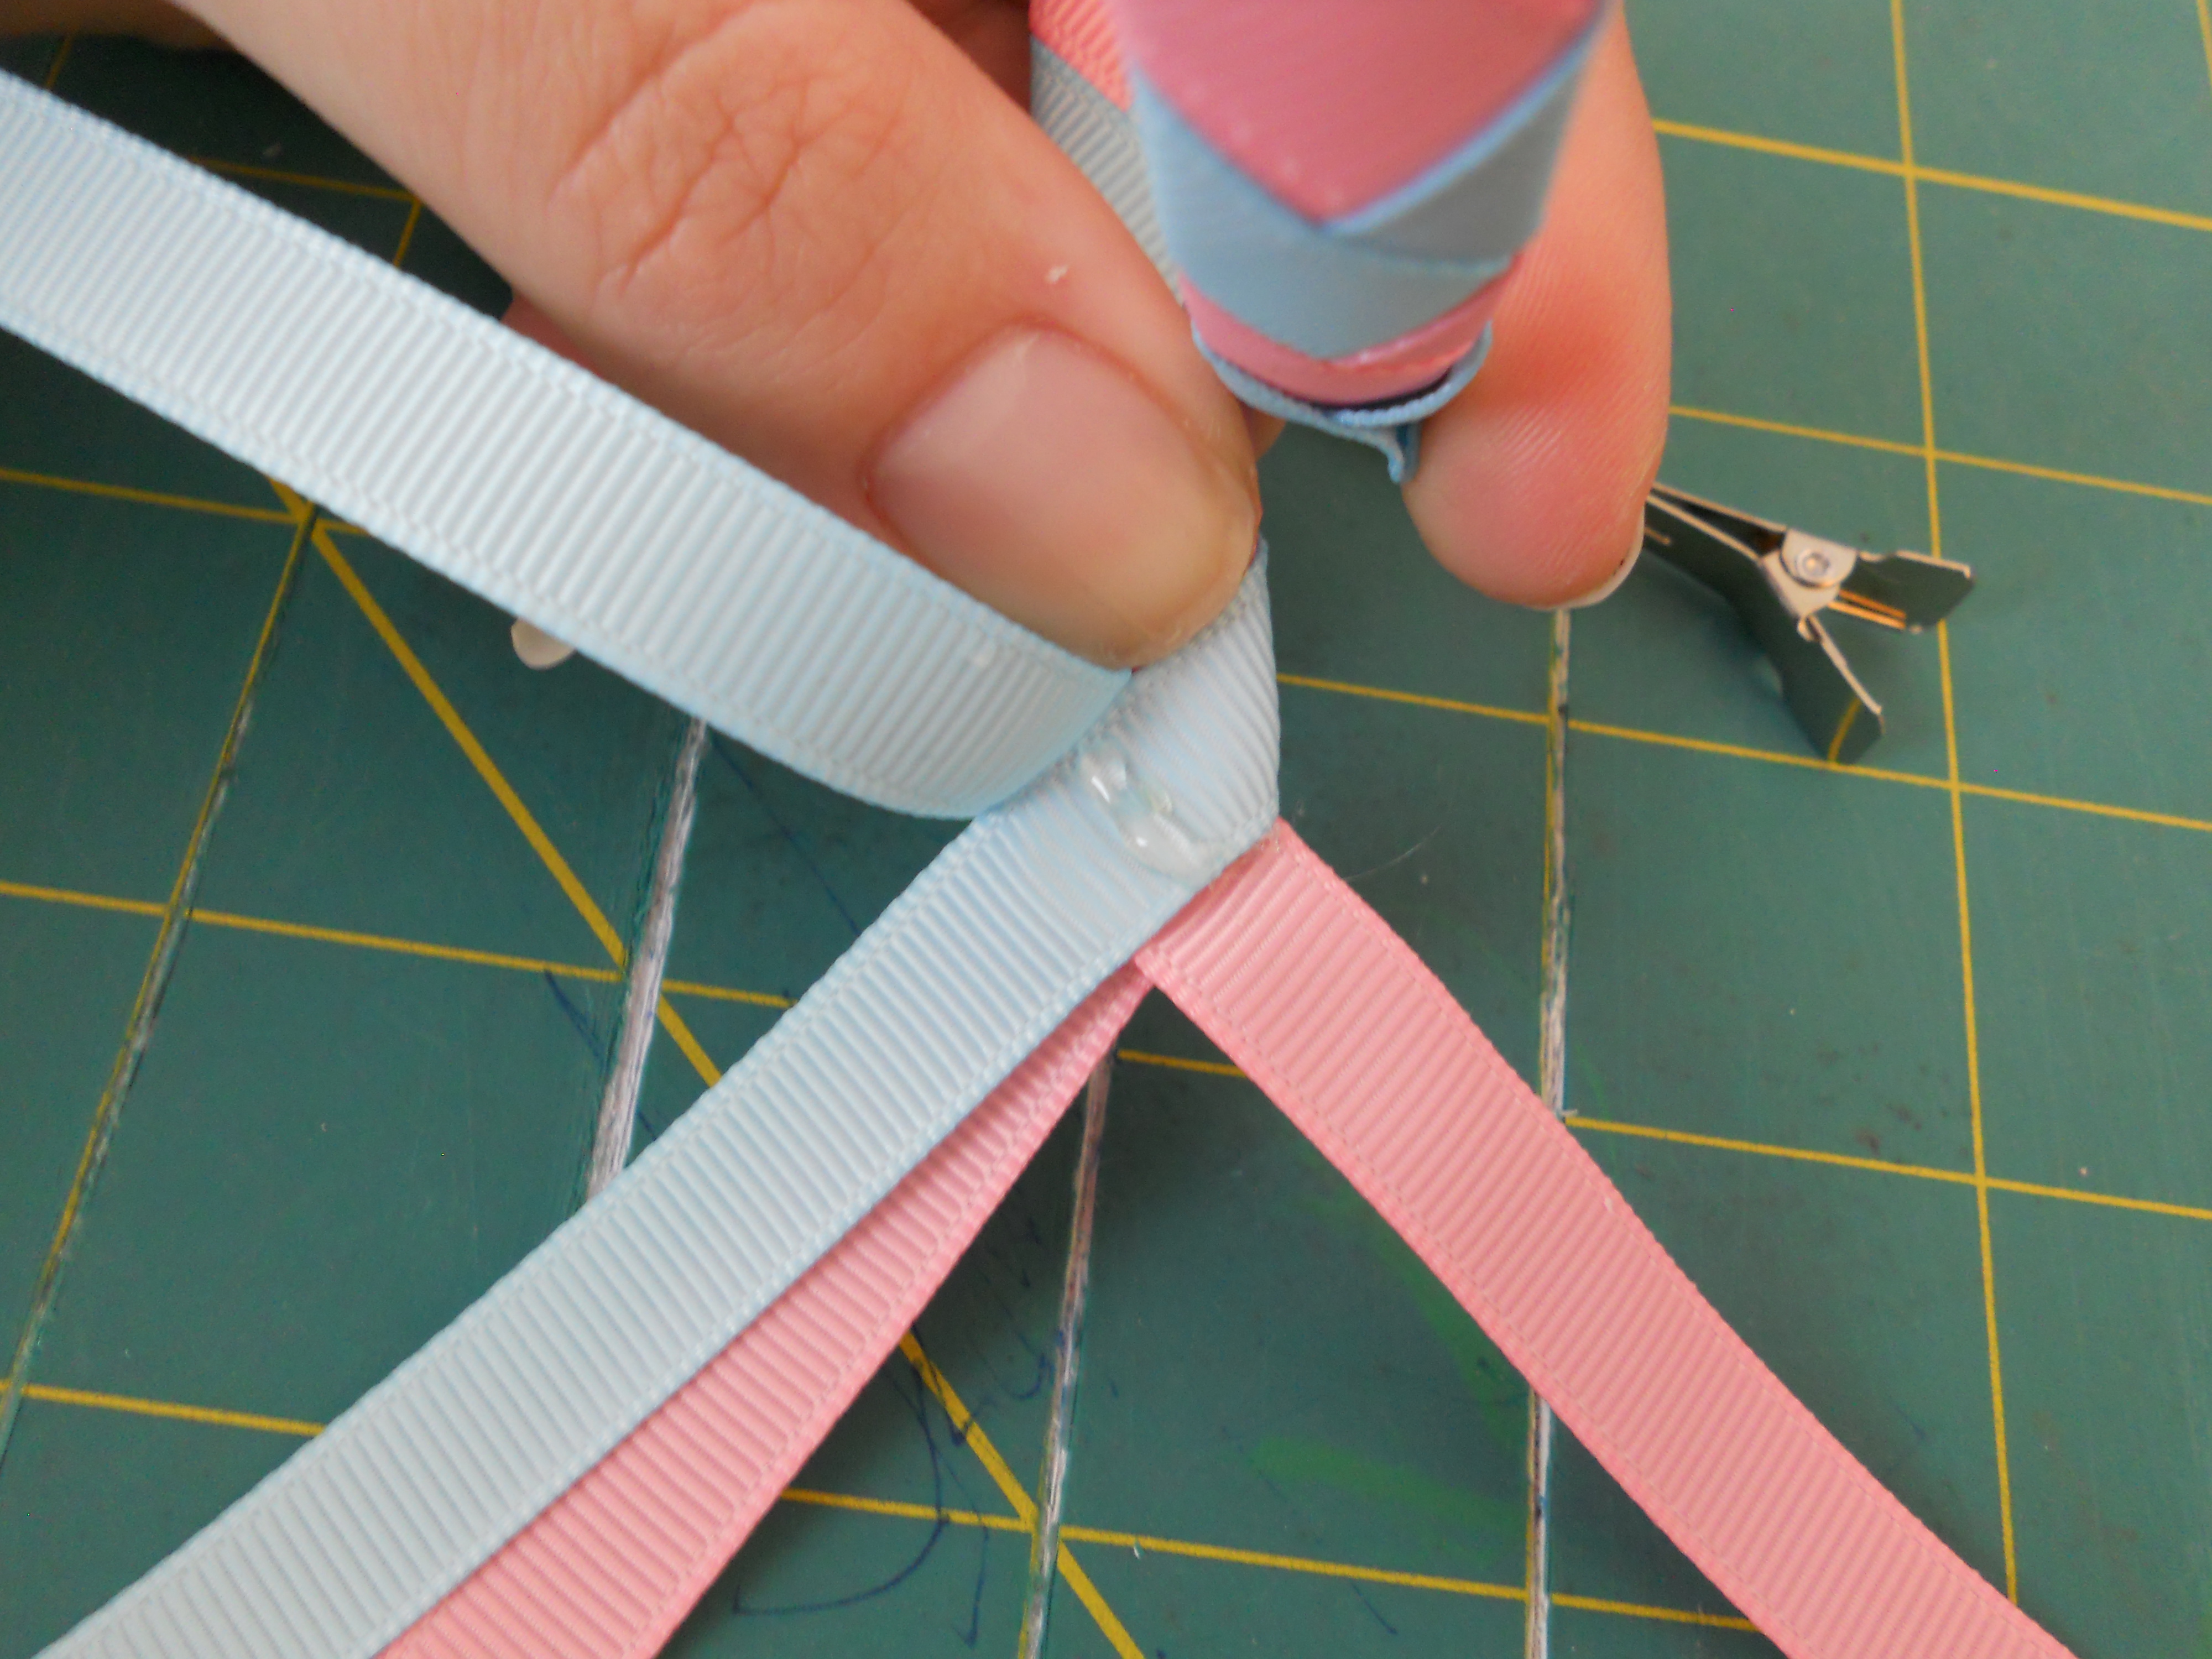
Step 9: Trim the ribbon ends with scissors (don't cut too close to the headband.) Step 10: Use your lighter to slightly singe the ends on the ribbon. Press down on the ribbon to wrap it around the rim of the headband (do this quickly and carefully - it will be hot).

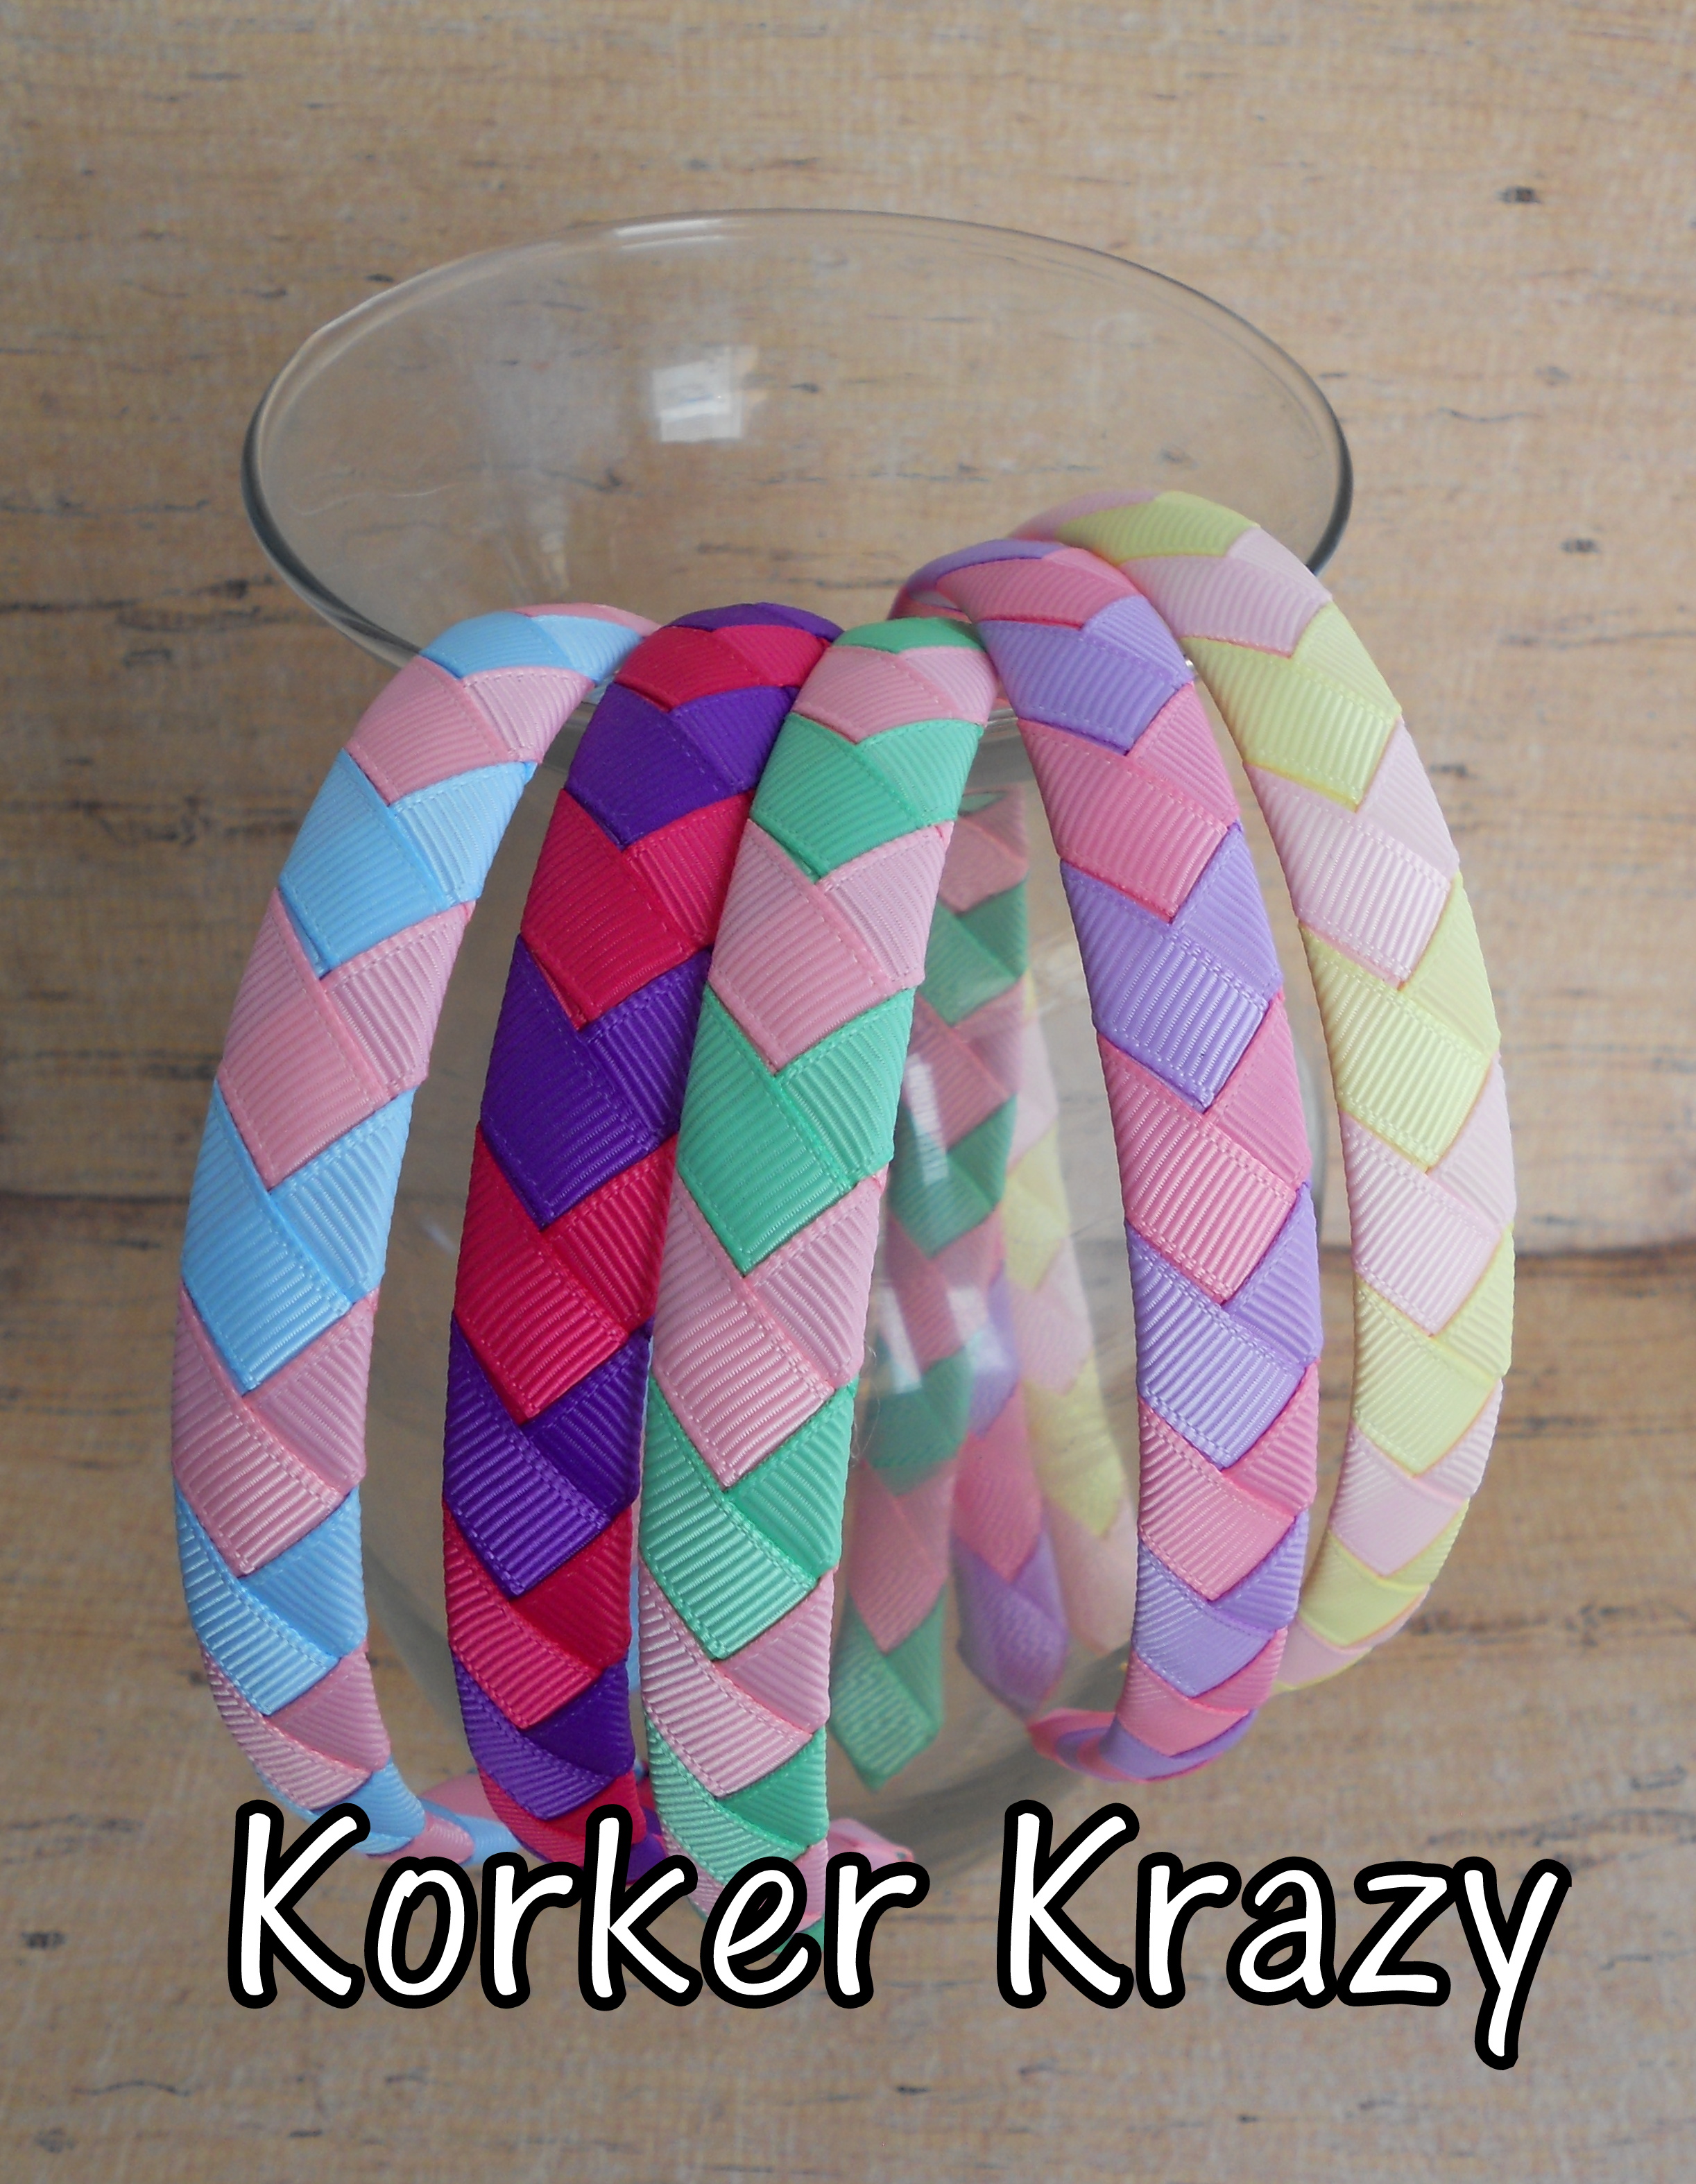
These are so fun to make and the options are ENDLESS! I'd love to see your color combinations in the comments below!
Visit the rest of our blog for more Crafting Tutorials and DIY Instructions!
Loading...

