 Contributor post by Brittany
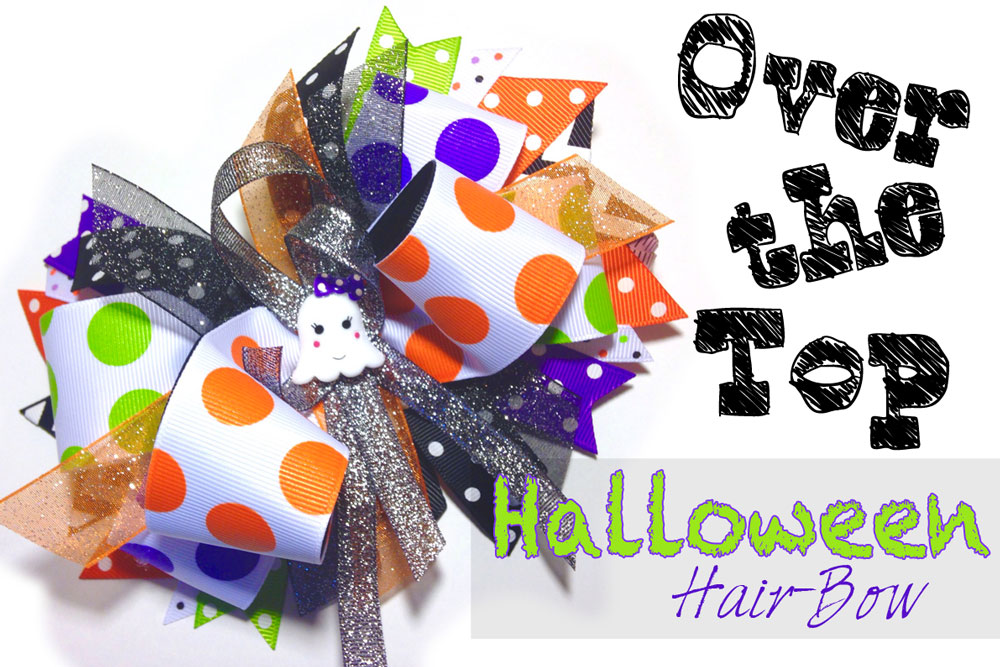
Before all the Halloween festivities get under way, there's just enough time for you to make the cutest Halloween hair-bow yet! Today I'm going to share with you how to create a gorgeous, over the top, stacked hair bow featuring my favorite HBC printed ribbons: POLKA DOTS! Orange, black, purple & green... these choices make up the perfect Halloween color scheme! So let's gather our supplies and get to work!
Contributor post by Brittany
Before all the Halloween festivities get under way, there's just enough time for you to make the cutest Halloween hair-bow yet! Today I'm going to share with you how to create a gorgeous, over the top, stacked hair bow featuring my favorite HBC printed ribbons: POLKA DOTS! Orange, black, purple & green... these choices make up the perfect Halloween color scheme! So let's gather our supplies and get to work!
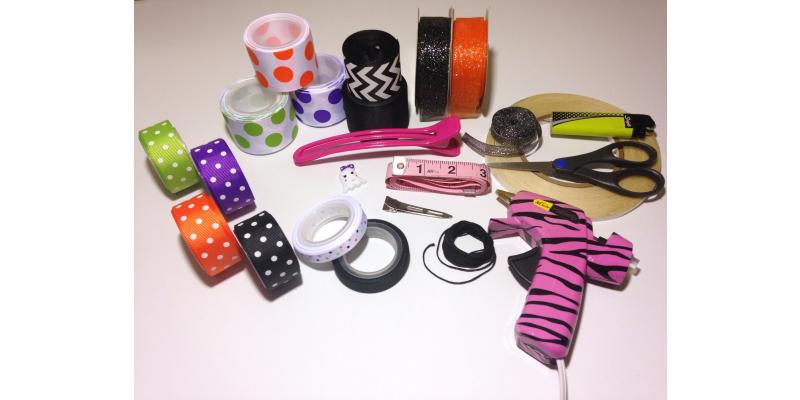
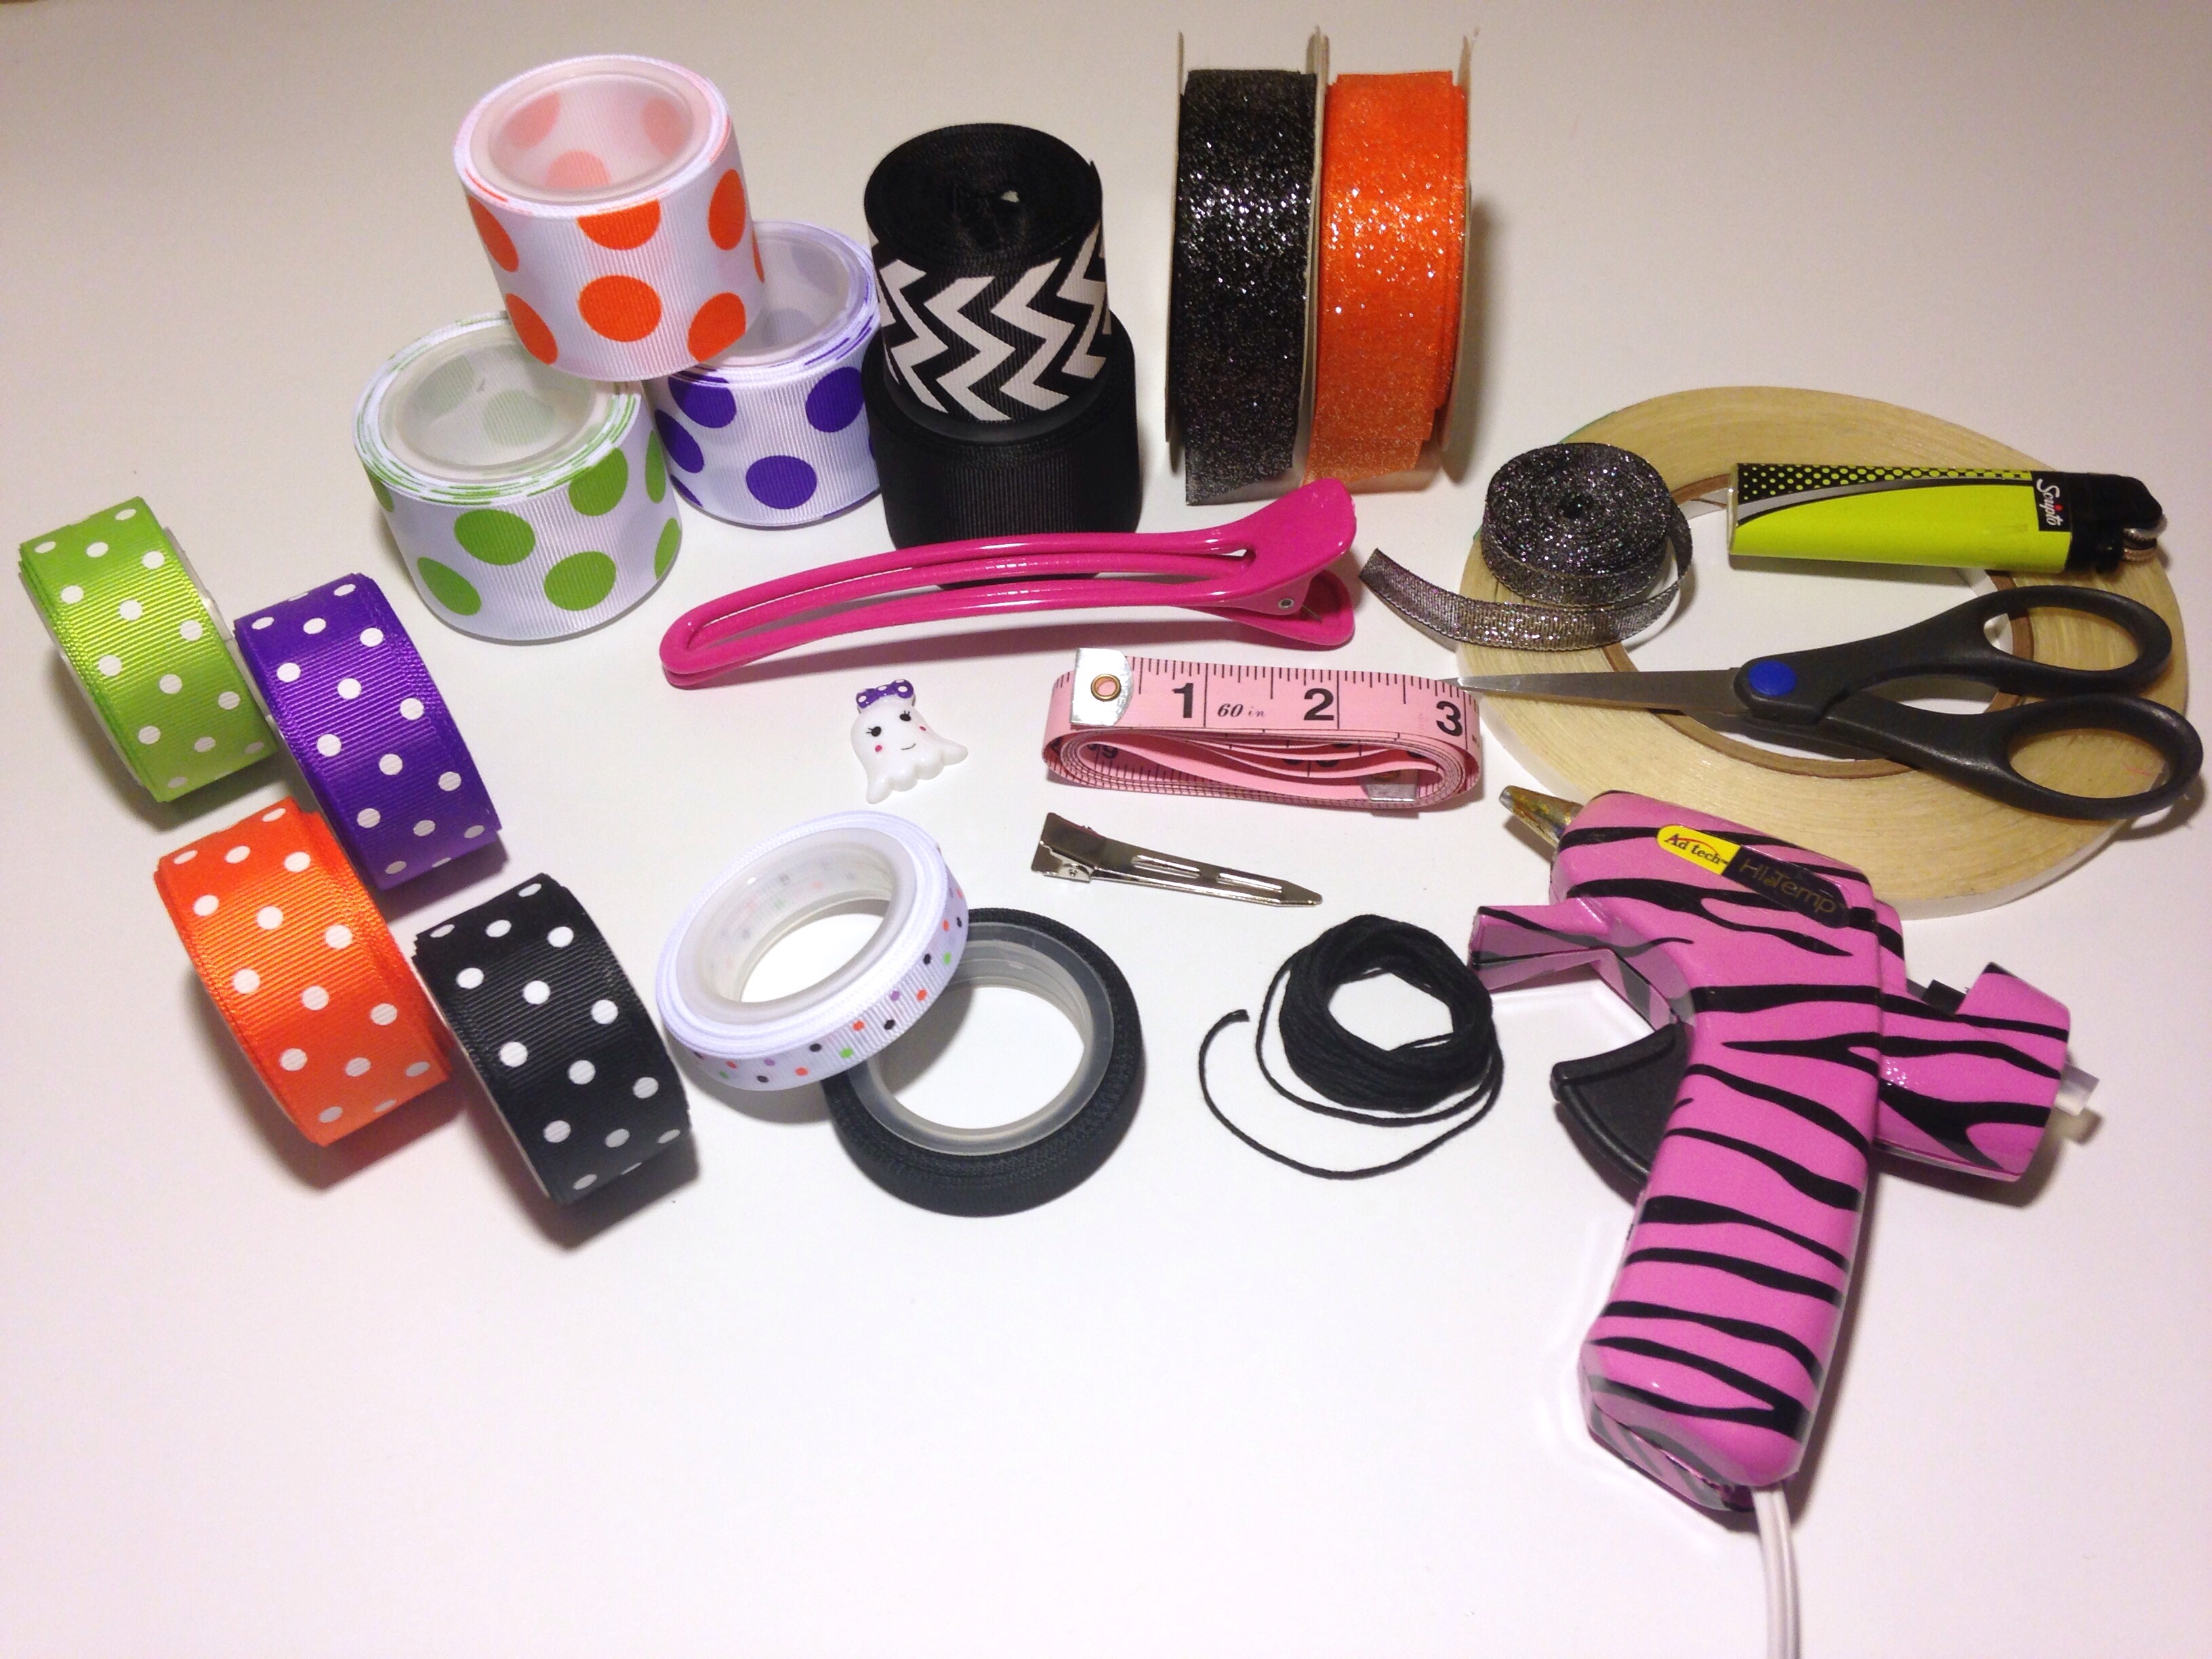 Pictured above are the supplies needed:
•7/8" apple green w/white dots grosgrain ribbon
•7/8" purple w/white dots grosgrain ribbon
•7/8" orange w/white dots grosgrain ribbon
•7/8" black w/white dots grosgrain ribbon
•3/8" black grosgrain ribbon
•3/8" Halloween dots ribbon
•1.5" large orange peel dots ribbon
•1.5" large apple green dots ribbon
•1.5" large purple dots ribbon
•1.5" black grosgrain ribbon
•1.5" black chevron zigzag ribbon
•7/8" sheer black & orange ribbons
•3/8" black sheer ribbon
•large salon clip
•2.25" large alligator clip
•strong embroidery thread
•center embellishment
•scissors
•lighter
•measuring tape
•1/4" double sided fillet tape
•hot glue gun
Let's get started with the construction of our main bow. For this bow you will need 13" of 1.5" large Apple green dots and 13" of 1.5" large purple dots.
Pictured above are the supplies needed:
•7/8" apple green w/white dots grosgrain ribbon
•7/8" purple w/white dots grosgrain ribbon
•7/8" orange w/white dots grosgrain ribbon
•7/8" black w/white dots grosgrain ribbon
•3/8" black grosgrain ribbon
•3/8" Halloween dots ribbon
•1.5" large orange peel dots ribbon
•1.5" large apple green dots ribbon
•1.5" large purple dots ribbon
•1.5" black grosgrain ribbon
•1.5" black chevron zigzag ribbon
•7/8" sheer black & orange ribbons
•3/8" black sheer ribbon
•large salon clip
•2.25" large alligator clip
•strong embroidery thread
•center embellishment
•scissors
•lighter
•measuring tape
•1/4" double sided fillet tape
•hot glue gun
Let's get started with the construction of our main bow. For this bow you will need 13" of 1.5" large Apple green dots and 13" of 1.5" large purple dots. 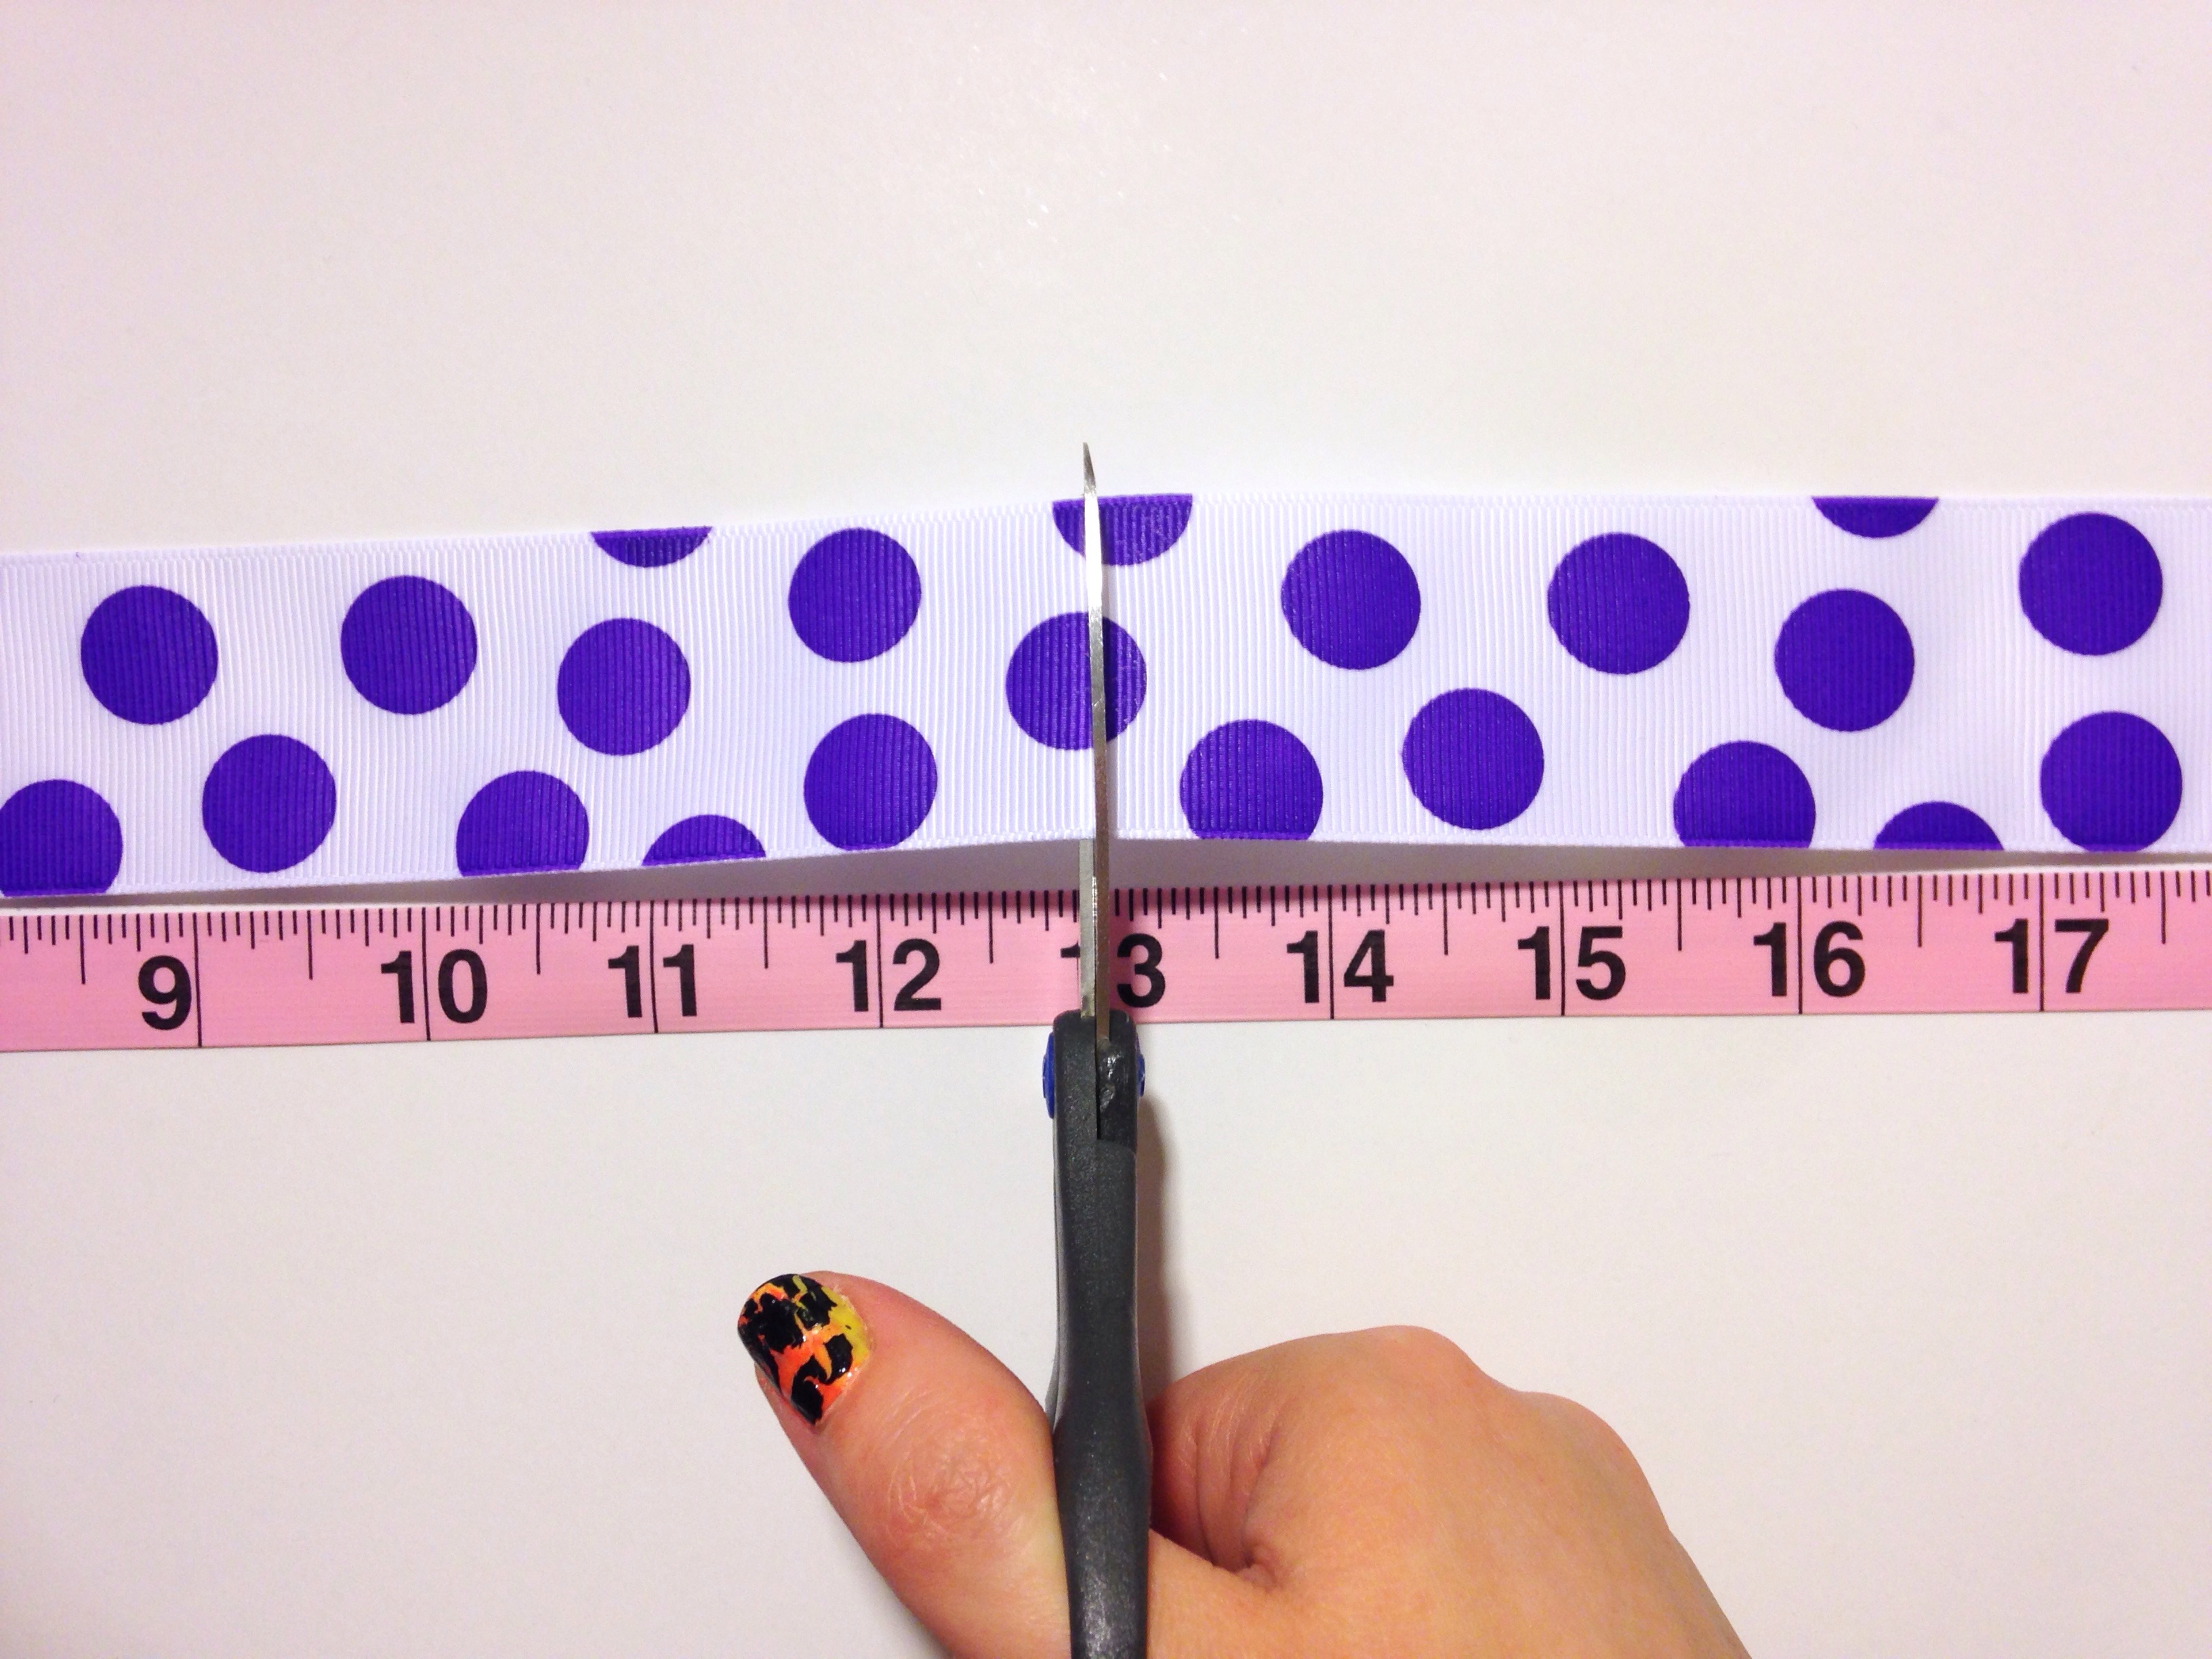 Heat seal the ends with your lighter and create each loop as shown below.

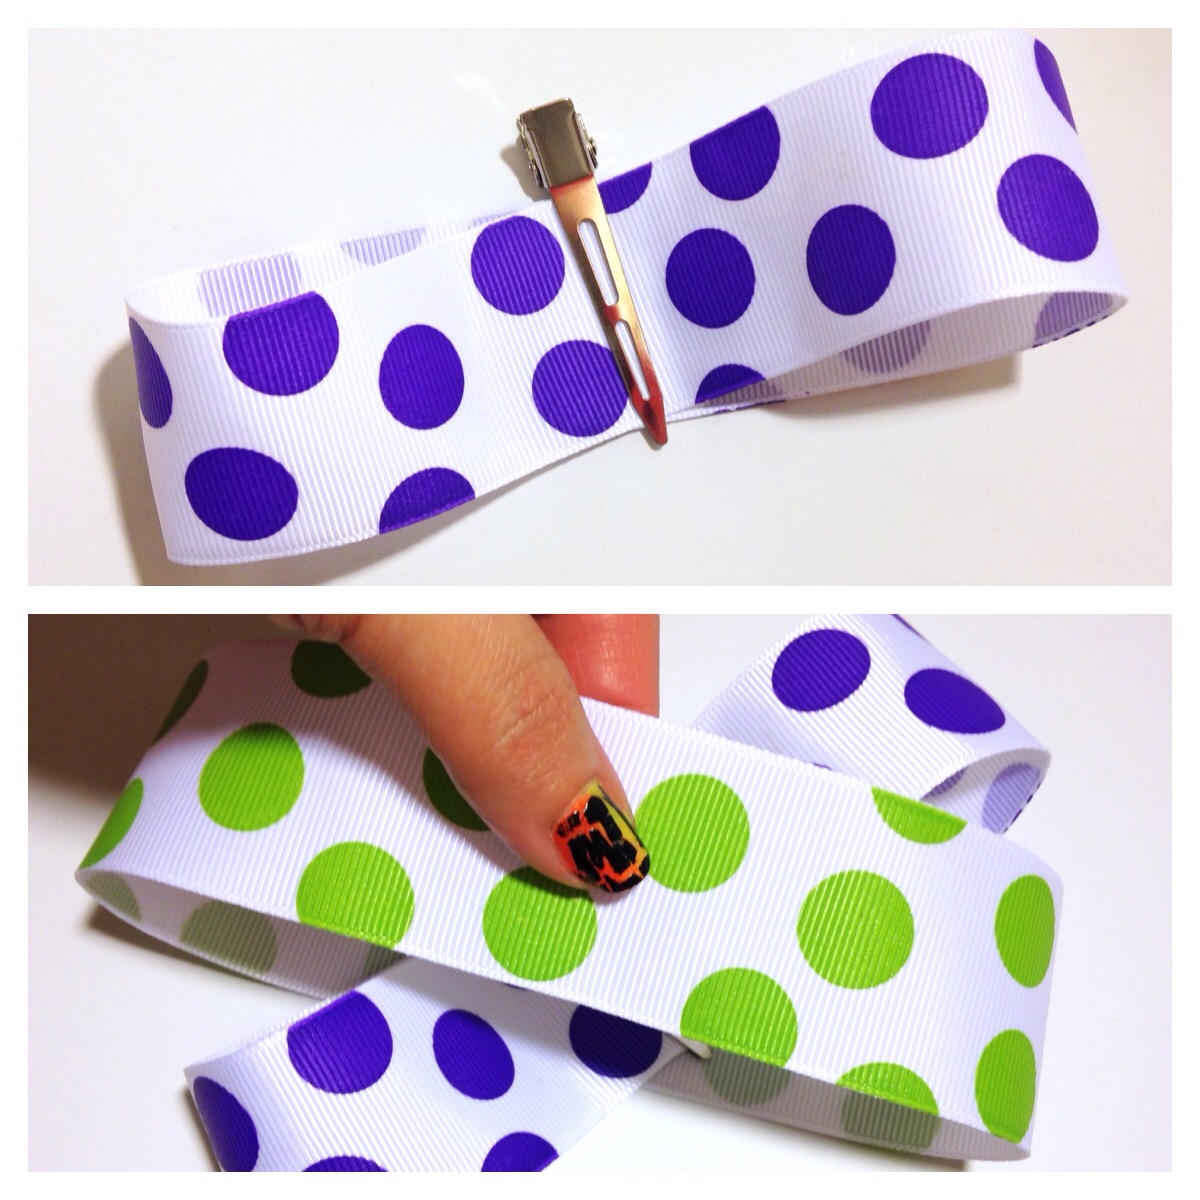 Cut a small strip of double sided fillet tape and press it down onto one end of your ribbon. Pull off the paper backing and connect the opposite end of ribbon to form a circle. Find the center of your circle and give the top layer of ribbon a gentle twist to give the loop a little shape. Don't twist too much or your loop will have too much shape and will not easily stack other layers on-top to look it's best. Once you have the right shape to your loop, secure the center with an alligator clip. Follow steps once again to create your second loop using large purple dots ribbon. Slide your second loop onto the first as shown in the last pic above. Create equal sized loops.
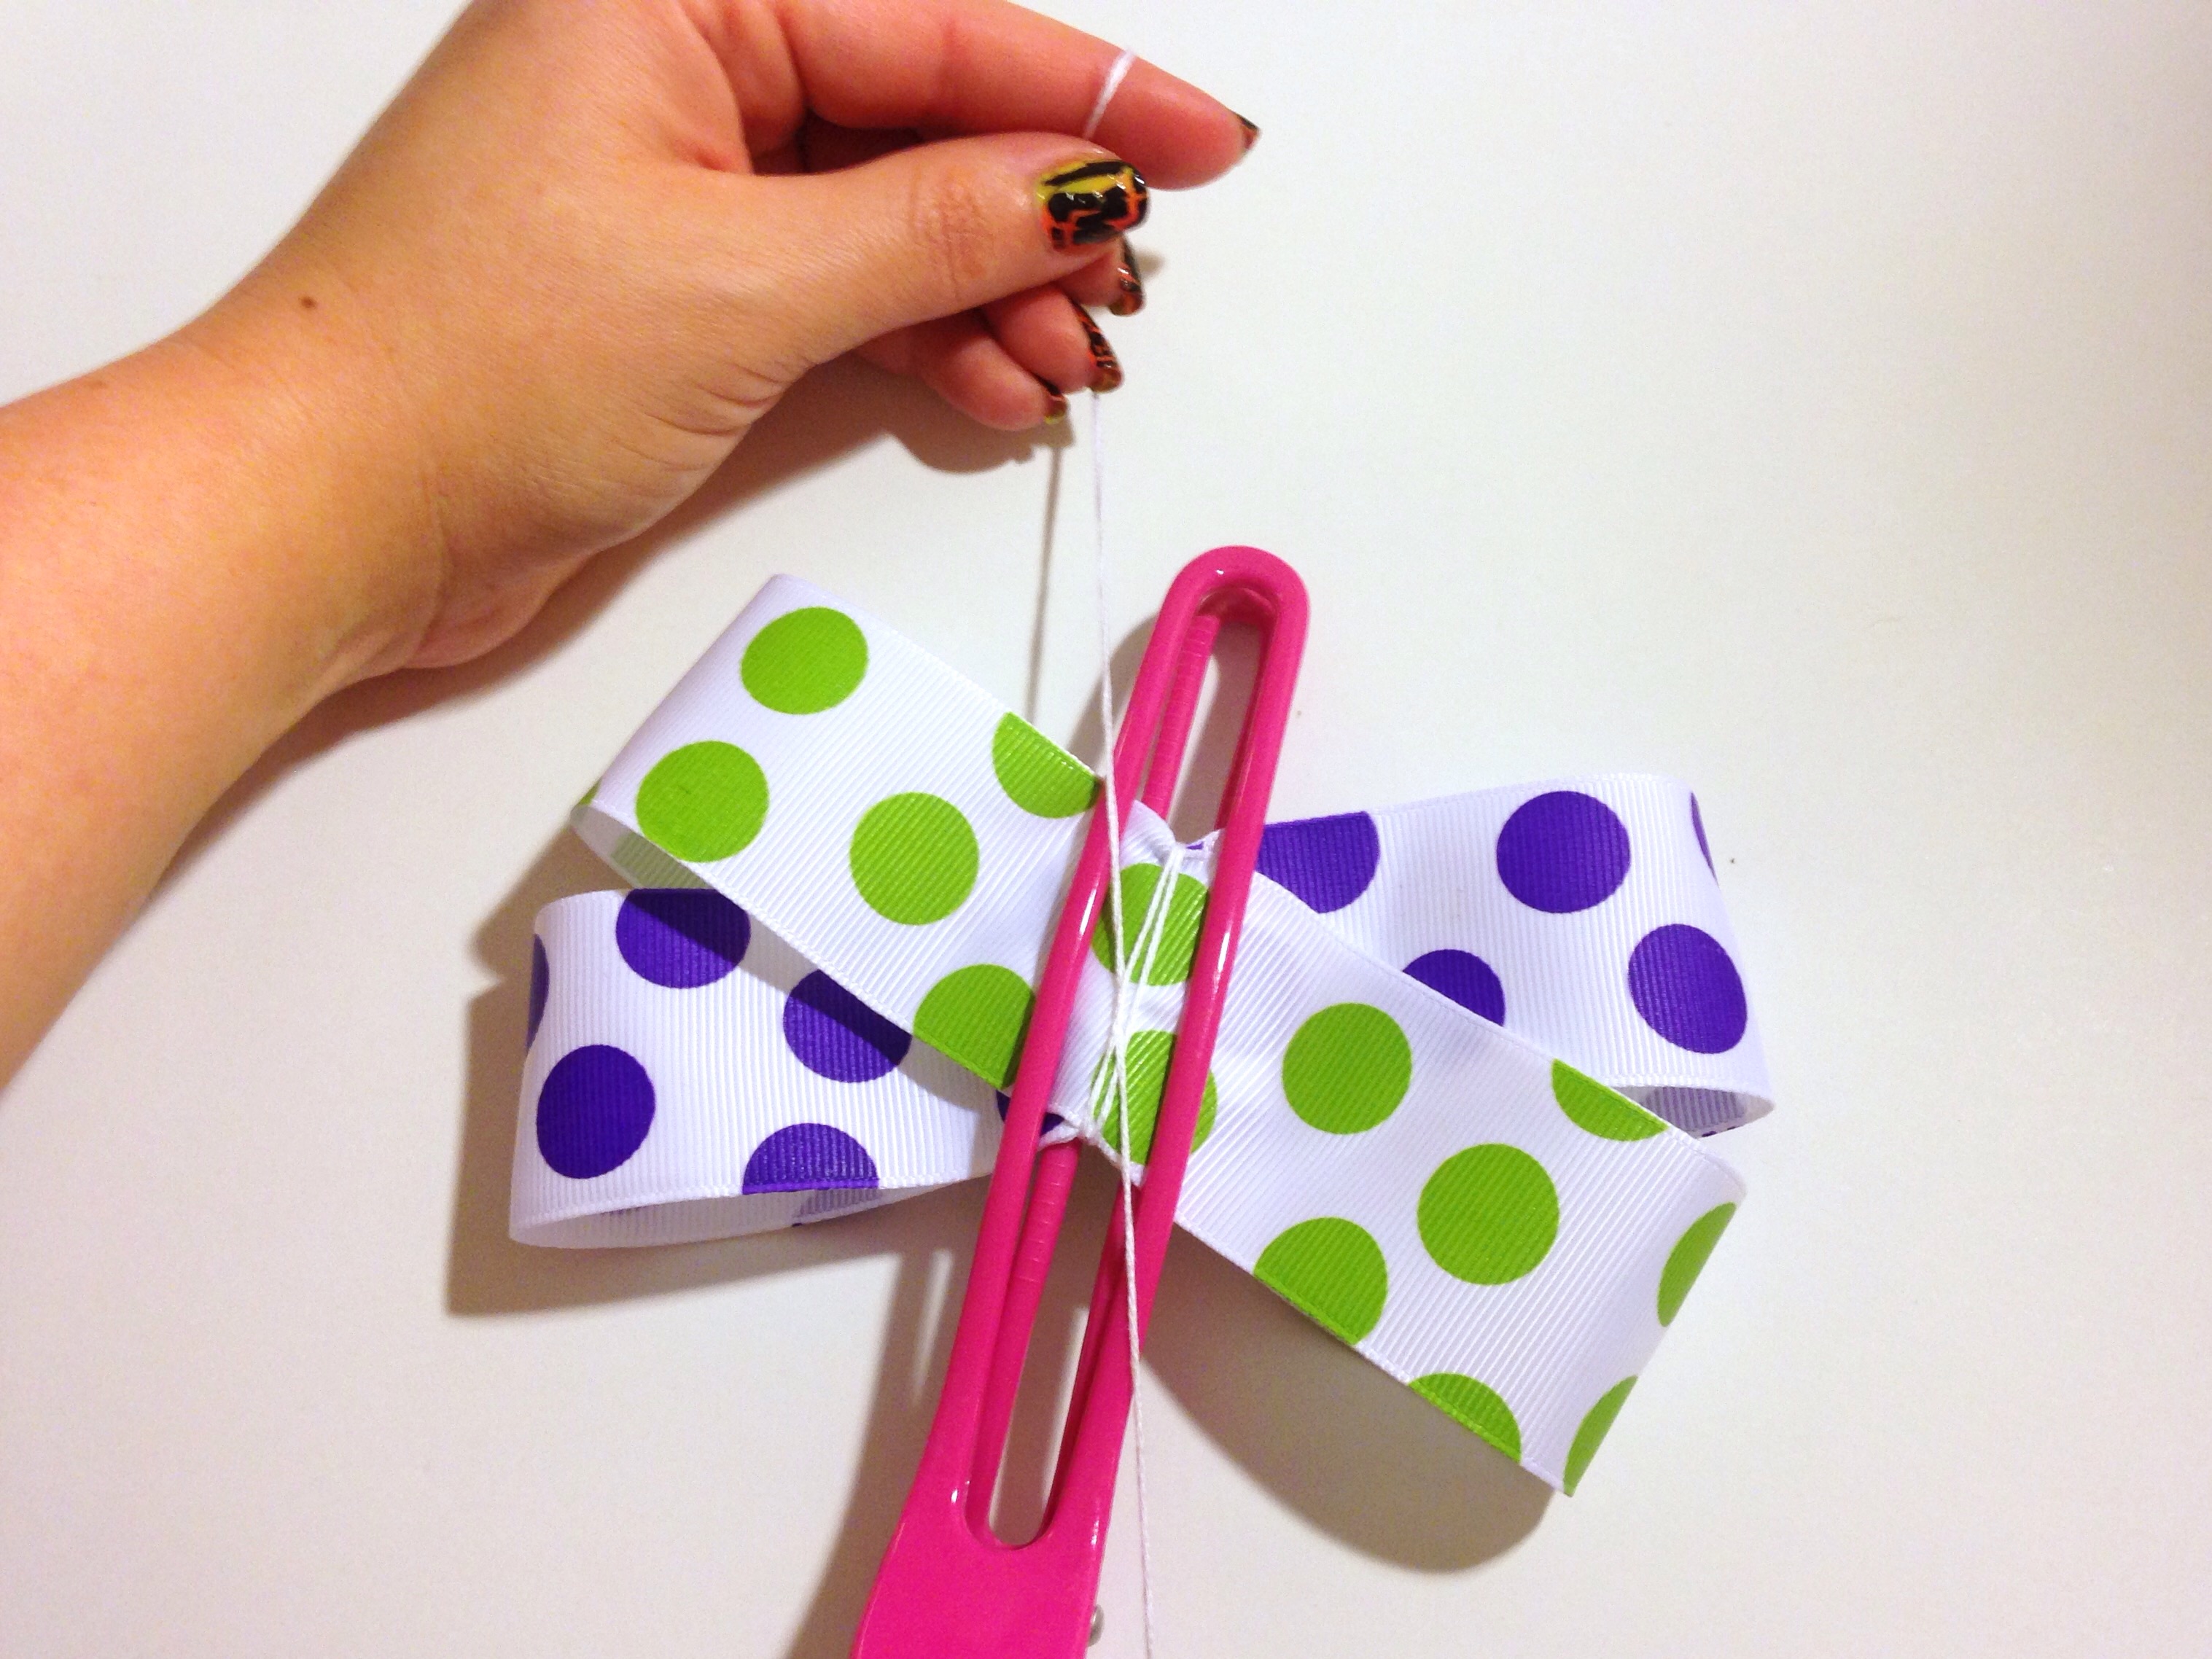 Place your large salon clip at the center to hold your bow in place. Wrap embroidery thread around the center twice and begin pulling tight. Tie off in the front, bring your thread around to the back and tie tightly again. Remove salon clip and trim ends of thread.
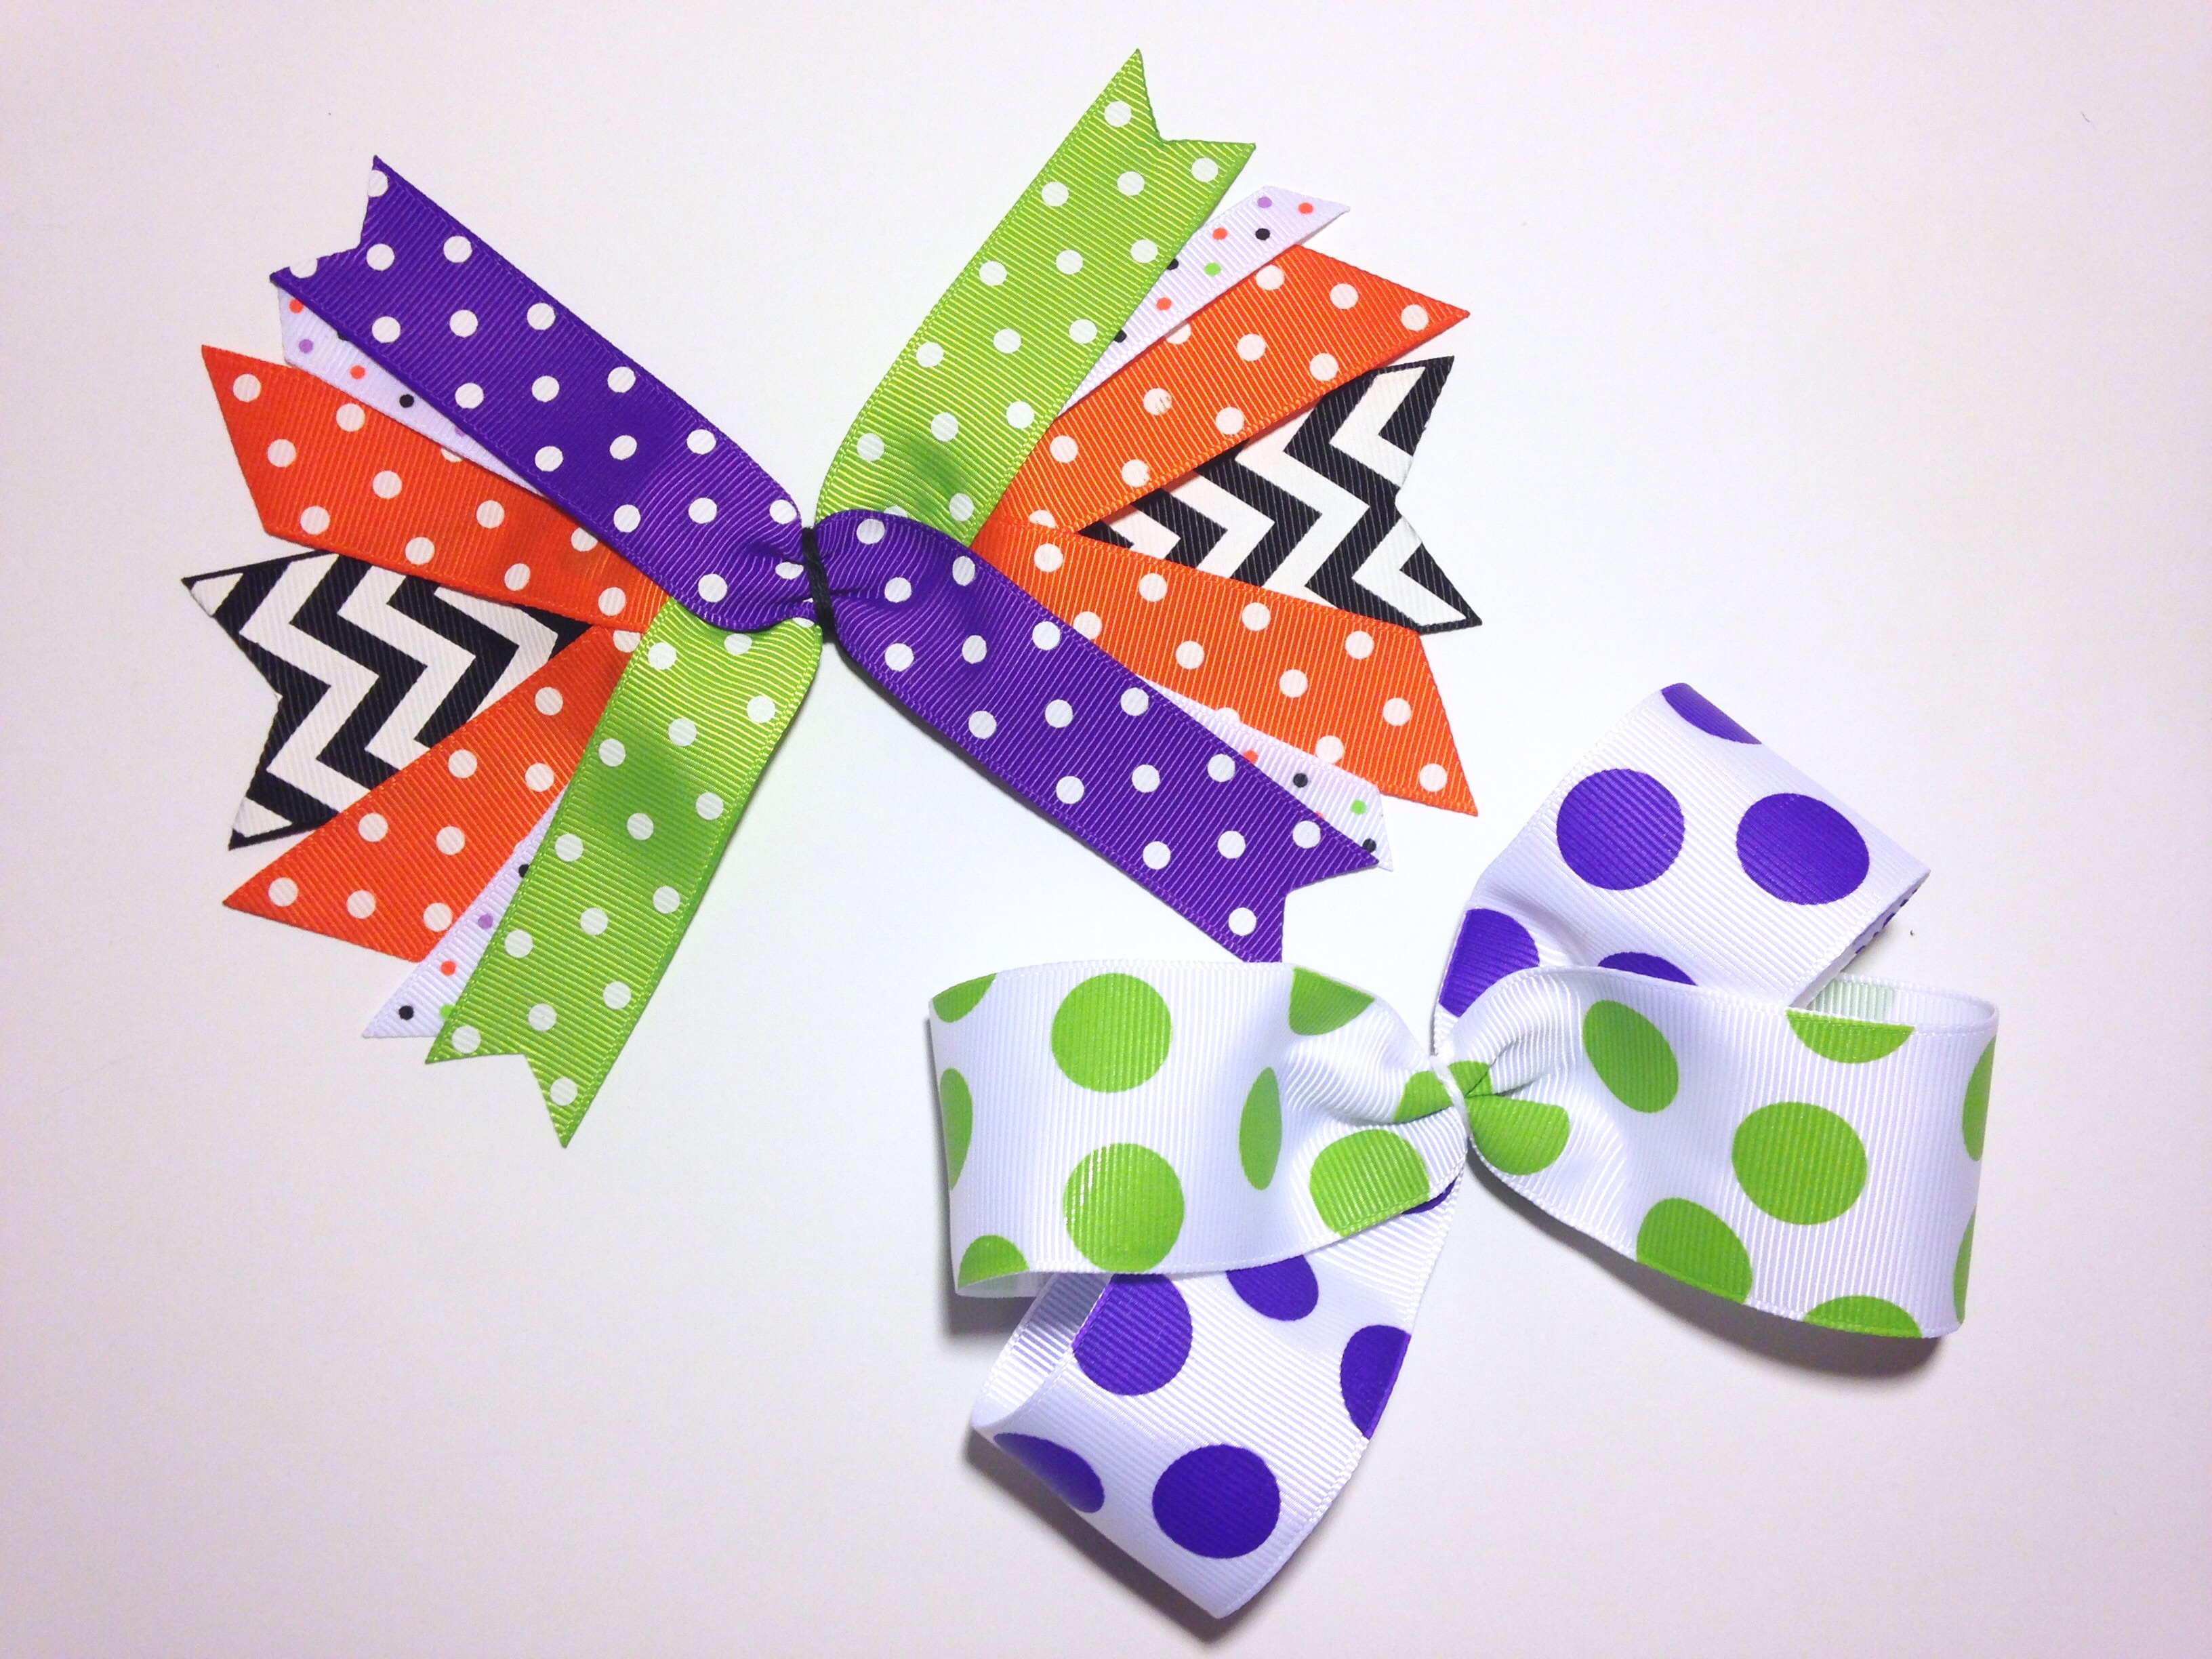
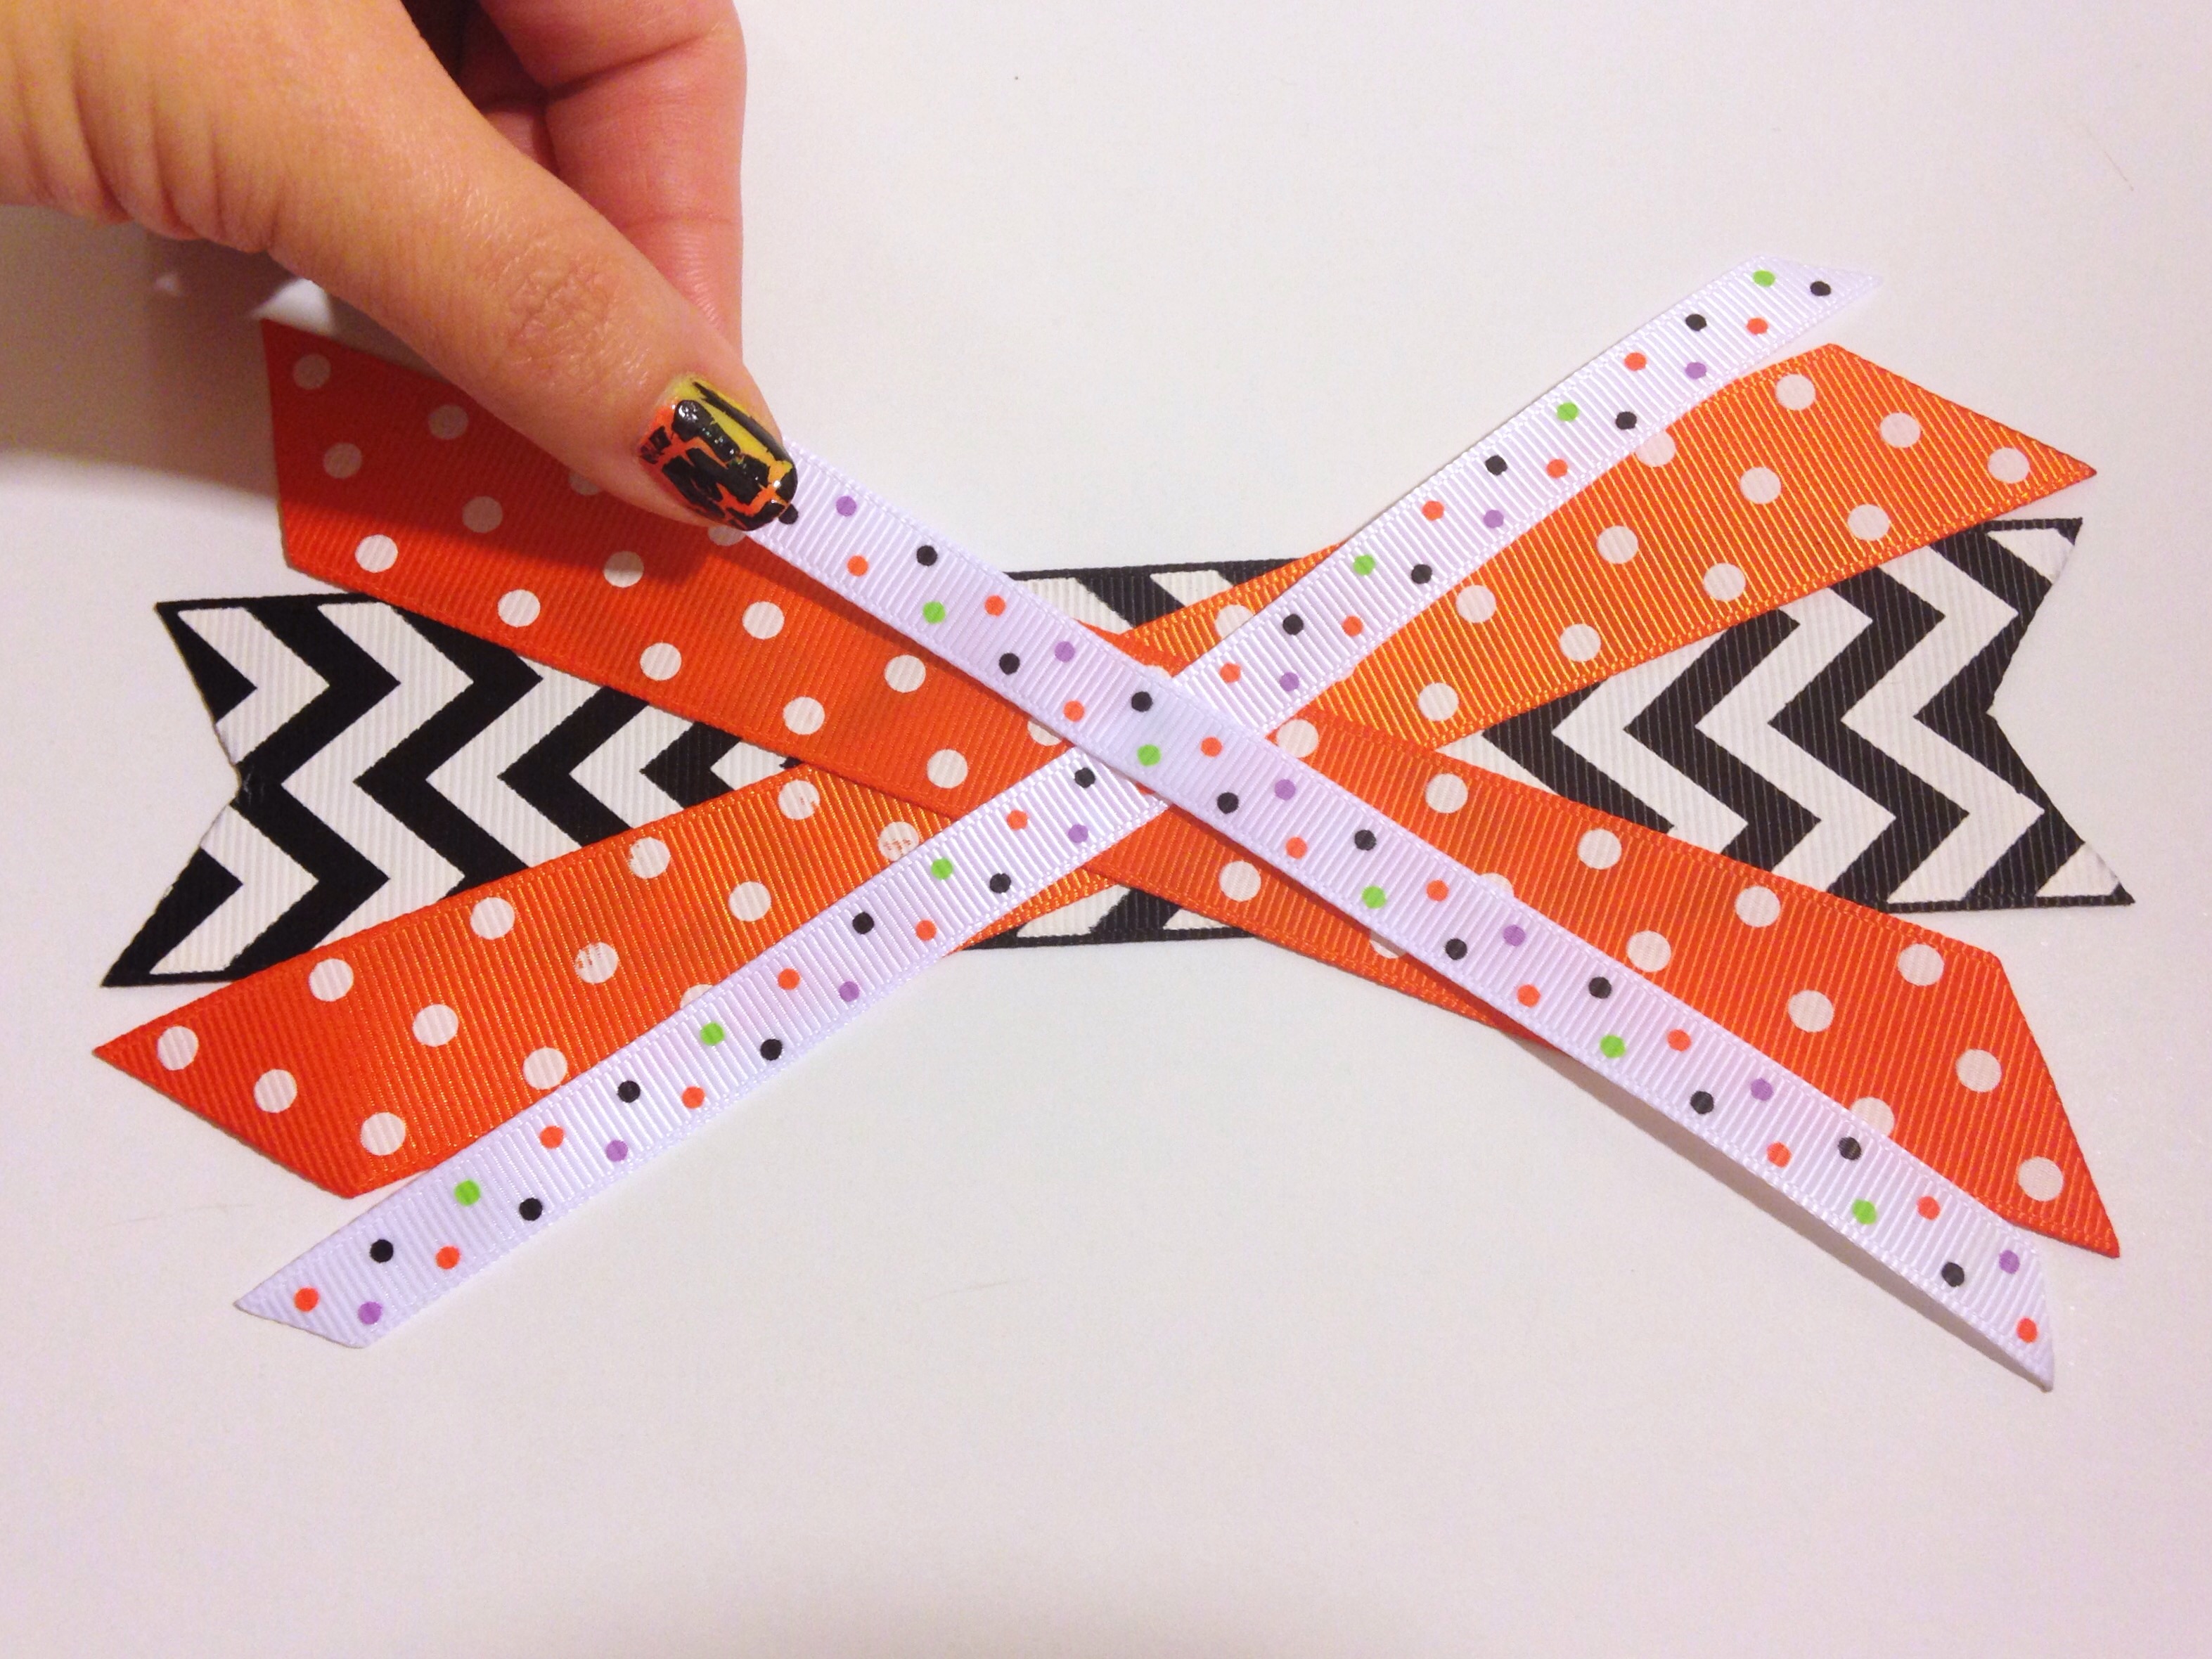 Now we're going to cut approx 7" strips of ribbon in various colors, prints & sizes and arrange our back tails, which is the very back layer of our bow. The ends of your tails can be finished off any way you'd like: at an angle, v-cut, or even straight. I like to mix it up and make a variety of ends. As long as they're heat sealed, you're free to trim them however you'd like! As shown above, I like to start at the center and work my way around both sides. Continue working your way around till you've used enough ribbon to create a nice layer of tails. When you've used all the ribbon you'd like secure the center with your large salon clip. Wrap the center with embroidery thread and finish off tying just as we did for our main bow.
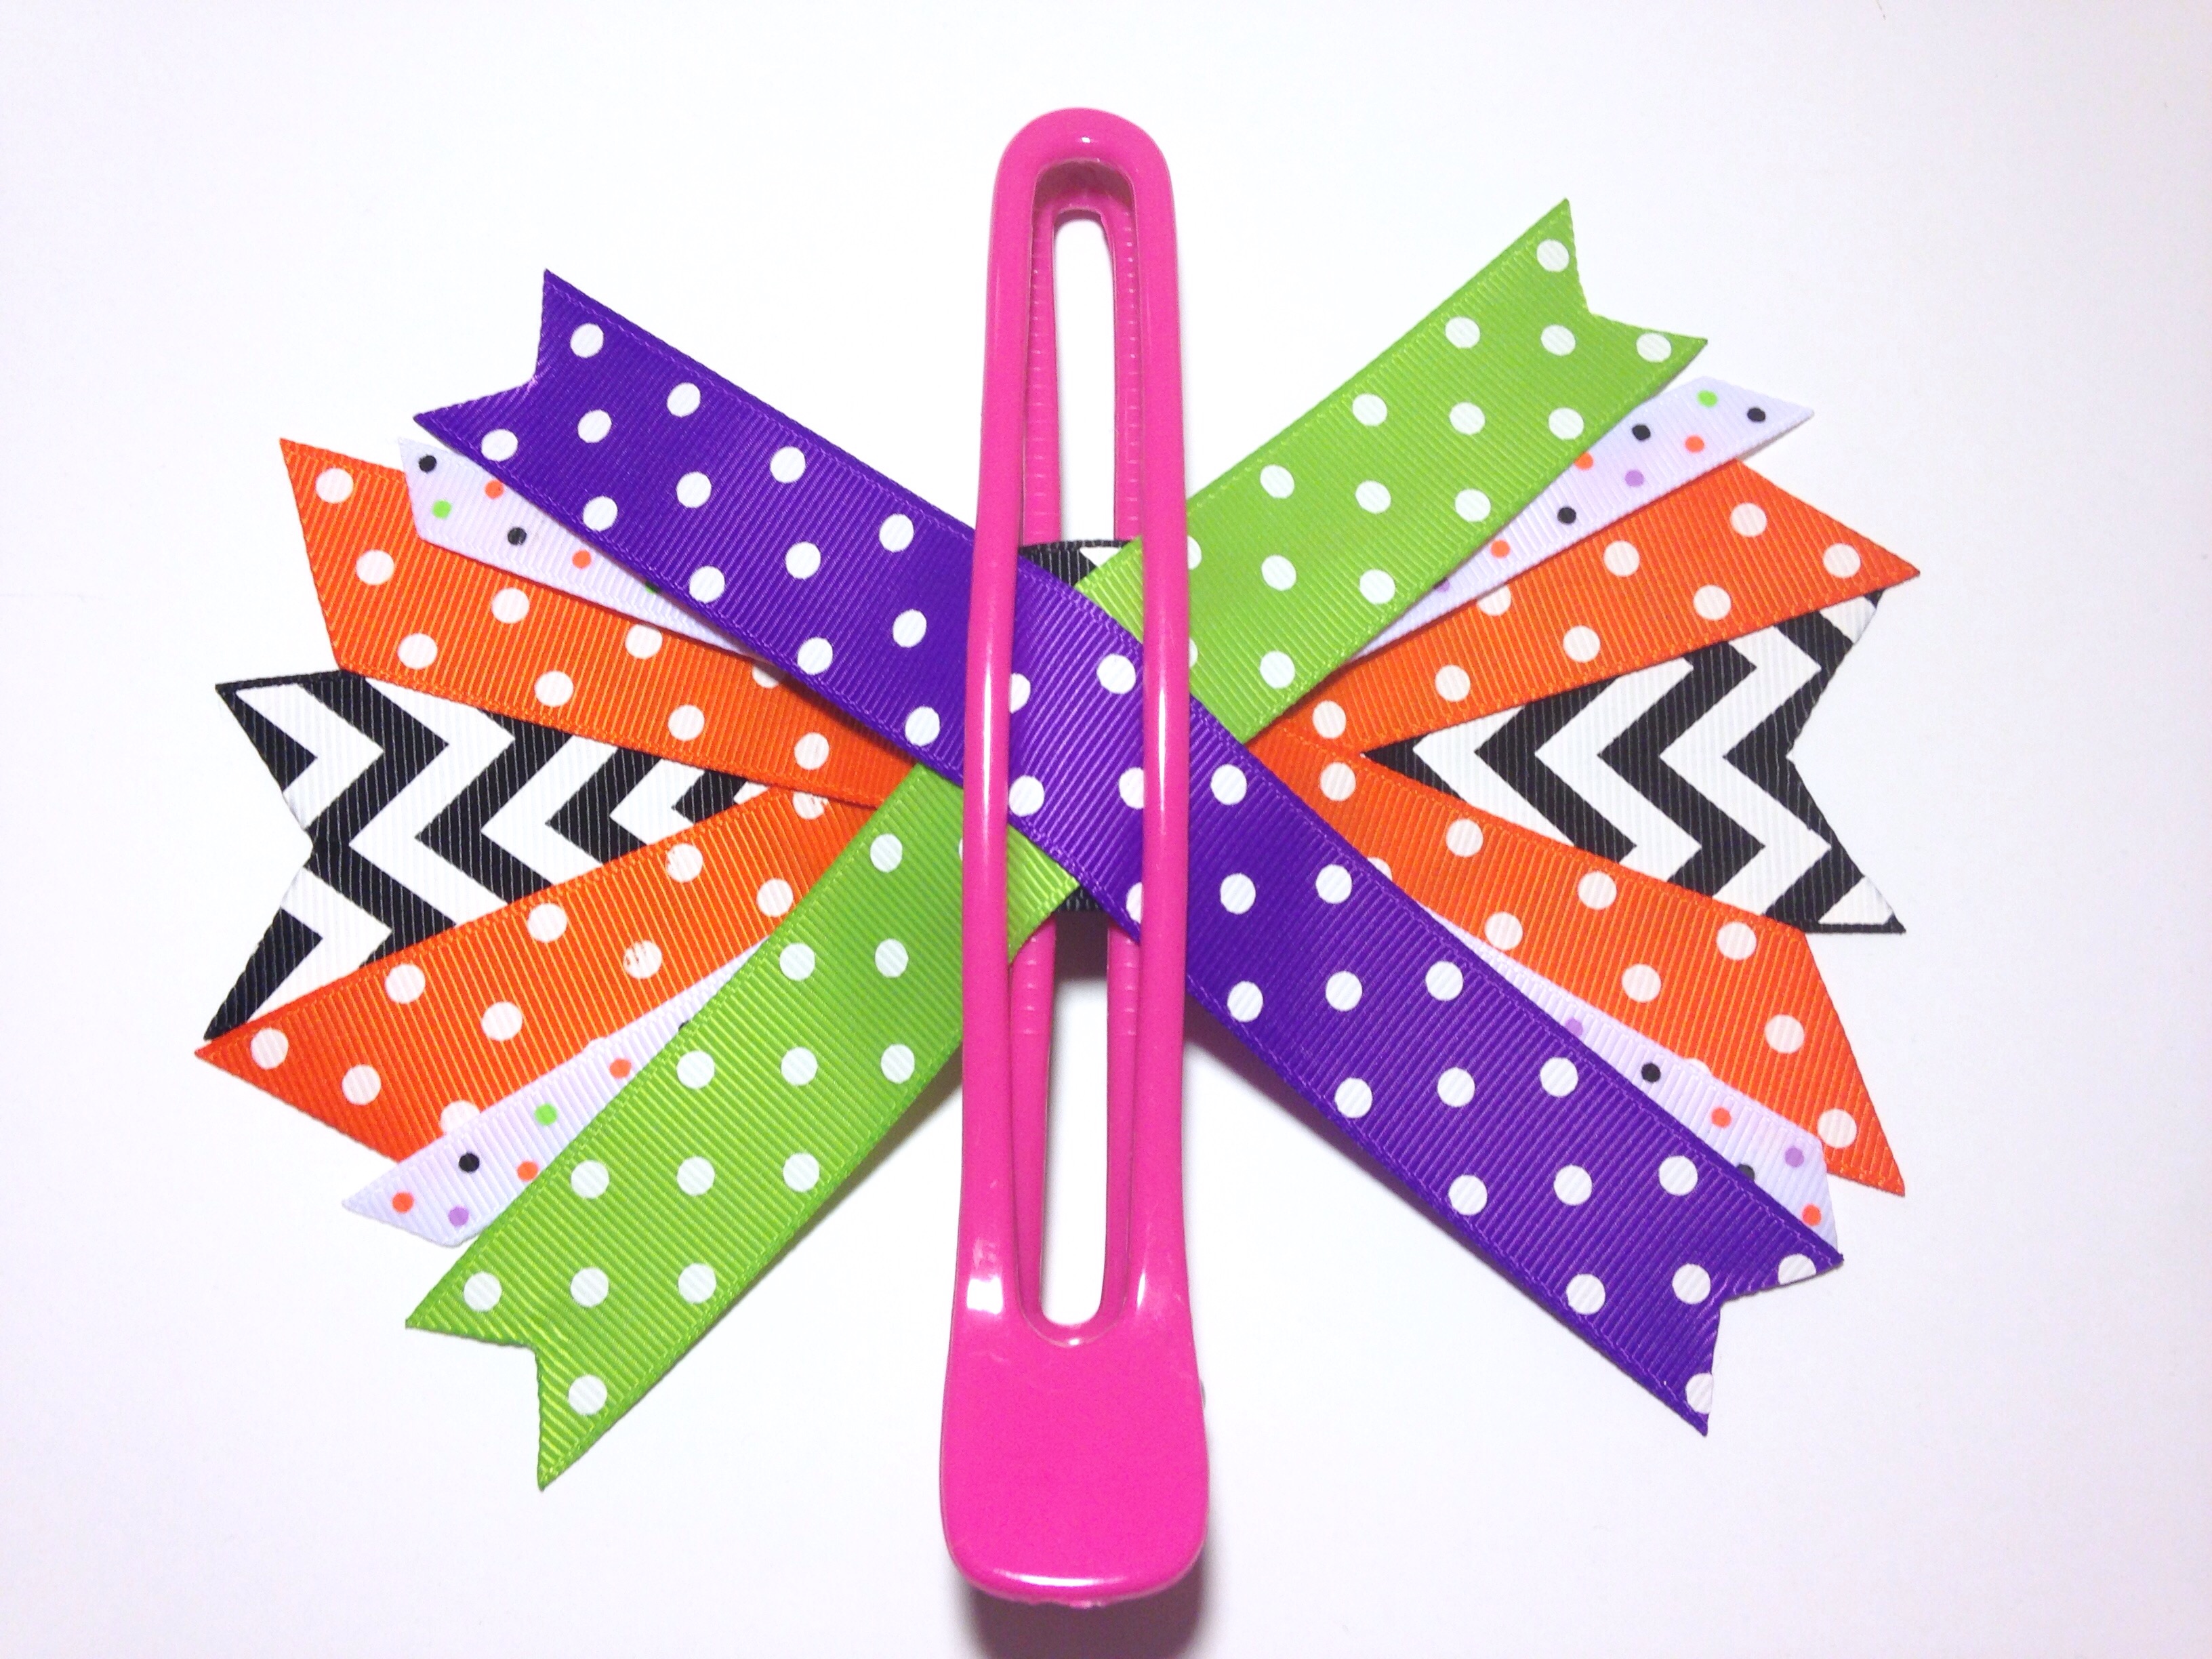 Our two bottom layers are complete! I absolutely love the beautiful festive color scheme! Now we can stack these layers on-top of each other. You may use hot glue or 1/4" double sided fillet tape. I find the double sided tape much easier to use while stacking layers and it works wonderfully!
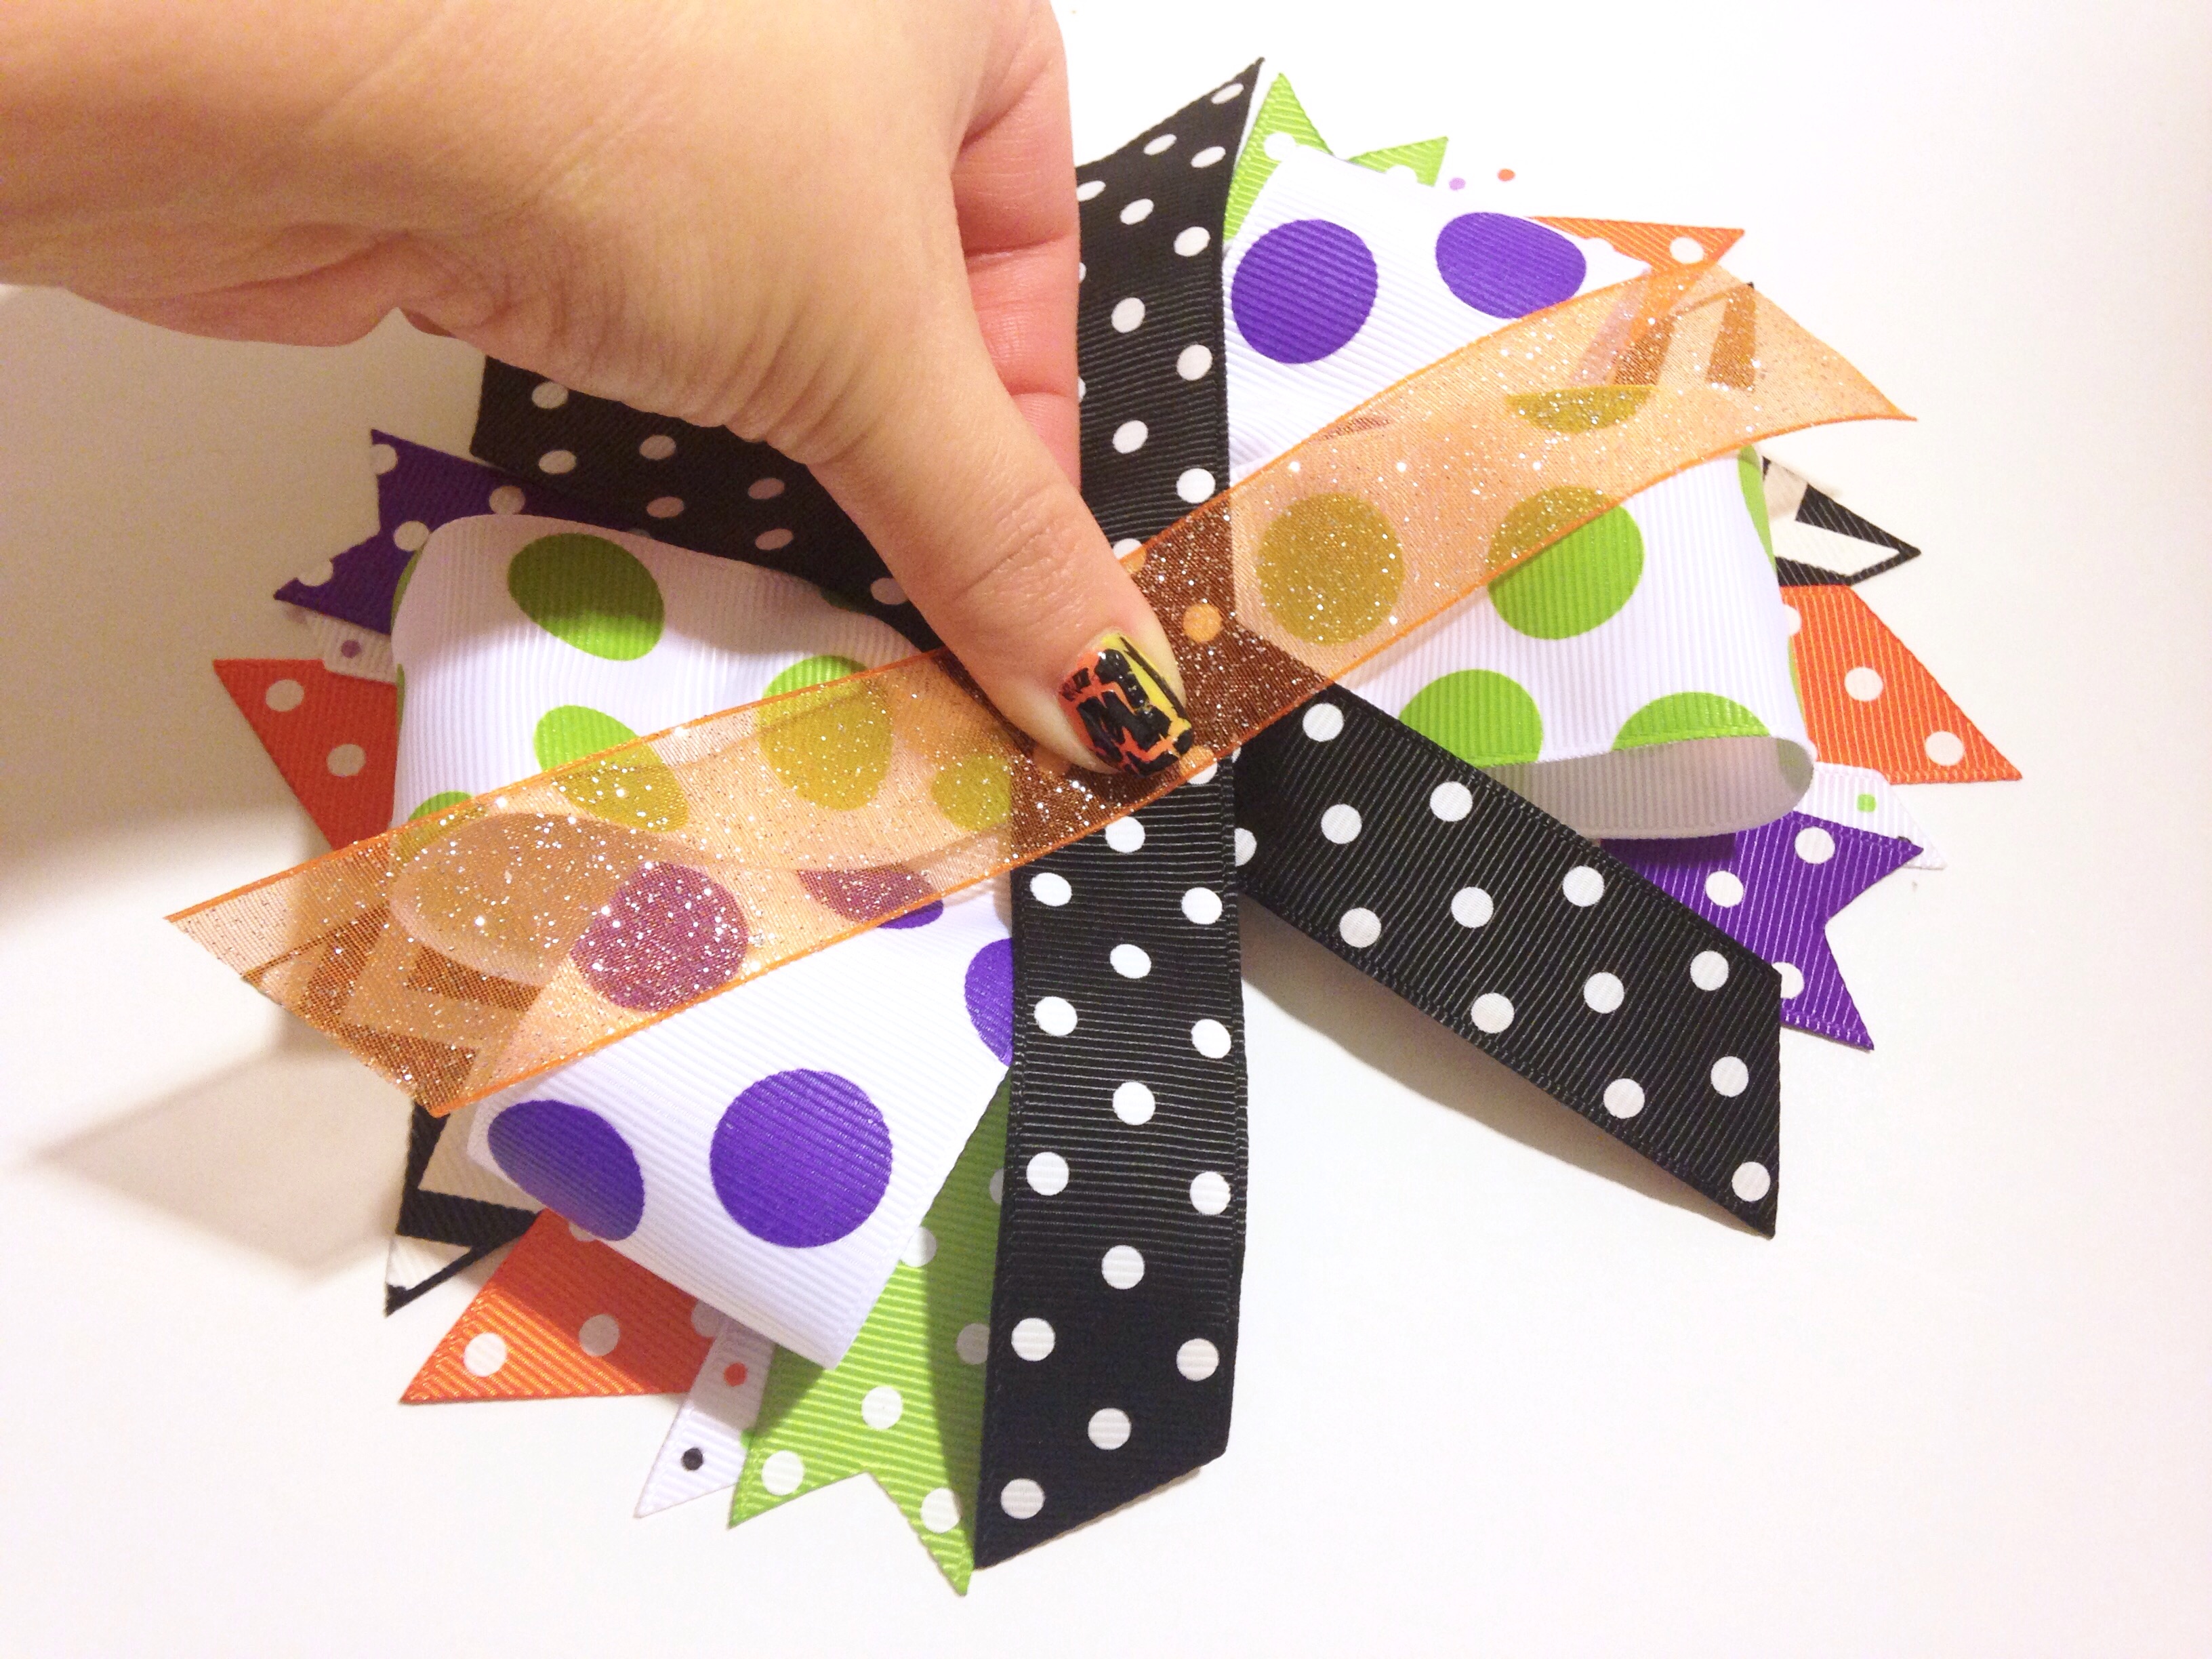
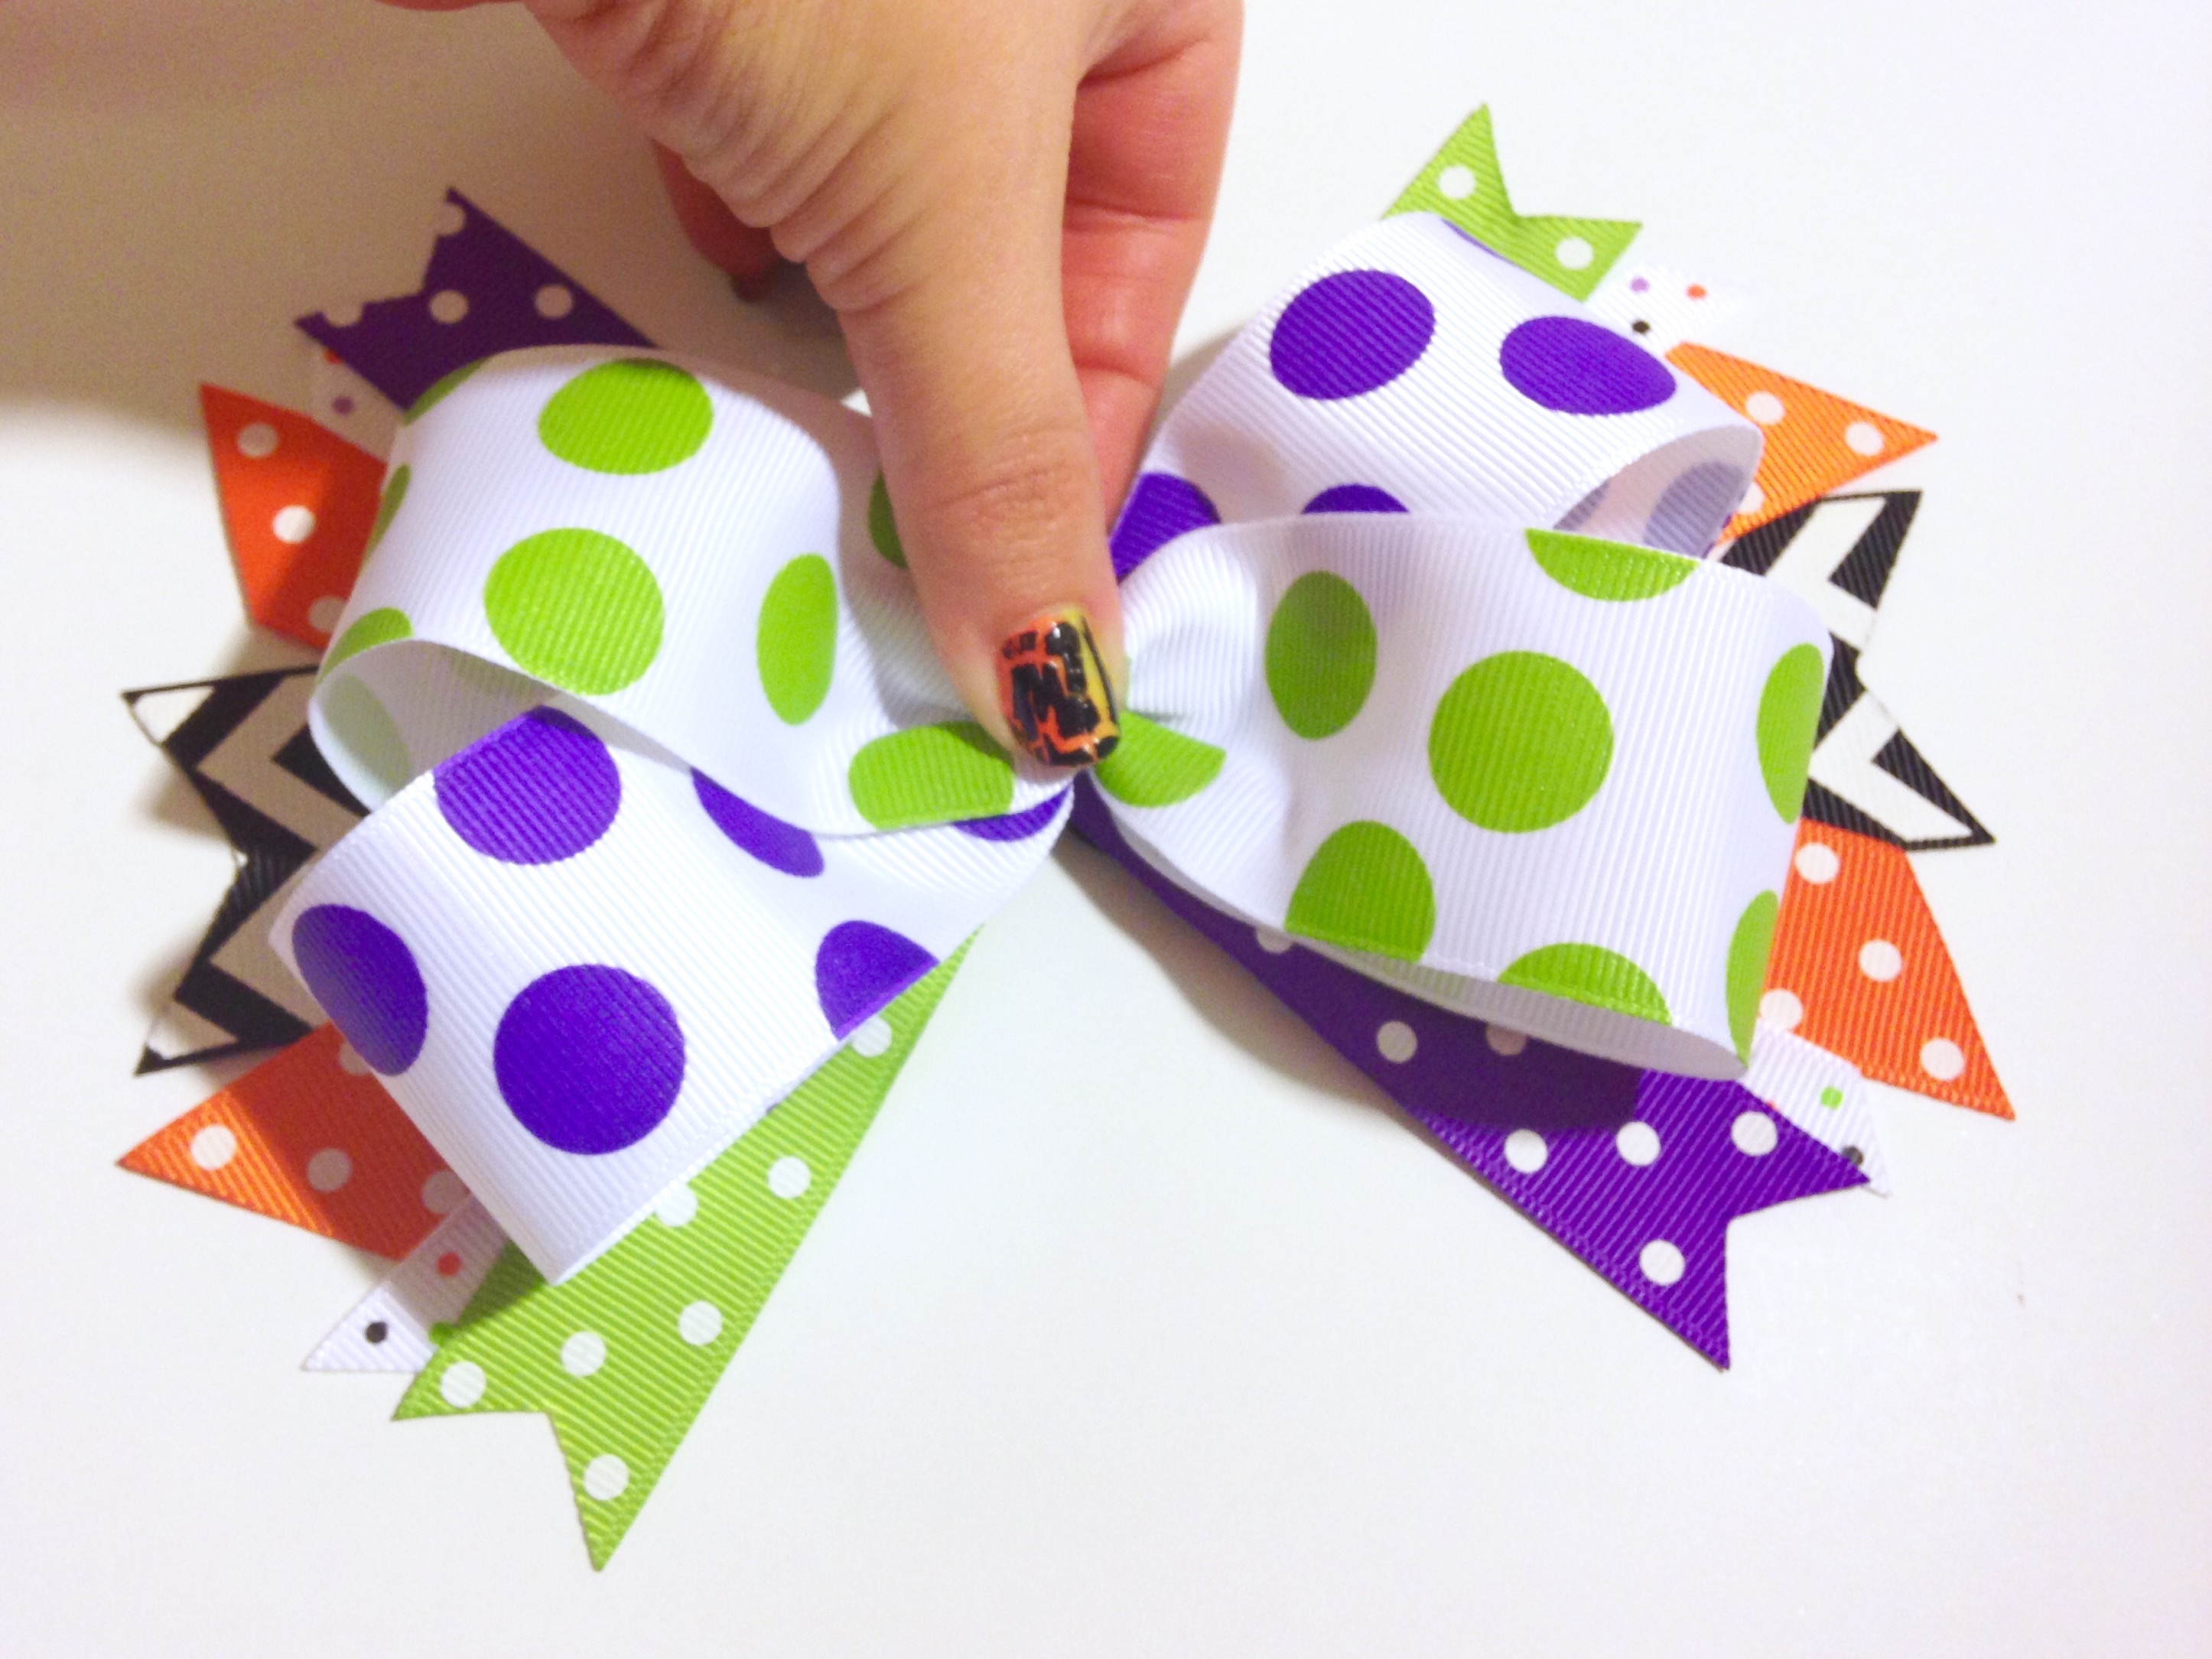 Now I am using additional strips of sheer and grosgrain ribbon placing them in various places on the bow. Double sided tape works exceptionally well especially while working with sheer ribbon. Hot glue will come through the ribbon and burn your fingers while tape will not. You may use as much or as little ribbon as you'd like. Make your bow unique!
 After your additional strips of ribbon are in place we can create our beautiful topper bow. For this I am using approx 10" of 1.5" large orange peel dots ribbon and 10" of solid black grosgrain ribbon that will be lined on the backside.
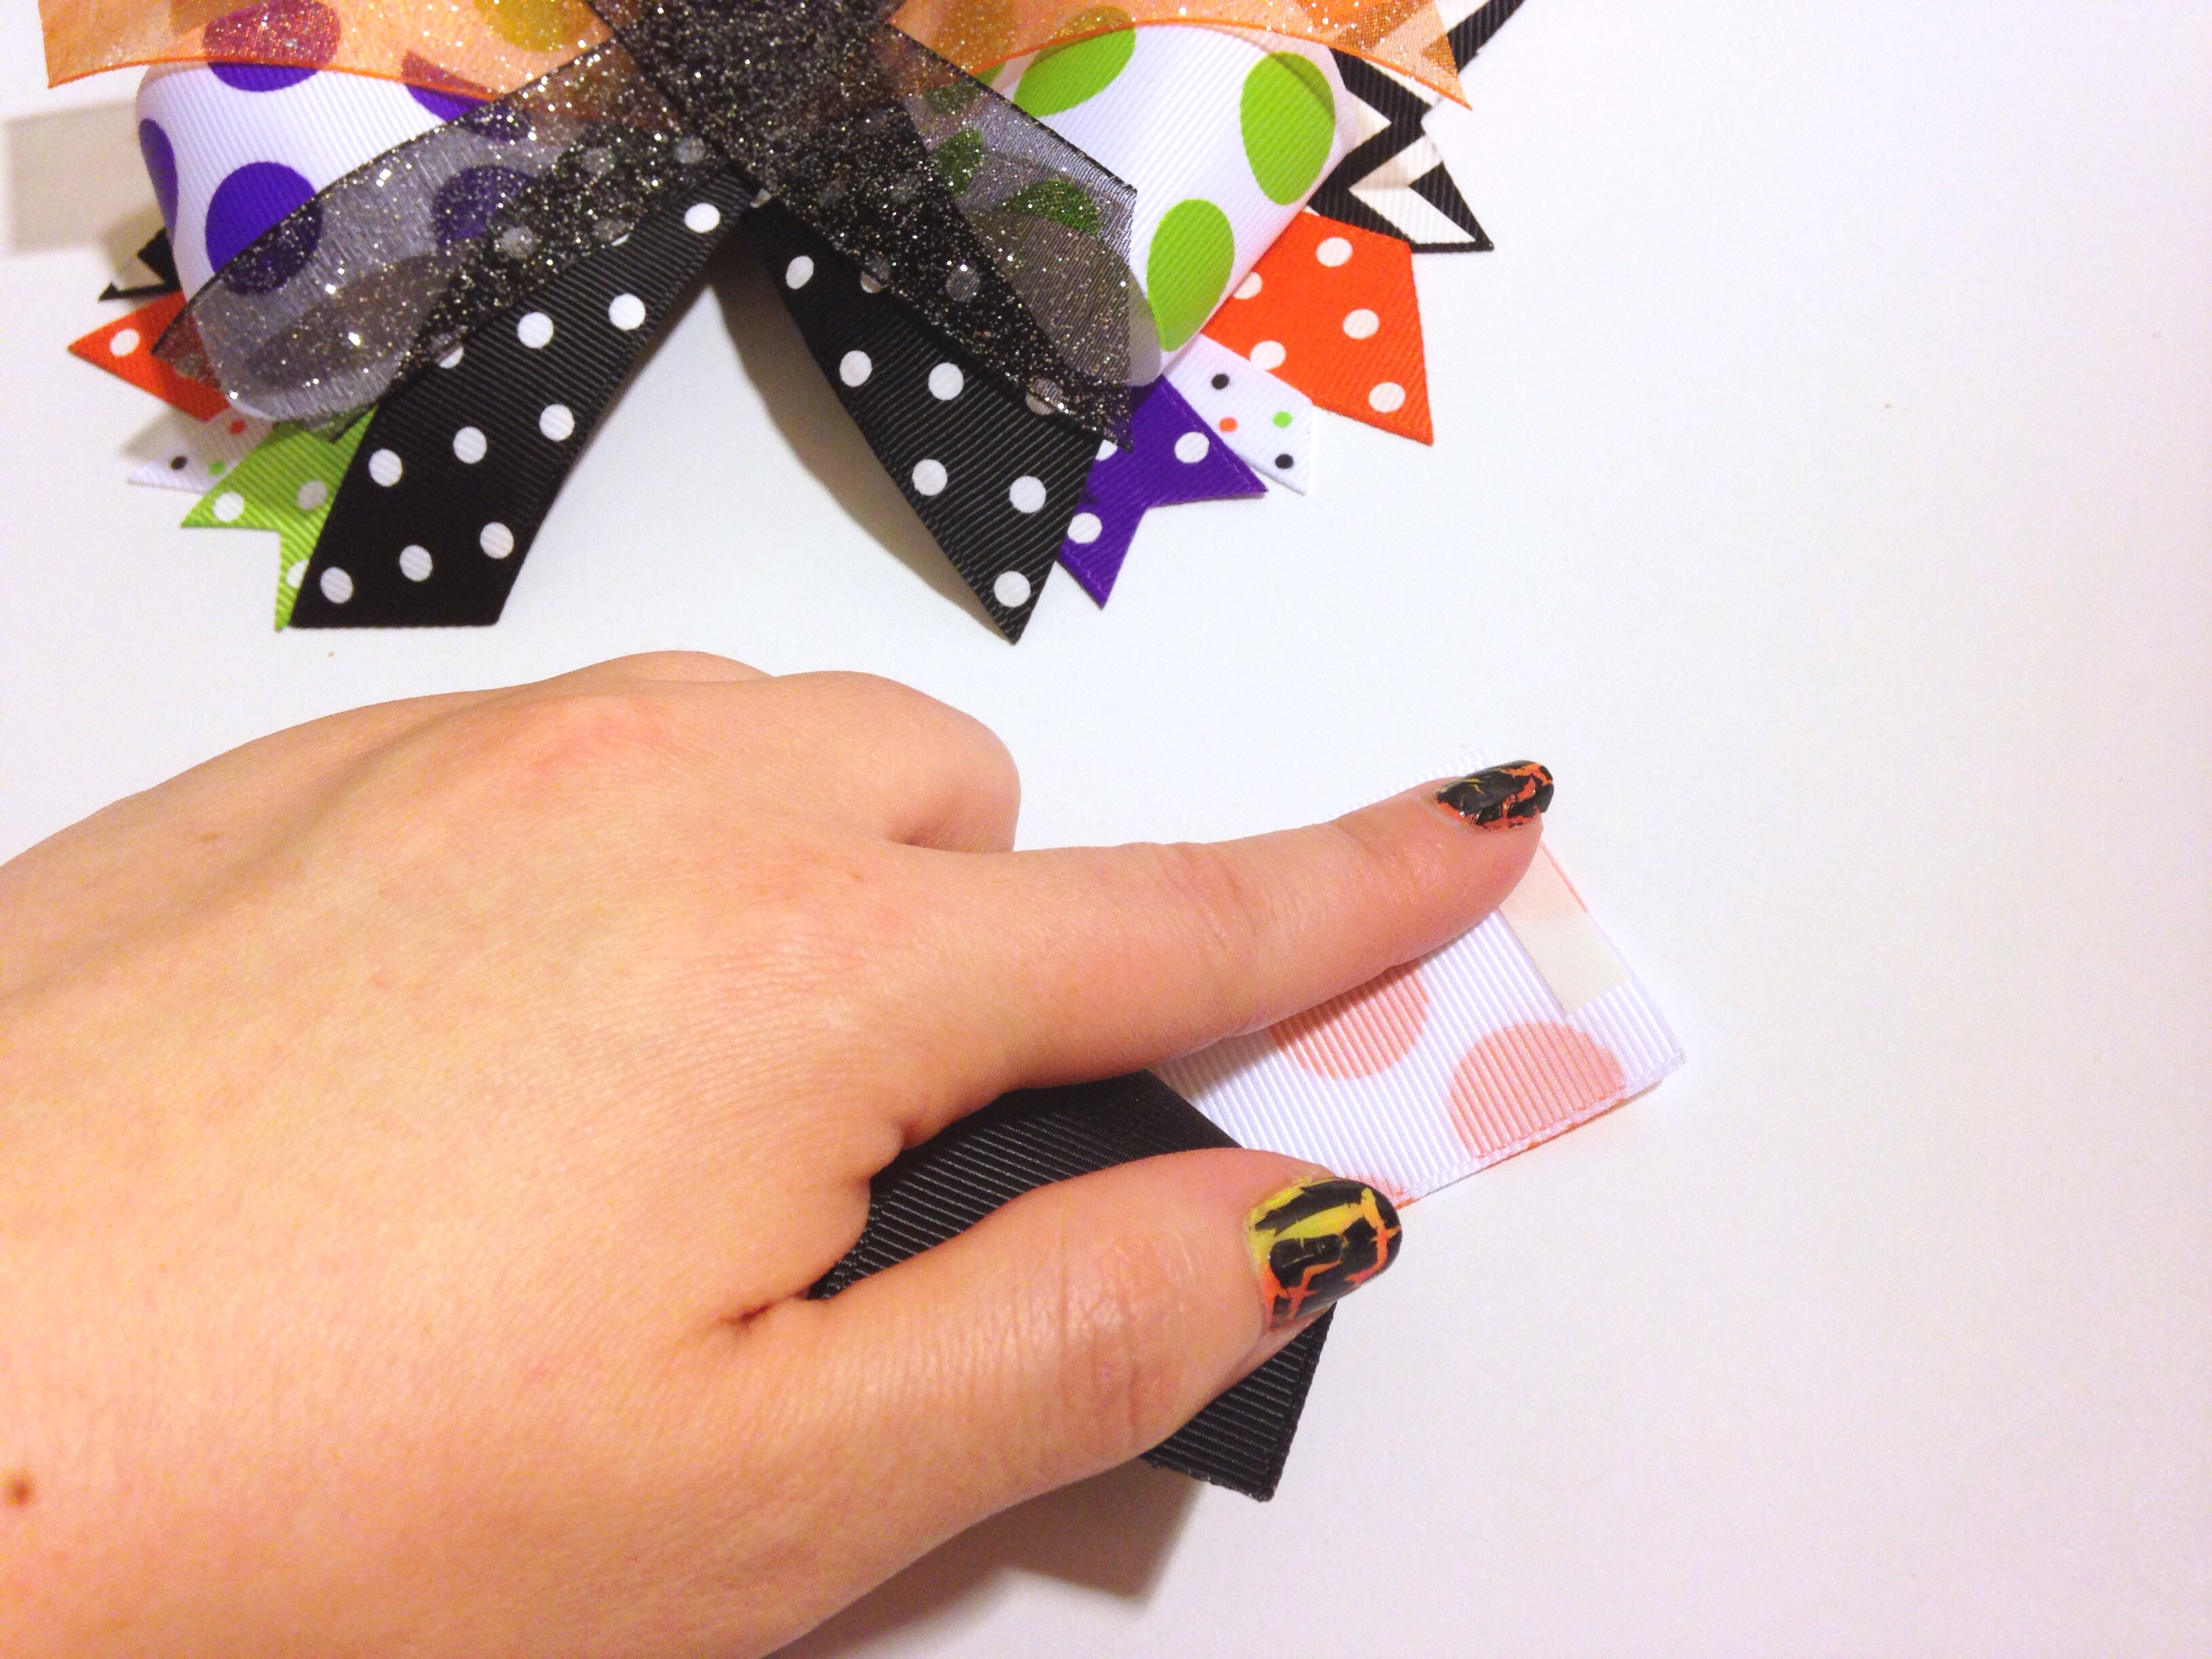 To secure the ribbons back to back use a small strip of double sided tape. This will keep the ribbons in place as we create our bow. Place your strip of tape on the backside of one of your ribbons as shown above.
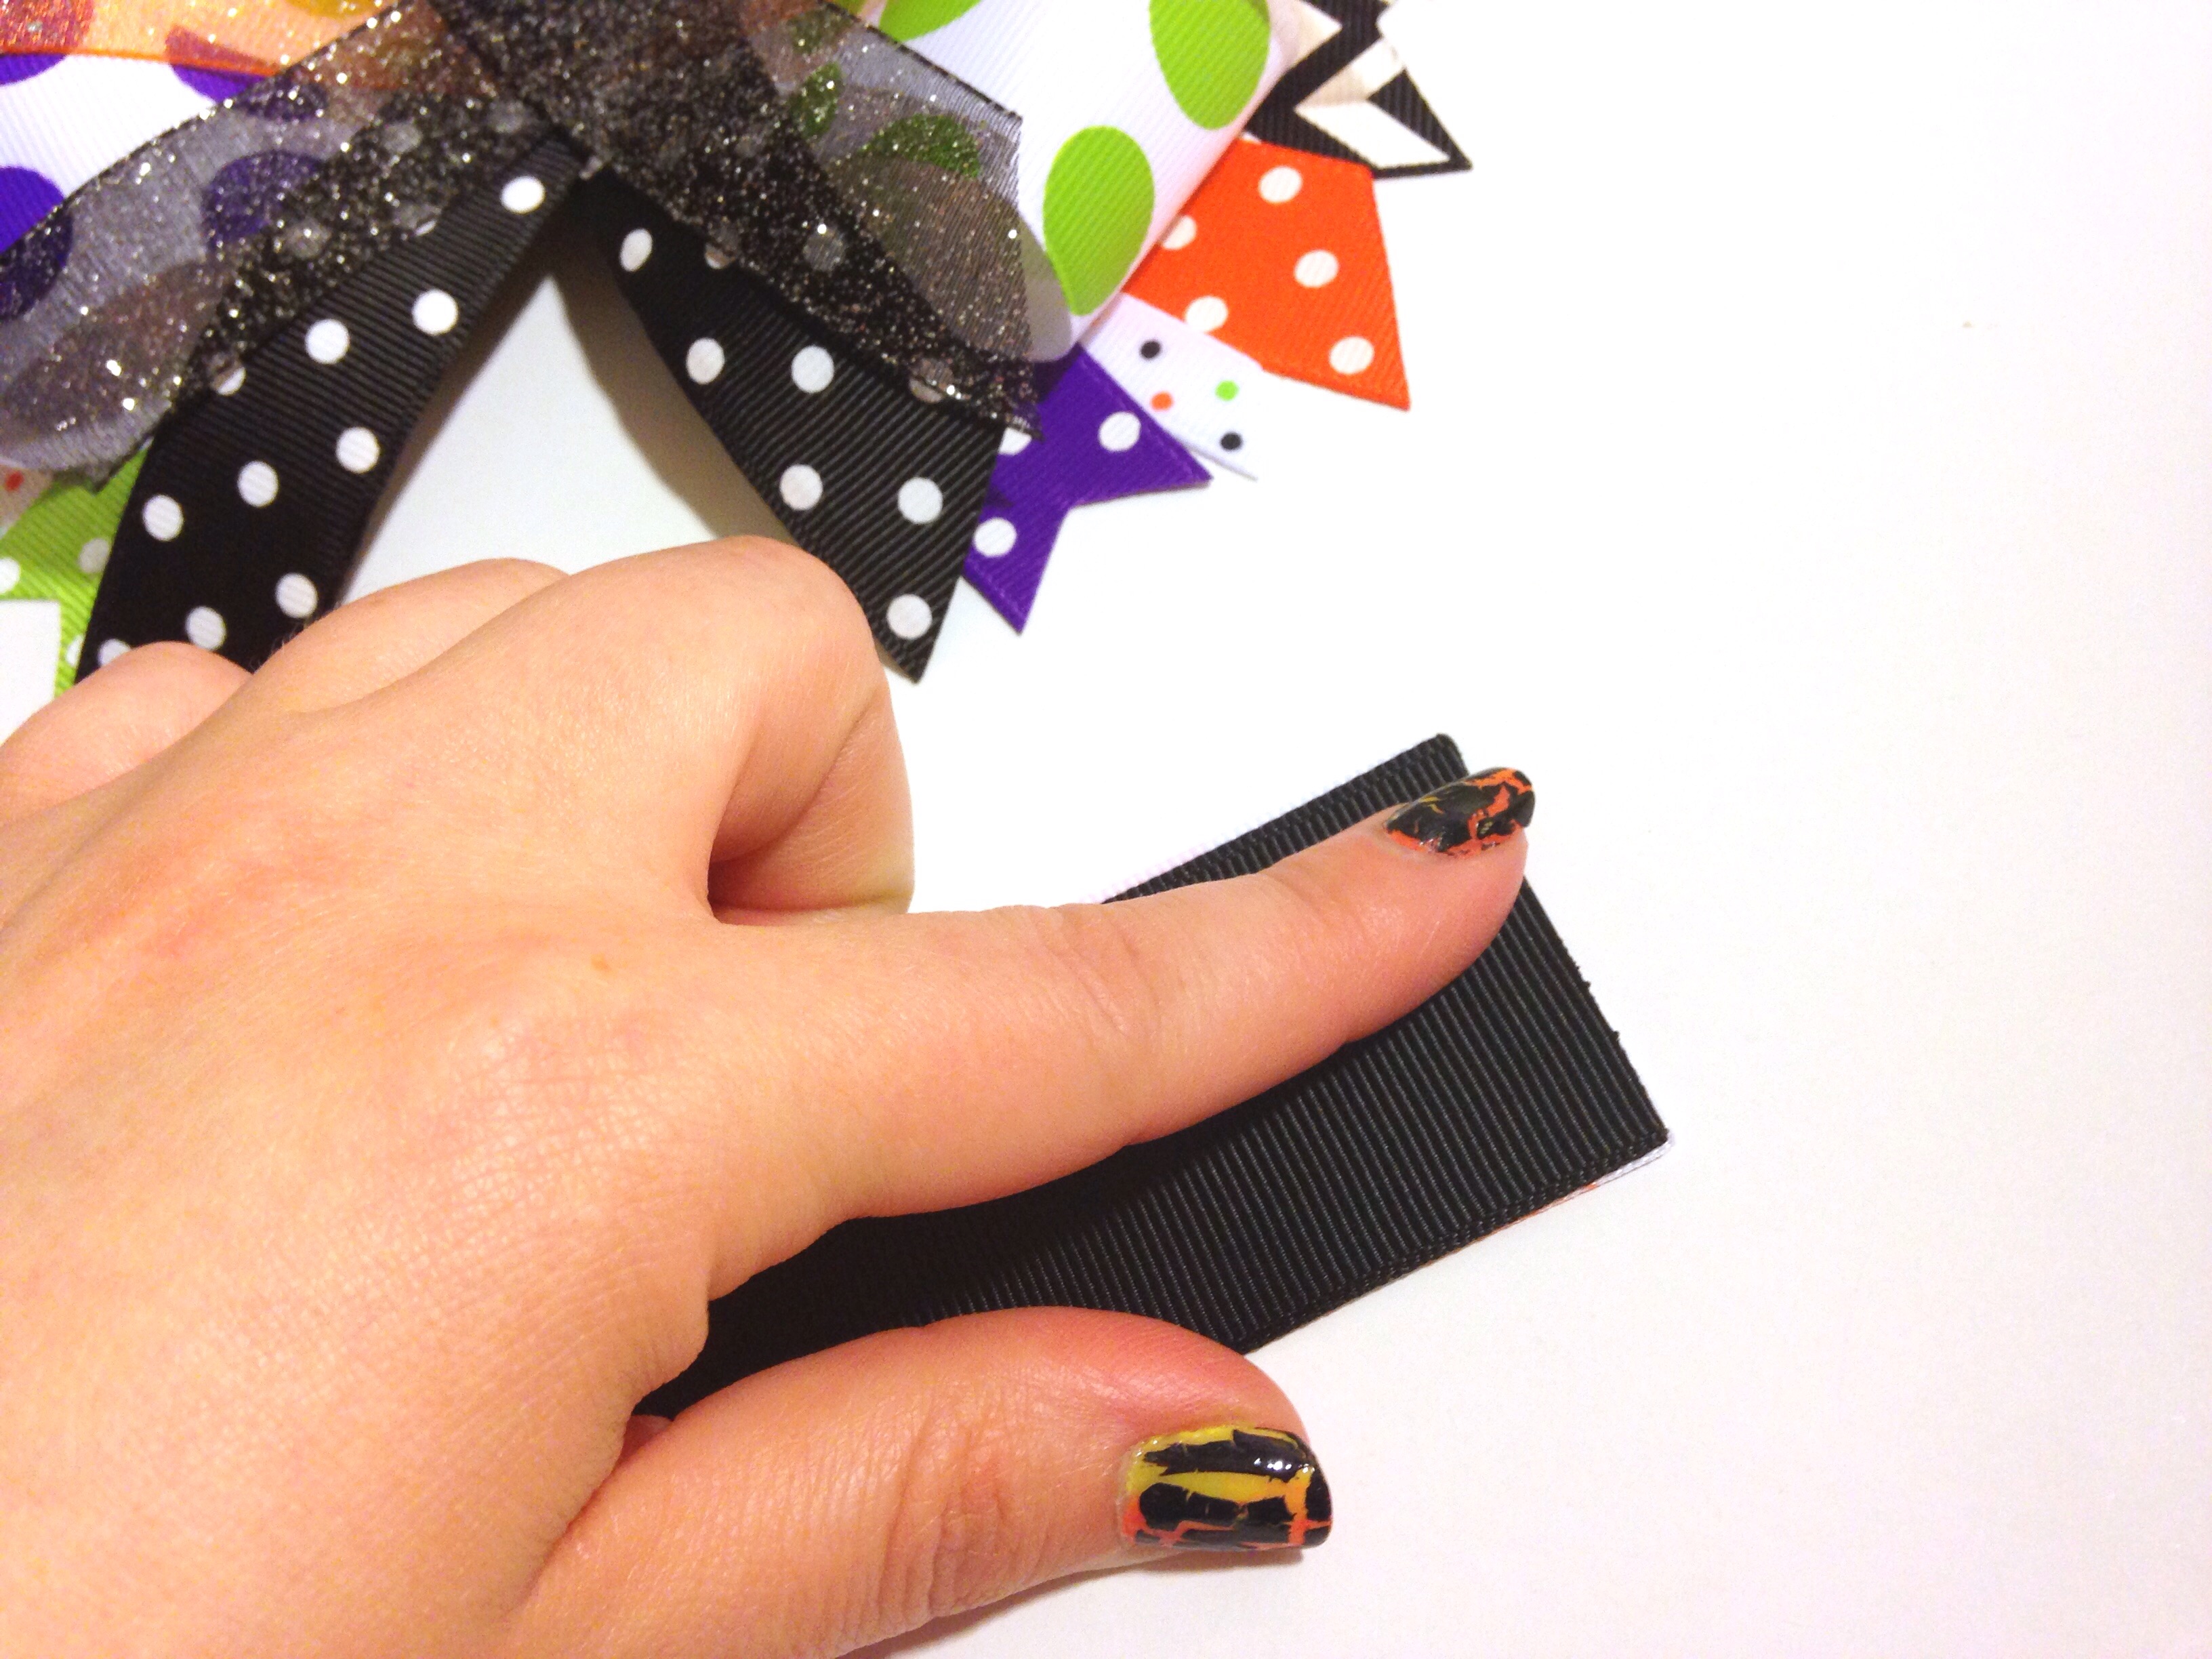 Peel off the paper backing and place the black ribbon on-top as shown above. Once your ribbon is secured back to back, add another piece of double sided tape to create a circle as we did for our loops in our main bow.
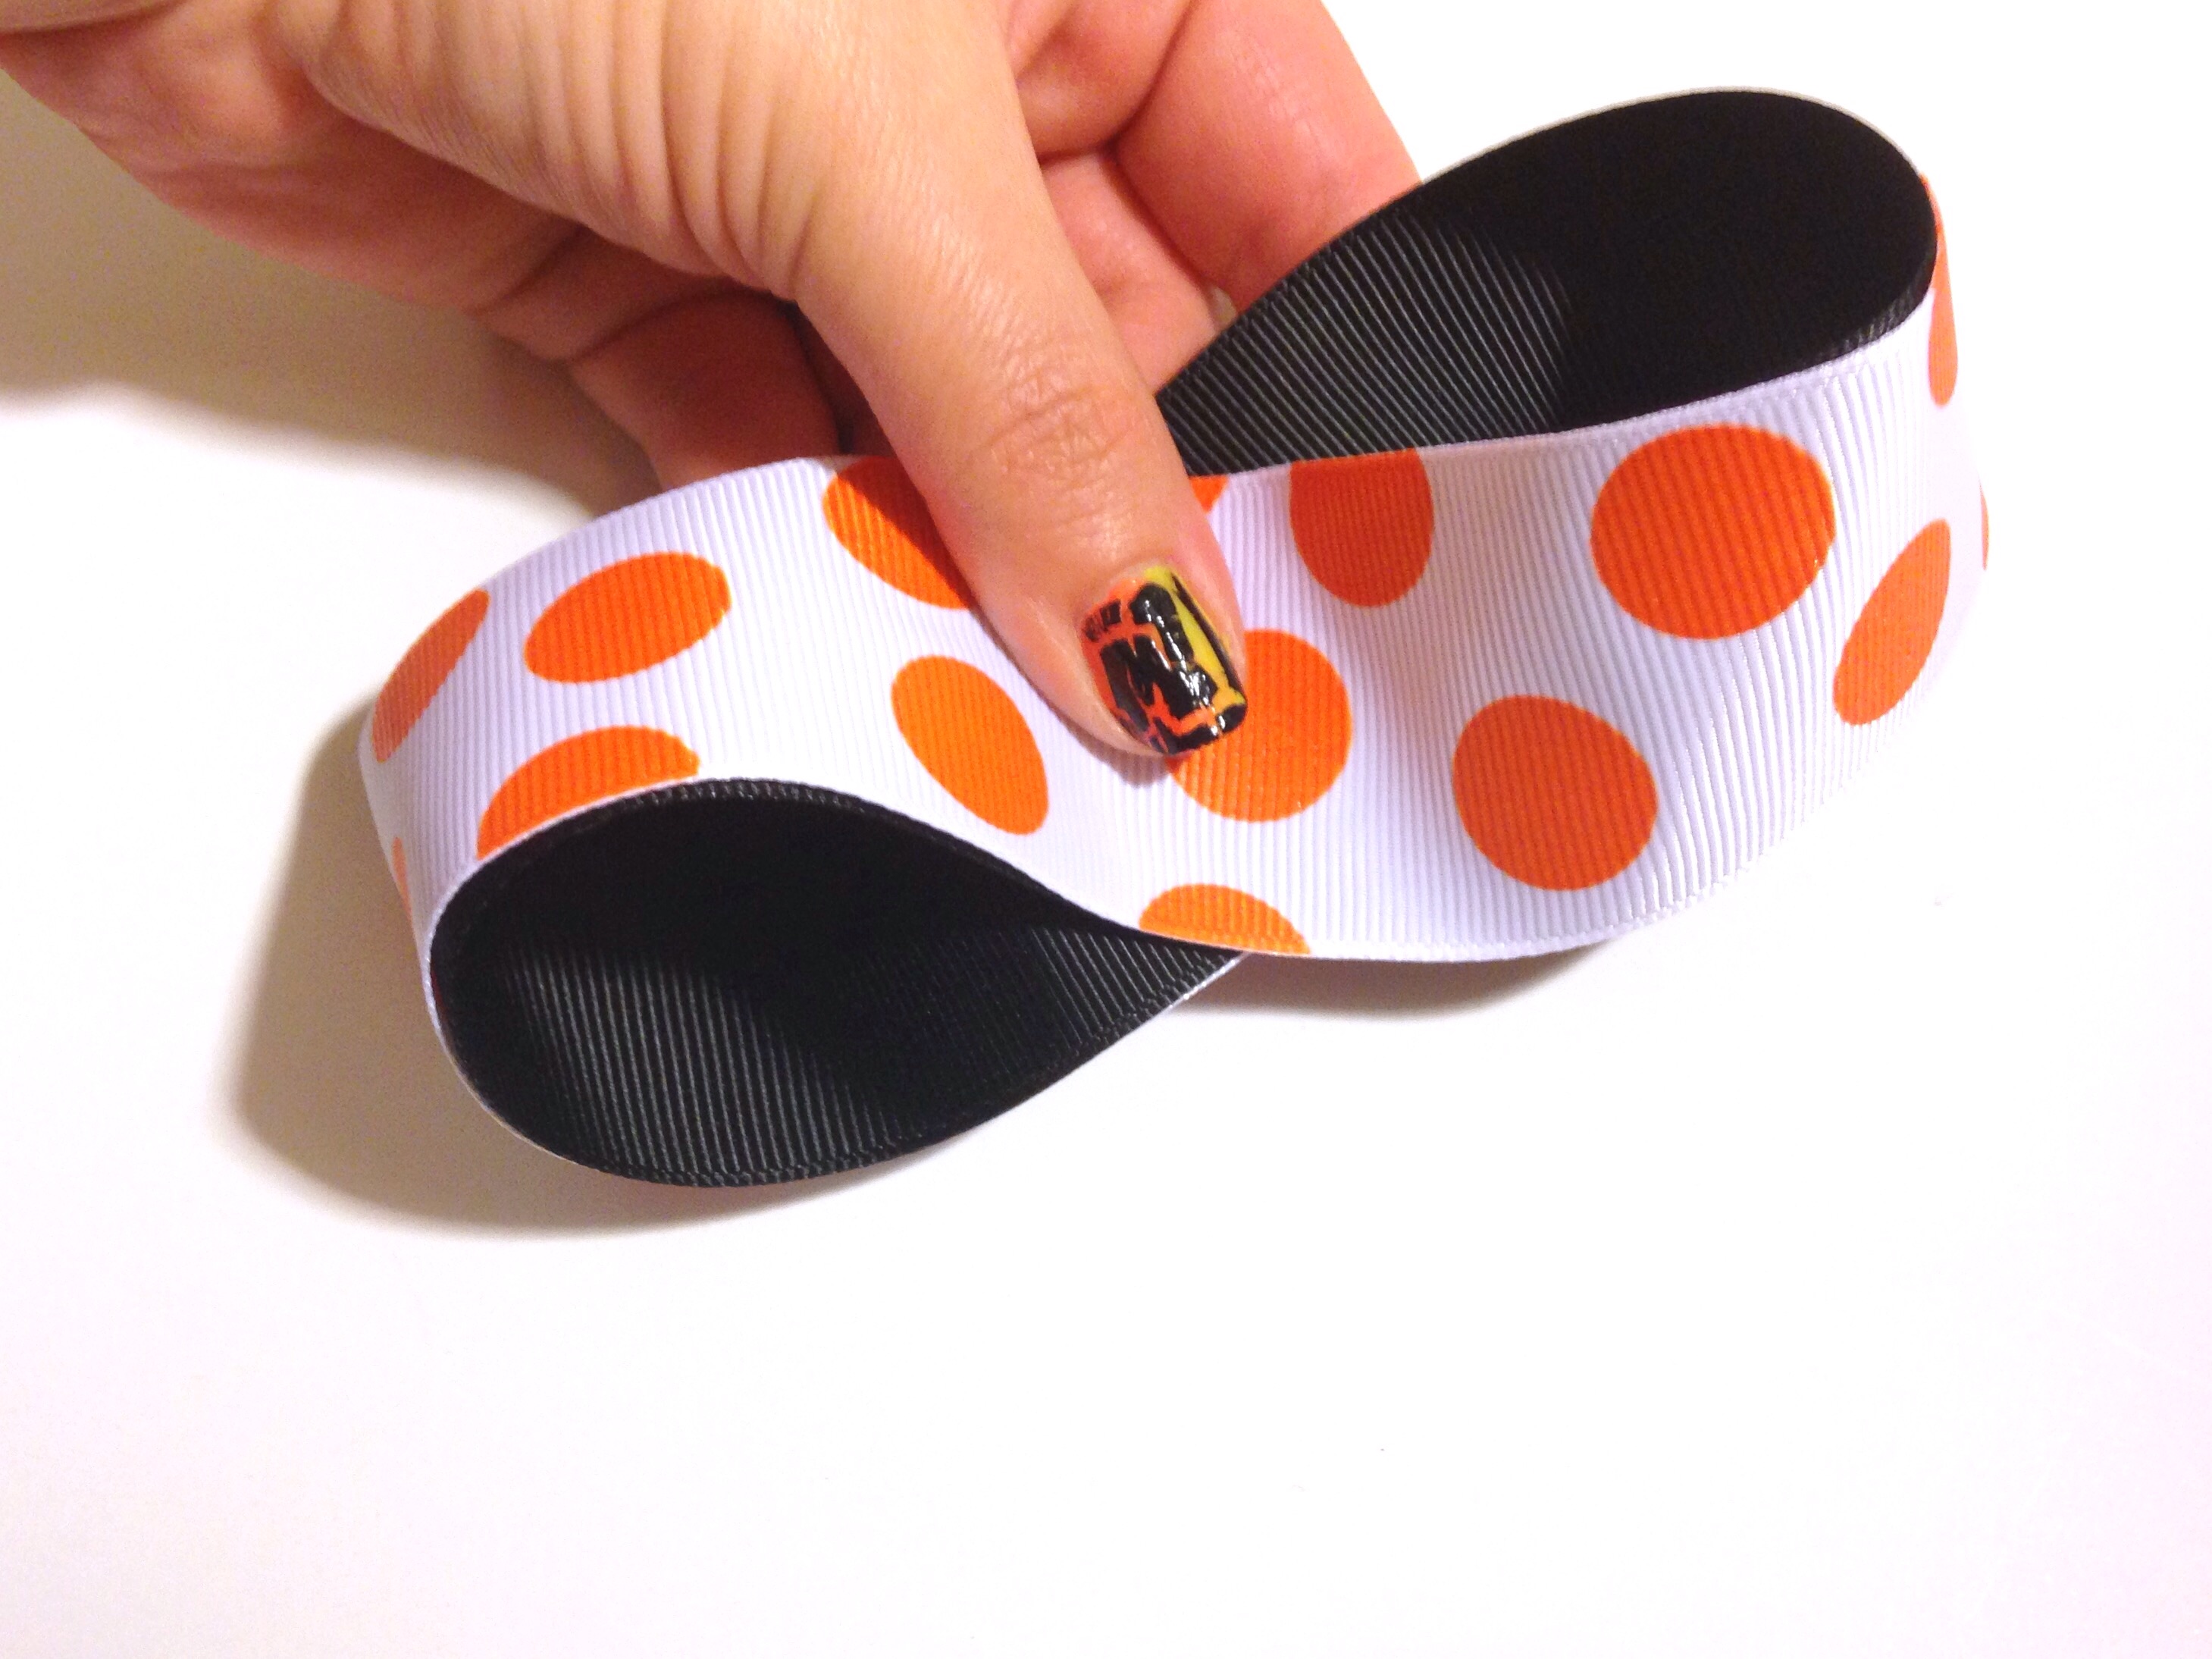 Find the center and twist, allowing both colors to be shown and a more dramatic twist to be formed. Secure the center using your large salon clip and embroidery thread.
 Place a small strip of double sided tape on the backside of your topper bow and stack on top as shown above.
 At this point we are stacked up pretty high and looking pretty gorgeous! Wrap the center of all layers with 3/8" black grosgrain ribbon. While wrapping the center, add your 2.25" alligator clip onto the back, securing it between layers of ribbon and hot glue. I prefer using the largest alligator clip because our bow is pretty large and somewhat heavy from all the gorgeous layers. The large clip will ensure it will stay in your little ones hair with no problems of falling out.
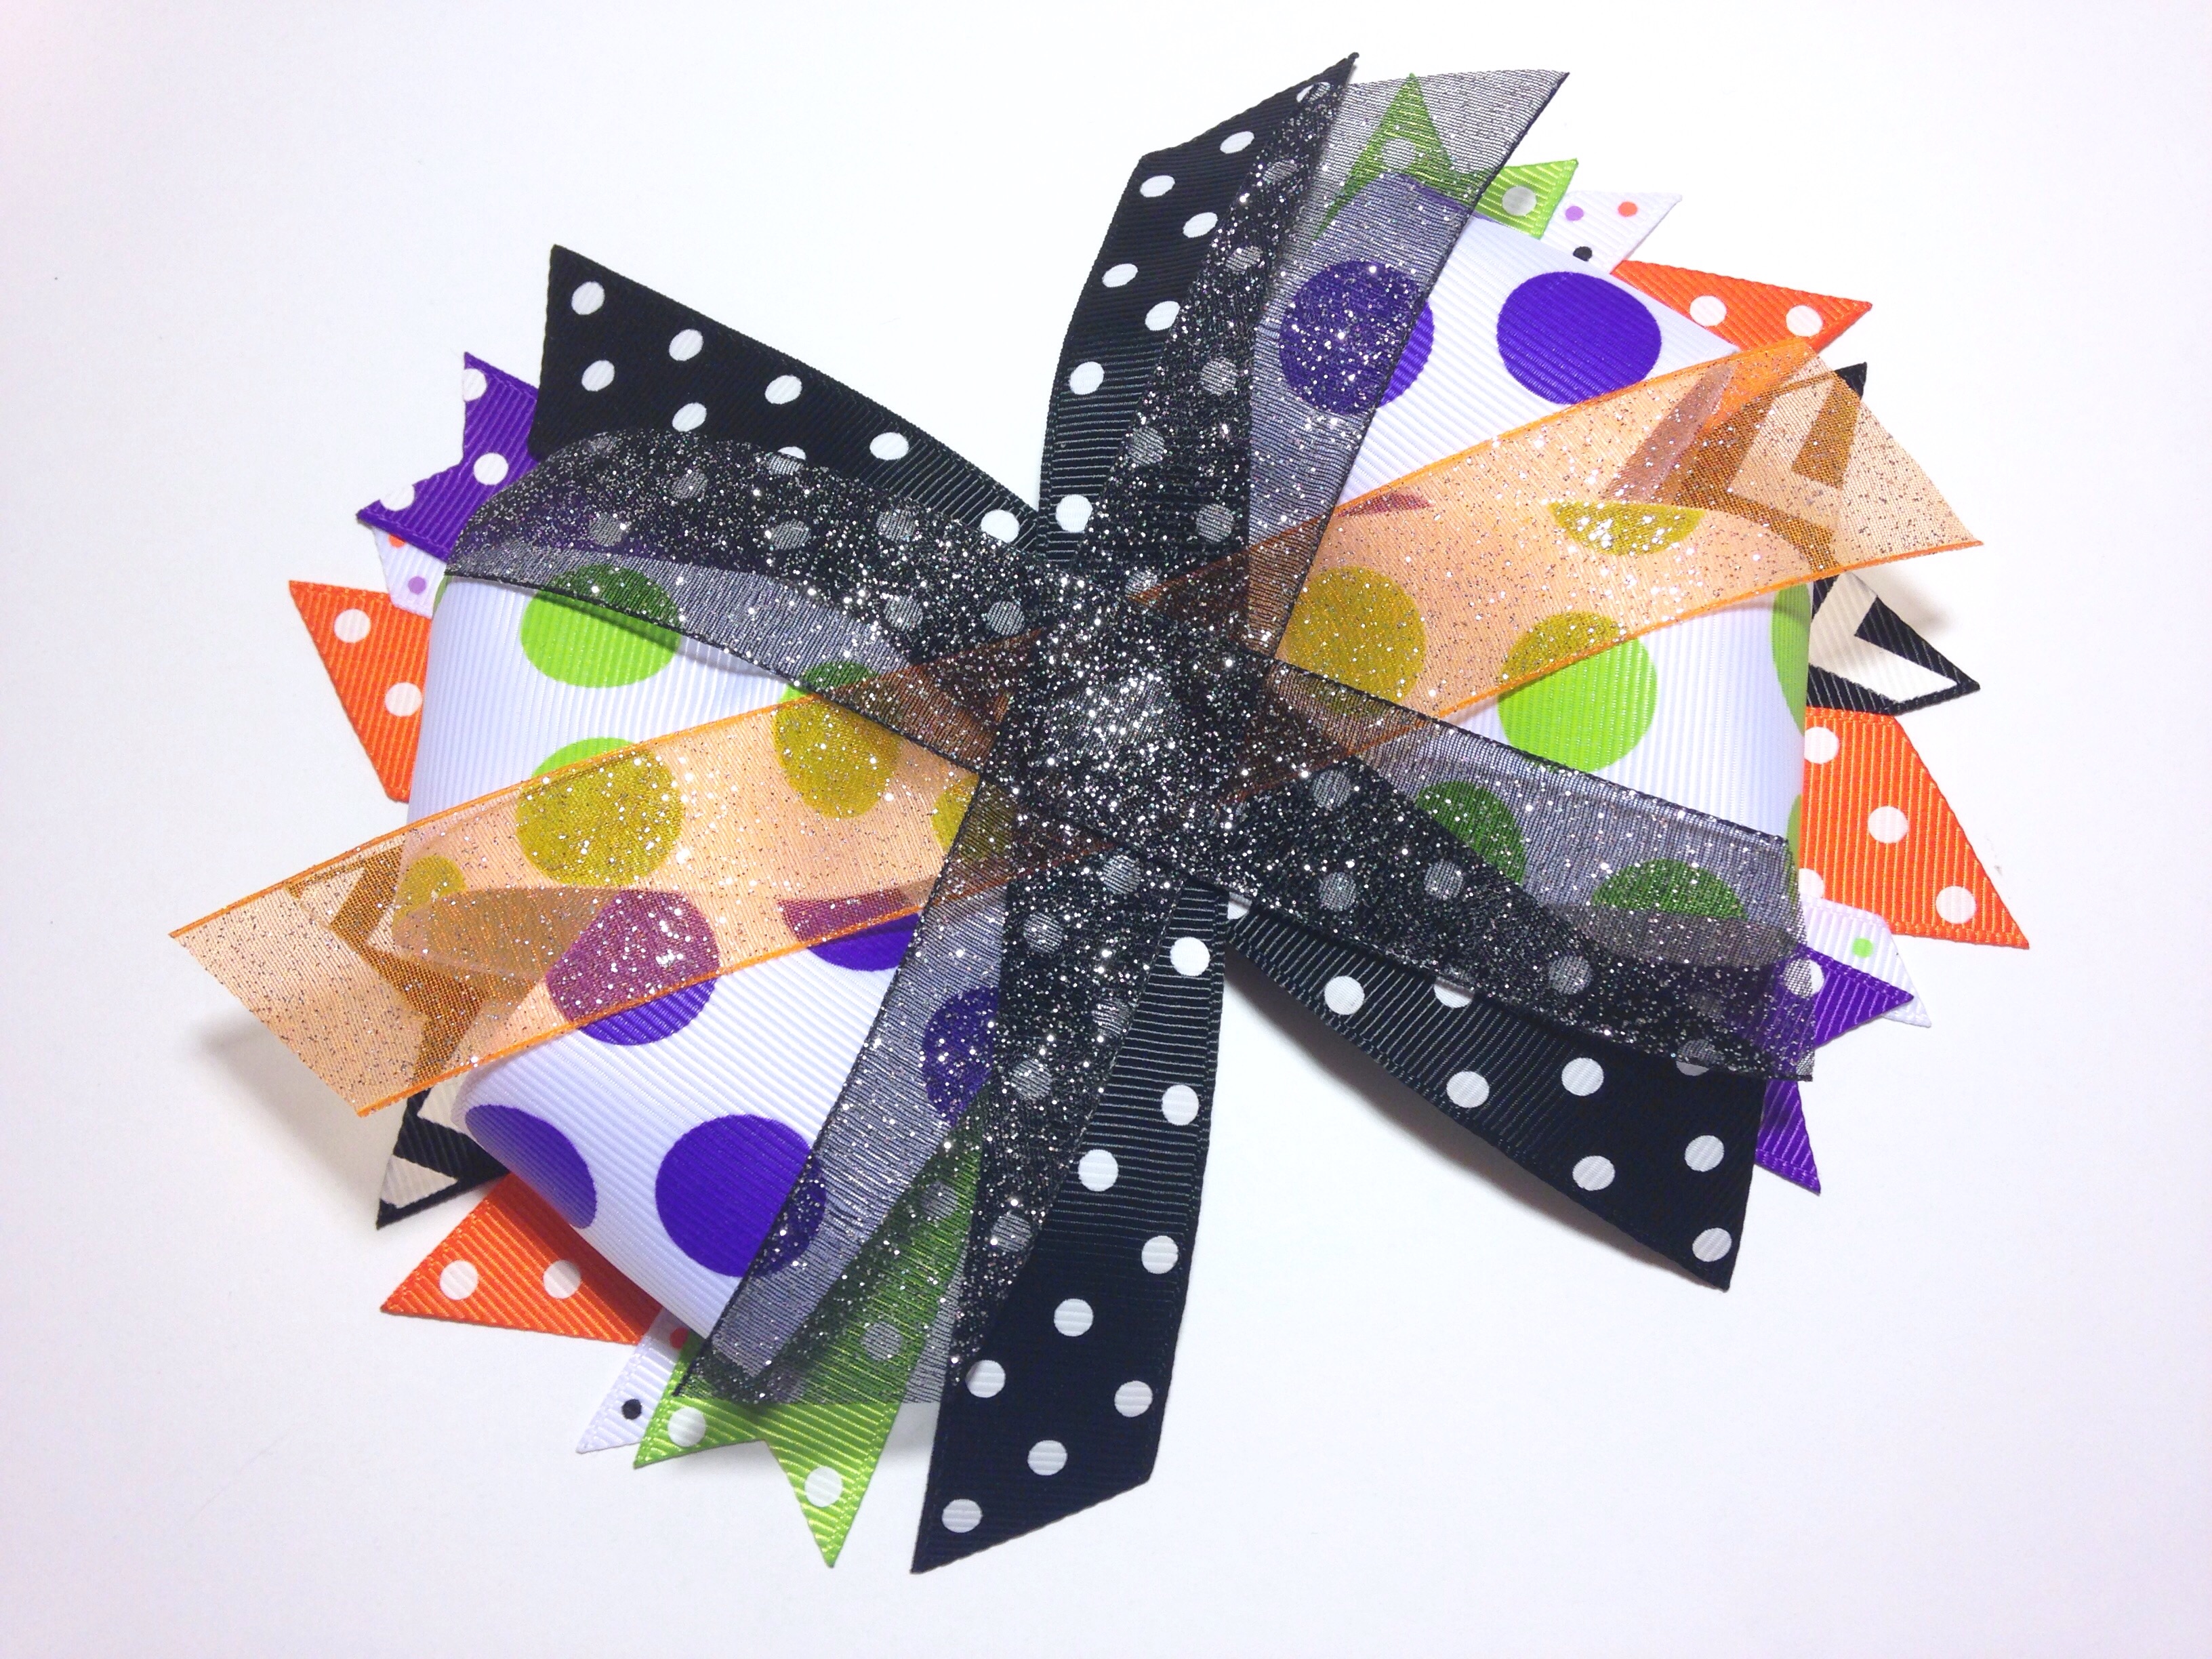
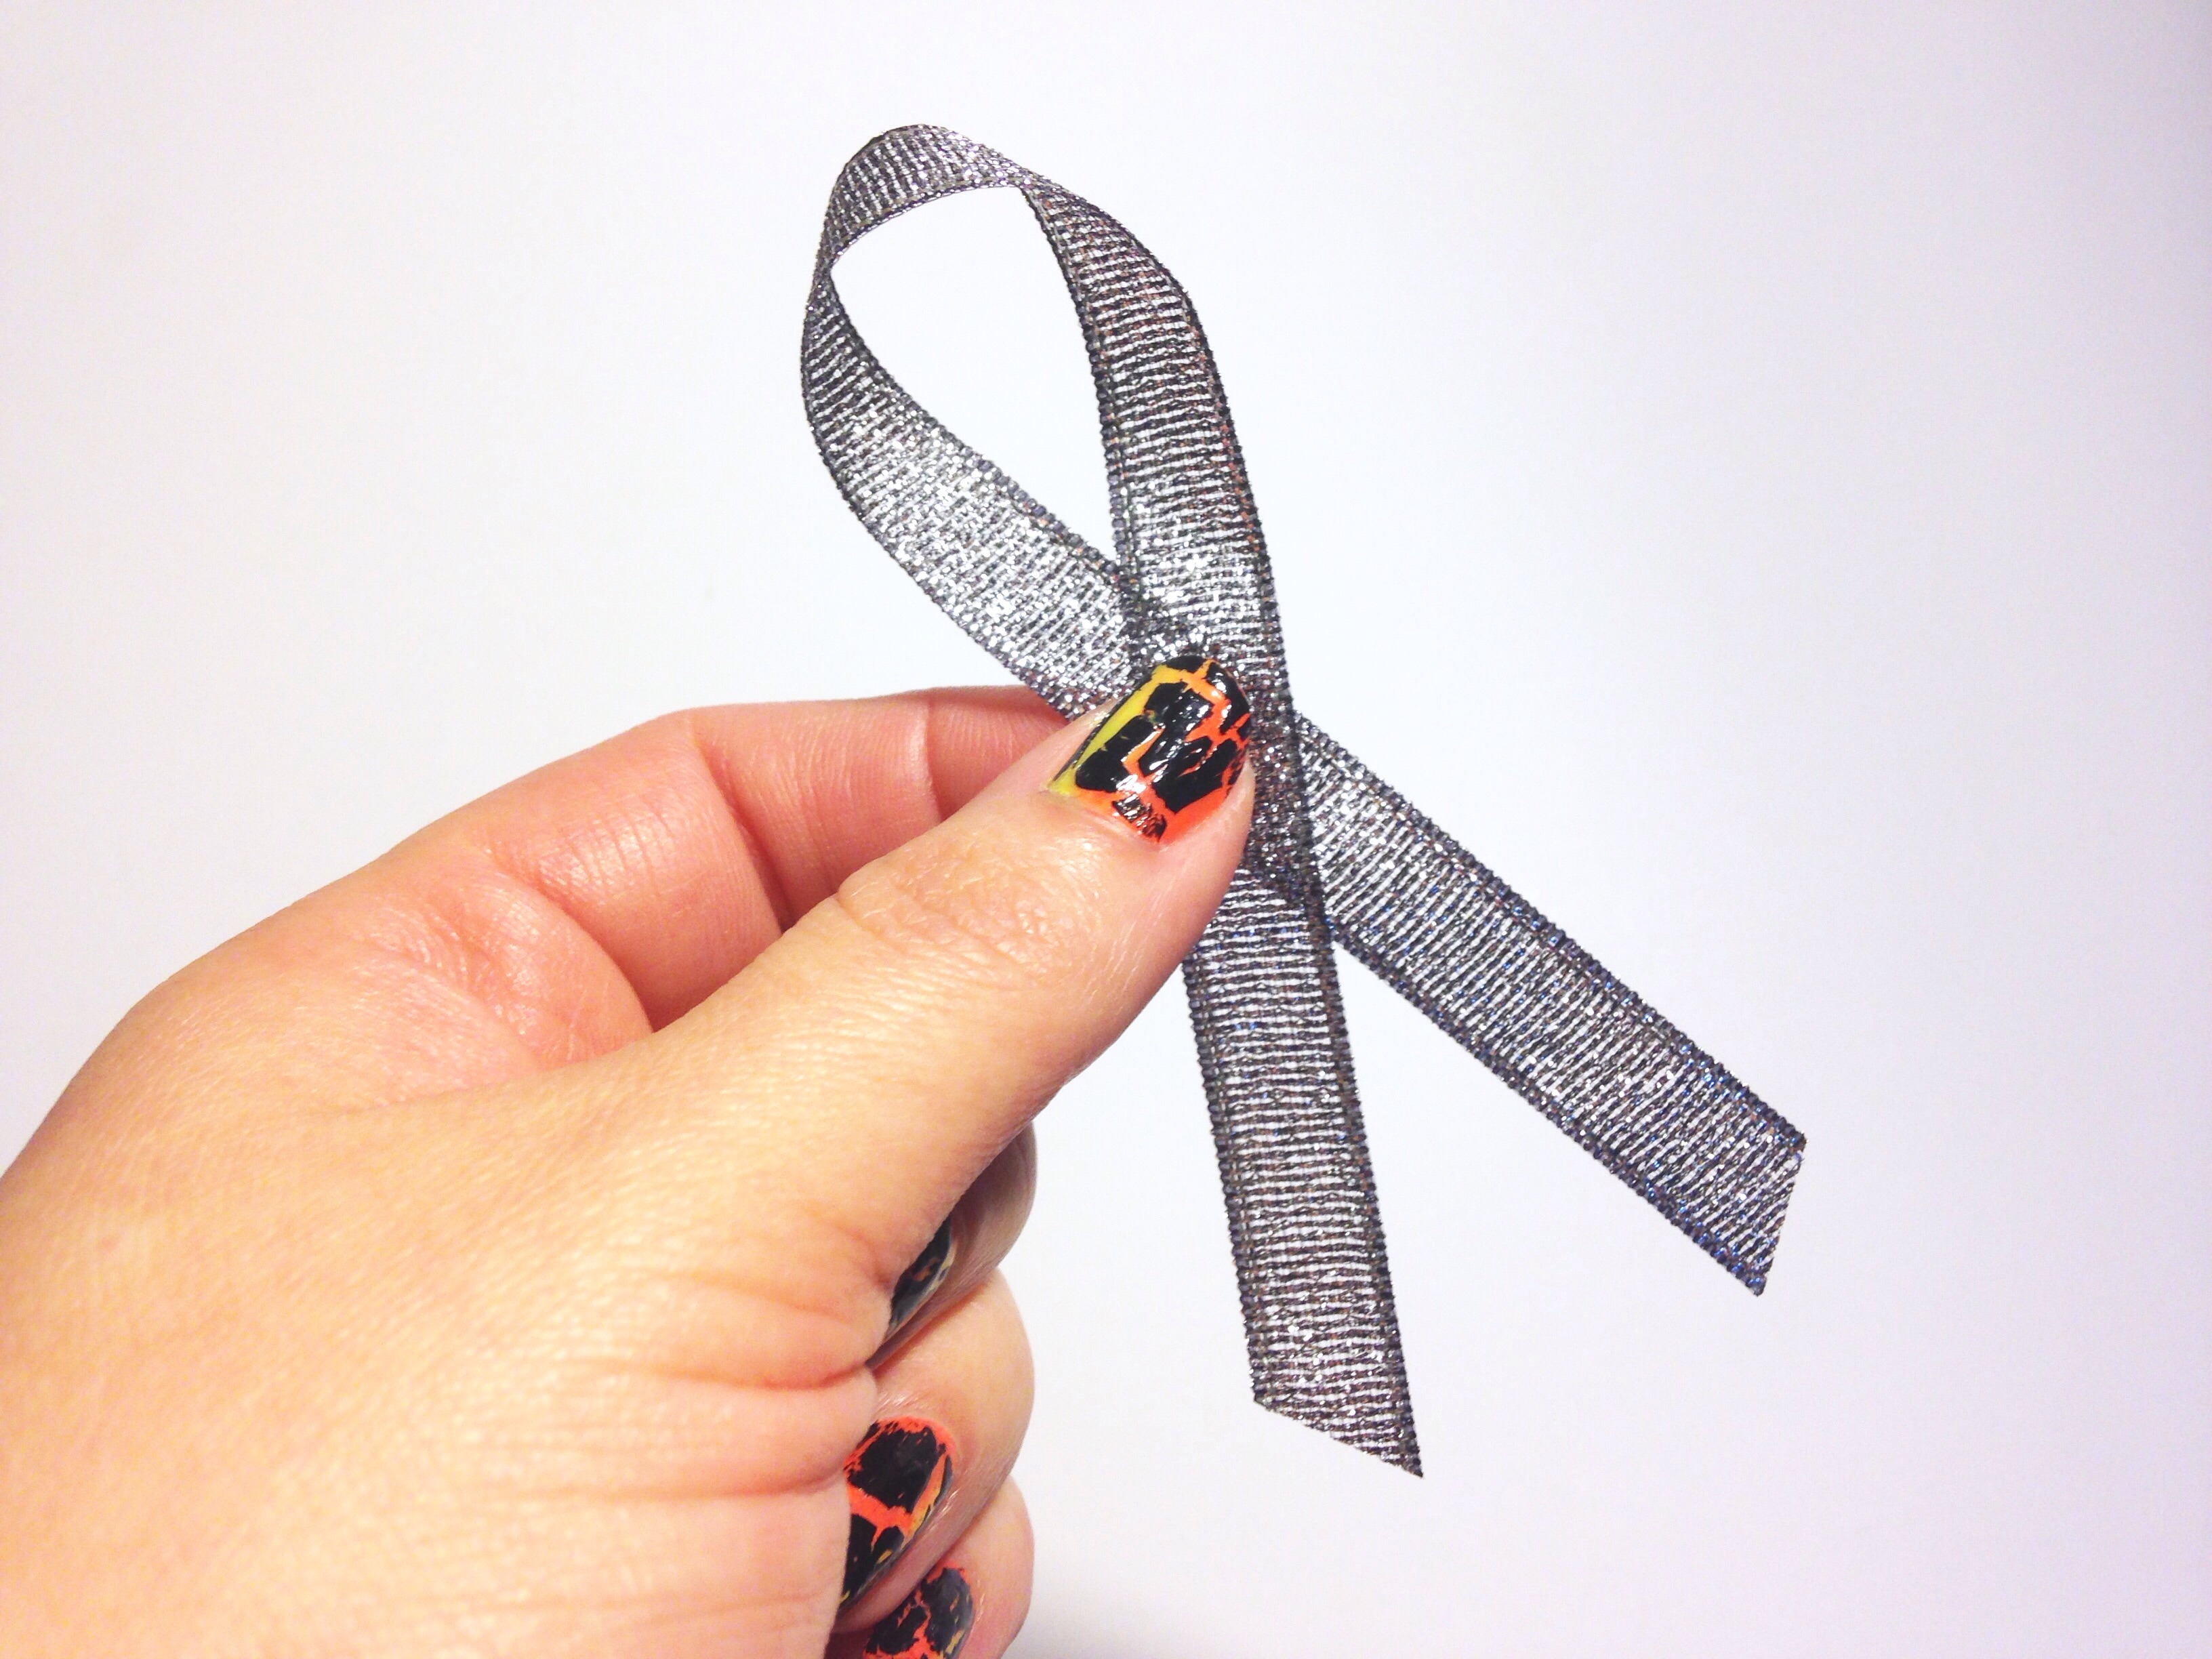 Our bow is undoubtedly fabulous already and could be finished off now with a pretty center embellishment. But I want just a few more loops & sparkles added to the top for a super cute over the top look! For this I am using a sheer black ribbon in 3/8"and I am making a few simple loops as shown above and securing them onto my bow using double sided tape.
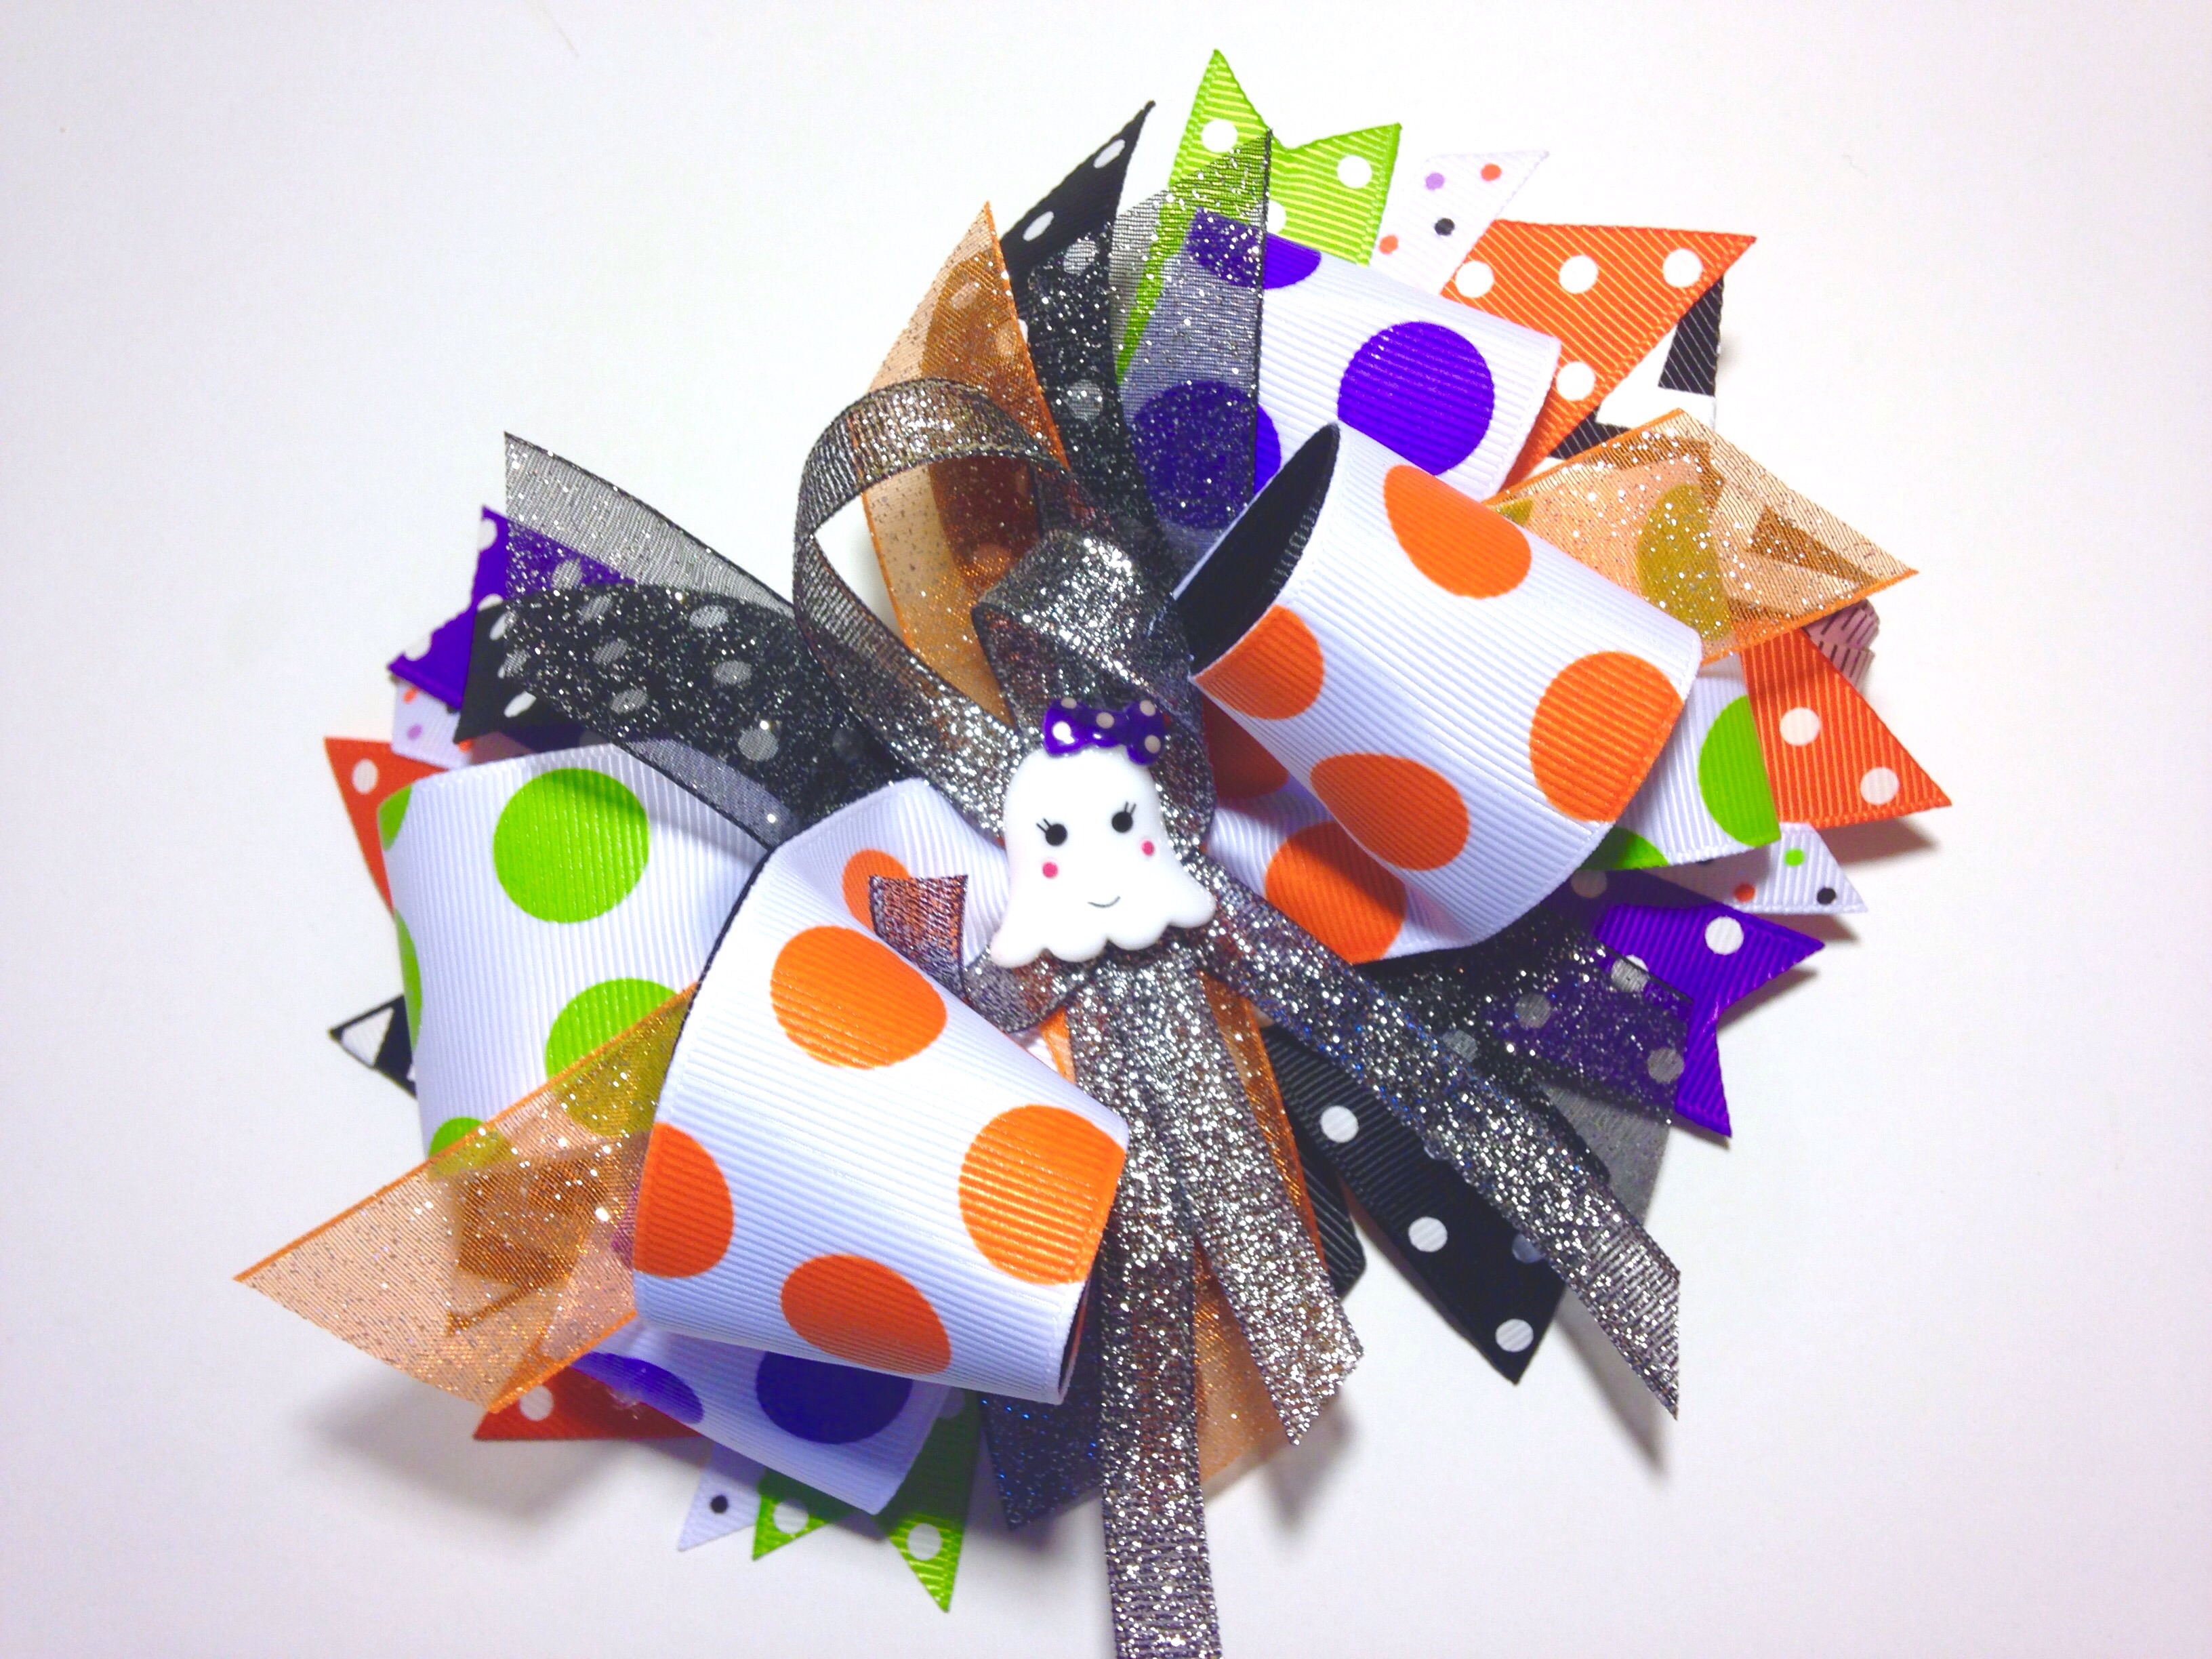
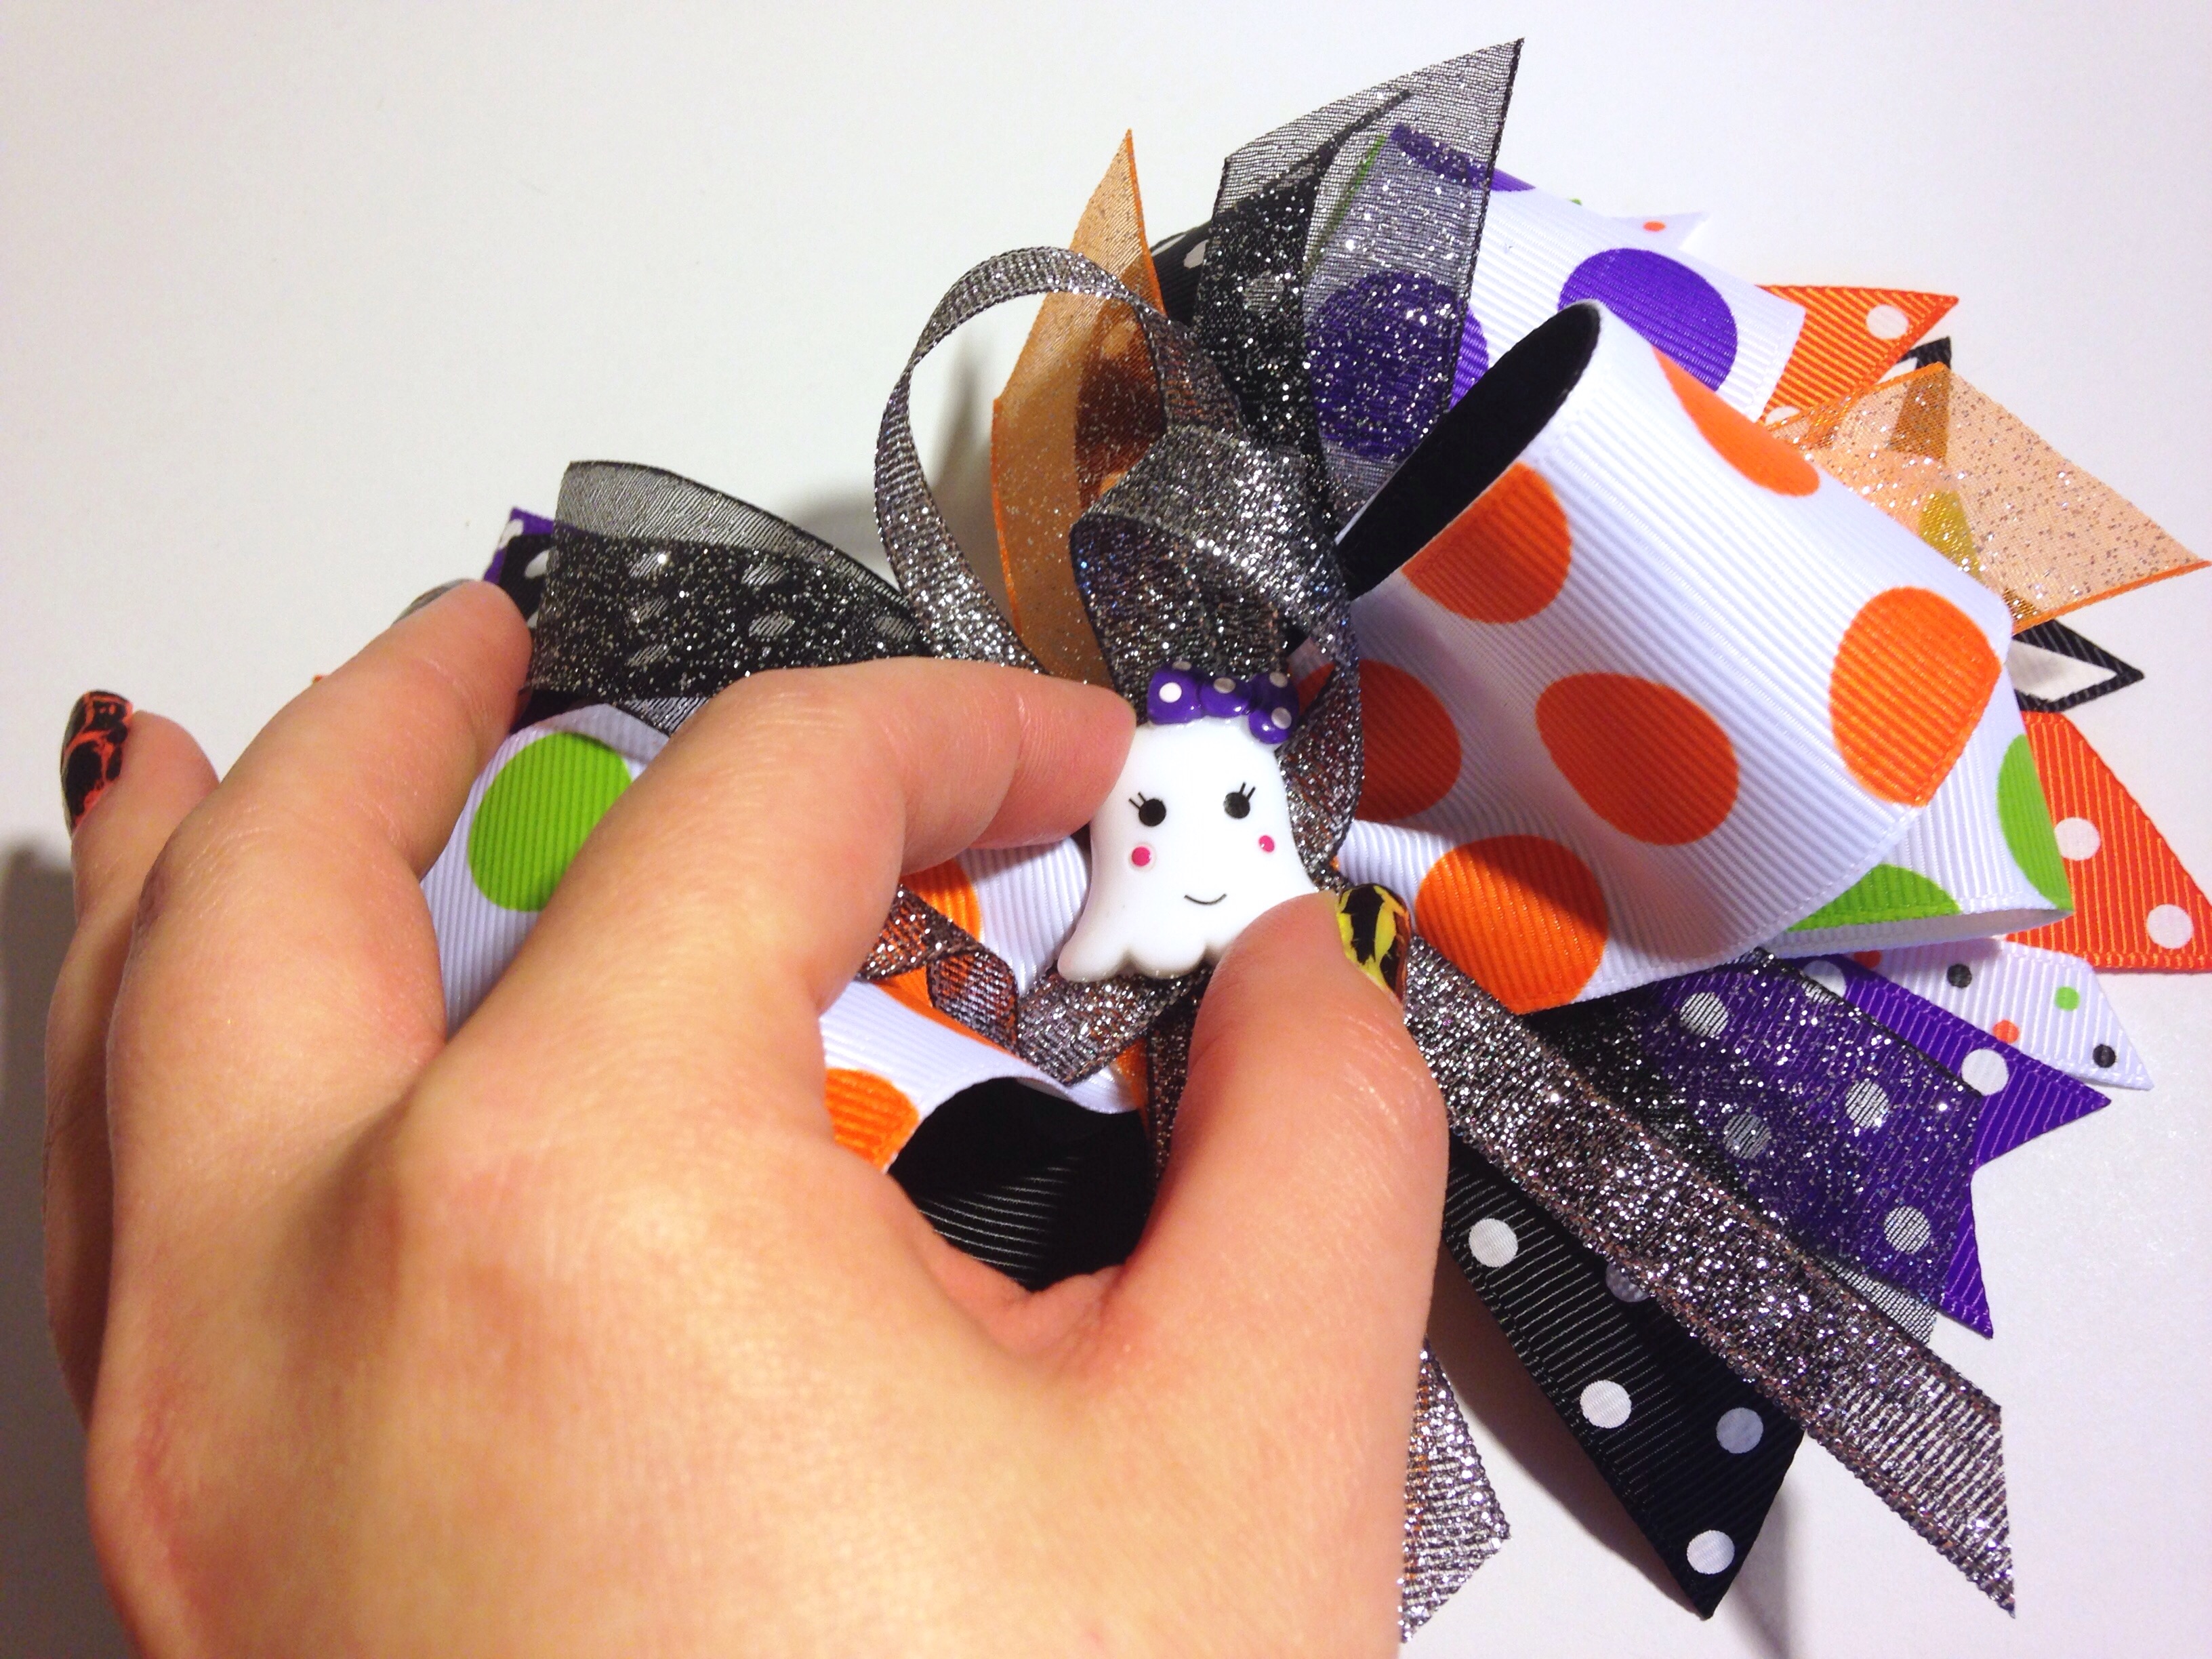 To finish off this gorgeous festive bow I am adding a cute Halloween resin embellishment to the center. Now our bow is complete and ready to be shown off and cherished by your little love! Every little girl wants a fun, one of a kind, over the top & full of sparkles hair accessory! Now she has the perfect festive hair bow that she can get excited about wearing for years to come! Have a safe and Happy Halloween!!
Visit the rest of our blog for more Halloween Hair-Bow Tutorials, Crafting Tutorials and DIY Instructions!
Loading...

