
 Contributor post by Brittany
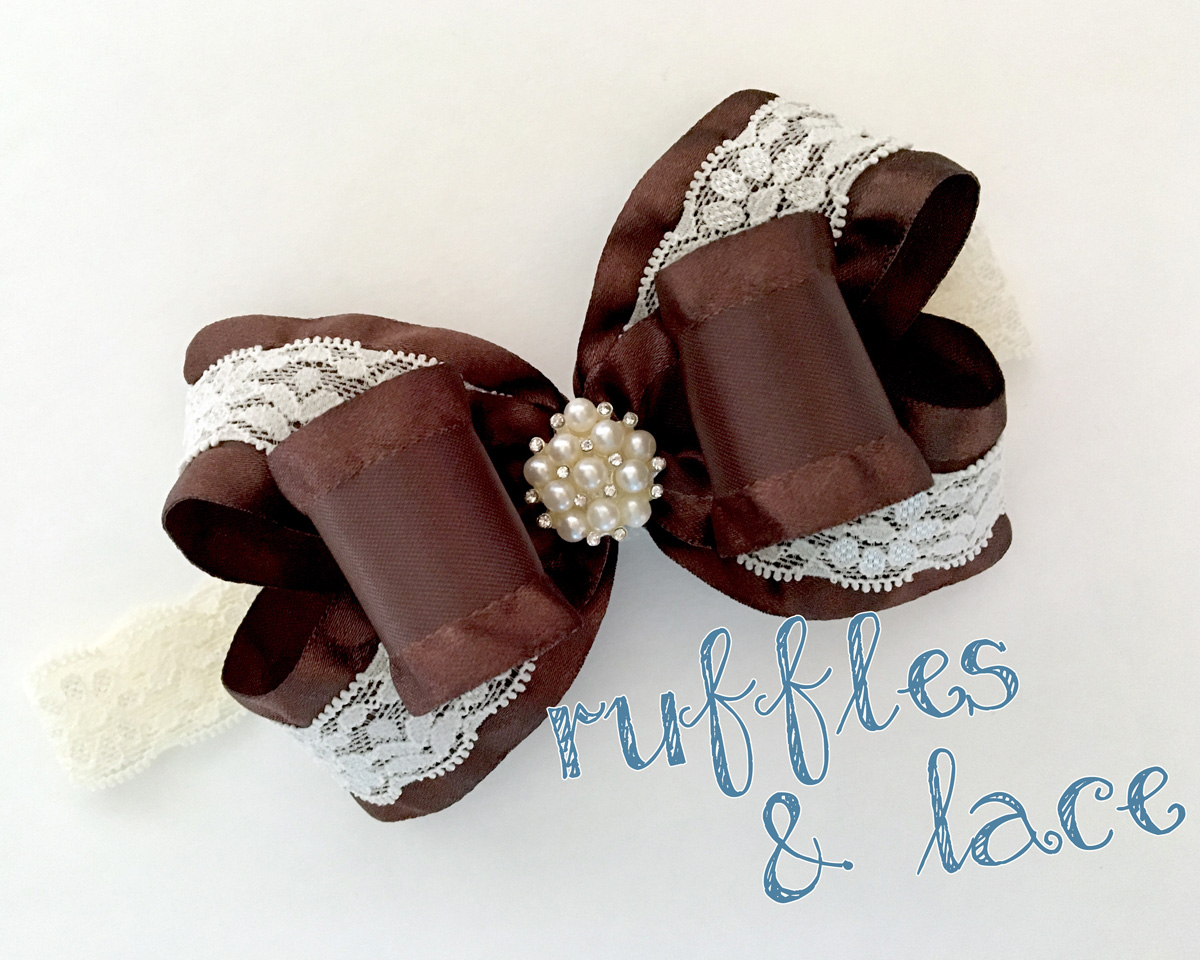
The most gorgeous boutique outfits I've seen all seem to have one thing in common.... LACE! With every adorable outfit comes a different color and style of lace which is why HBC's lace collection is an absolute necessity to my collection of bow making materials! Every bow lovin' Momma will agree her mini me's outfit is incomplete without the perfect hair accessory! And what better way to compliment those outfits than by incorporating perfectly matching lace into your little loves hair bow? So today we are going to make a bow that is picture perfect and can be made to match all those precious outfits accents in ruffles and lace! So gather up your supplies and let's get started making our gorgeous lace accented double ruffle hair bow, placed on a vintage lace headband!
Contributor post by Brittany
The most gorgeous boutique outfits I've seen all seem to have one thing in common.... LACE! With every adorable outfit comes a different color and style of lace which is why HBC's lace collection is an absolute necessity to my collection of bow making materials! Every bow lovin' Momma will agree her mini me's outfit is incomplete without the perfect hair accessory! And what better way to compliment those outfits than by incorporating perfectly matching lace into your little loves hair bow? So today we are going to make a bow that is picture perfect and can be made to match all those precious outfits accents in ruffles and lace! So gather up your supplies and let's get started making our gorgeous lace accented double ruffle hair bow, placed on a vintage lace headband!
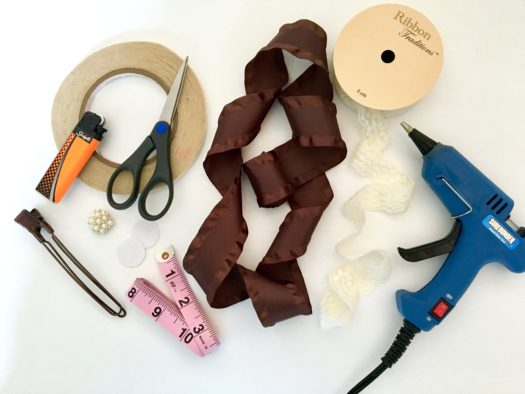 Listed below are the items you will need:
•1.5" Brown double ruffle ribbon
•7/8" Ivory stretch elastic lace
•Hot glue gun
•1/4" Double sided tape
•Scissors
•Lighter
•Jumbo salon pinch hair clip
•Sparkling pearl cluster embellishment enter
•1" circle felt pads (2)
•Measuring tape
Listed below are the items you will need:
•1.5" Brown double ruffle ribbon
•7/8" Ivory stretch elastic lace
•Hot glue gun
•1/4" Double sided tape
•Scissors
•Lighter
•Jumbo salon pinch hair clip
•Sparkling pearl cluster embellishment enter
•1" circle felt pads (2)
•Measuring tape
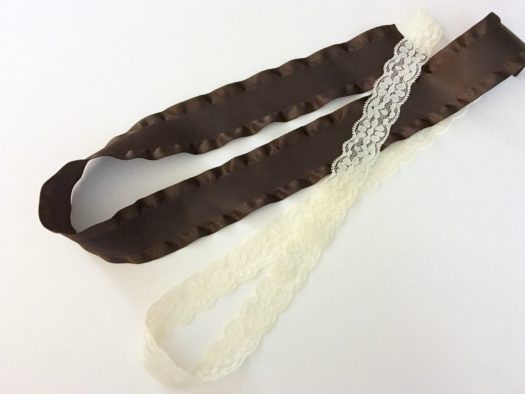 Measure 24 inches of double ruffle ribbon and 24 inches of elastic lace. Be sure to heat seal the ends of your ribbon using your lighter.
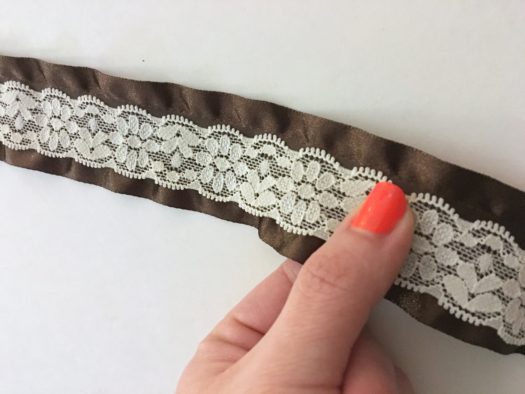
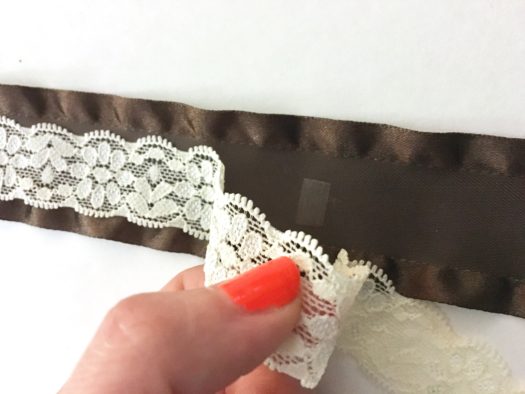 Next lay your double ruffle ribbon out in a straight line. Preparing to layer your lace on top, cut small pieces of double side tape and place in the middle of each end of your ribbon. Continue placing double sided tape about 5-6" apart. I used a total of 5 pieces; one at each end, one in the middle of the ribbon length and one more between the middle and end pieces on each side of the ribbon. Peel off the paper backing and attach the lace down the center of your ribbon as shown above.
 After the entire length of lace is attached down the middle of your double ruffle ribbon, prepare to form your bow. As shown in the first picture below, fold the first quarter of your ribbon up and over (approx 6") to create your first loop. Take the next quarter of your ribbon and fold up and over to the center as shown in the second pic below. Be sure to hold your thumb and finger firmly together to keep your ribbon in place at all times.
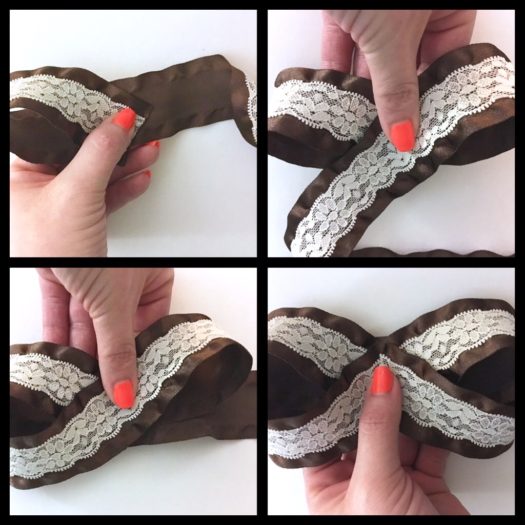 As shown in the third pic above take the next quarter of ribbon and loop back up and to the backside of your bow. Take the remaining ribbon and loop back around to the front of the bow and hold at the center. I like to trim the end at an angle to make a perfect center for my bow.
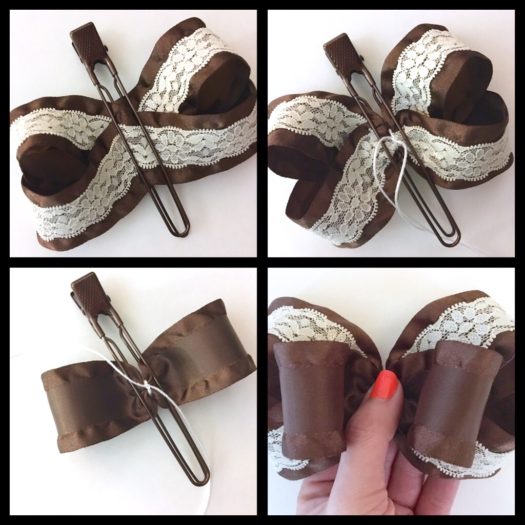 Open your jumbo salon clip and place in the center of your bow being sure each layer of ribbon stays in place. Refer to the first pic above. Next take a piece of strong thread and bring up through the hollow ends of your clip, wrapping the thread around the center of your bow. Pull the center tight with your thread and tie off with a double knot. Your bow will now look like the second pic above. For extra security bring the ends around to the backside of the bow and tie off again. Trim off any extra thread that is left. For the top layer of my bow I am using approx 9-10" of double ruffle ribbon. Heat seal the ends and overlap them to form a circle. Take your salon clip and place in the center, holding all layers together. Using another piece of strong thread, tie the center tightly as shown in the third pic above. After tying off at the backside I am placing the top layer on top of the bottom, connecting them with a generous dot of hot glue. Press and hold firmly together for several seconds as in the last pic shown above.
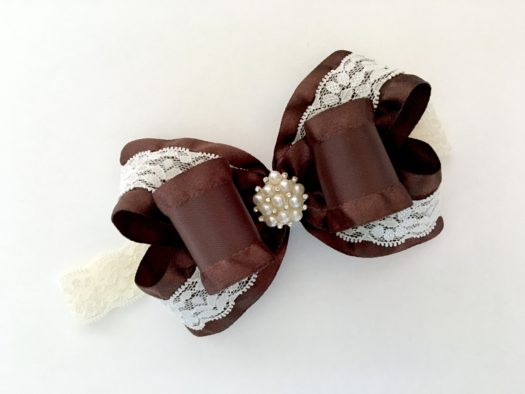
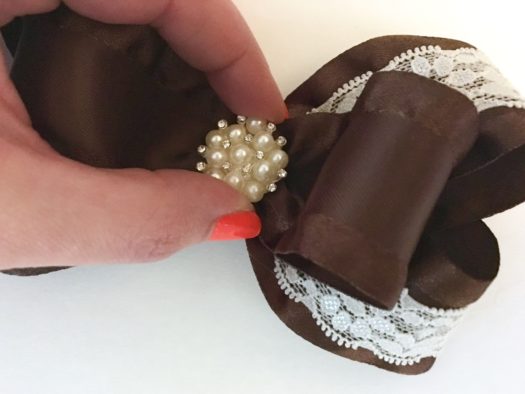 To further secure the two layers of my bow together I am using a scrap piece of 1/4" ribbon in a coordinating color. I am wrapping the ribbon around both layers twice using hot glue to hold into place. Now my bow is ready for a gorgeous centerpiece! As you can see in the picture above I am using a sparkling pearl cluster embellishment center. I am attaching this to the center of my bow with hot glue.
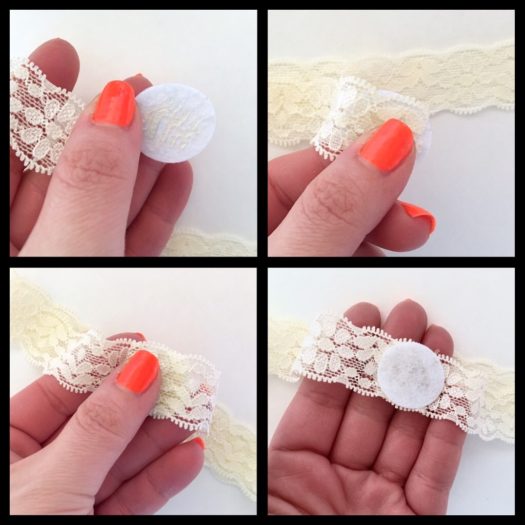 Now that our ruffle and lace accented bow is complete, we will be making a lace headband to complete our project. Measure your child's head or use another similar headband to ensure a proper fit. Be sure to add an extra inch or so to leave room for overlapping. I am using 15" of 7/8" stretch elastic lace for my headband. Use the simple diagram above to guide your steps in creating your headband. Along with your pre-measured lace you will also need two 1" felt circles. Apply hot glue to one of your felt circles as shown in the first pic above. Carefully press one end of your lace into the hot glue. Add a bit more hot glue and overlap the opposite end of lace onto the felt forming a circle. With a little more hot glue attach the other felt circle sandwiching the lace between the two pieces of felt. The last pic in the diagram above shows what the finished headband should look like.
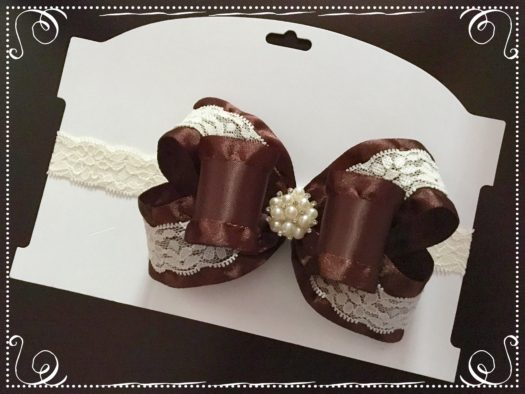
 Now that our headband and hair bow are complete the only thing left to do is attach them together! To do this you will need to add a generous amount of hot glue to the felt circle, place the middle of your bow onto the hot glue, and hold into place for a few seconds until it has had enough time to dry.
Now your little one's adorable boutique sets accented with lots of girly ruffles and lace have the perfect coordinating hair accessory to match! Mix and match different ribbon and lace colors to make the perfect finishing touch, must-have hair accessory! Mommy and princess approved!
Now that our headband and hair bow are complete the only thing left to do is attach them together! To do this you will need to add a generous amount of hot glue to the felt circle, place the middle of your bow onto the hot glue, and hold into place for a few seconds until it has had enough time to dry.
Now your little one's adorable boutique sets accented with lots of girly ruffles and lace have the perfect coordinating hair accessory to match! Mix and match different ribbon and lace colors to make the perfect finishing touch, must-have hair accessory! Mommy and princess approved!
Visit the rest of our blog for more Hair Accessories Tutorials, Crafting Tutorials and DIY Instructions like this Ruffles and Lace Bow Headband!
Loading...

